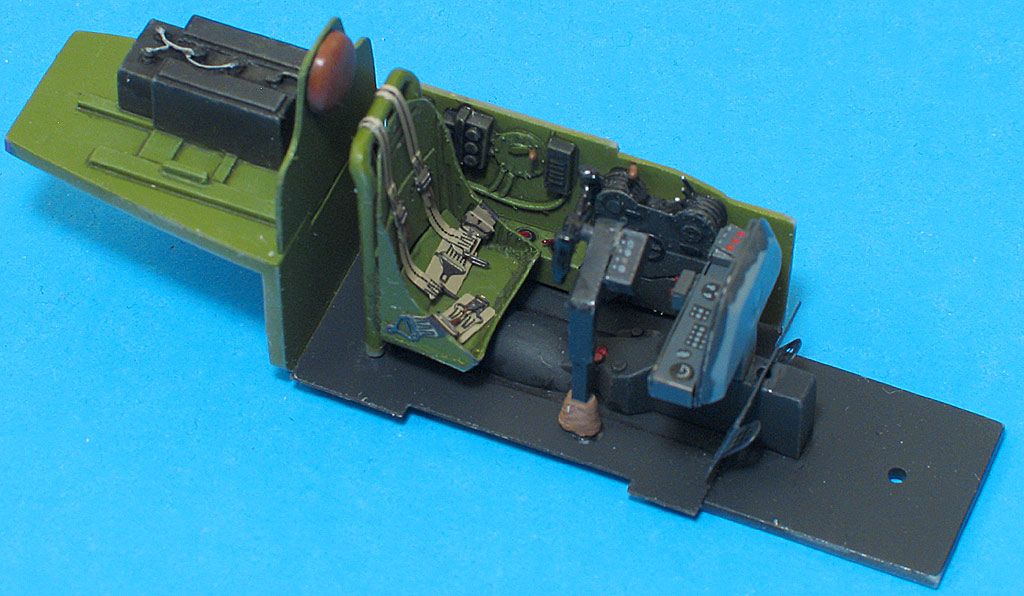
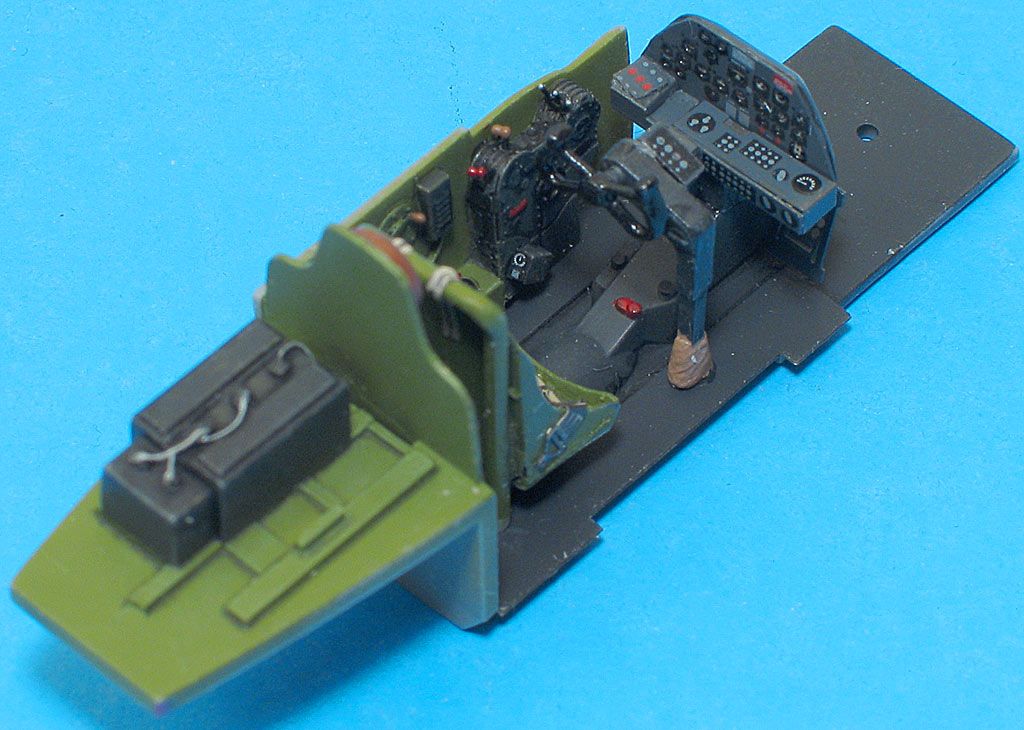
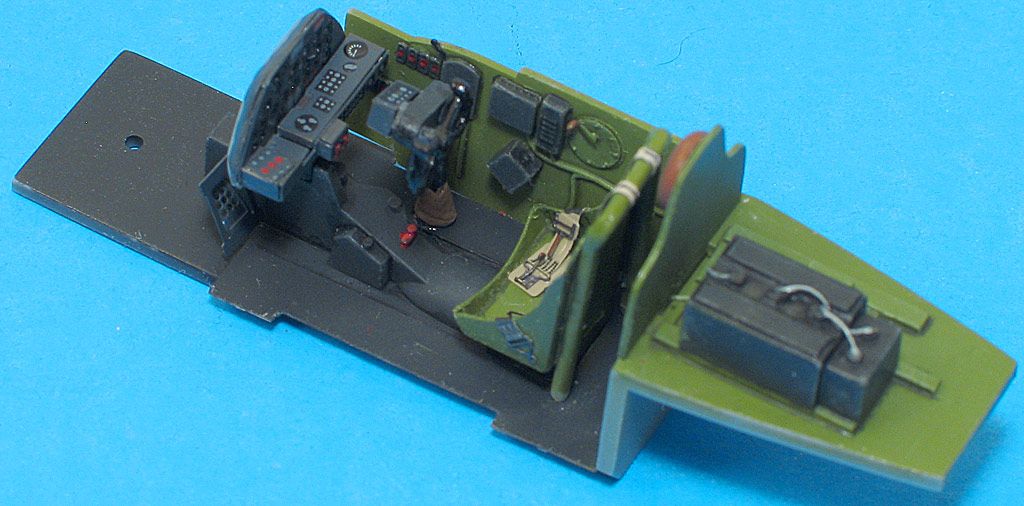
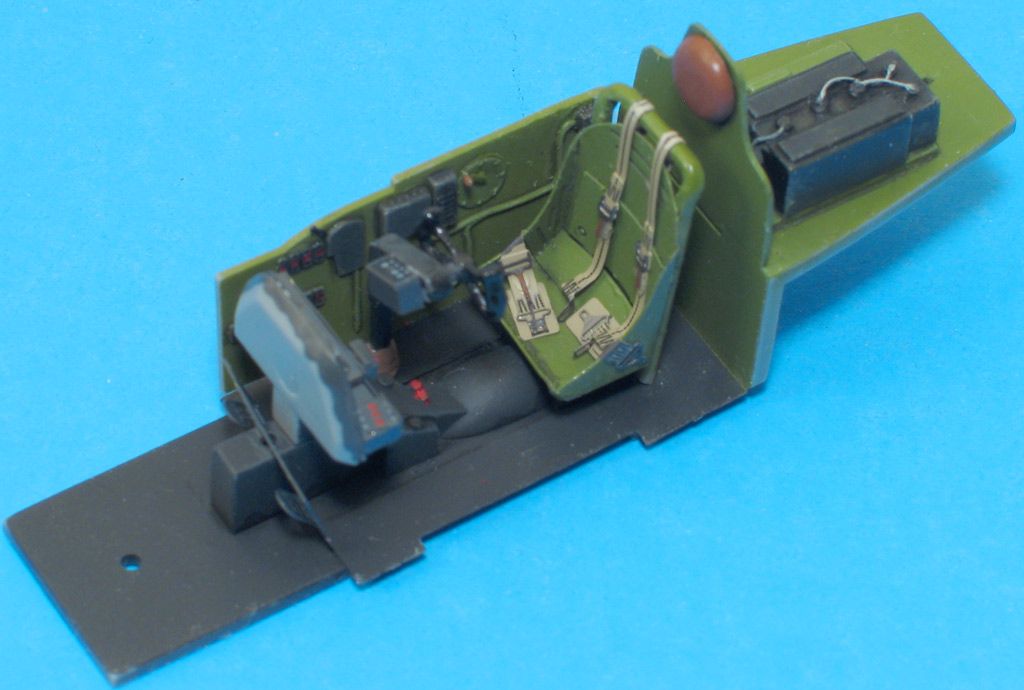
I finished the cockpit of the P-38 today.
The kit is 1/48 Hasegawa, with the Eduard PE detail set.
I replaced the levers on the forward part of the throttle quadrant with wire. Eduard supplies levers with knobs on the ends, but my reference pics showed that they had none.
The belts are prepainted, and the paint flaked off on the top when I draped the belts over the bar behind the seat. I matched the paint and repainted them the best I could.
I used the printed instruments, as the prepainted ones lacked sharpness. I’m glad they supplied this alternative. Their prepainted WW I instruments are MUCH sharper.

Now to do the wheel wells (TONS of PE to add there).
I have pics of the PE frets & instructions, along with the plastic parts here:
http://www.pix.prettyneatinc.com/lightningbuild.htm
Thanks for letting me share the build with you !
Great work Pix, looks like you could hop in and fly her away! After it’s all closed up, of course! [8-]
Great work on the pit Bill. That paint does like to chip off when bending the Eduard belts. Nice match on the re-paint.
And BTW… if I forgot to thank you for the response to my email about commission builds… Thanks. I ended up striking a deal with guy. He wants a Tuskegee Airman a/c made since he is kind of a historian for the group… unofficially I think. But he knows a couple of the surviving pilots and he is trying to arrange to have one come to my next club meeting. If he does. I do the build and he supplies the materials.
Excellent work Pix. Great job on the pit.
Regards, Rick
Thank you Fred, Jim, Karl, Marc, and Rick !
I’m going to the bench now to work on the wheel wells. This PE set is not for anyone who feels uncomfortable working with it. There are lots of parts. But, if you’re like me, and enjoy the challenge, the set is great.
Thanks again !
Looking really nice Pix! I’m been working on the same kit for the last several weeks. I have to say your cockpit looks awesome! It’s a very nice kit, but I’ve had to do tons of sanding, filing, etc, especially where the booms join the wings.
Who’s P-38 are you building? I’m planning on making mine the aircraft on the box - the Virginia Marie. I don’t want to use the medium blue decals that came with the kit but I’m having a tough time trying to mix the correct shade of blue to match the blue in the name decal. Thanks for sharing!
Steve
Pix,
Beautiful job on the front office! I can’t wait to see the final product and get lots of ideas for mine when I build her! Thanks for sharing! Any idea when you might produce that instructional DVD you have talked about? I got my money waiting for it…
Brian [C):-)]
Great work as always, pix! [tup] Thanks for sharing!
Thanks Steve, Brian, and ruddratt !
Steve - you say “filling and sanding” as though it were a bad thing. It’s just a part of building models, another thing you have to do. I’m building this kit as Richard Bong’s “Marge,” using the kit decals. Did you try using the suggested Gunze color for the blue? It’s usually a dead-match for the decal color.
Brian - I’ll get around to it someday. Too much stuff going on at the moment, though.
Thanks again !
Hey Pix, looks neat! I’ve got a P-38 in the stash, same one someone else in this thread has! I picked up a resin cockpit and some AM decals for it. I may have to look to you for some tips[:)]
Thanks RedMax !
Some have mentioned a difficulty fitting the main wheel wells in the booms. I found a way to install them without alignment issues. I’ll post some pics soon.
Thanks again !
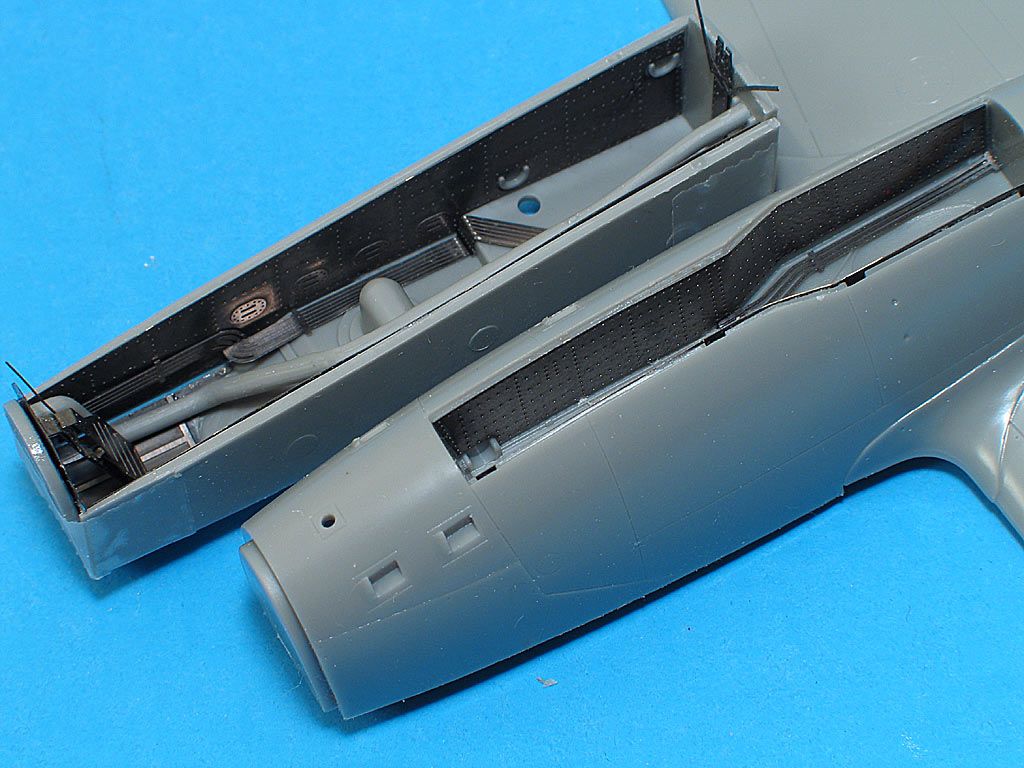
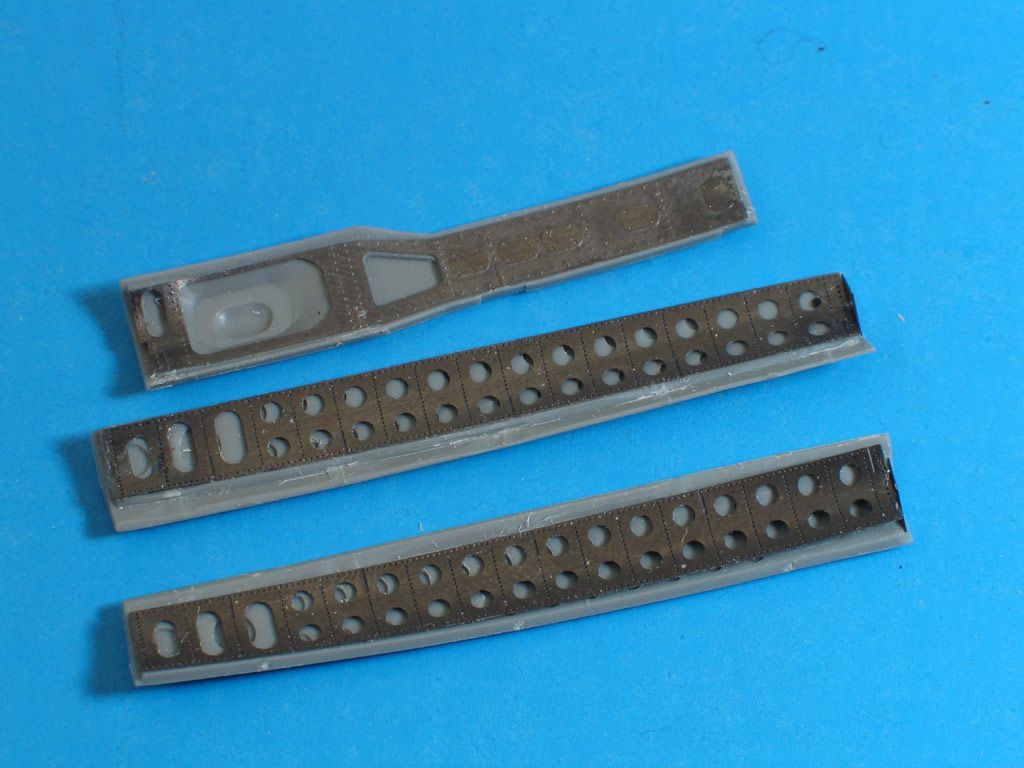
I finished adding the PE to the nosegear well, and one of the maingear wells. The PE really dresses up their appearance. The parts for the door actuators are tacked in place with white glue. I’ll CA them after the airframe is painted.
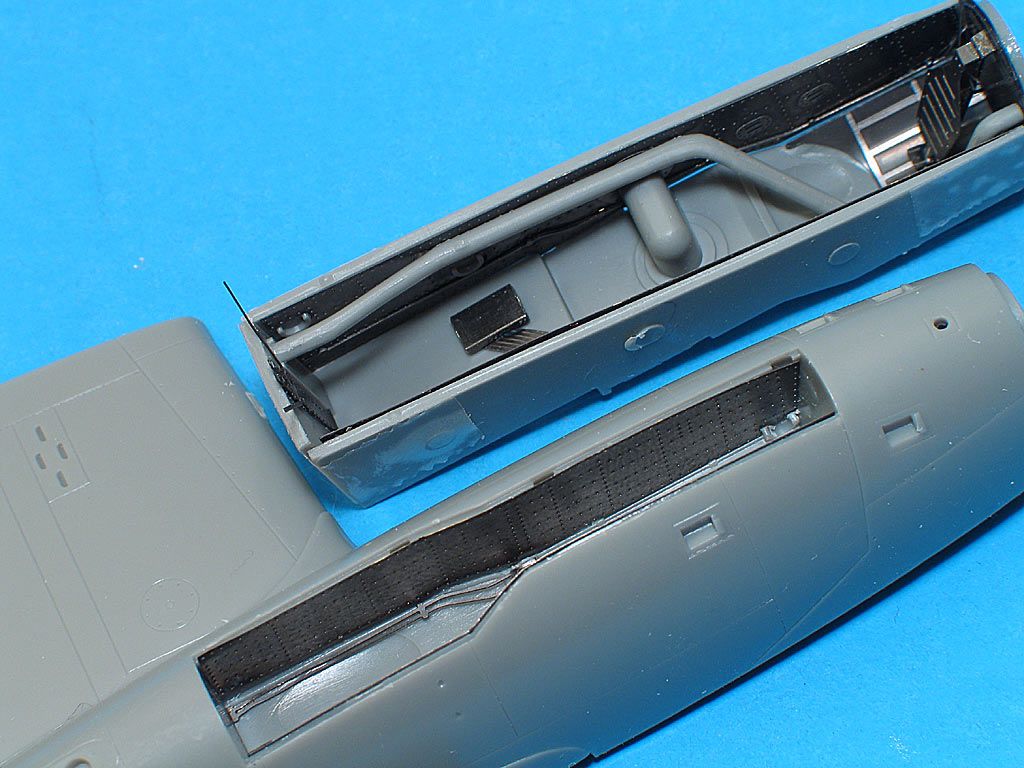
The gear doors, without the PE hinges. The wells and door interiors will be interior green, and the hinges metallic.
I found a way to attach the main wheel wells that ensures correct placement and alignment. Assemble the wells, and glue the boom halves along the bottom. With the tops of the booms unglued, just slip the wheel wells into position through the wing openings. You can then glue the tops of the nacelles together. I also found it necessary to trim the forward bulkhead of the wells to get the sides to sit flush with the openings on the bottom of the booms.
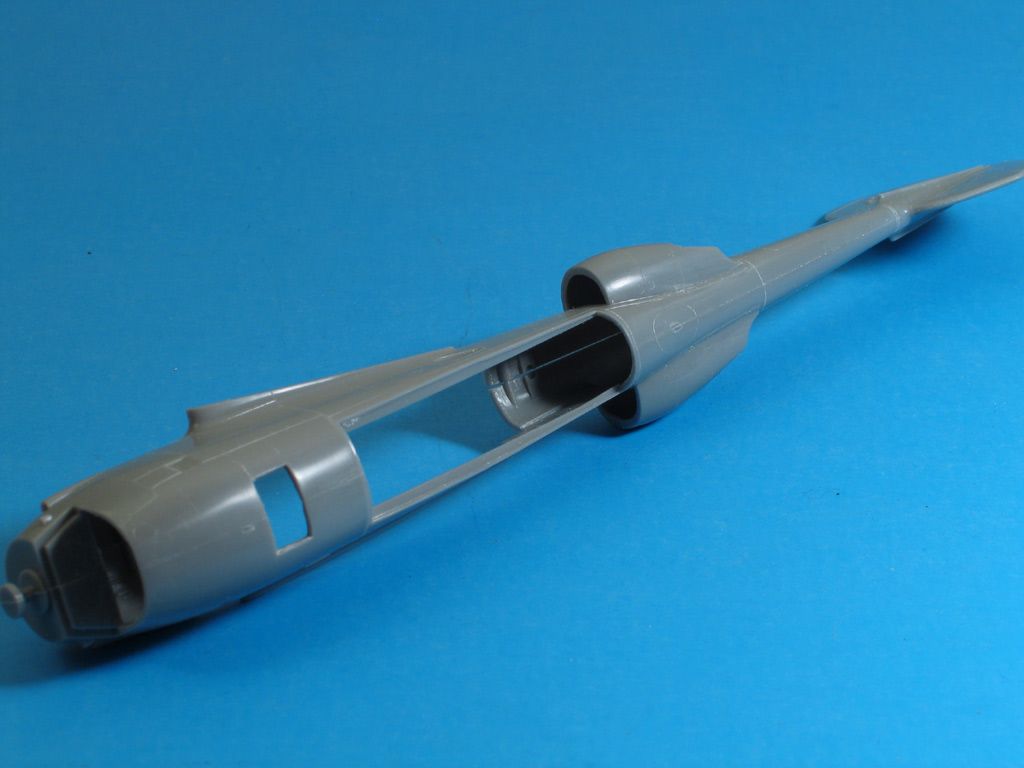
Now to do the right main gear well !
Beautiful work as always Pix.
Pix
The cockpit doesn’t look flat black in yuor pictures. Is it?
Looking good! I like the extra detail for the wheels wells and gear doors. Really makes difference. Thanks for the pictures.
Everything is looking great. You did a great job with the PE, something I always have trouble with. That is my weakest part of model building.
It’s always a special treat to see your outstanding work, pix! [tup]
Thank you falcon, Wayne, Mel, Berny, and ruddratt !
Wayne - I mixed RLM 66 and flat black for the cockpit floor and boxes. The instrument panel is part of Eduard’s prepainted PE (the only way you can get some of their stuff now), and it’s very close to RLM 66. I wanted a wash to show on the floor and throttle quadrant, and I didn’t want the instrument panel to appear too light. I chose a shade that was between RLM 66 and black for the floor. I like to keep my contrasts on the low side. The higher the contrast, the more “stark” it appears to me, and the less realistic.
Berny - I’ve probably used Eduard PE on a hundred kits. My first experience with PE were the steel frets found in the DML kits. If you can learn to use those successfully, the brass seems like a luxury. If you like the looks of PE, and want to gain confidence using it, Eduard’s “Zoom” sets are a good choice. They usually cover just the cockpit, require little or no surgery to the plastic, and are reasonably priced. I admit to being a “PE junkie,” since I won’t build a kit now without it. It adds a few hours to each build, but I can’t beat the detail it provides.
Thanks again !