Sure,that’s we all say.
2 Likes
Kind of depends on your definition of a while.
1 Like
Oh wow, I build the 1:72 Revell one back in the day… Good luck at 1:48! She’ll be a big 'un!
2 Likes
@Toimi_Tom I built that Special Hobby He115 from the Nazi boxing. It suffers from some of the same difficulties that I’ve encountered with other Special Hobby kits, but with patience and some proper planning, it can be built into a very fine model. I inserted very small diameter brass rod into the struts to affix the floats, otherwise that miniscule nub of plastic SH provides is simply not going to support the weight of that monster. I also drilled holes into the wing roots on the fuselage to insert styrene tubes into to give those big wings more support.
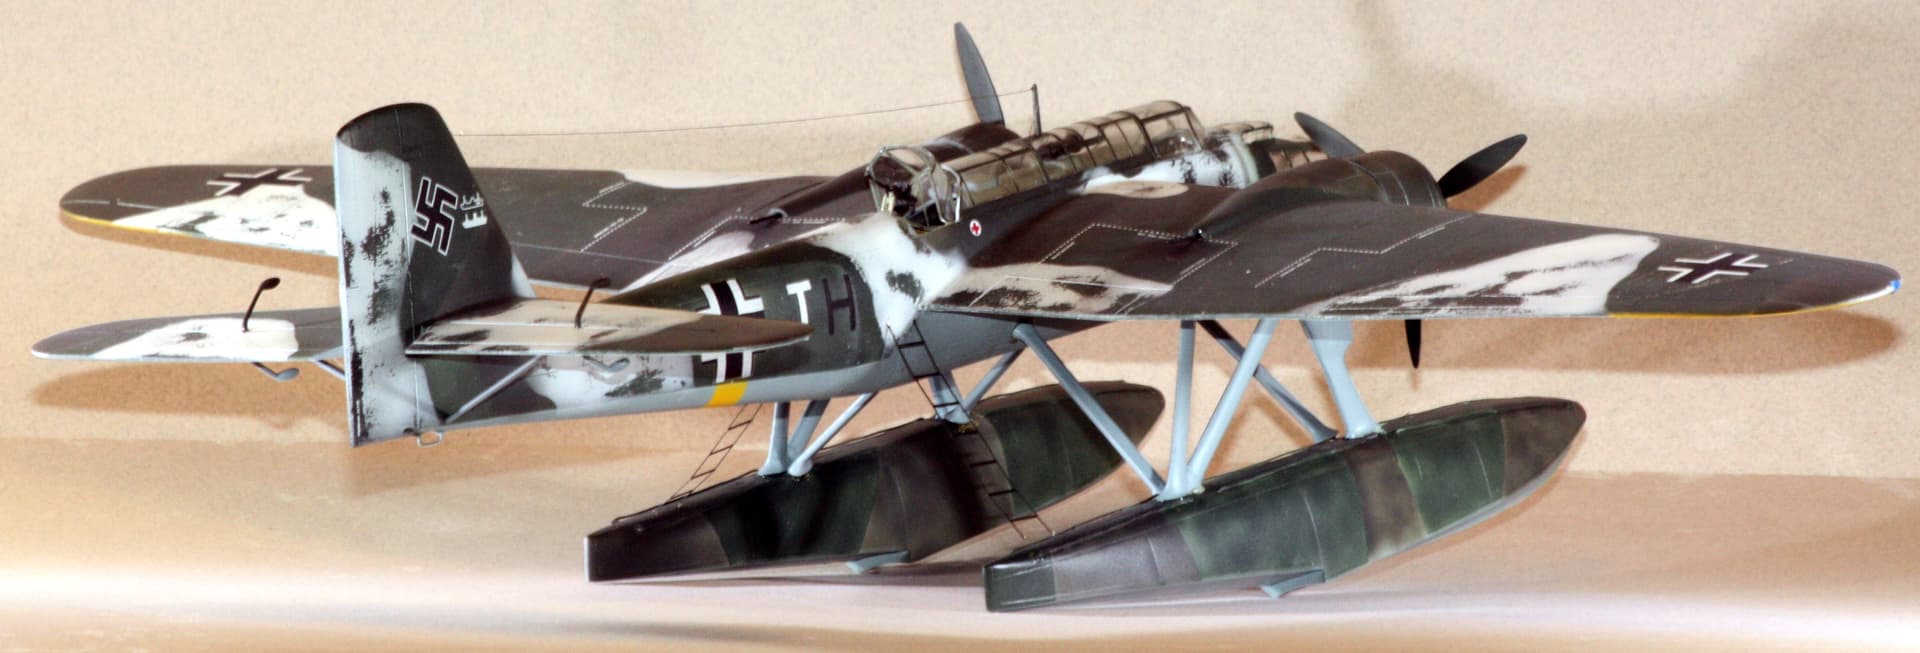
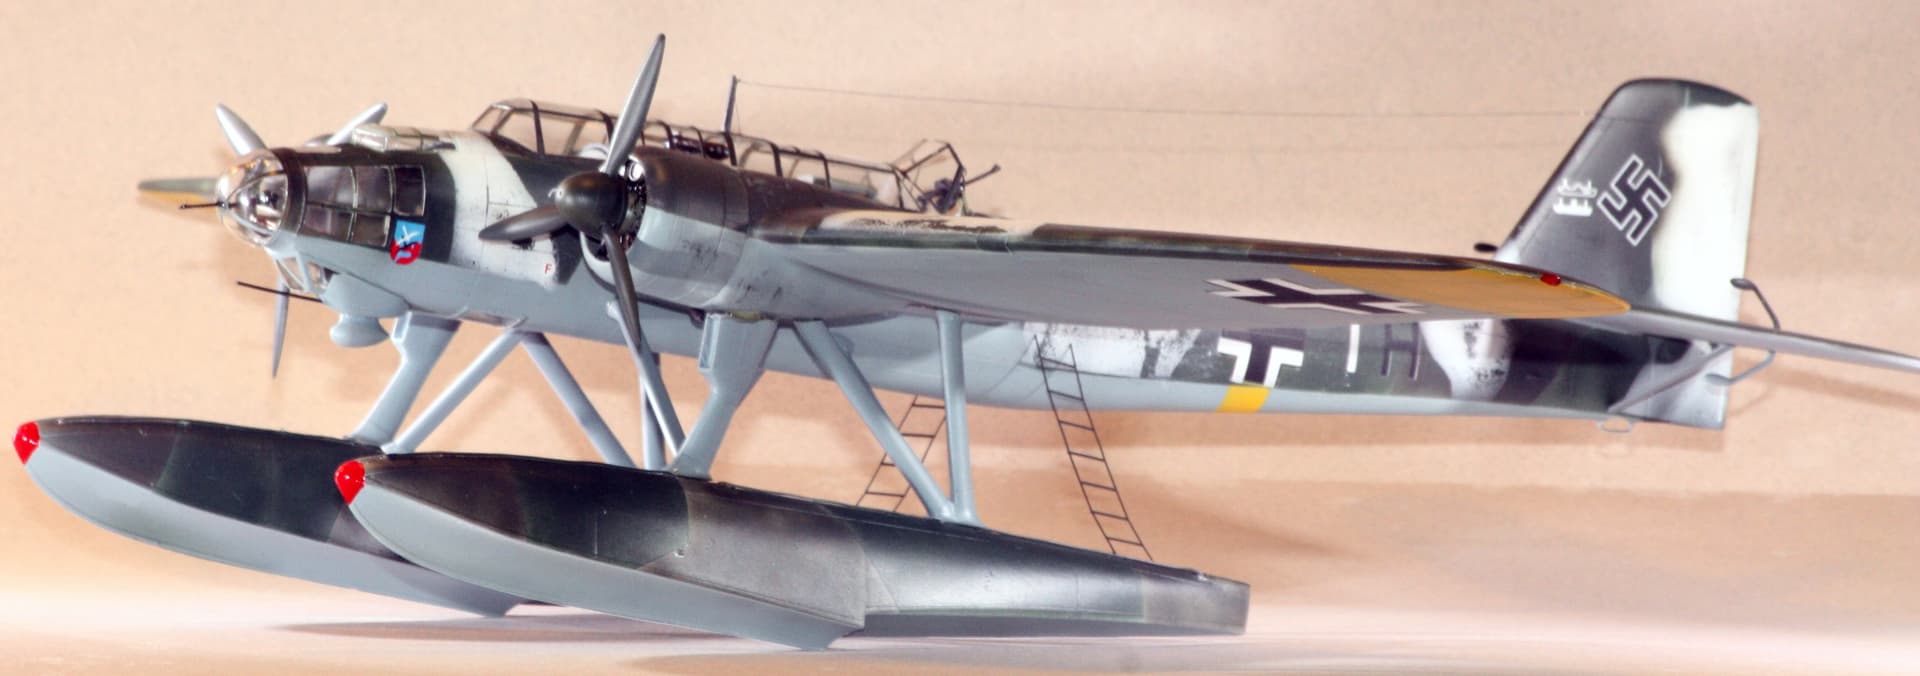
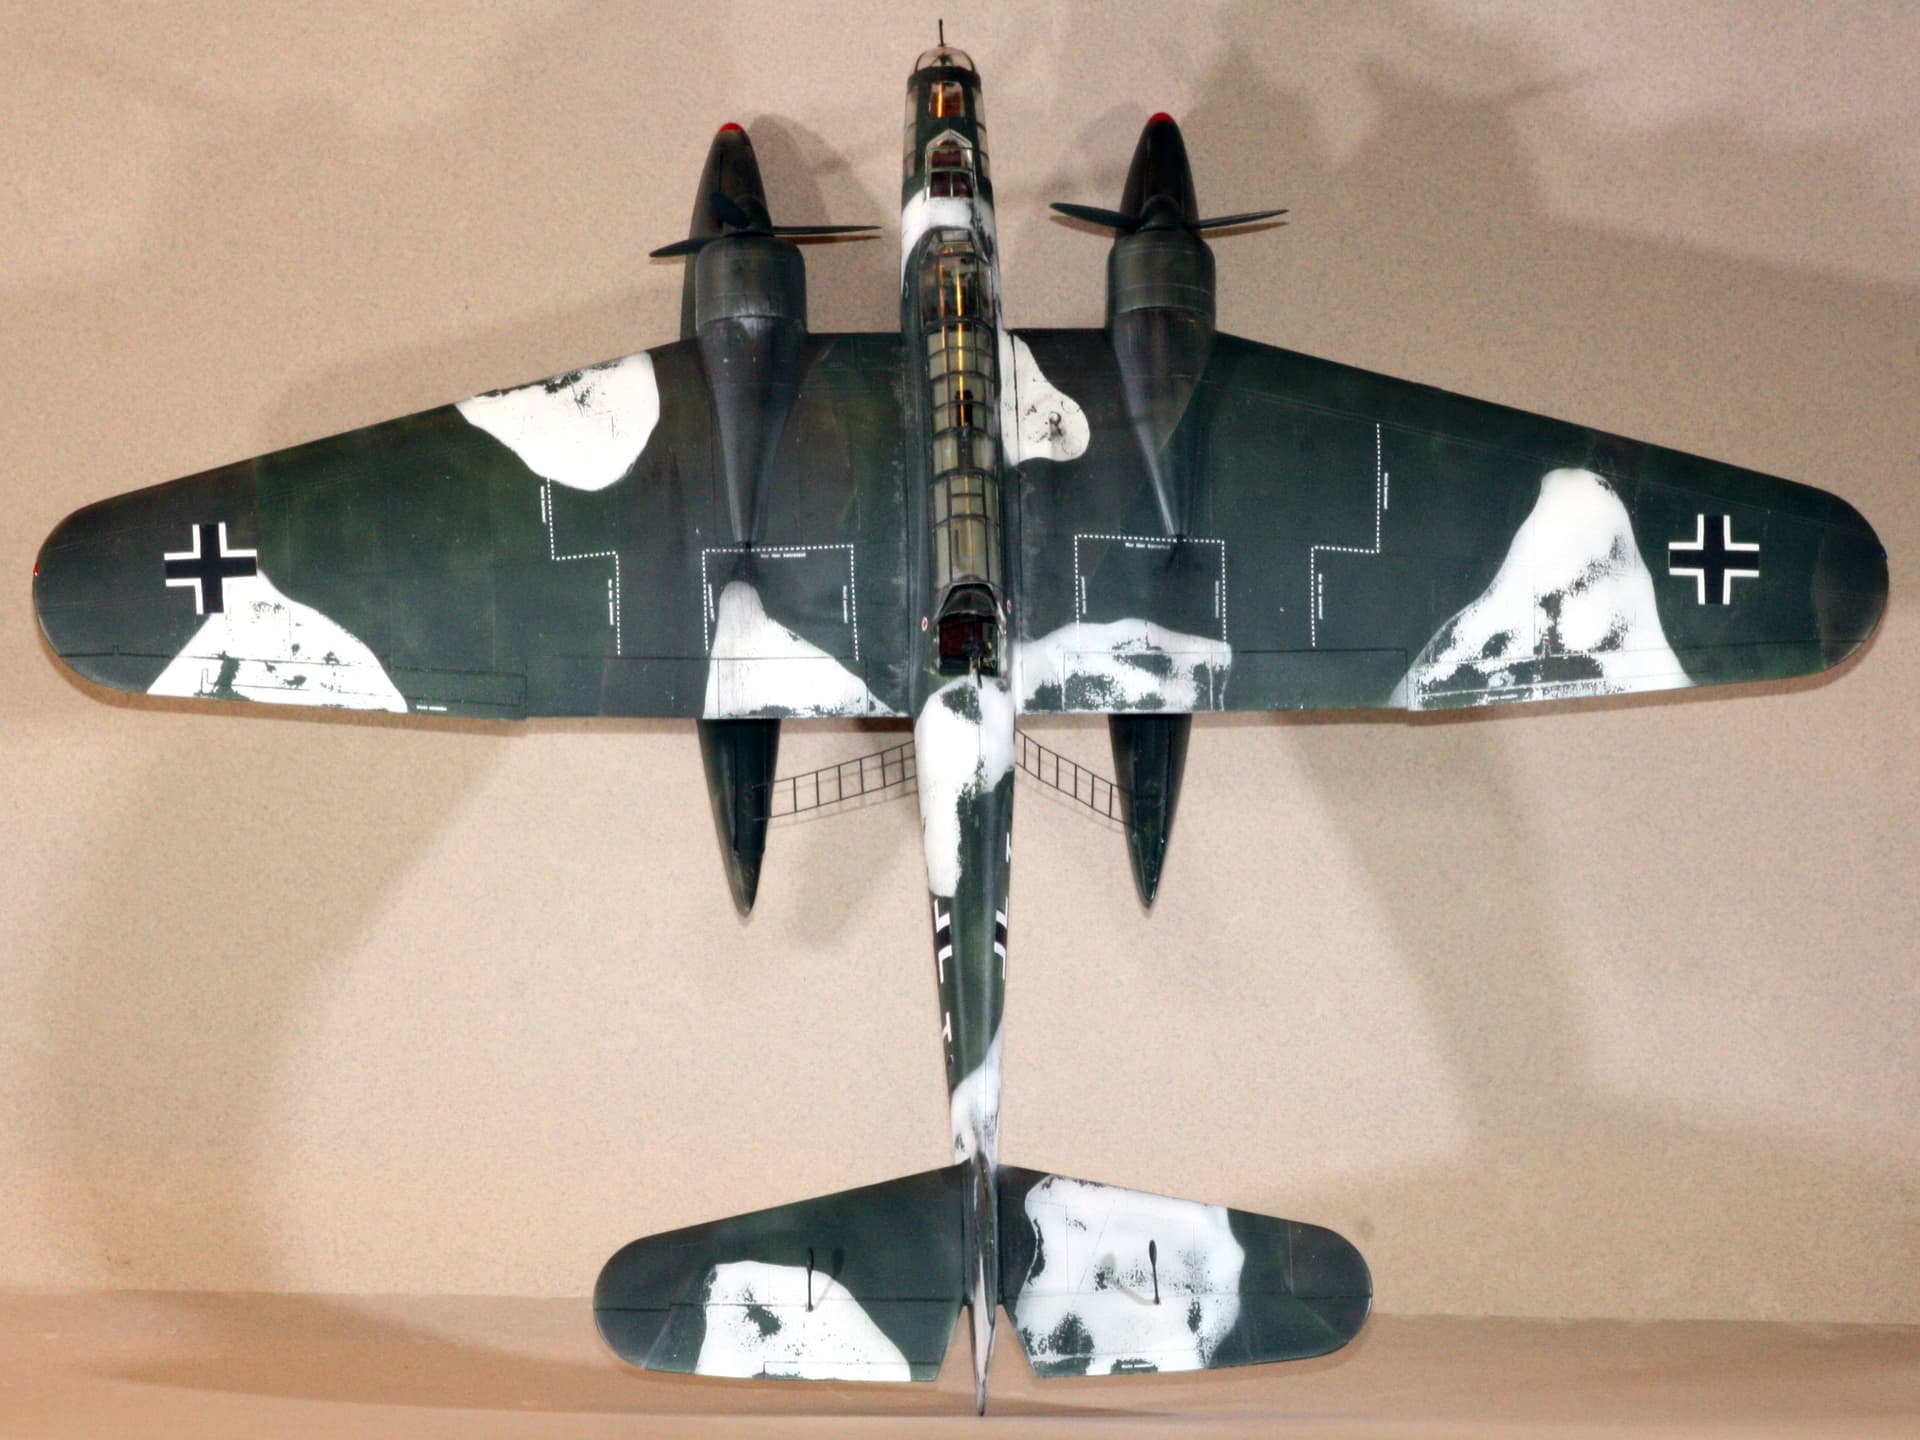
5 Likes
Great info, and great looking seaplane, Steven! I’ll plan on having brass rod and epoxy on hand when the time comes.
Do you have a build thread for this one on FSM? If so I’ve been unable to find it for some reason! Oops, just found it here. Will be saving this! Thanks!
Glad you found it. I honestly didn’t recall if I did a build thread or not.
1 Like
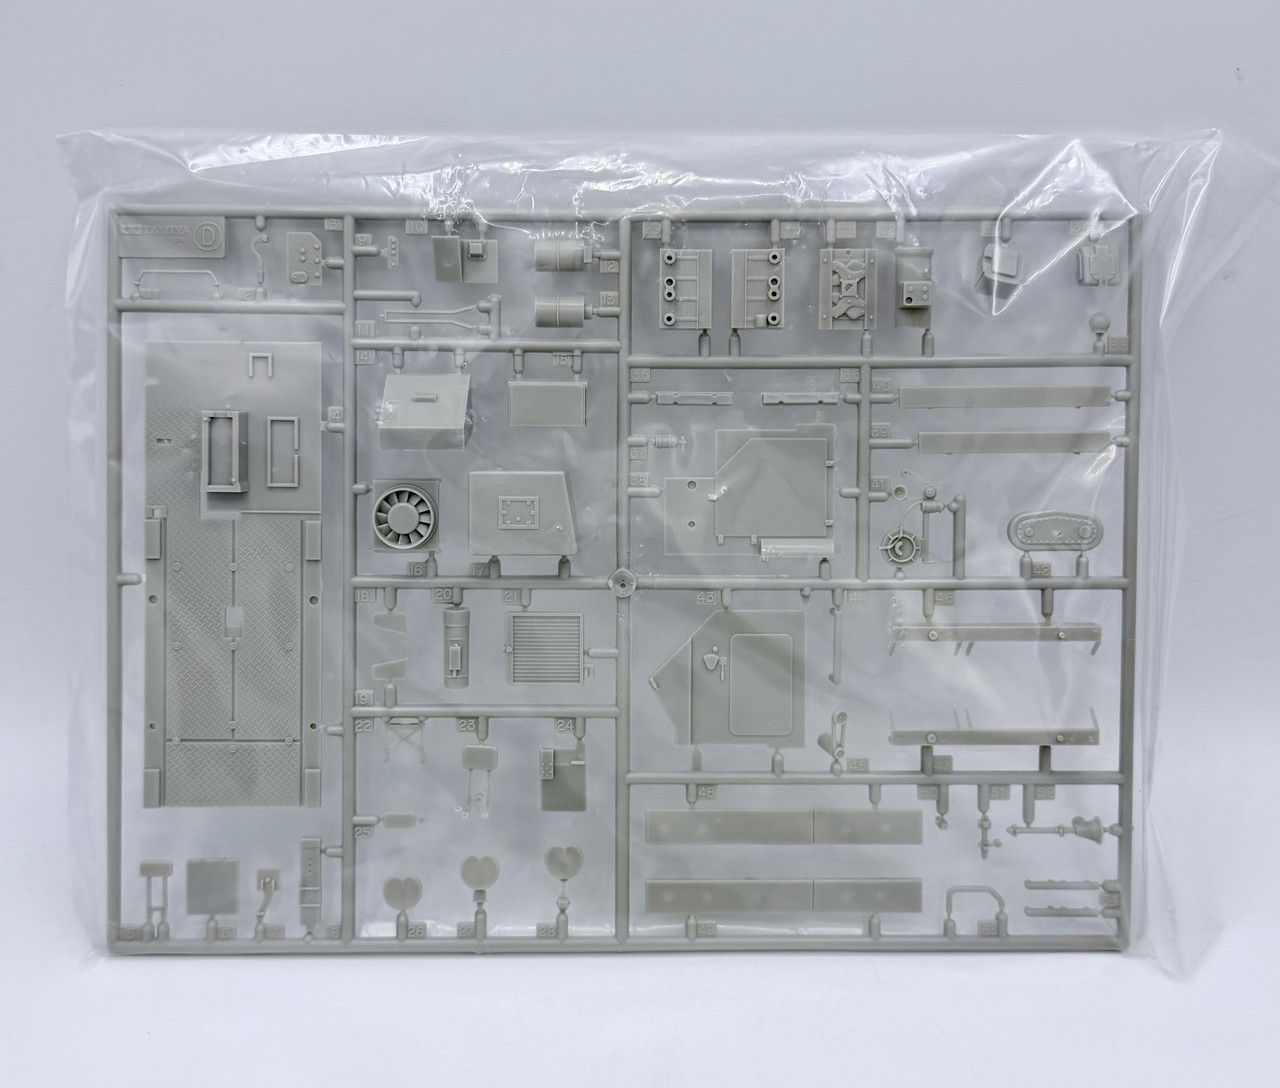
I’ve ordered these items off of eBay recently. First up is an interior parts sprue from the Tamiya M113 that I will use on my Tamiya M577. The 577 kit does not include any interior…
Then I picked up these items, a decal sheet and some old Koster early type exhaust stacks for the long sidelined semi completed 1/48 Monogram He-111 in my shelf of doom. I did a bit of research and found that I can cobble together markings from this sheet for a Battle of Britian He-111H-3. The exhausts were needed for the H-3 type.
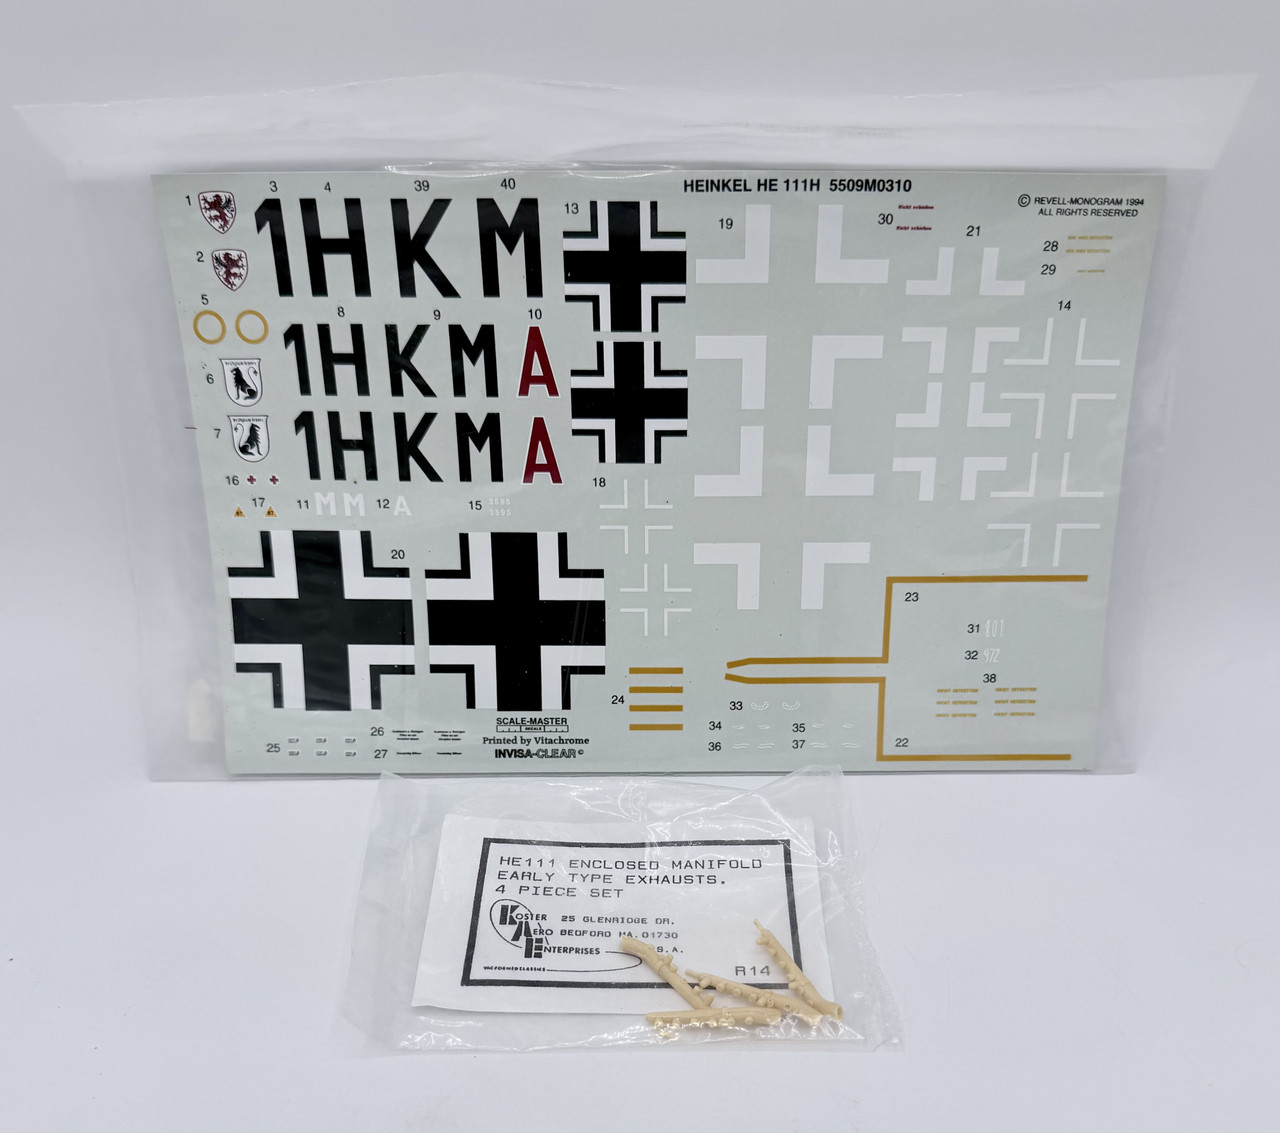
So sometime late this year or early next year I will get on the He-111 “Child of Doom” project. And the M577 as well 
7 Likes
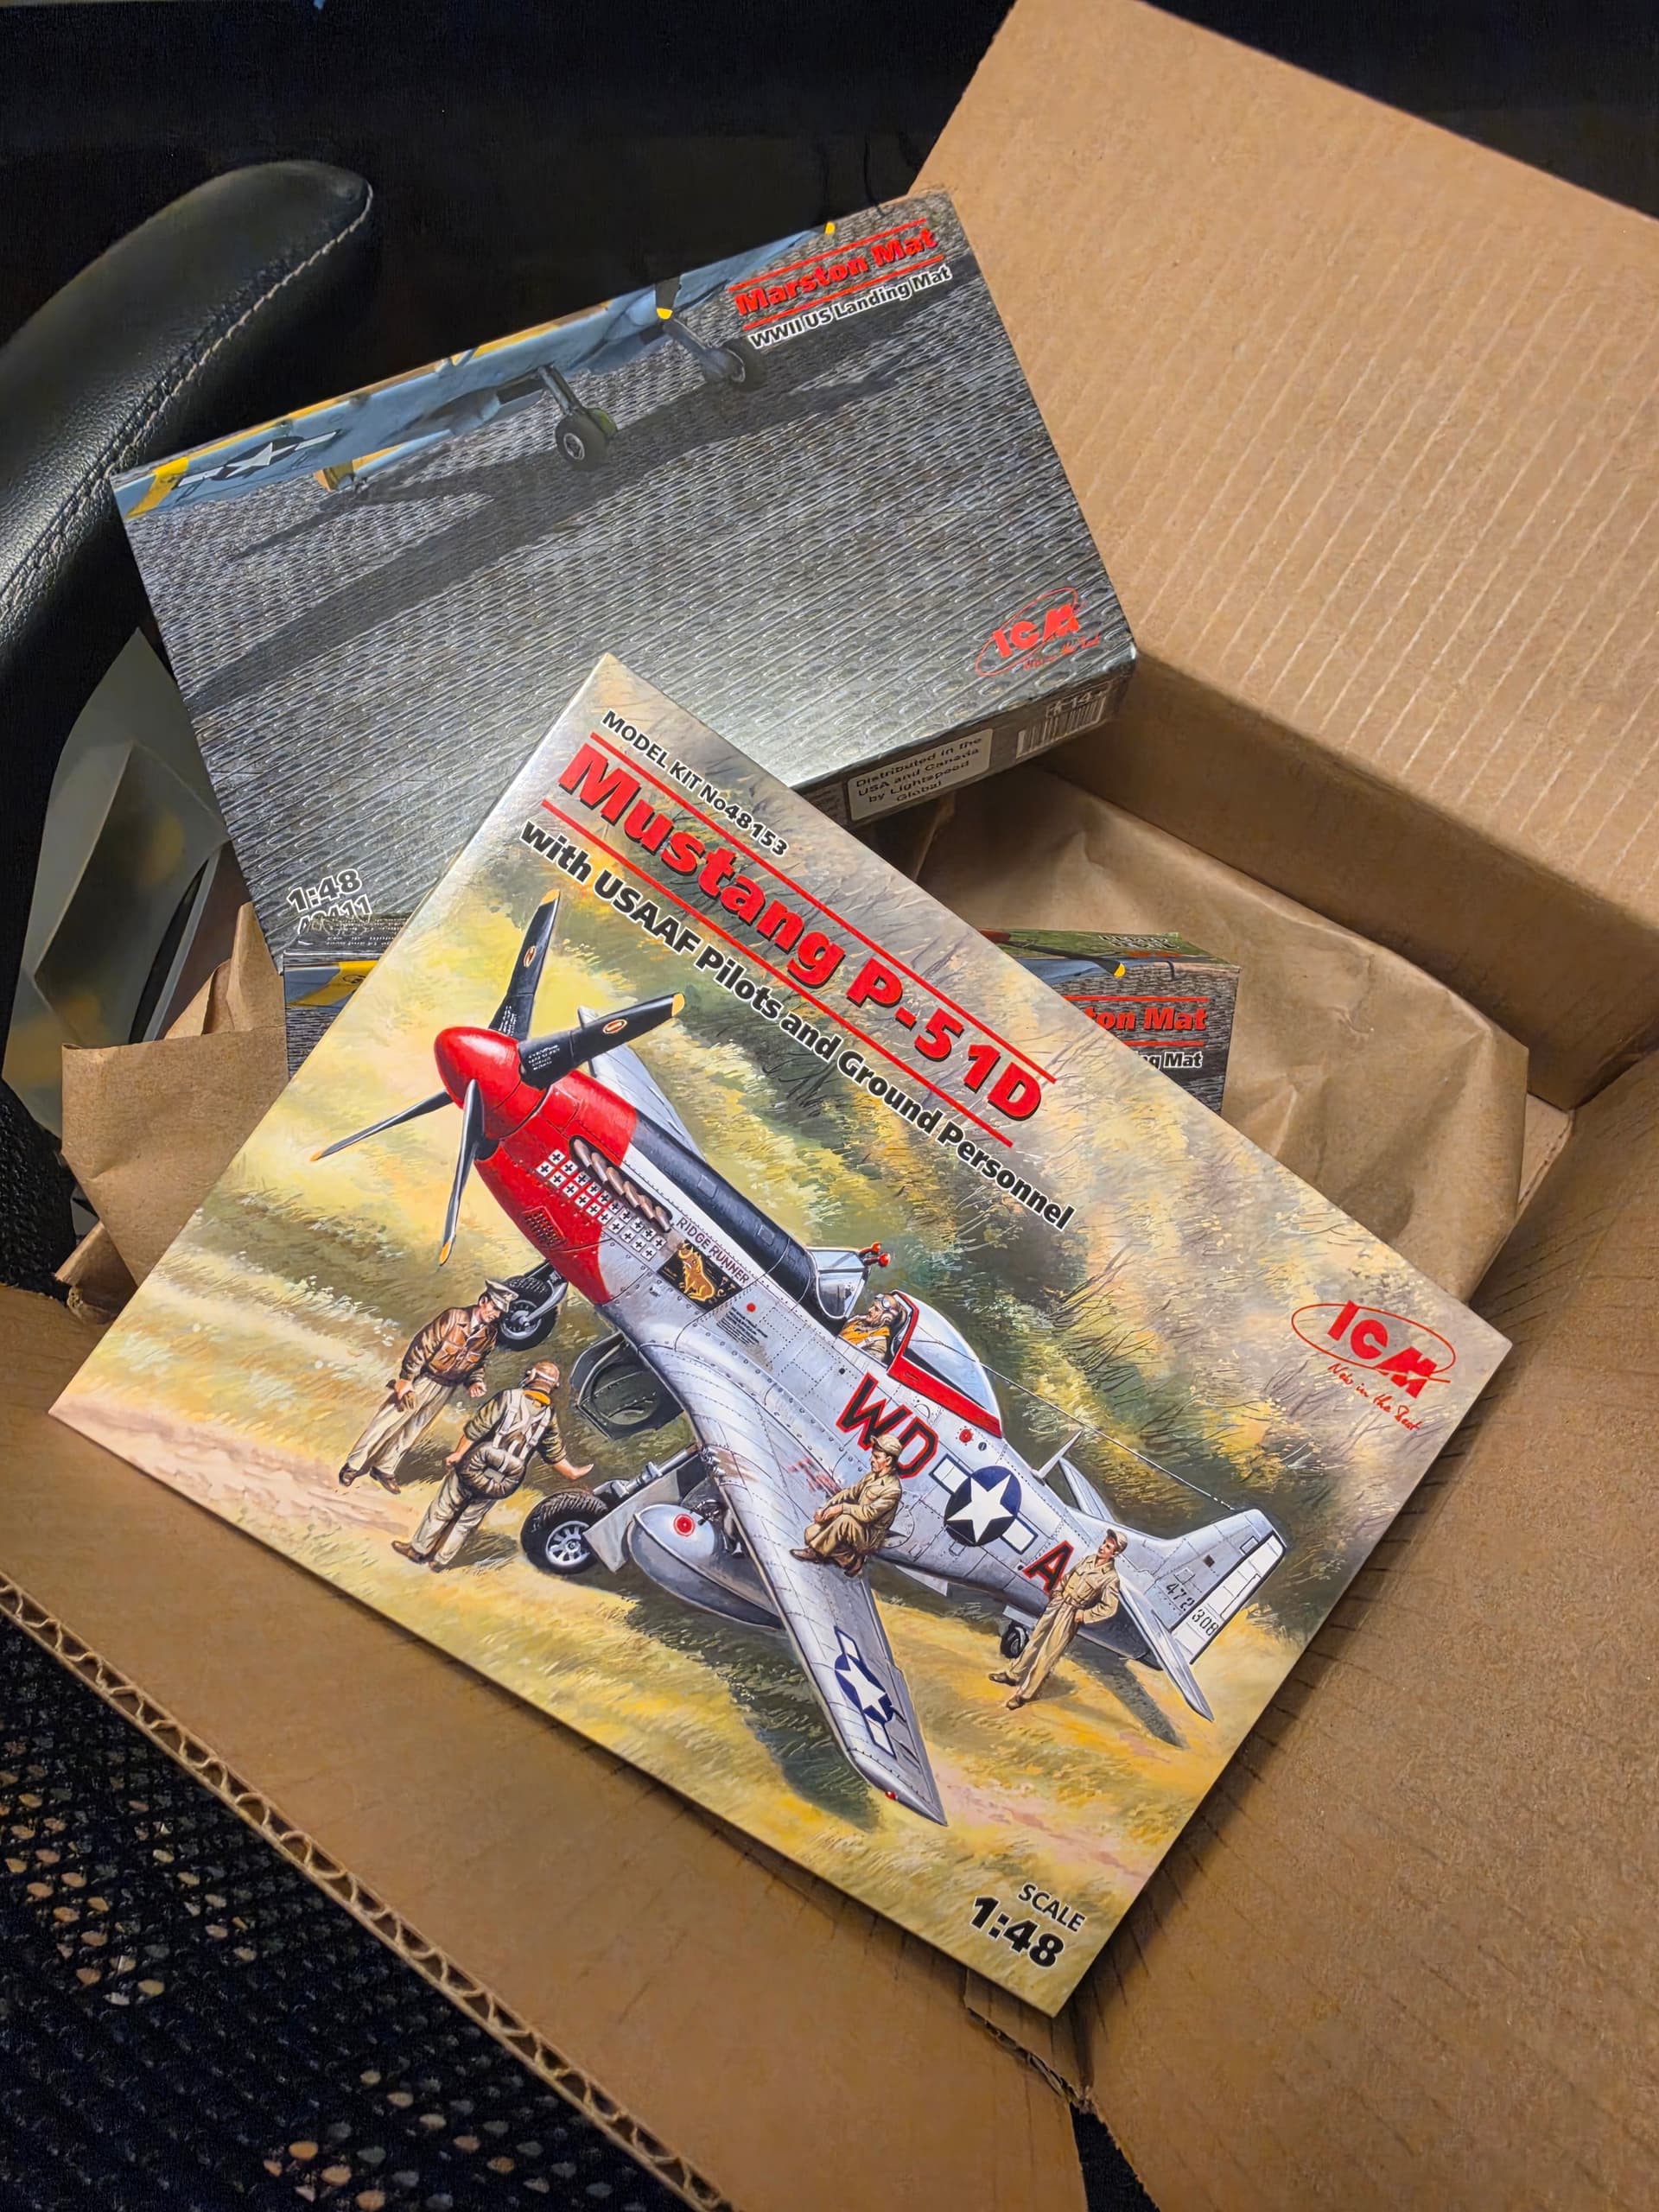
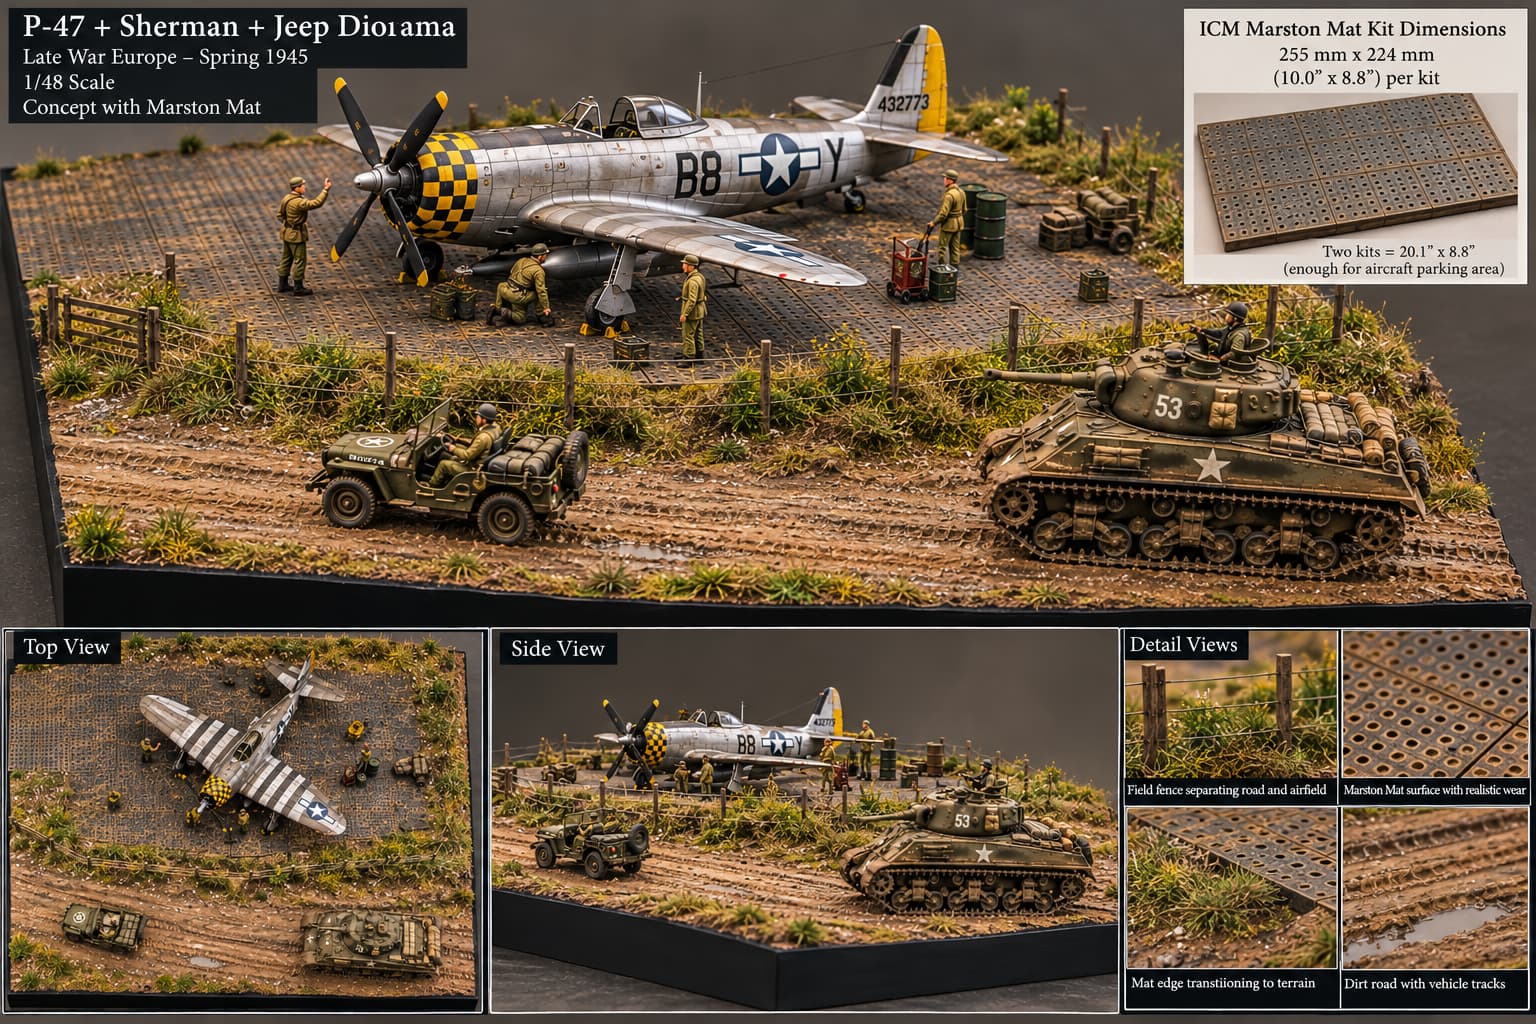
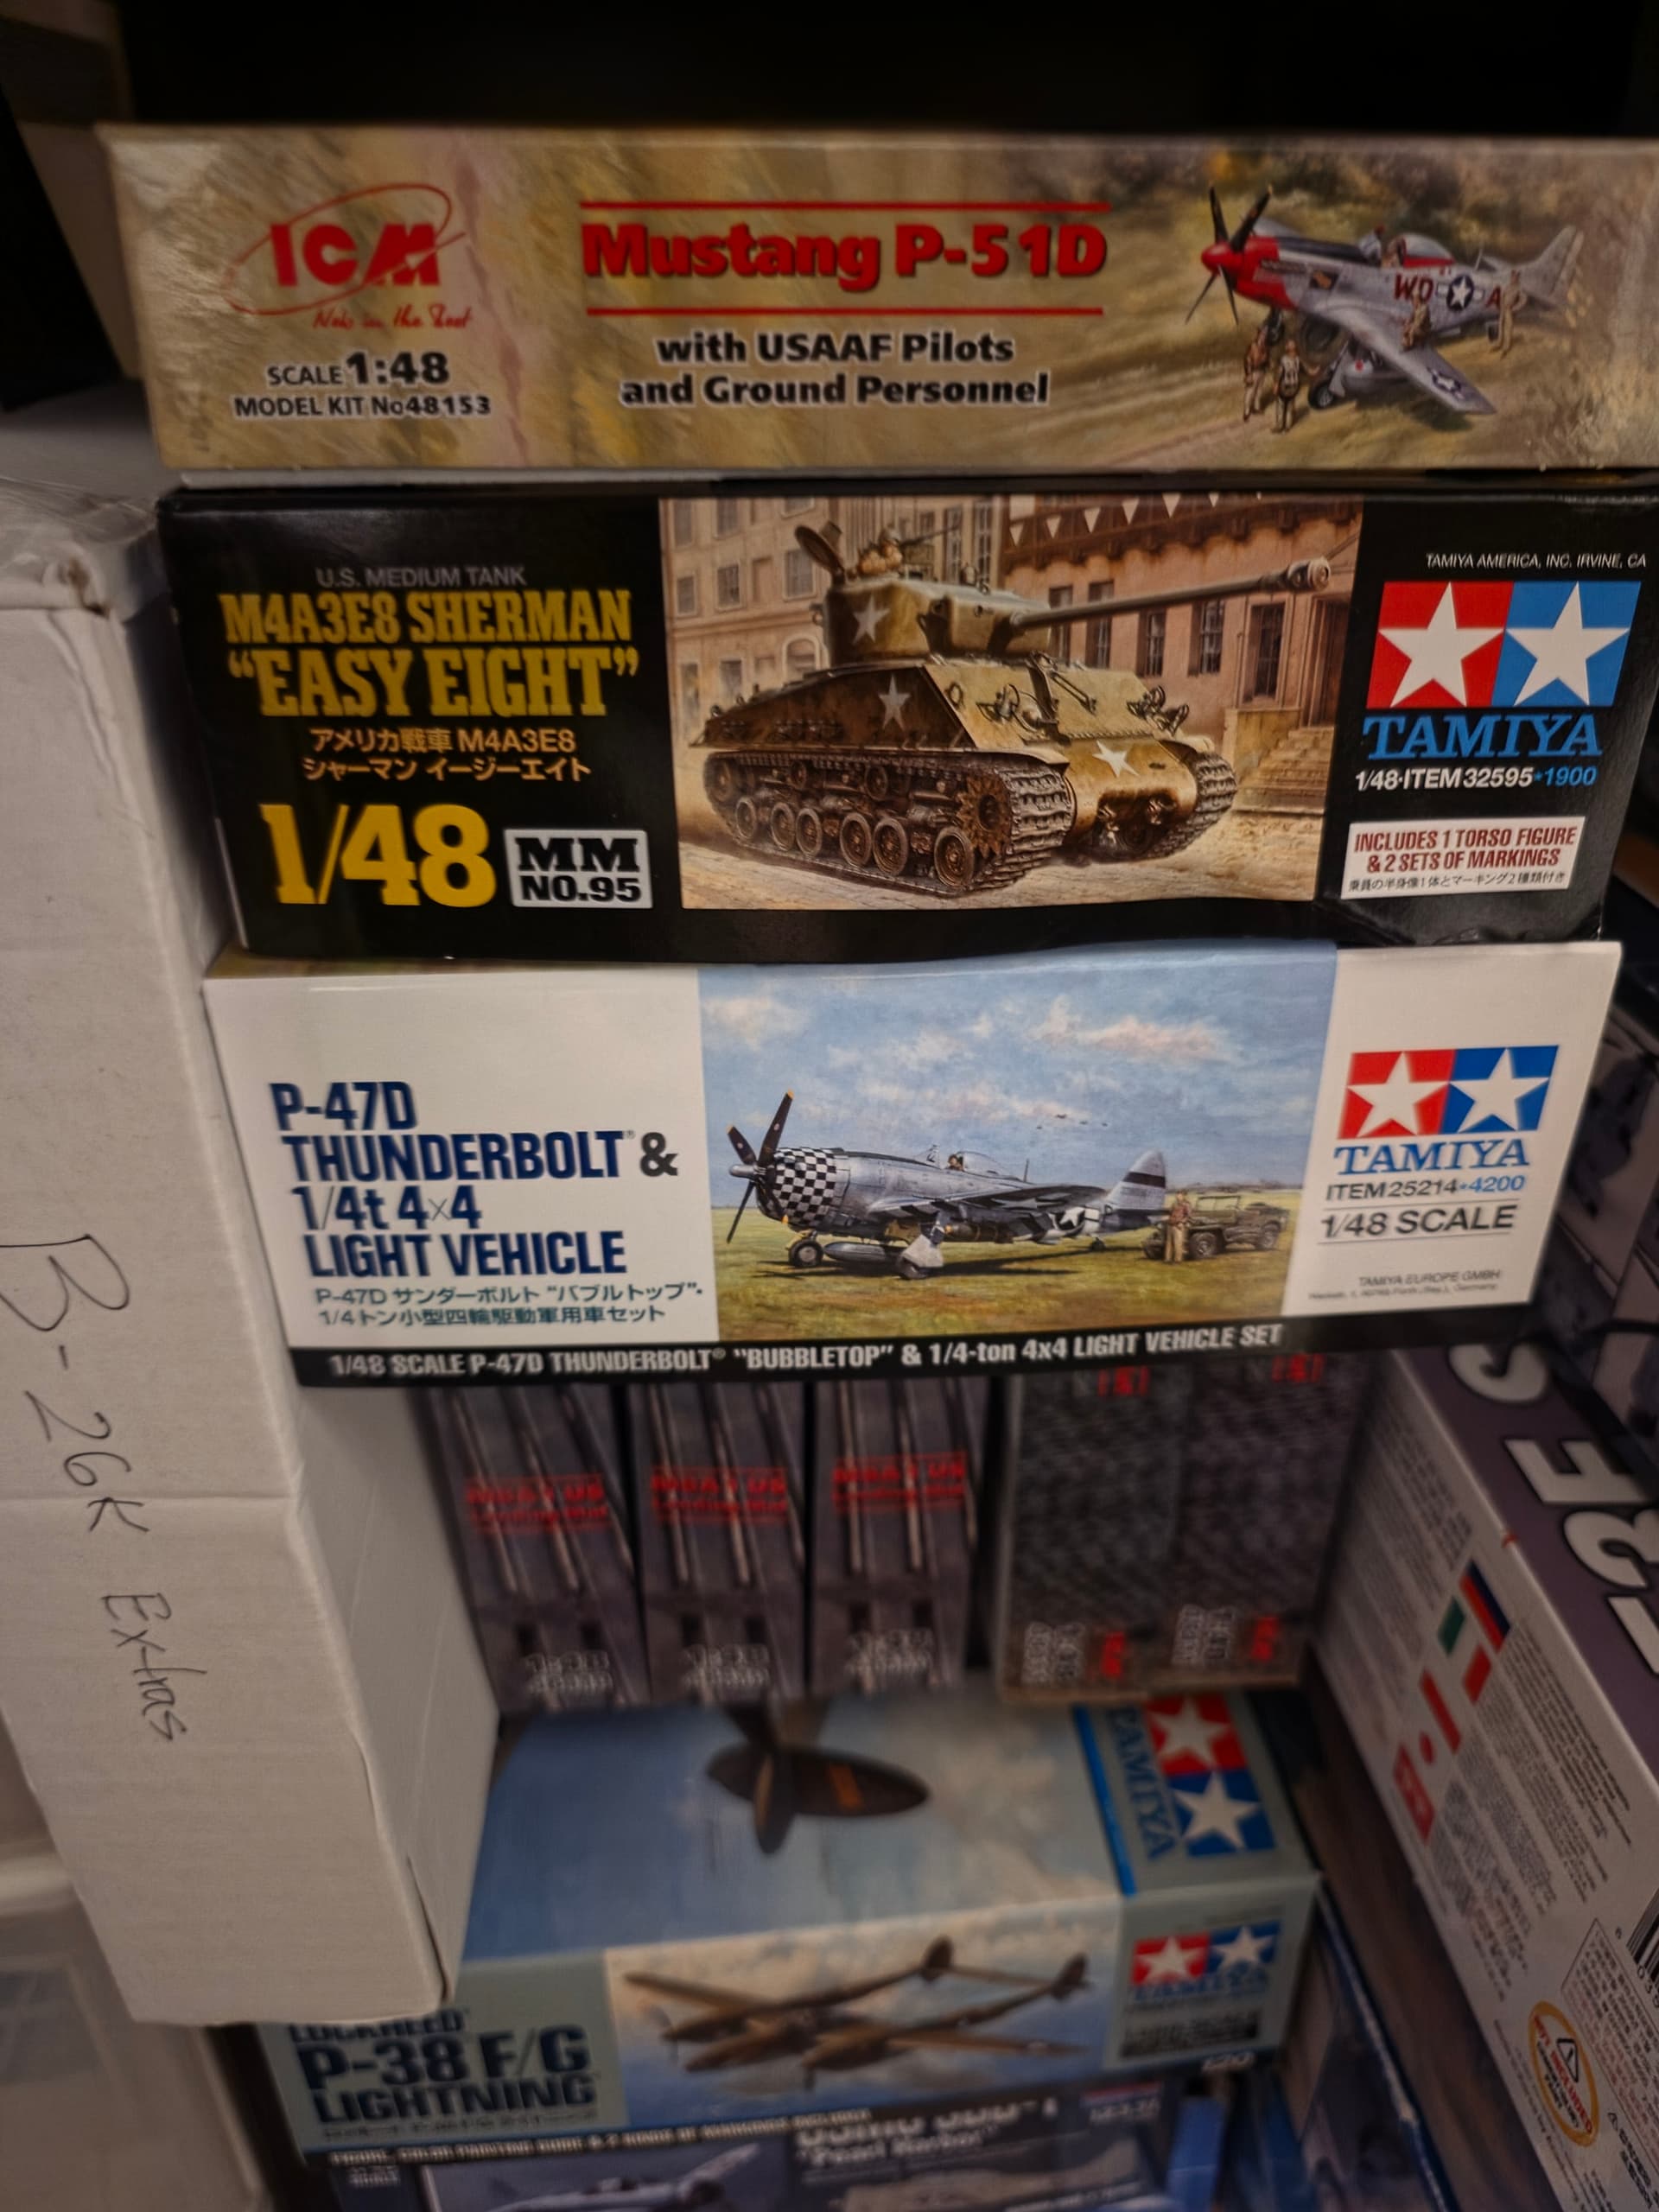
Andy’s Hobby Headquarters was running a 25% off sale on ICM kits, and I knew ICM made quite a few period-specific figure sets. So I went hunting for some 1/48 USAAF ground crew figures for my highly conceptual but planned P-47, Sherman, and Jeep diorama.
I spotted a listing that looked like a set of figures posed around a P-51 Mustang. At first, I thought the Mustang was just there for illustration purposes. The price seemed so good that I had to read the description twice to make sure I understood what I was getting.
Turns out, the kit includes five USAAF ground crew figures AND an entire P-51D Mustang! All for $18!  And they look really detailed and customizable.
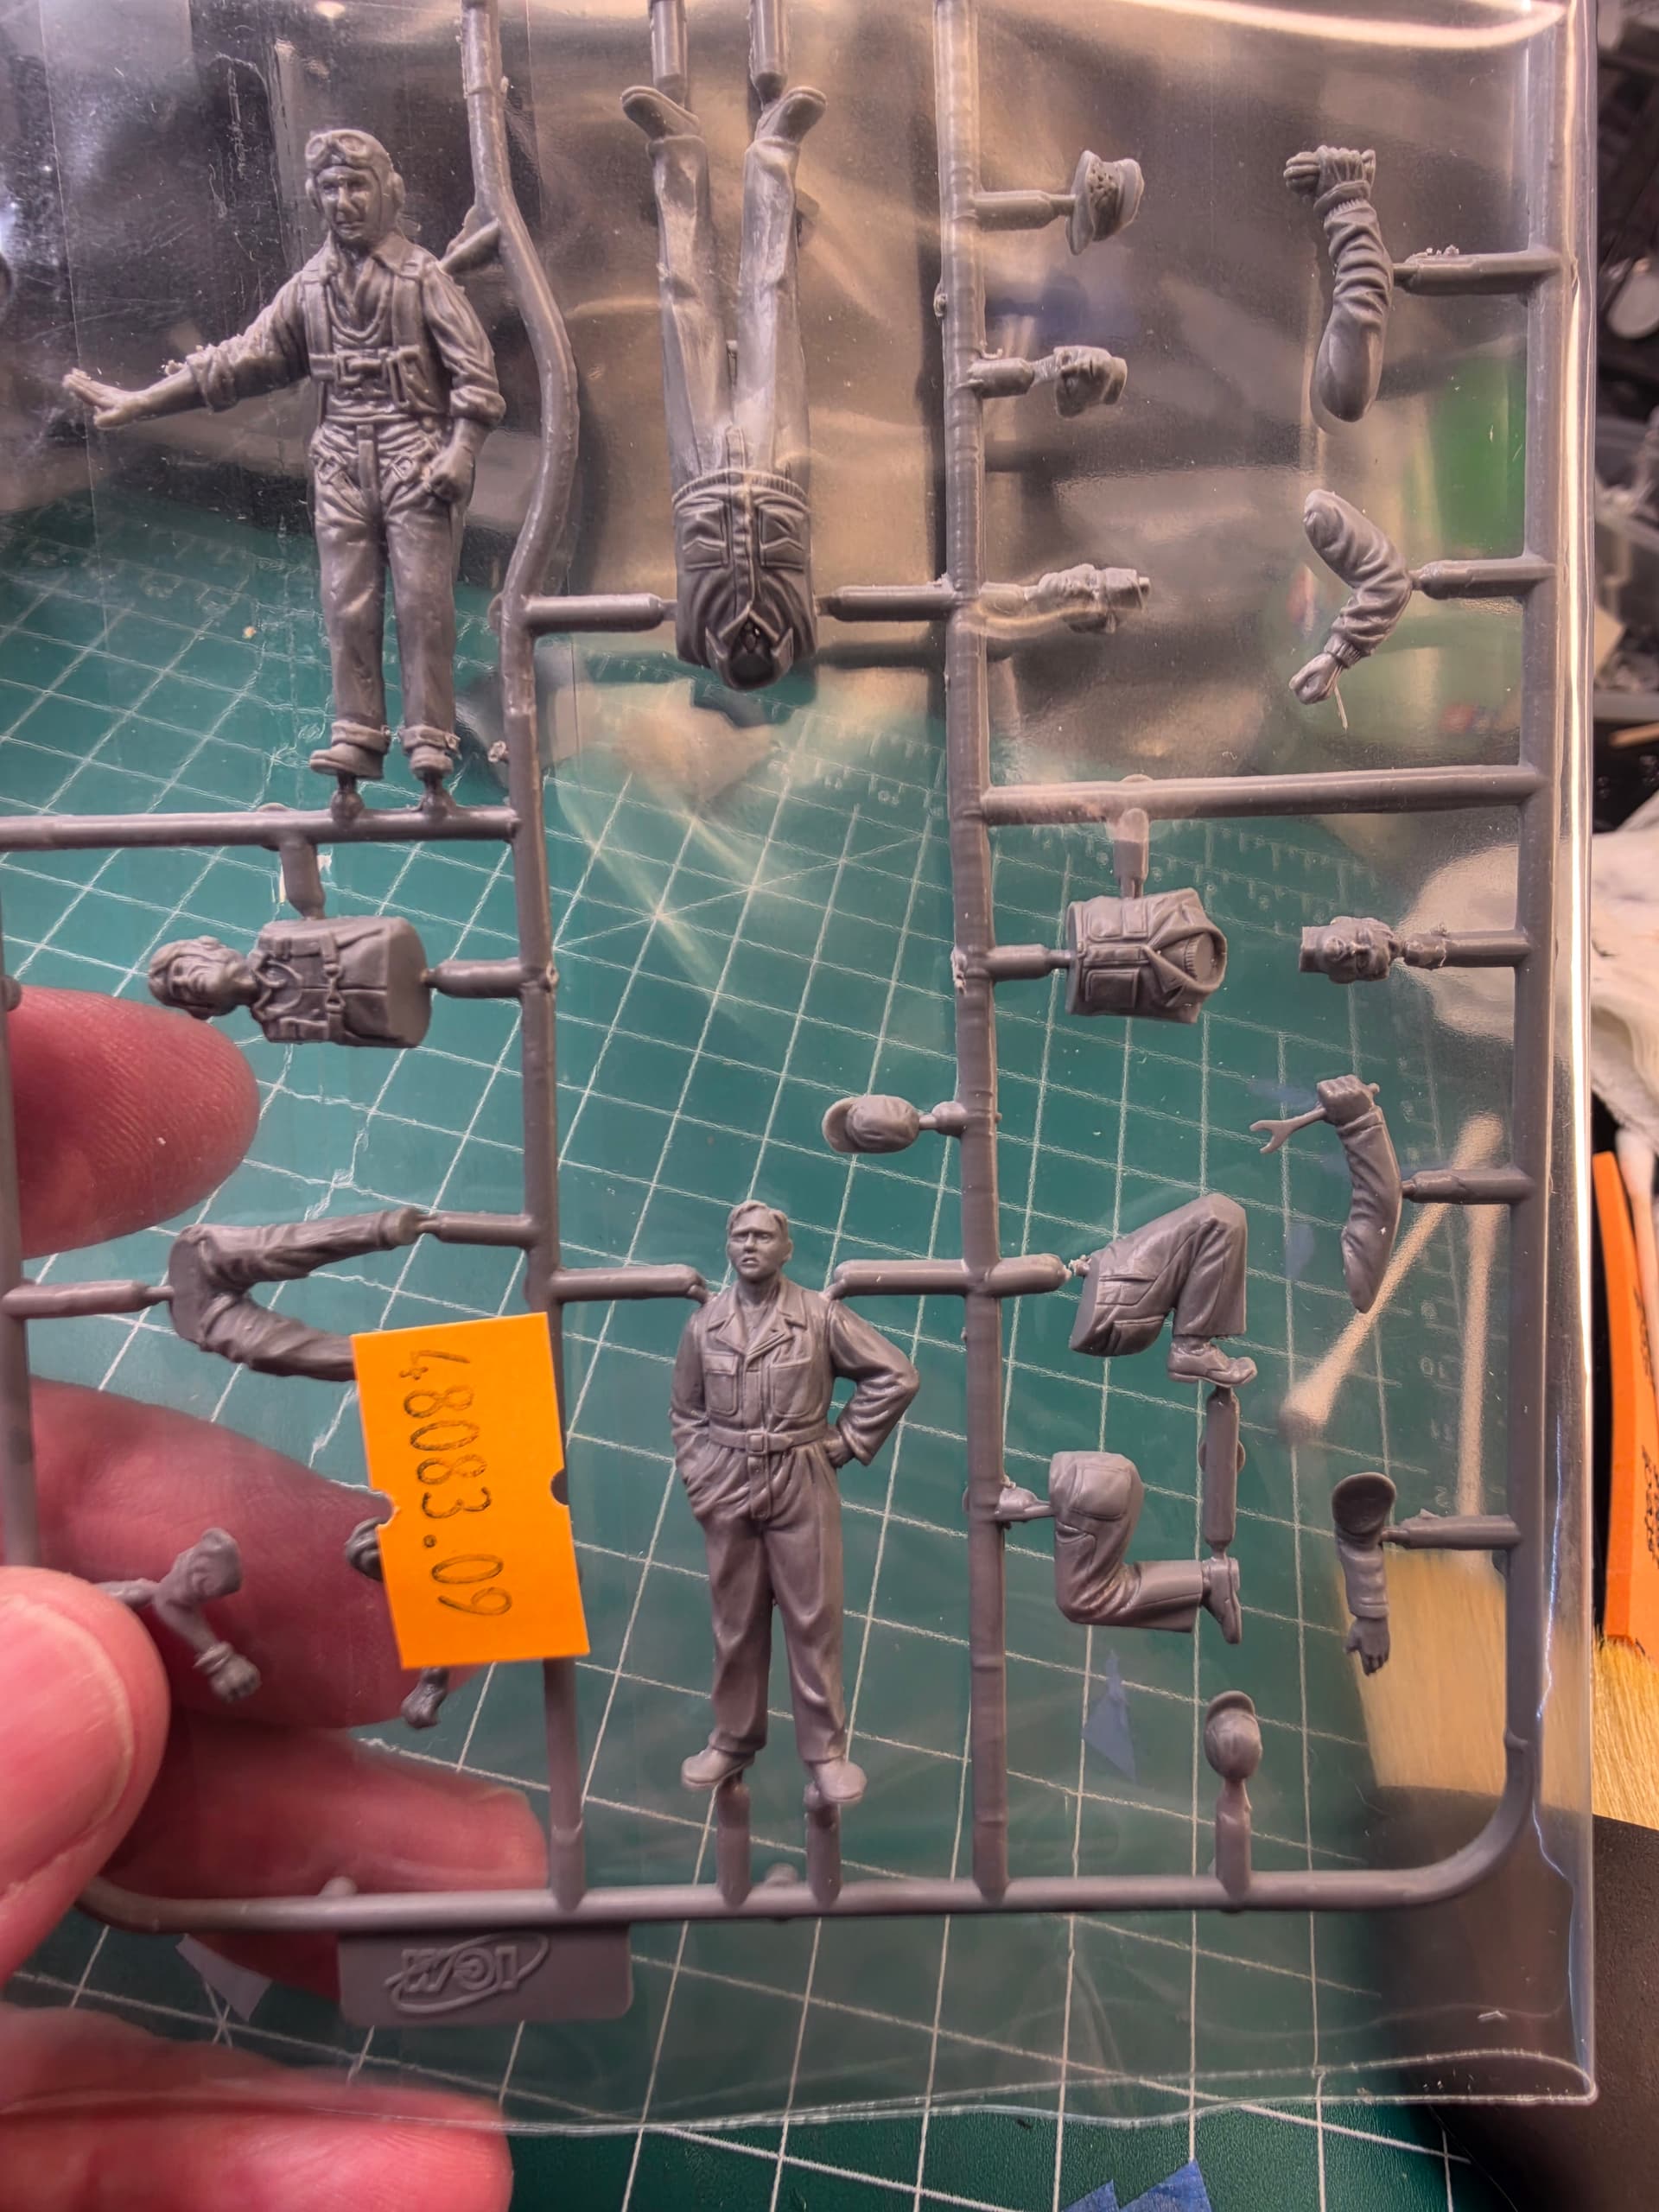
So basically, I went shopping for ground crew figures and ended up buying five figures that came with a free Mustang!
Even if the Mustang isn’t the greatest kit in the world, (anyone out there built it?) that’s pretty hard to beat. Besides, I’ve been planning to build a Mustang for a future North American Aviation retrospective anyway, so that worked out nicely.
I also picked up a couple of Marston Mat sets for when I build out the airfield portion of the diorama.
All in all, not a bad shopping day. About $36 for the whole lot!
And best of all, the boxes are tiny, so they won’t take up much room in my already overflowing stash.
7 Likes
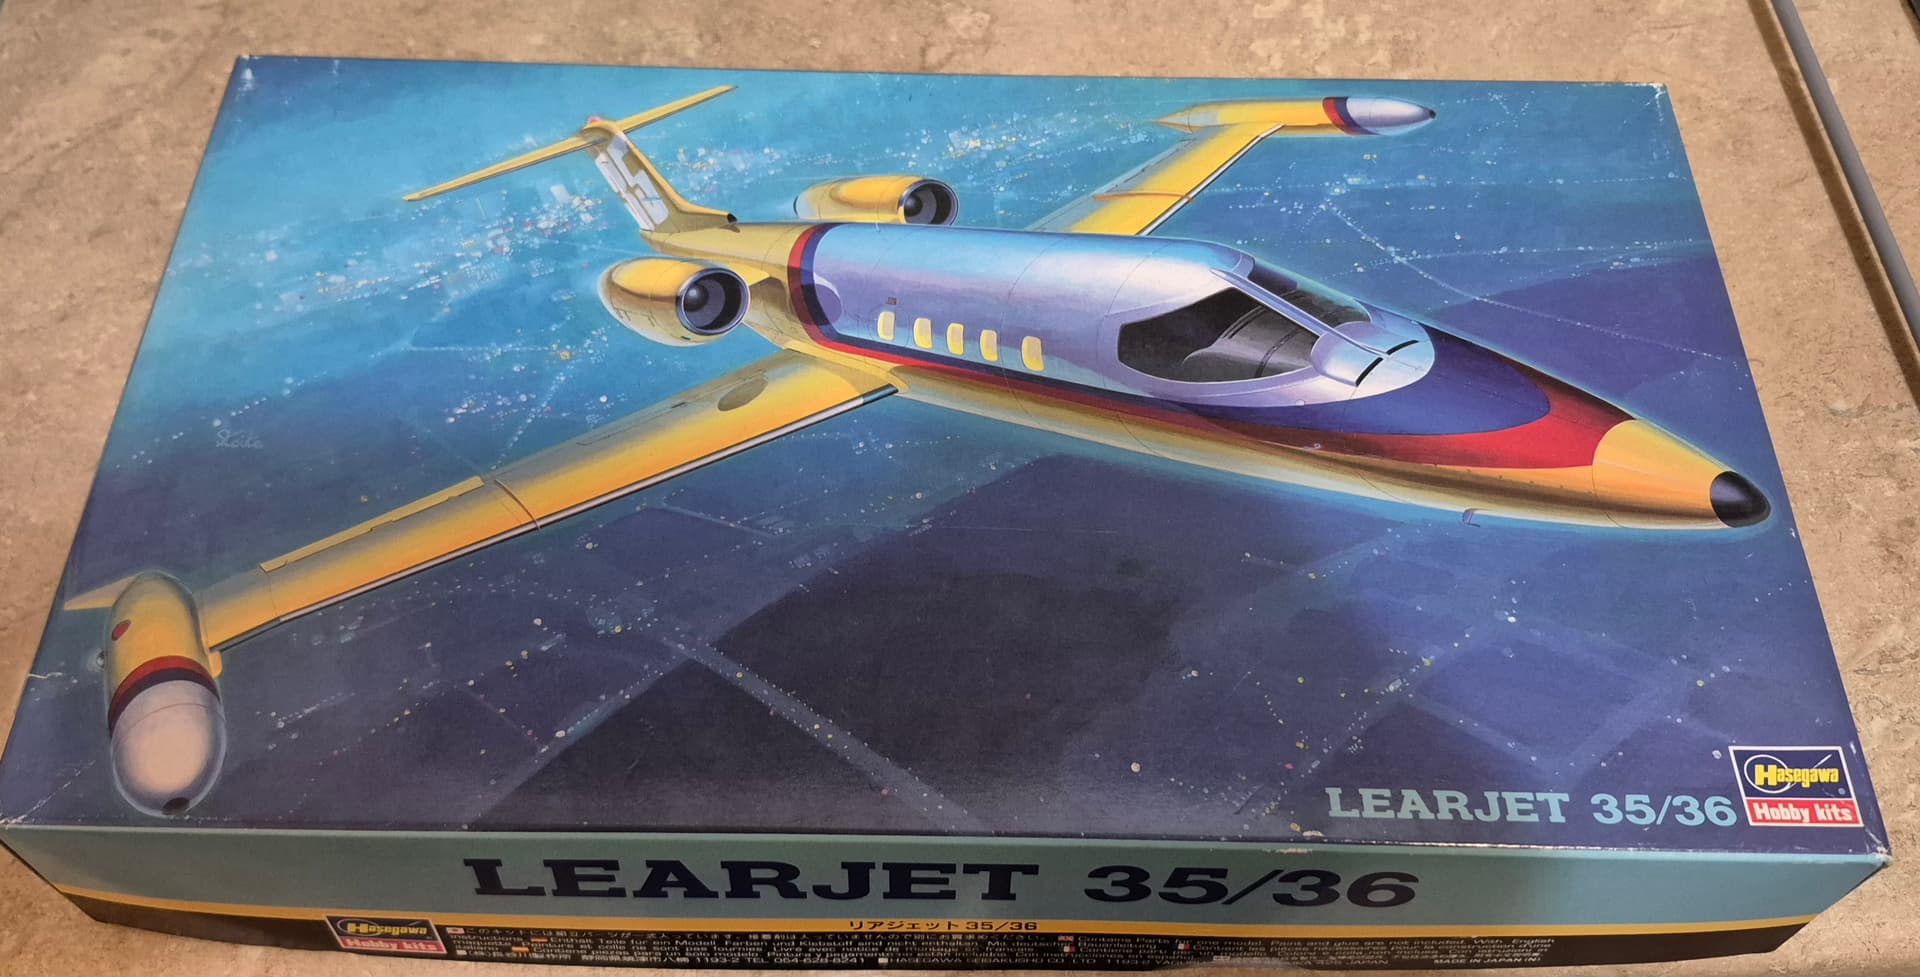
 Takin’ care of business (jets)
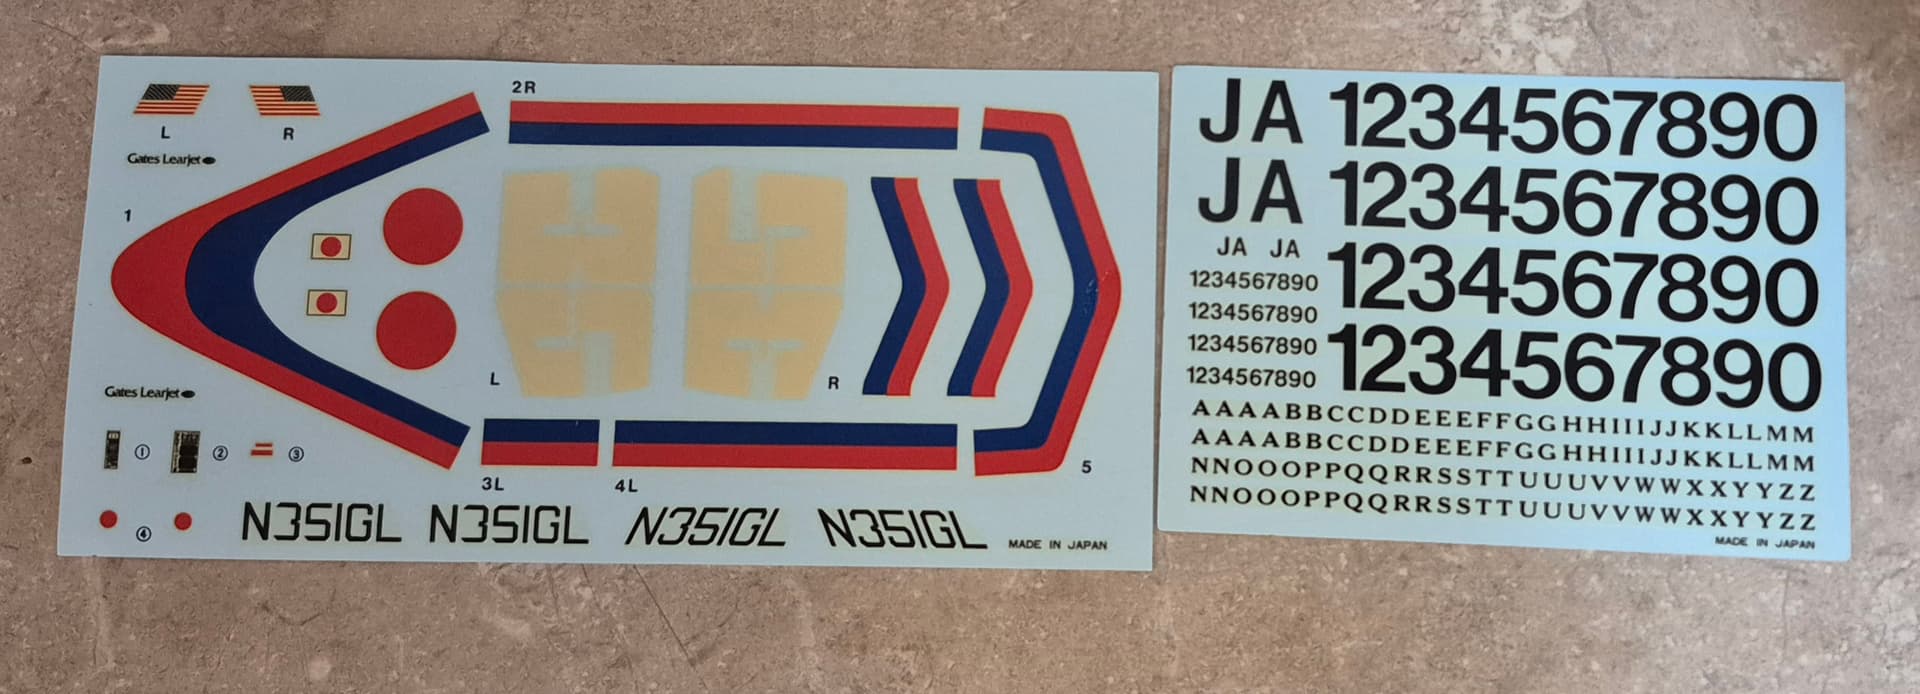
It’s 30+ years old so the decals are in pretty rough shape (they’re much more yellowed in person)  I guess if I can find some generic slanted number decals somewhere I can do my own livery, oh well.
5 Likes
Carl, this looks like a perfect opportunity to replace those old decals with painted markings.
If you have access to a scanner, I’d scan the decal sheet before doing anything else. Somebody with a Cricut or similar cutting machine could recreate the markings and cut paint masks for you.
I’ve been doing exactly that on my F-86, replacing troublesome decals with painted markings, and I’m becoming a big believer in the process. And frankly, I think painted markings look better than decals anyway.
You might be surprised how much of that original livery you could reproduce without using the old decals at all.
1 Like
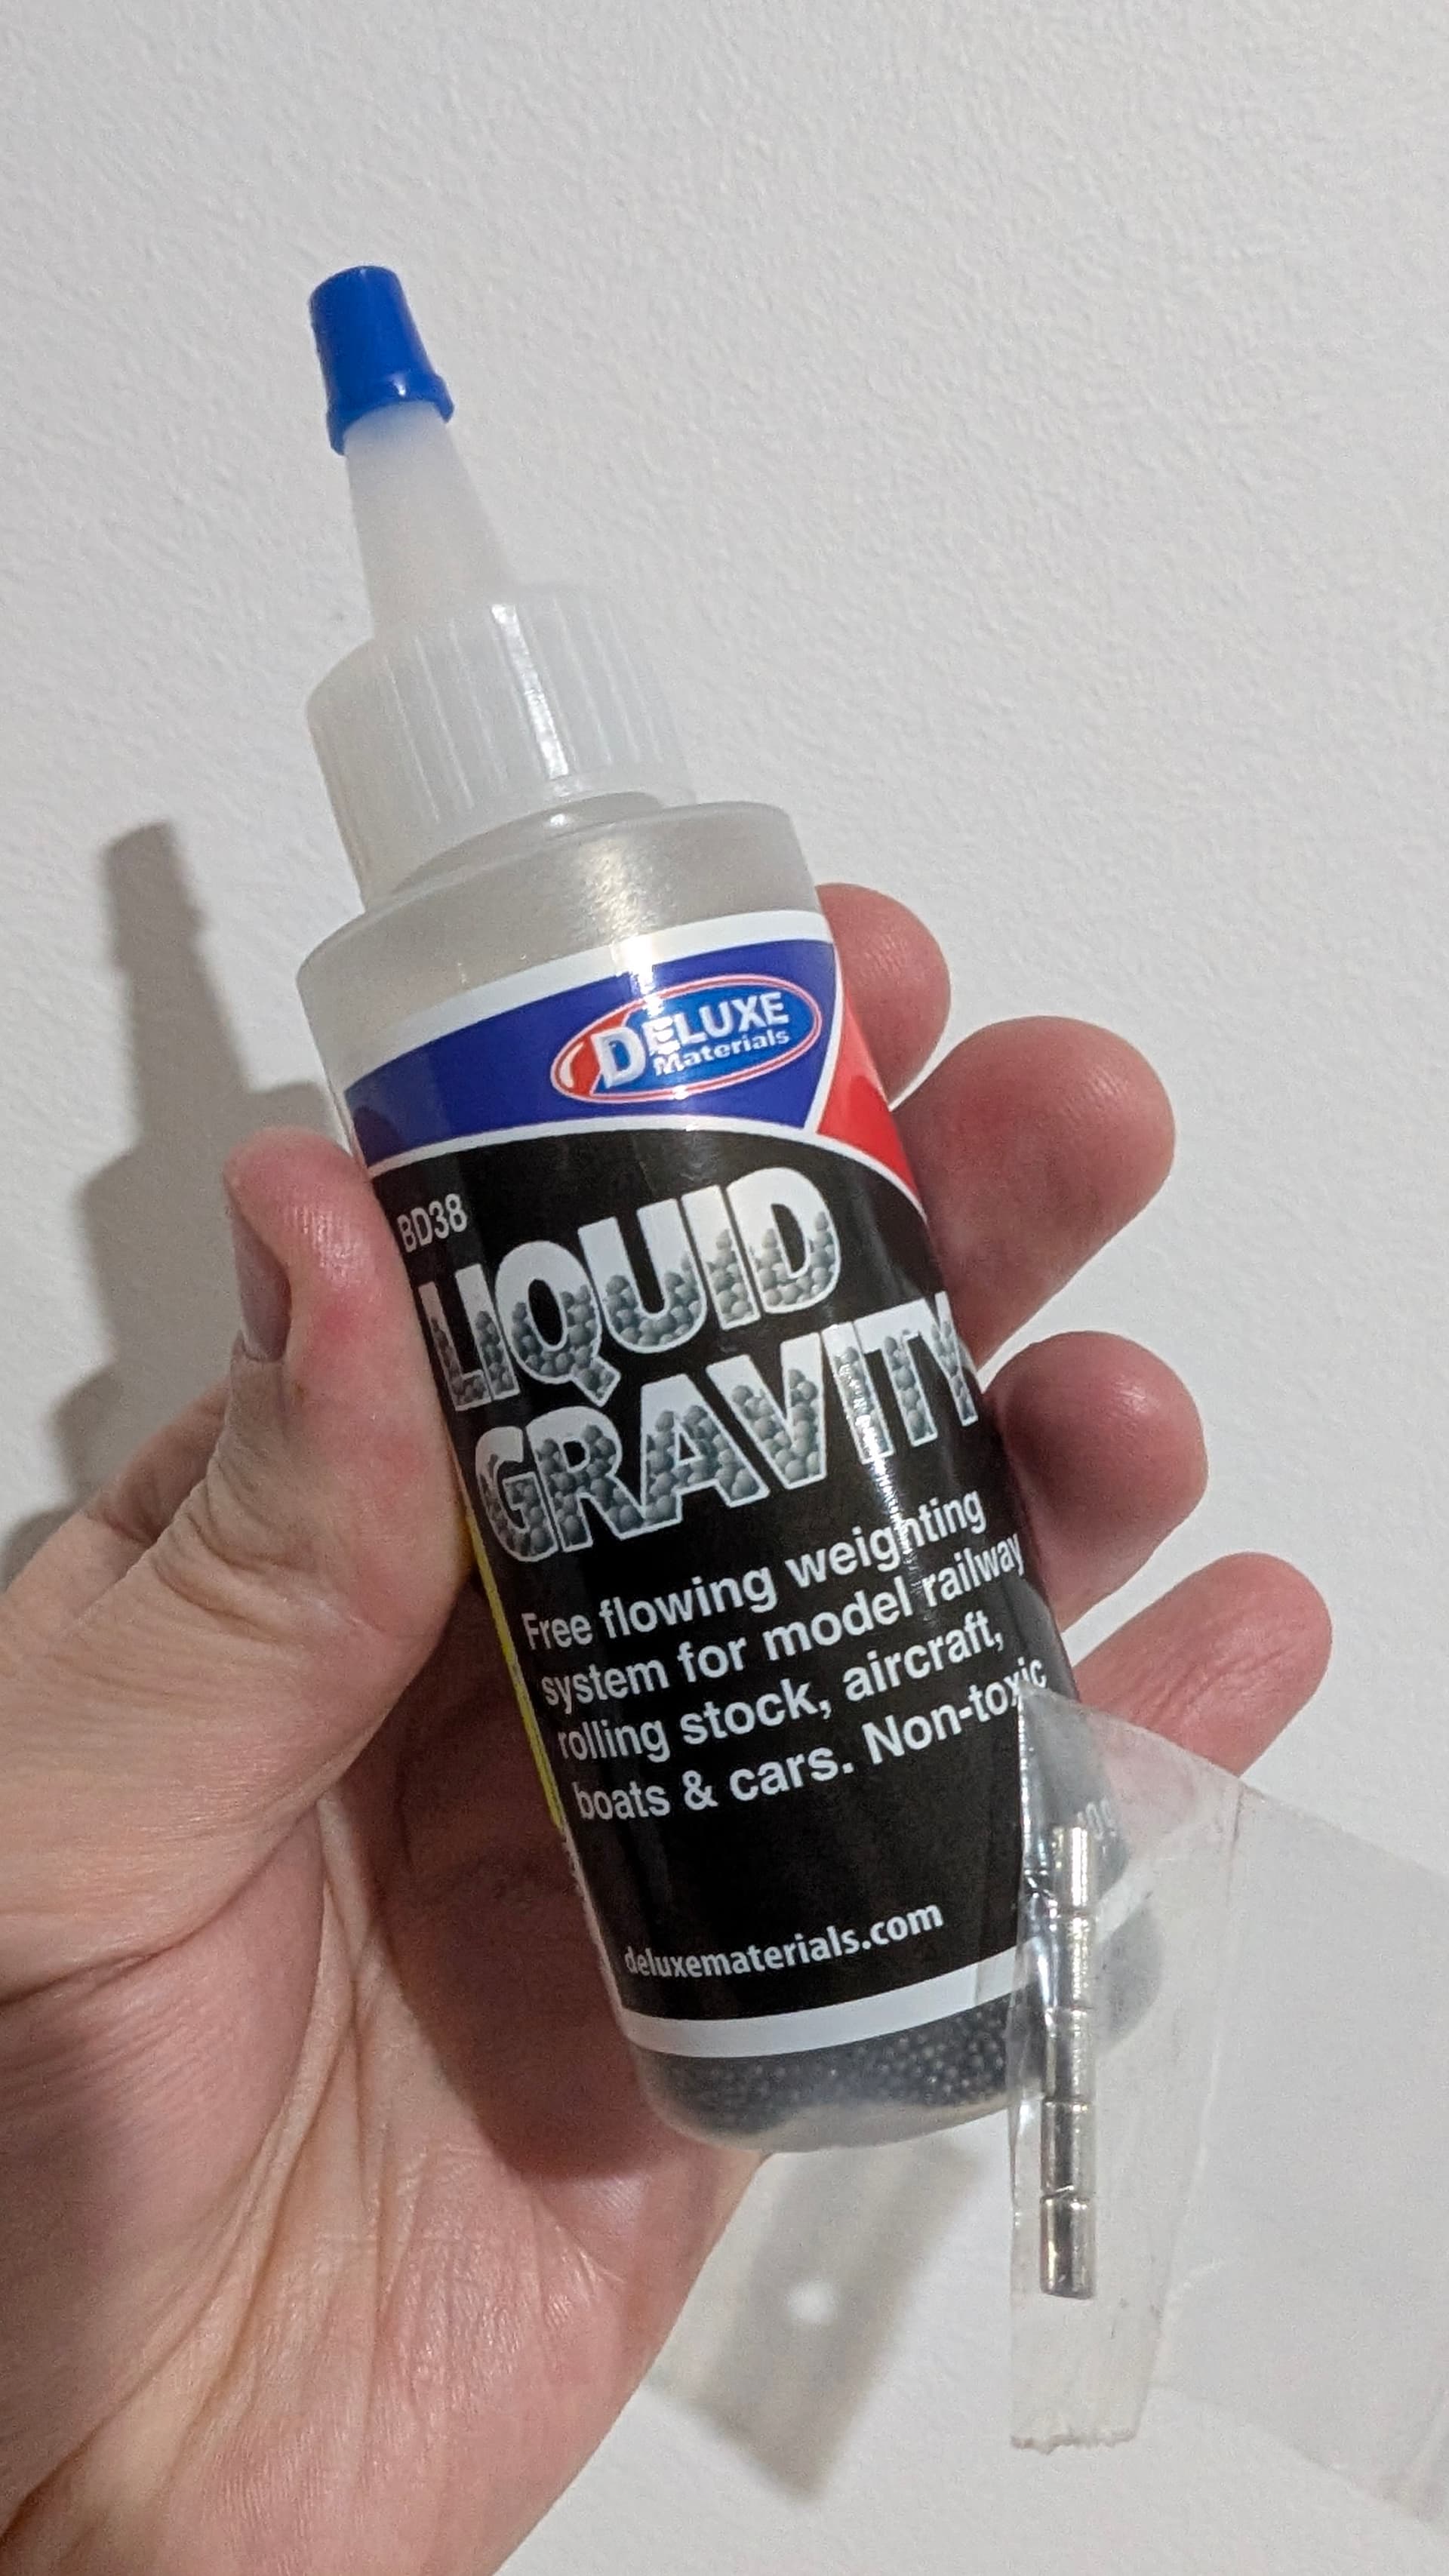
Well this answers the question as to whether or not you can use magnets to clean up the spillage of this stuff 
4 Likes
Ha I forgot to test it, I’m glad you did. That’s great stuff, I hope it solves your problem.
1 Like
The potential for failure here should not be understated, which is why I ordered 10 of these clear acrylic discs, one of which I hope to effectively shape into a propeller in motion. Going to be a few crazy curves involved and maintaining consistency between them in shape and paint will be a challenge
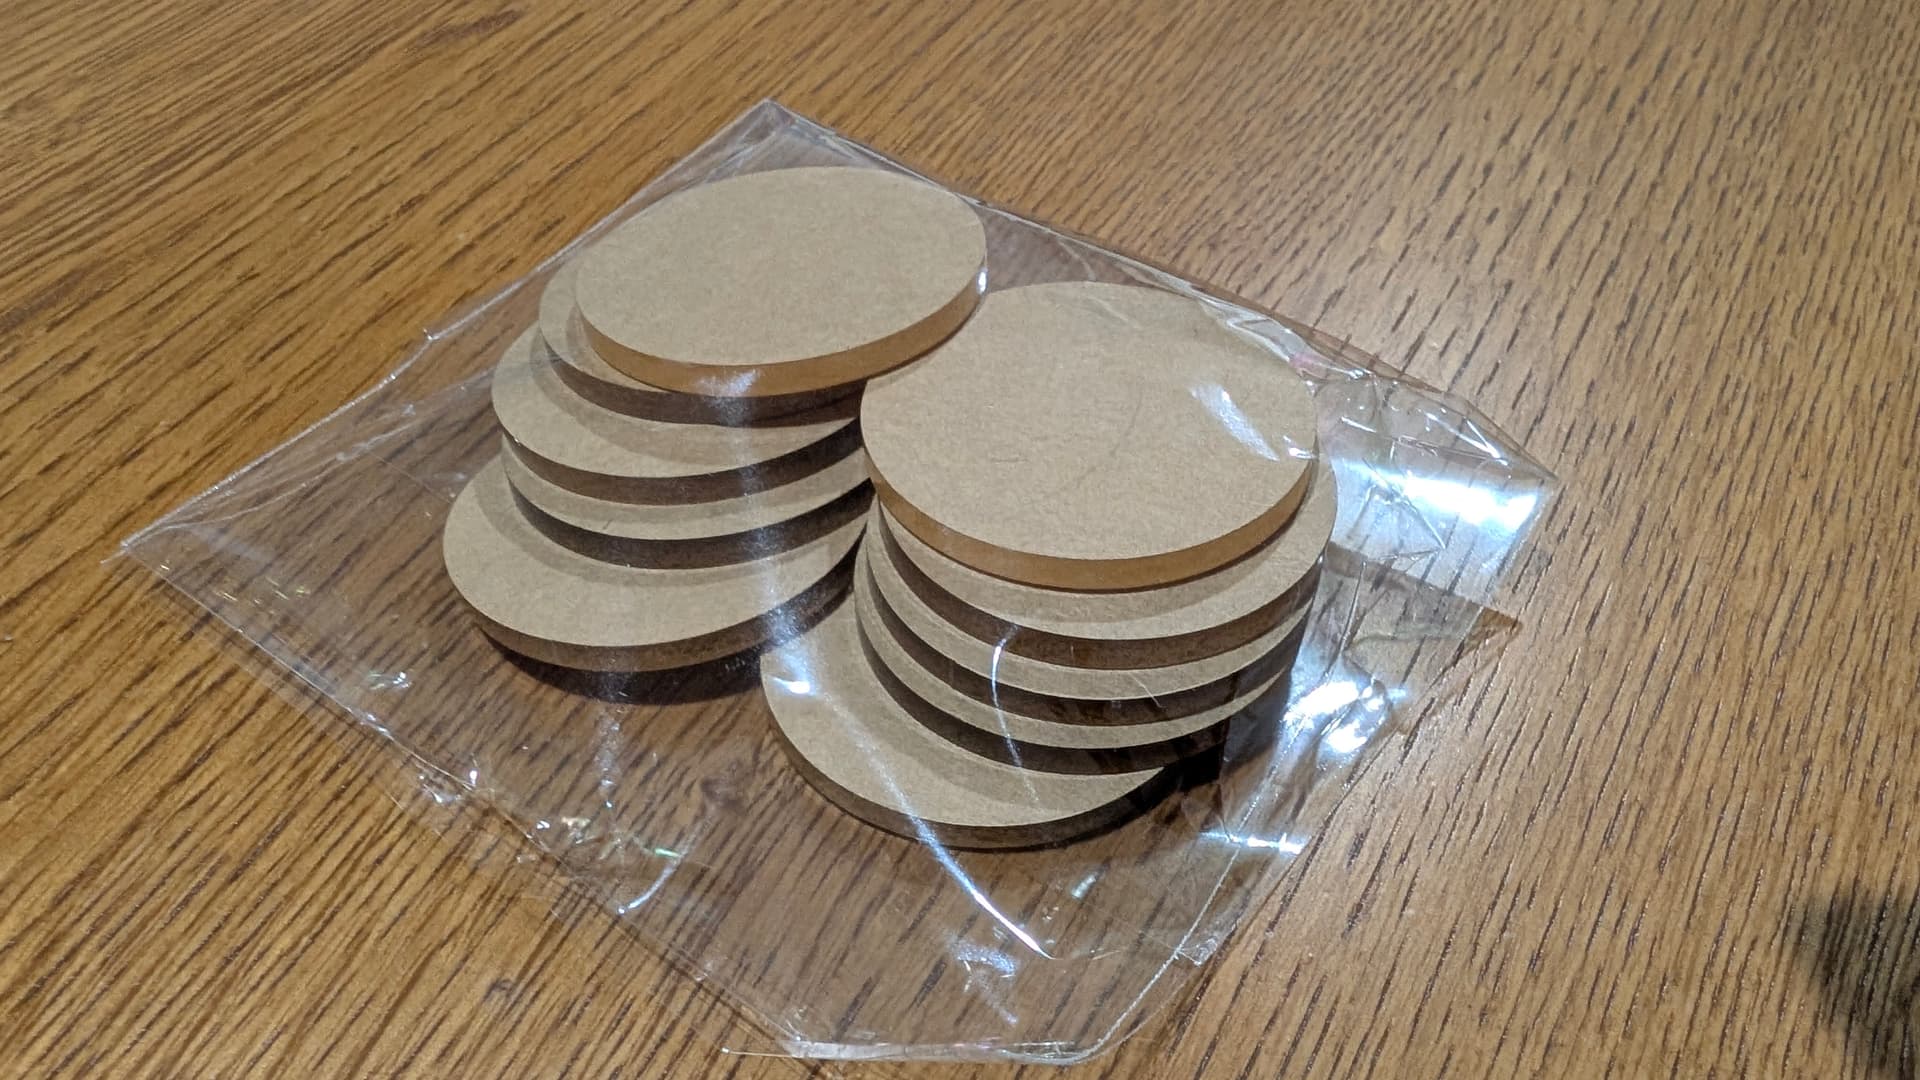
I’ve potentially created a bit of a mission for myself here going with a 3mm thick disc, but this sort of thickness properly tapered should give me enough depth where it counts
4 Likes
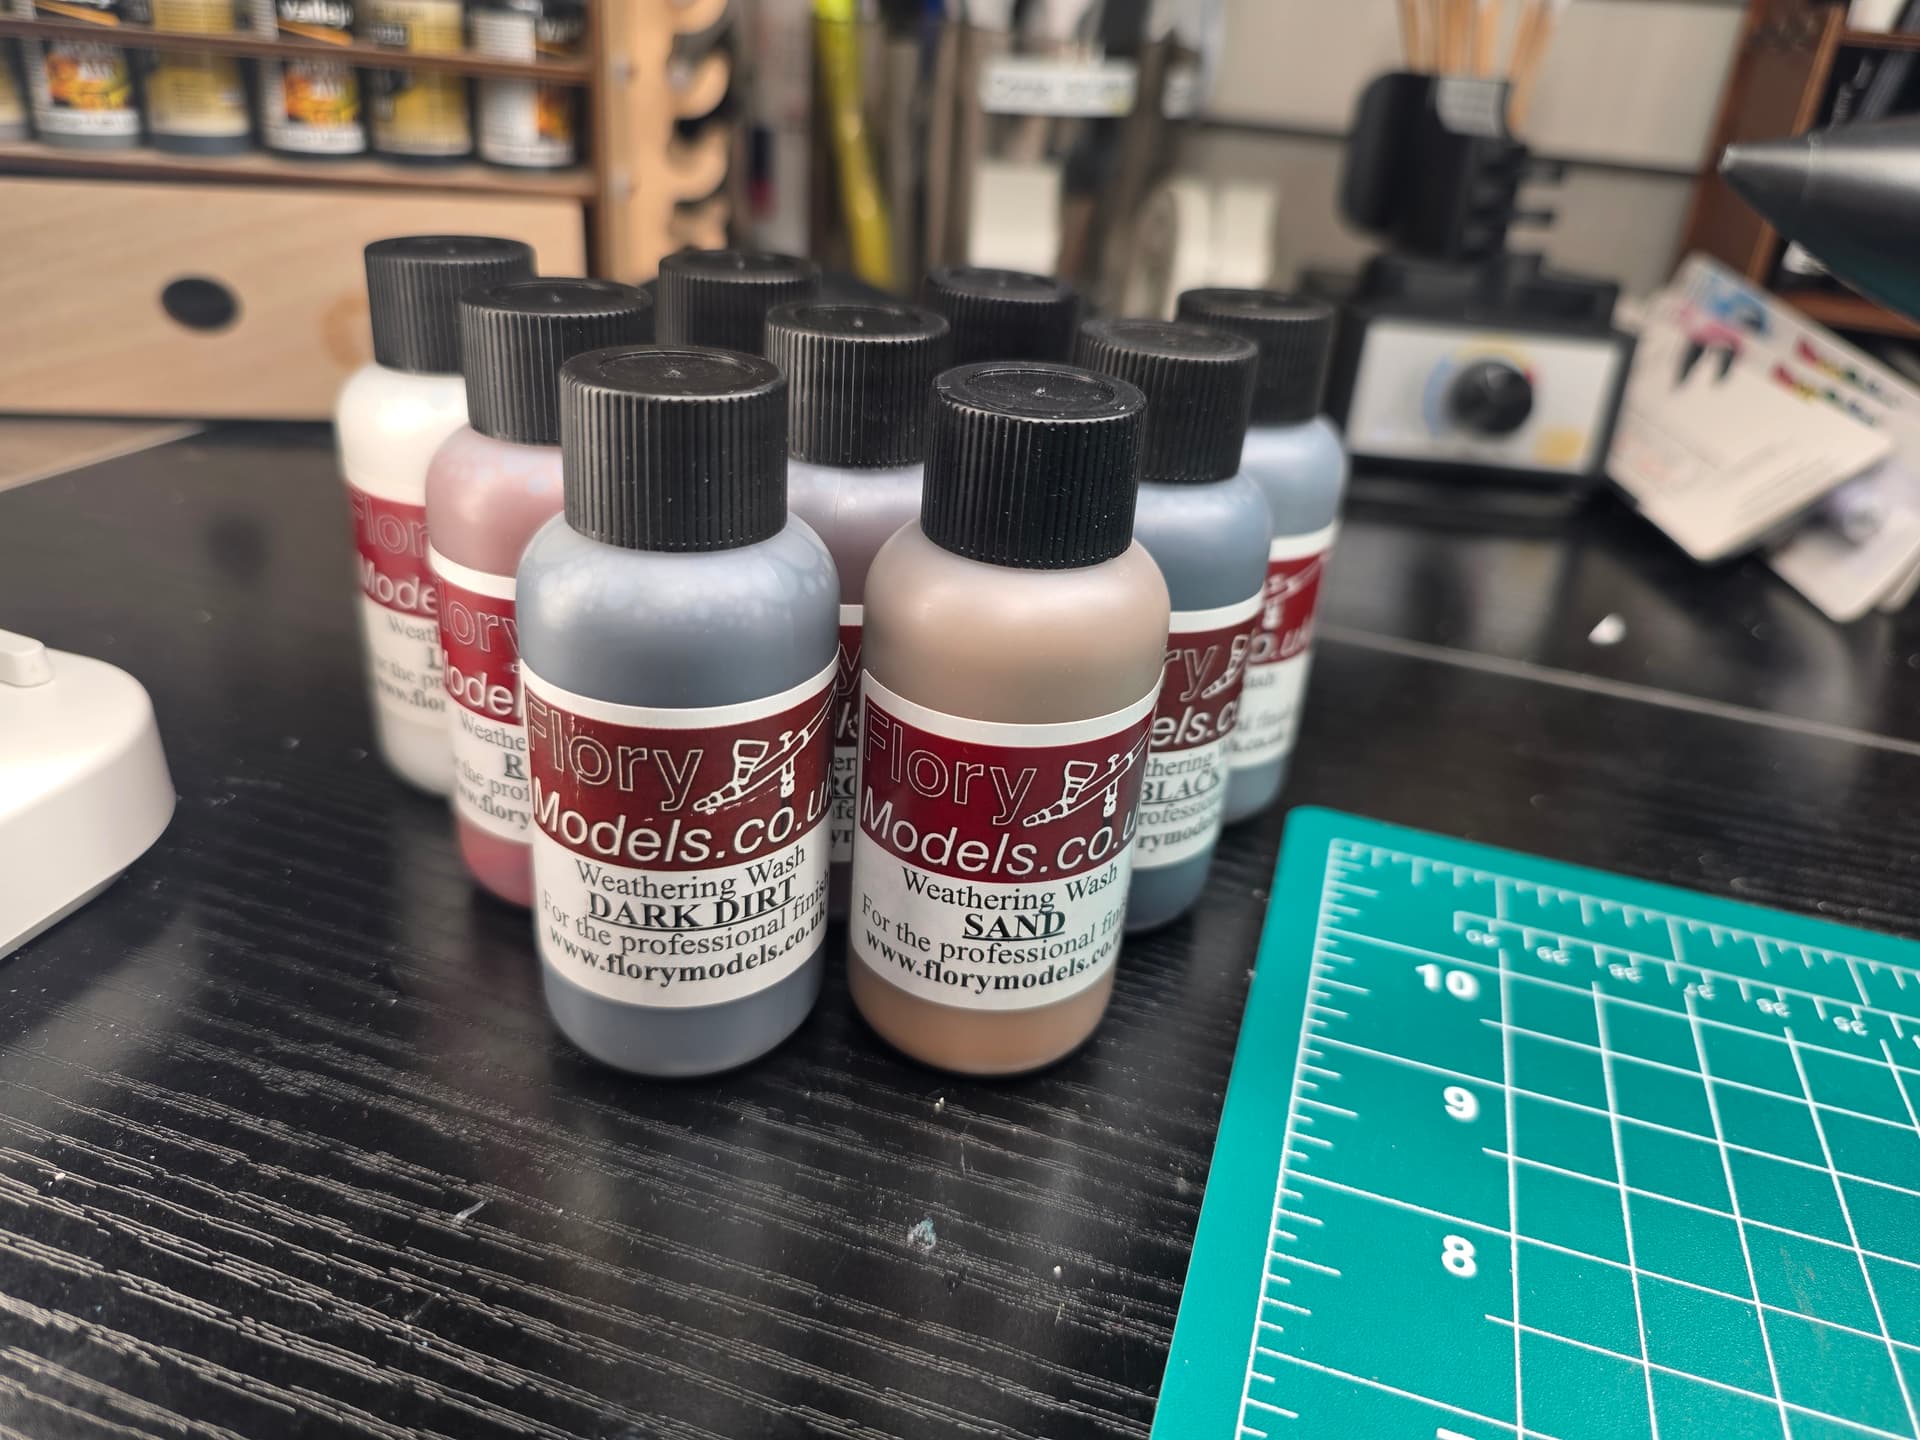
Well I heard great things about these so I took the plunge, and they’re not inexpensive in the USA, but I’m looking forward to trying them out on the Phantom.
Anyone have any tips and tricks for me let me know, I’d be interested.
4 Likes
A good hard acrylic gloss coat is essential,don’t use brushes that might be contaminated with lacquer or enamel,it’s easy to adjust it by removing or adding as much as you need,watch the videos on his site.
2 Likes
You’re going to love them!
1 Like
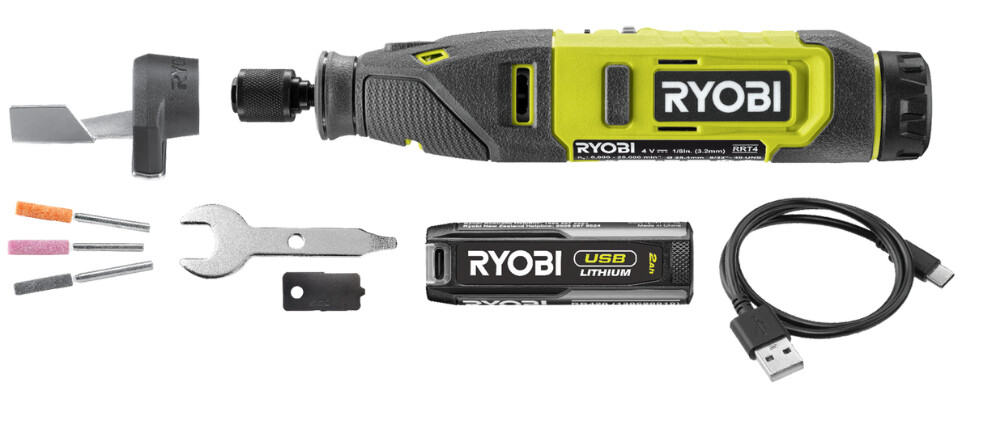
I picked up this Ryobi cordless rotary tool last weekend to assist my experimentation with reshaping clear acrylic discs into propellors in motion. Unfortunately for all the bench time I’ve had since, it might as well have been a turnip… We’ll see what tomorrow brings…
4 Likes
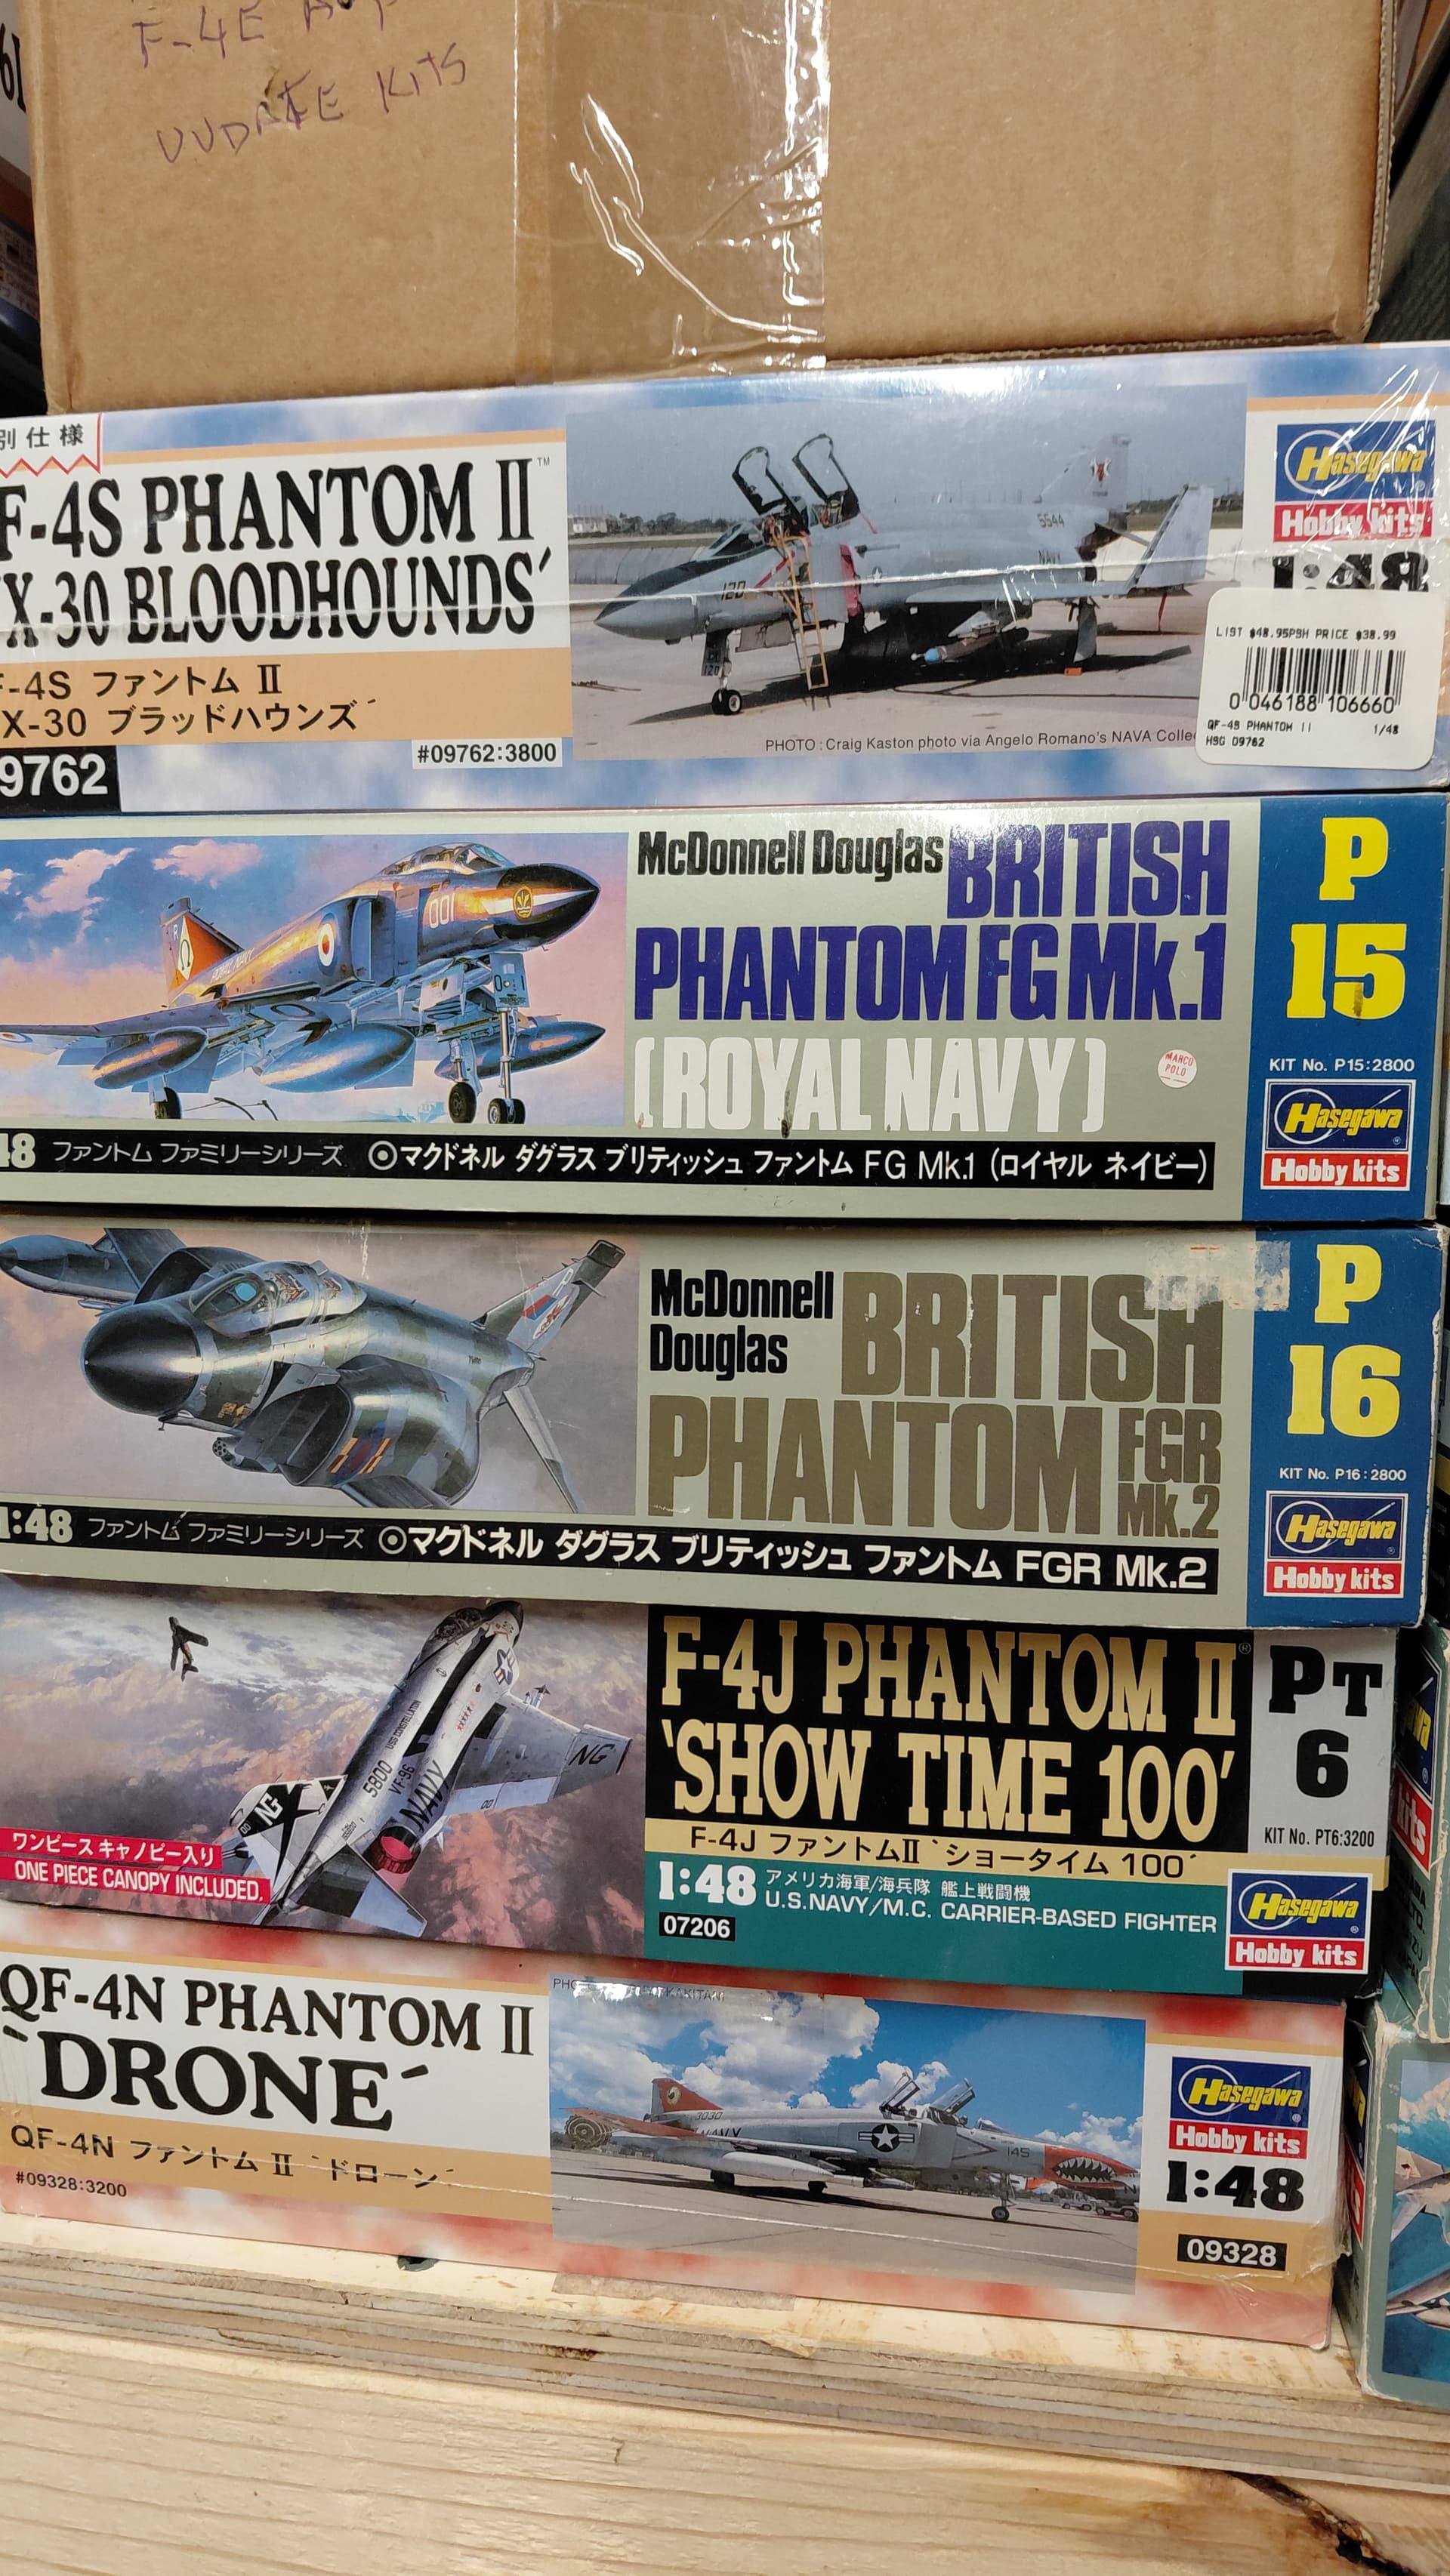
Because I worked on F-4’s over the years I have bought ALL the Hasegawa 1/48 versions and a conversion kit for a Hasegawa kit for the RF-E(S) HIAC
3 Likes
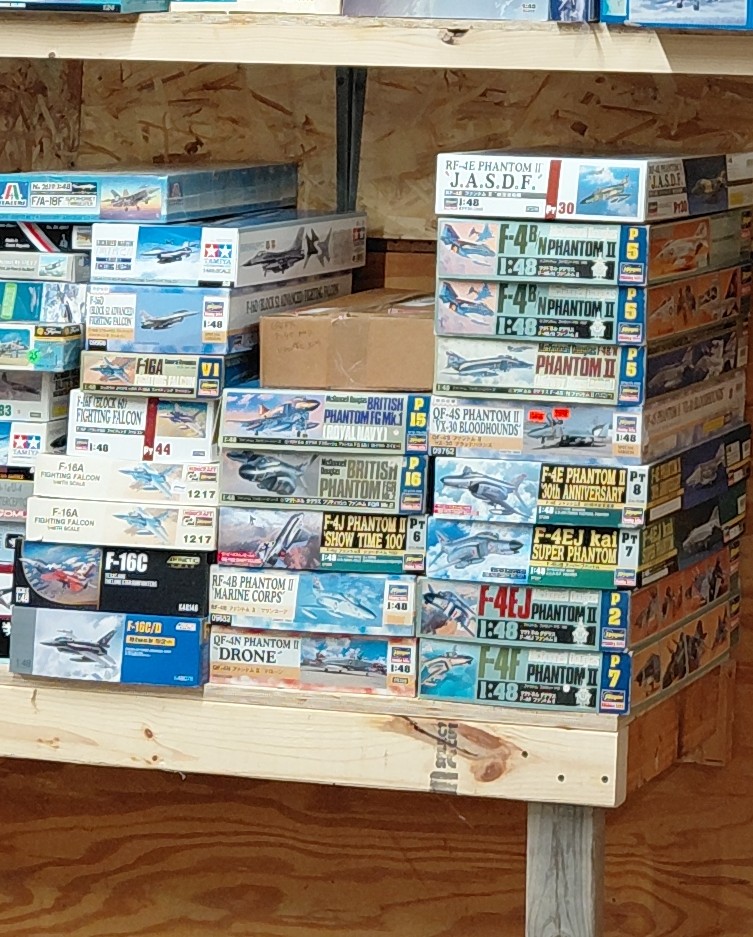
That’s a lot of Phantoms! I actually like the Hasegawa Phantoms and have built two Js and have an F in the stash. Beastly looking airplane.

2 Likes