Mike: Wow that looks great! I’d almost swear I was looking at a real bike. [:|][snWow]
Greetings,
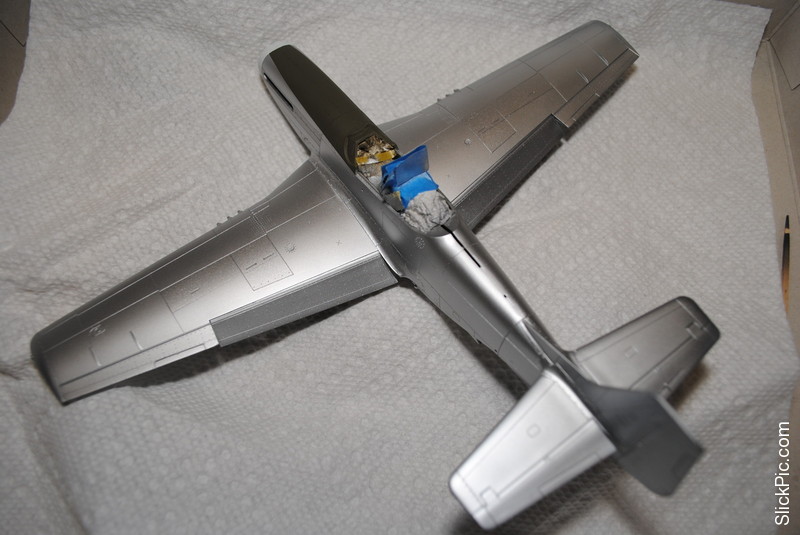
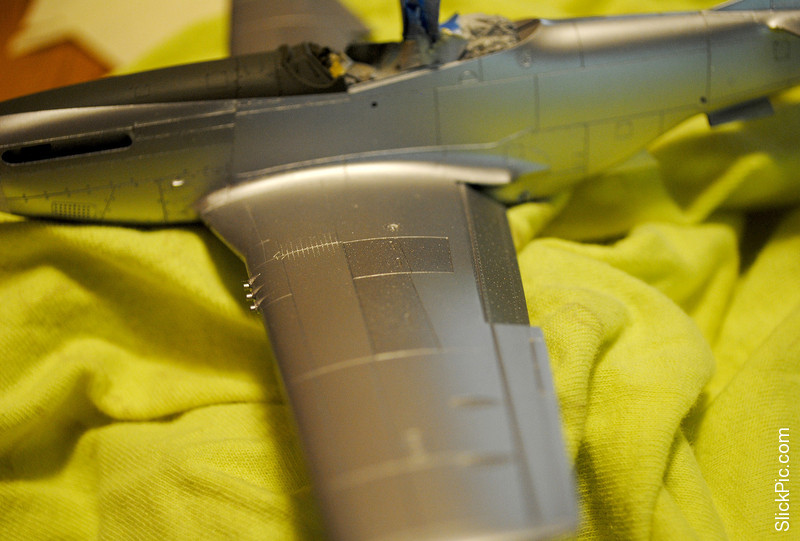
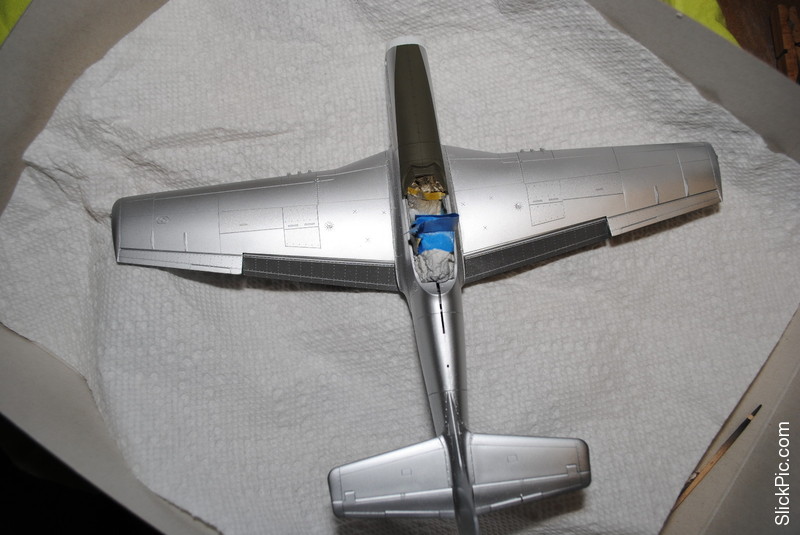
Over the weekend, I tackled the metal finish on my P-51, using MM non-buffing aluminum and steel metalizers. First time using these and I gotta say, I’m really impressed with how beautifully this stuff sprays. I did the underside first and thought it looked pretty darn good. I let it dry for an hour or two, then sprayed the topside. Most of it also looked great, but the nose area and wing roots were unacceptably rough, almost orange-peeled. Apparently, the overspray from the ‘primer’ (just MM neutral gray enamel) I’d used underneath my second attempt on the anti-glare panel was a lot rougher than I realized. Out came the sandpaper and I was able to smooth out most of the problem areas. I resprayed and, while there are a few less-than-perfect areas, overall it turned out much better. I let this dry, then used post-it notes to mask off the panel around the engine exhaust and a couple of panels on the wings, spraying them with MM steel metalizer for some variation. However, I was a little disappointed at how subtle the effect was. I can’t really see that much difference unless I look at it from certain angles. I don’t feel like tempting fate by trying something else, so I’ll call it good enough for a first effort. I held my breath as I pulled off the masking for the OD panel and the white I’d sprayed on the nose, and was extremely pleased that it came off smoothly, with a clean line, and didn’t pull up any paint. I’ve read plenty of comments talking about how delicate the MM metalizers are, and I can tell how easily it rubs off, so I’m trying to be very careful handling the plane at this point. Next step is another first for me. I’ll try spraying a Future coat to seal the finish before decaling. After my first, unsatisfactory experience with Tamiya decals (on my A6M2 Zero), I’ll be interested to see how the kit’s included Cartograph sheet for “Short Fuse Sallee” behaves. Stay tuned.

Congrats on the 'Stang, stoutfella! Have to agree with you, MM metalizers do spray beautifully. If only they were tougher…
For more variation on your next P-51, I’d recommend using Magnesium on the exhaust panel. You can also mix metalizers to hit different shades.
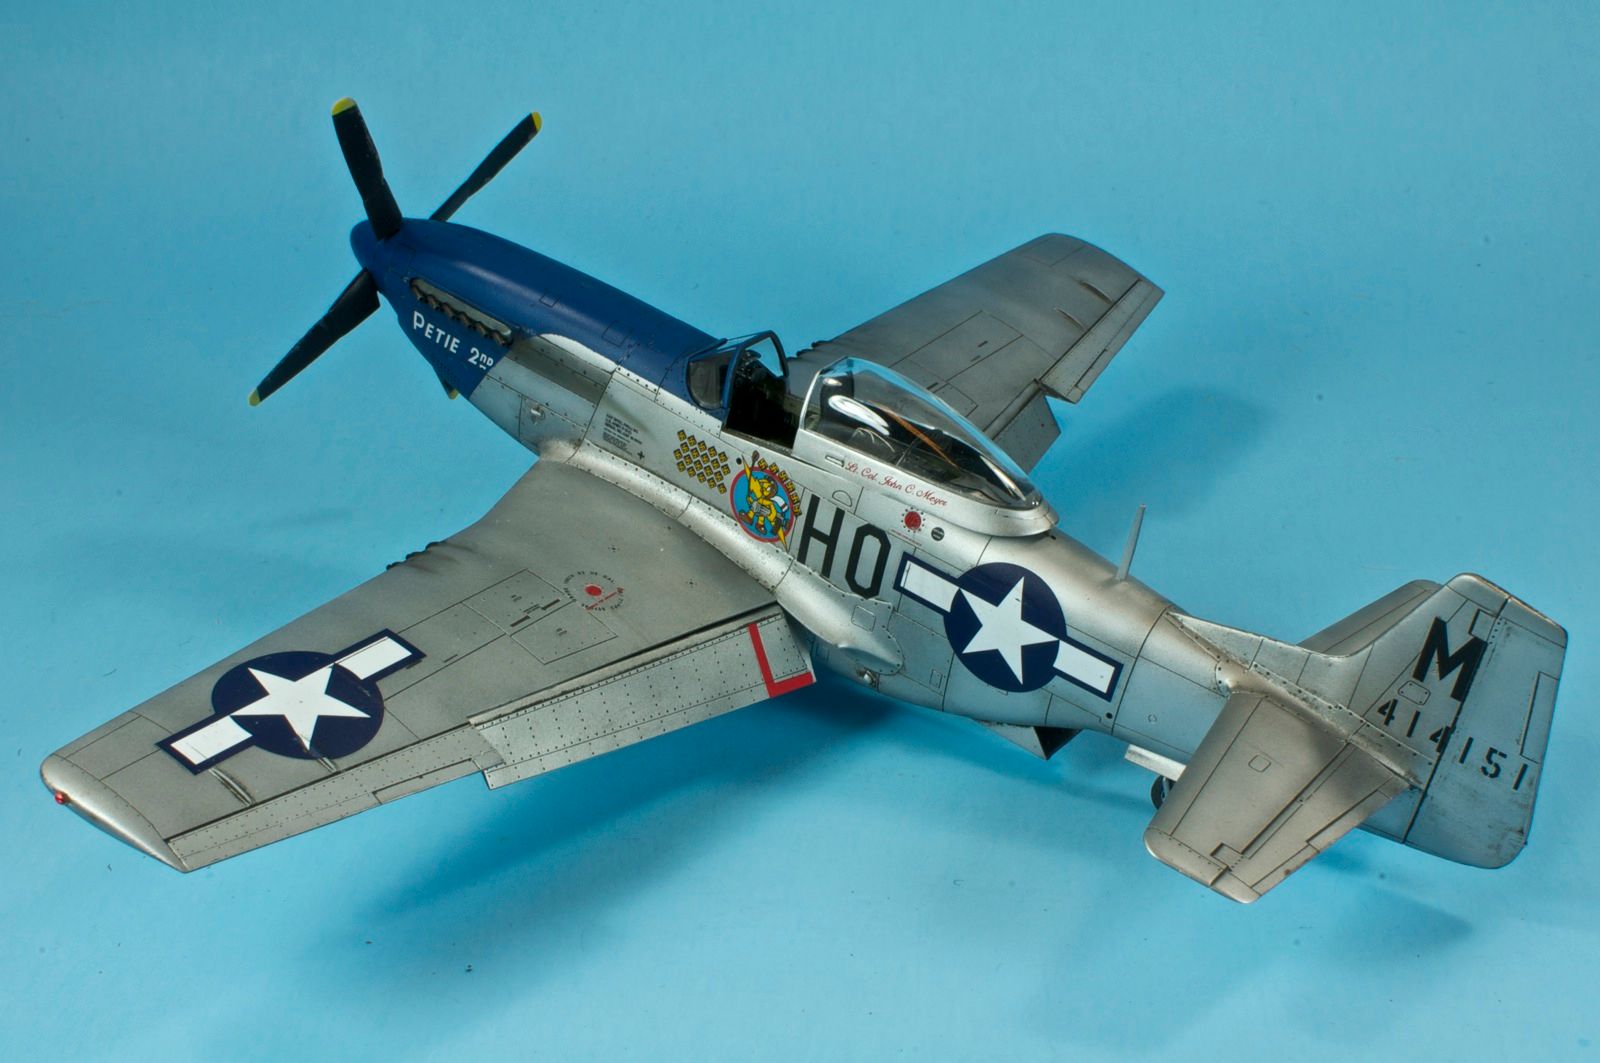
Regarding decals, I’ve got that Tamiya 9th AF Mustang in the stash, and jacked it’s decal sheet for the national insignia and stencils on my P-51 last summer. Wanted to do Petie 2nd, but didn’t want to use any more of the Tamiya-printed sheet for that one than I had to, so ripped open the other kit and cannibalized the decals! The Cartograf-printed sheets are only 100 times better than the Tamiya-printed ones, and you’ll love the way they go down!
SF: Looks good from what I can see!
Greetings,
Mike: I’d like to try the Alclad sometime, but I’d picked up some of the MM metalizers and wanted to try those for a first attempt at NMF. I’m pleased so far, but I know how delicate this stuff is. Fingers crossed.
Doogs: That’s a beautiful Mustang. I’d be happy if mine turned out half as well. You’ve got me itching to get to those decals. And I’ll keep the magnesium suggestion in mind.
Gamera: Thanks for the kind words. Always welcome.
Stout - hard to tell it’s your first attempt at a NMF. It looks great! The key to either medium, Alclad or the MM stuff, as we all know, is your base coats. Nail that and you’ve got a winner, as both do spray extremely well. I chose the Alclad only because I like its durability. My chrome and stainless steel should be arriving any day now, along with their copper (which I need for another project - the engine cylinder cooling jackets for my WnW Fe2b).
Cliff - thanks man! This thing is waaaaayyyyy out of my comfort zone. Being 1/12 scale, the wife says it’ll be a nice kit to display with one of her doll houses - I said sure, you can park it in the living room! [H]
I’ve been mucking about with the B-25’s R-2600s for the past few days. Base painting is more or less complete, at least for the main components. Tamiya Gloss Black, Tamiya Neutral Gray, Alclad Magnesium, Alclad Exhaust Manifold.
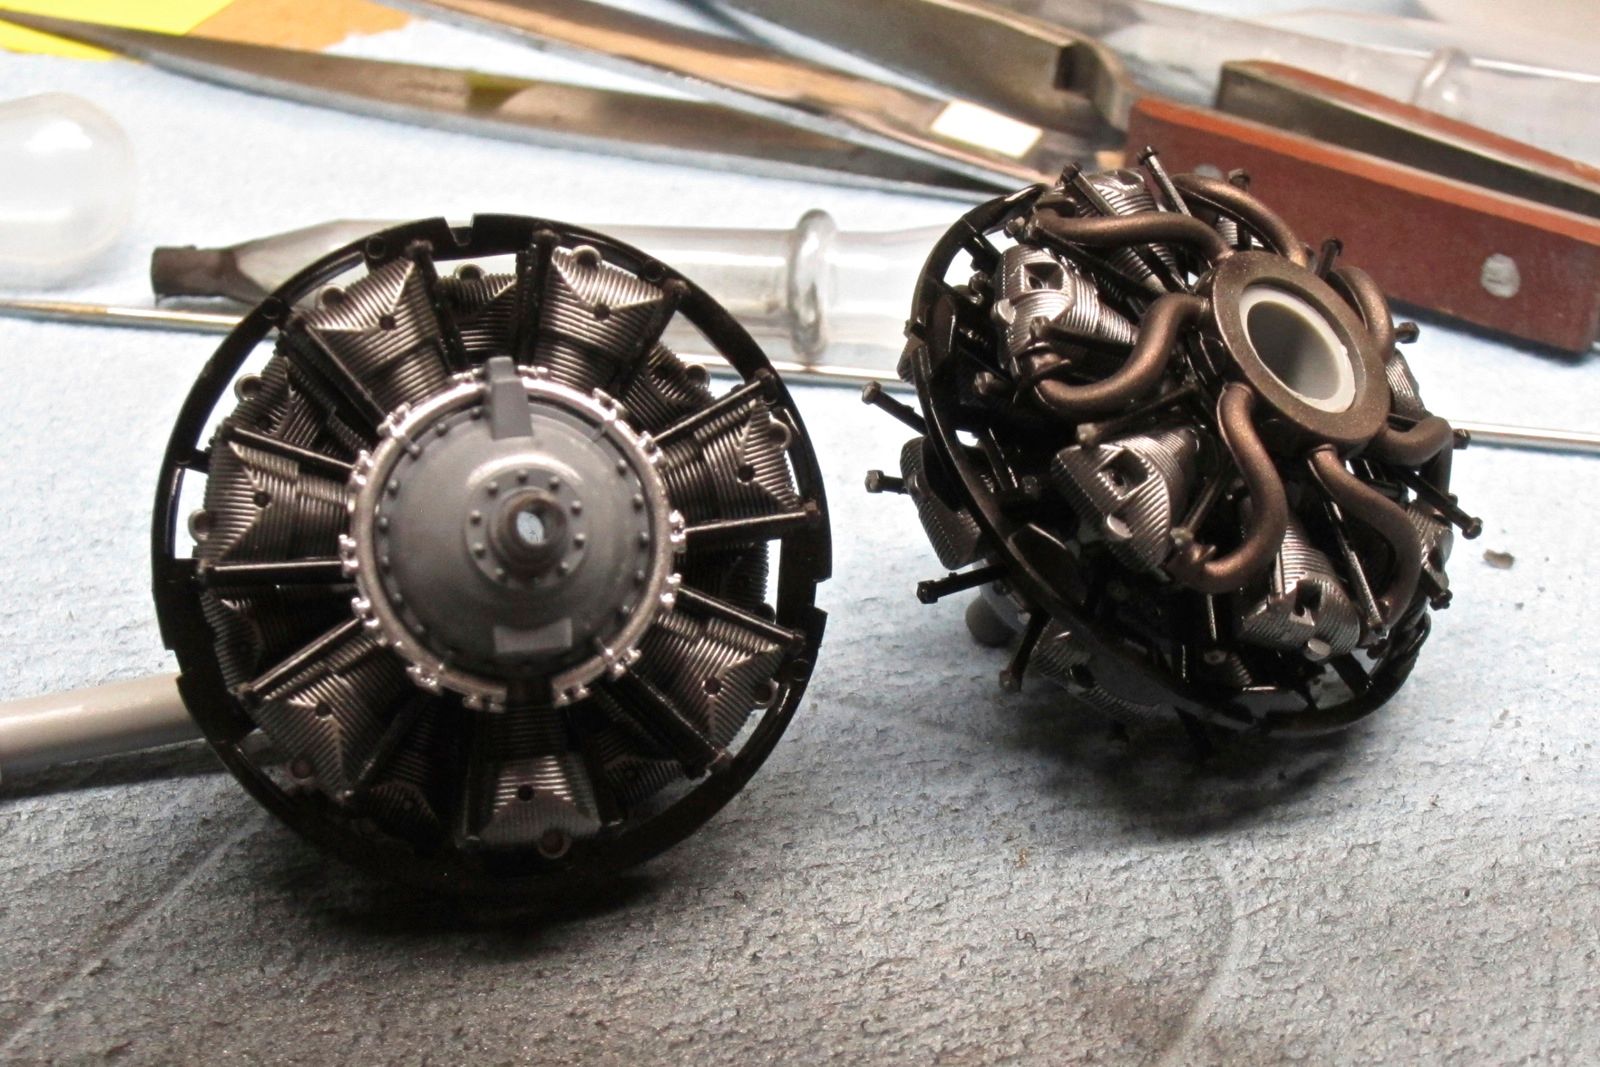
LOVE the way this thing goes together! Various bits (crankcase, mid-frame, rear exhaust) have notched tubes, for lack of a better word, that the engine slots down over. It’s not unlike the keyed holes on so many 1/48 radials, but extending them out to tubes makes it possible to add things like the rings of pushrods. Also makes it super-easy to paint each element on its own, then bam, engine!
It’s going to be fun from here…first kit engine I’ve ever encountered that provides individual ignition wires in styrene.
Wow Doogs those look great!!! I assume you can remove the cowlings to see all that detail?
Check this out…
YOW! I wish I had somewhere to put one of those giant B-25s, the more you post the better this model kit looks [:|][snWow]
Doogs,
That B25 may be a heavy brute lump of platic but it sure packs a heck of alot of detail! I love every pic i see and i do hope i can hypnotize my wife enough in the future to allow me to purchase such a kit…No luck sofar hahaha
Stoutfella,
Beautiful and flawless finish! Nobody can resist the power of a shiny stang. Great work![y]
Mike,
I can only agree with the falla’s here… incredible realistic paintwork on your part. I am very impressed.
Uhm…so…ya… I was working on a cough Academy Bearcat cough…[:$]. Assembly i must say was swift, without much trouble and hassle free as i expect from Academy with the exception of some seams at awkward or less expected places:


That was the biggest one: the front windshield doesnt entirely line up at the front but i hope i can correct this with some clever thinkwork…

That one shows you the tailfin… It comes in a two part assembly so it leaves you with a seam that needs careful filling and sanding as the real deal doesnt have this division. The kit offers two vareities of em just as the nosecone btw… probably for creating a f8f1 or -2 .

Yes, the kit offers you a three part wing setup with the lower wing being one part together with a bit of fuselage. It always gives you that belly seam just aft of the wings i generally hate…it never lines up 100%… Hope i filled it correctly there too.
Richard
Richard- my P39 I’m doing had similar fit problems with the canopy, looked a lot like what you have there! I just dabbled some clear part glue into the gaps until it looked good. I haven’t pulled off the masks to check the inside yet, but I’ve been pretty lucky with clear part glue before. It likes to stay where you put it.
Sub,
Your idea is very workable and the glue shouldnt fog… did a similar thing with waterbased wood glue too… Sofar ive been thinking along the lines of putty and micro files/ sanding sticks since the bottom part of the windshield is unmasked… I will give your idea some serious thinking (ouch) over though. Thank you.
Richard
Making a tentative start at last, removing and trimming the resin parts. Quite impreessed at the accuracy.
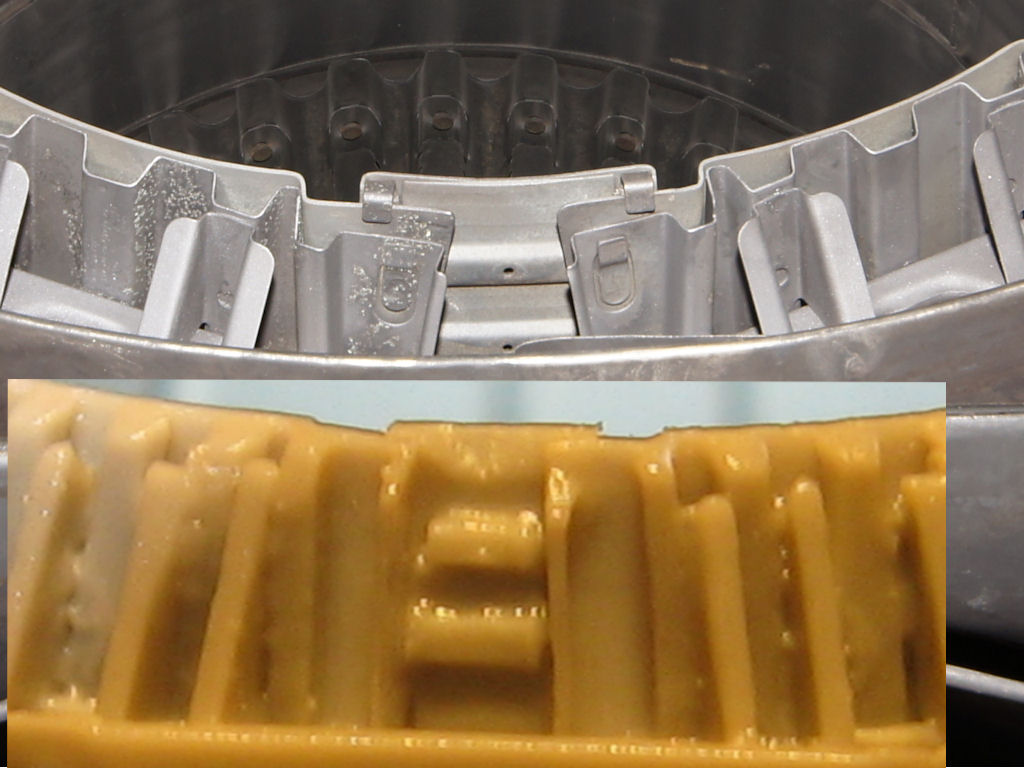
Image2 by omgpainful, on Flickr
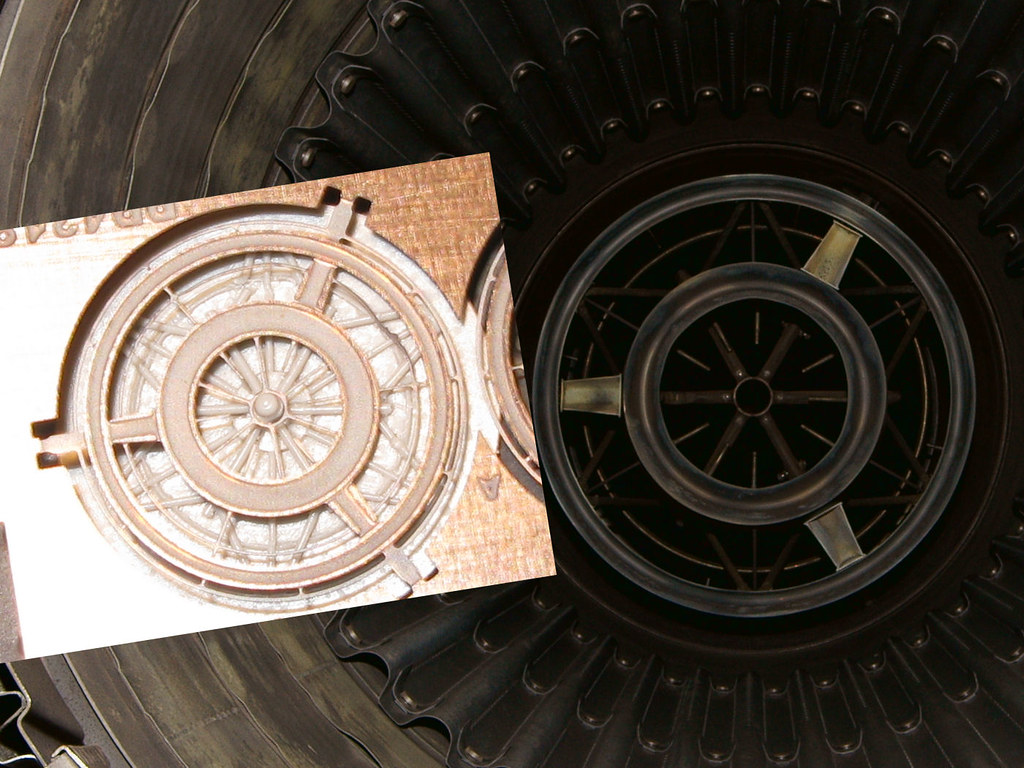
Image5 by omgpainful, on Flickr
Richard - man, that’s some excellent progress you’re making on your 'cat. I’m curious to hear how you plan on handling that issue with the windscreen.
Doogs - what can I say? Those engines are very cool, and it’s good to know they won’t be hidden when she’s finished. Man, that thing is just packed with detail! …and even including engine wiring?! My guess though is that you’ll use a different medium instead? Cleaning any mold lines off those suckers would make me crazy!
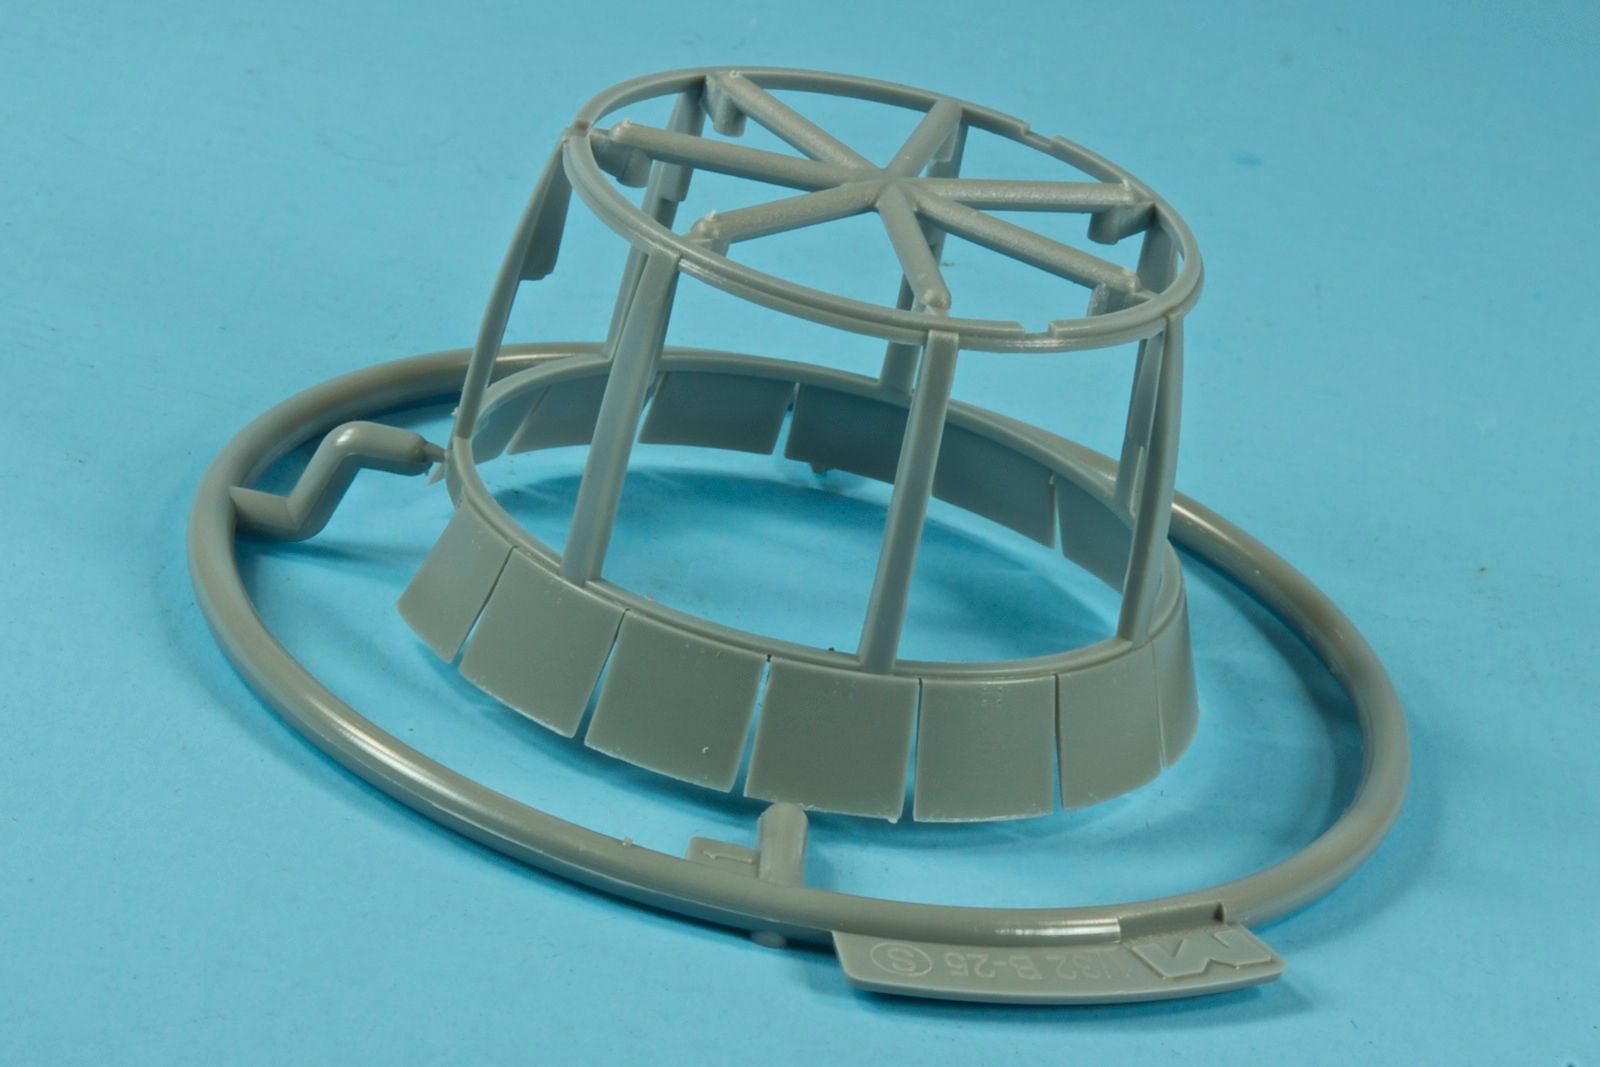
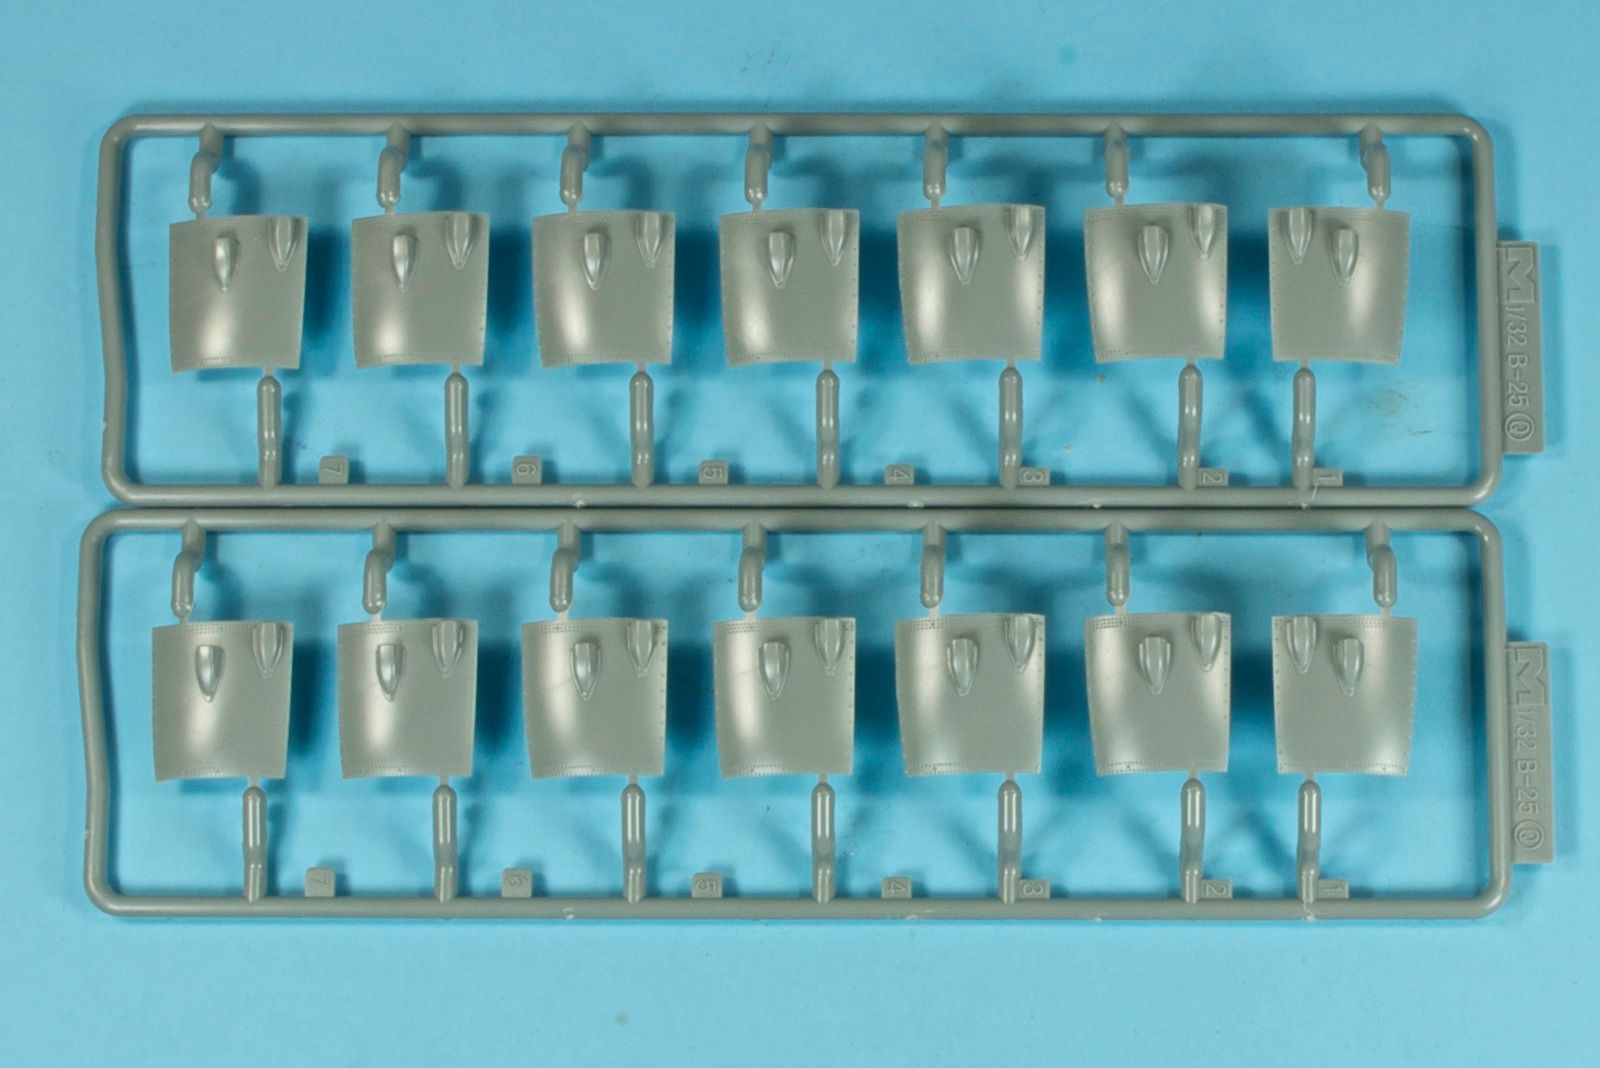
talentless - those are some neat sets ya got there. They look spot on! Should look great once painted and installed! [Y]
Well, I need to tell you all - I am super impressed with Great Hobbies in Ontario. They said my paints would be here on the 13th, and they were bang on! Now the hard part comes. That chrome and stainless steel Alclad is uber-shiny, and ultra smooth glossy finishes for the base are not exactly one of my strong points - man I hope I can pull this one off, because it’s gonna make or break this build. Wish me luck fellas - I think I’m gonna need some.
I would like to join please.
Just started with an 1/72 Acadamy F-86E Sabre.
Will be 90% metal, planning to do it in foil and some Alclad.
PSP base in Alclad.
This will be my first experimenation with foil, hope to learn from the forum.
Here is my first attempt using plain old alu foil. PS - this is my first plastic model in 20 years!
I used Micro Metal foil adhesive. I did the opposite than the instructions, applying the adhesive to the plastic instead of the foil. I thought this worked better, as i can apply the adhesive to the individual panels, stick the alu on and then cut the panels out, without any pesky glue remaining on the surrounding plastic.
The results is encouraging, the glue dries very quickly and I was able to sand the alu with some 1000 grit without any of the edges lifting up.

Stoutfella your first attempt at an NMF build is looking much better than my first try, very well done sir [Y][Y] Keep the pictures comin. You are gonna fall in love with the Cartograph decals too, just take it easy with the setting solutions and dont dare use micro-sol of one like that on them. The result wasn’t pretty at all
Doogs can’t wait to see more pictures of this monster 25 build [::DD0] all the fiddly detail parts are gonna pay off big time me thinks especially in your capable hands. Sweet engines !!!
Kermit looks pretty darn good from here, and coming along quickly too. Gonna have to look into getting one of these kits.
I have tried a number of methods for windscreen troubles like the one you are having and haven’t really been happy with any of them so far. Crystal Clear glue seem to work best for me, but I have been giving thought to using an elmers glue stick like putty for my next one. Using a hobby knife to fill in the gap with the stick glue then once filled dip the knife or maybe better yet a toothpick in water to shape and smooth the glue. Just an idea I have been toying with.
Talentless those detail parts look spot on man, will build into a great looking burner can.
Jolley Roger yes yes by all means your build is in. And welcome to the forums !!
I like to use foil and do use Microscales Adhesive and frankly I like your idea. The foil looks like it laid down perfectly and I know cleaning the excess glue is a PITA big time. IMHO the end result is worth it in the end though.
Ruddratt after having ridden a Virago, some years back mind you [;)] Gotta tell you it looks great buddy, like the way you simulated the gold anodize on the rims and engine case. And yes removing the (couch) chrome really added to it. Lookin forward to seeing more of it.
Jolley Roger the front page has been updated with your build
Is this really the 4th NMF, i must have missed one somewhere. Afraid i am going to have to pass on this again, just to much on. But i will be watching for some more great NMF builds and hoping for a NMF V.
decided on a build! Academy 1/48 p-47