Good afternoon folks,
Well, the Panther G has been all wrapped up and is complete it’s time for the Jagdpanther! [t$t]
Let me show you the kit and accessories first if you don’t mind…
Photo 1: Here you can obviously see the box & box art, the black vinyl track is the Tamiya offering and the beige one is one of the Dragon DS (Dragon Styrene) tracks that I have left over from my Panther G seeing as that build got the Fruil treatment! I’m keeping costs down on this one as I spent a fair bit on the Panther and accessories so this will be having the DS vinyl tracks - no Fruils this time!
You will also see the Armorscale 88mm Jagdpanther Barrel and Resin Mantlet. That was an essential AM piece as the Tamiya barrel is the style that has that awful seam down the centre where the halves join and as you no doubt know it’s a pig to get the barrel neat & tidy without creating flat spots ets when sanding.
The only other (ESSENTIAL) AM item is the Tamiya PE Grill set which I have on back order with the LHS.
Finally in this picture you’ll see the leftover Fruil Panther track links which were unused-these will replace the plastic kit ones that go on the rear sides. These will make a big difference as the Tamiya links are pretty ugly and don’t help in the looks department!

Photo 2: I was having a good old rummage to see what the kit offered and was interested to see what they were handing out in the way of metal tow cables? String? Wire? No - moulded plastic tow cables complete with eyelets (see top right of picture). This is something very new to me in 1/35 and something that I, personally, have not seen before. Tbh I’m not 100% convinced. They ask you to apply ‘heat’ and then gently bend to get the dead striaght plastic cable to take on some form. I’ll try the Hairdryer/hot water methods but I’ll be VERY careful (and reluctant tbh) if I have to go near a flame with them! I’ve got spare Panther eyelets left over from the Panther kit so I may try other methods when I get to this stage of the build. Who knows, I might be very impressed with them!

Photo 3: Having looked at various pictures of JP’s it seems that the side skirts are fitted in single parts - not in a single piece as supplied in the kit (the box art depicts this too - check it out in the first photo). With this in mind I picked up a 12" x 2" piece of 0.10" of brass sheet for £1-50. I’d like to try to use this instead of the kit skirts which aren’t accurate. I’ll be able to bang them up, bend them, whatever. Again, it’s a while away yet so I’m not too concerned yet. Other options involve gently slicing up the one piece plastic skirts and put some bends on the corners of them with the hairdryer or hot water. The other option open to me is if I decide to go with a proper factory build in which case the side skirts would be straight and tidy.

>>>>>Onwards…this kit offers two options called ‘A’ & '‘B’ oddly enough [;)]
Option A covers the tank between May to Dec 1944. Option B covers it from Dec 1944 onwards.
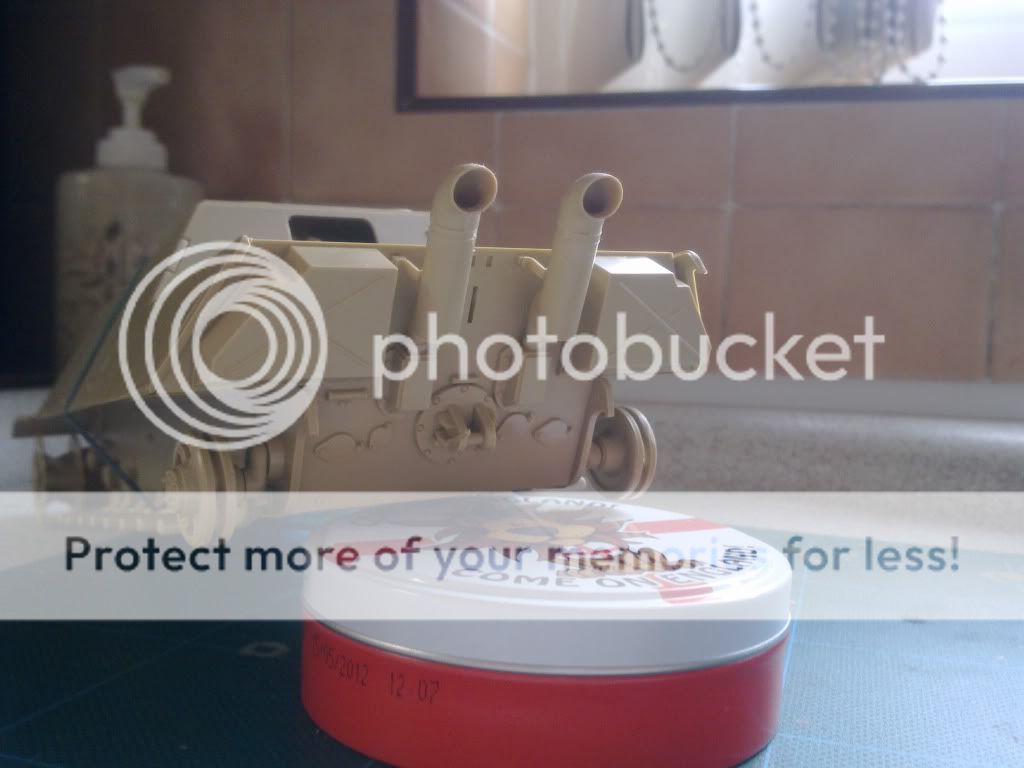
The diffences being A gives her the LHS (as you look from the rear) Muffler c/w air cooling inlet pipes, B will give her the Muflers with Flame Dampers (I think these look cool).
Option B also replaces the rear LHS standard engine grille with a heater unit for the crew compartment.
I think I’m going to go with the ‘B’ Option as it offers a bit of variety and something different - I can’t see any other A & B differences but I’ve only had a quick skim of the instructions at present.
Finally, I need to think of painting options. I’m going to push myself into making some serious AB progress and will be trying to replicate one of the cammo schemes seen on the box art. There are two options: The first is the usual Dunkel Gelb base coat with Red Brown & Dark Green over the top. The second refers to the change in German paint schemes from 1944 onwards - basically a Dark Green base coat with Dunkel Gelb and Red Brown over the top. The second option, in theory, would tie in with the later ‘B’ option which I am going for. The box art shows this scheme of red brown and Dunky Yellow over dark Green. What do you guys think to this scheme? If I wanted this build to be accurate would I need to go with the green base coat to allow option B to work?
Thanks for dropping in.
Work proper will commence tomorrow…
ATVB
Ben [t$t]