So ive never used a double action airbrush before. Been using Pasche H w/ side cup… Anyhow, i recently received a Patriot 105 and Patriot 105 Extreme i got as part of Badger’s birthday promotion. I used some Air Brush Color from Jacquard at about 15psi in the Extreme. I did not adjust the air regulator on the brush. Very impressive, smoothe and easy considering 1st time - got some nice small lines. I then tried the Patriot 105 and the brush blew through the ink quickly and sprayed about an 1.5" W mess. Its like i couldnt get a fine line or anything close to it. Tried a couple of times at different pressures. Its like is a wide coverage mess. The instruction sheet that it comes with is minimal at best so i did some looking on their site. Their Extreme brush is not even mentioned on their Airbrush 101 link and when i went to the Videos section, it has 105 in the link but the brush is not mentioned or used in the demo. I them called Badger to ask them and the C/S girl couldnt find any info for me. She said the web didnt work for her either. So far no reply from them as promised - maybe they are closed on Friday’s??? No rely via email either.
I went to their twitter feed and they have a demo from about 6 years ago - says 105 Patriot but it looks different.
Don’s Airbrush site has a lot of good info. but even there his demo is from 2011, doesnt say how to tell what size my needle is or how to disassemble the brush, etc… So,
Without a manual or knowing what to do about the wide spatter and some rubbing friction i feel in the trigger - like metal on metal rubbing - ive done some more looking around on the net. Does anone know of any good demo’s i can look at for detailed info on the 105 Patriot and 105 Patriot Extreme? One thing i did notice on the 105 is that the needle was not pushed all the way in. But that said, i cannot find out where its suppose to be to begin with. Is it suppose to be pushed all the way in? Has anyone used sewing machine oil to lubricate a trigger? Trying to figure out how to make the action smoothe like the Extreme. Probably should not be any friction im guessing? Thanks for any tips!
This spatter is crazy. But i dont know what to check.
MM - I think if you remove the handle of the 105, loosen the needle lock nut on the end and then remove the needle, you could then tighten the front parts to ensure a good fit.
Then turn the entire body inner assembly to full forward position, (no need for lots of force,) you’ll have the AB ready for needle insertion. Push the needle forward gently, until you feel just a small amount of resistance. That is the needle seating in the proper position, full forward. Then tighten the needle lock nut. Again, very little force is needed, the needle and nozzle can be damaged by rough handling.
If you don’t get this sorted quickly, Badger is very responsive to customer needs. They will make it right quickly under warranty. I’ve only had one occasion to need warranty work on a new AB from Badger, they sent me a replacement within a couple of days, even before they received the one I sent them. Can’t beat that.
thanks both - there hundreds of videos but did not see this one. Tks! Also for the 155 info. ill check it out.
i wateched the video. that helps. It doesnt explicity say, but im guessing the needle gets pushed all the way in for assembly? With no exceptions? Im looking at mine, maybe thats the issue - its not pushed in all the way in - but thats the way it came. Ill check it out…
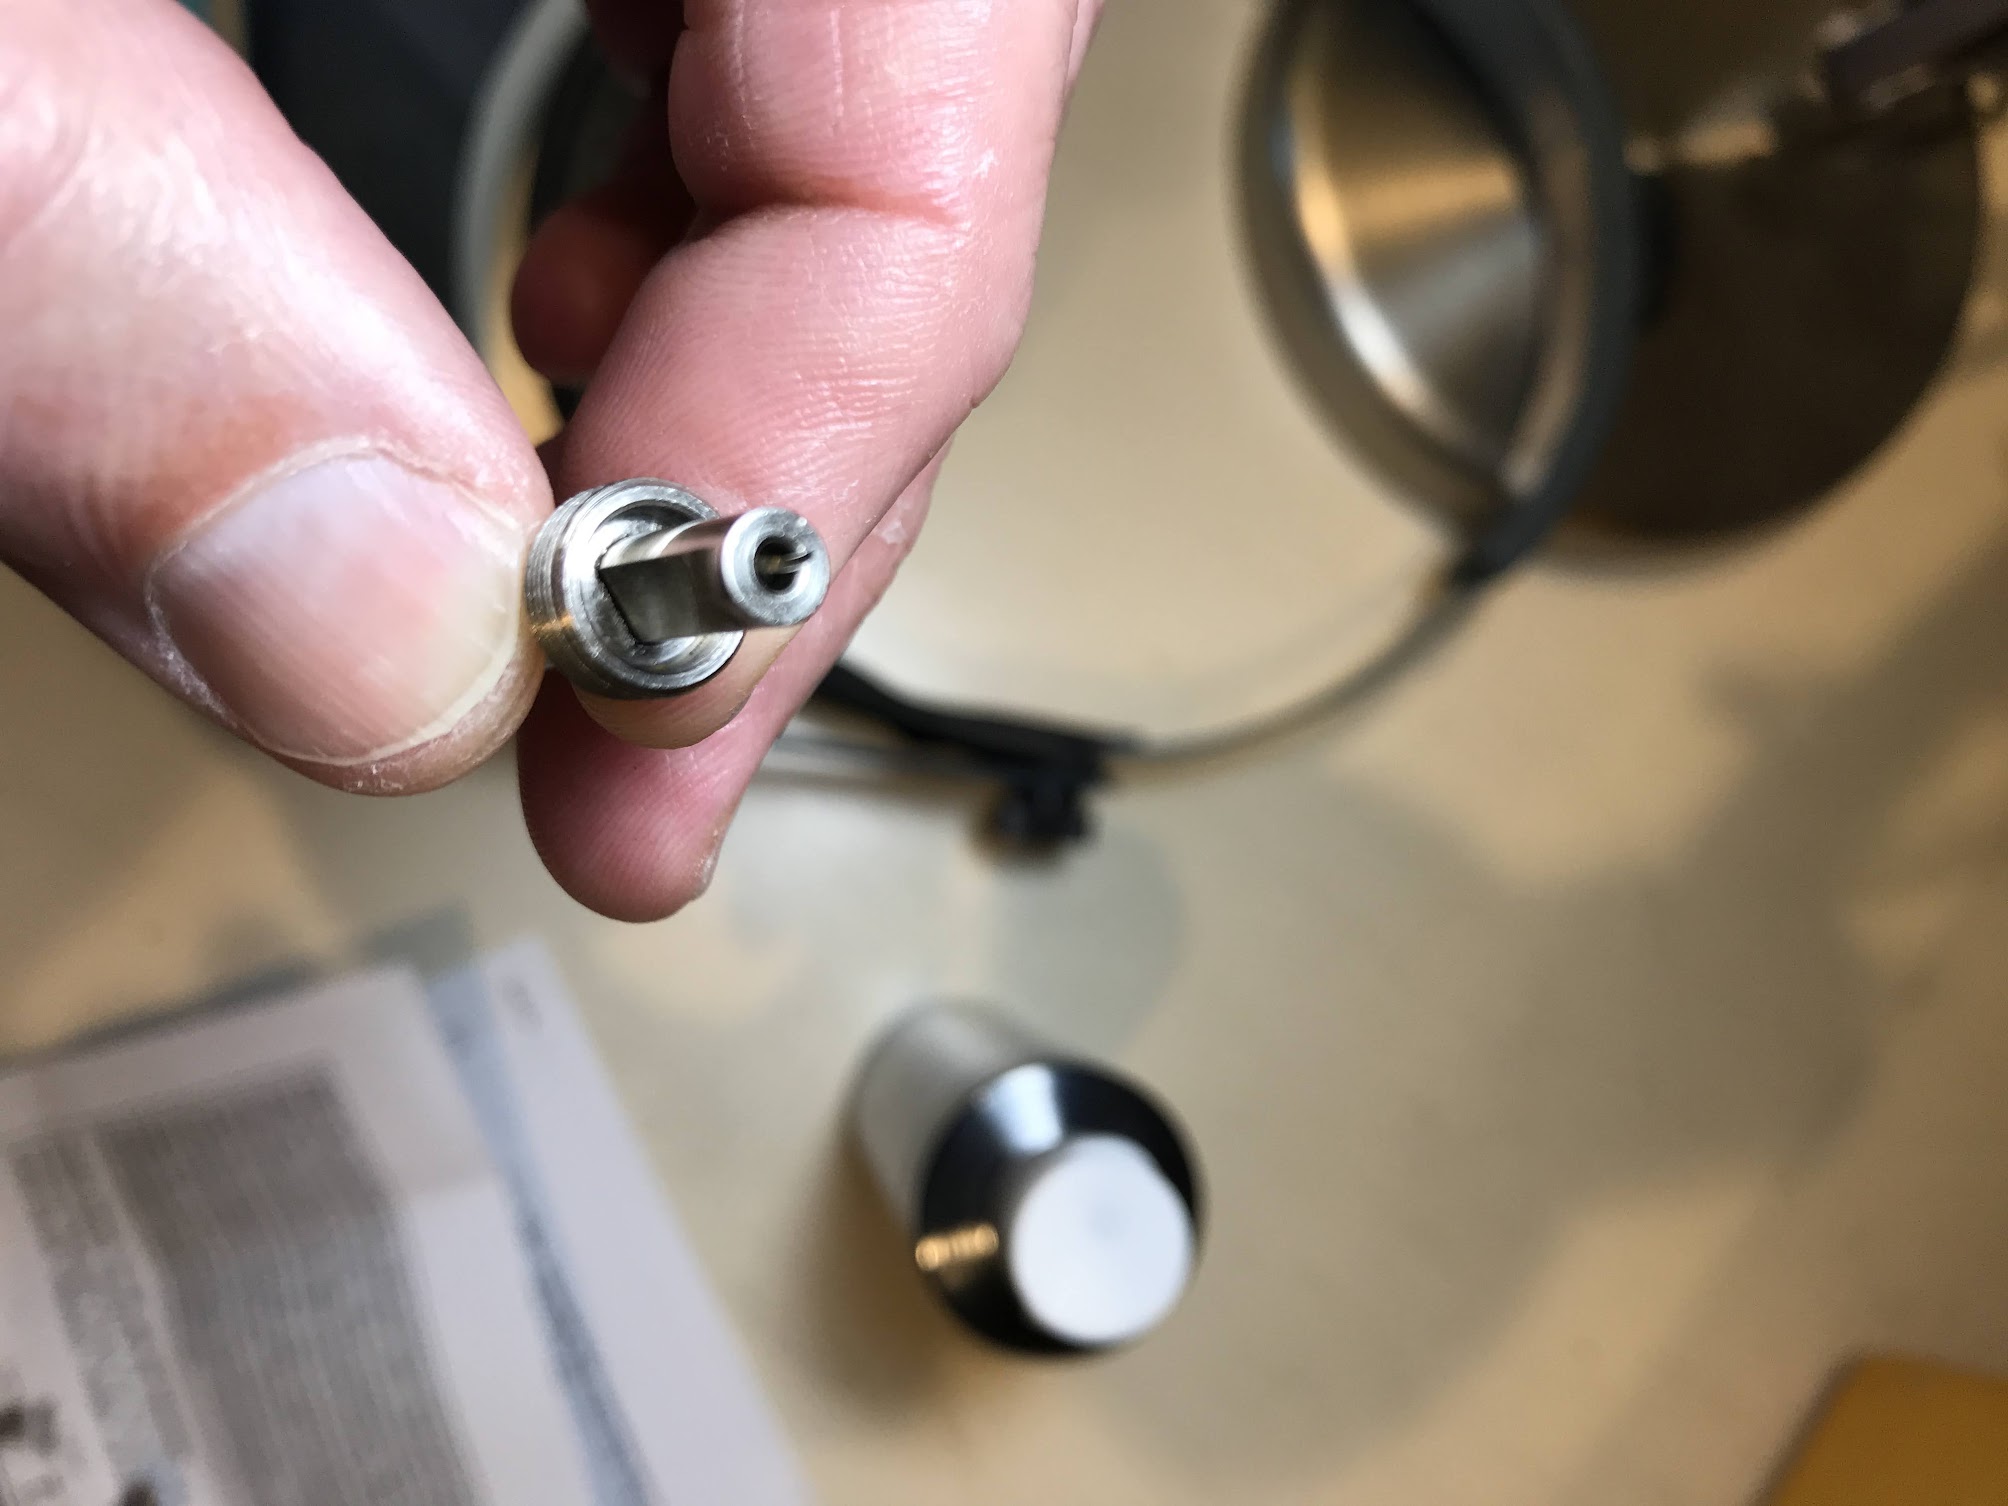
ok, i took it apart and found a metal shard inside the needle tube… But i think the real problem with the spray pattern was that the needle was not inserted all the way in. There is a lot oil inside the housing and its not very smoothe but it definately sprays better. I also took don’s tip and put a rubber bumper on the trigger as my finger was slipping off.
Yes, with a double action airbrush if the trigger is forward the needle should be seated in the tip/nozzle. As was said, loosen the nut on the needle chuck and slide the needle all the way forward. With the larger needle and tip the 105 will still go through paint/ink/whatever quicker than the Extreme but you should still have pretty decent control with the standard Patriot. I wouldn’t use oil in it though.
Tks. did figure out that the needle was not installed all the way when shipped. All good now. The squeaking i dont think is still there - most likely remedied by my removing the piece of metal shaving from the inside. The oil i asked about was for lubrication - not to shoot. Something to help with the friction…
Tks Don. I did check it out - lots of good stuff. Tks for all the tips! Just wasnt sure of the correct order of disassembly for the parts. I now have the needle placement down too. Was stumped as the Badger site is not very good - some broken links and missing info and the c/s gal i talked to there couldnt figure it out either and couldnt find the info. for my other brush i got - the extreme 105 patriot… tks again.
question - does air pressure have an effect on paint bubbling in the cup? Im using AKI acrylics and after i removed the piece of metal it definately works better but now i get bubbling in the cup and have to blow it w/ a blast of high pressure. It works for a few seconds and starts bubbling again. Ideas/ tips? Do i need more psi? Im at around 18.
Is paint building up on the tip of the needle? With the 105 you can access the needle tip pretty easy. If paint is building up there you can pick it off with your finger tips/nails or you could use a cotton swabs moistened with thinner. That’s considered tip dry and is common with acrylics especially. You can try higher air pressure and that may make it better or you may have to thin your paint until it works. That’s generally what I aim for. I like using lower air pressures so I adjust my paint to suit. Sorry that I missed your earlier reply about the oil. Just oil probably won’t do it but if it gets into the air valve it could cause the o rings to swell. Solvent definitely will swell them and then your trigger will be sticky and hard to depress. But if it helps it smooth out and break in then carry on, just use it sparingly.
There is no build up on the tip. I have been keeping a paper towell with some water and a dab of alcohol and keep wiping the tip from time to time while spraying. Maybe ill try to thin the paint more even though the few people ive asked, and aki, say thinning is not necessary. Id like to spray at a lower pressure too so maybe the thinning will help.
As long as the parts on the front of the brush are seated and tightened correctly, finger tight, and the end of the nozzle or needle hasn’t been damaged about all that’s left is the paint. You could take a close look at the end of the nozzle and see if it’s cracked or split. Take a look at the needle and see if it’s damaged. I don’t use water based acrylics often so I don’t have much experience with them. I use MM Acryl occasionally. With them, you can use one bottle or color and it’s fine, straight out of the bottle. Pick another, and you have an instant clog. But add a couple drops of thinner and you’re good. If tip dry isn’t the problem then it’s clogging and stopping up before the paint comes through the nozzle. I see a lot of people say they do use paints without thinning so they have to use higher air pressure. Or larger needle/nozzle combinations. The standard 105 setup is already pretty generous so, if nothing is damaged then turn up the air or thin the paint.
Paint bubbles is usually tip dry or an air leak. A common spot for an air leak is the fit between the nozzle and where it seats. A common remedy is a light coat of bees wax or chapstick on that taper of the nozzle. It both aids in sealing and disassembly later on vs having a stuck nozzle. Tip dry gives a similar effect as putting your finger over the front of the airbrush when back flushing, thus bubbles. A clogged nozzle does nothing, that is to say no bubble but also no paint delivery. Just sayin…
just thought id give an update… so as mentioned, no dry tip and having removed the piece of shaving. What i have noticed is that thinning vs no thinning makes a difference. But i also noticed - recently i replaced my stool w/ a seat and am much closer to my bench. I noticed that bc i am closer to the bench and now tend to tilt my brush more bc of the adapter and quick release i added to these brushes and not having a lot of paint in the cup may have caused the brush to be sucking some air… I also found a small leak at the adapter connection - wondered my the compressor kept kicking in. so i think im good for now. we’ll see
Never assume that because the AB is new that the needle is properly seated and no cleaning is needed. A brand new AB may have some metals junk (as in your case) from machining and assembling and packing lubricants.
It’s a great idea to take apart a new ab to clean and flush out things removing any lubricant used for shipping and storage then assemble and properly fit the needle to get a good seal.
Now you will have a couple of air brushes that will last you a lifetime. I have several Badgers and my oldest one goes back to the mid 1970s and still operates like new.
I’m glad you got it worked out. Several years ago someone gifted me 3 brand new Badgers. A 100LG, 105 and an Omni 4000. Actually a Thayer Chandler. None of them would spray correctly. I fiddled and fiddled with them and then one day I was tearing apart the 105 and found a little white shaving inside the air cap. It looked like a piece of whatever they make the needle seals out of. Turned out that the passage from air valve to the front of the brush had those little shavings in them on all the brushes. Got them cleaned out and they worked ok.
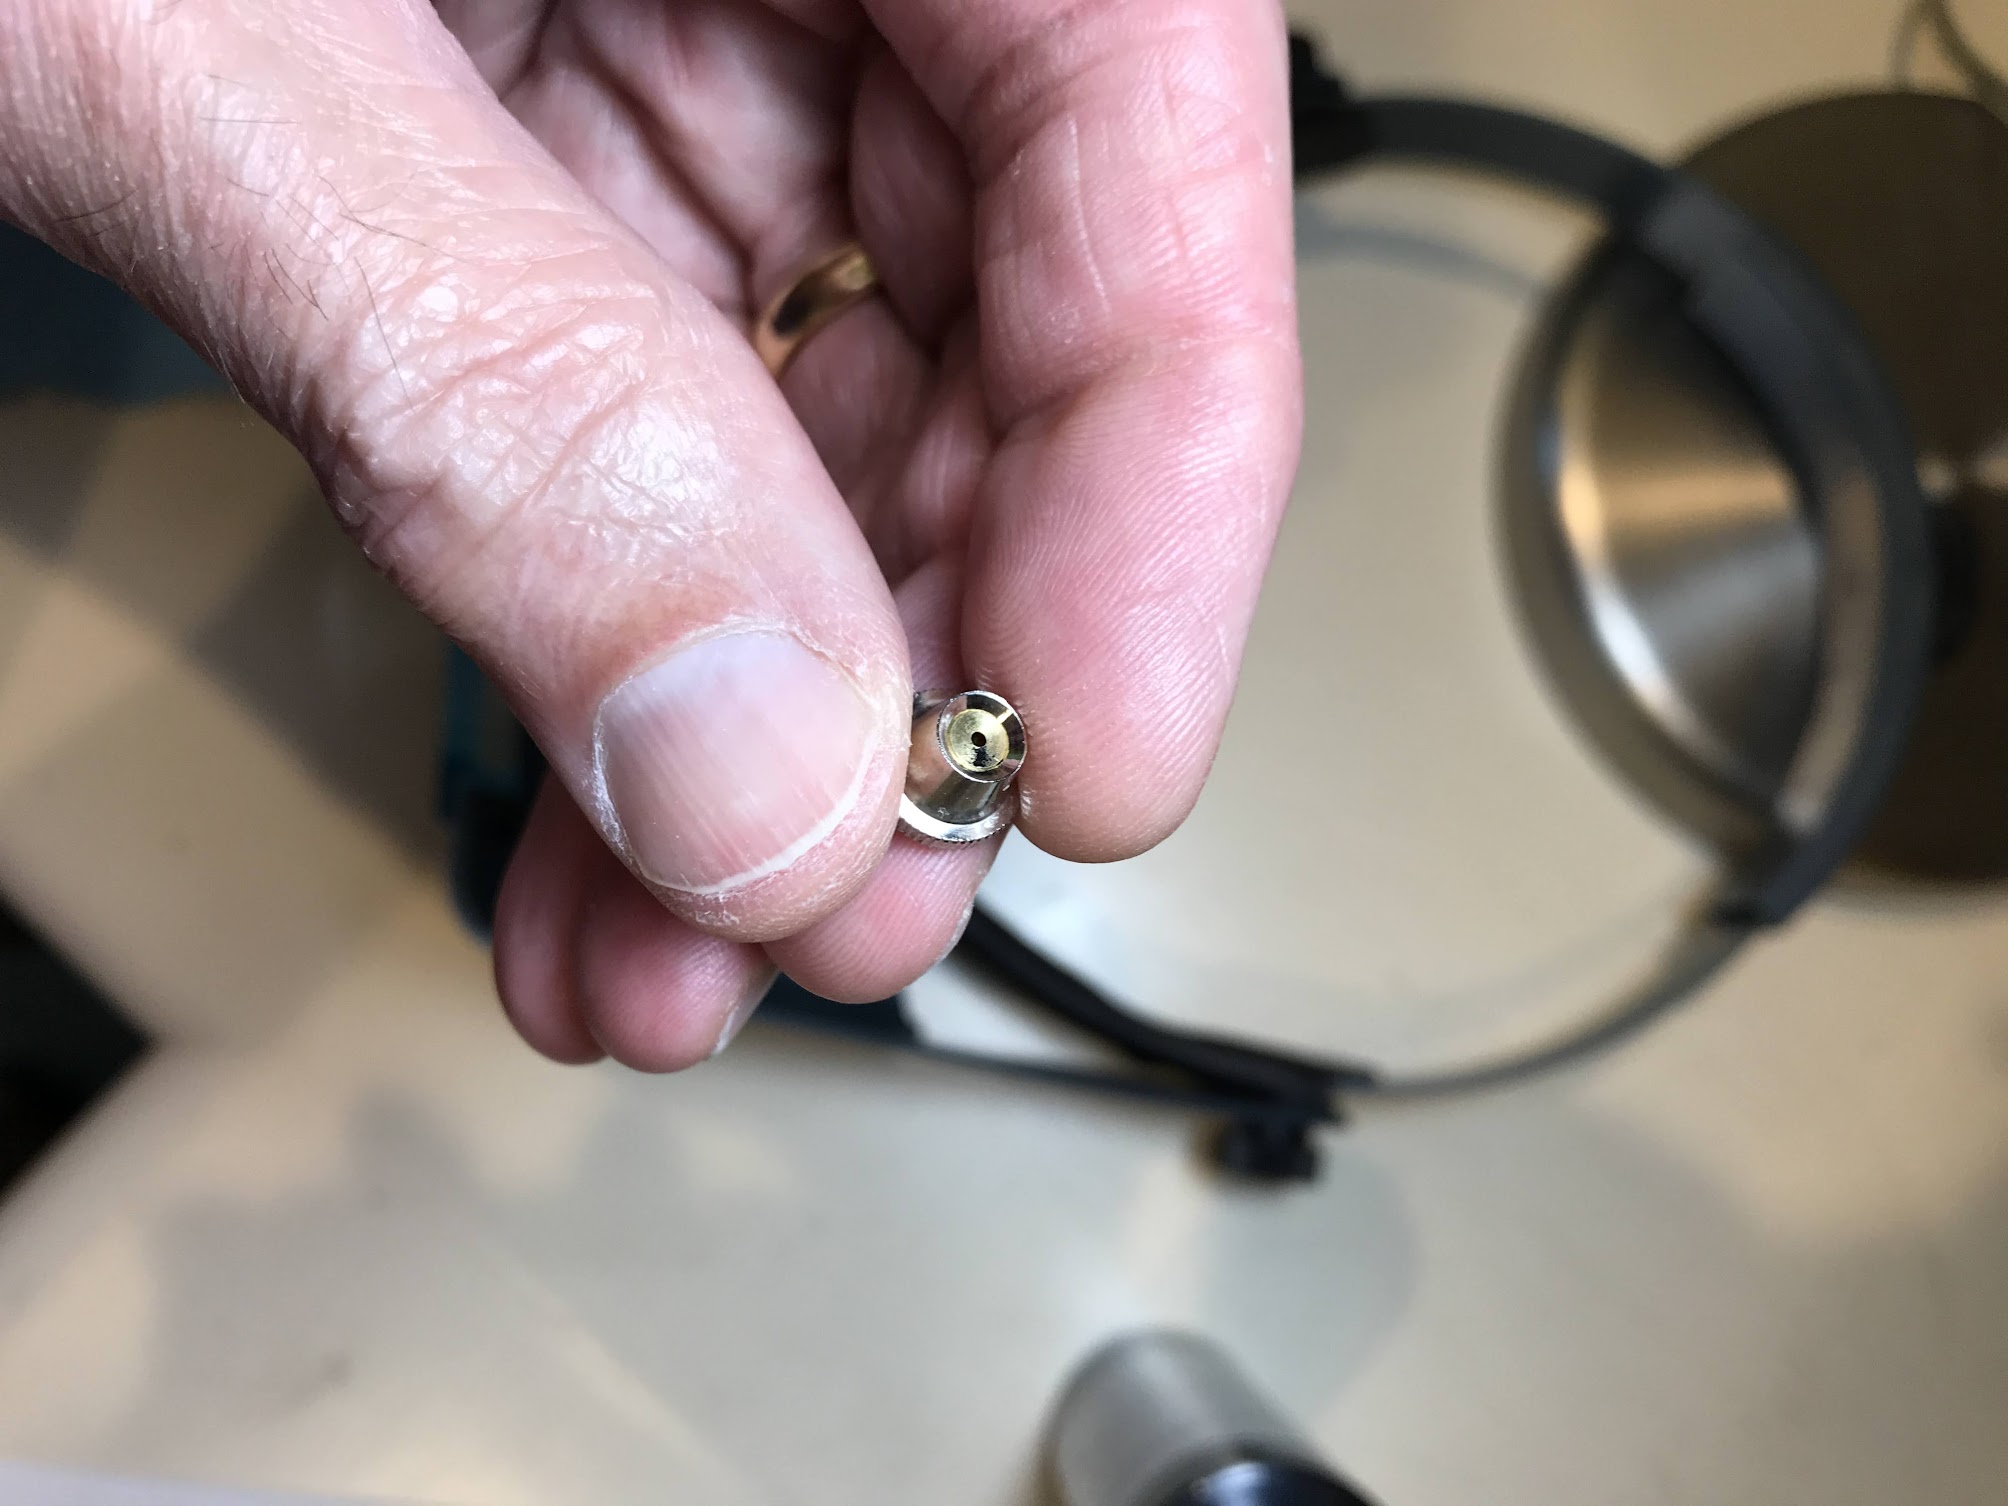
Ok, I thought i had it good as i had found 2 small leaks - 1 at the adapter fitting between the hose and the regulator(Badger regulator and Pasche hose) and 1 on the quick release fitting adapter. Also has a squished “O” ring i noticed when i took the regulator hose adapter off. But then I did some spraying and got the bubbling in the cup again. The tip seems good with no build up. Not to be funny, i only have a badger chart to go by and im not that familair with the part names. I do not see “nozzle” but would like to add some chapstick to try that. Would that be the threaded end of the Head? If so, I have followed the service tech’s advise to me to snug that part down w/ pliars. But i can remove and use some chapstick. The Spray Regulator is only hand snugged. The needle tip looks good and seems to be straight and the Paint Tip seems to be seated properly. No bubbling with the Extreme model. Tks much…
The first part that screws off the front is the air cap. The second part that screws off is the nozzle cap. That may not be the correct term but it’s what holds the nozzle in place so that’s what I’m going with. You can take them off together or separately. The double cone shaped piece that you can remove once you’ve taken the caps off is the nozzle or tip. And of course there’s the needle. The taper of the cones on the nozzle are supposed to center and seal the nozzle when the nozzle cap is screwed on. There may or may not be an o ring on the threads of that cap. My first Badger, a 360, never had that o ring. It isn’t necessary. If anything it may keep that cap from snuggling up. Not to go against the tech but finger tight should be enough for both caps. Try slipping that o ring off if there is one there and assemble things finger tight. The hole in the front of the nozzle cap fits over the cone on the front of the nozzle and the rear cone fits in the paint passage in the body of the brush. When you tighten that cap the cones should seal without any beeswax or anything else. Where you would possibly use beeswax is on an airbrush that uses a screw in nozzle or on the threads of the cap that holds it. I can loosen the nozzle cap on my 105 about a quarter of turn before I get bubbles in the cup and I can loosen the air cap almost a half turn before I get bubbles. I can remember the nozzle cap being difficult to tighten with that o ring so I took it off and had no problems afterwards. I don’t remember getting bubbles in the cup but that was 10 years ago so… I’m sorry I didn’t mention that before. But again, finger tight should be good and if you use pliers, be very gentle.