Hi all it was suggested that I post my question here instead of under paper models. So here I am.
I am about to start covering my P51 fuselage with tissue paper. My question is since the sides of the fuselage are flat and a solid sheet of wood do I apply glue to the entire surface or just outline the fuselage with glue.
If I cover the entire side, then I won’t be able to shrink the paper so it better go on right the first time.
If I glue the outline of the fuselage, do I glue the paper where the wing spars go into the fuselage ?
I hope all this makes sense, thanks for any help you can offer.
I can’t remember the last time I did a “Stick and Tissue” Airplane… ( 1977 ? )
I seem to recall that I Outlined the Fusalage with glue and then applyed the Tissue. Apply the glue “SPARINGLY” or you will end up with gummy paper on the framework. ( It will Ooze everywhere and wont dry for day’s.) If the Tissue absorb’s too much glue , it won’t be smooth when it dry’s . This will lead to lumpy paint later. And the tissue will eventually tear.
I didn’t glue paper where the Wing Spars went in. It will be a stronger bond without the paper “Sandwiched” in the joint.
Philo426- I just spent the last hour trying to figure out how to post a picture with no luck. To say the least, I am computer illiterate. I view the grandkids as computer support , tomorrow I will see them and see if they can help.
Littletimmy- thanks for the reply. The last time for me was about 1960. Sounds like I glue the outside edges of the fuselage then cutout the outline of the wing and glue the edges of the paper. A photo would make life a lot easier.
I used to use Aerogloss Fuelproorf dope back in the 70s but I do not know if it is still available as it smells really nasty !More recently,I Made a Guillows Dehavilid Beaver.Instead of tissue,I used Monokote which is a plastic film that you apply with a Hanger 9 sealing iron.Works well but it is heavier than tissue so not really suited to a rubber powered flying model.(Meant for electric or gas powered flight).Frankie Day has a tutorial on YouTube on how to apply tissue with diluted white glue.
What brand is the kit. You say it has sheet balsa sides? With stringers and formers on the top and bottom? If so, whether you cover the sides over the sheet balsa is optional. You can just cover the top and bottom, extending the covering around the edge of the sheet for about a sixteenth or an eighth of an inch. You can cover the sides if you want with a seperate sheet of tissue. If so, you do not use glue- you use clear dope. Paint the side with one coat of clear dope, immediately lay down a sheet of tissue cut to size, and brush on a second coat of dope. The dope will soak through the tissue and connect with the dope already hardening on the wood. Immediately smooth out any wrinkles. When I cover a fuselage on a model with sheet sides like that, I cover the sides first, then the top and bottom.
If the model does not have sheet sides, I still cover sides first, top and bottom later. Depending on the curves and bumps, you may want to cover tops and bottoms with several pieces of tissue each. the smaller the pieces you use, the easier it gets.
Also, when gluing, put the glue on the wood, not the tissue. Whether using white glue or dope, I use a paint brush to apply the glue or dope to the wood.
There is also a technique, called wet covering, where you slightly wet with water each piece of tissue just before you put it down on framework. I suggest you put this off until you get a few planes under your belt using the tissue dry. The wet tissue shrinks up better than dry, avoiding wrinkles, but is a messy, somewhat tricky job. The wet tissue tears very easily.
Gosh it’s been ages since mentioning stick and tissue!
Why not use Monokote instead or any current self adhesive covering material. It shrinks easy and goes down smooth. That fuel proof dope is nasty on one’s lungs. [+o(]
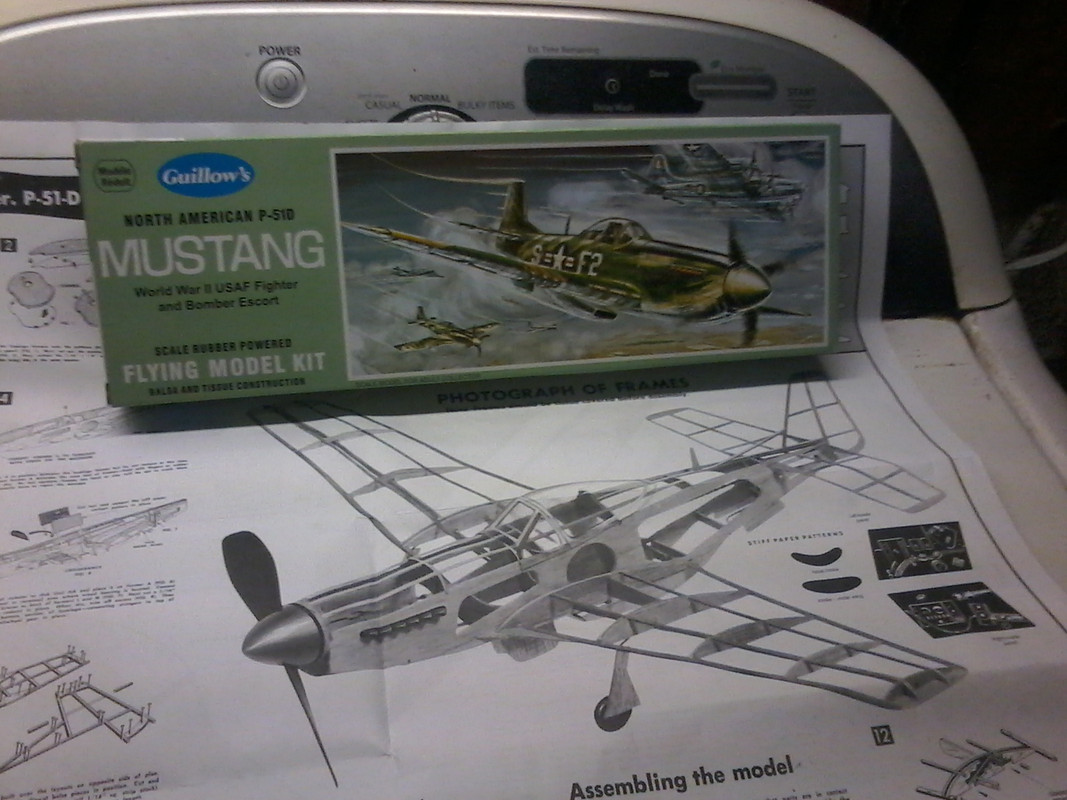
Sounds like the smaller Guillows Mustang, that series all have the slab sides. Guillows has a pretty active forum at balsamodels.com For questions just like this, some pretty astounding models there too.
Philo426 thanks for the I put, next week I’m going to make the ninety mile trip to the hobby store with a shopping list of what you folks have suggested and see what they have. This bird will not fly, I’m building it for a static display. Just wish they included a 4 blade prop, the 2 blade prop will look a little funny .
Sure!by the way,is it the Guillows P51 in a green box with a combat scene on the box?I have that one but have not built it.I think it is 1/32 so a Monogram 4 bladed prop and spinner may work.You should be able to get one on the bay
If that’s the same kit, I’d seriously cosider laminating a flat piece of sumpin’ over those holes. A thin piece of cardboard folder material would probably work fine.
If you want it to fly, I would not use Monocoat- it is heavier than tissue. It is meant more for larger RC craft than that little Mustang. For display, Monocoat is okay. In fact there is a polished aluminum color in those iron-on coverings. Note, however, that iron-on coverings take a certain skill set that takes as long to learn as tissue covering. With either, however, using smaller pieces helps.