Well, after a disasterious conclusion to my other biplane build, I hope to redeem myself with another. I picked this kit up from my LHS at the relatively modest price of $11. I present- the Encore Models’ Polikarpov R-5.
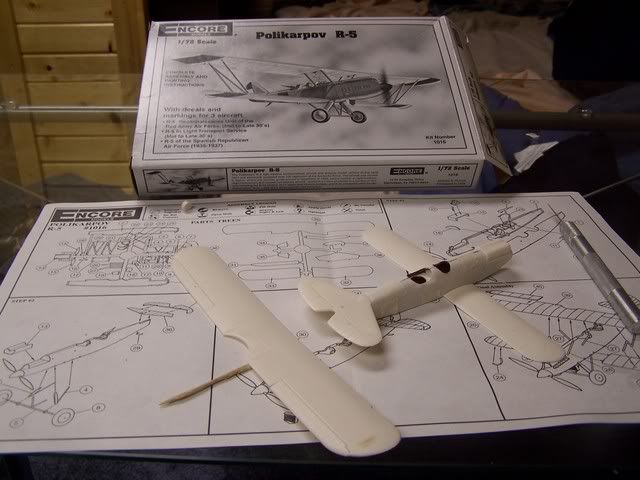
Not the greatest kit I ever saw, but then again, not the worst either. The major problems:
- Large chunk missing from the top wing. I’ll have to rebuild it with something and sand it down.
- No back seat and minimal interior- hello spares box…
- Rear gun was missing from kit (fell off sprue)- see above…
- Spinner seems to have suffered from a short shot, or the plastic cooled before filling the entire space. There’s a weird canyon down the middle of it where the two blobs of plastic from the opposite sides met and didn’t fully join. Ah, well. Putty here should be fine.
So you see, nothing major, just annoying. Here’s a mockup of the fuselage:
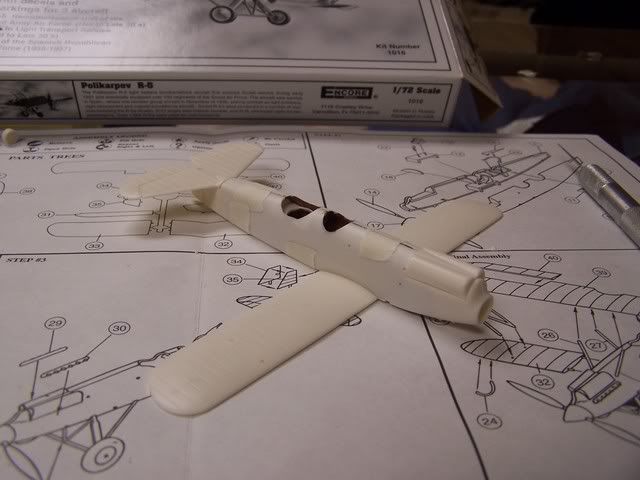
I haven’t done much work on it yet. I just glued the main cockpit floors into one fuselage half, and painted the interior a general shade of “wood”- paint scheme looks much better once the fuselage is closed up.
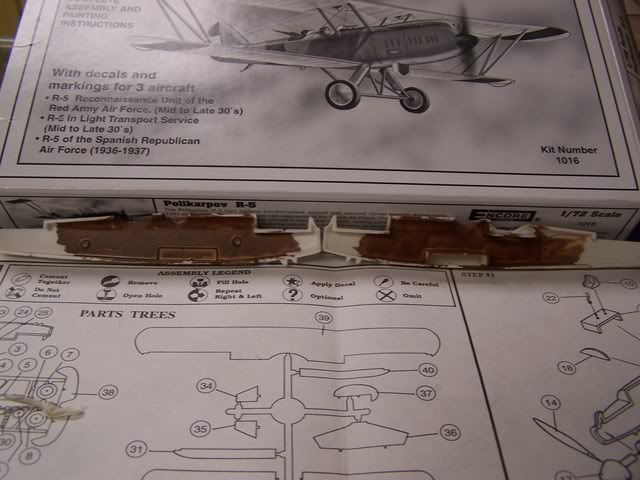
I’ll spruce up the cockpit a bit more than what is provided in the kit, but only enough to make it look a bit “busy”- not overcrowded.
Compared to the Airfix Avro, this may be a bit eaiser build. There are less struts, less rigging, more space to get at the rigging (less dense), etc. The main drawback is that all the struts are at a goofy angle, as opposed to the generally straight ones of the 504. Ah, well. I’ll figure something out.
As always, thanks for checkin’ out my stuff, and comments are welcome.
(Wow- those pics are really dark. I need a better light source…)
I always enjoy watching you work and this will be no exception. I’m looking forward to your progress.
Eddie
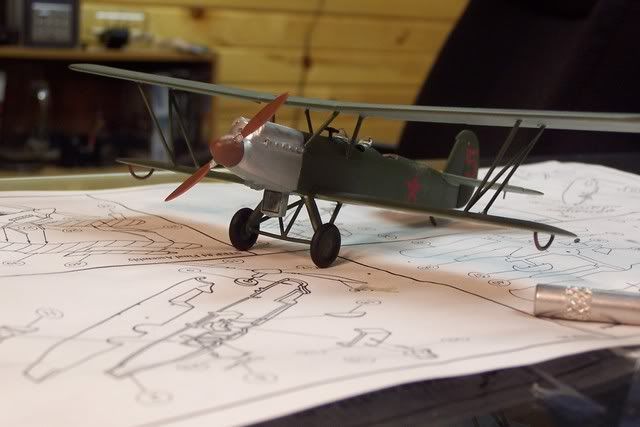
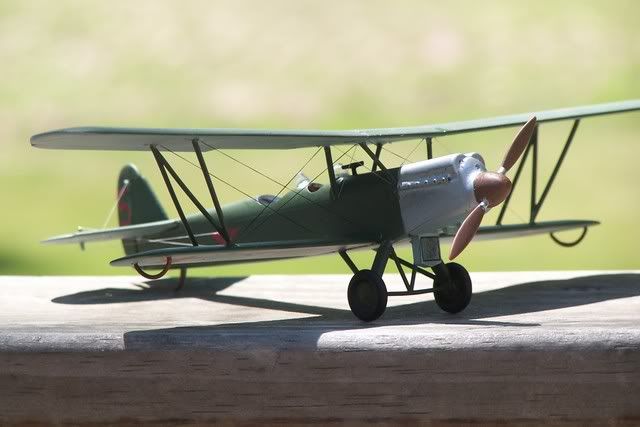
Speakin’ of progress, I actually got some! After building and painting for three days straight (almost), here she is, ready for rigging:
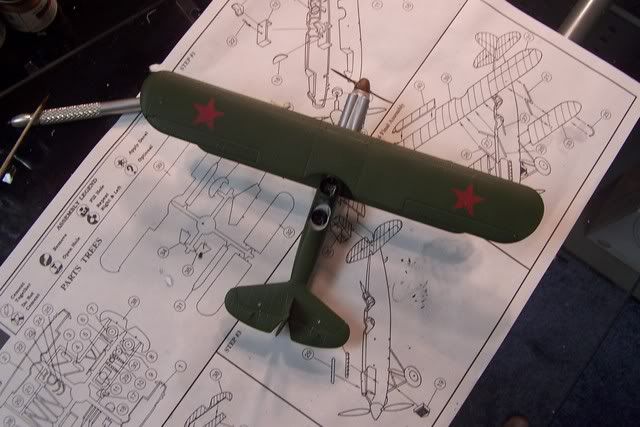
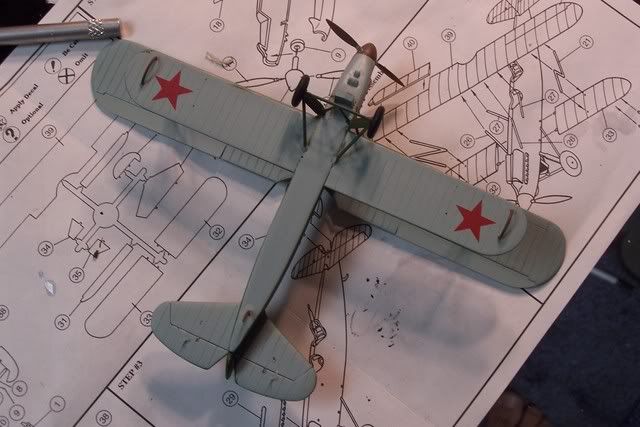
Sorry for the photos being so dark. I would’ve taken them outside, but it’s sort of thunderstorming where I’m at. Therefore- inside we go!
The kit went together suprisingly well. I just needed a bit of putty in front of the tail, and the struts were a bit wonky… but we’ll get to that.
I didn’t add much details. Just a few windshields and a gunsight. And rigging, of course. But that’s what’s next.
The painting was straightforward, and the decals settled down suprisingly well. They were actually of very good quality, if a bit on the thick side. You can still tell they are decals, but it’s pretty difficult.
The upper wing went on with more fuss than I like. I need to find a better way to get that thing on! In any case, it turned out well enough. It’s tillted a bit too far forward, but apart from modifying the N-struts extensively, there’s not much I can do about this.
All that’s left is to rig this sucker and add the rear gun. My kit didn’t come with one, so I’ll have to find one. It may be a german caliber, but I guarentee nobody will know it.
Until I find something to rig this sucker with!
Dang, you weren’t kidding! you got busy! Nice look, I like Soviet planes (especially since the IL-2 Sturmovik game[;)]). It’ll be interesting to see how you go about rigging. Let’s hope you’re more careful with this one, Mike!!!
Yeah, I’ve always had a soft spot for the Russian Stuff too (I have IL-2: Sturmovik Forgotten Battles, the Ace expansion pack, and my brother just picked up the Pacific Fighters expansion on top of that), I just haven’t been able to really get anything, as I’ve been focusing on the german stuff. A decet Russian kit is a bit hard to get a hold of too, no?
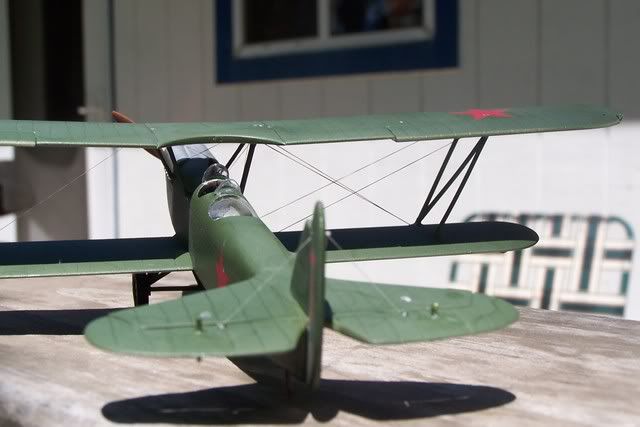
The first decals I put on were the red stars on the top of the upper wing. When that red hit that green, I was like, “Yes. I have arrived.” [:D]
Well, I’ve begun rigging (alas, no photos… yet [;)]), and I’ve found a rather novel rigging material that works rather well.
Just promise not to laugh.
…
Anyway, after remembering a tip from somewhere I read before, I took a look at the top of one of my mom’s pantyhose. Wouldn’t you know it, there’s a bunch of really small elastic (I’m assuming) nylon thread. After slicing a length of the stuff and picking it out, I examined it further.
It’s some good stuff. A six inch length will probably stretch to about two feet without much effort. It’s also ungodly thin- slightly larger than a typical human hair. The best part- it’s flexible, so any accidental bumping is no problem!
There’s only two downsides. It’s not round, but a flat ribbon. It’s almost impossible not to get some twist in it, which wouldn’t be a problem, 'cept it’s also rather shiny. This leads to some interesting (albeit inaccurate) light patterns on the lines. Painting is a must. You can still tell there’s something odd with the rigging even after painting, but you have to get REALLY close to tell.
All told- I’m sold on this rigging method. I’ve done one wing so far, and it’s been a blast.
I’ll be sure to put up plenty of pics soon, and perhaps, if I’m feeling ambitious, a little “how-to” series. [;)]
And yes, I WILL be building a few more biplanes in the future! [:D]
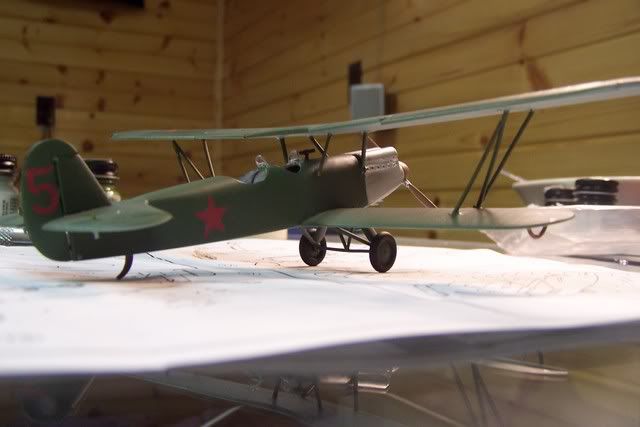
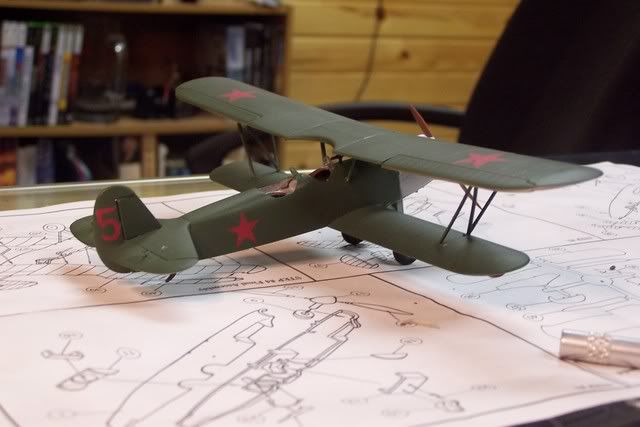
Just a few teaser photos for y’all.
Actually that looks really cool! Unfortunately (in hobby context only) my wife has great legs, so for now I’ll have to stick with what I usually use. [;)]