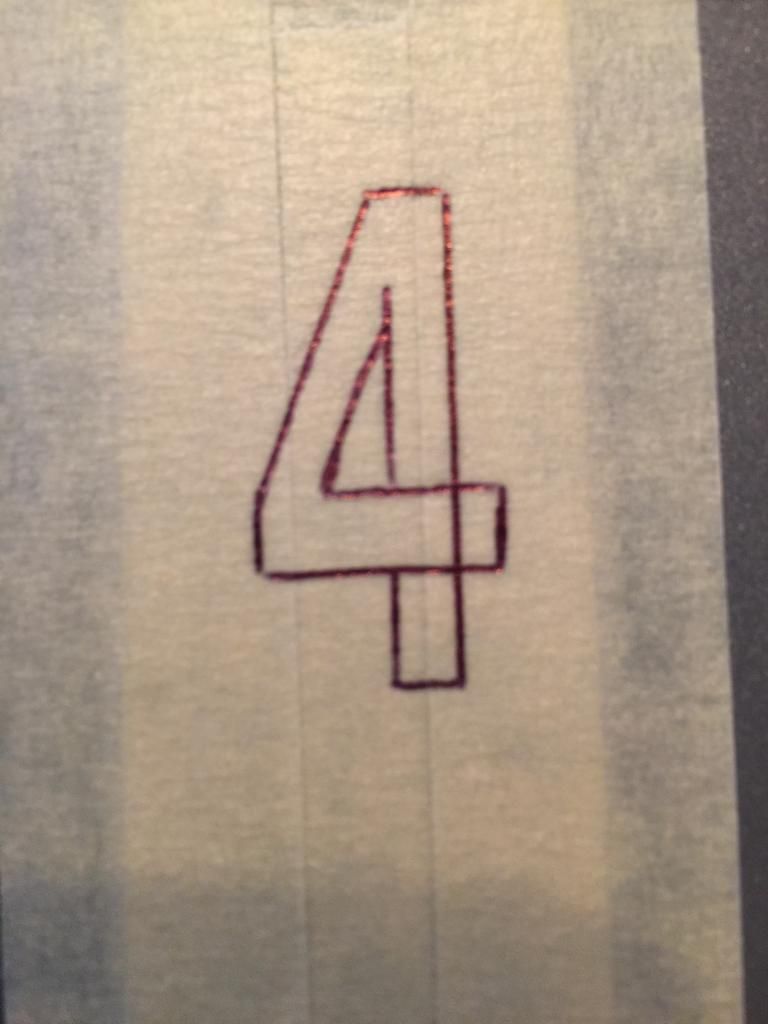
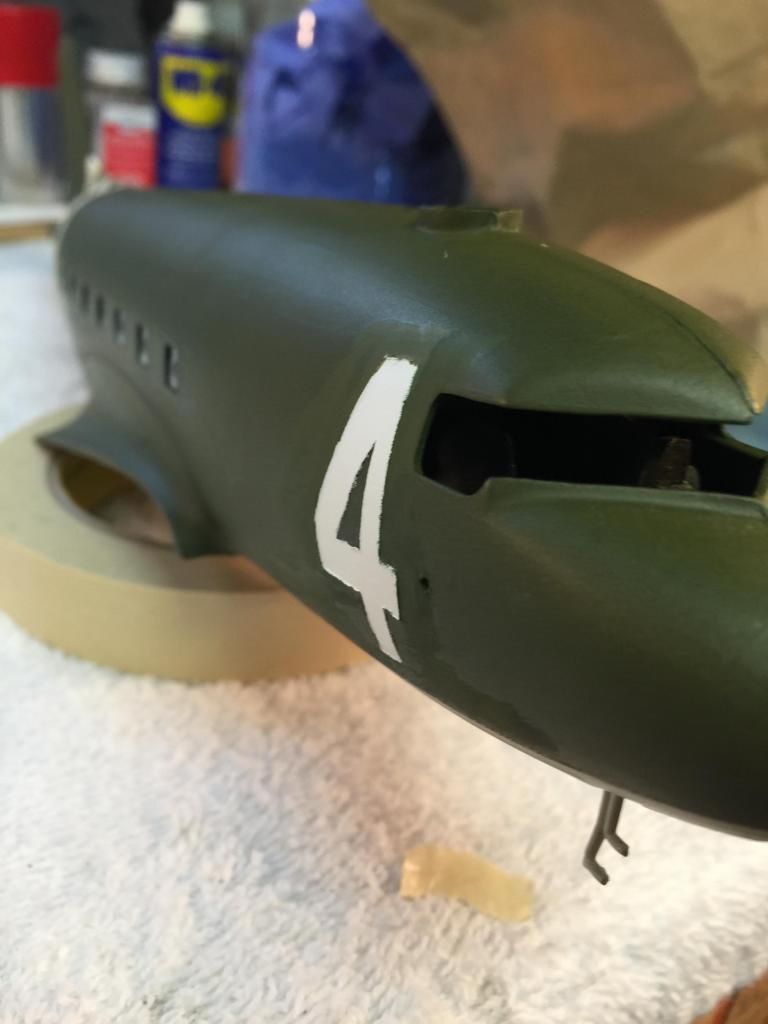
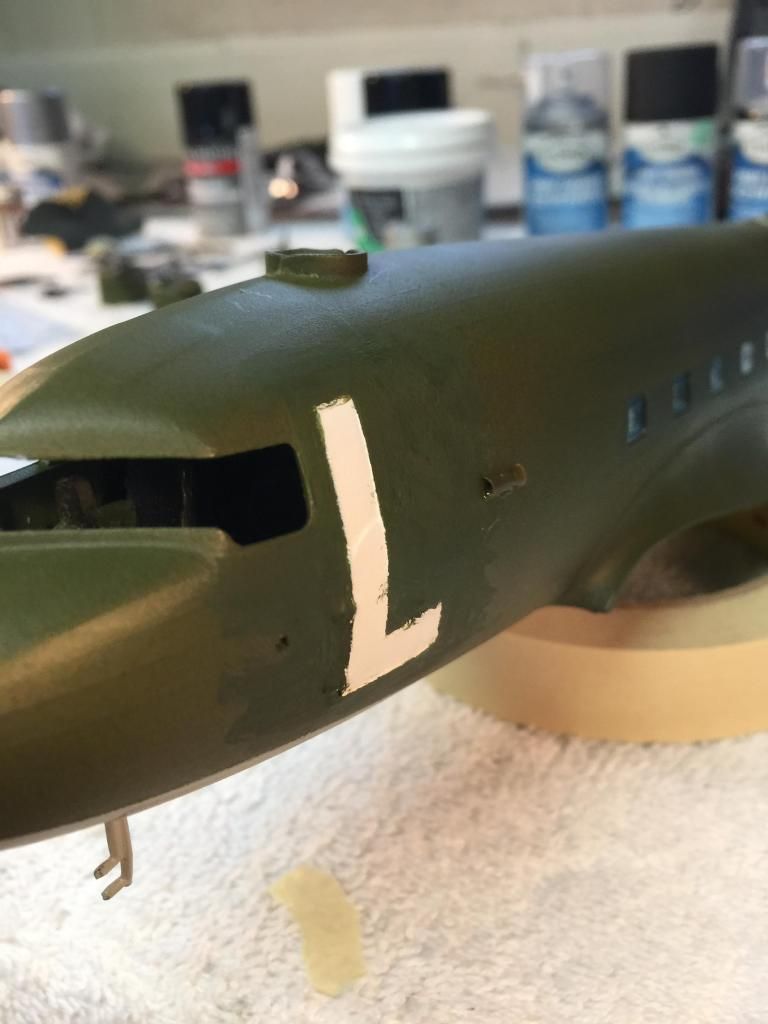
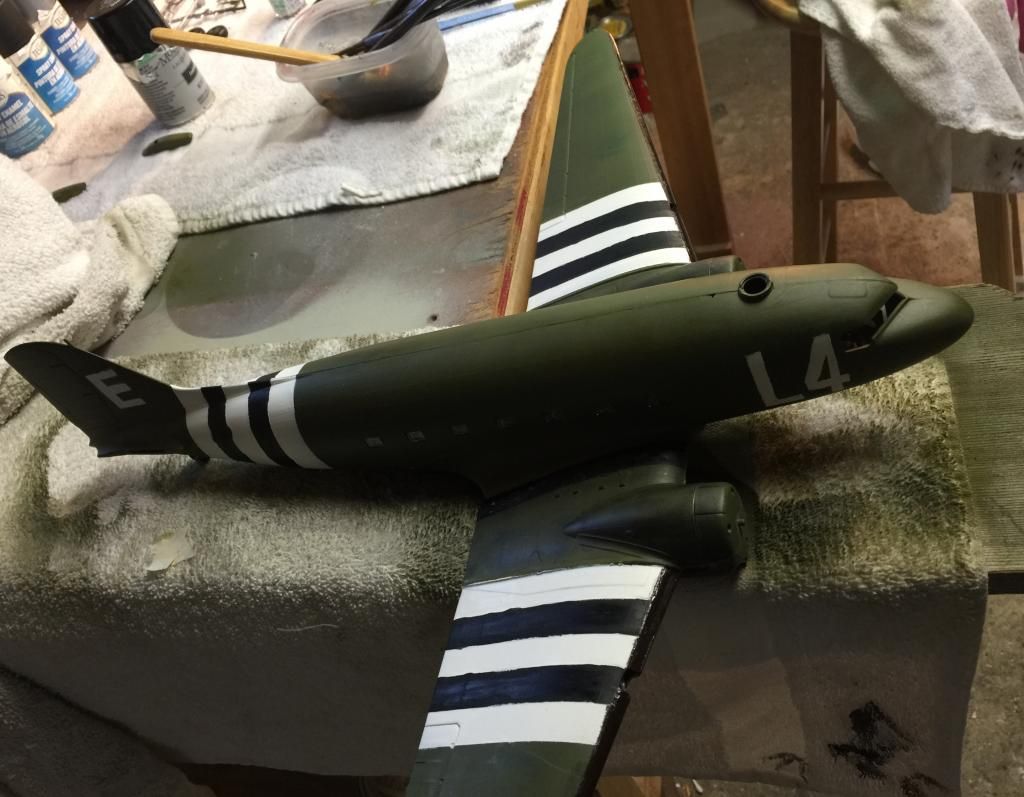
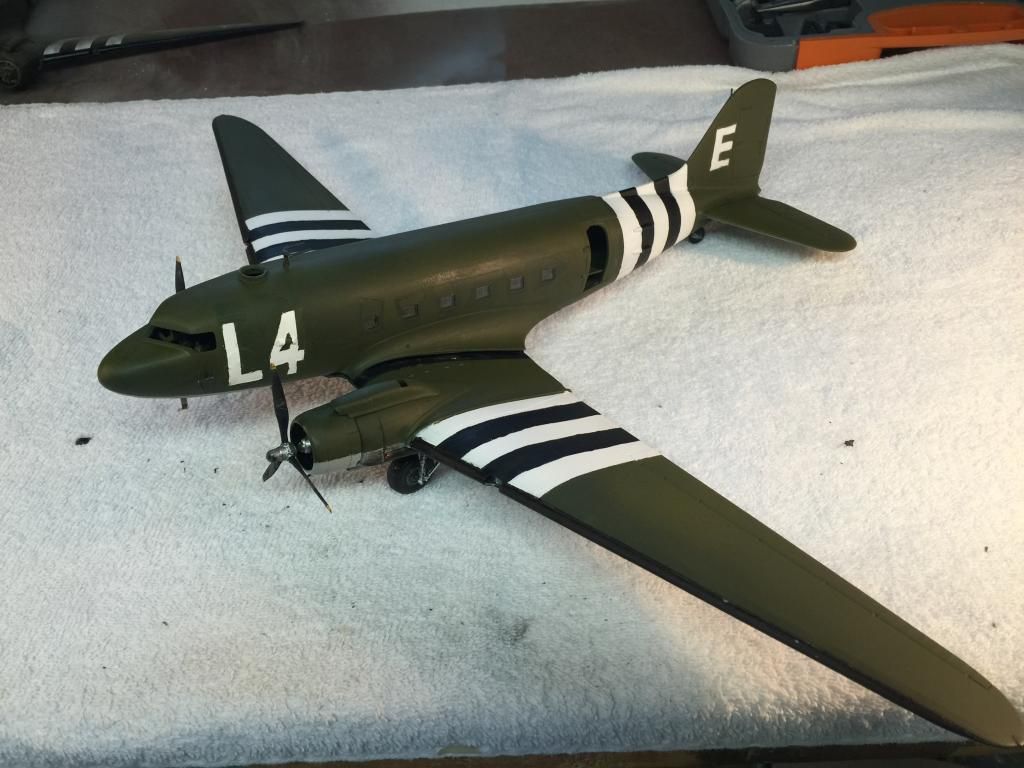
Ok so, I don’t own a stencil and finding one in my area is like finding a four leaf clover! So I had to draw the letter/numbers by hand. Painting around the middle for the “4” will be interesting as it’s small and yields VERY little protection from paint. I imagine I’ll have to touch it up, but we’ll see!
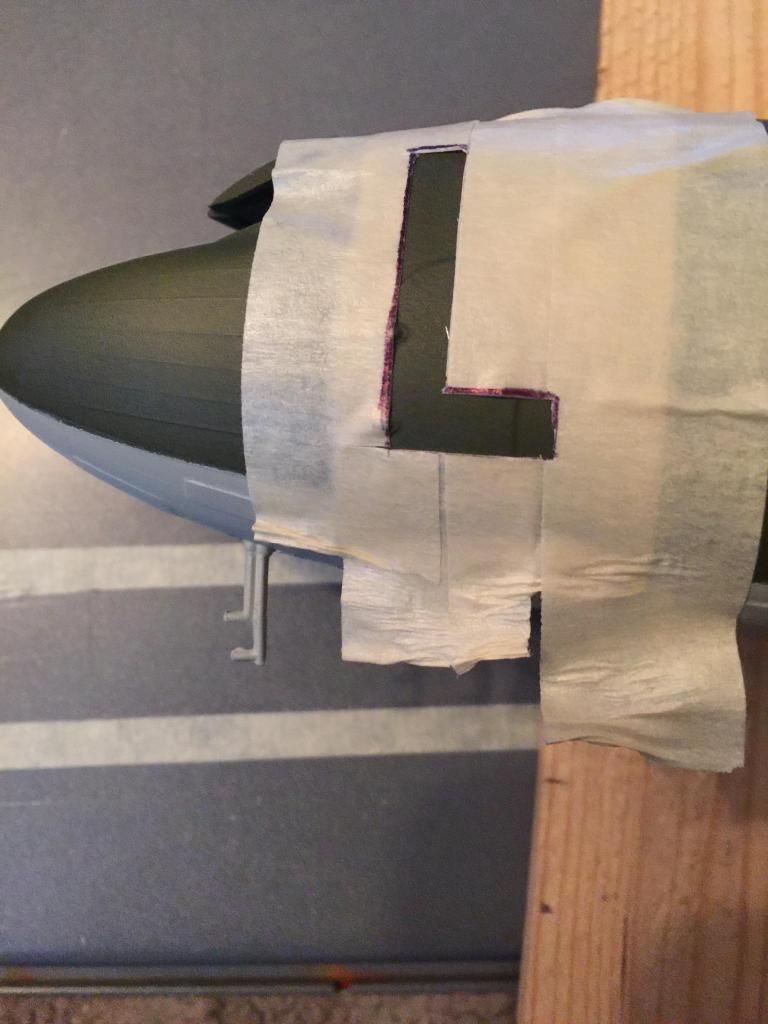
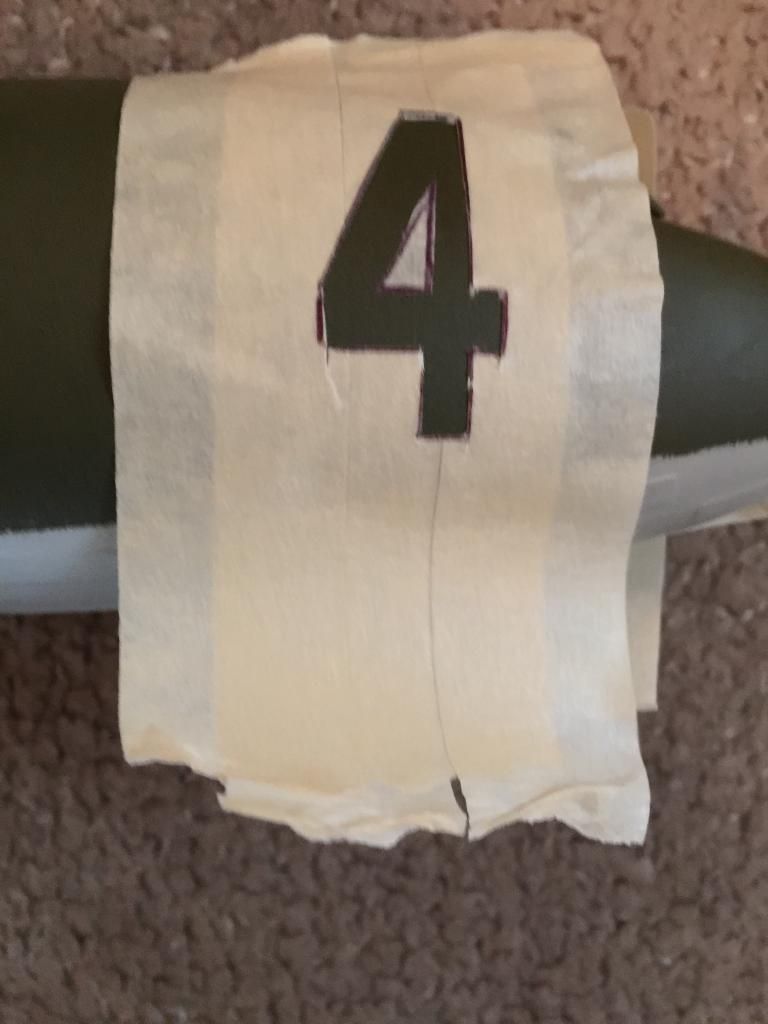
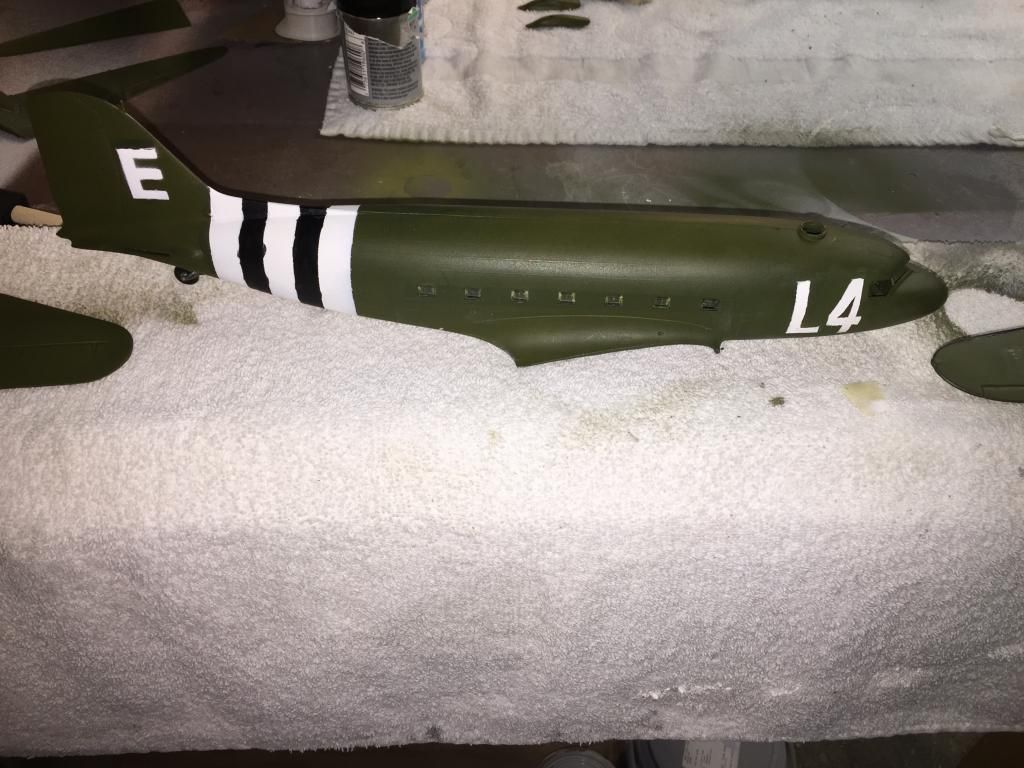
Alrighty, so the first halves of the “L” and “4” came out ok, got some more touching up to do to even out the green, but not too shabby.
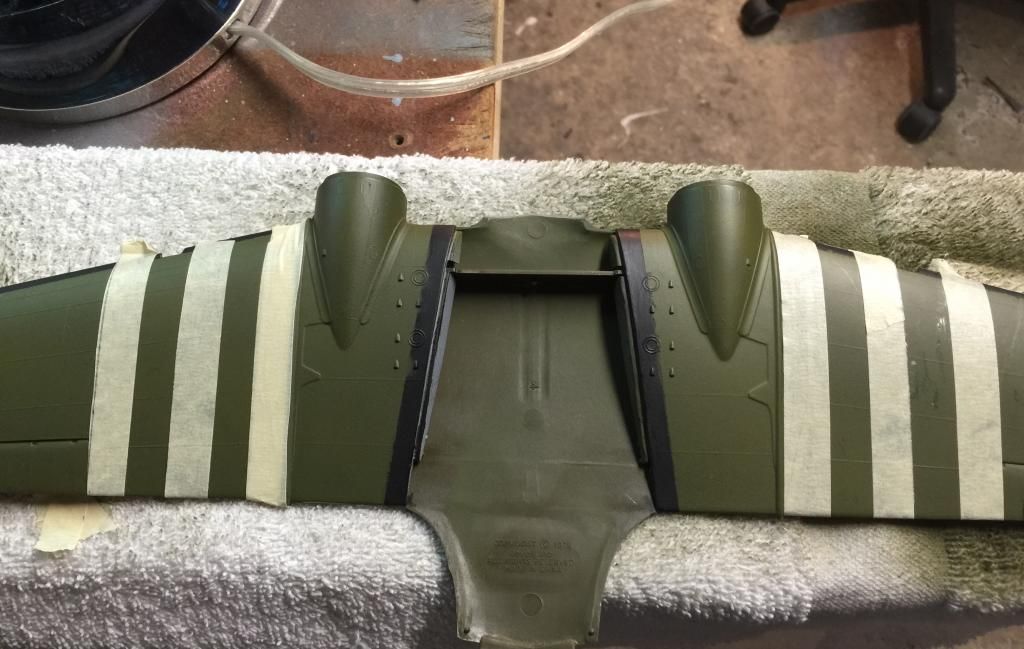
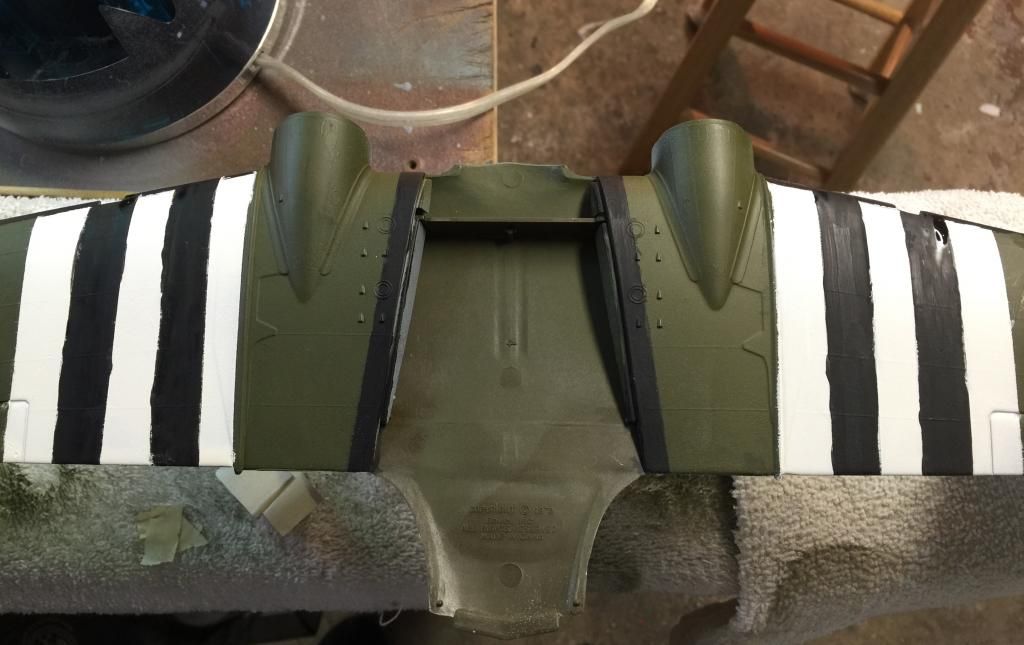
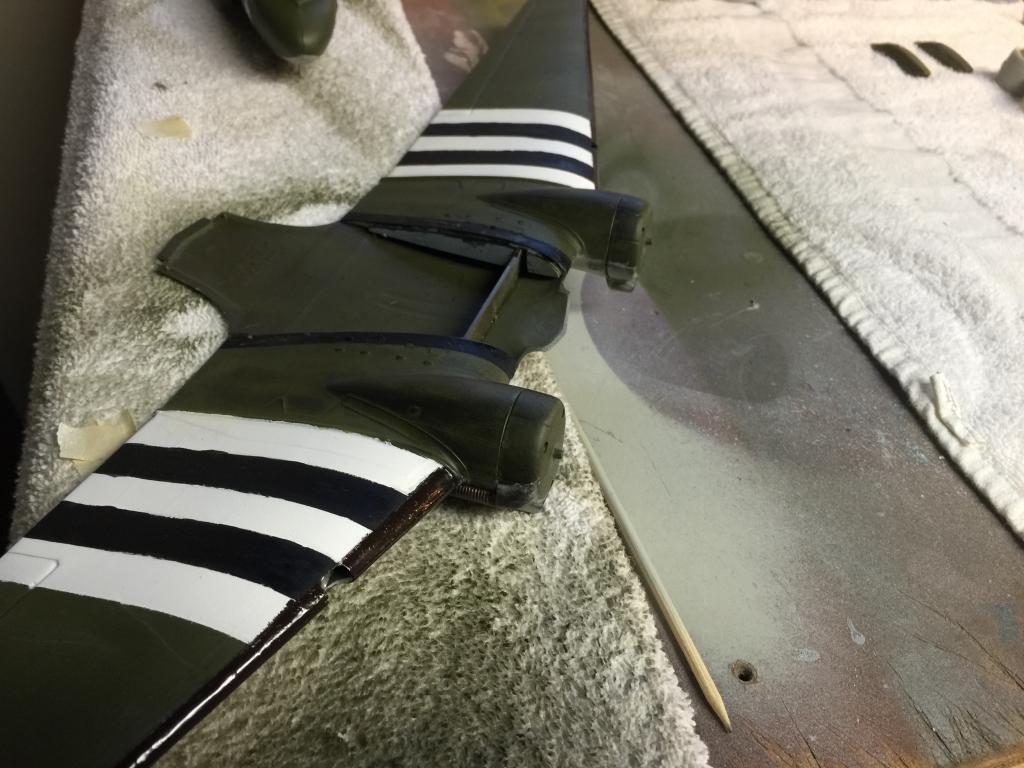
Here, I finished up the invasion stripes on the wings. I was all excited to do this, because here I thought was a part where I didn’t need to hold my breath to do it. But sure enough, it takes even MORE precision to paint “haphazard” lines than straight ones! Either way, happy with the results!
Thanks Steve! Got most of the wing work done and nearly complete with that. Just waiting on some microsol to show up at my shop then I can put the decals on and get ready to attach it to the fuselage.
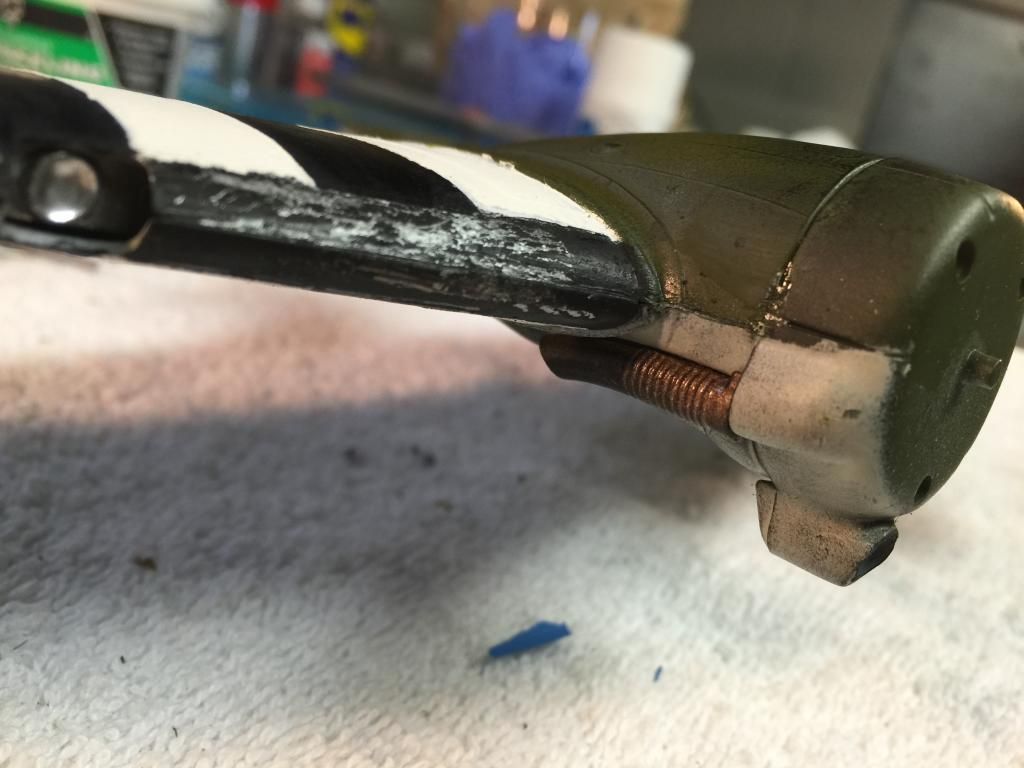
I also touched up the invasion stripes just a bit, and added it a little chipping effect to the wing edges.
Looking great so far. I love the roughness of the invasion stripes, looks like the real deal. And by the way, Kilroy also made it onto the WWII Memorial in DC.
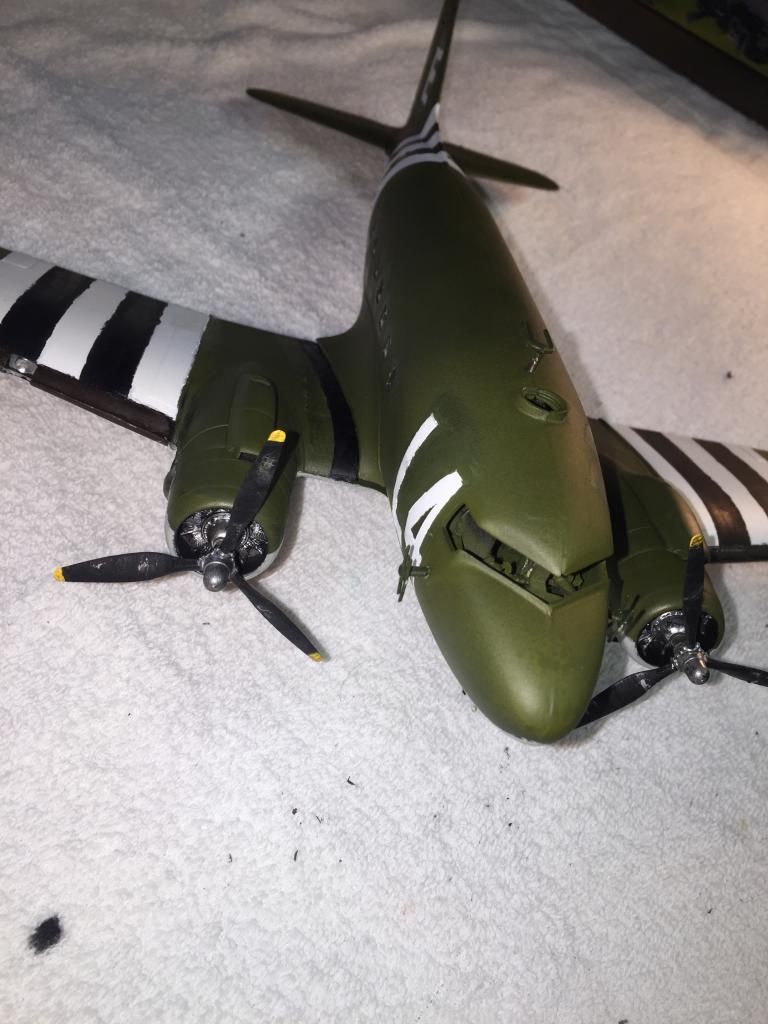
Hello Airborne_Trooper! I want to pass on a little advice. You might want to think about repainting the black the leading edge of the wing. You added the chipping and worn paint there; however, this would have never occurred there. The black on the leading edge represents the deicing boots. These boots were rubber so they could be inflated. The build looks good!
Nice start on the Monogram C-47 model. I did a 1/72nd scale version of a C-47 from the 301st last year, so ran across quite a bit of info. You may already know of this site, but thought you might enjoy this article written by a glider pilot attached to the 91st squadron. The TCS not only dropped paratroopers, but hauled gliders in as well on separate missions.
Thanks for the website Gary! I’ll be sure to check that out sometime.
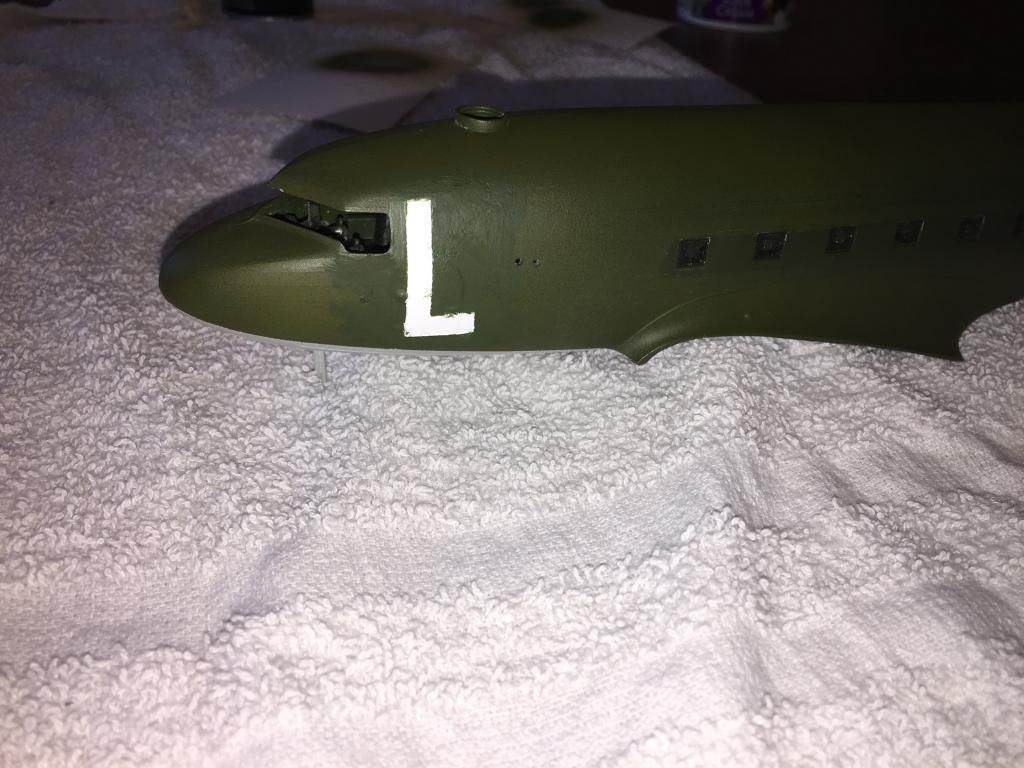
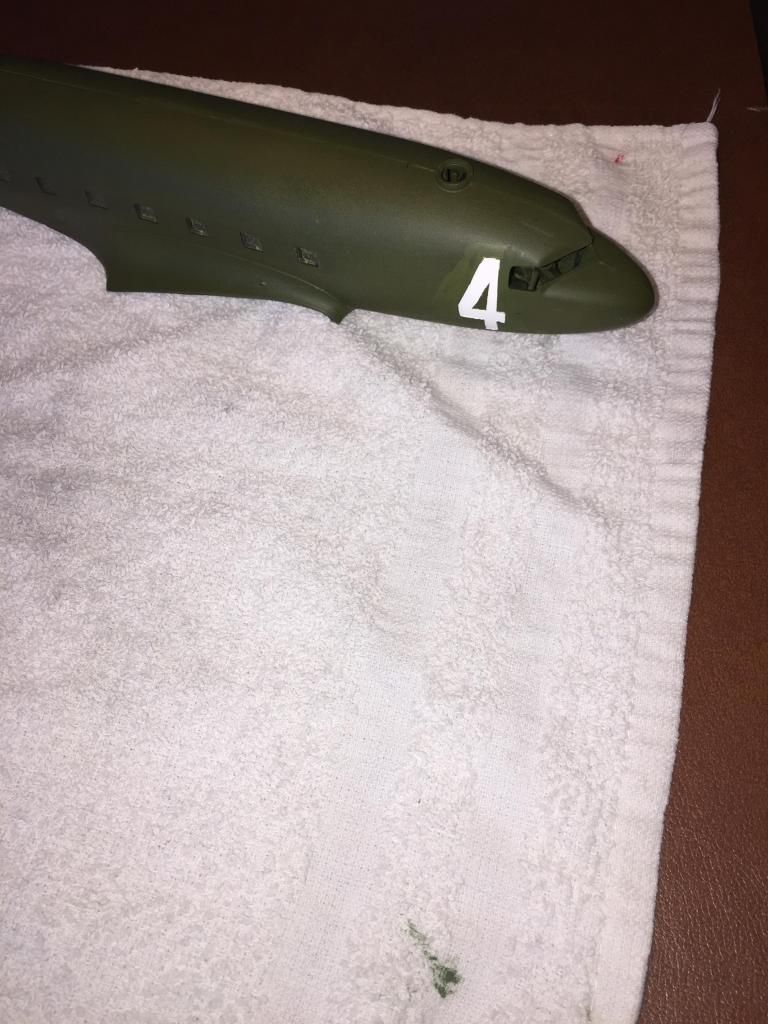
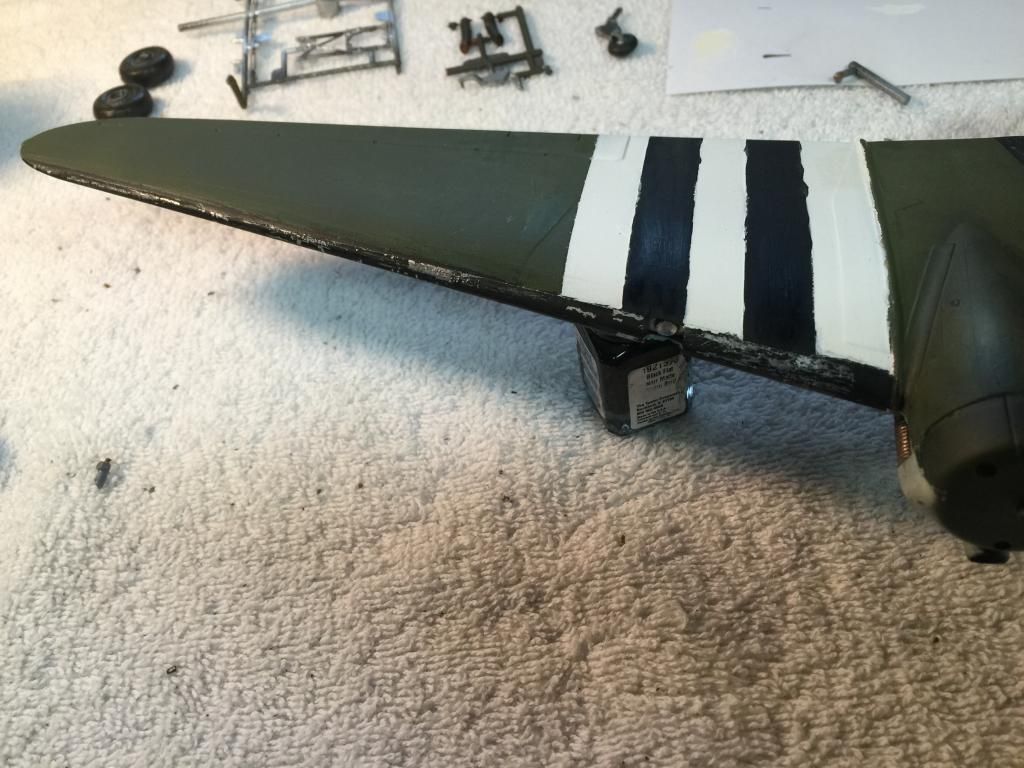
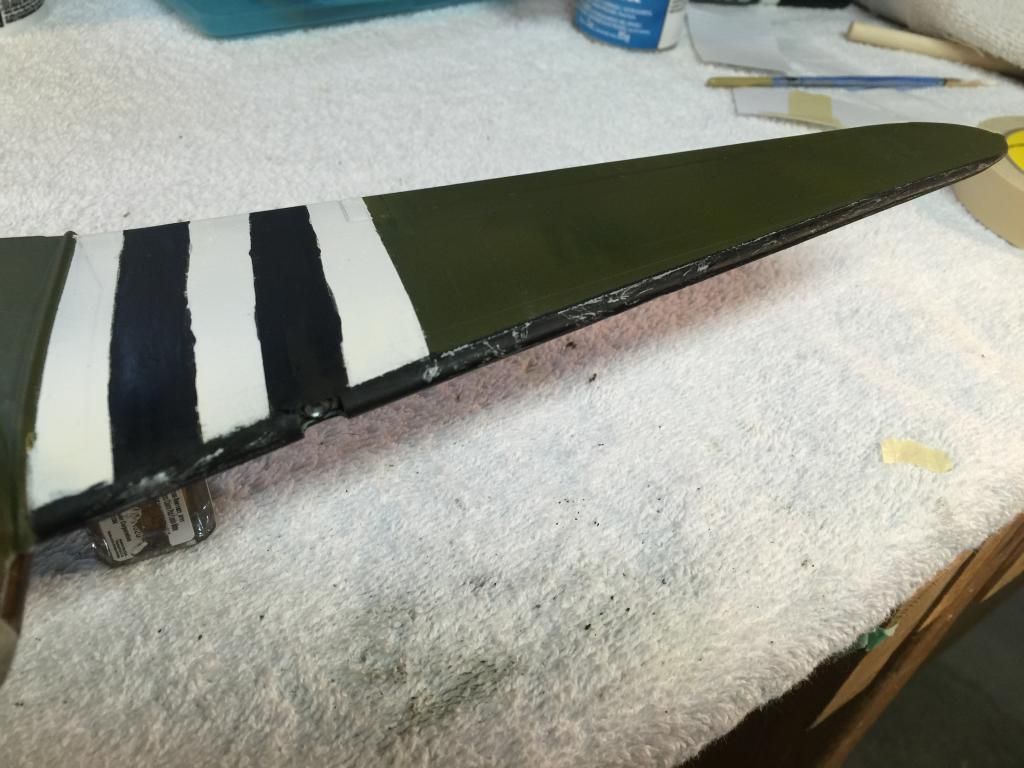
Anyway, kind of at a standstill for the moment. Waiting for some Microsol to show up at my local hobby store before I can move on. I’m not gonna assemble the plane until I get these decals on, just so I can have the ease of manipulating the plane when I set them. I also re-painted the wing edges a rubber-black to show the deicing boots Mike so kindly informed me about. The edges look a little glossy due to the paint, but that’ll “gloss down” a bit once I add the final flat finish. I’m really trying to resist the urge to repaintthe “L4” but I should just leave well enough alone.
I’ve been eye balling one of these at the LHS, but I just can’t handle the price yet. I will be watching the completion of this build and I am interested in you overall thoughts to the kit.
Hey Brandon. I dunno if a Hobby Lobby is near you, but they almost ALWAYS have some sort of coupon going on. Sometimes all the way up to half off! Anyway, either half off or full price, I think given what you get, it’s a pretty good deal. Especially when you figure in all the customization that’s able to be done beyond the given instructions. The actual model itself I’ll admit is probably one of the harder ones to fit together when assembling it. Like I had mentioned before, the fitting is so bad, that you’re almost better off leaving the entire interior outside of the plane. If you don’t, you pretty much have to do a lot of cutting, sanding and shifting to get it to fit properly. Outside of that, it’s a fun build. Especially on a 1/48 scale. The pieces are easy to work with, it’s highly detailed and comes together nicely once approaching completion. Hope that helps! [t$t]
AT, nice work! Another tip, and I’ll say I’ve used it with varying success, but when painting using masks, or stencils, put the mask or stencil on the subject, rub the edges down well with a toothpick, or Q-tip, and then give it a couple of light coats of the underlying paint color. That helps seal the edges to prevent bleed-under. Once that’s dried, shoot your final color on it and let that set a bit. Go over the edges of the stencil with a sharp Xacto blade before removing the stencil.
As I’ve said, I’ve used that process successfully with paint, but it doesn’t work well (for me, anyway) trying to seal mask edges around windows (using clear, it bleeds under, creating a crazed window effect).
But yeah, nice work on the invasion stripes, they were hand painted in a hurry.
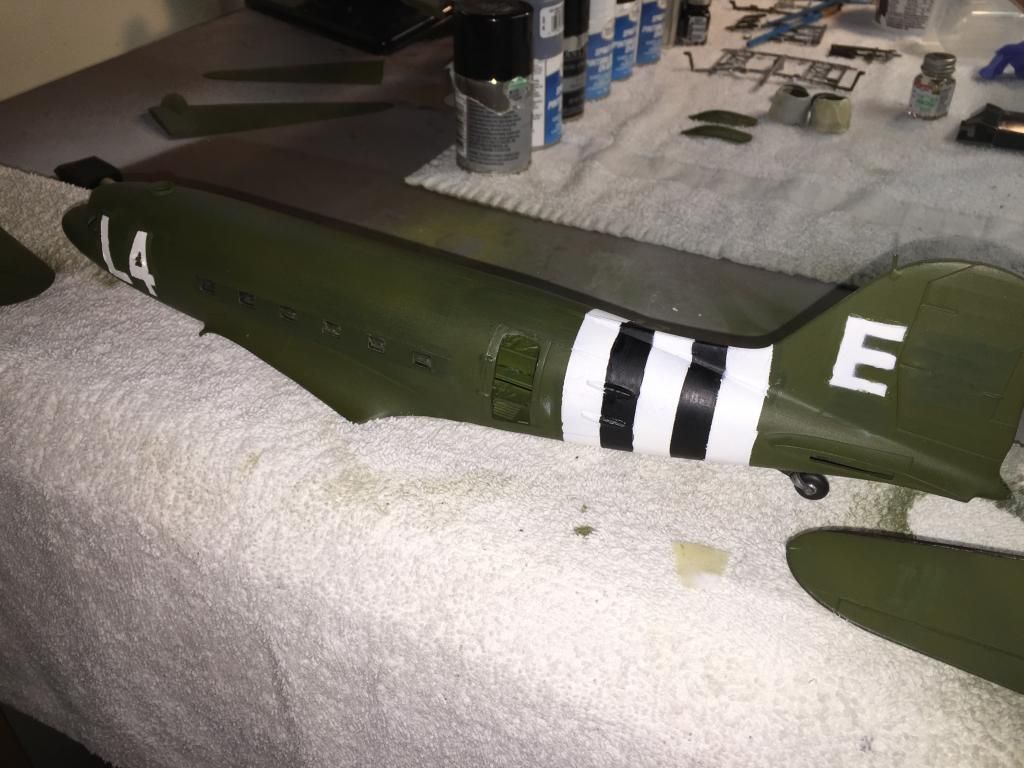
Thanks for the tip! I’m definitely re-doing the L-4 now! Might as well since I’m now twiddling my thumbs waiting for my Microsol to come! Anyway, every thing is pretty much done minus the decals, some touching up and final assembly. I did a dry fit of the fuselage to see if there’d be any issues. The fit seems to be pretty good.
Looking good trooper. Put on your T-10 and steel pot and get ready to jump. I have been to Fort Campbell KY. I took the last train to Clarksville TN. The interesting thing about Ft Campbell is that the only part in KY is the front gate. As for Fort Benning GA, as in Follow ME, I have been there also and I even ventured over to Columbus GA for a cold glass of milk and some female company, but that is another story. Keep on building.