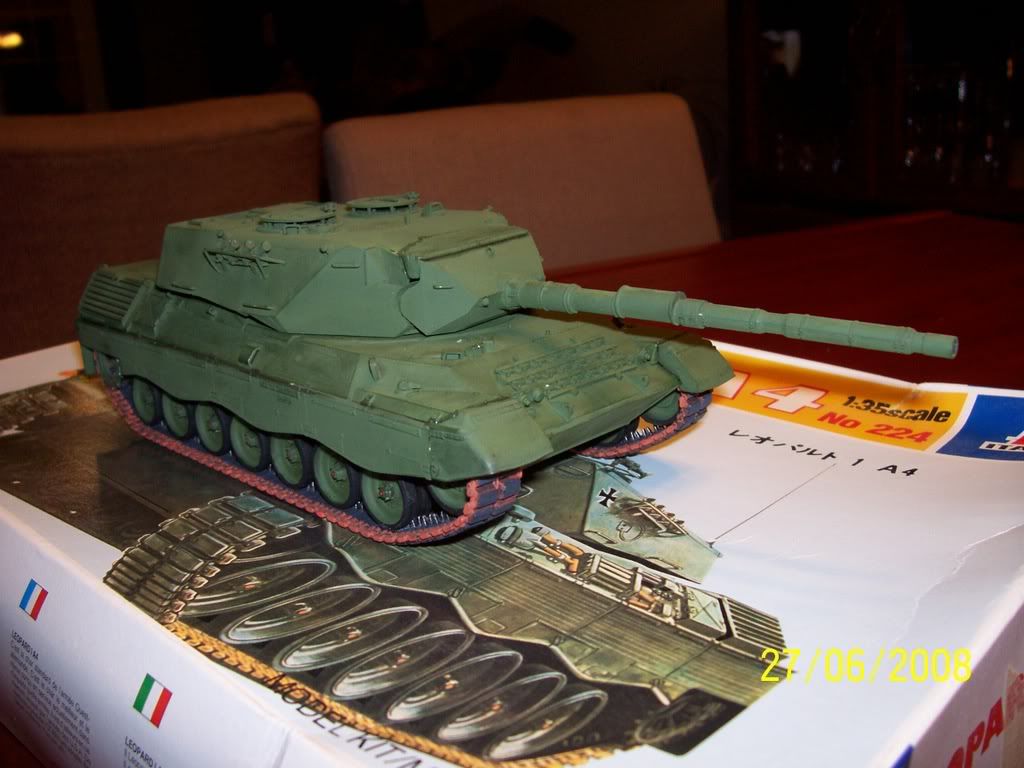
Since getting back into the hobby last fall I have been working on my first armour model for the last few months. I thought I would post a few pics of where I am now with it.
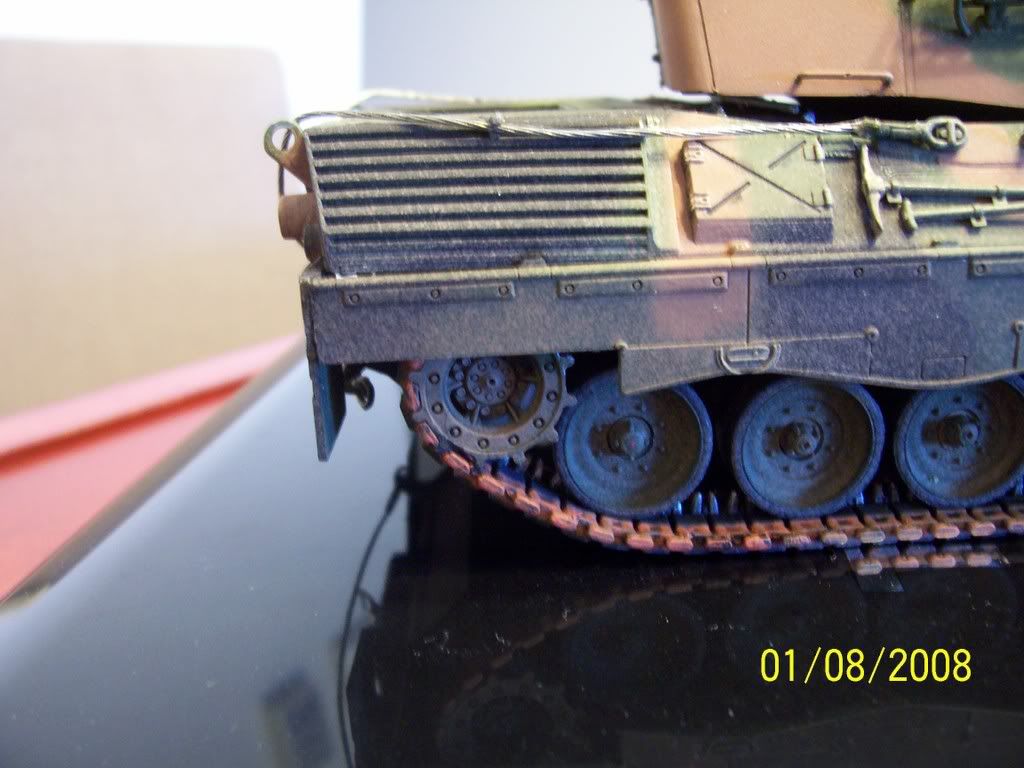
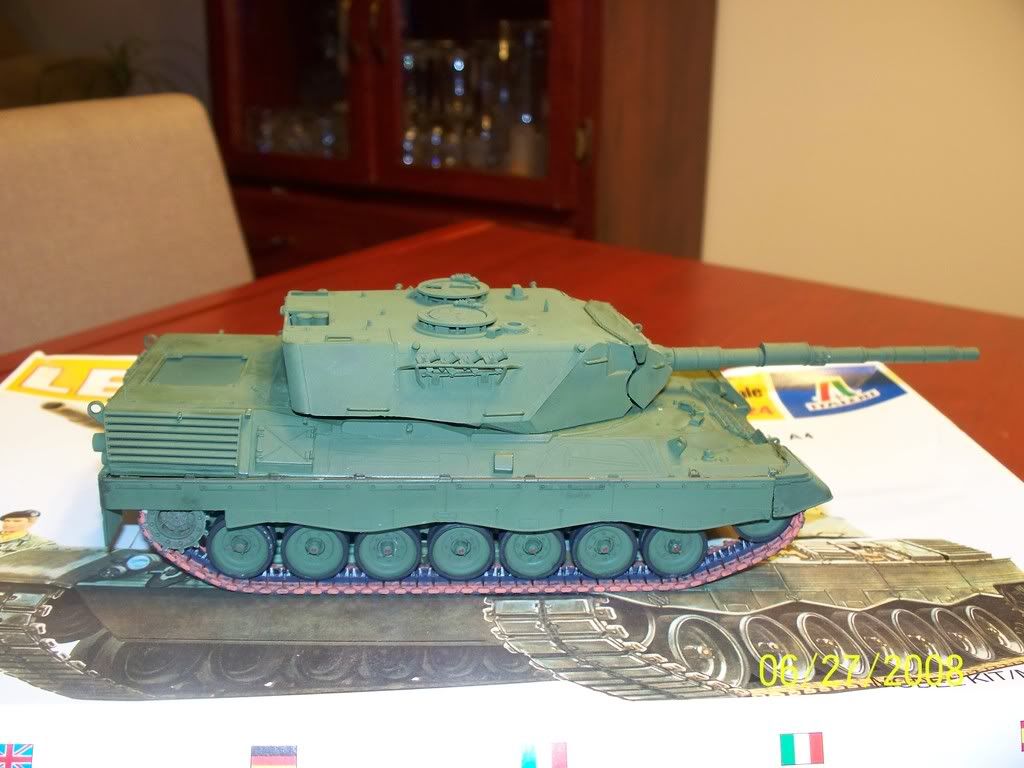
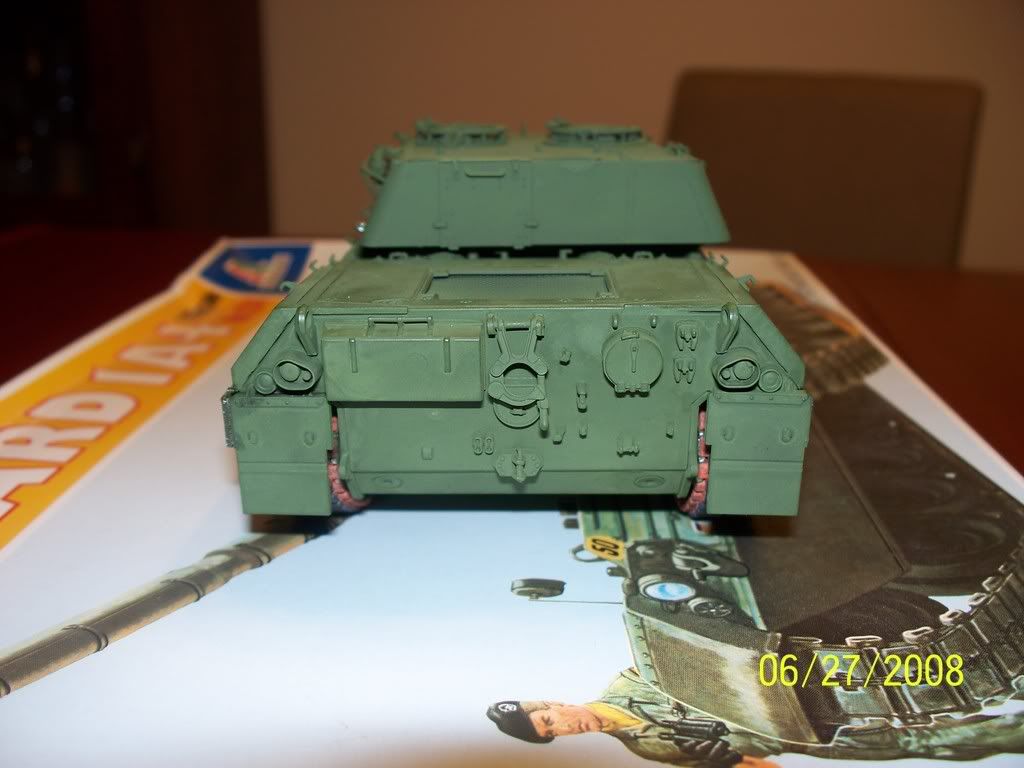
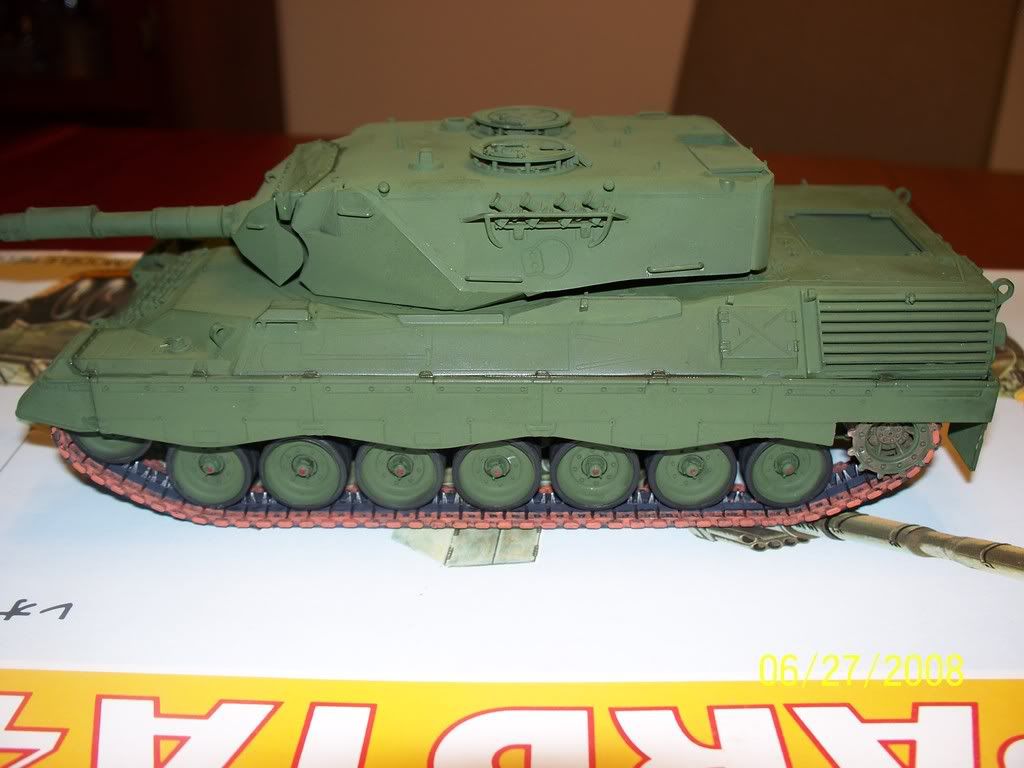
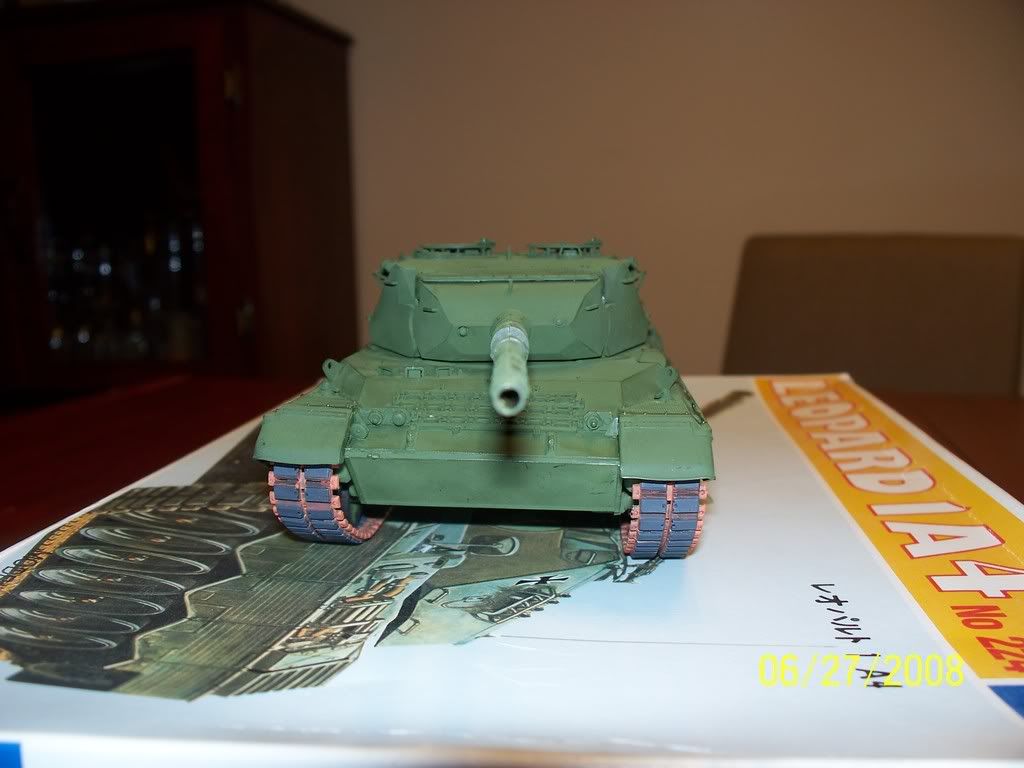
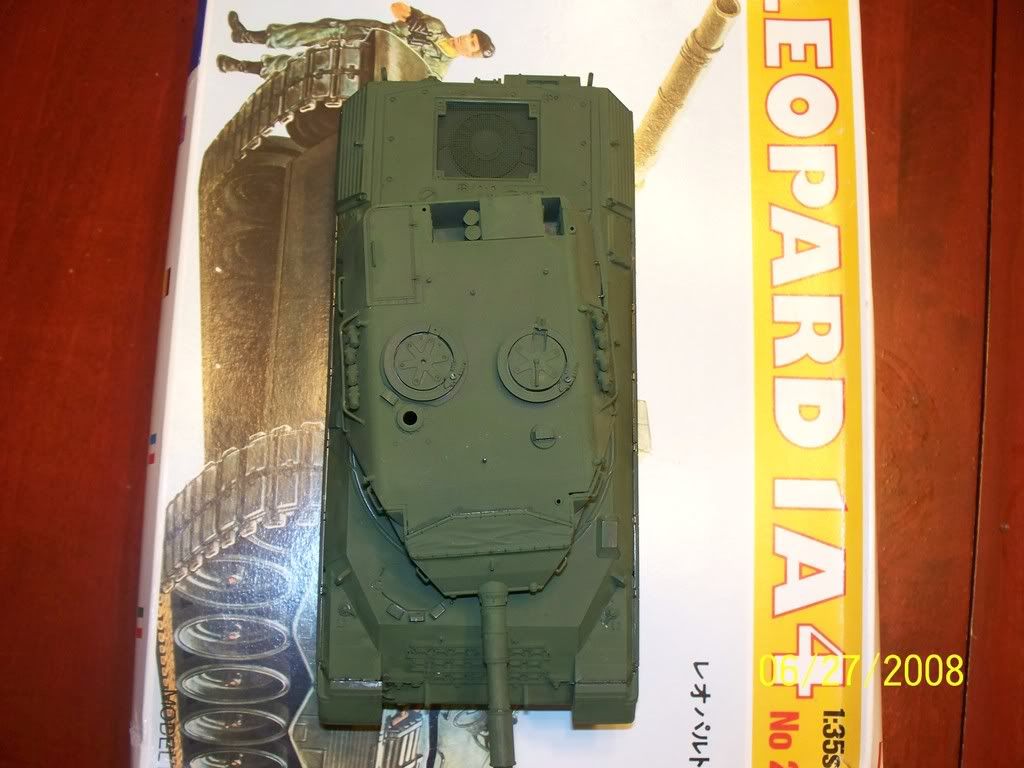
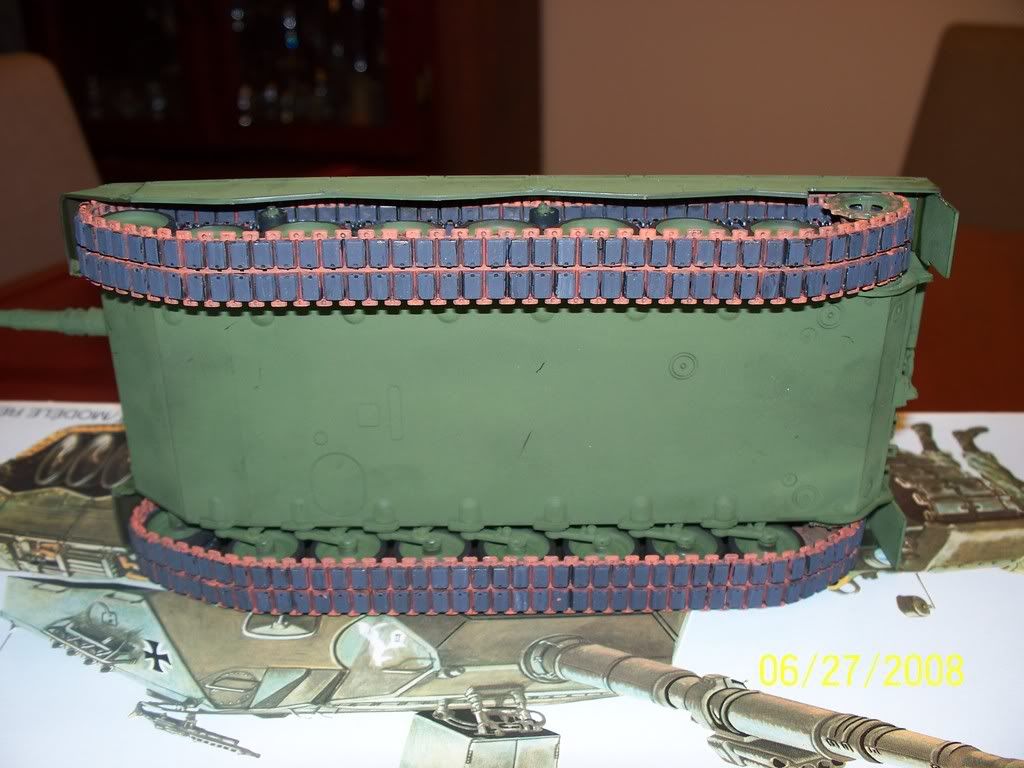
The model is a Leopard 1A4 from Italeri that I am going to dress up to look like a Leo C1. I can’t afford the full conversion kit so for now I will only be using decals from Archer Fine Transfers to get the “look.” I just got the tracks painted and put on, along with the side skirts. Next I plan on giving another coat of the base colour and then applying the NATO tri-coulour cam pattern. I will then try my had and weathering. All new for me.
Anyway, please have a look and tell me what you think.
Thanks for the comments guys. I should also mention that this is not just my first tank but the second build since getting back into the hobby. I am having so much fun with this kit that I have jumped on the armour bandwagon and have built up a stash of about 12 kits.
MG:
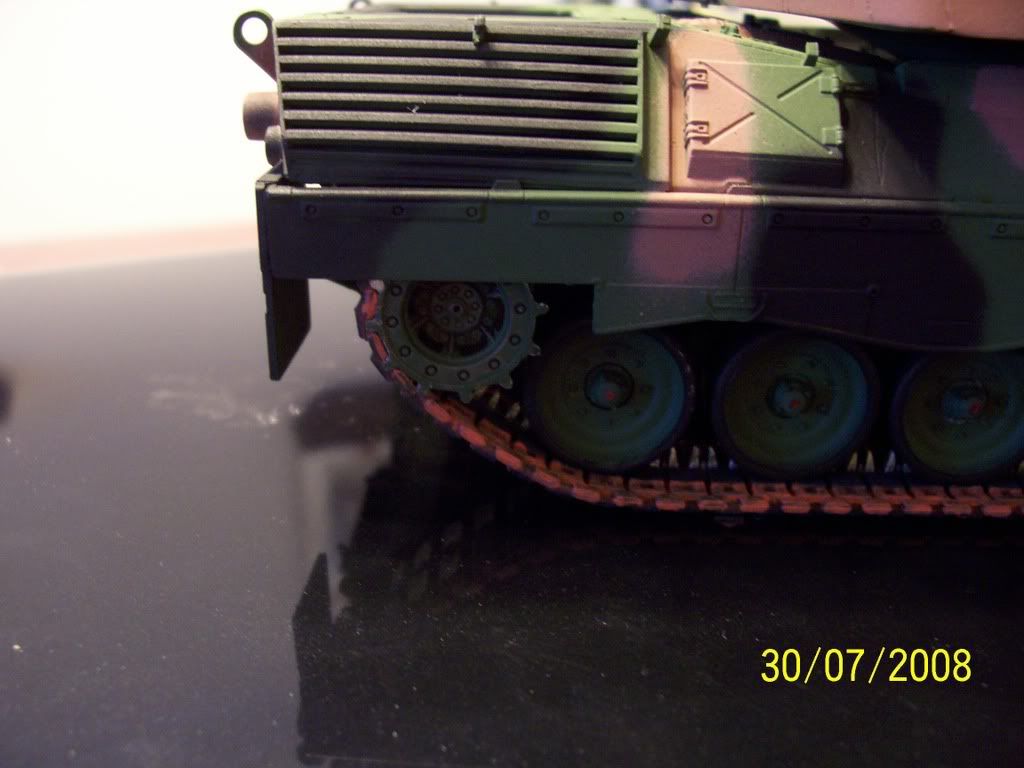
The tracks a more of an orange colour, must look pinkish due to the lighting in the picture. I plan to try dusting the lower hull a bit with a light spray of tan. Hopefully that will dull the rust a little.
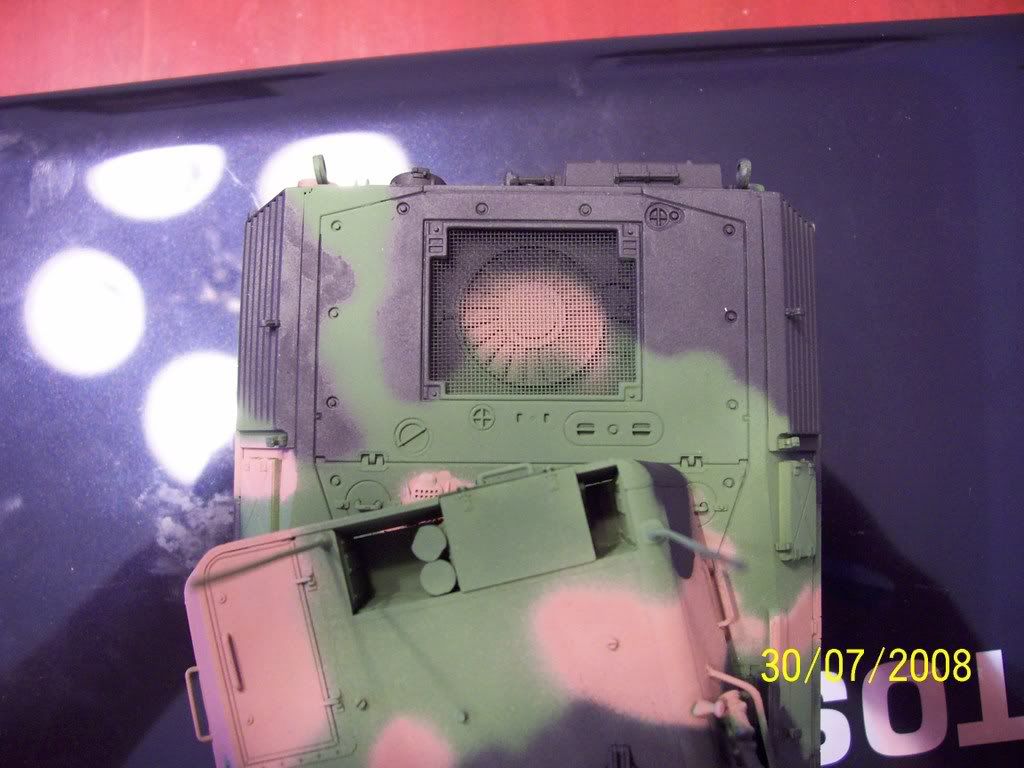
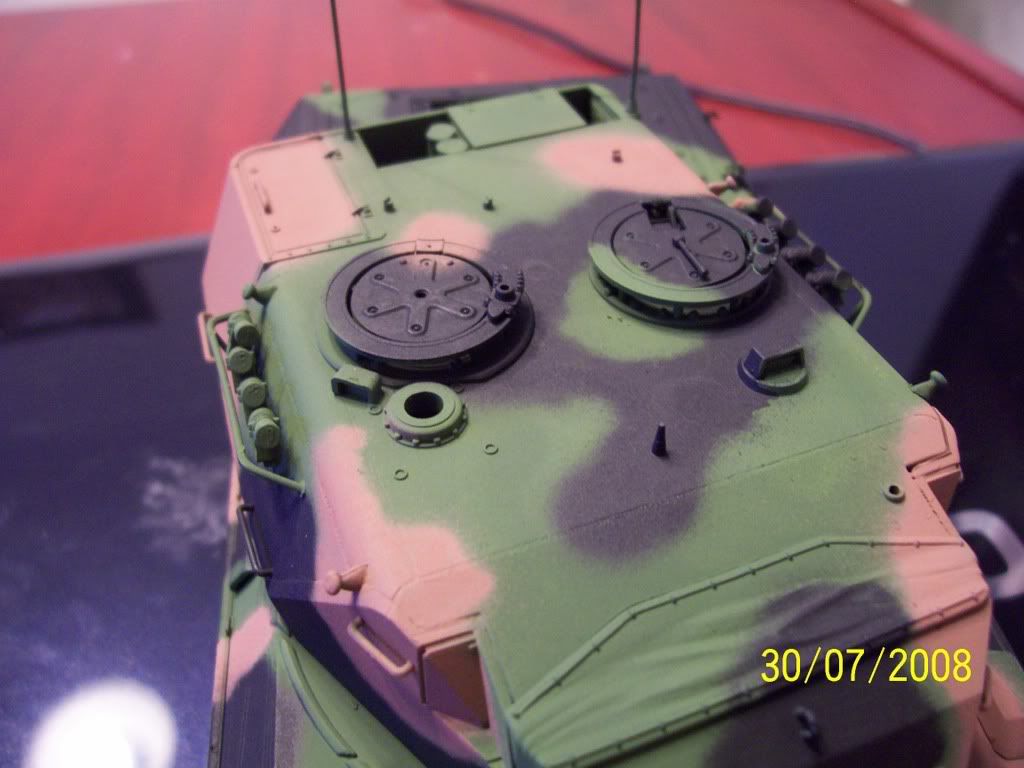
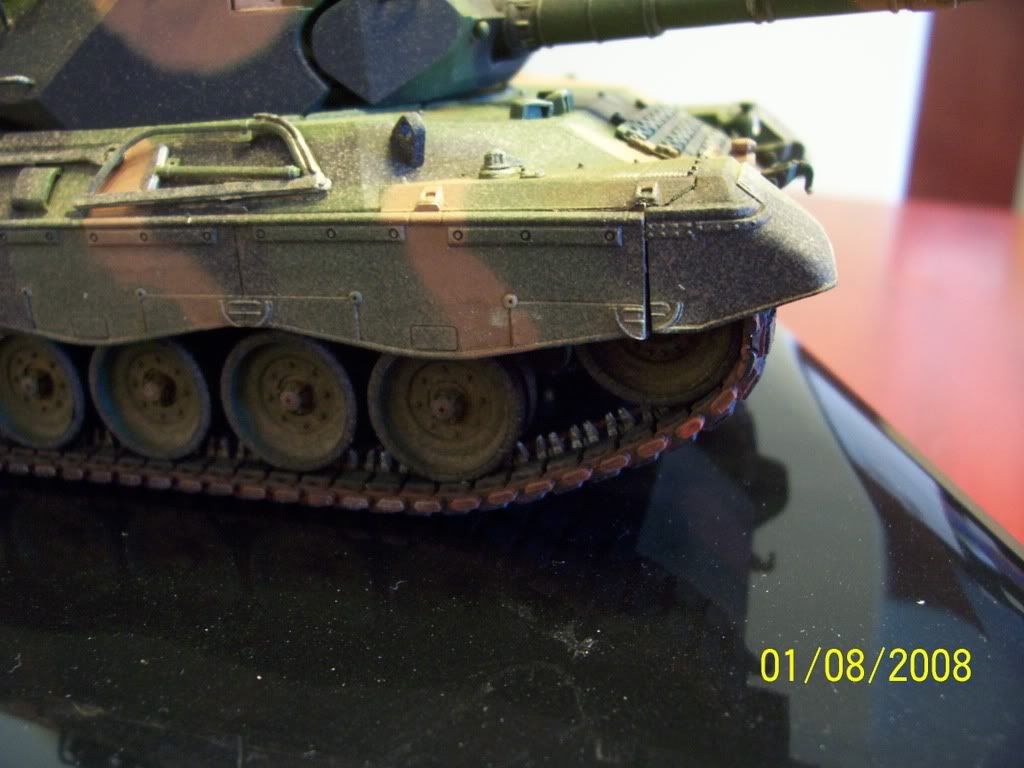
This Leo will be painted as a Canadian C1. The base coat is painted in Tamiya NATO Green. After I apply another coat of the green I will try putting the brown and black on freehand with my AB. I’ve been practicing painting fine lines with my AB the last few time to get the hang of it.
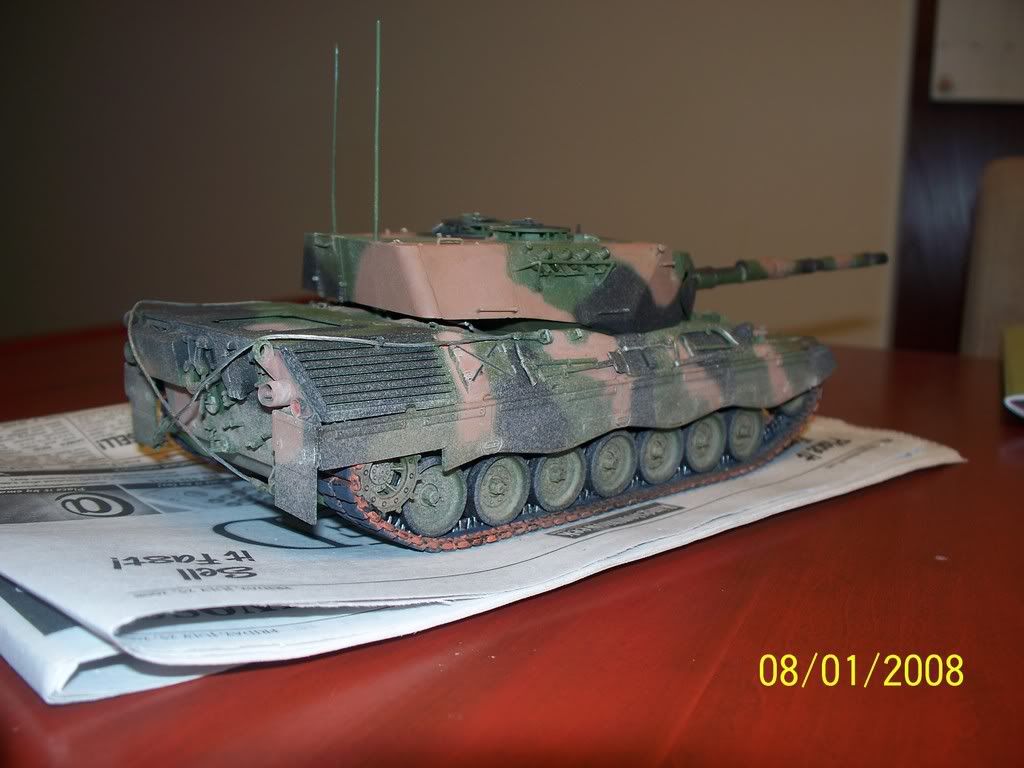
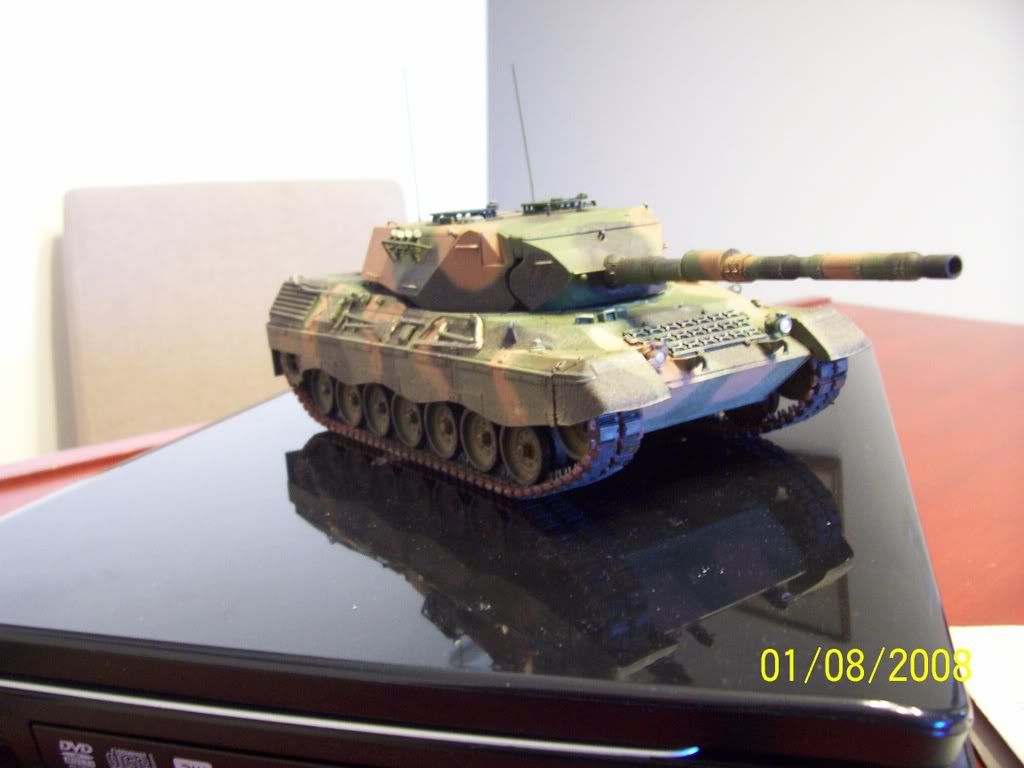
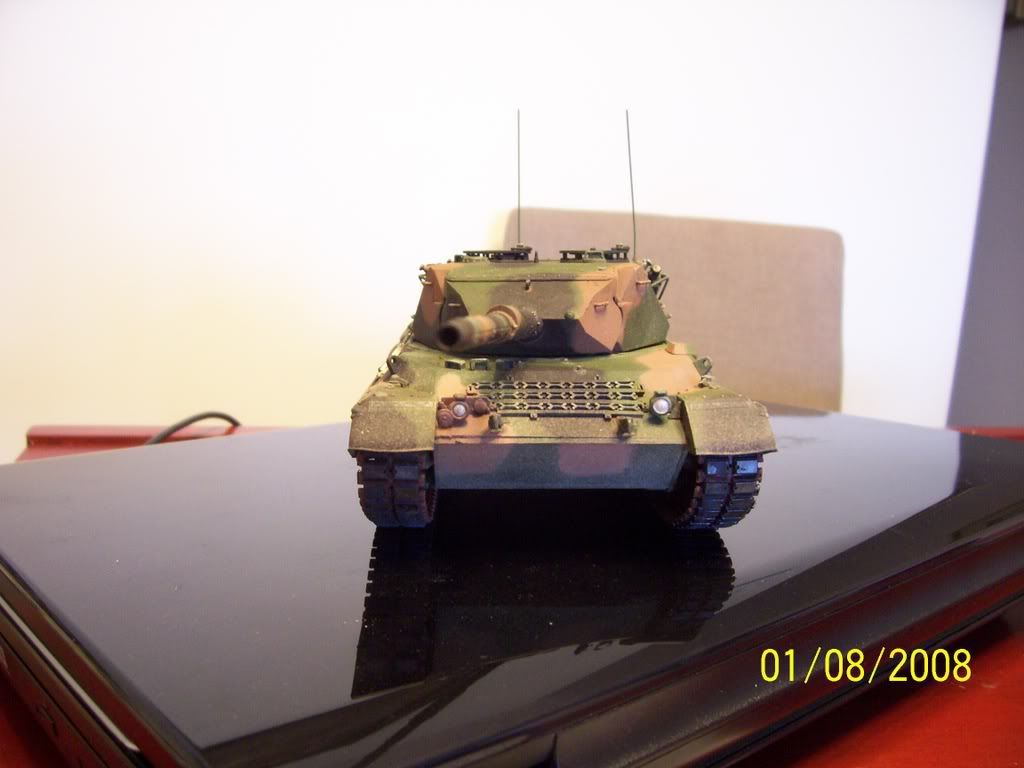
Now that I am back from Holland and on my vacation days I was able to get back at my Leo 1. I painted the brown and black camo yesterday. First time doing that freehand with the airbrush. The only problem I had was the needle getting clogged. In an effort to save some $$ I tried using dollar store acrylic black and brown thinned with %70 alcohol. I don’t know if it is the paint or the thinner I used but I could use some tips to prevent this from happening.
I will put on the tools and paint the details, taillights etc…, today. Then the scary part of weathering, which I have never done before and hope not to ruin the model by trying.
Here are some pictures of my progress so far. Please offer any criticisms/comments:
Nice “save” on the paint job! The brown looks a bit light, but it’ll sufffice.
Tamiya paints have to be thinned a LOT–a good 50% with thinner. That was most likely your problem; not thin enough. I’m surprised as heck that you could even spray the craft store paints–the pigments in those are generallyrelatively HUGE compared to the hobby paints we normally use. They’re best for brush-on painting.
The Leo looks great though! I have a soft spot for this tank–it was one of my first builds ever. Are they the dreaded Italeri two-piece tracks? They look good to me!
A wash of raw umber would start the weathering, followed by a light drybrushing of tan. You might also dust the lower surfaces with a light coat of dirty tan to simulate the dirt that usually coats the bottoms of these tanks from their field excercises. If you do that, make sure you apply a light wash of raw umber to that too, otherwise it will lack depth.
Looking great. I’ve got the Tamiya version about 90% finished, in 2-tone German camo from the Tamiya painting guide, now I find out that was extremely rare and/or fictional. Drat. Oh, well, it was an exercise in adding the second color w/ a brush, nowhere as nicely applied as what you’ve achieved. Good job. Here’s a (poor) pic…
Thanks a lot for your input. I have seen some of your work and bow down to your skill. So it makes me happy to hear what you have to say. The tracks were of the one piece vinyl variety.
Your suggestions on weathering will help out. The drybrushing of tan is for what? The whole tank? Also, in order to dust the bottom do I acheive this with an overspray using the airbrush?
I have the tools and tow cables on now and while I wait for glue to dry I have started on a DML E100 that I got from a friend here for cheap.
RBaer - Your Leo 1 looks great. One thing that I noticed when I look at your pic is that the Italeri version did not have the foot holds in the sideskirts punched out, only the shape is scribed there. Too late now for me to try and cut it out so I will leave it and settle for that.
Yes, a very light drybrushing of tan would help to bring out the details of the tank–all those little fittings and protrusions will pop right out, and not to worry about it looking overdone–it will look like dust, which is entirely appropriate. You can even draw down the dust with a wet brush to simulate dust streaks.
Here’s two photos of my Leo with the technique applied–the camo stuff is some kind of herb I found in the grocery store aisle, applied over white glue applied over some Verlinden camo netting.
Yes, about the airbrush overspray–but go very lightly!!! Build it up slowly rather than one thick pass–less is more, if you even decide to go that route?
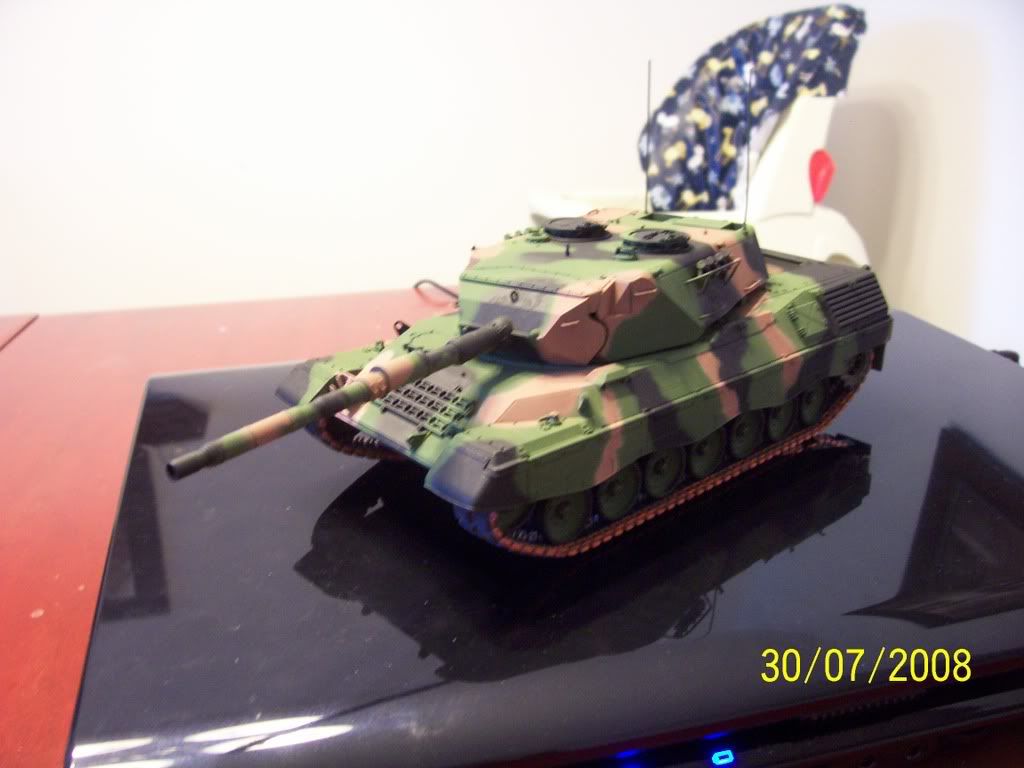
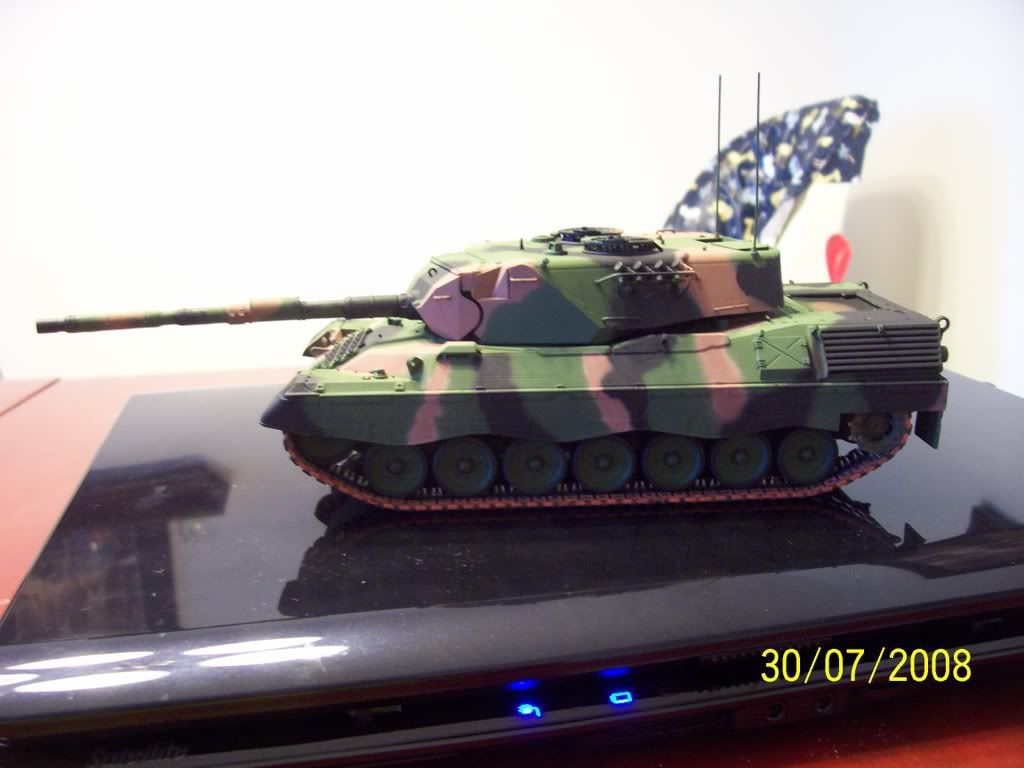
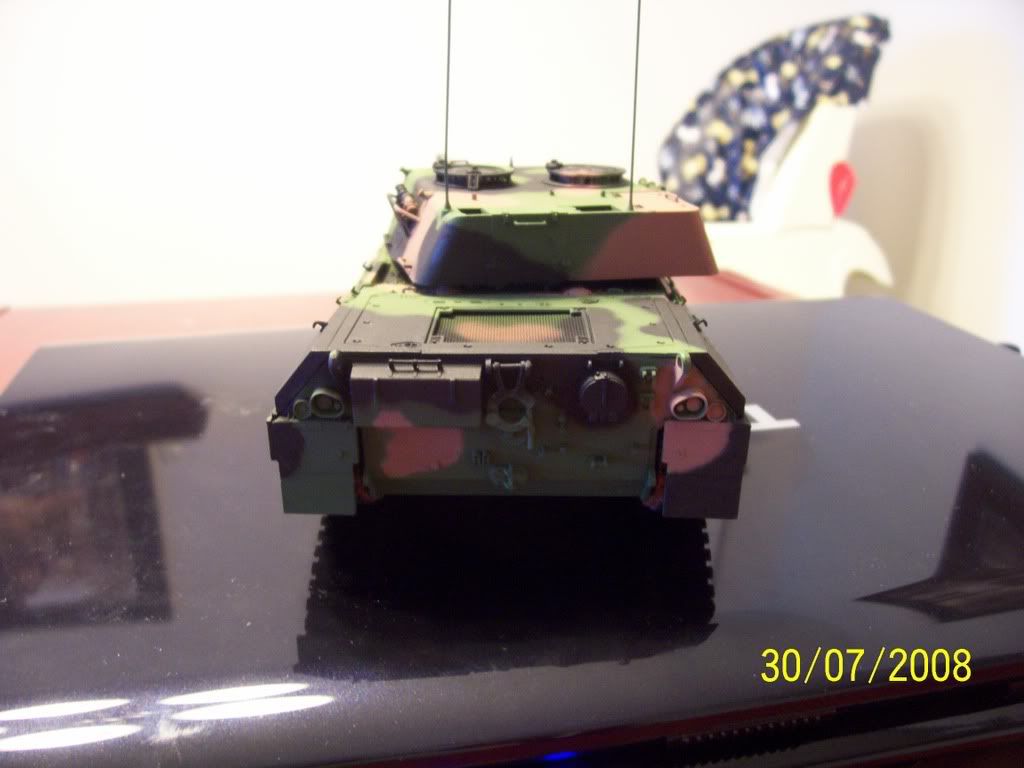
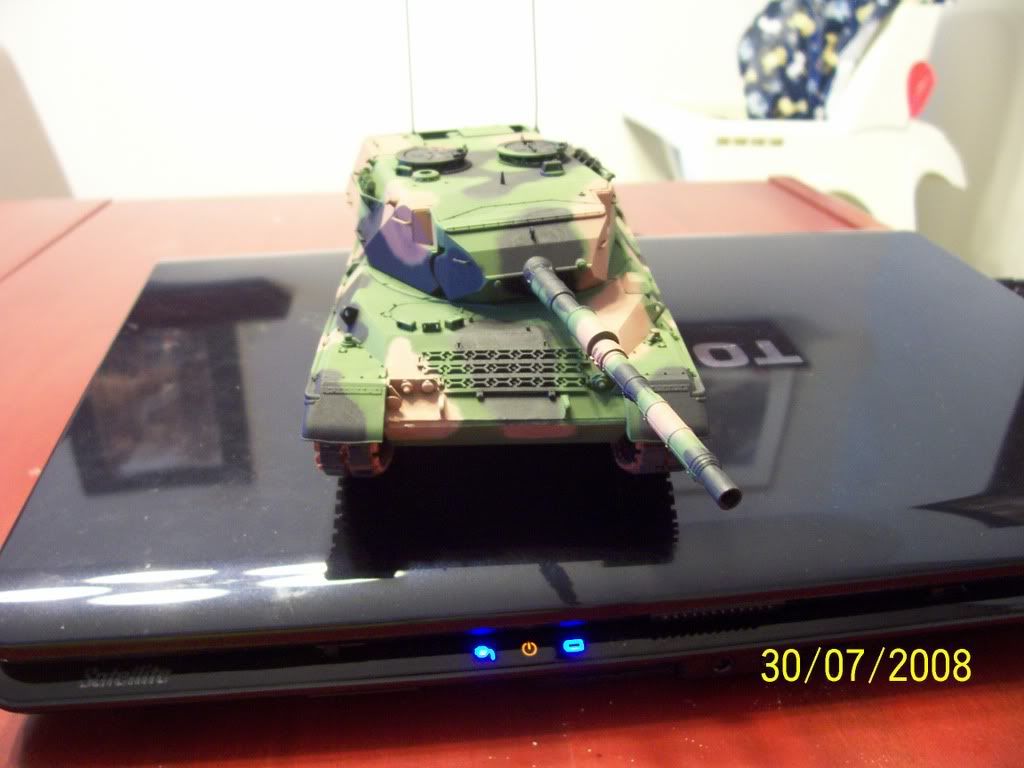
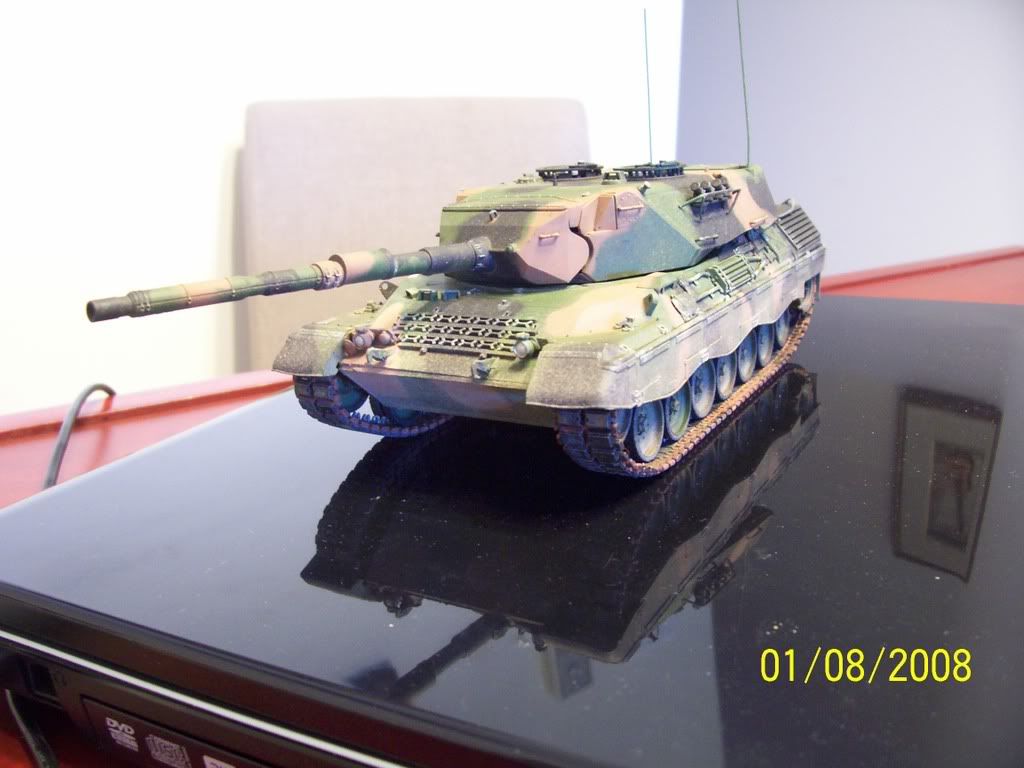
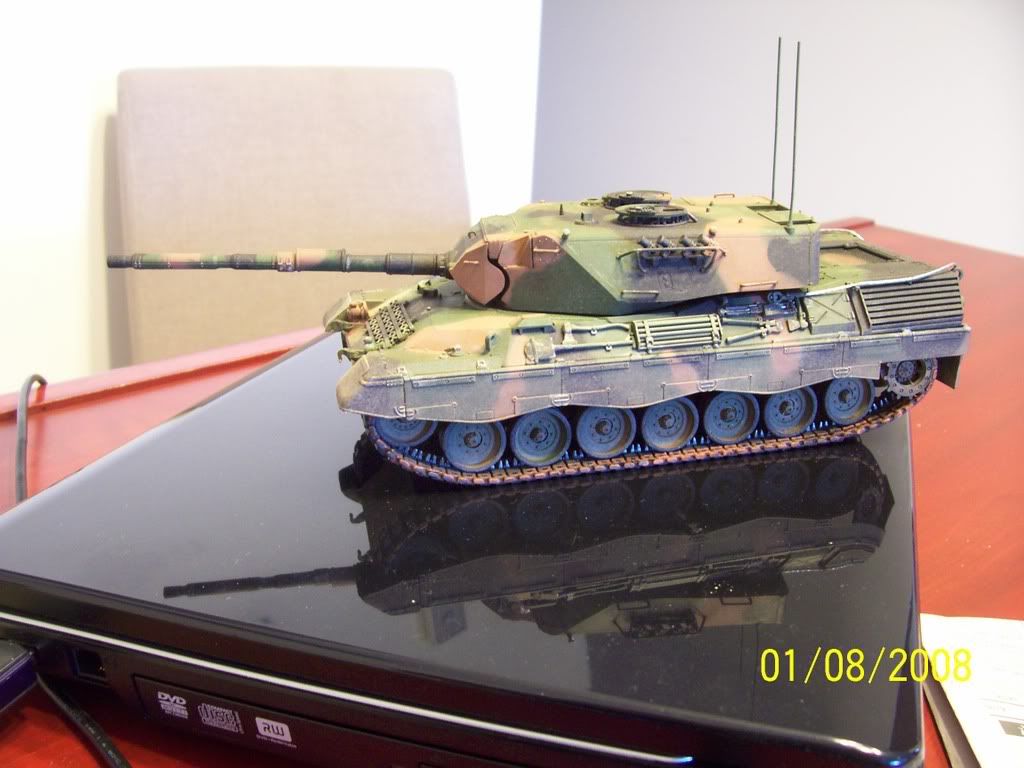
Finally I have completed my first tank project. Thanks Doog for the weathering tips and to all those who offered their coments. I also tried applying the wash to the tracks to darken up the rust a little. I had a small setback during the weathering where both idler wheels broke off. Not sure if it was due to my handeling of the model or the thinner in the wash. Anyway, I drilled out the inside of the wheels with the appropriate sized bit and likewise into the support arm and lower hull and then superglued toothpicks to the idler wheels and put them back on essentiall creating axles. With that fixed I am calling this tank complete and moving on to the next builds, an M1A2 for the Gulf War GB, and the E100 which I started this week.
Honestly, I love it–I think it looks great! [#toast] The paint and the weathering look excellent, in my opinion–you’ve done this kit proud!
You have to be careful when washing with some thiners–too much around wheels-under-tension does semm to weaken th ejoints somewhat. I’ve found that a quick dabbing-away of the wash arond joints like the idler arms or sprocket joints with a tissue to wick away the wash in a place where it’s not really going to be seen is a good idea to not have to worry about the glue being softened by the thinner just sitting there eating at it. Or, alternately, Or dry it quickly with a hair dryer.
 Heya RMC,
 …the TANK!.