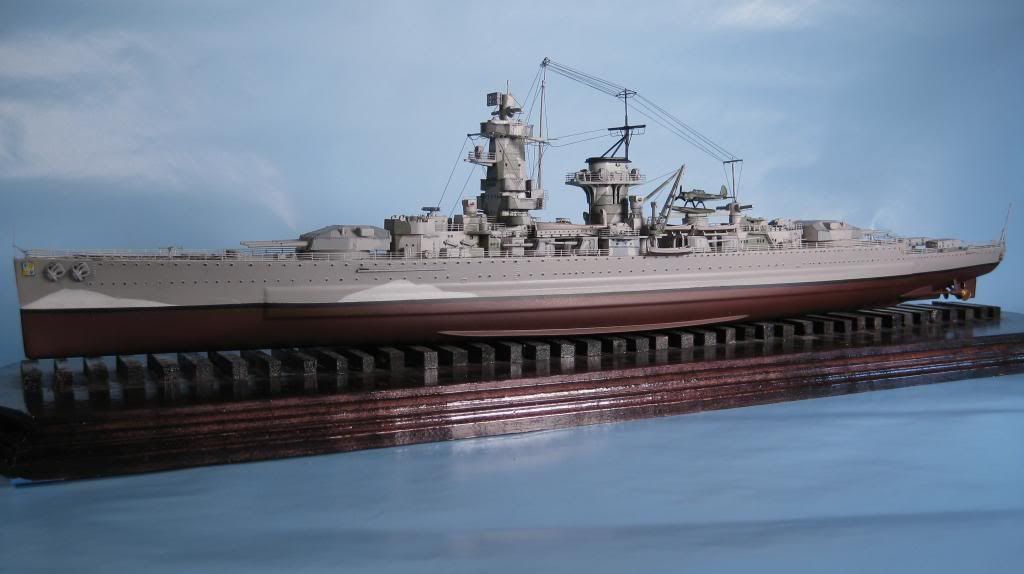
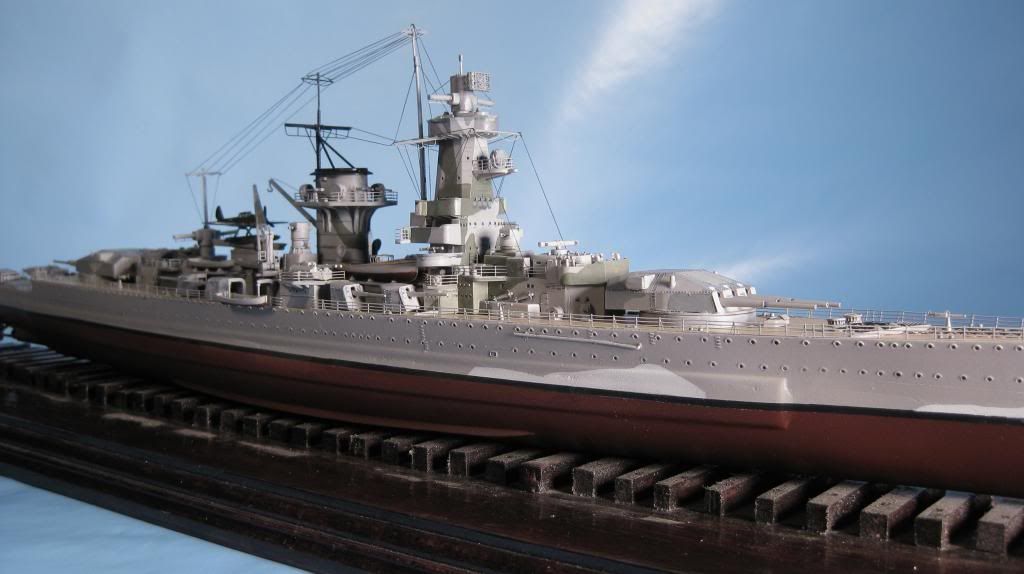
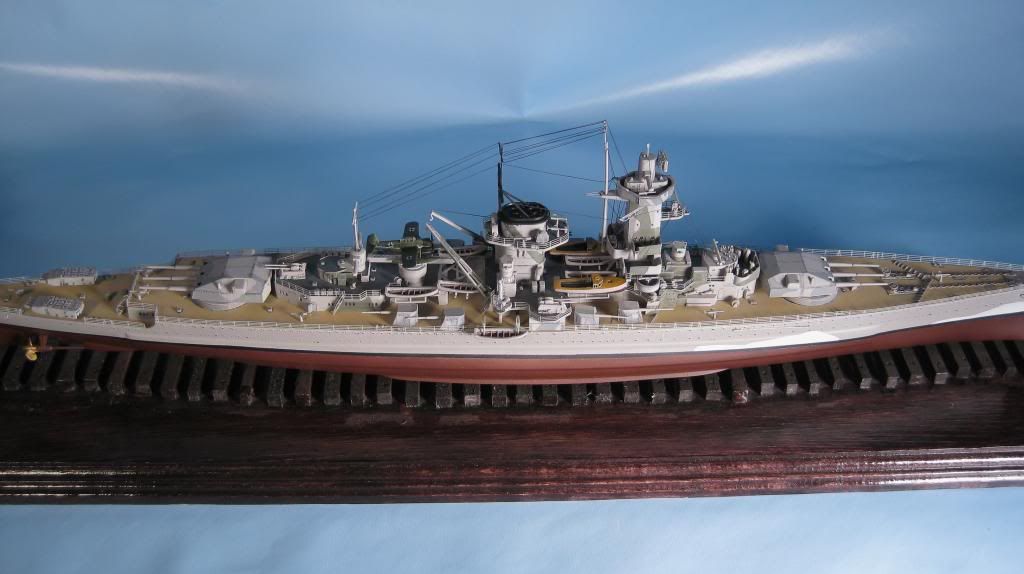
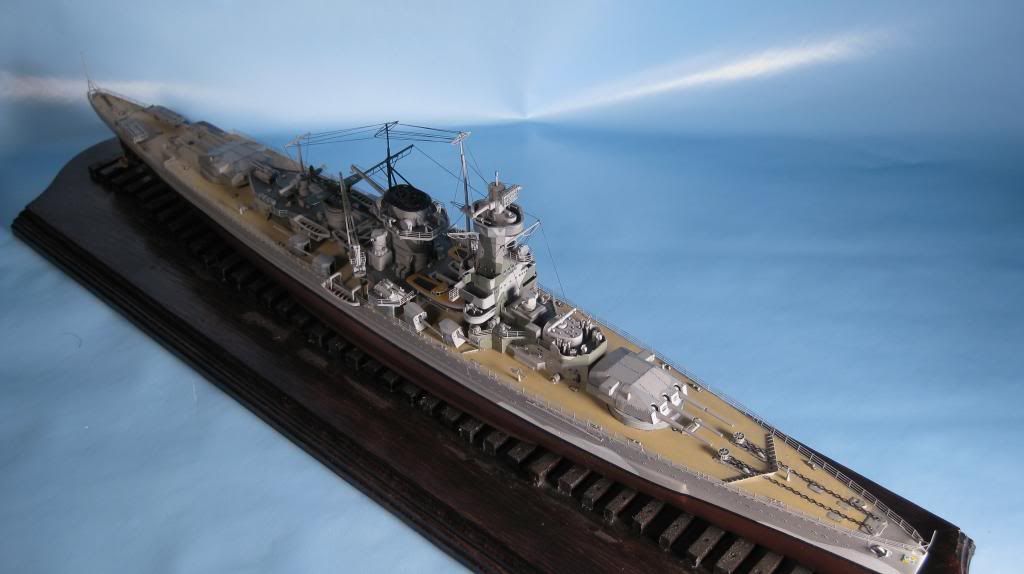
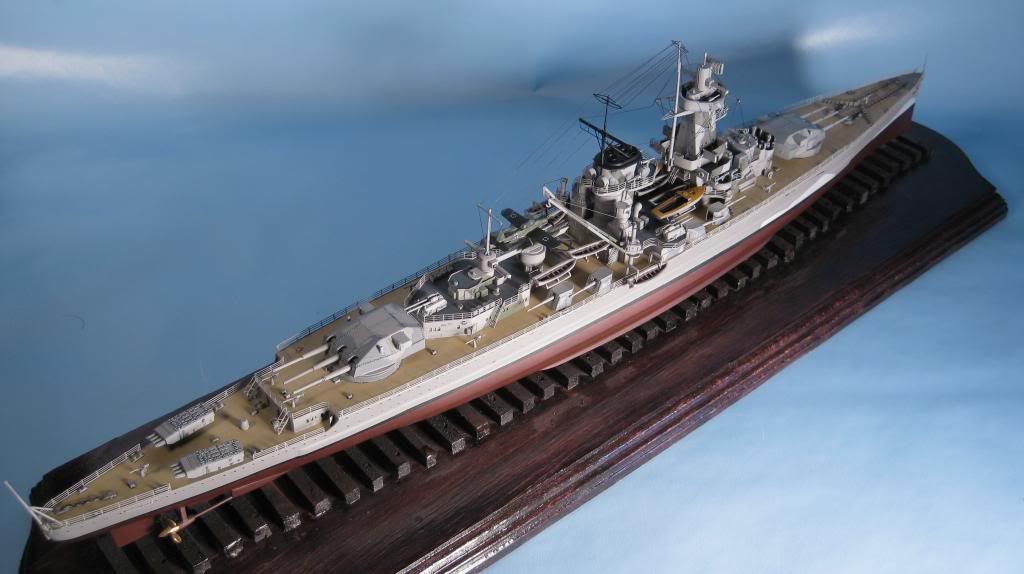
I wanted to share my latest completed project, the 1/350 Trumpeter Graf Spee. I will tell you up front that I am no ship builder, I probably found every inefficient means of construction, and made potentially every rookie mistake in the book. Learning has occurred. I didn’t do a whole lot of research on the subject as this project was more of an exercise in best practices for building techniques to be applied on future builds. Needless to say, there was a lot of grunting, groaning, cursing, a near aneurism, and I think an MI at one point. It, however, is done.
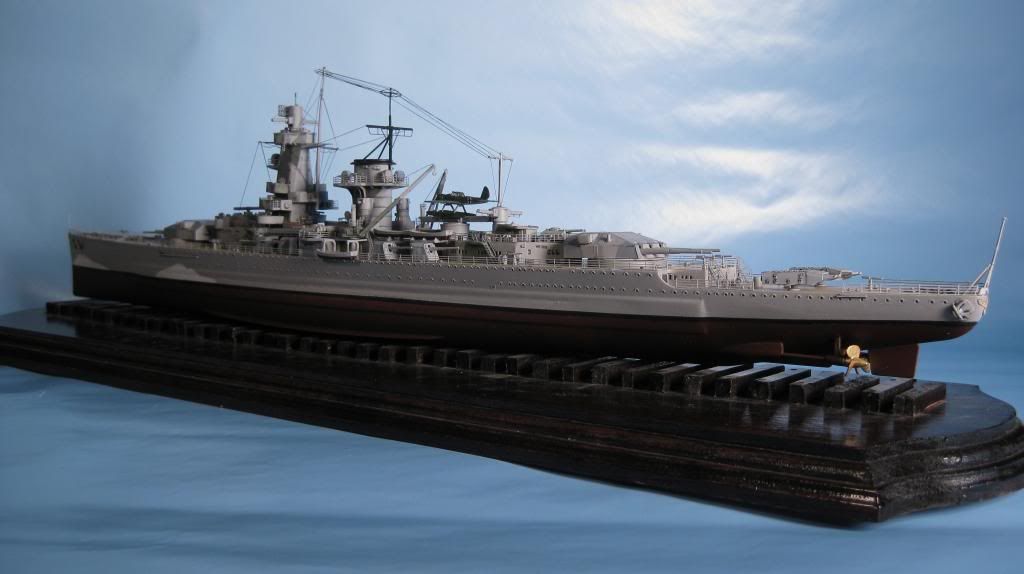
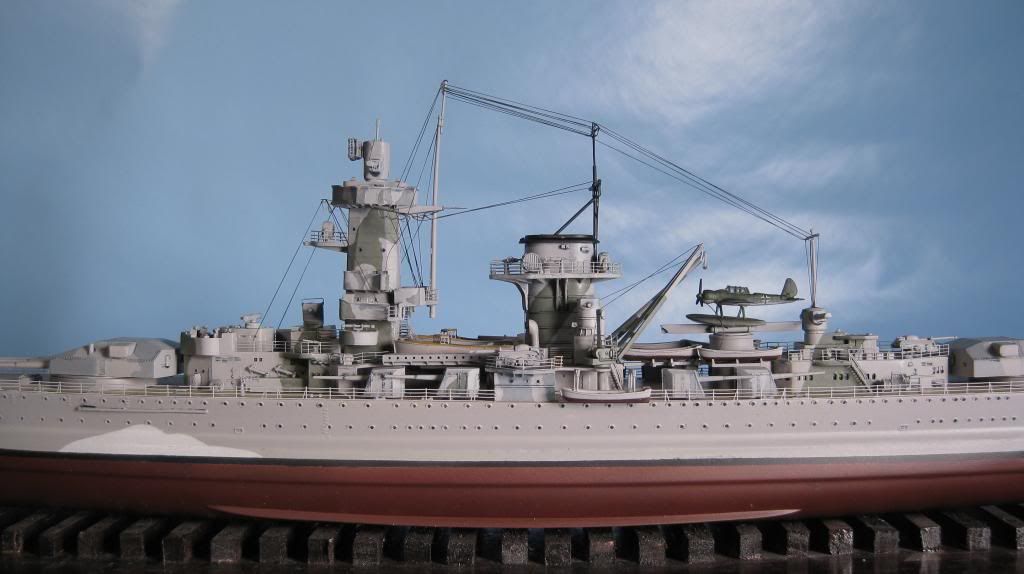
The model is from trumpeter, I used a combination of pe from Tom’s Model Works and Eduard, the rigging is ez-line, and I created the base myself. The project began in July and was completed in January. Couple of things, I am not too hip on the railings from eduard, I don’t think they are brass. It was interesting that they cut the railing so the bends could be made easier around corners. The drawback was they had a tendency to come apart and had to be repaired or replaced. I didn’t have any issues with the other pieces from the eduard set. My rigging techniques improved from fore to aft. You’ll see where the forward rigging seems to be wrapped unnecessarily around support structure. That’s because its wrapped unnecessarily around support structure…heh. It was later in the rigging process that I found the true utility of zip kicker. There are some other basic mistakes as well, very basic. For example, where the two deck halves are joined is a gap…not sure why I didn’t notice it, but I didn’t until it was too late to correct. oh well, I have learned my lesson. I am not sure why it didn’t dawn on me to put pe hatches and window hatches on before building a sub structure. Life would have been so much easier had I done so. Also, I tried pvc glue for my pe, it didn’t work. hats off to you guys who can get it to work. I went with superglue across the board. I don’t think temps in my house will vary so much as to cause an issue. The one approach I did take, that I believe worked out fantastically, was to think of each sub-section as a separate model kit to be completed as much as possible before pairing with other parts for construction. There is a flag, it is currently on the bench. My first attempts at hanging these failed miserably. I had to go back and address the flag issue by applying it to a piece of foil first and then forming and hanging it. I am not sure why trumpeter decided to use decals for these…much like I cant figure out why clear plastic for the spotter plane (figured out real quick putting together a clear plastic plane is nigh impossible; the parts definitely needs to be primed first). Anyway, here are the pics. Feedback is very welcome.
Thanks for the positive comments. You all are too kind.
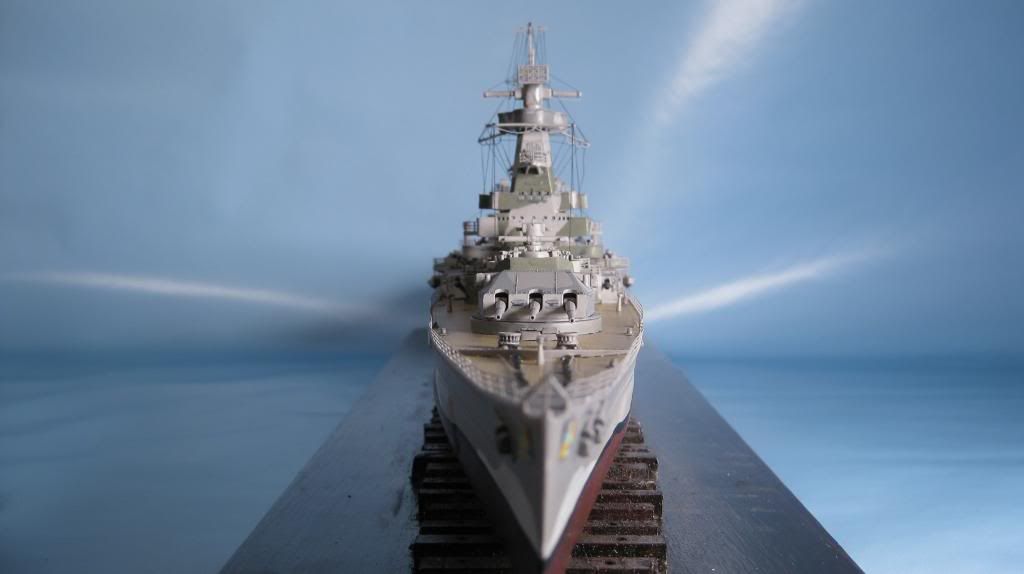
G, the only fit problem I had was after painting. I thought I had opened the bases on the 01 level and up enough to fit after painting, but found they weren’t. Just required a little extra to be removed and all popped in well. There are a host of decisions as far as the parts design goes that I wasn’t really sure why trumpeter did what they did. For example, the bridge is 4 angled slabs that you have to glue together edge on. That was a little frustrating, I would have much preferred a two pice and dealt with a seam on the sides or middle. A few other mistakes I made were removing the plastic chains on the foredeck and rescribing the wood lines. I goofed up the lines the first time as the scribe guide I was using just wouldn’t hold. Deck is a bit thinner in that area because I had to take it down then rescribe a second time. Also, not paying attention to the instructions, which Im famous for, I missed the piece about how the torpedo launchers were supposed to be attached. Consequently I had to punch a couple of disks out to cover the guide holes then glue the torp launchers to them directly. It worked, but it was just one more frustrating adjustment Ihad to make because of a failure to follow simple instructions
Wolfp excellent work. I hear what your saying about Trumpeters parts design process (eg where you refer to the bridge being 4 parts better off as 2). I’m building the T-80BV at the moment and I’d have to say some of the parts are designed that way just to get a higher parts count to the kit its certainly not for strength or a better build.
I only hope that I can make the warships in my stash look anywhere nearly as good as your build. I second the comments about the base… it’s really nice.
Thanks for the positive comments. I had stared at that kit in my stash for a couple of years and finally decided, “what the heck.” I am sure that once you all get stuck in, your builds will surpass this one. I did enjoy it and learned a whole slew of techniques that will serve me well in the future. lot of good info on this forum and the model warships forum.
I like creating my own bases. I do wish I had used something other than basswood for the ties. Another lesson ive learned.
I am going to do something relatively simple for my next project. I am thinking a Fine Molds Tie Interceptor followed by a t34/85 with tank riders.[proplr] I may come back to ships in a couple of months. Good luck on your future builds