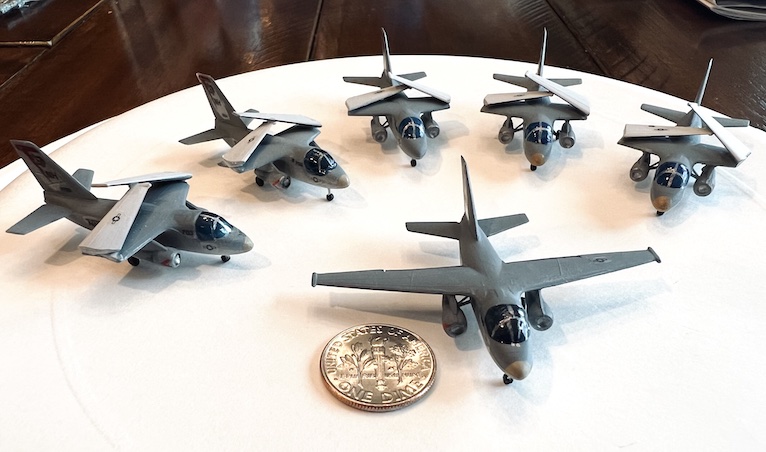
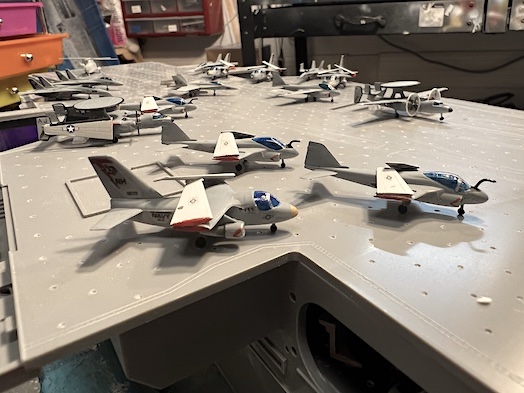
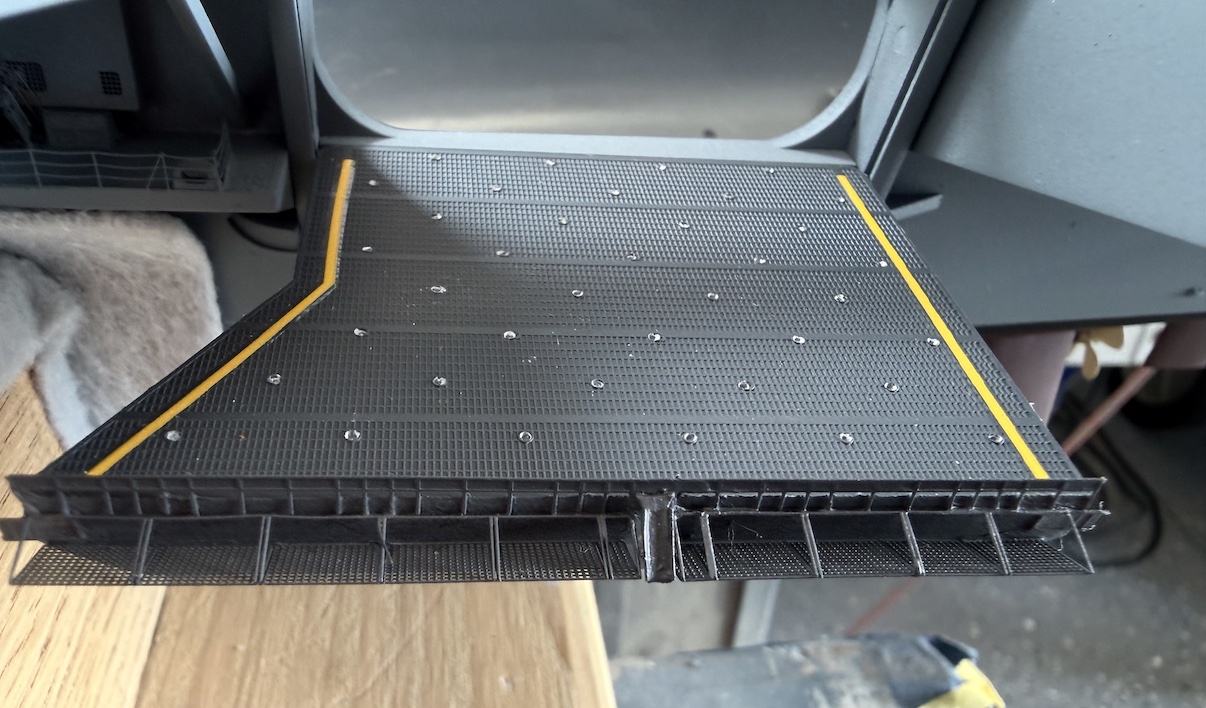
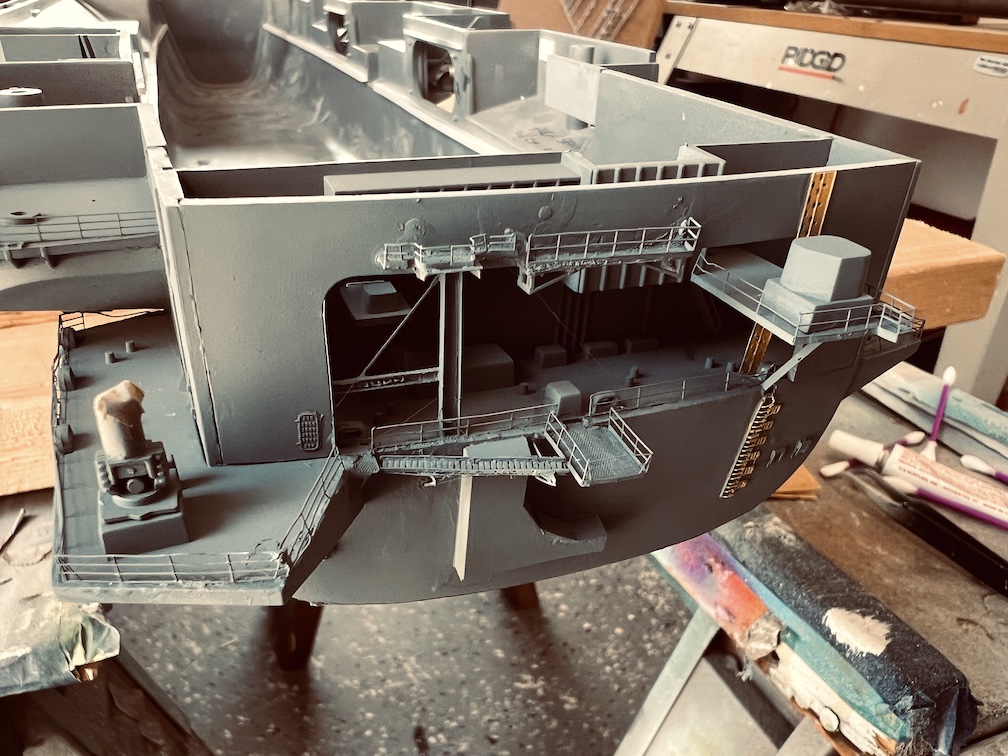
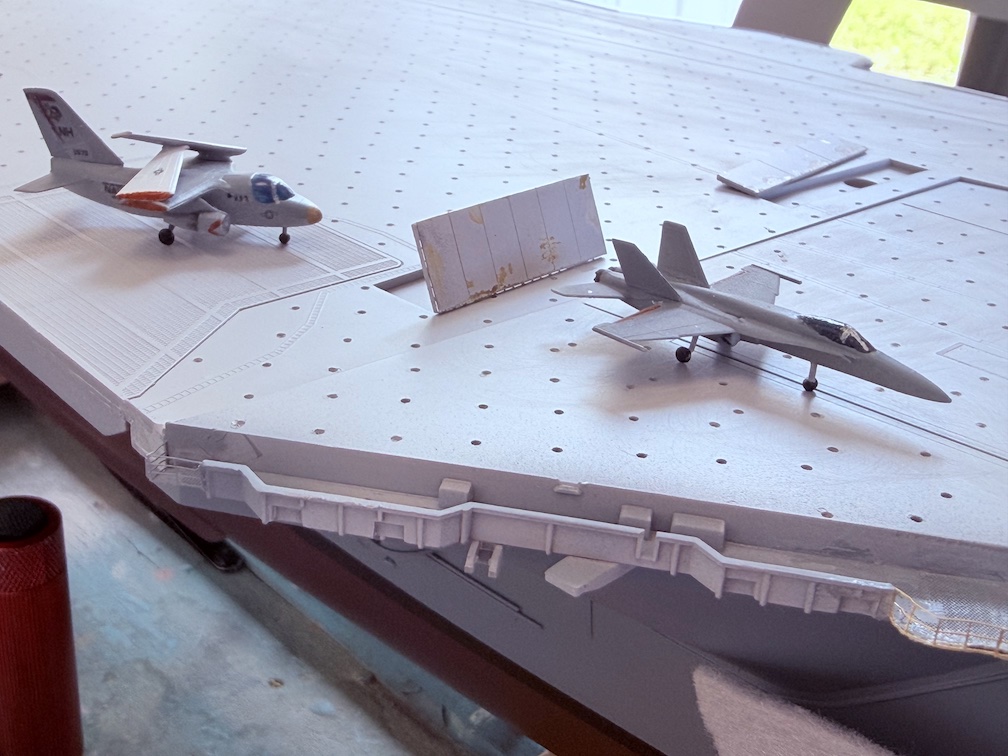
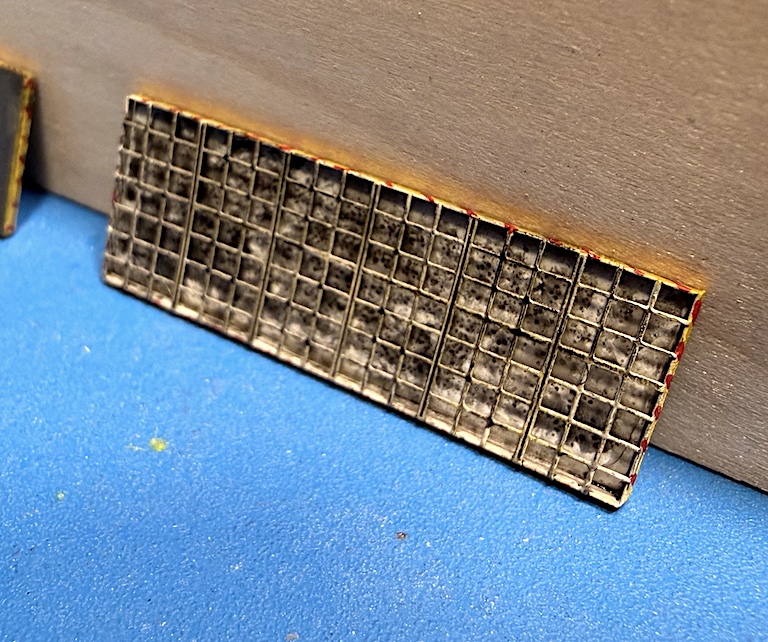
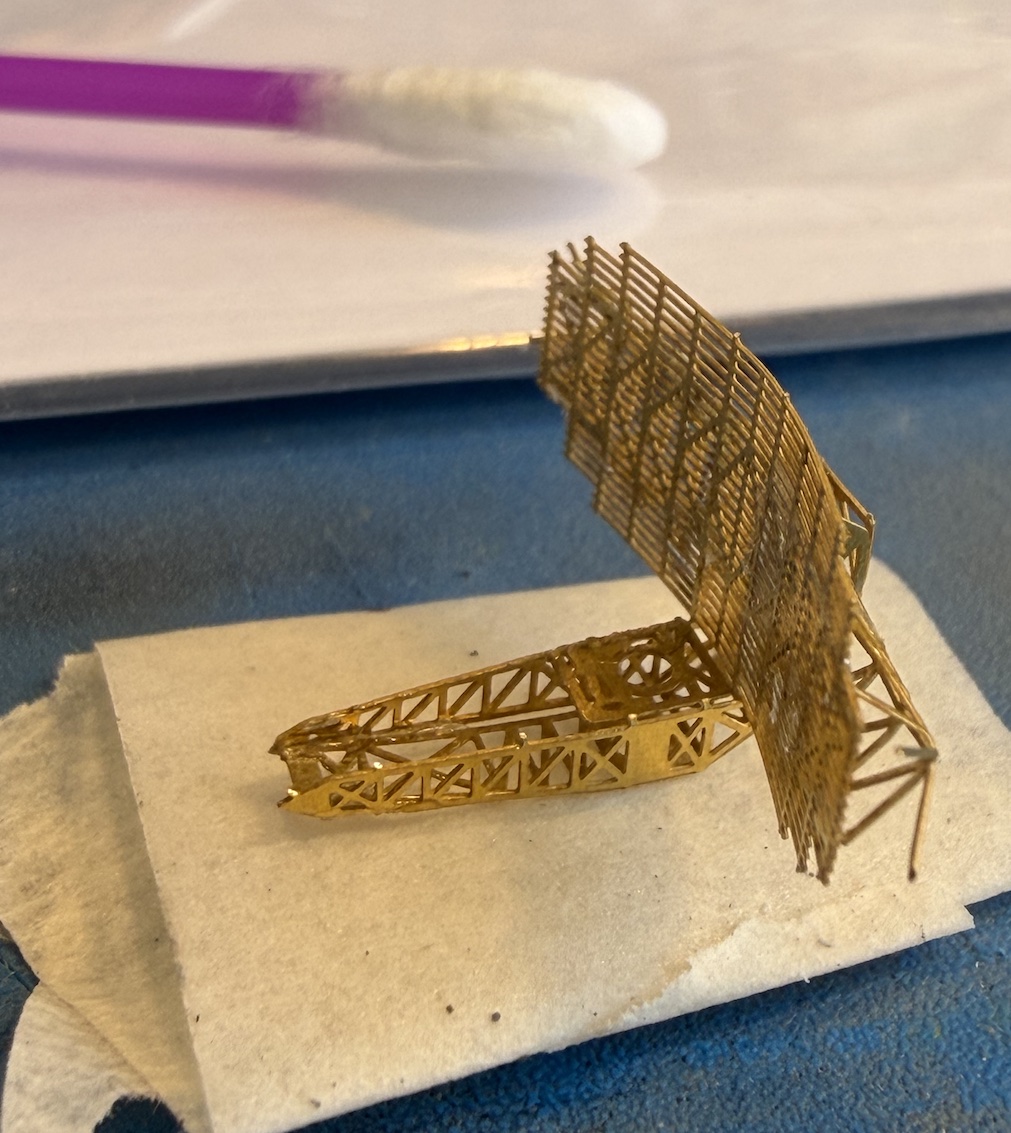
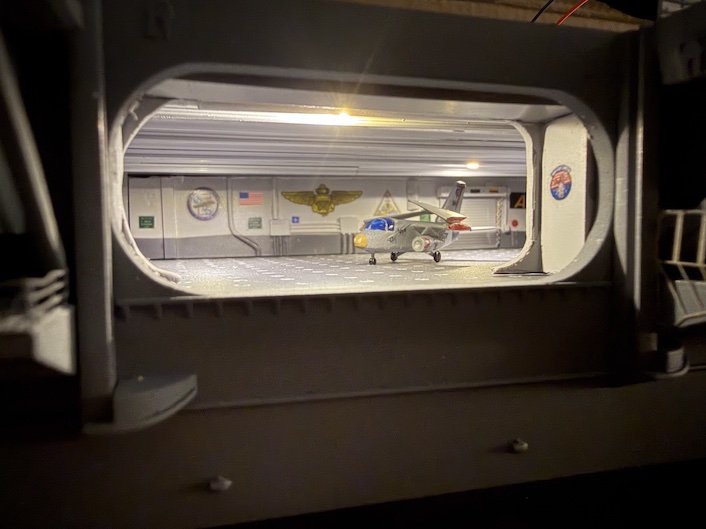
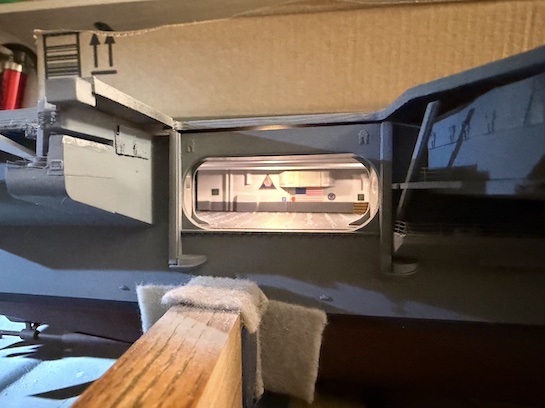
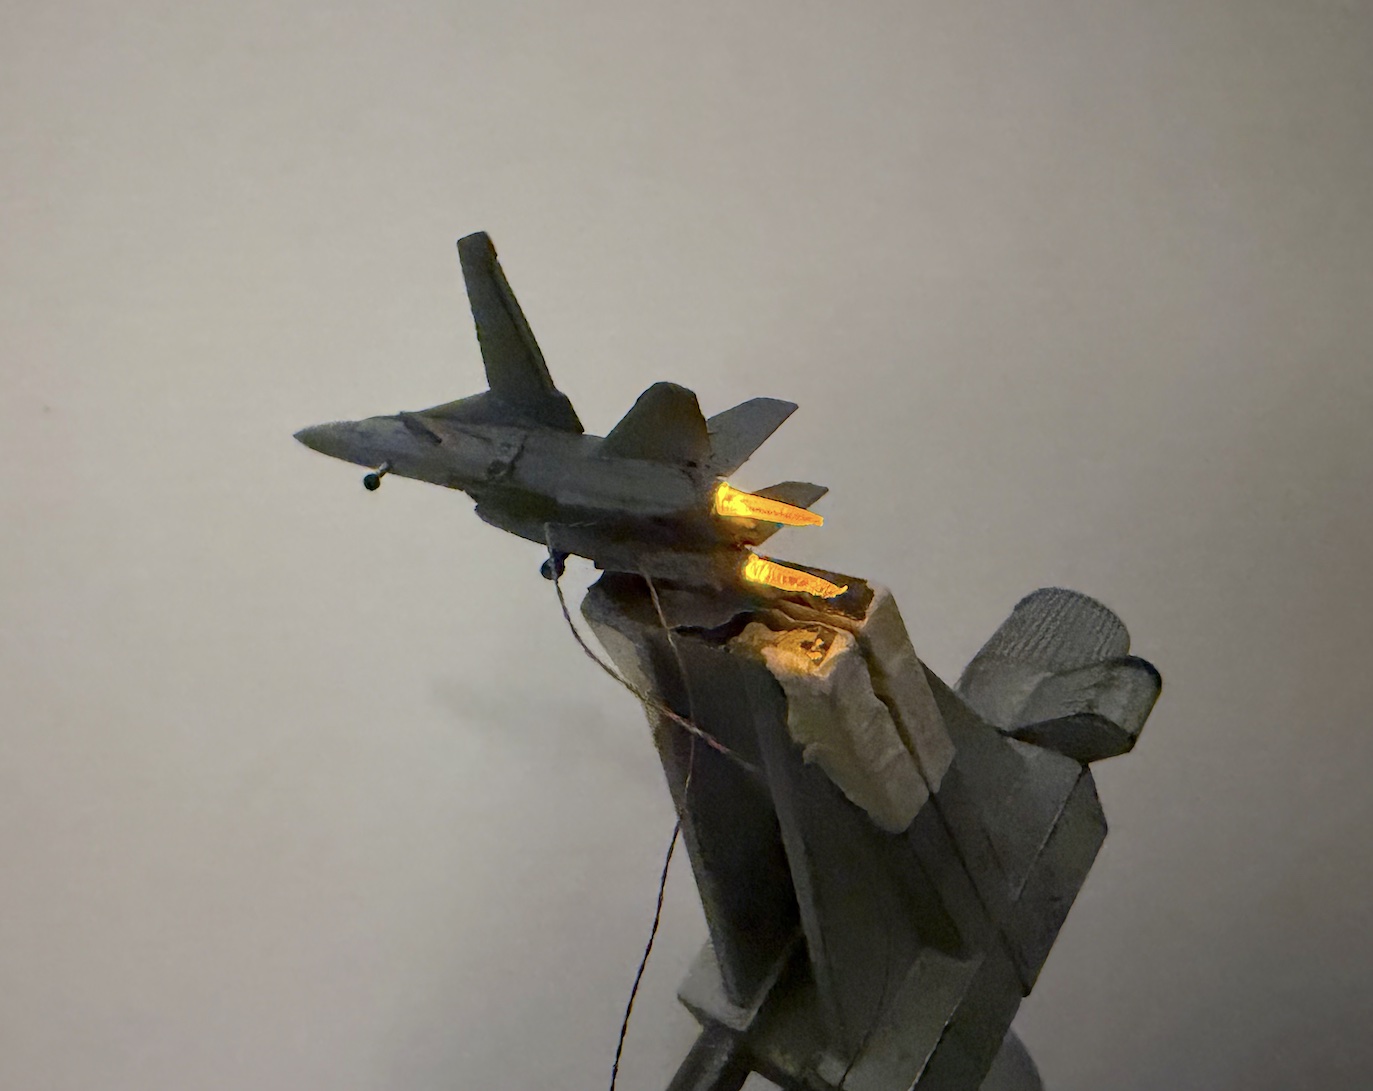
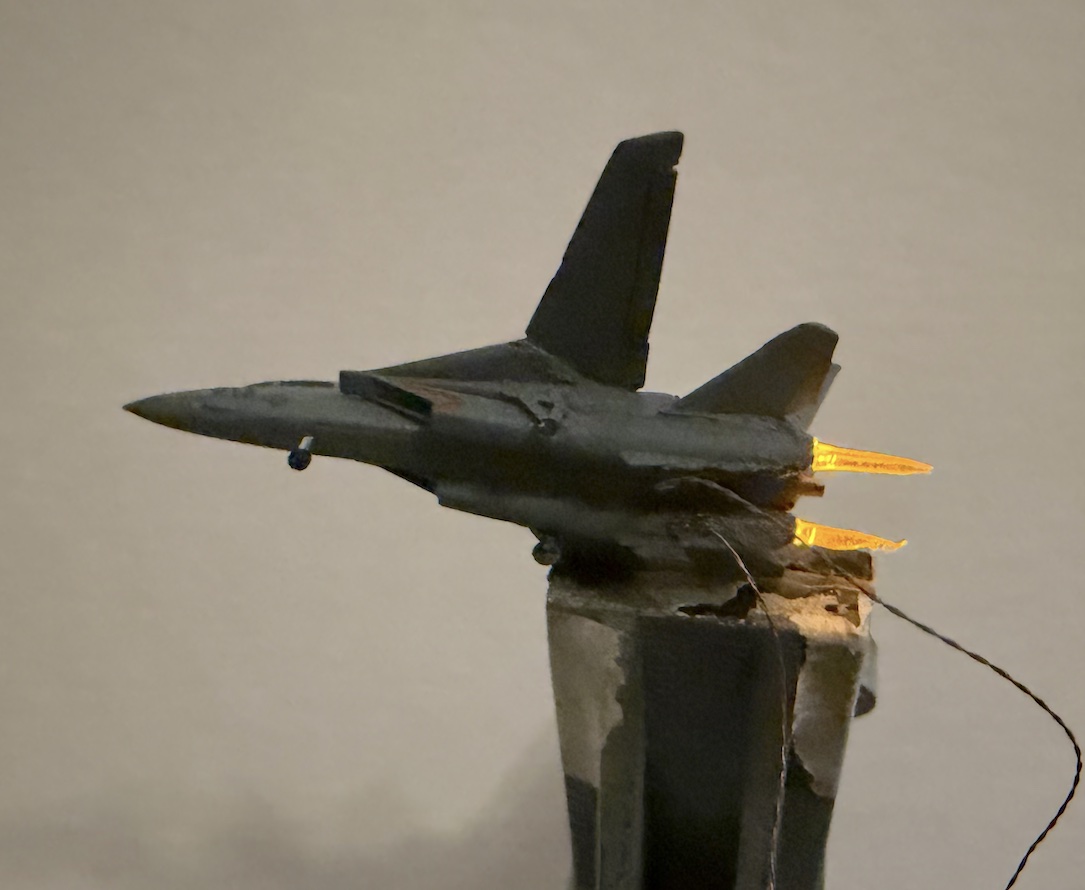
Just a few photos of what I’m working on at the moment.
14 Likes
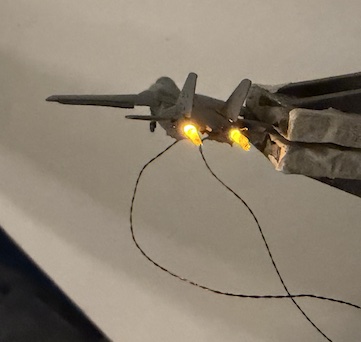
Wow, the scale of this is crazy. I love the realistic look from the leds on the jets. I gave this a try for the first also and its adds some much realism to the model.
1 Like
fuzznoggin-Great start on this project!
Phillip11
1 Like
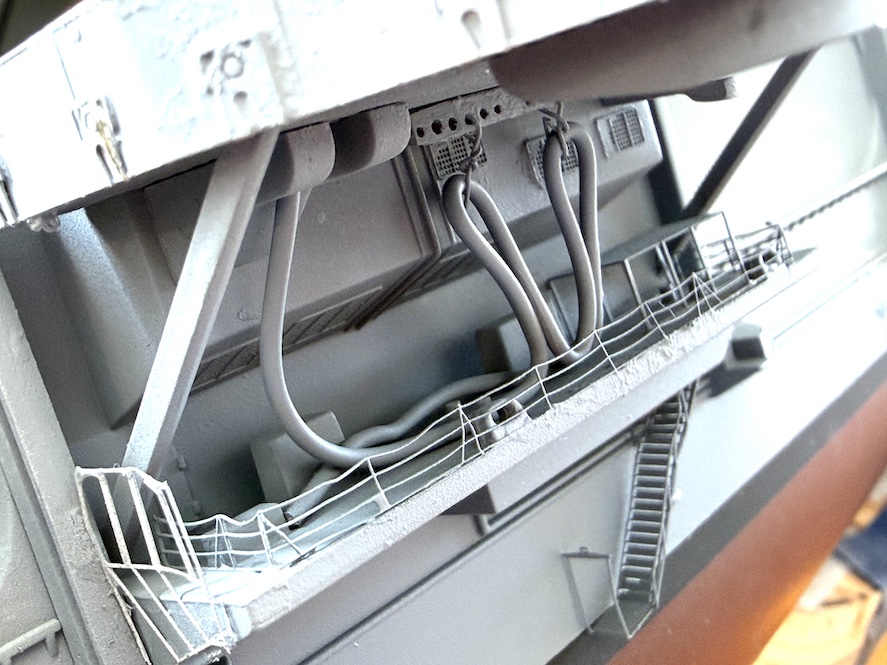
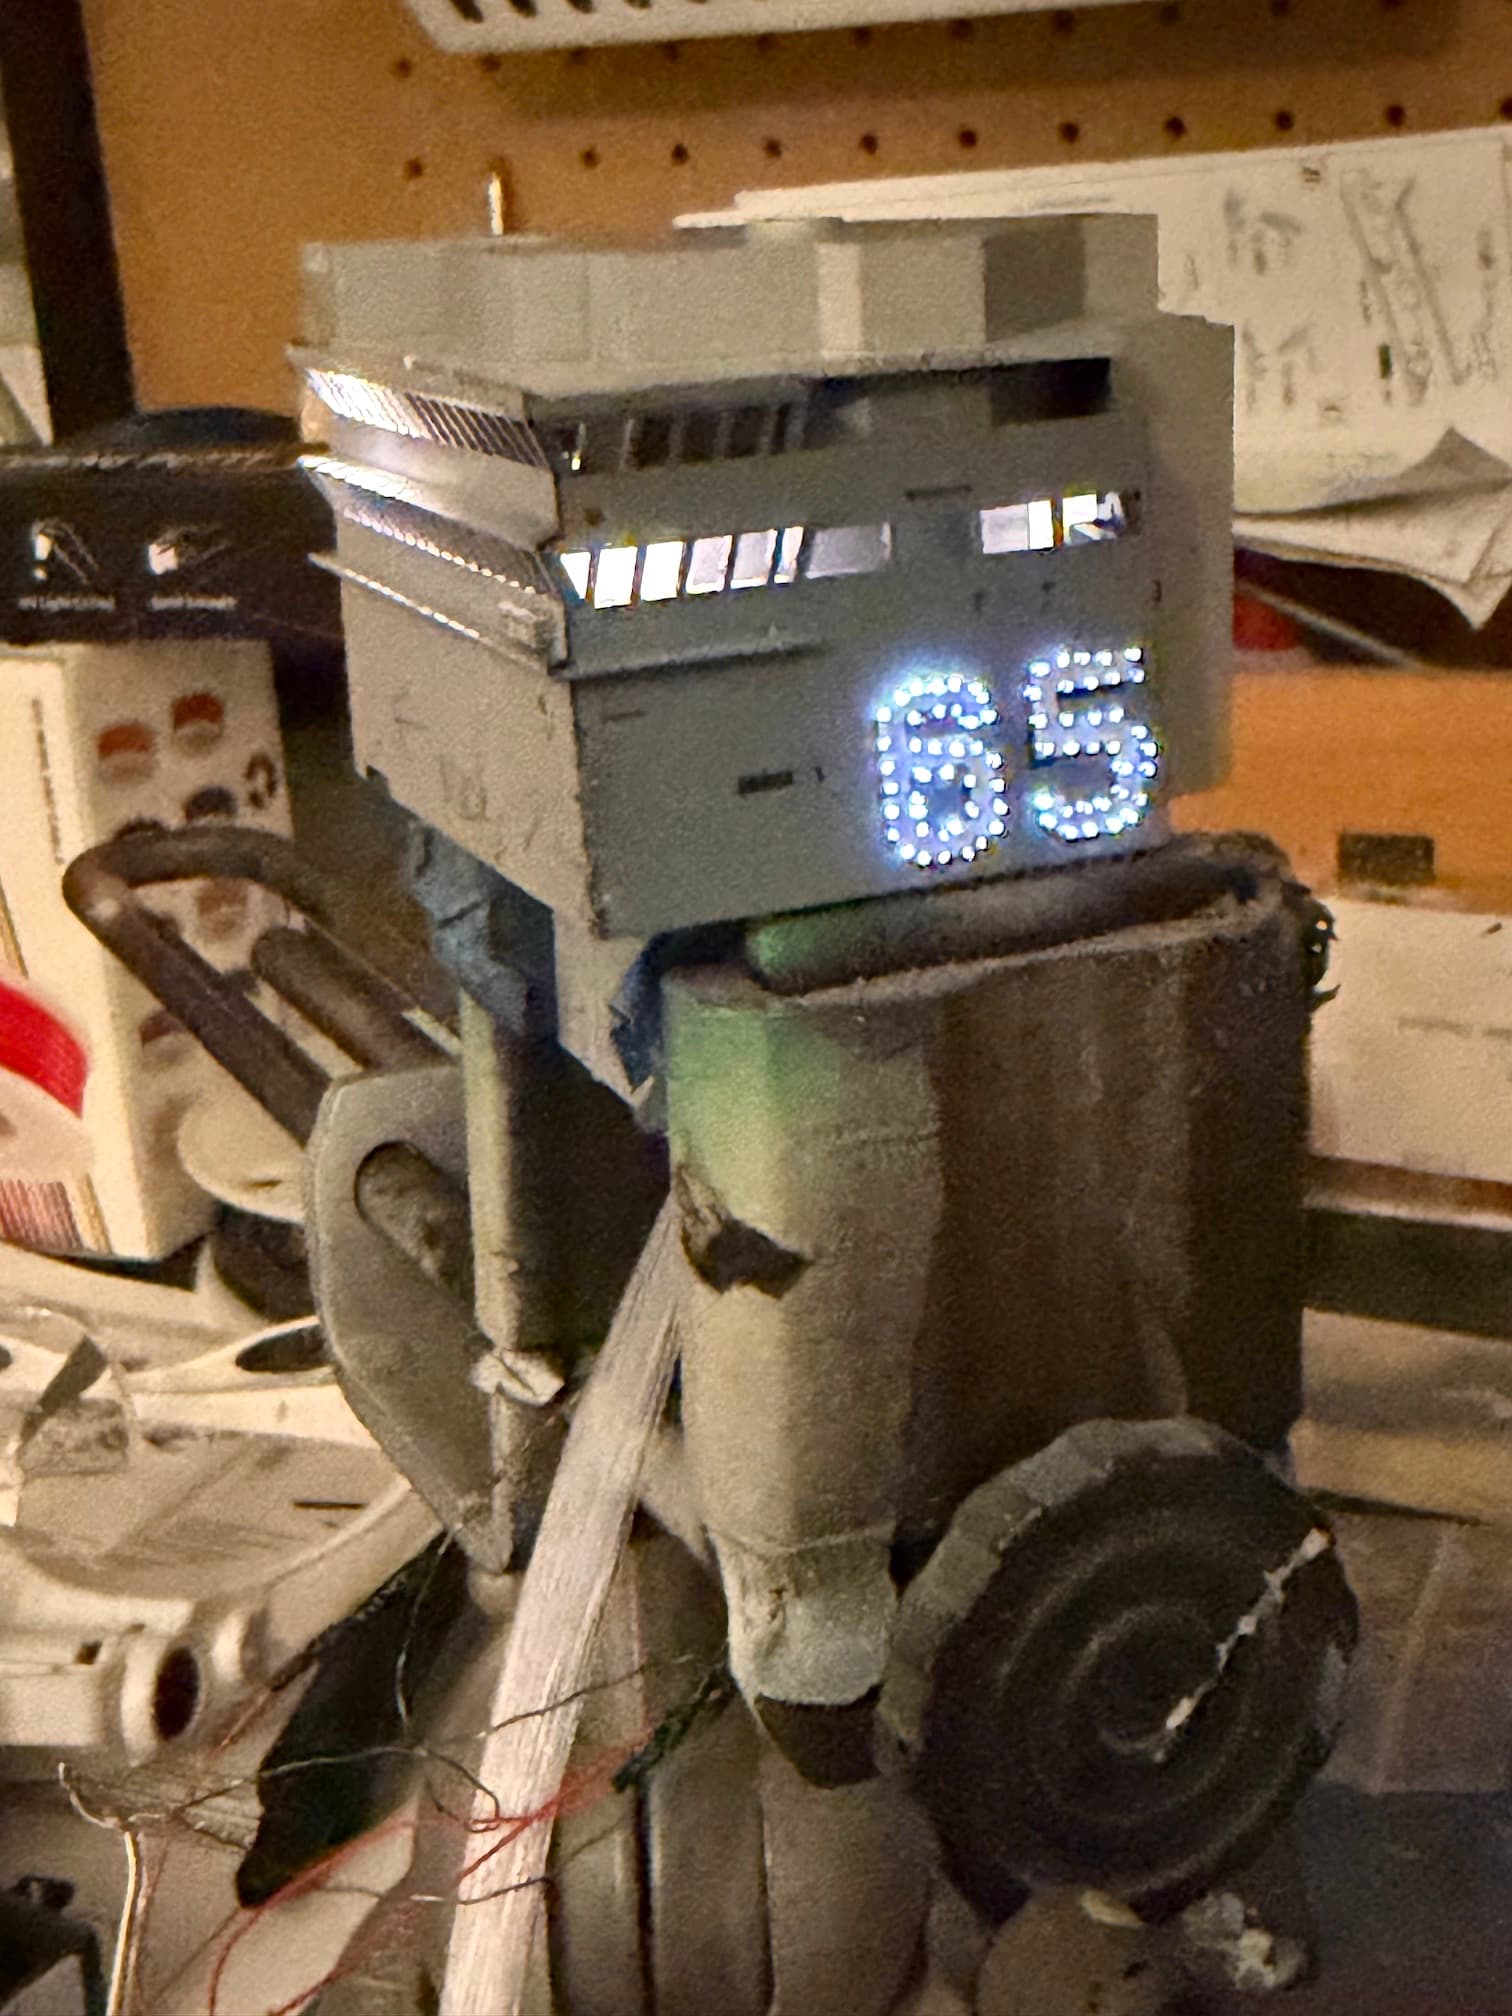
Great looking build. I served on her from 1992-1994 (Reactor Dept. #3 PPWO and Reactor Controls DIVO). A great ship and in my backlog after I finish the USS Hornet (CVS-12) for my dad. What did you use for the unrep fuel hoses? They look great. I have the Evan Designs LEDs for my hangar deck as well. The “65” on the Island looks great and I will steal that idea from you when it’s time for me to start on the Big E. 
1 Like
I believe the UNREP line was 22 gauge wire off a 9v battery case. I’ll shoot you a PM in morning on some things.
1 Like
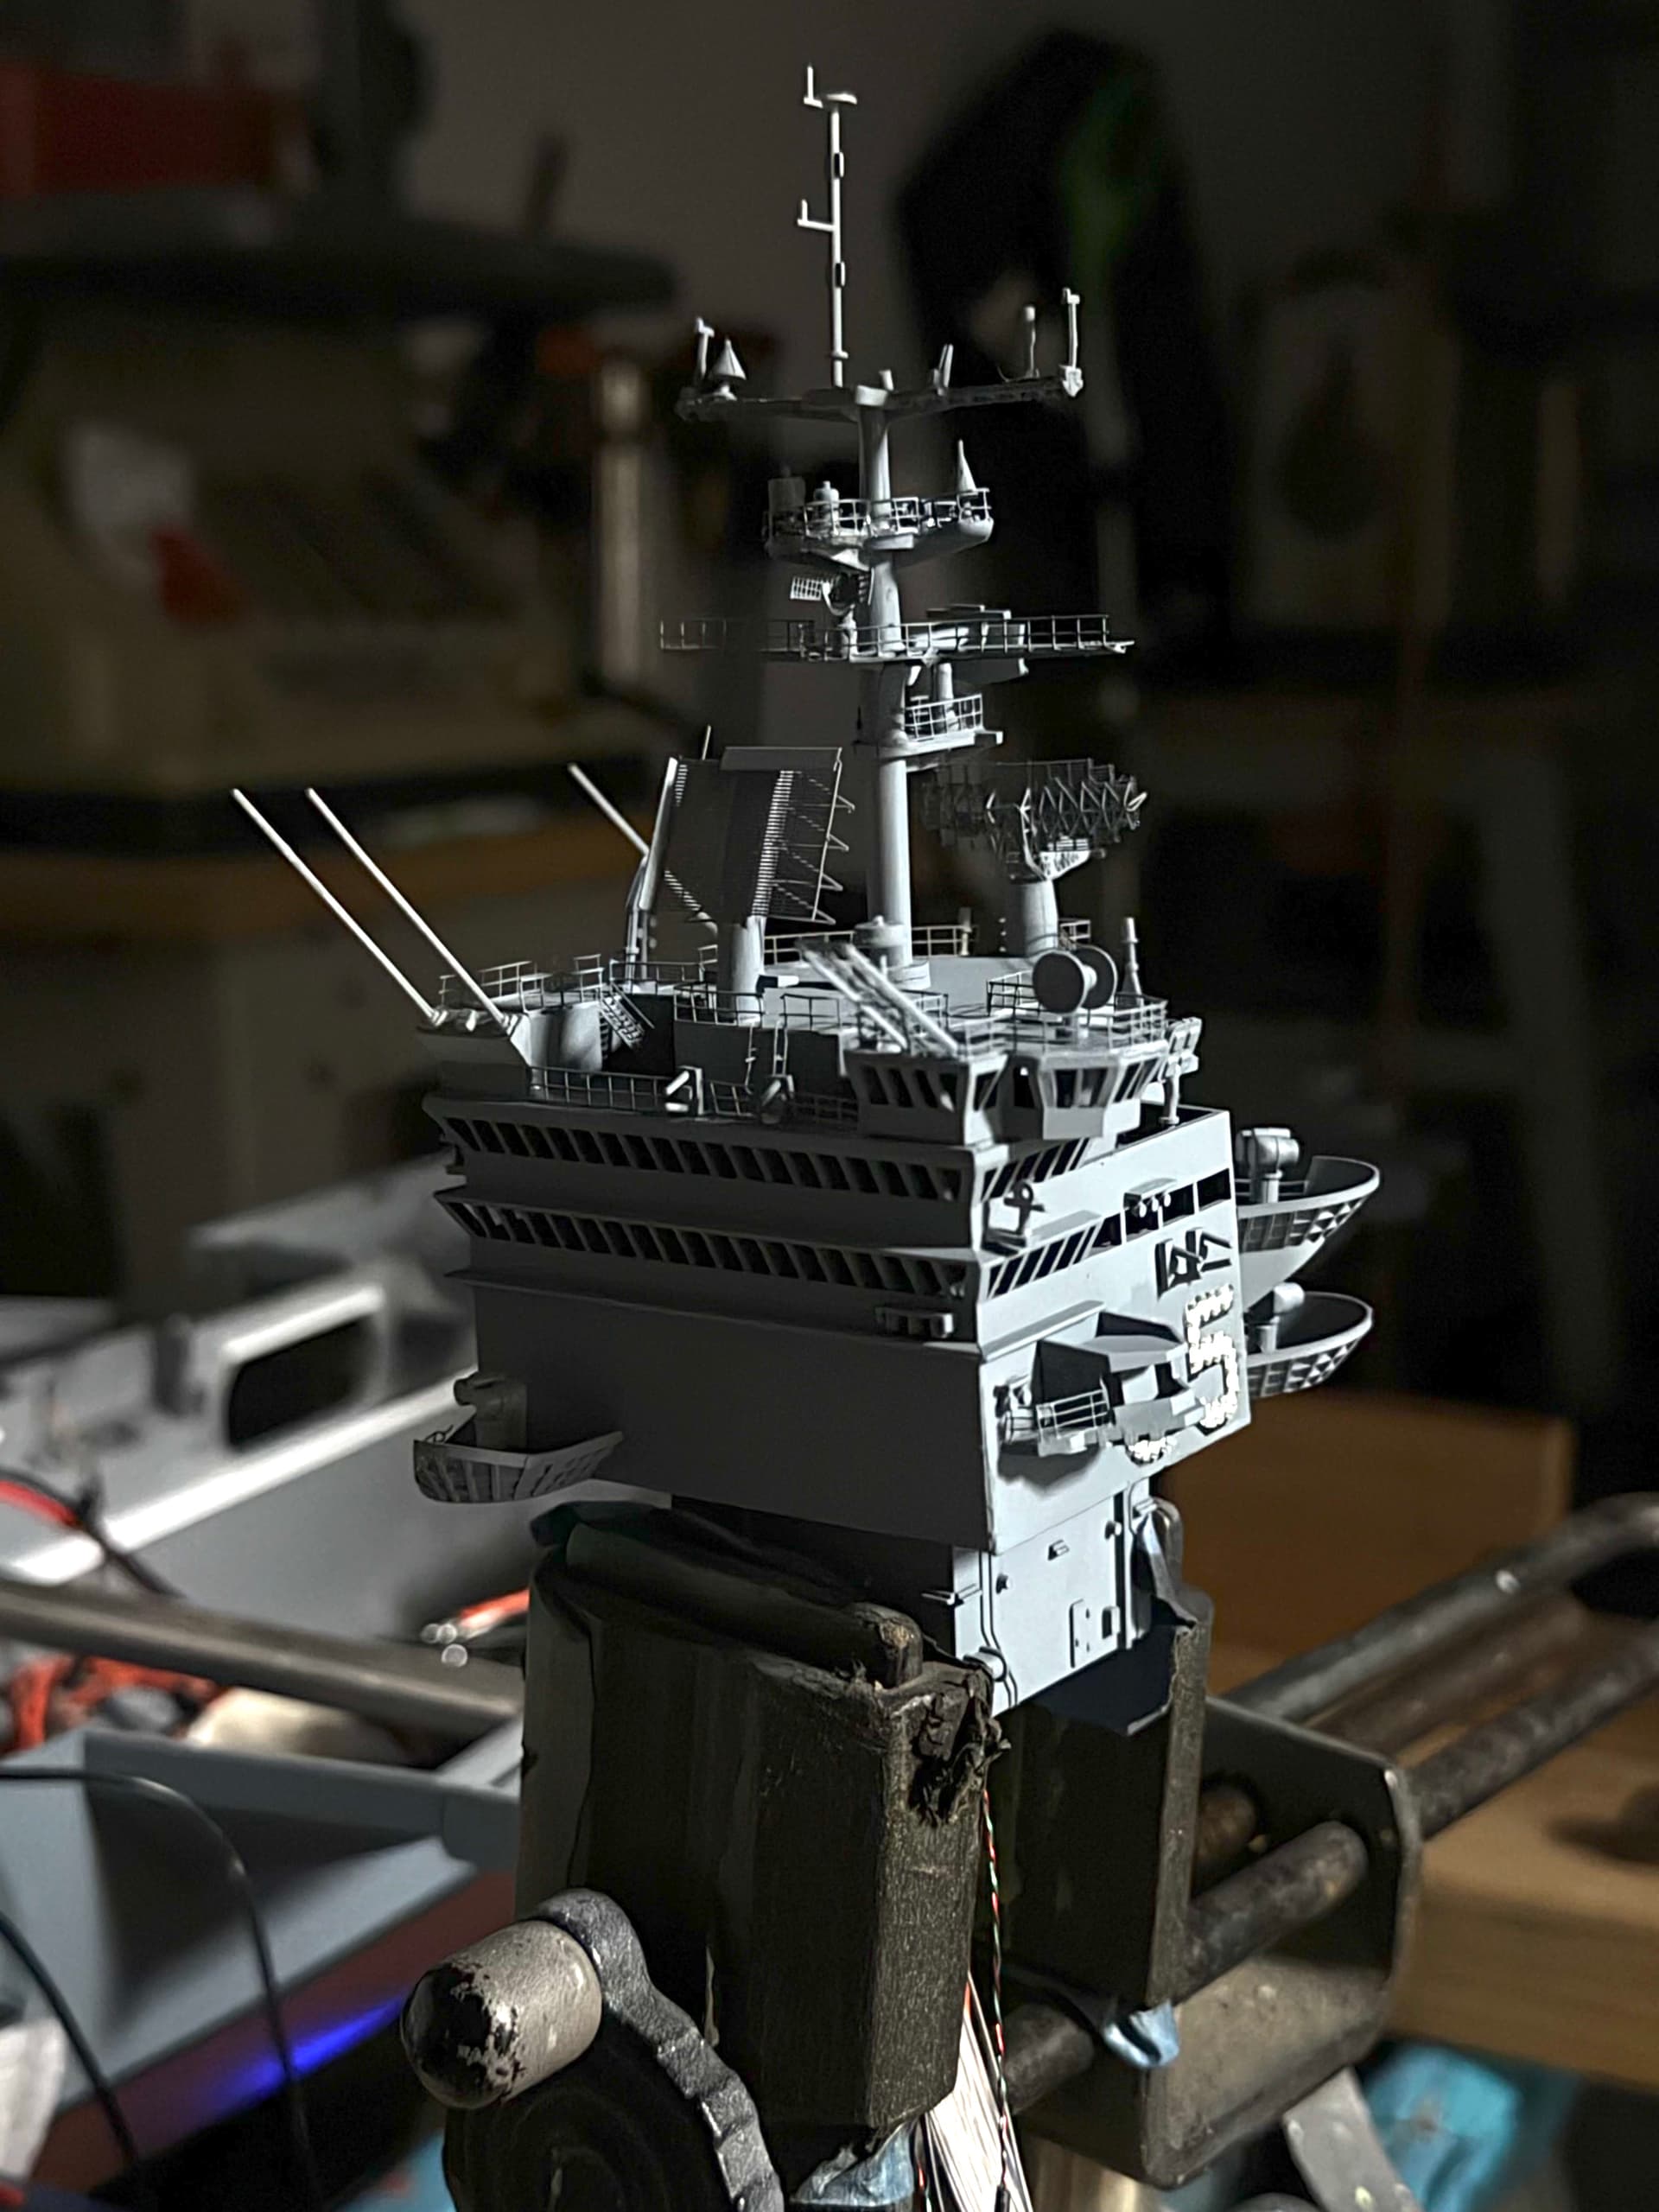
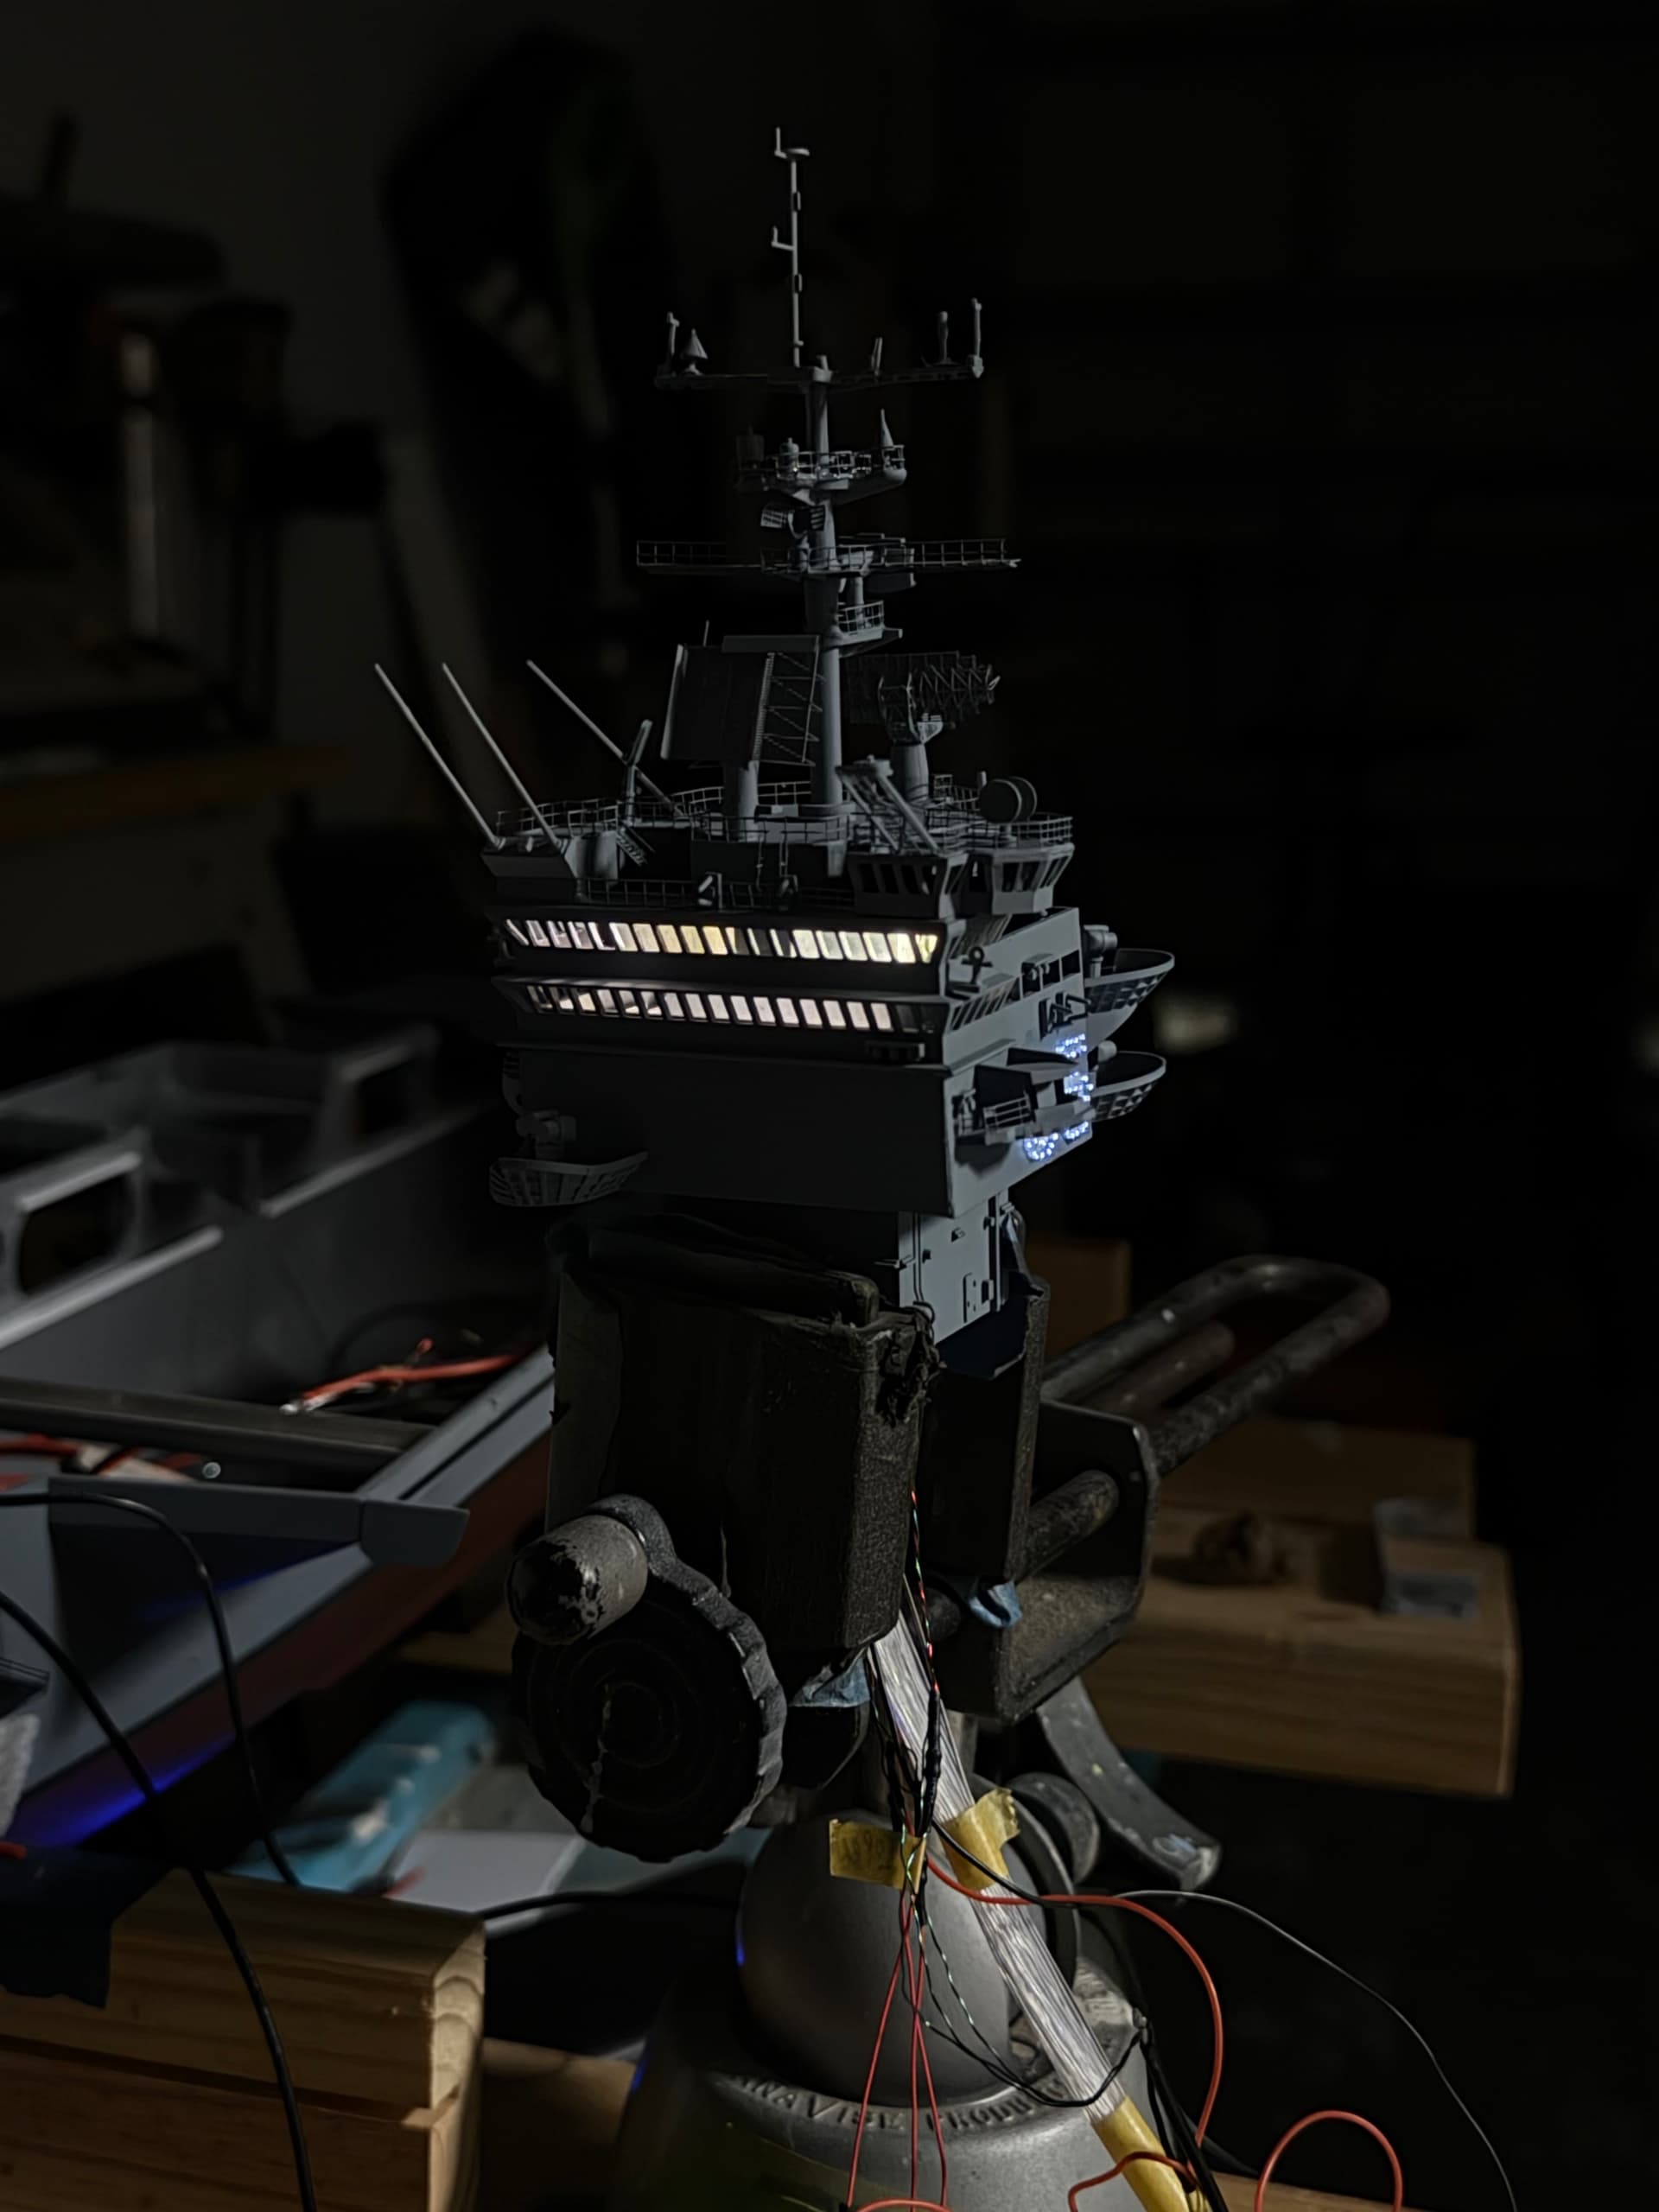
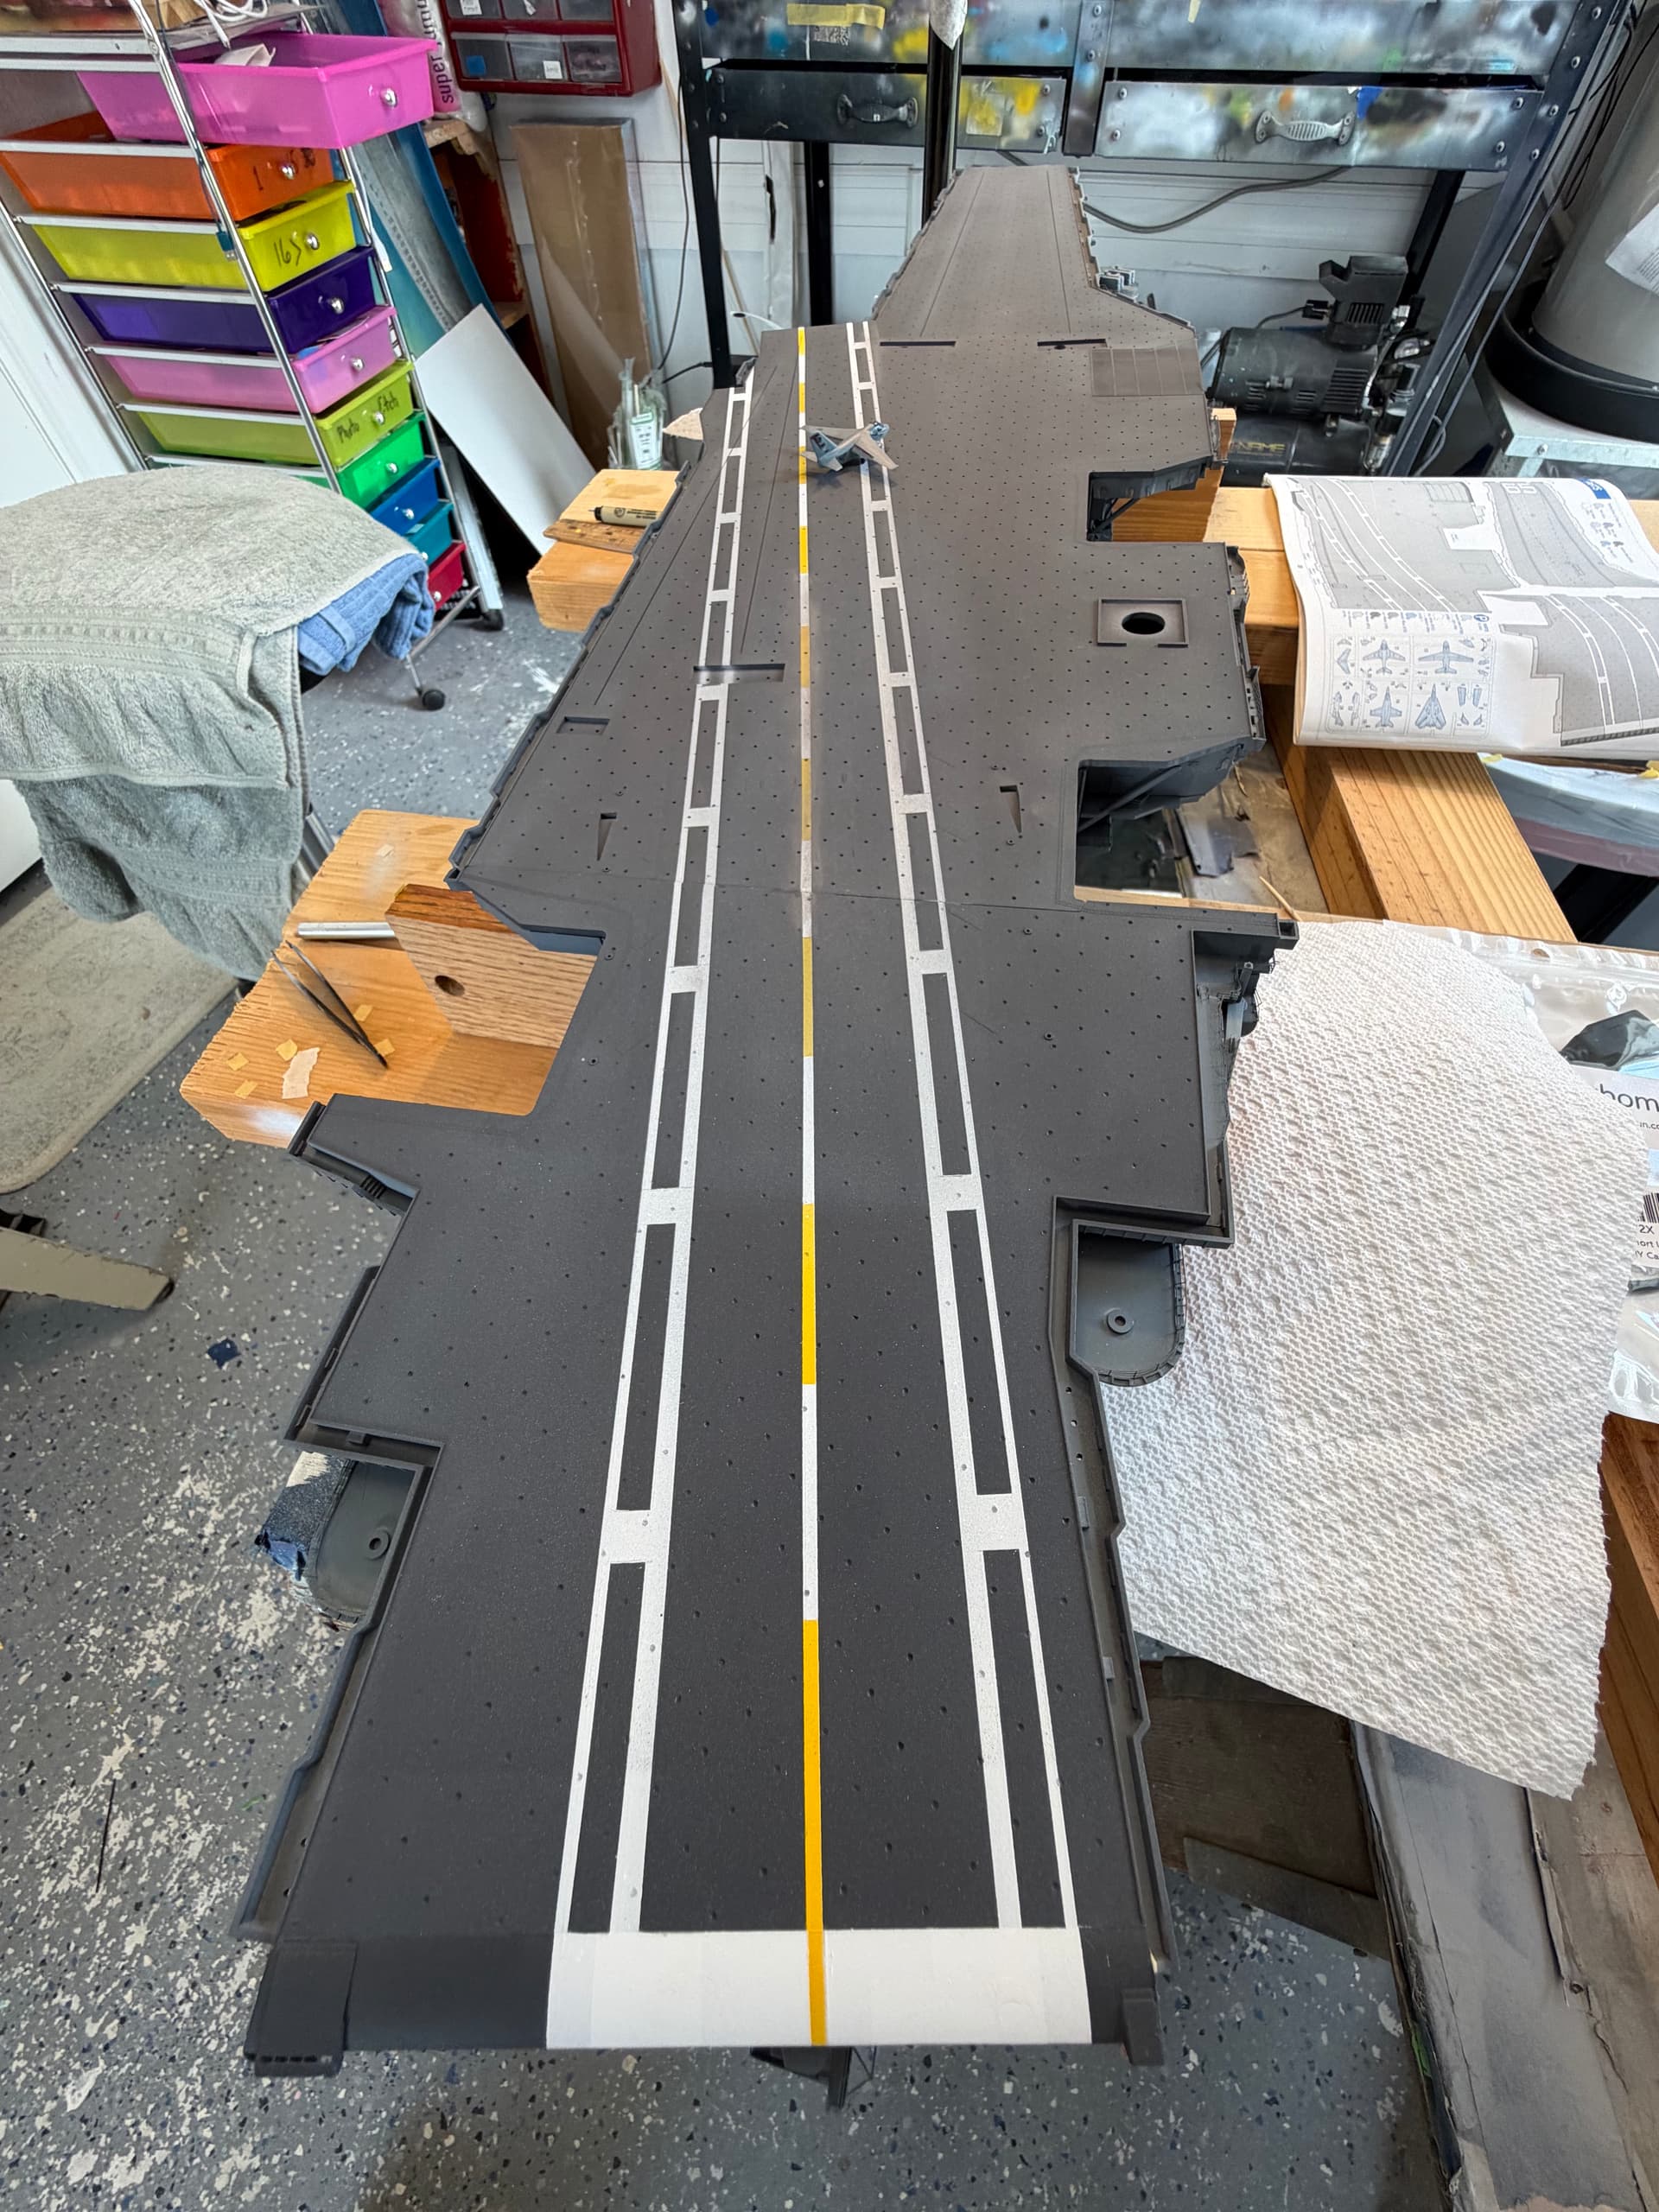
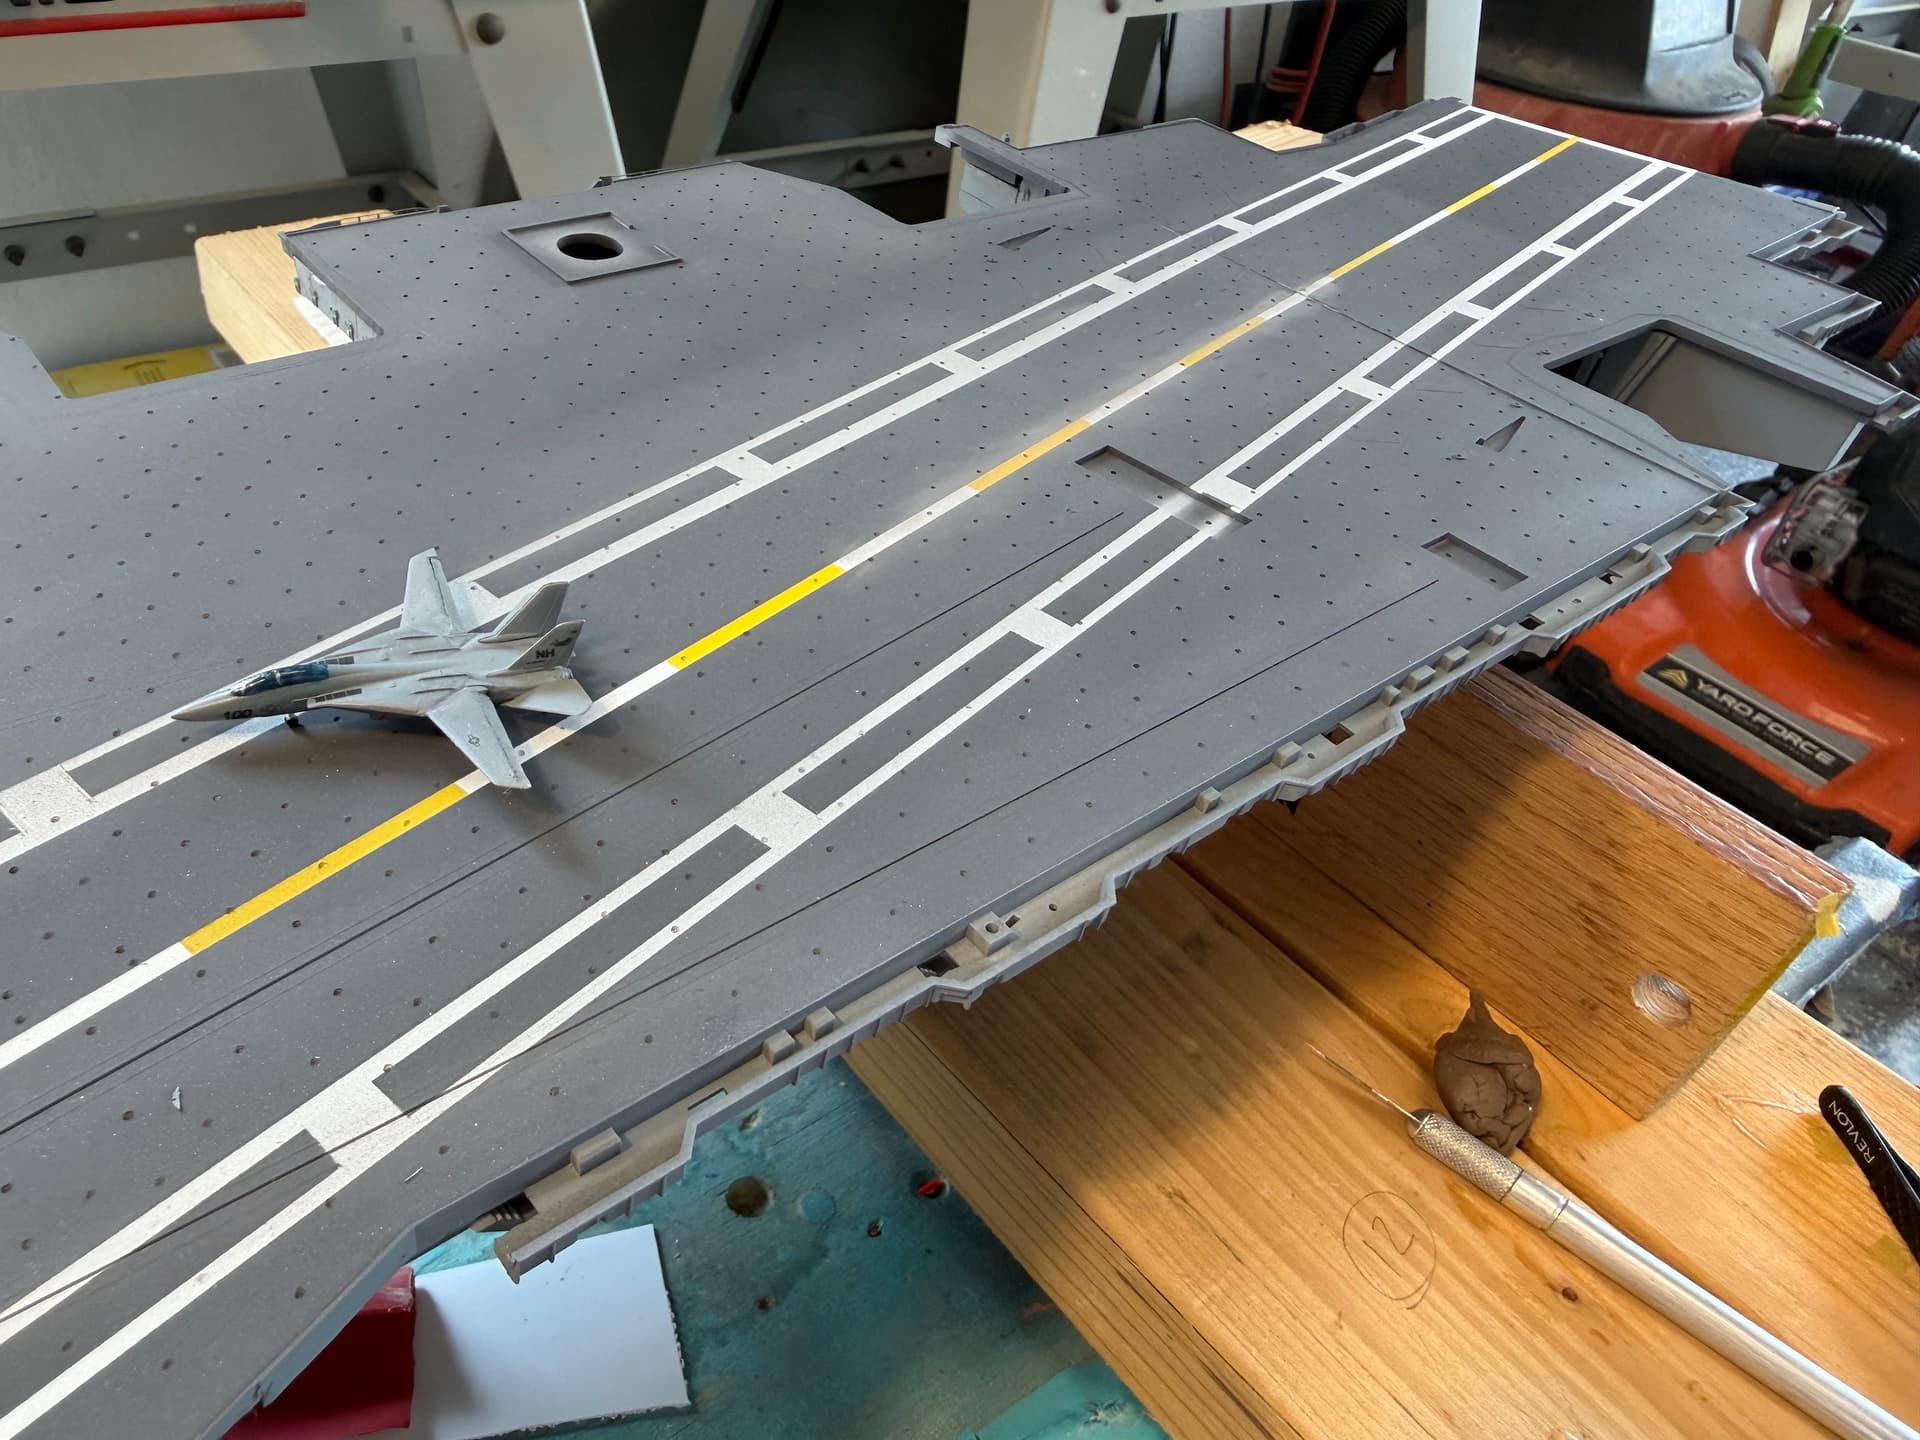
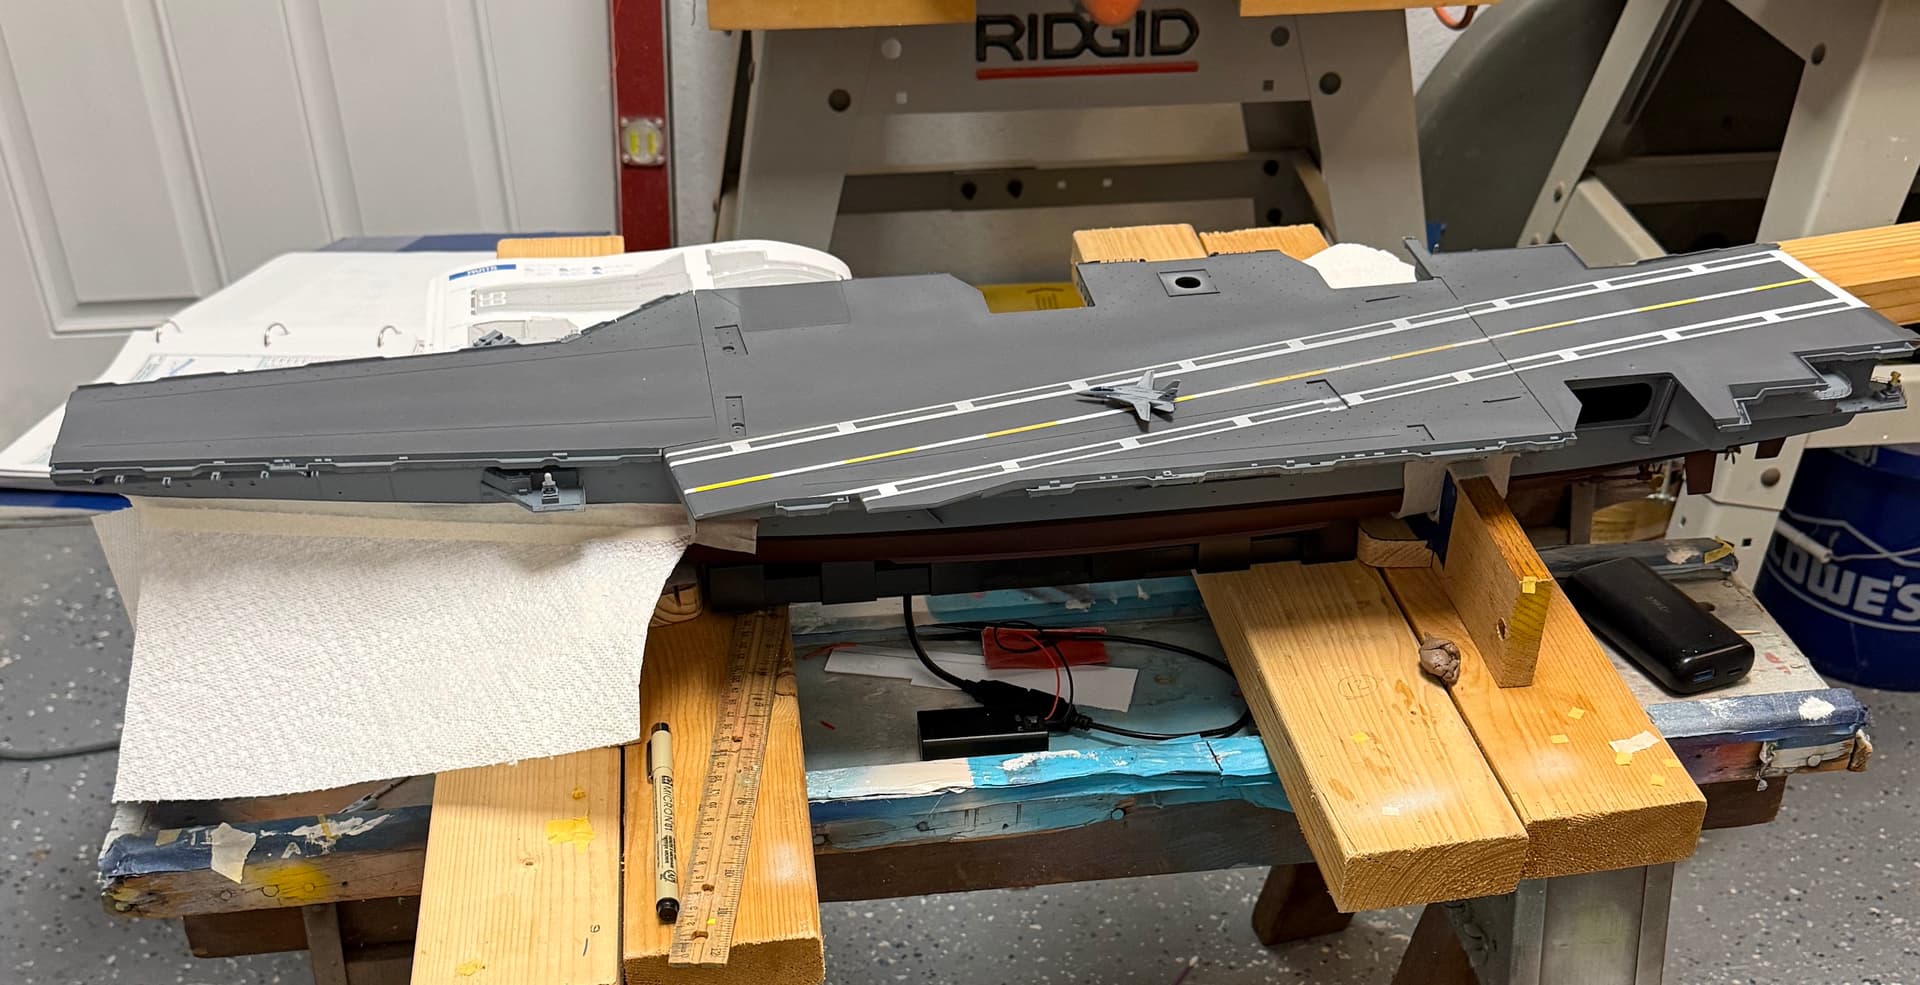
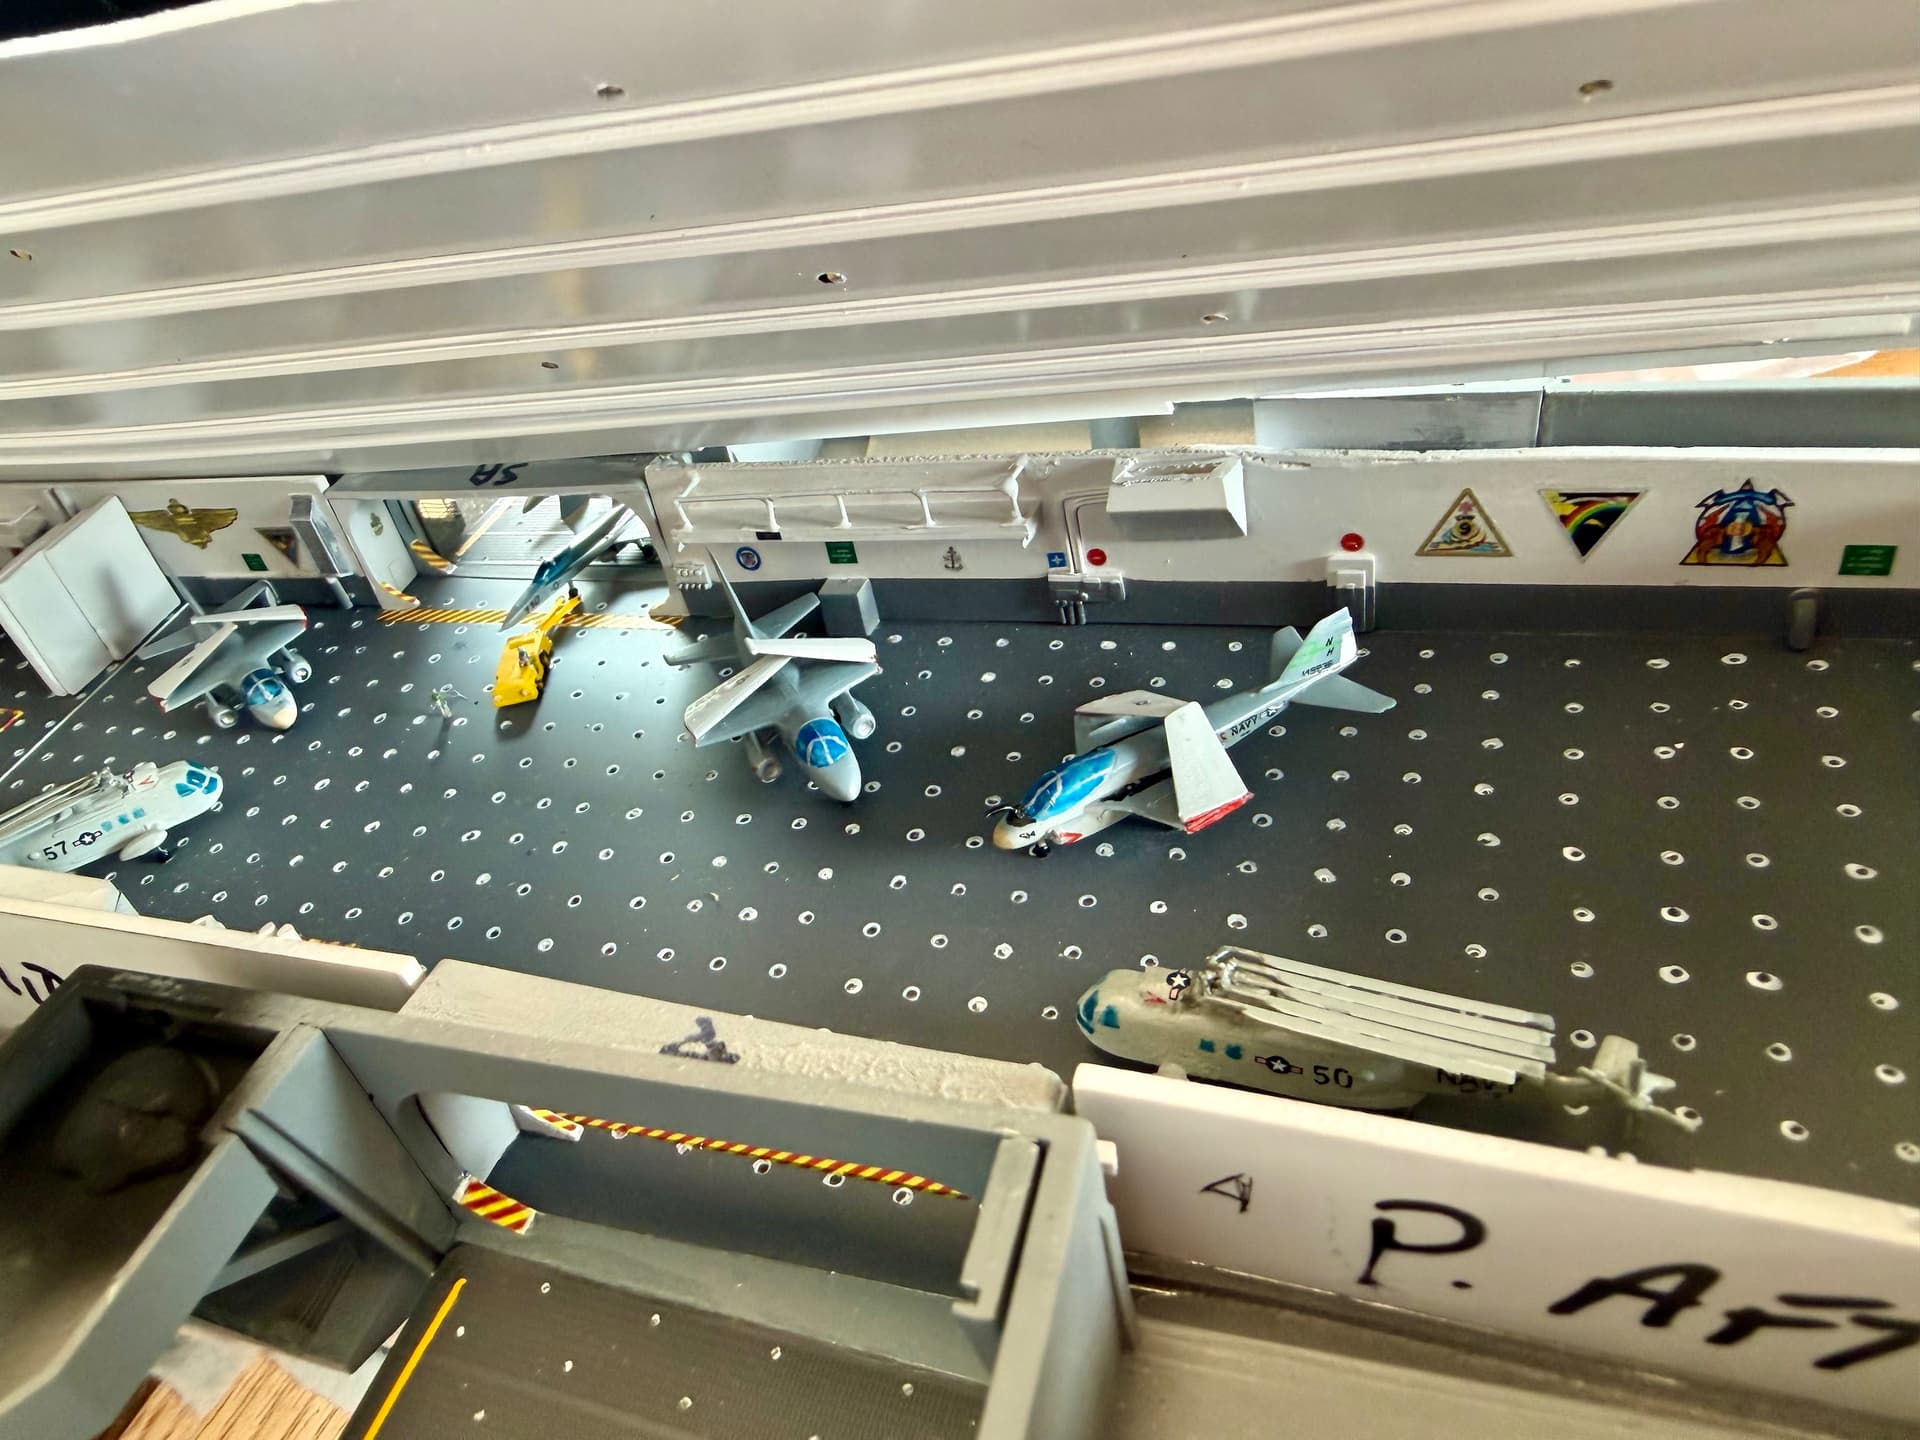
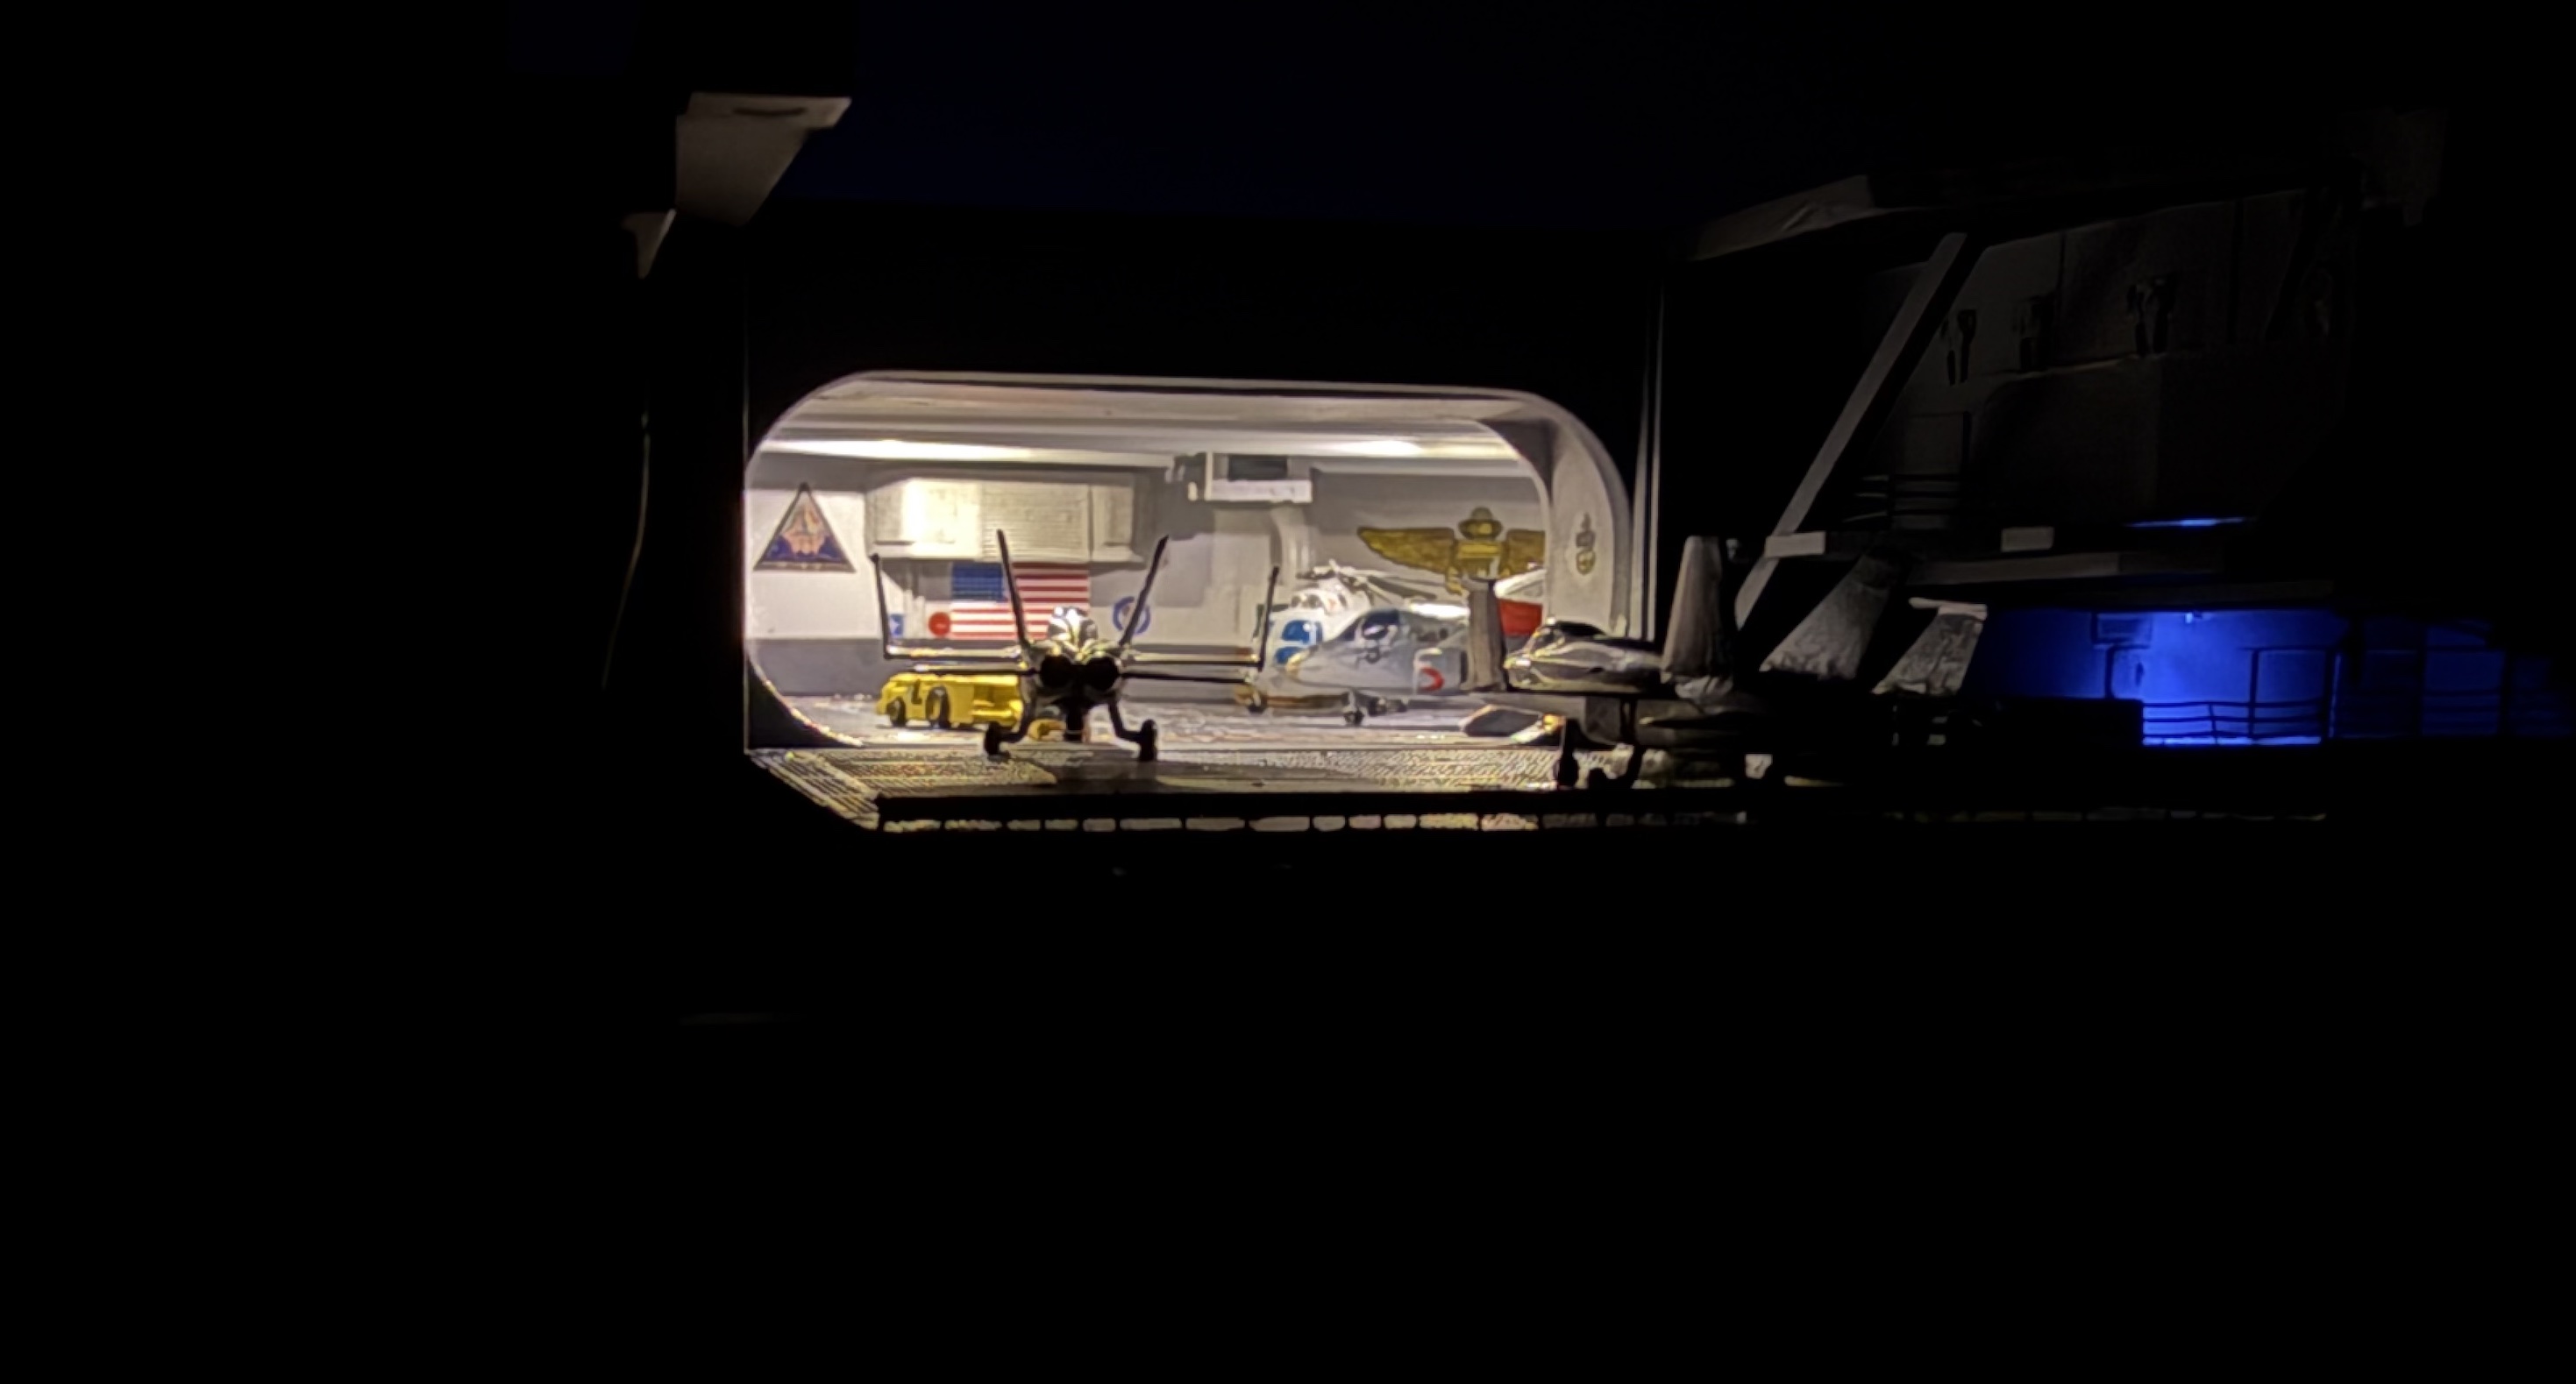
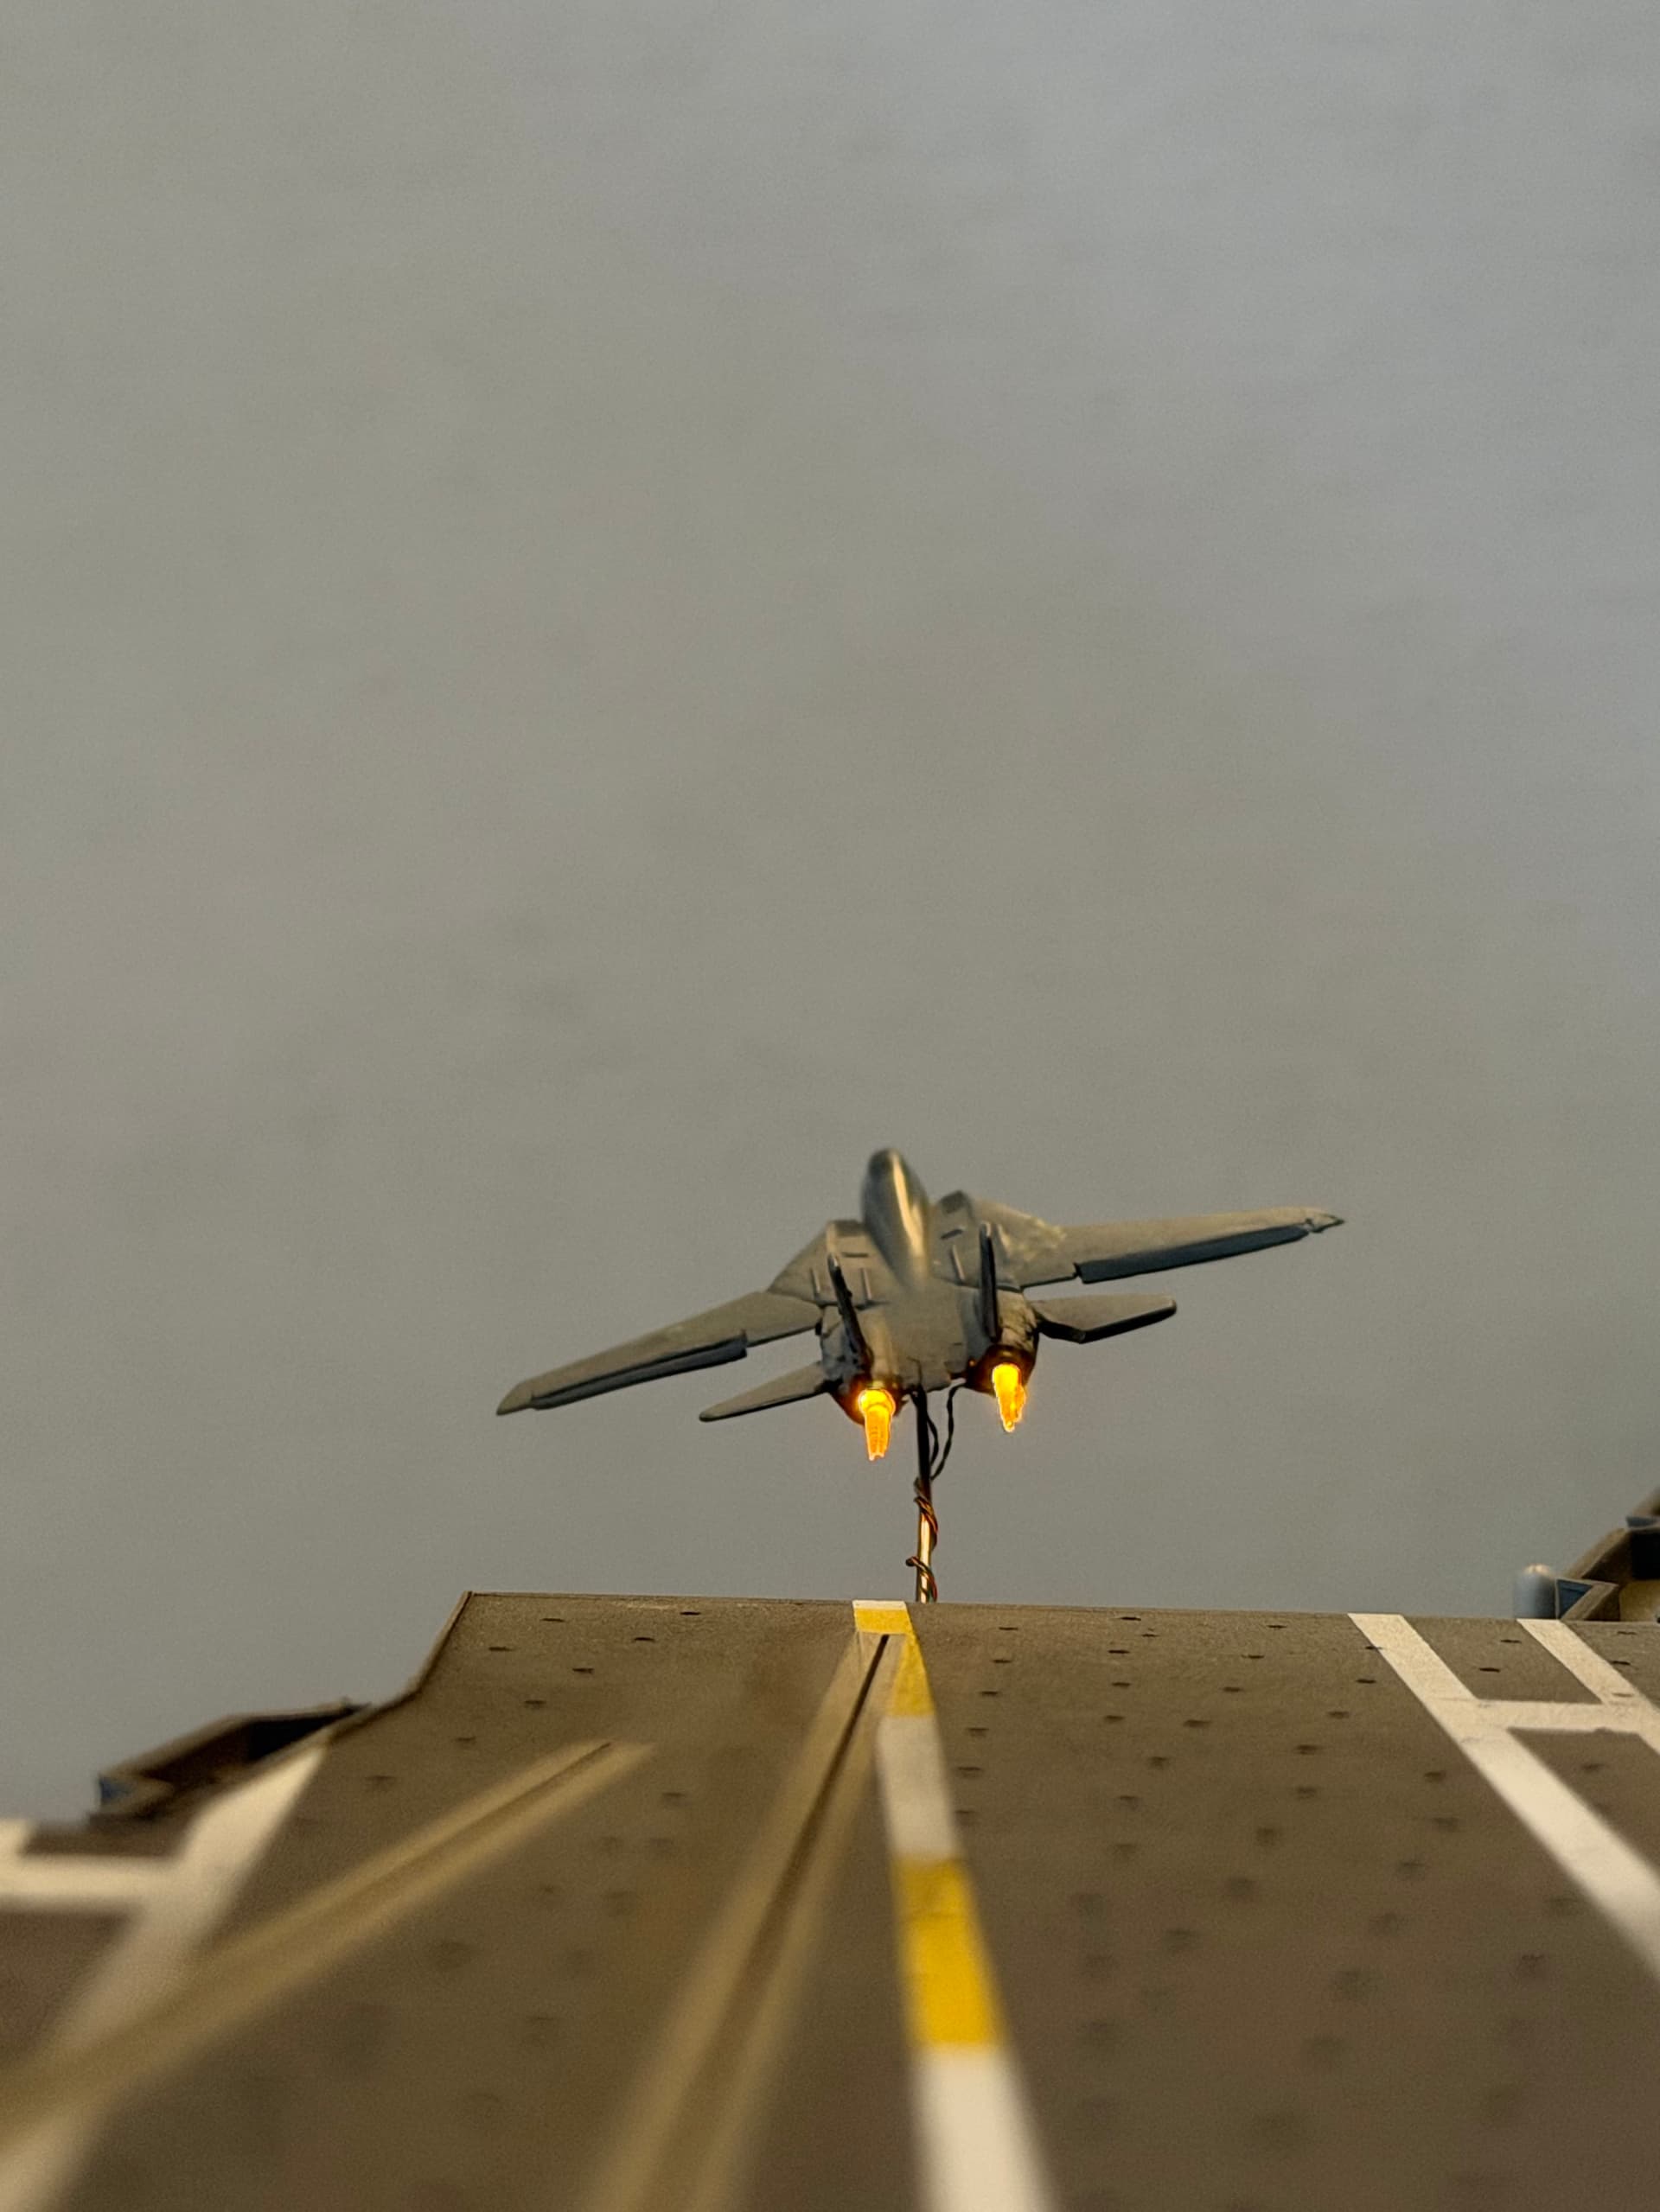
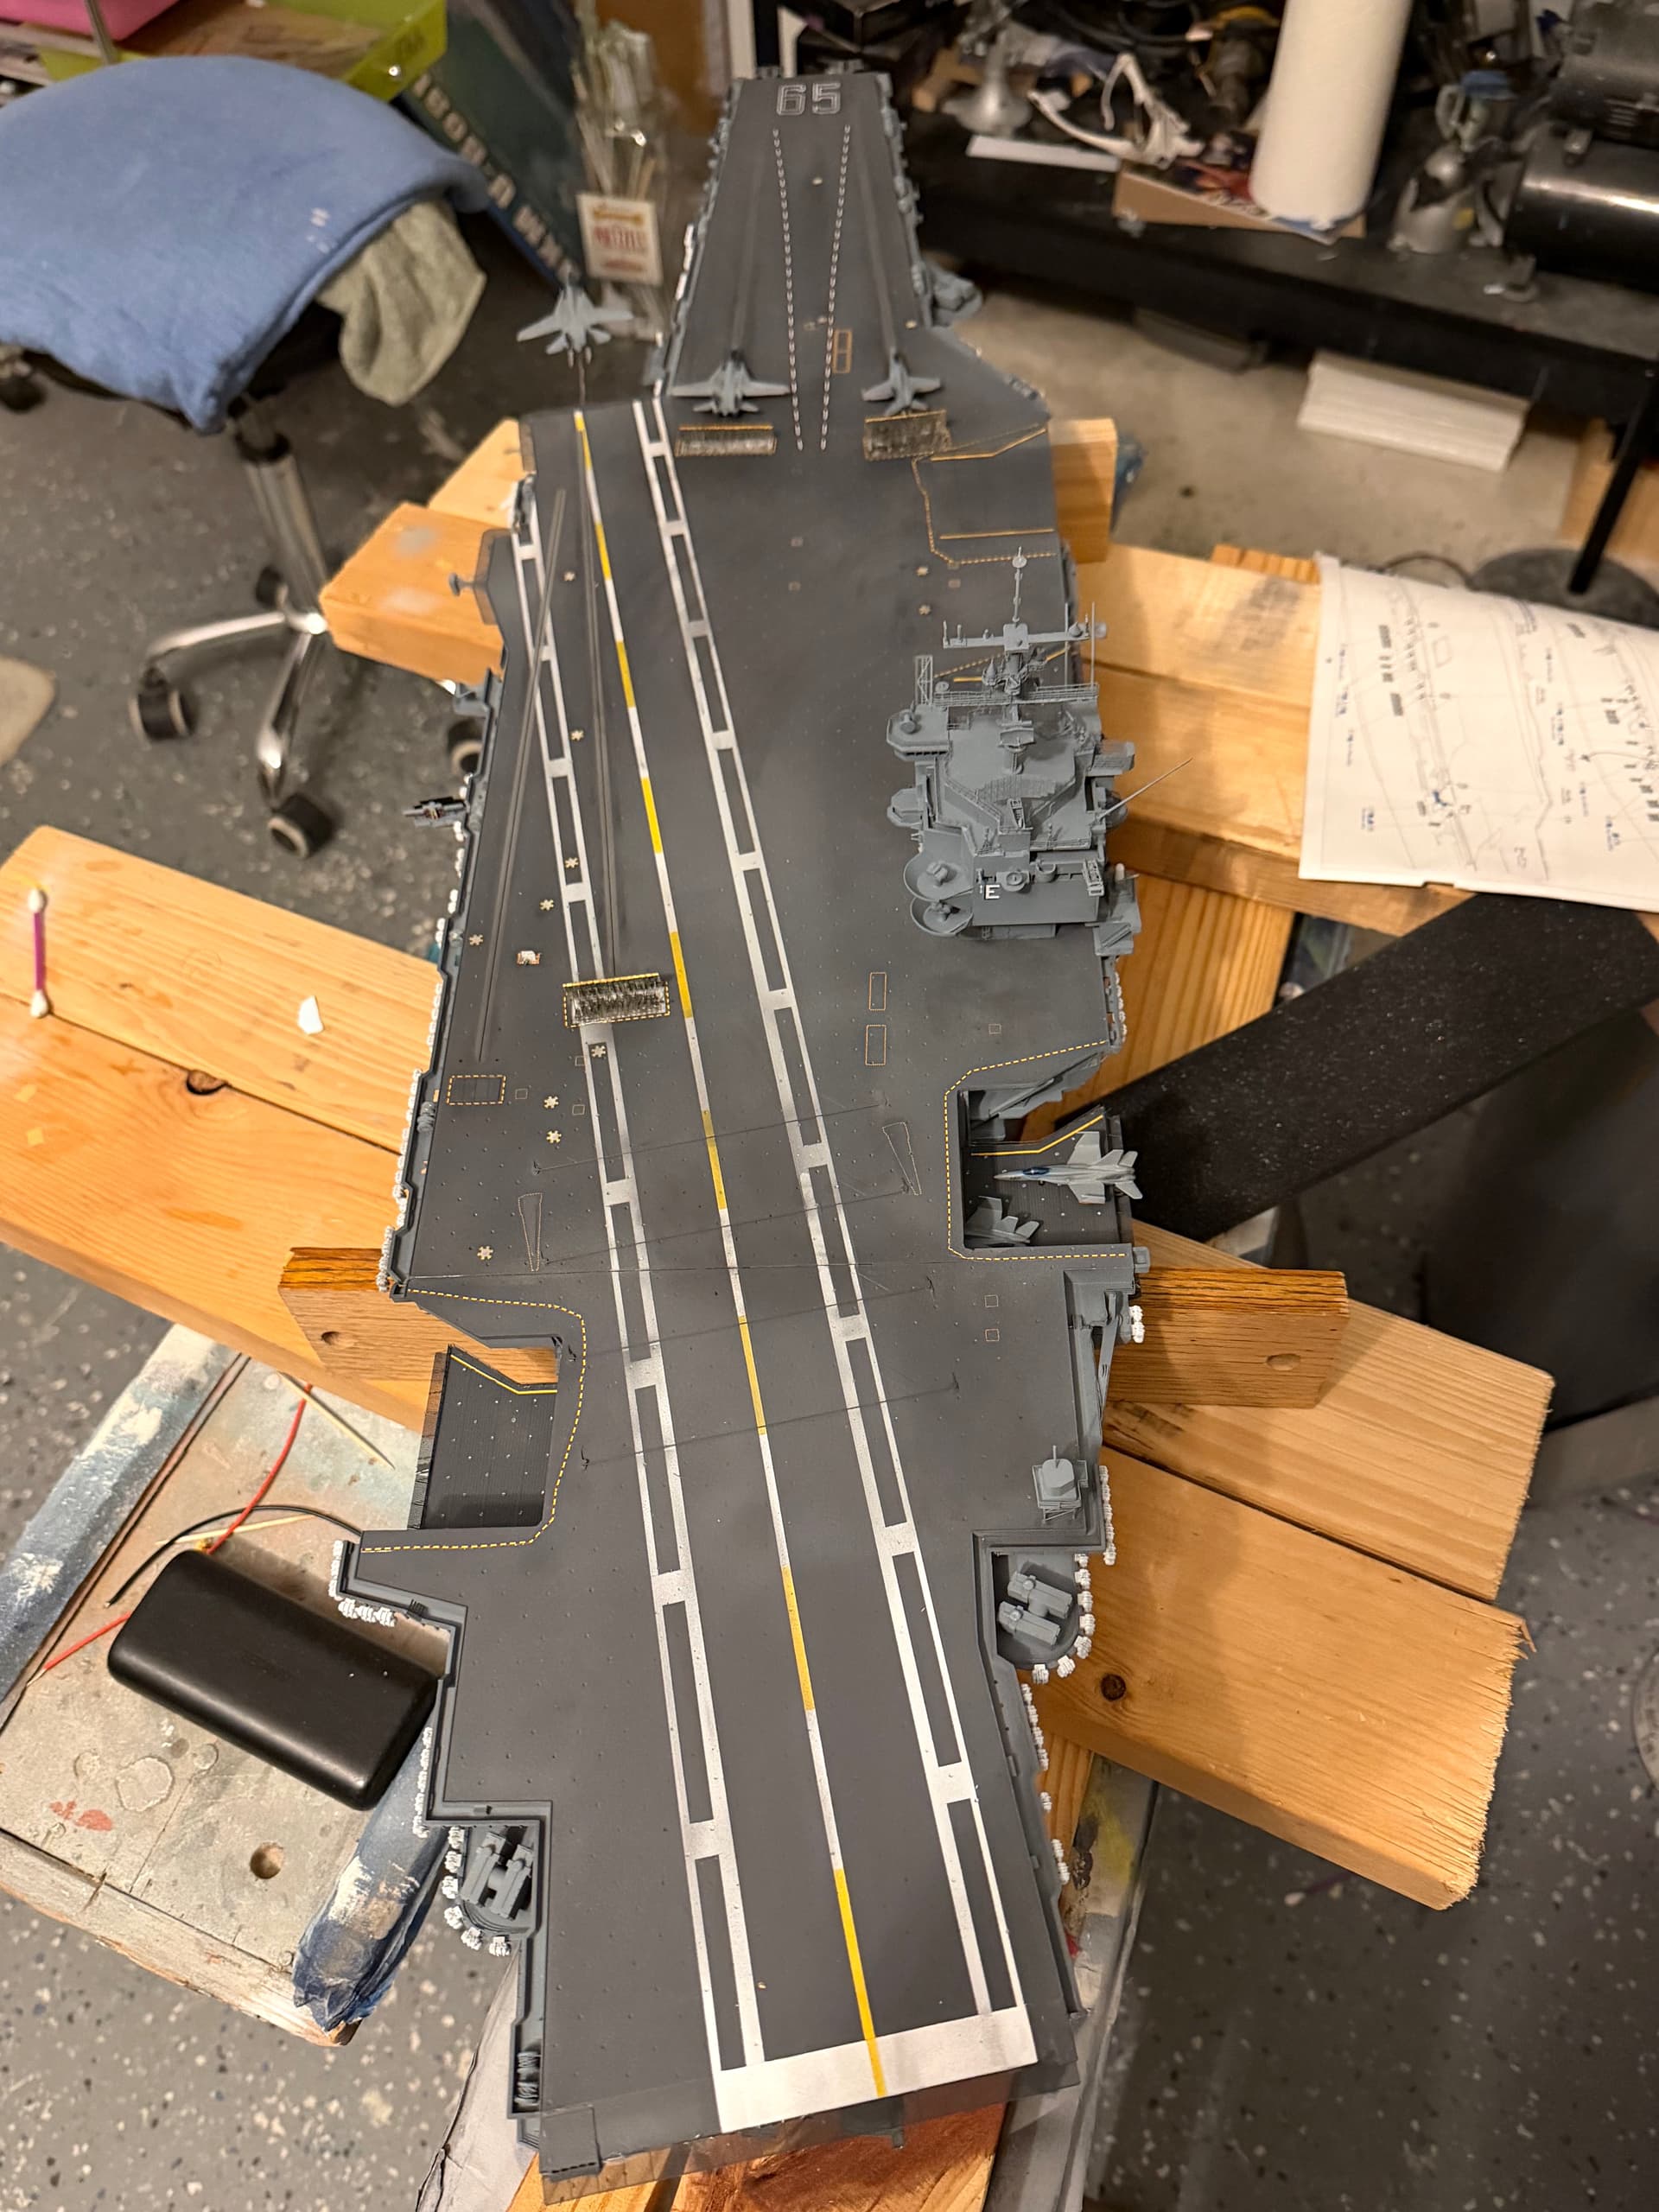
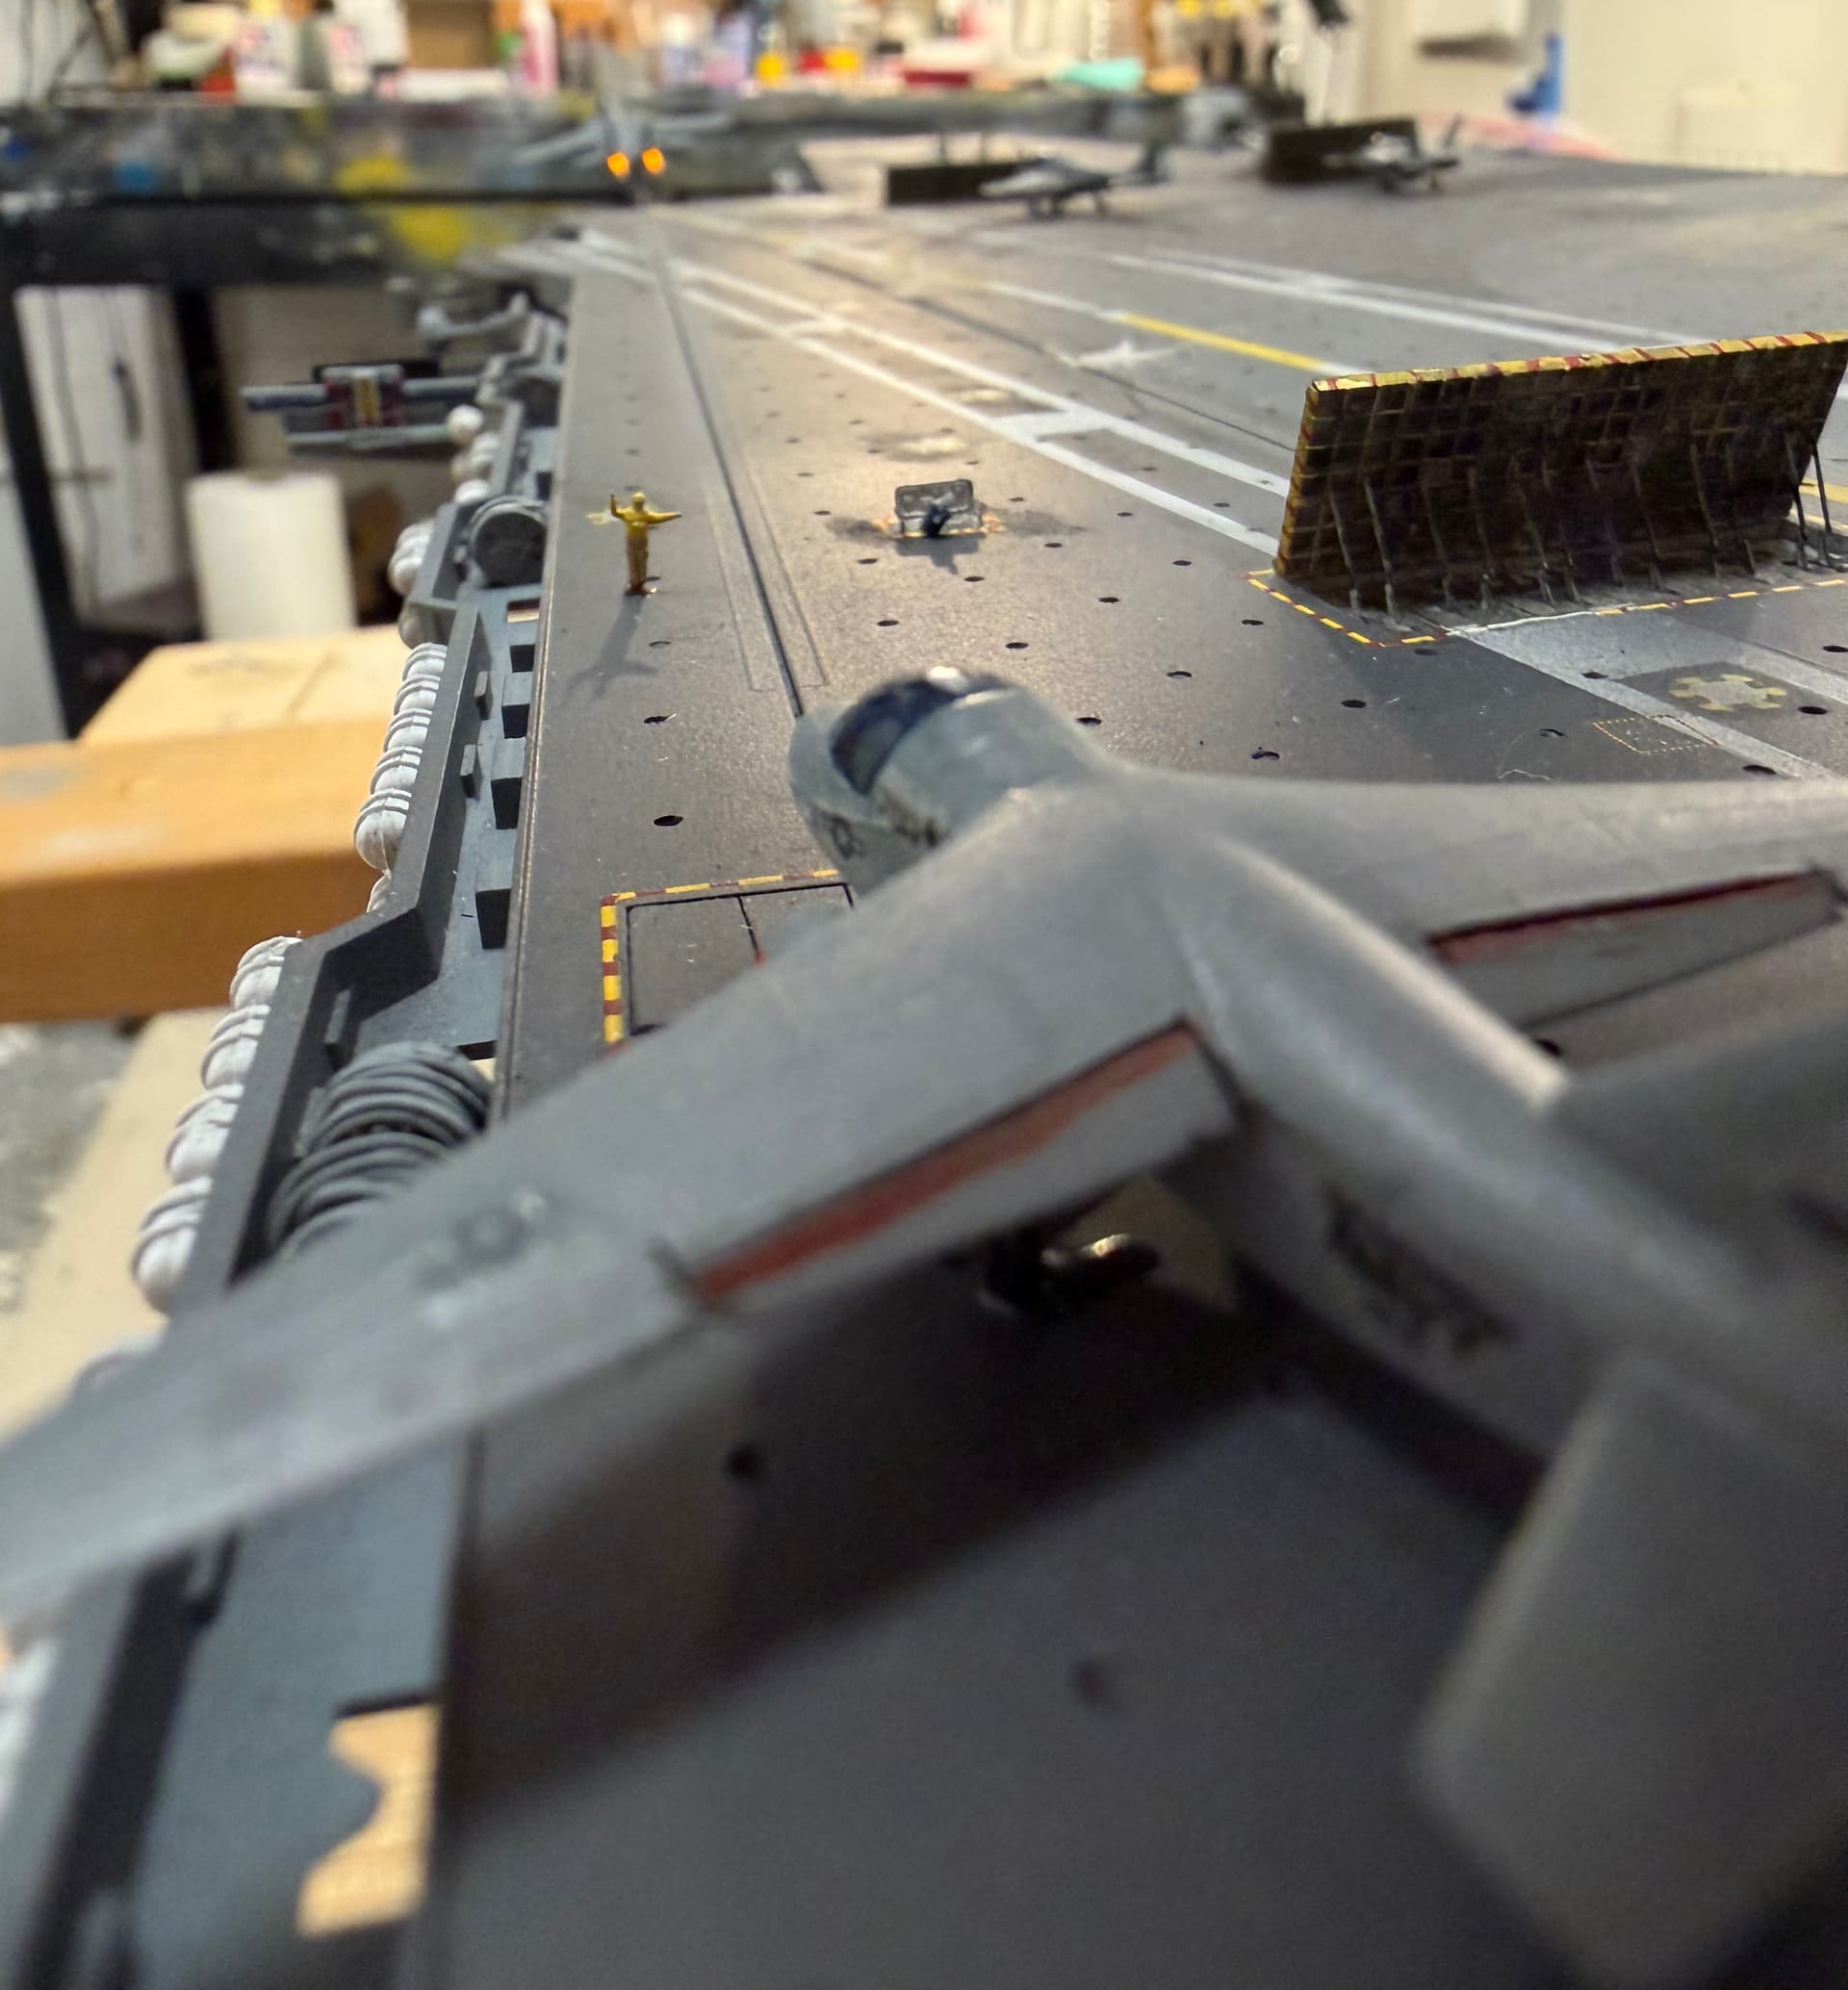
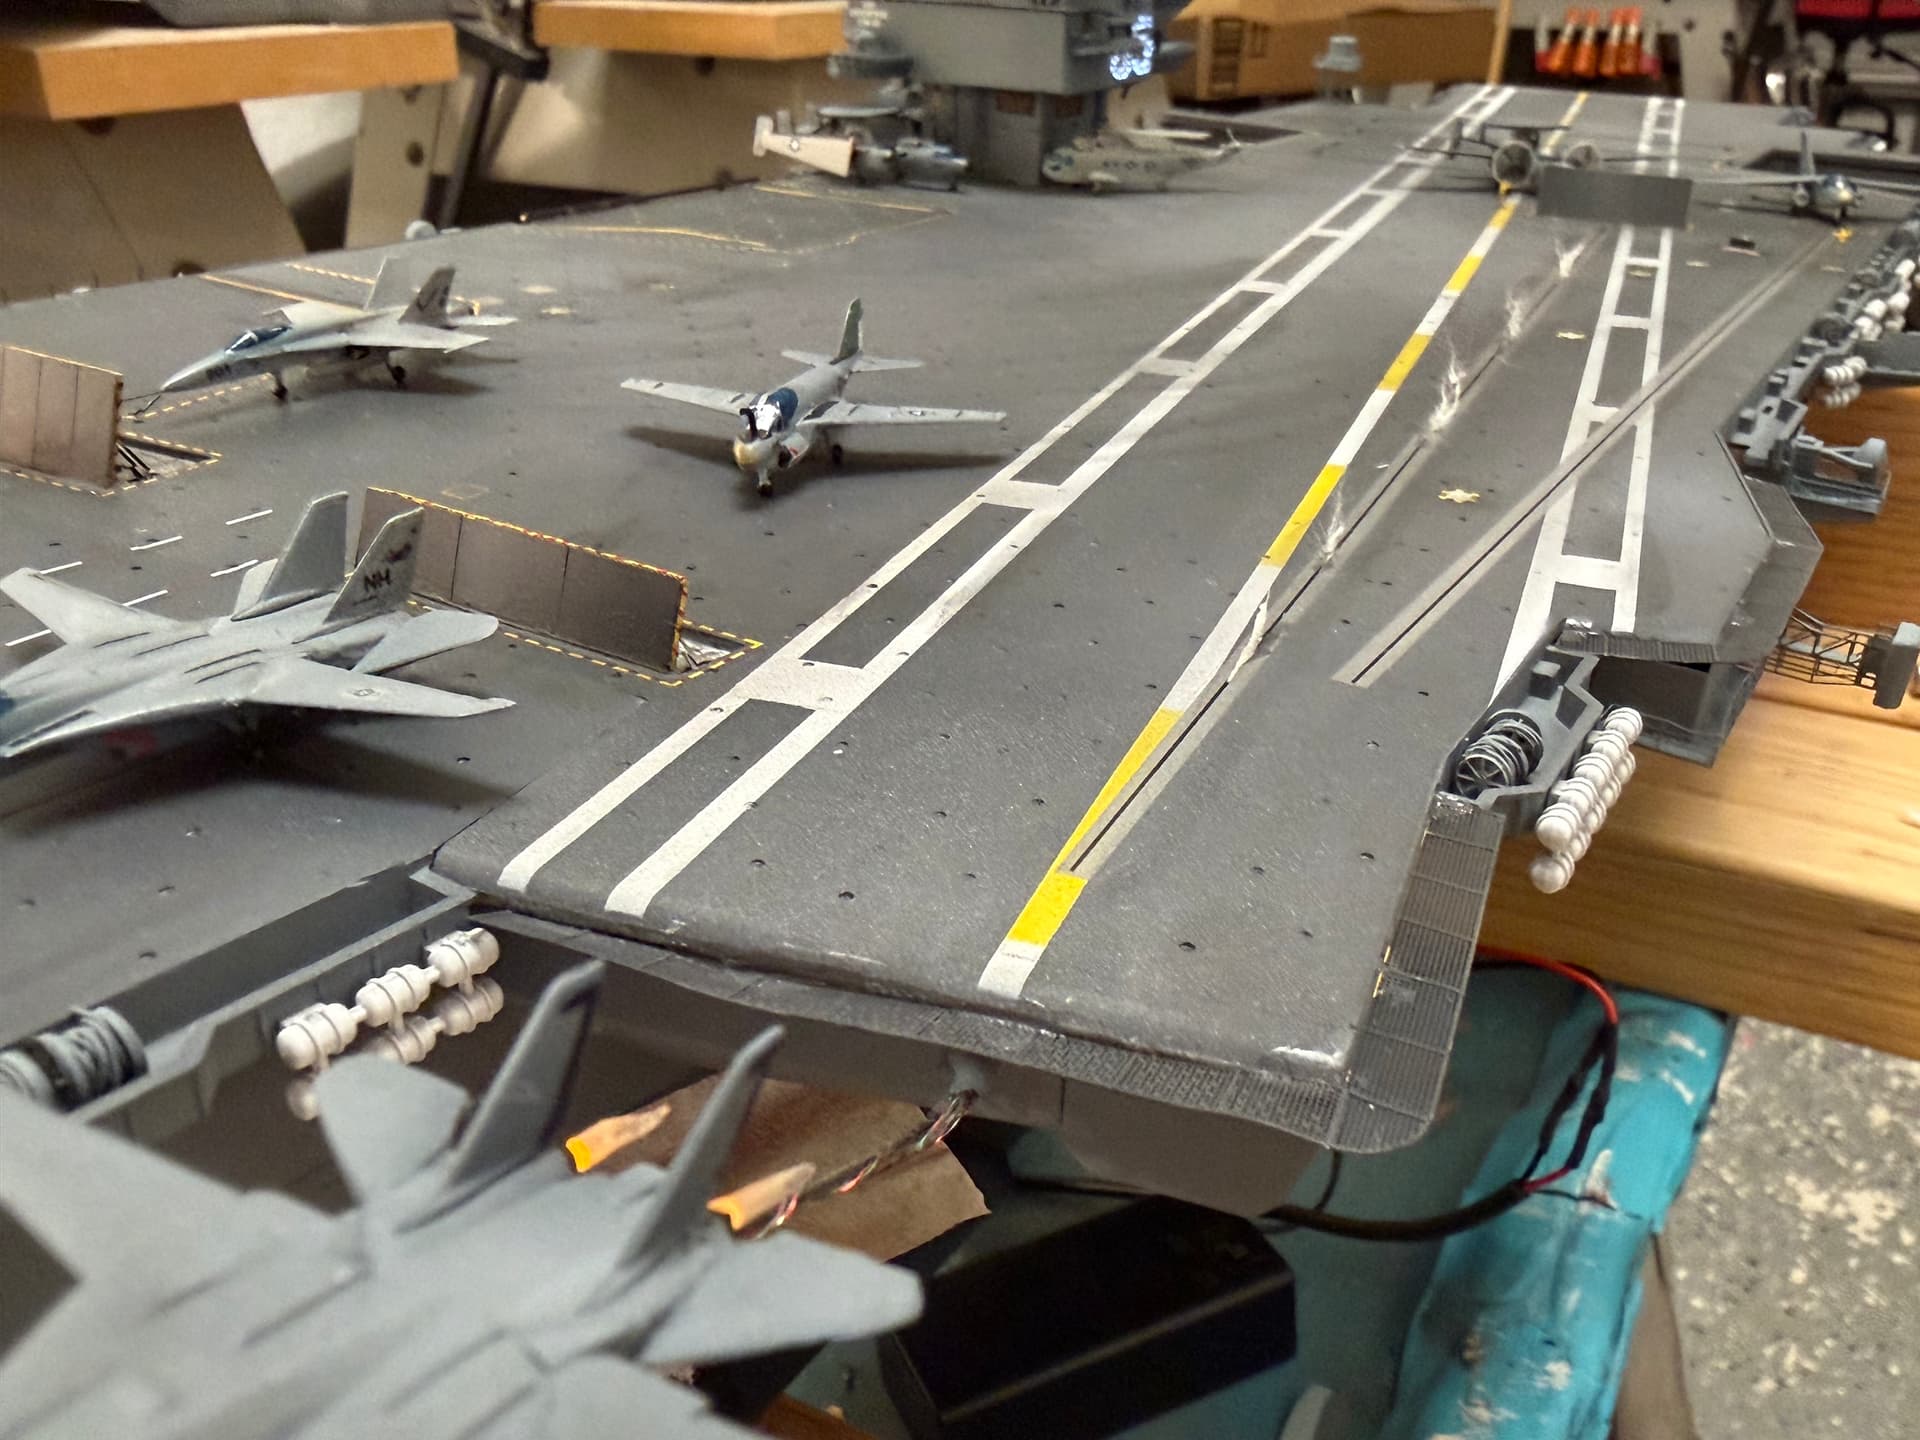
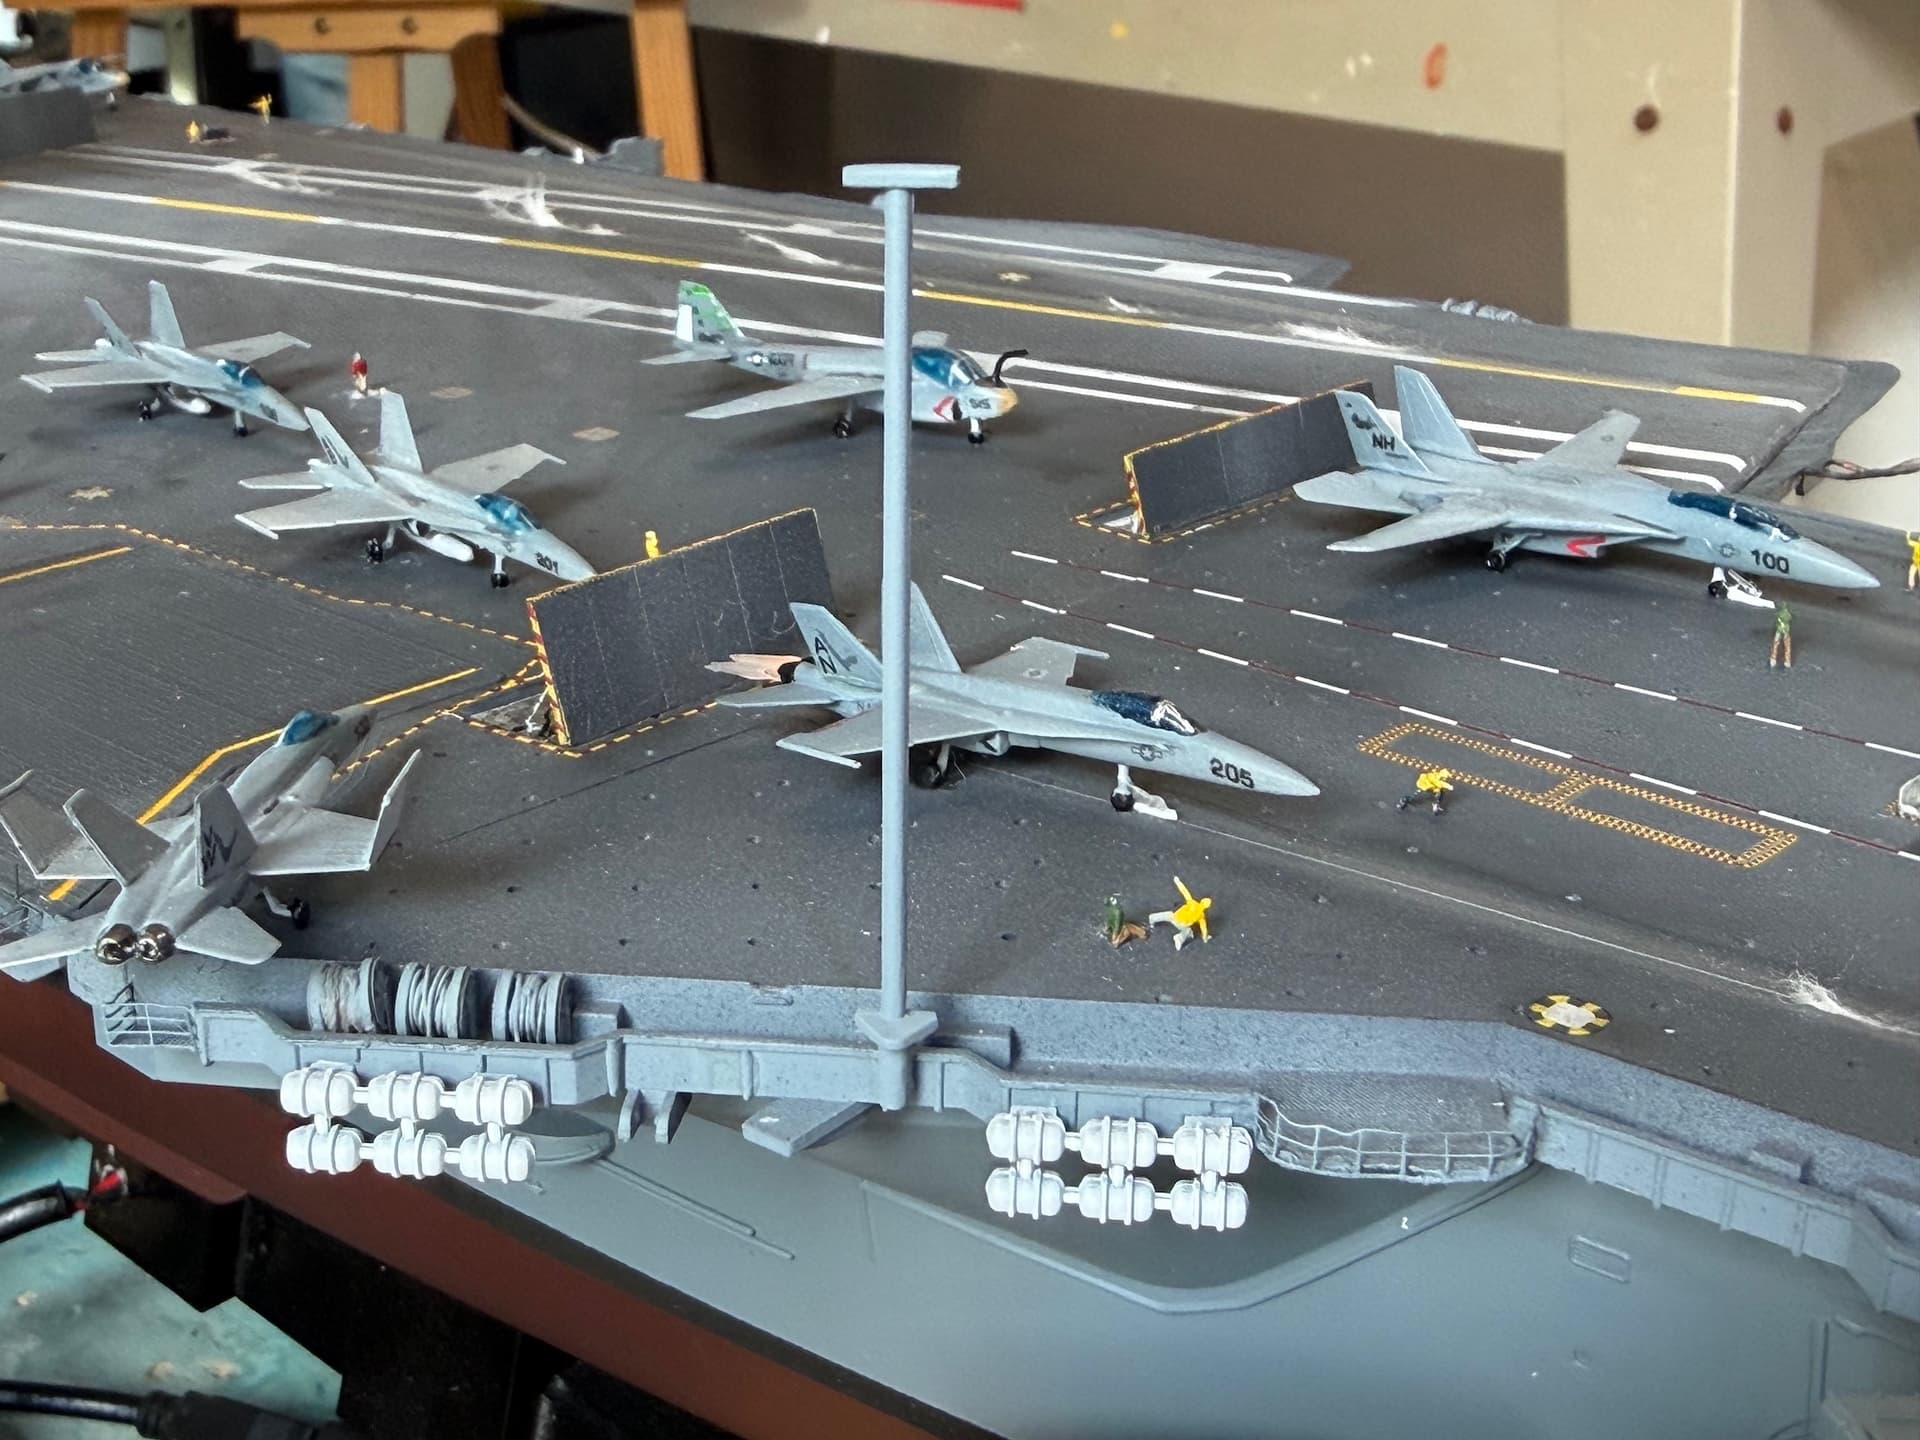
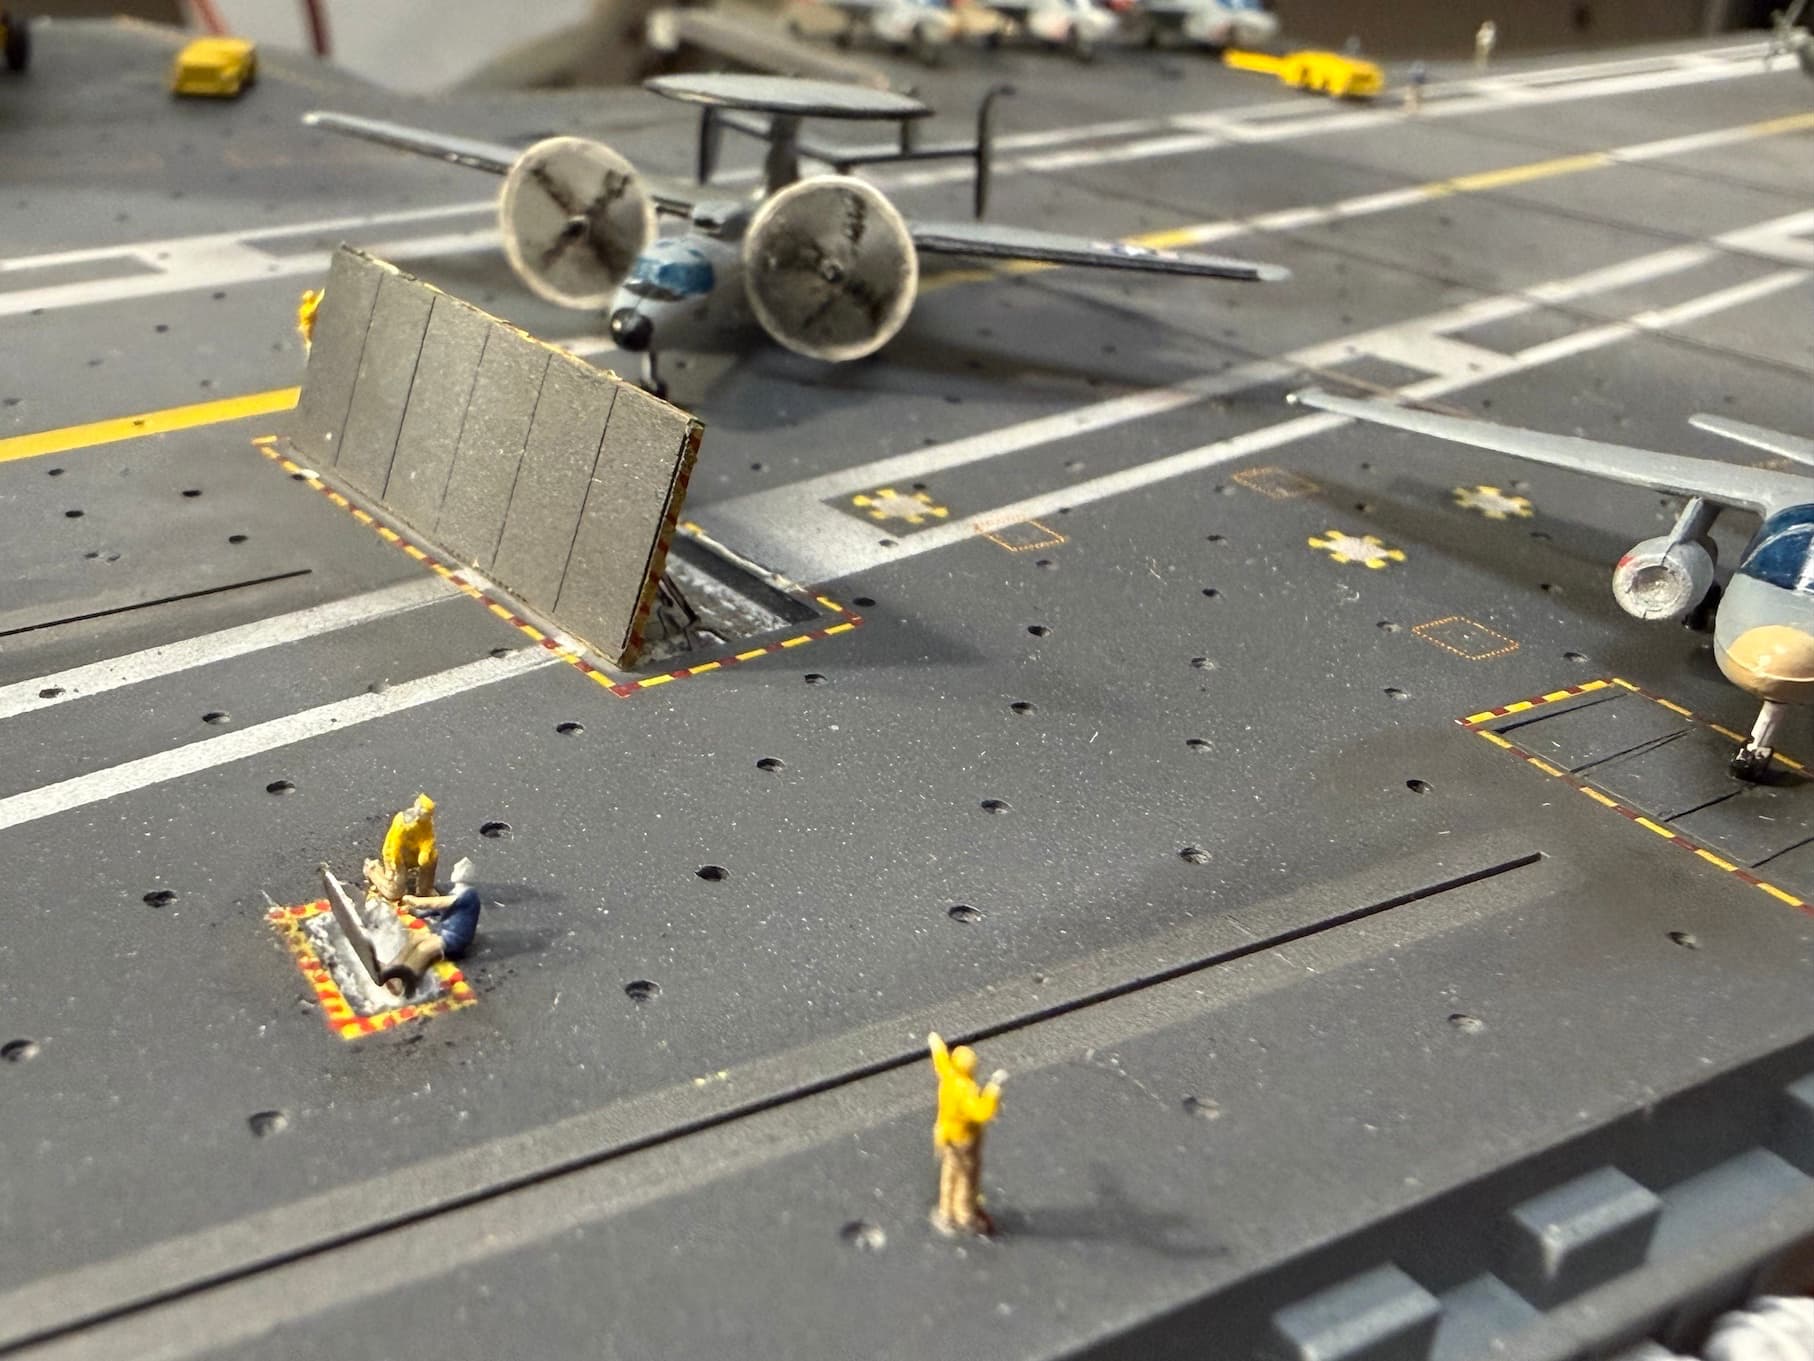
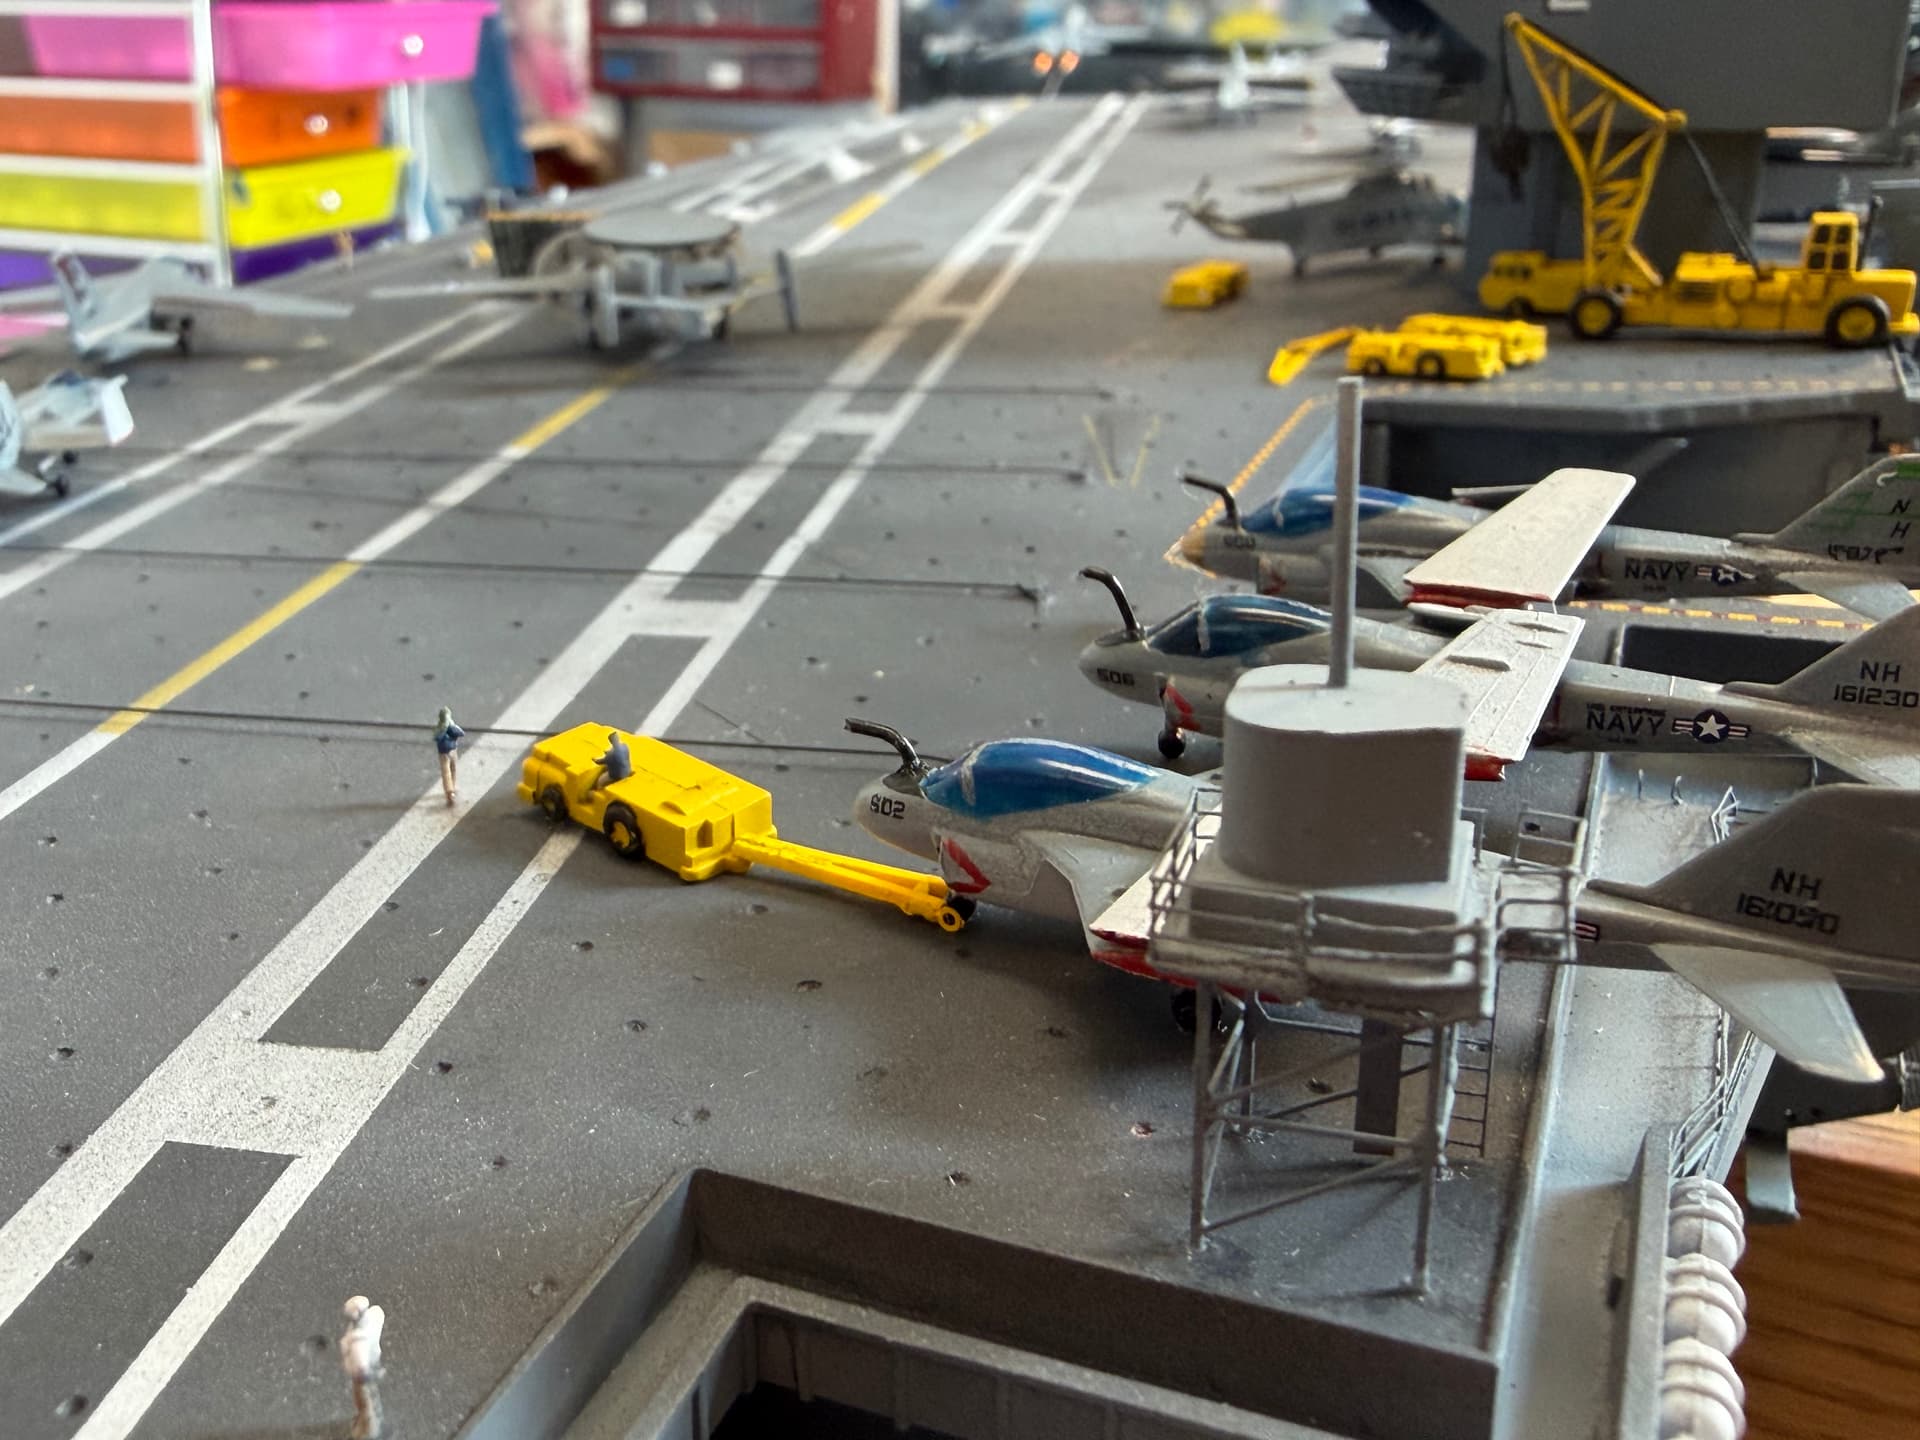
really , really nice work fuzzniggin .
1 Like
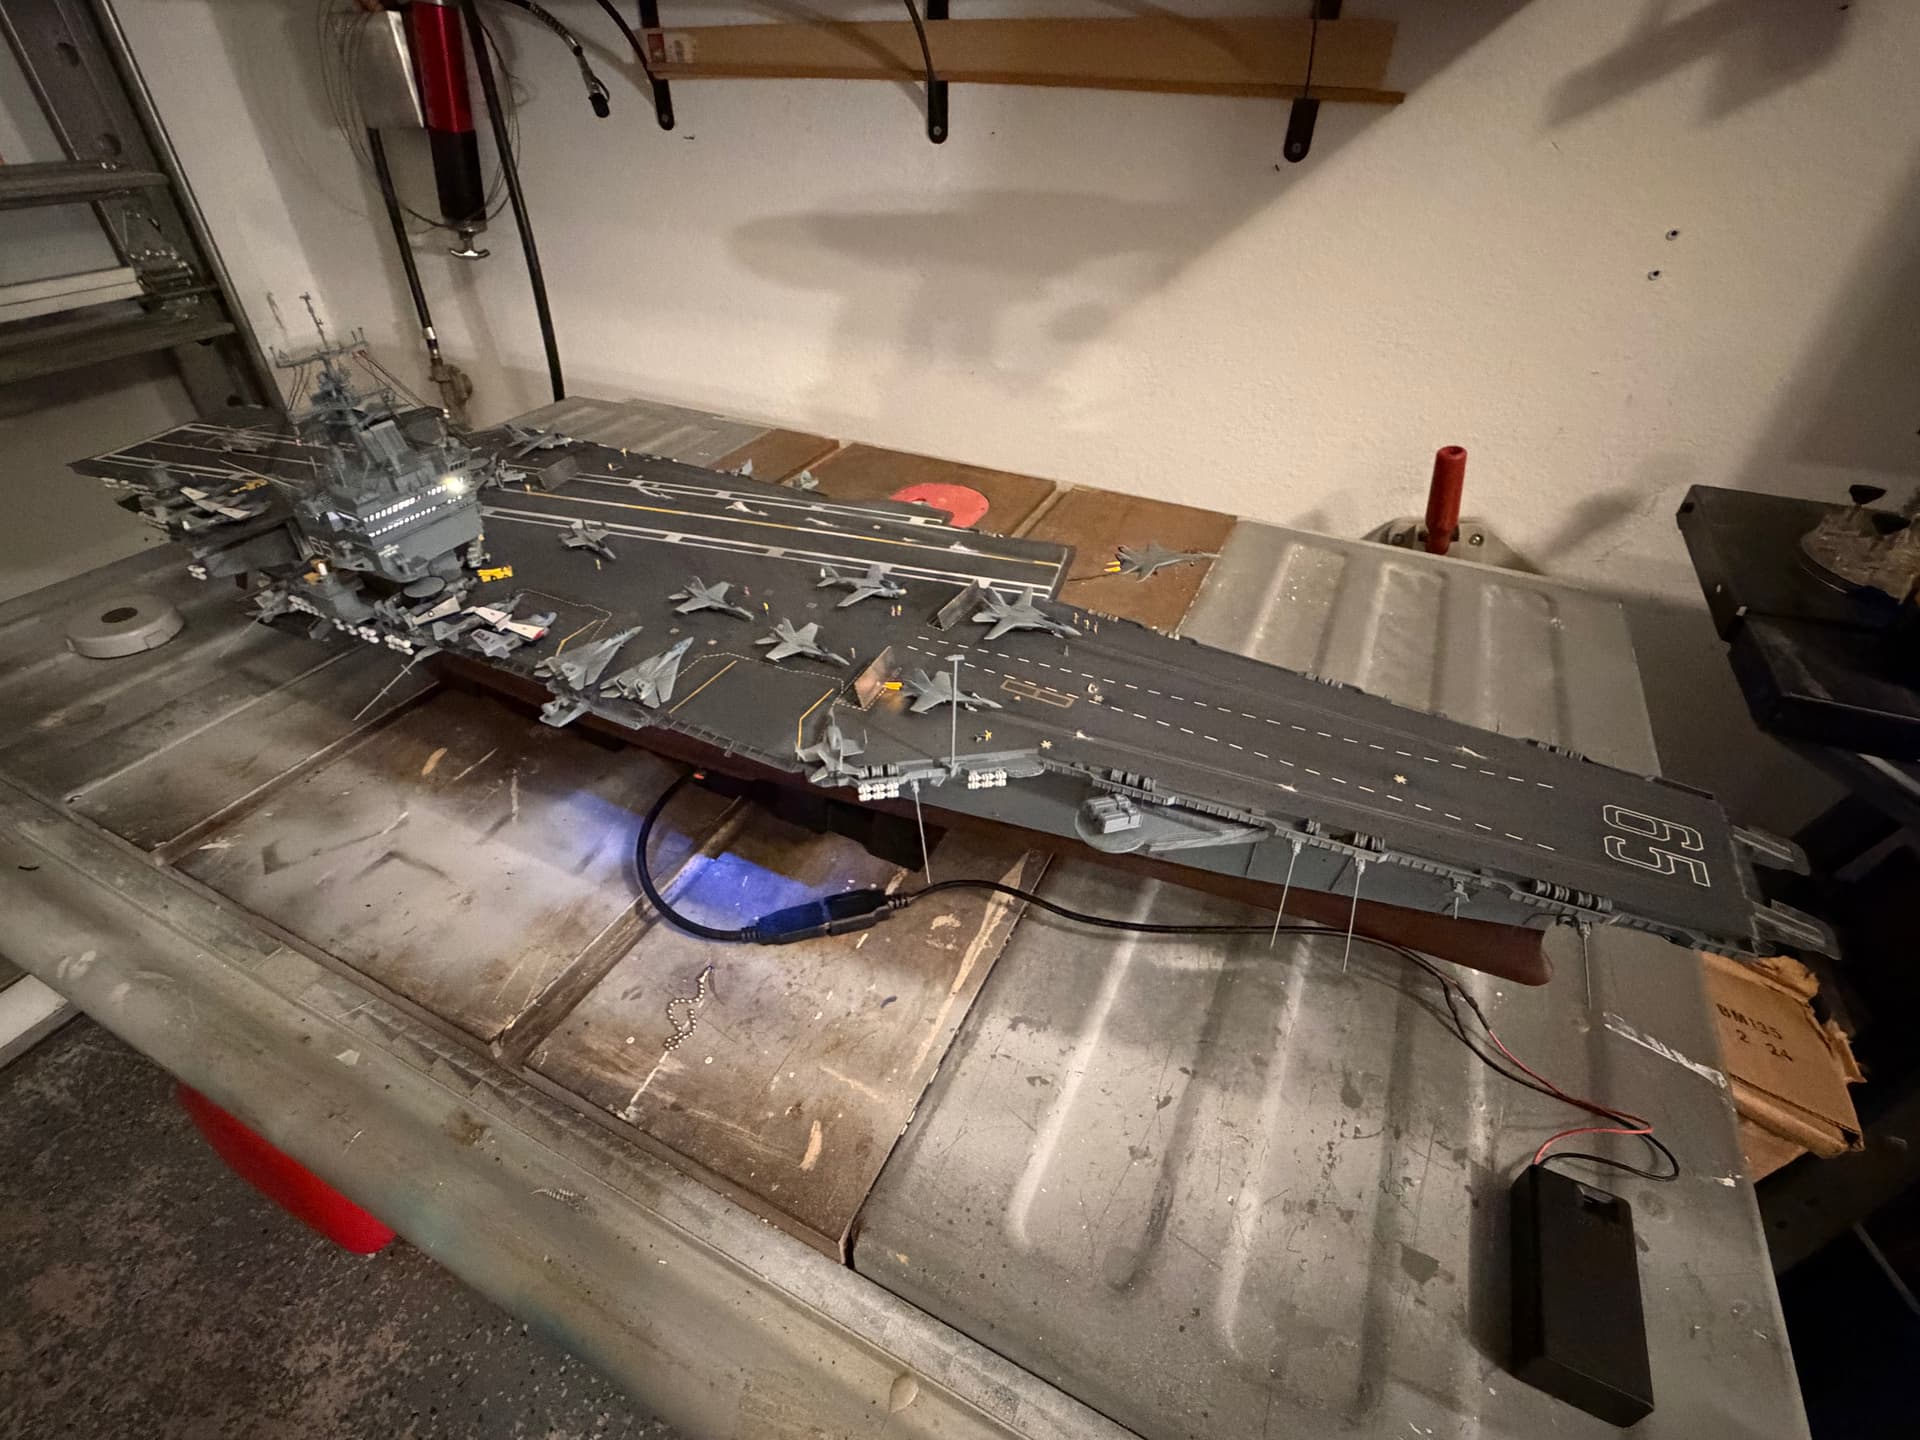
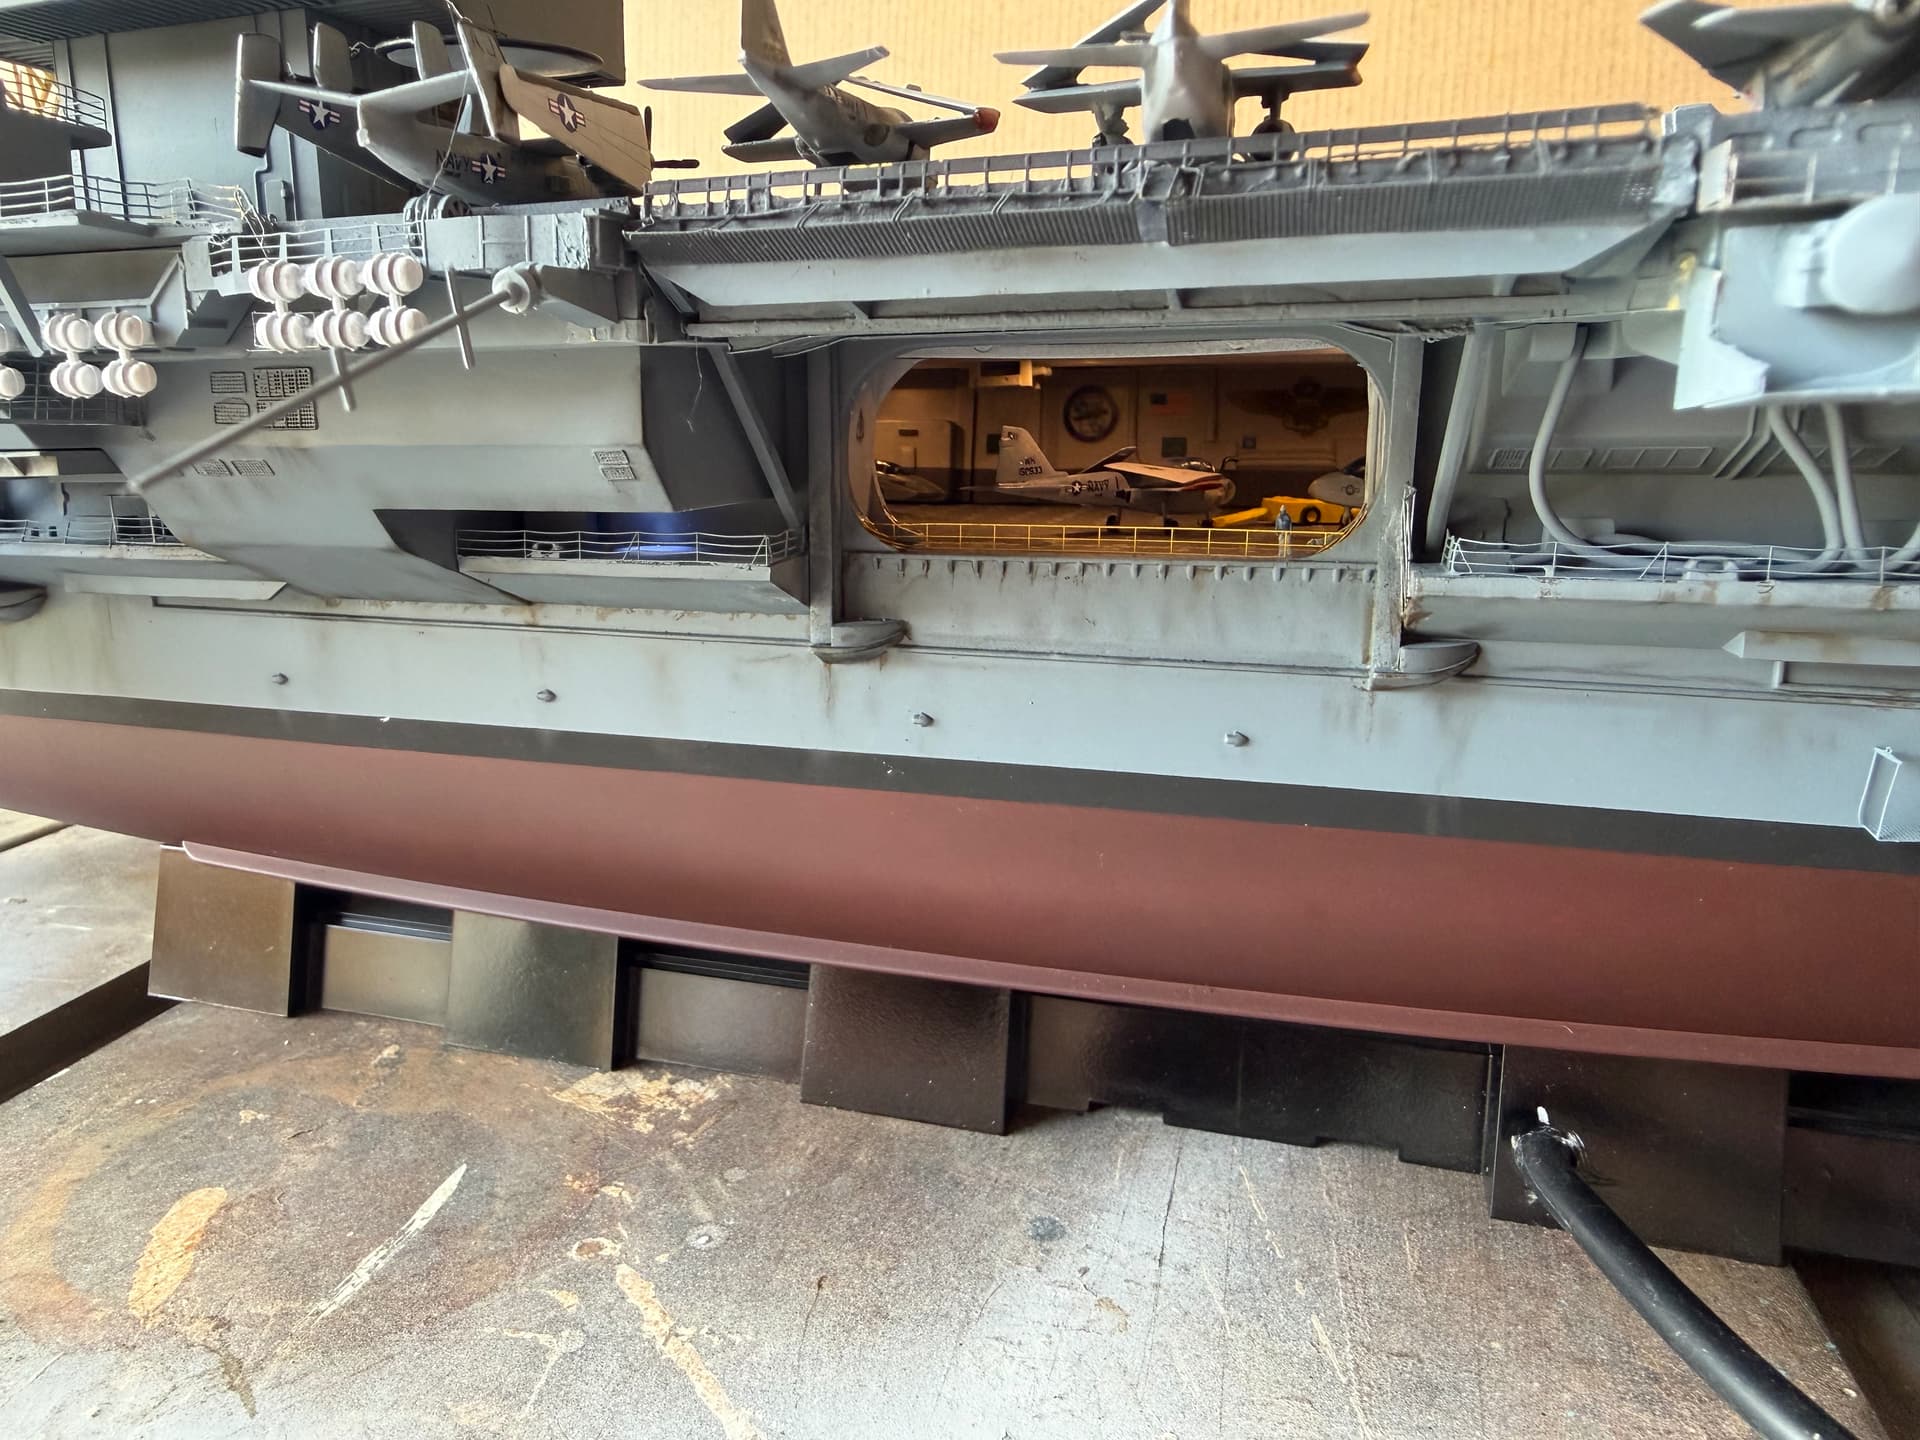
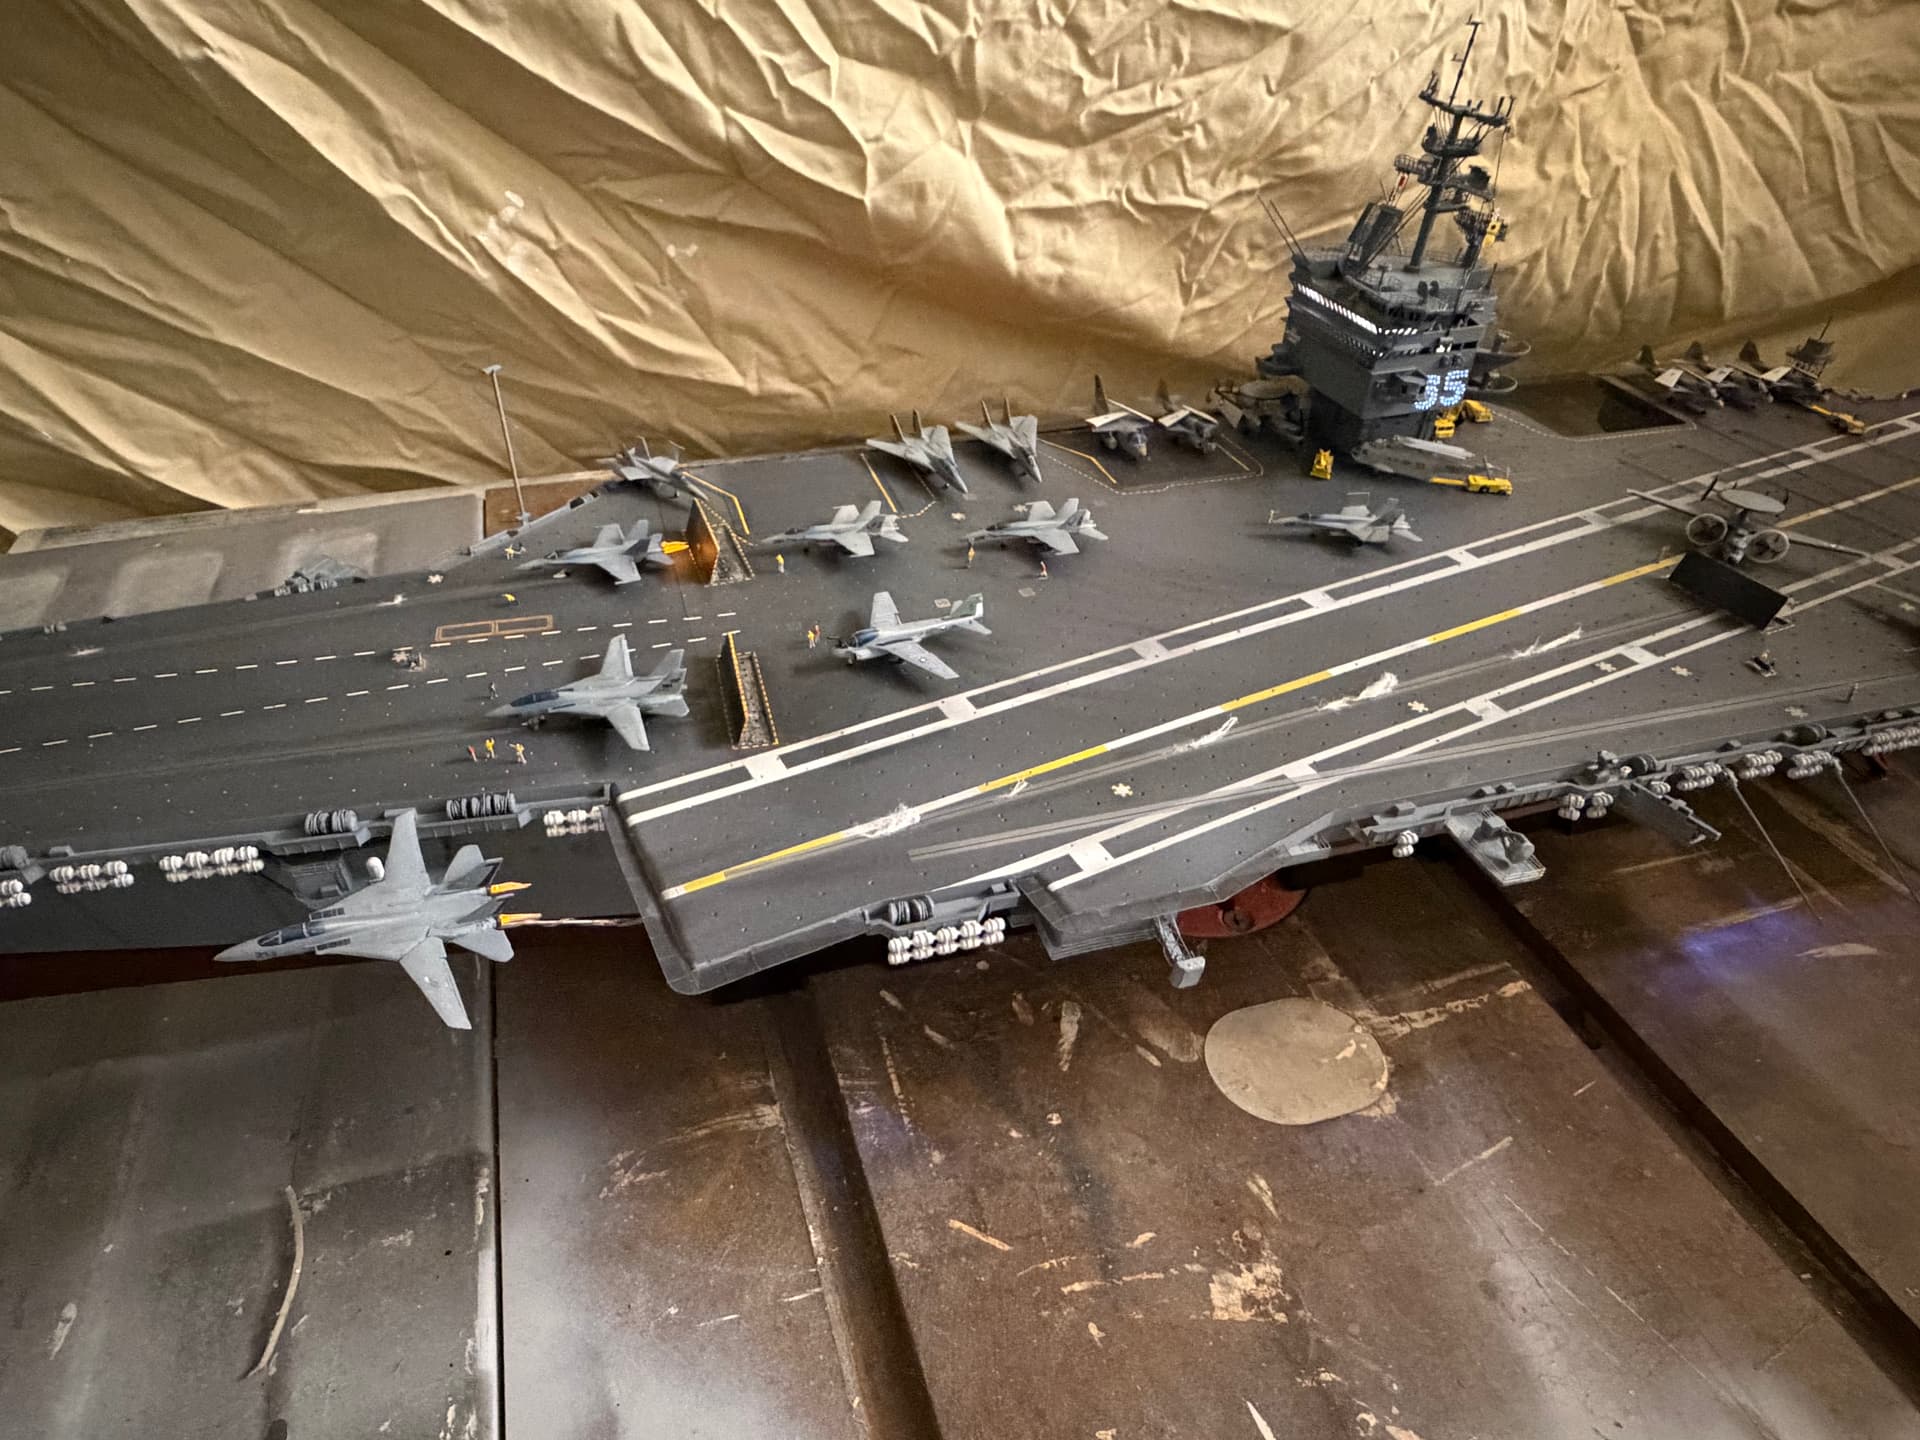
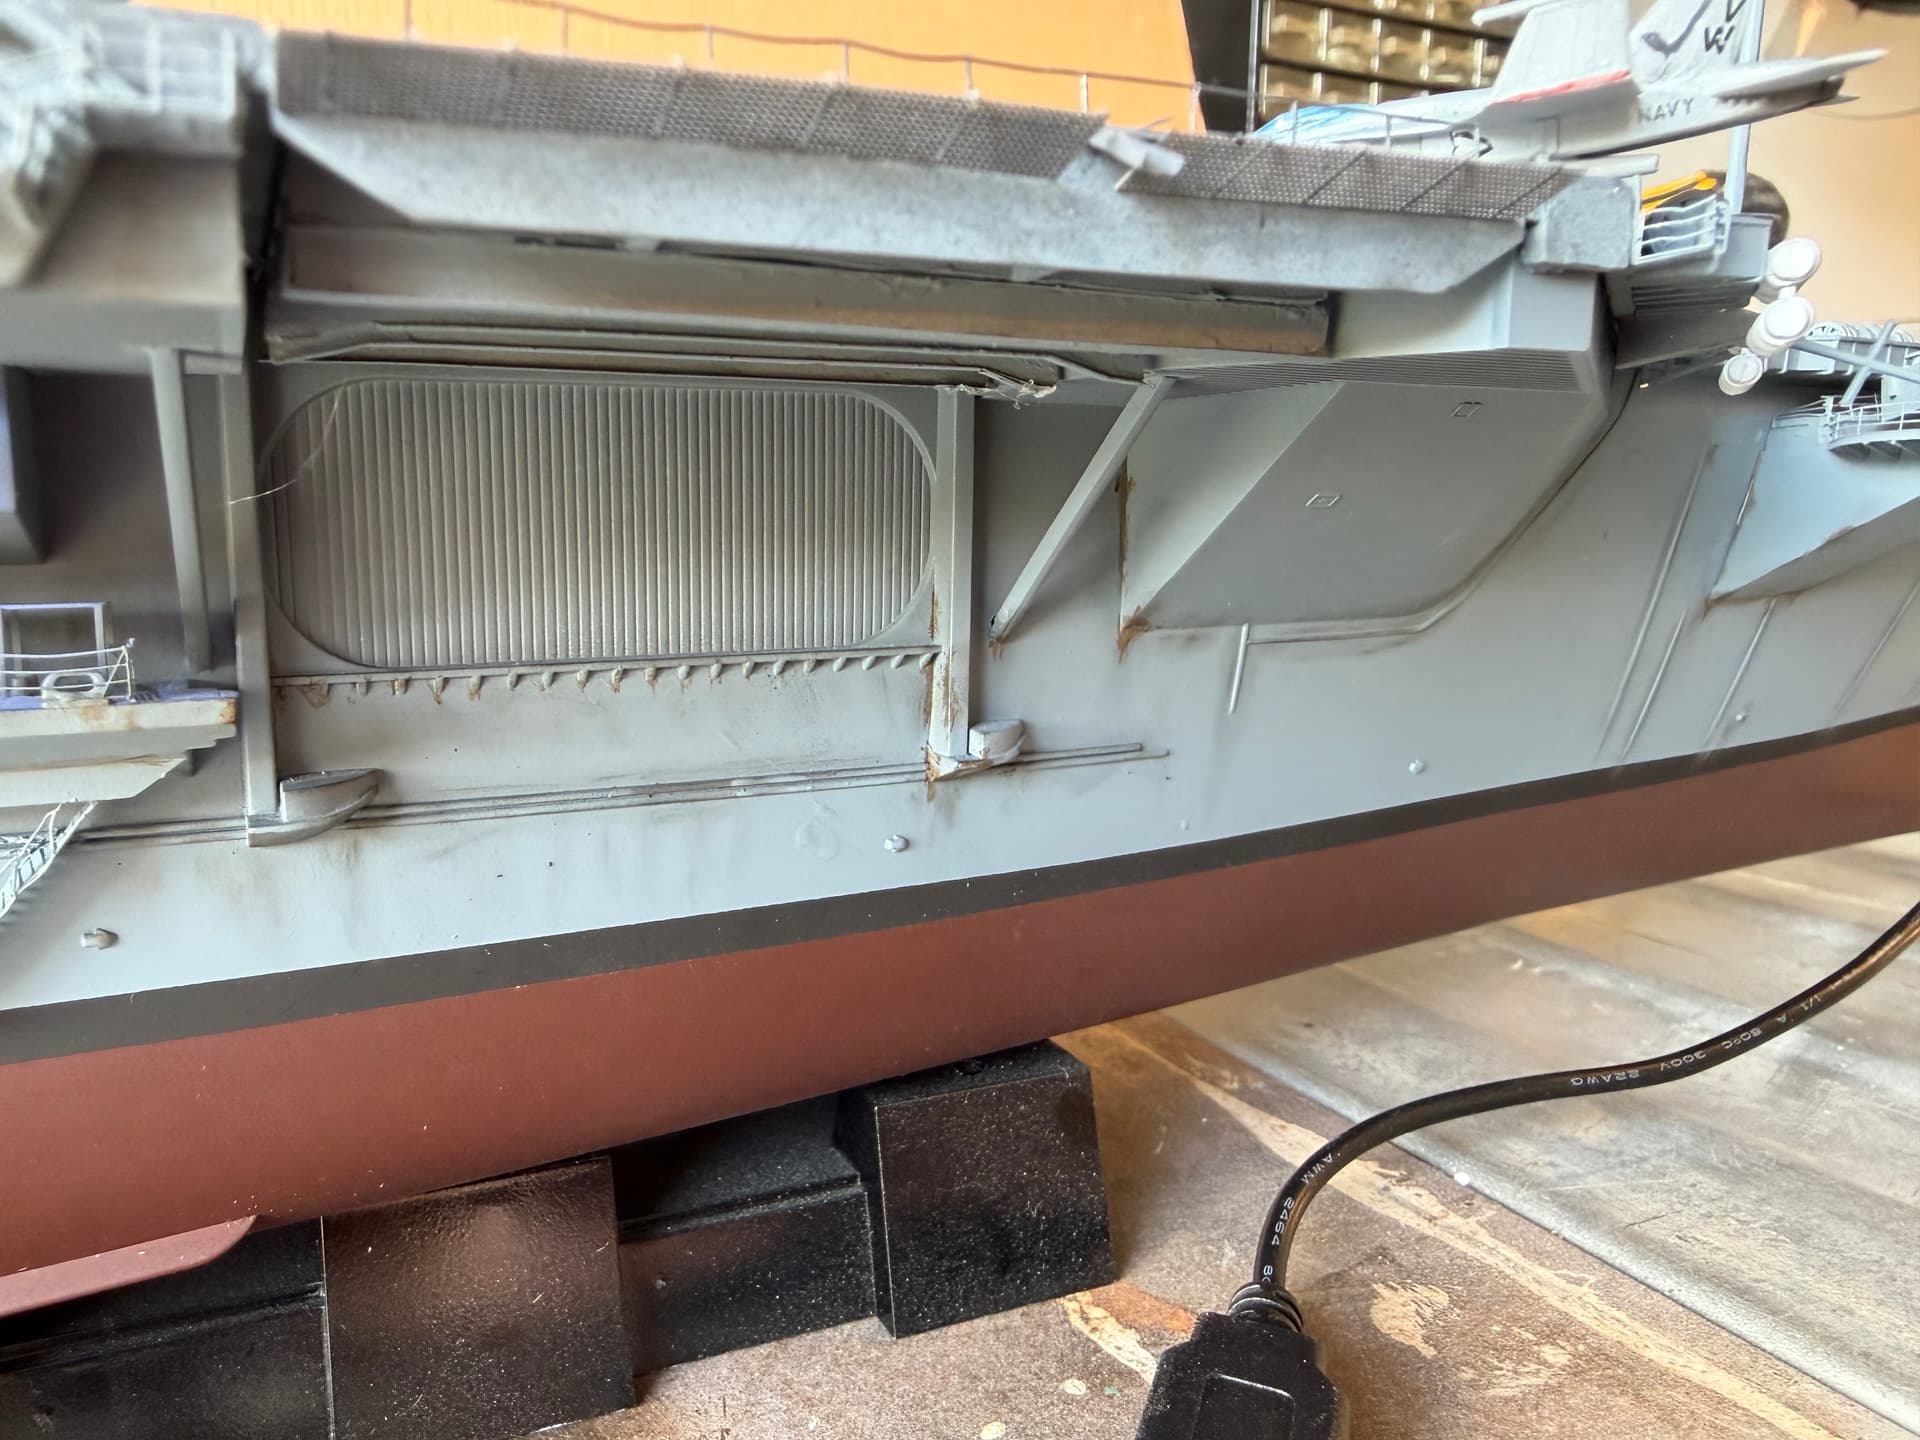
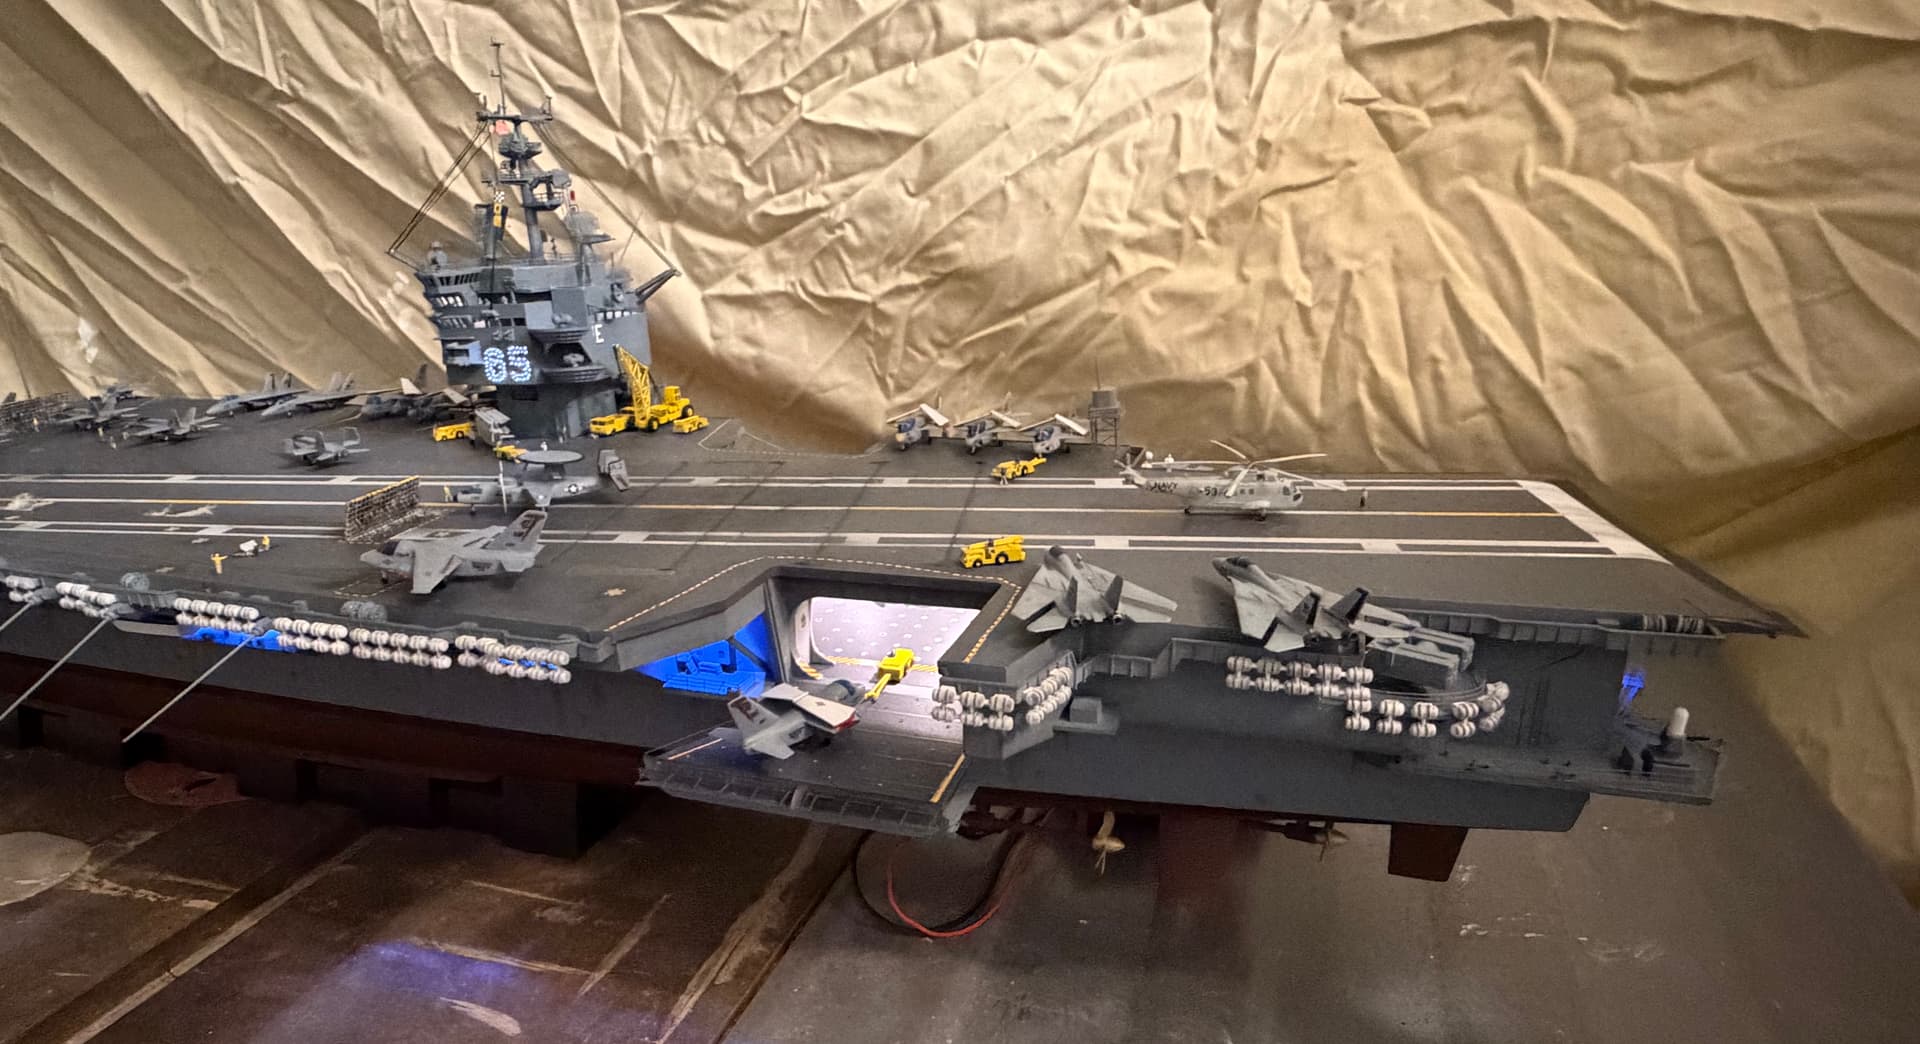
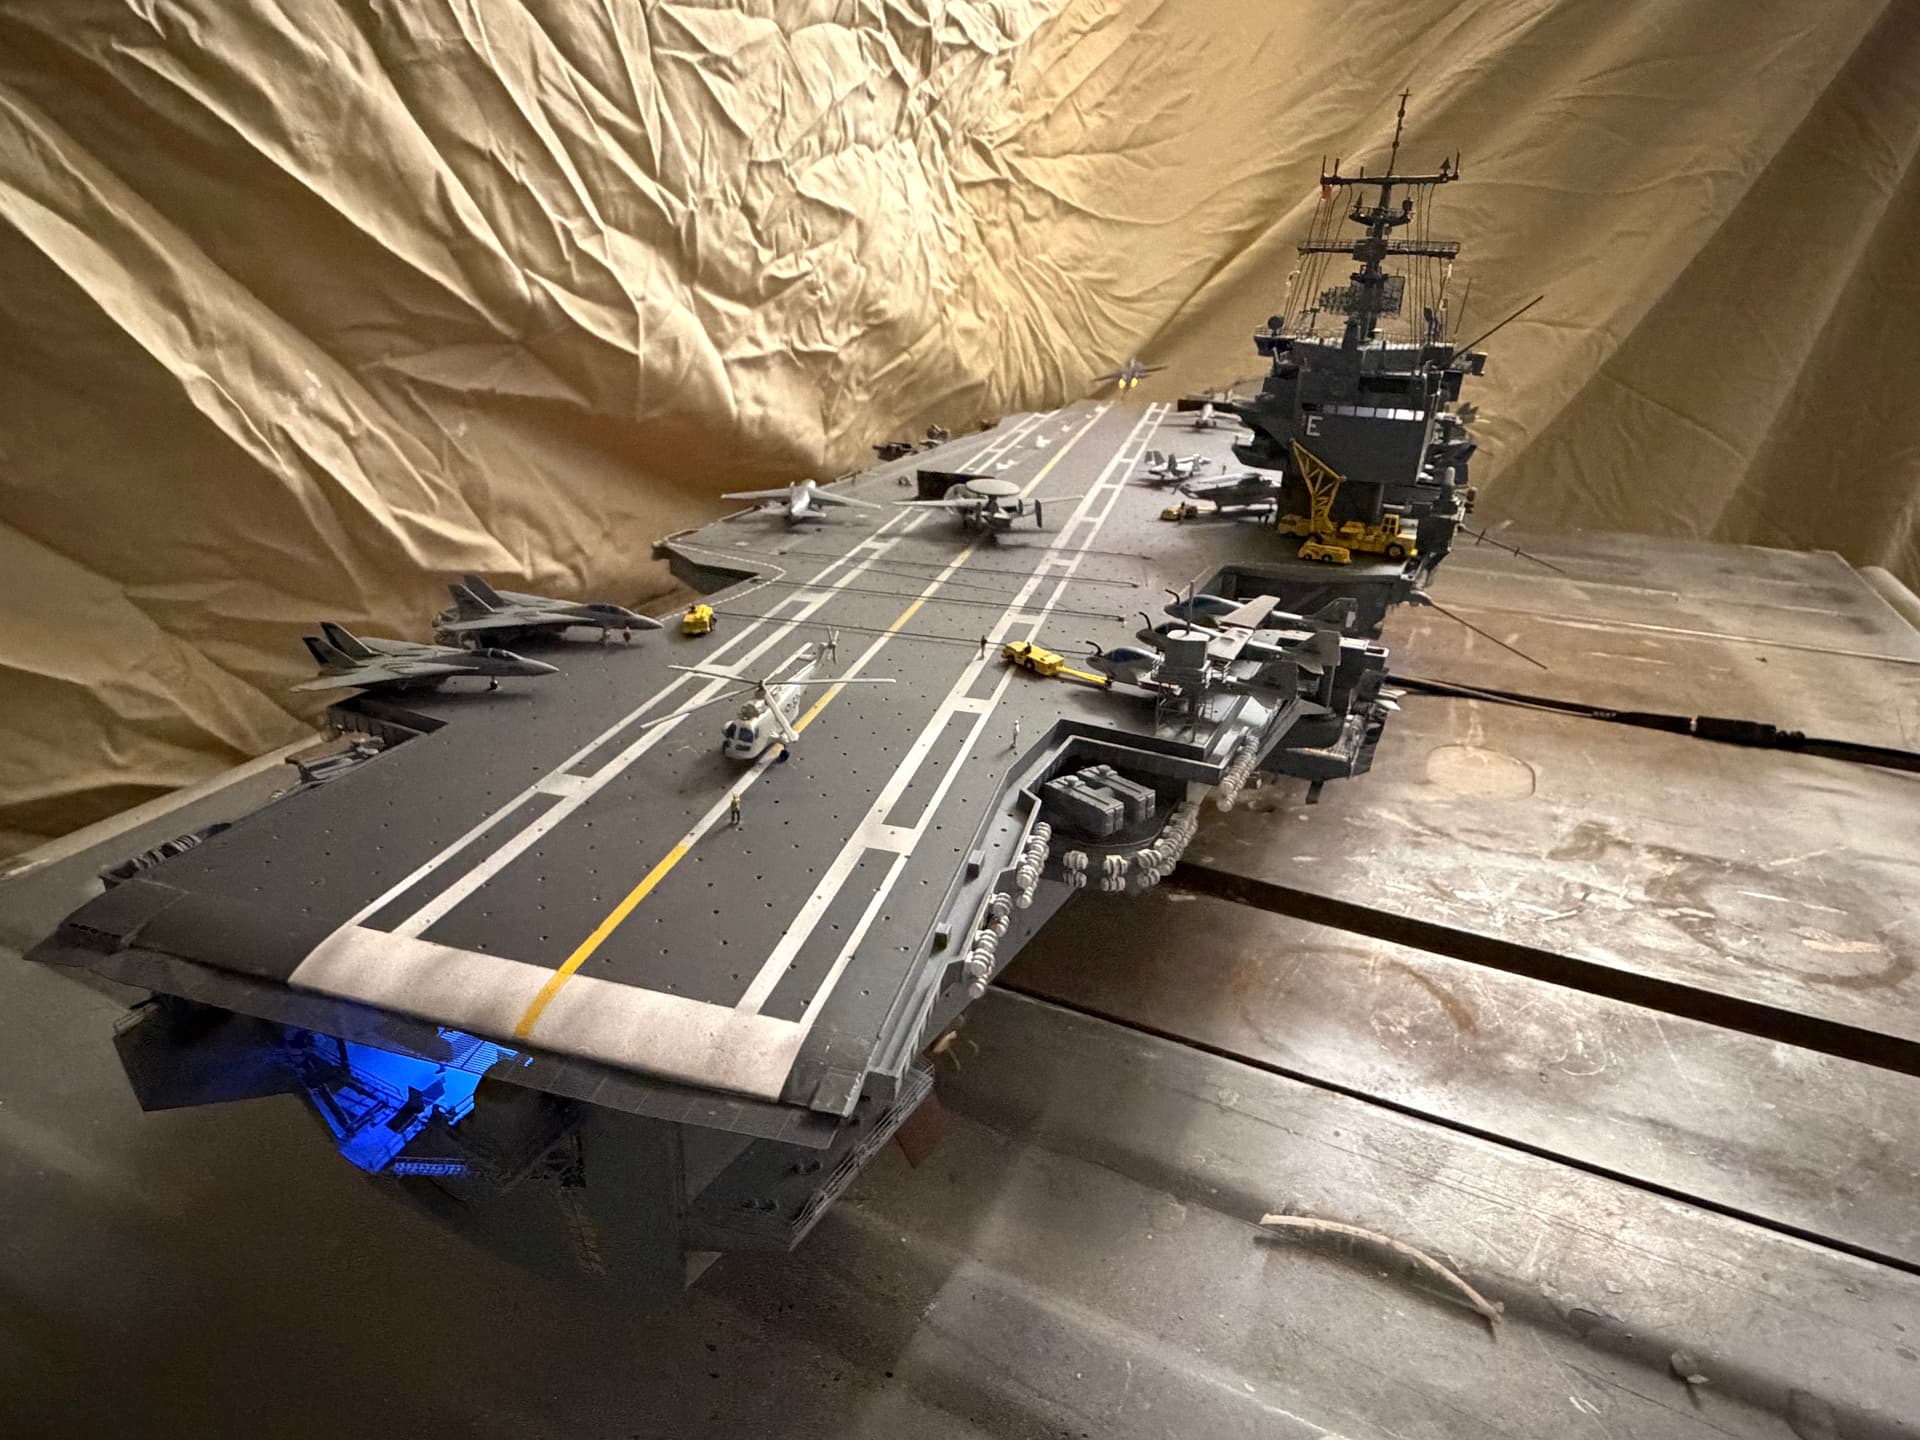
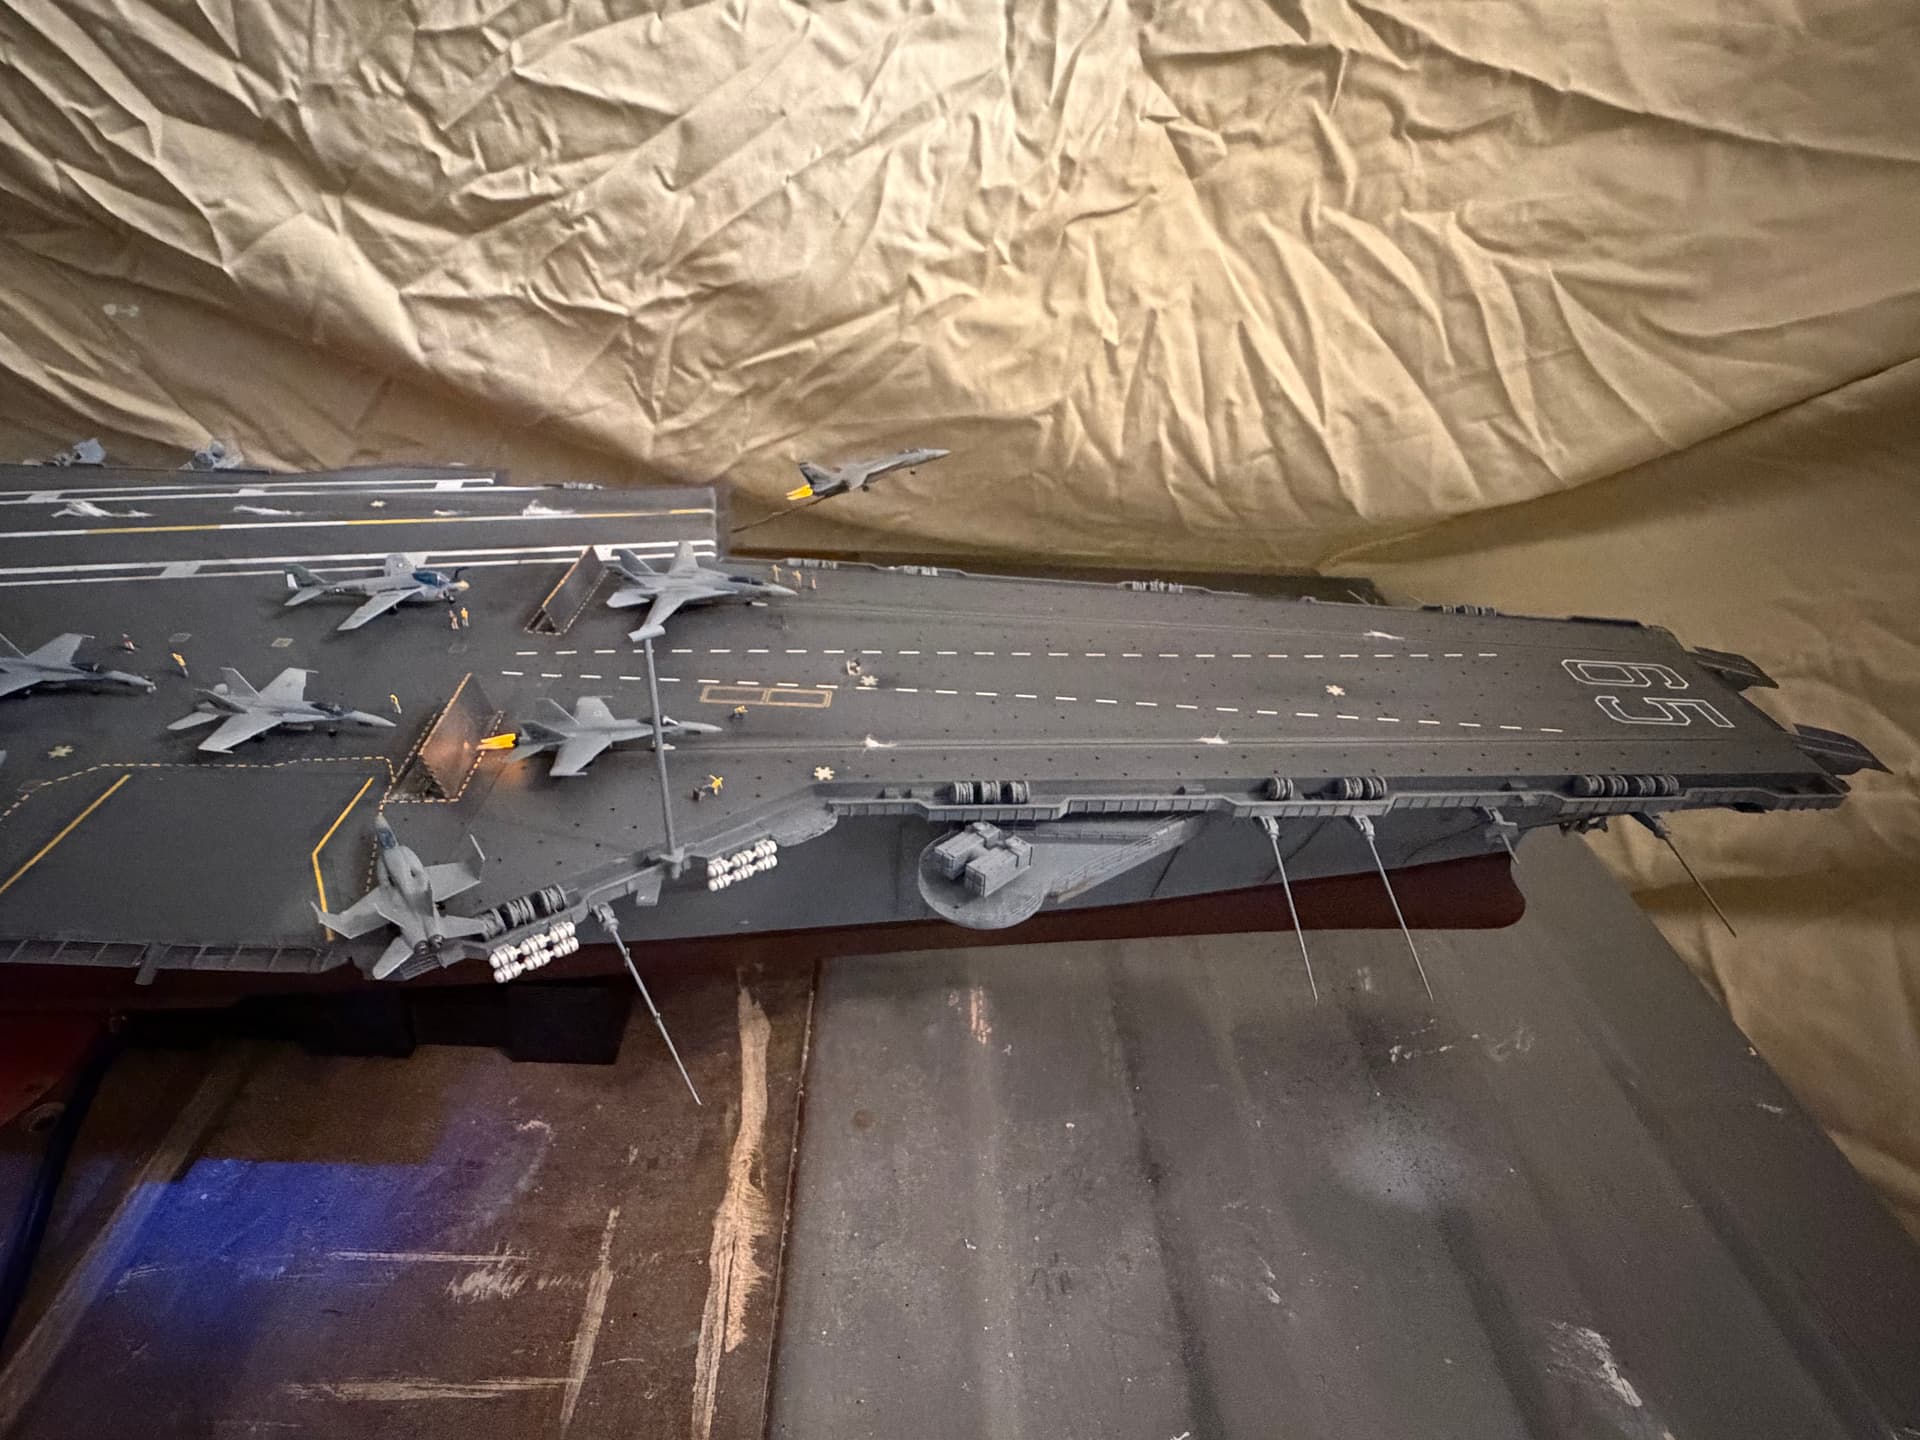
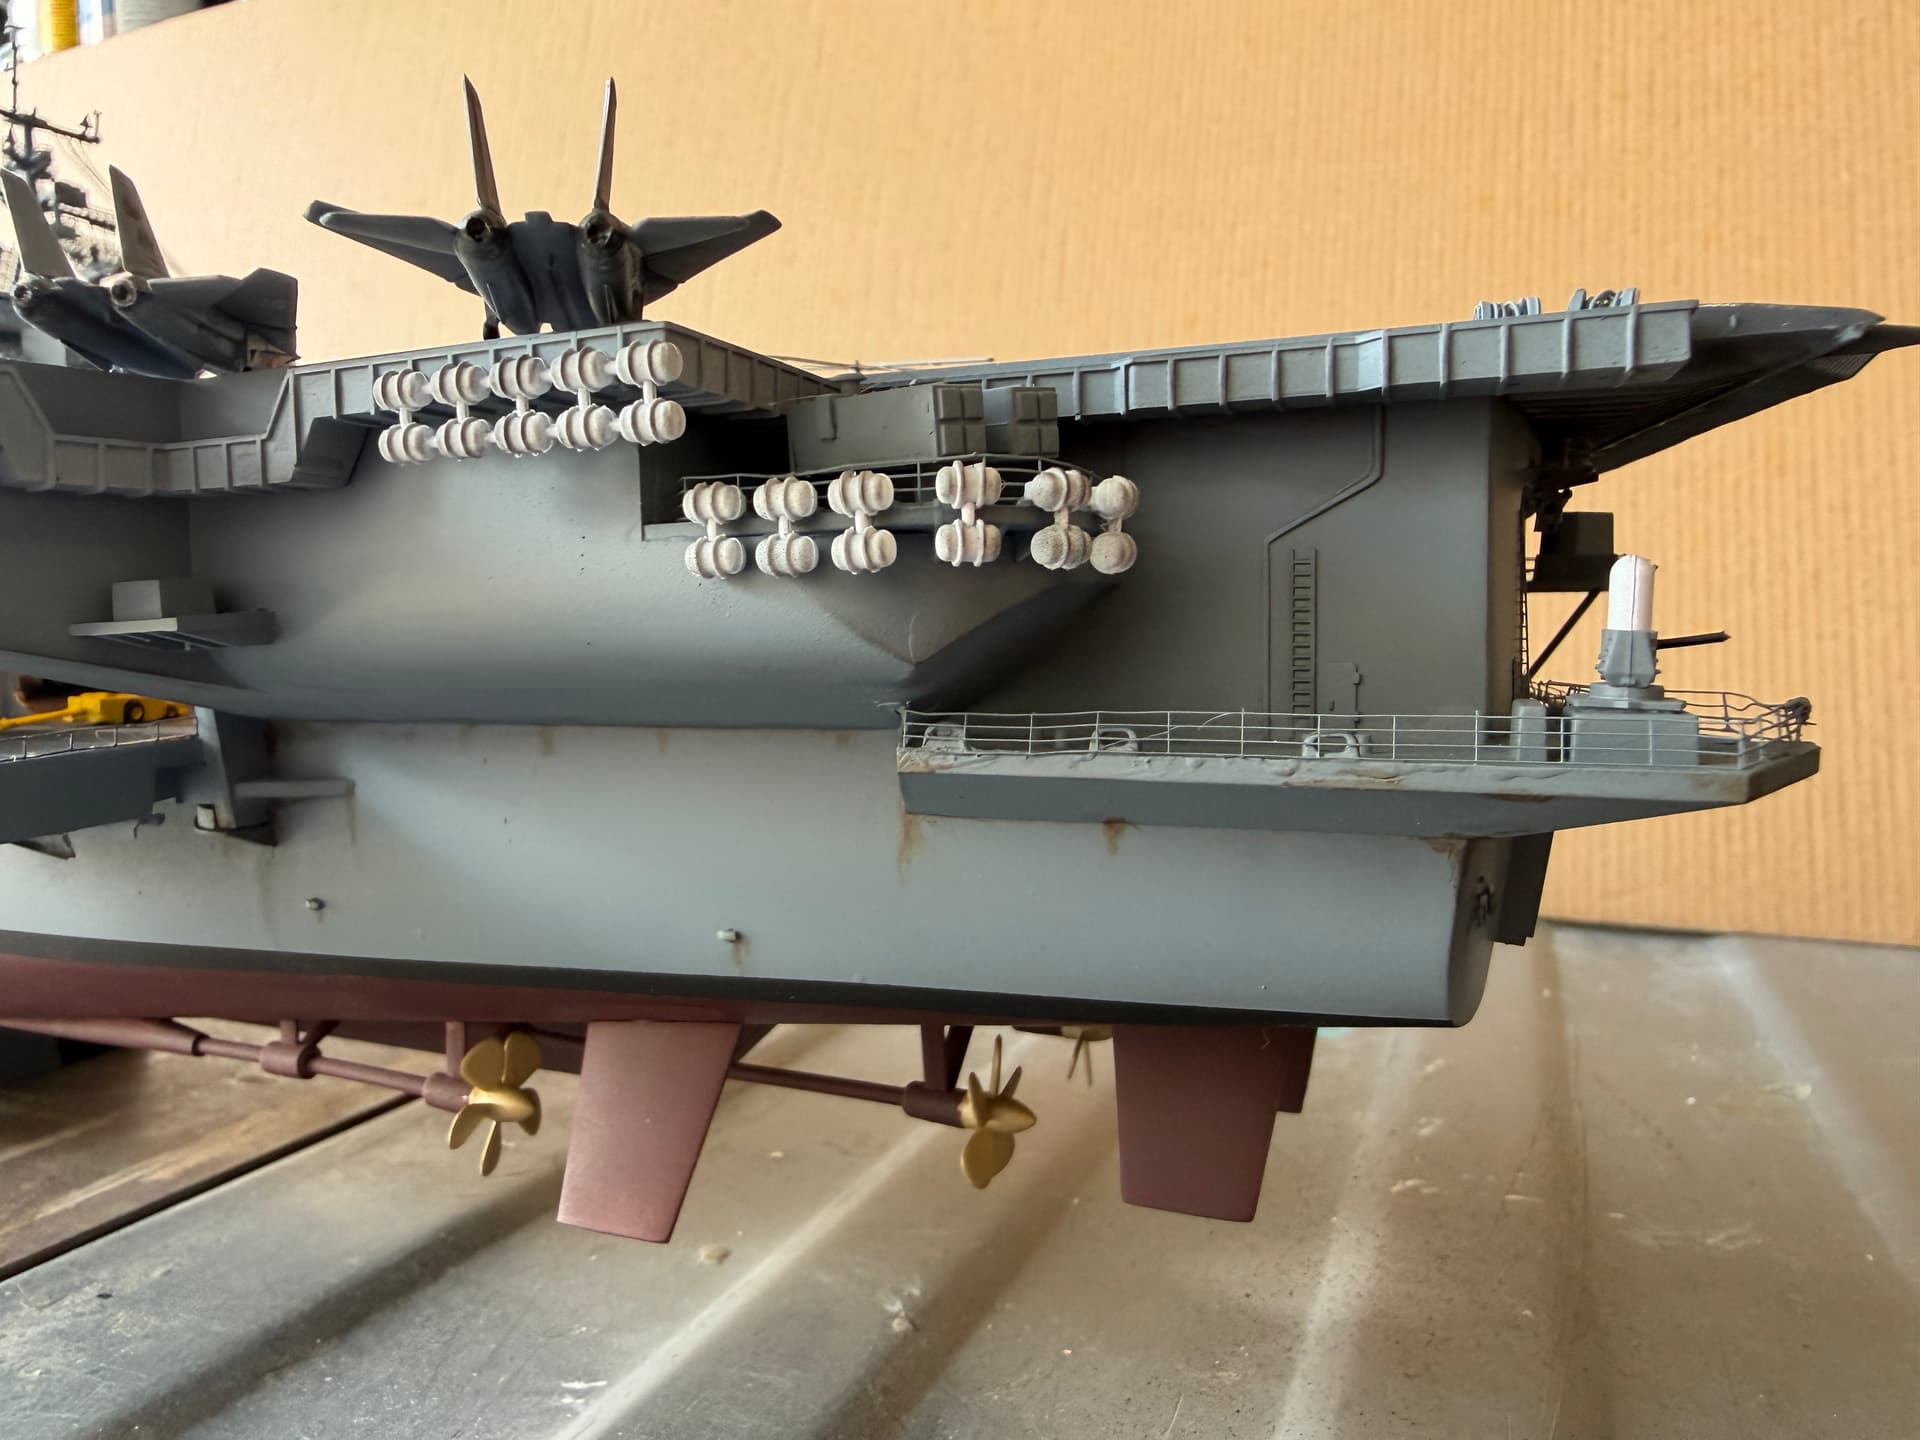
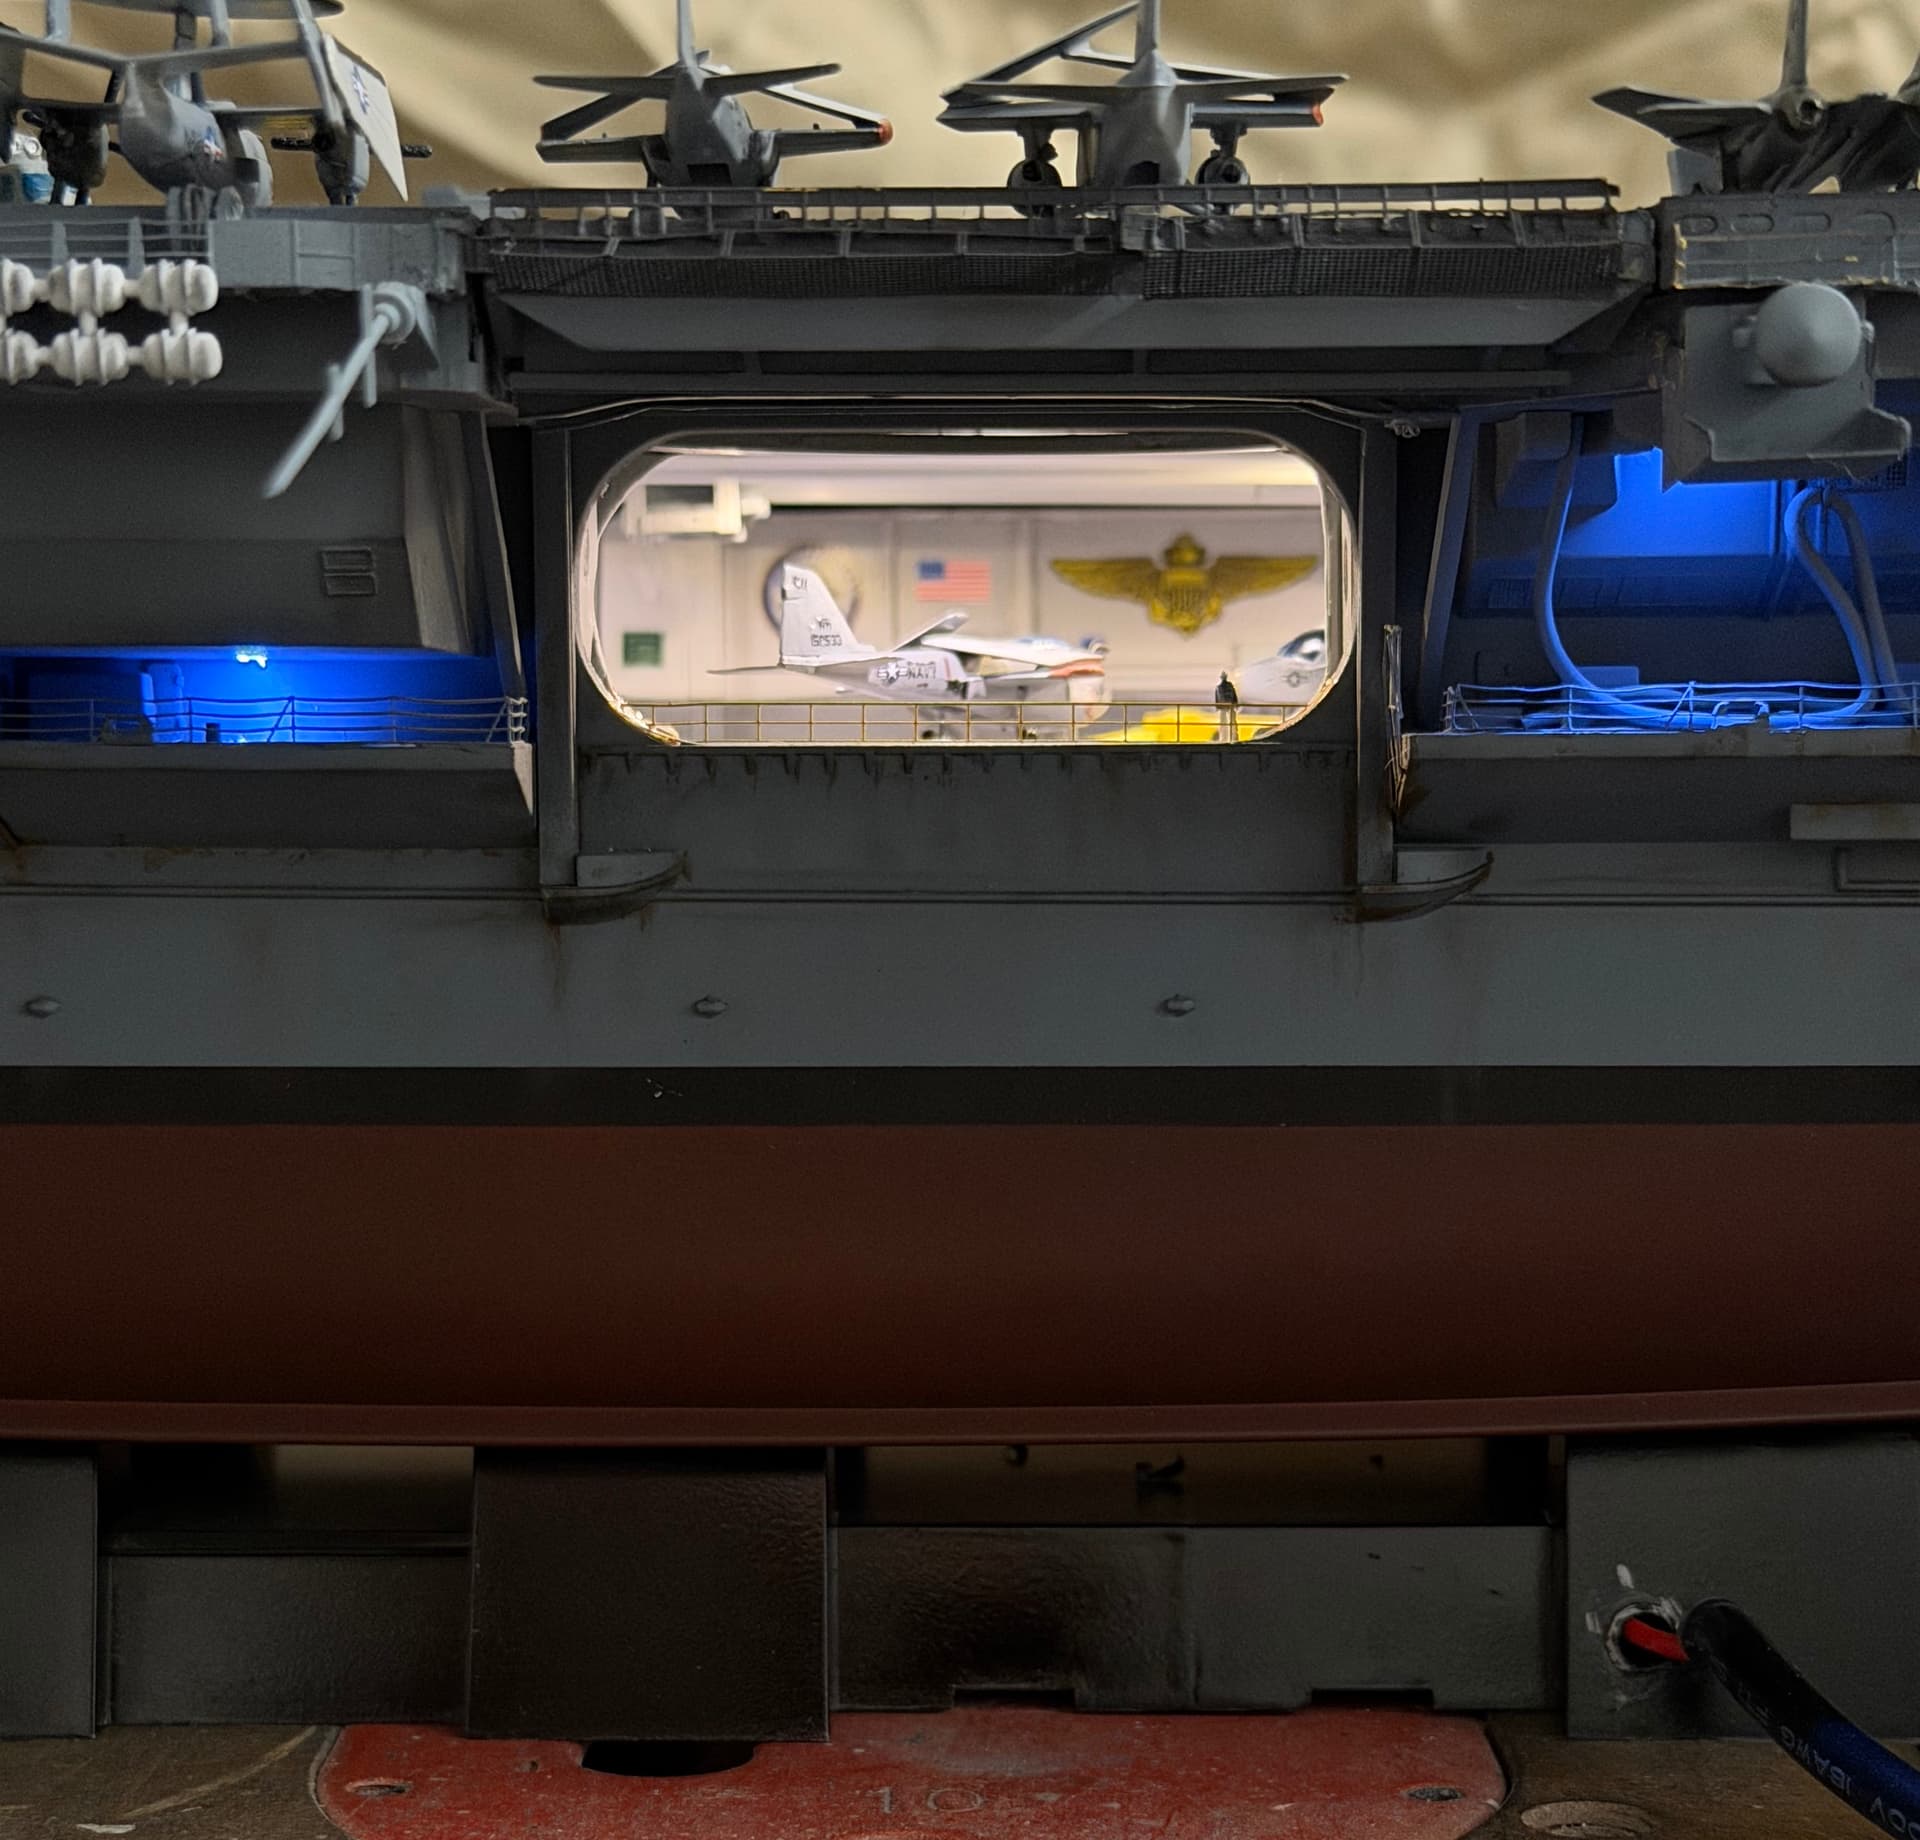
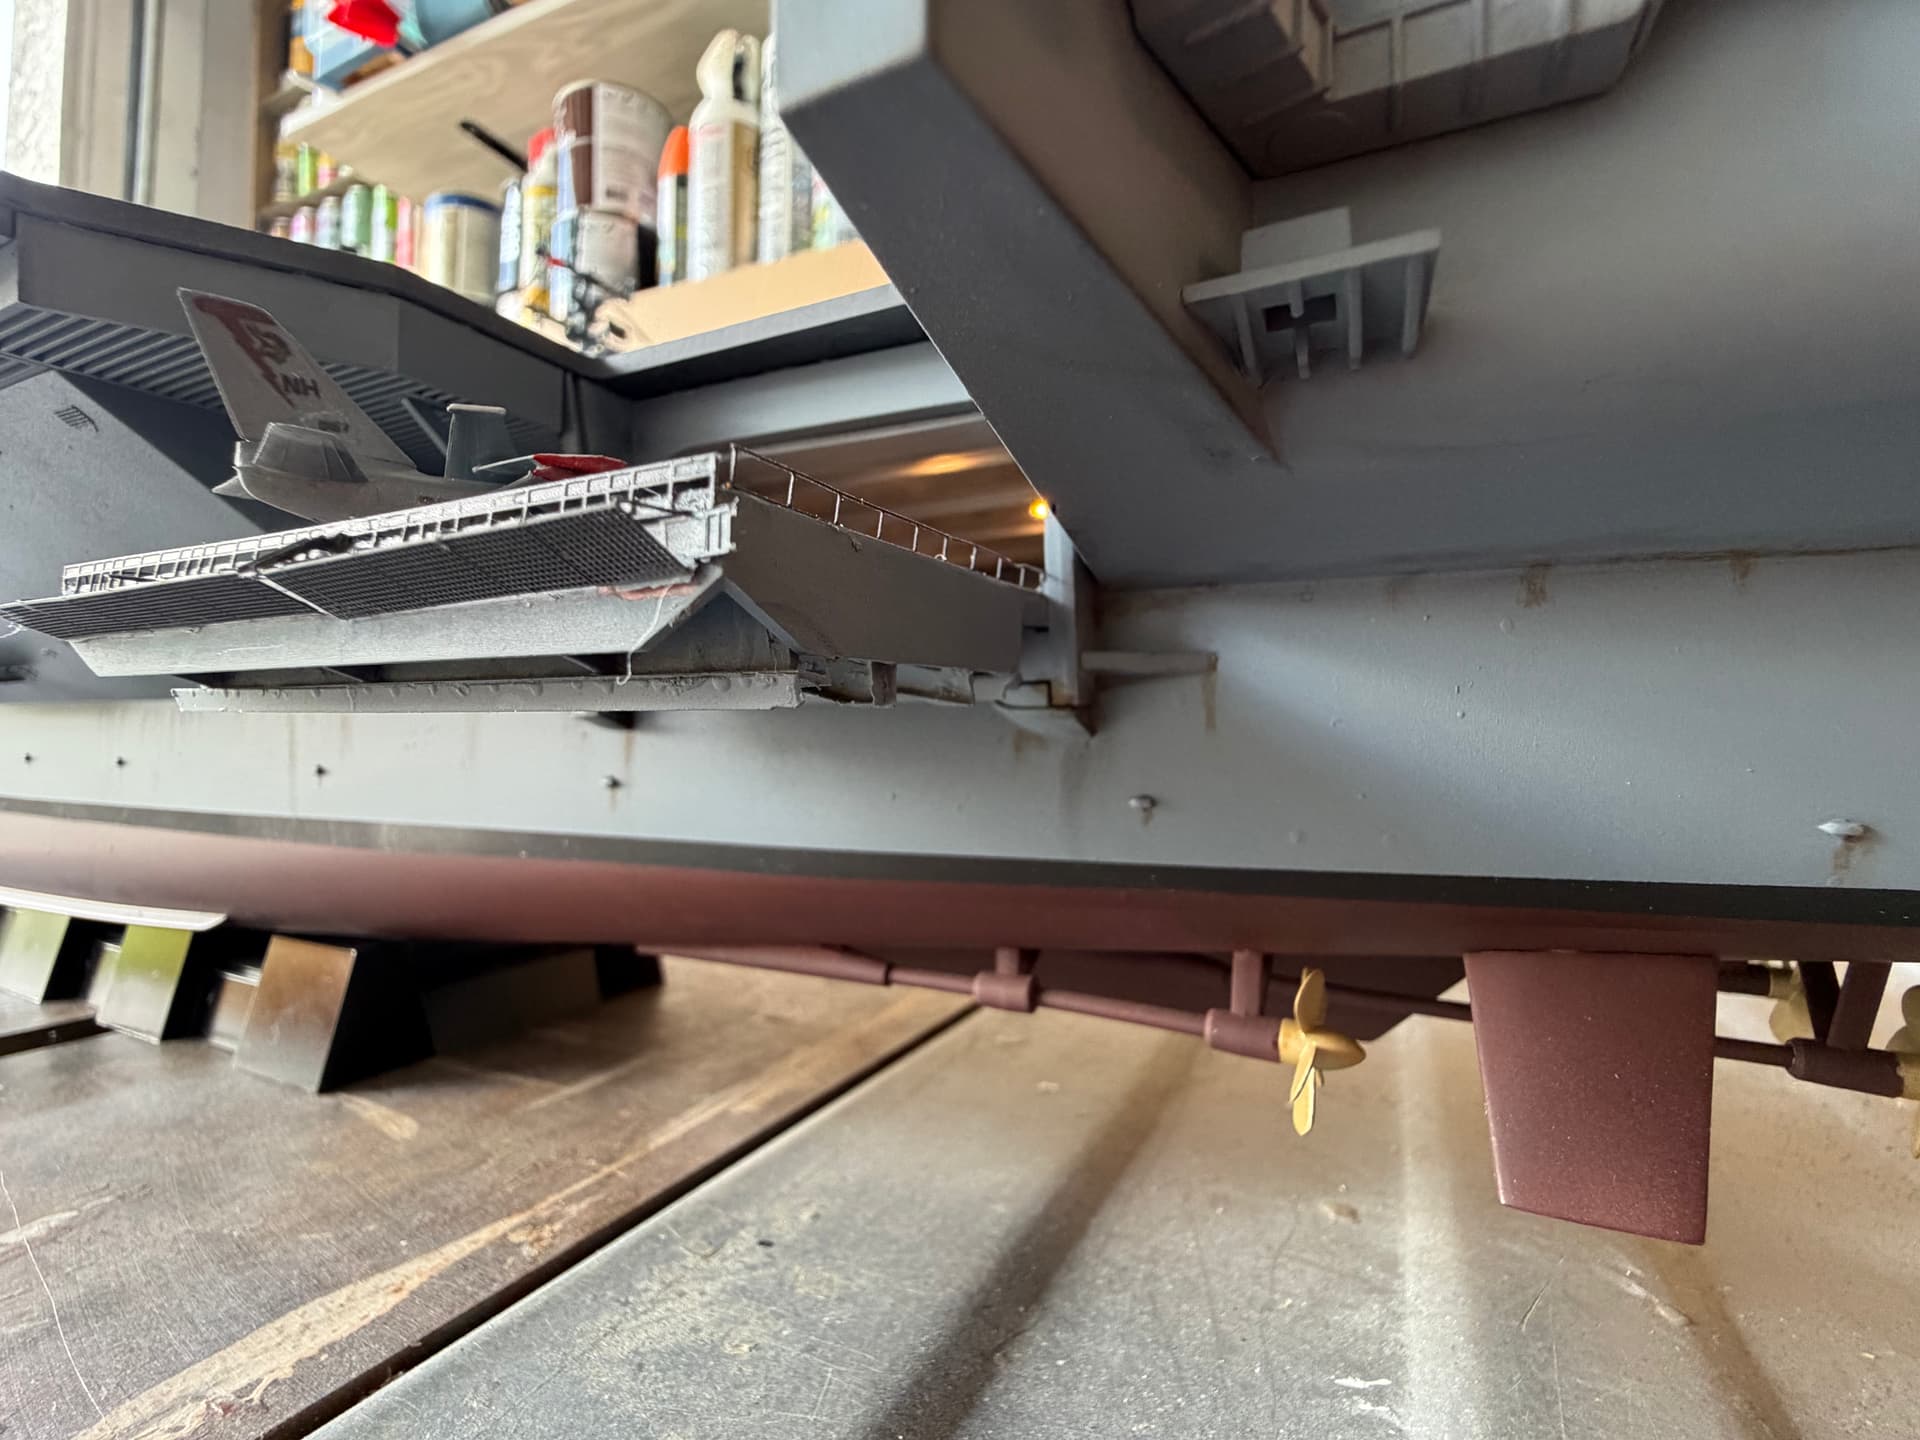
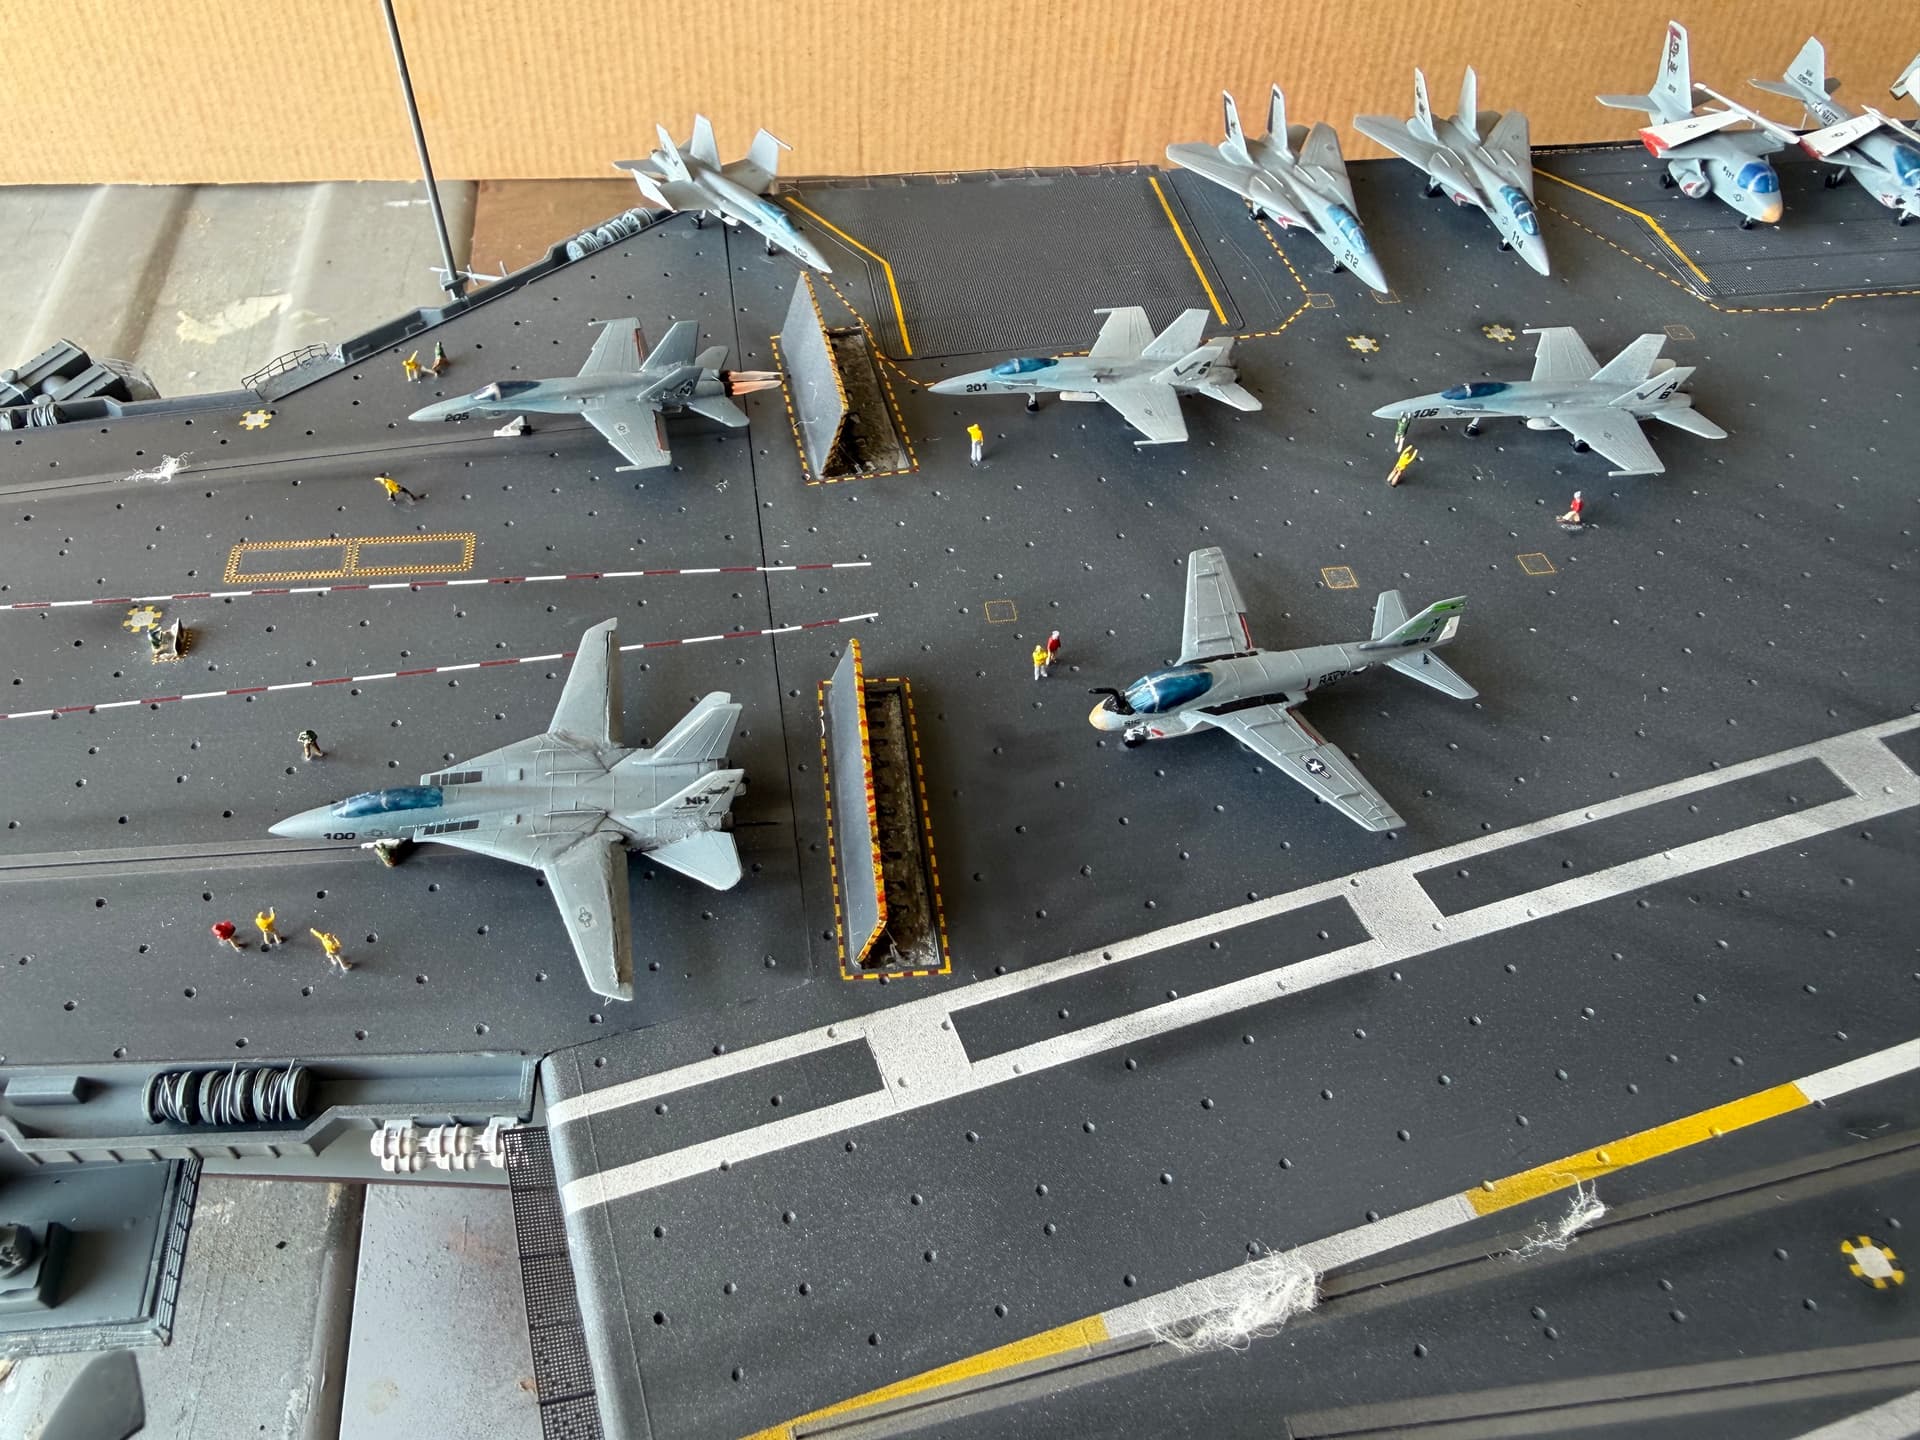

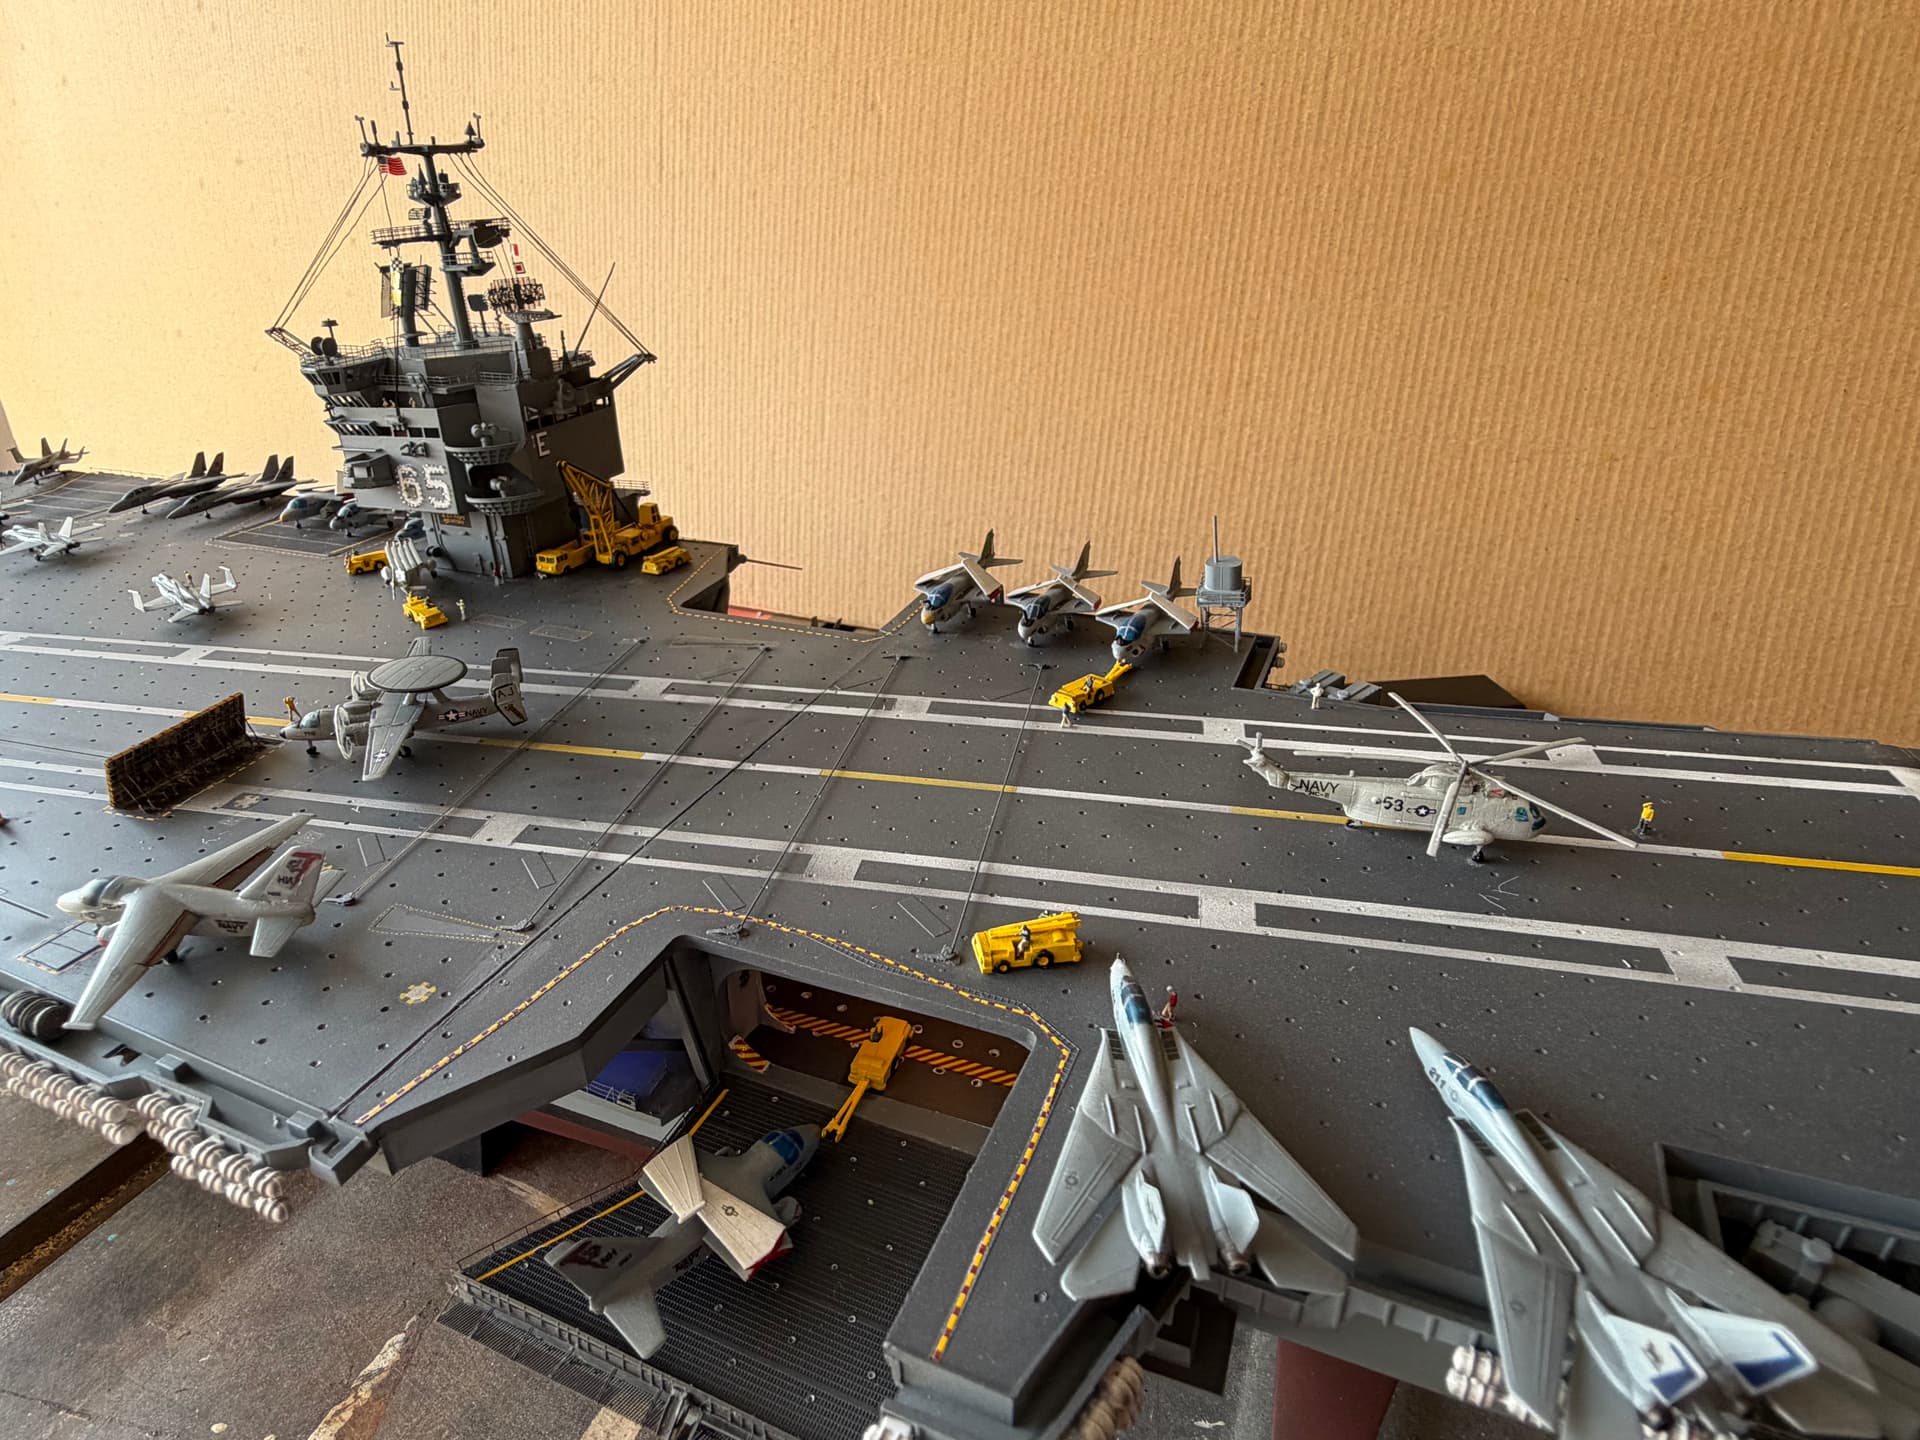
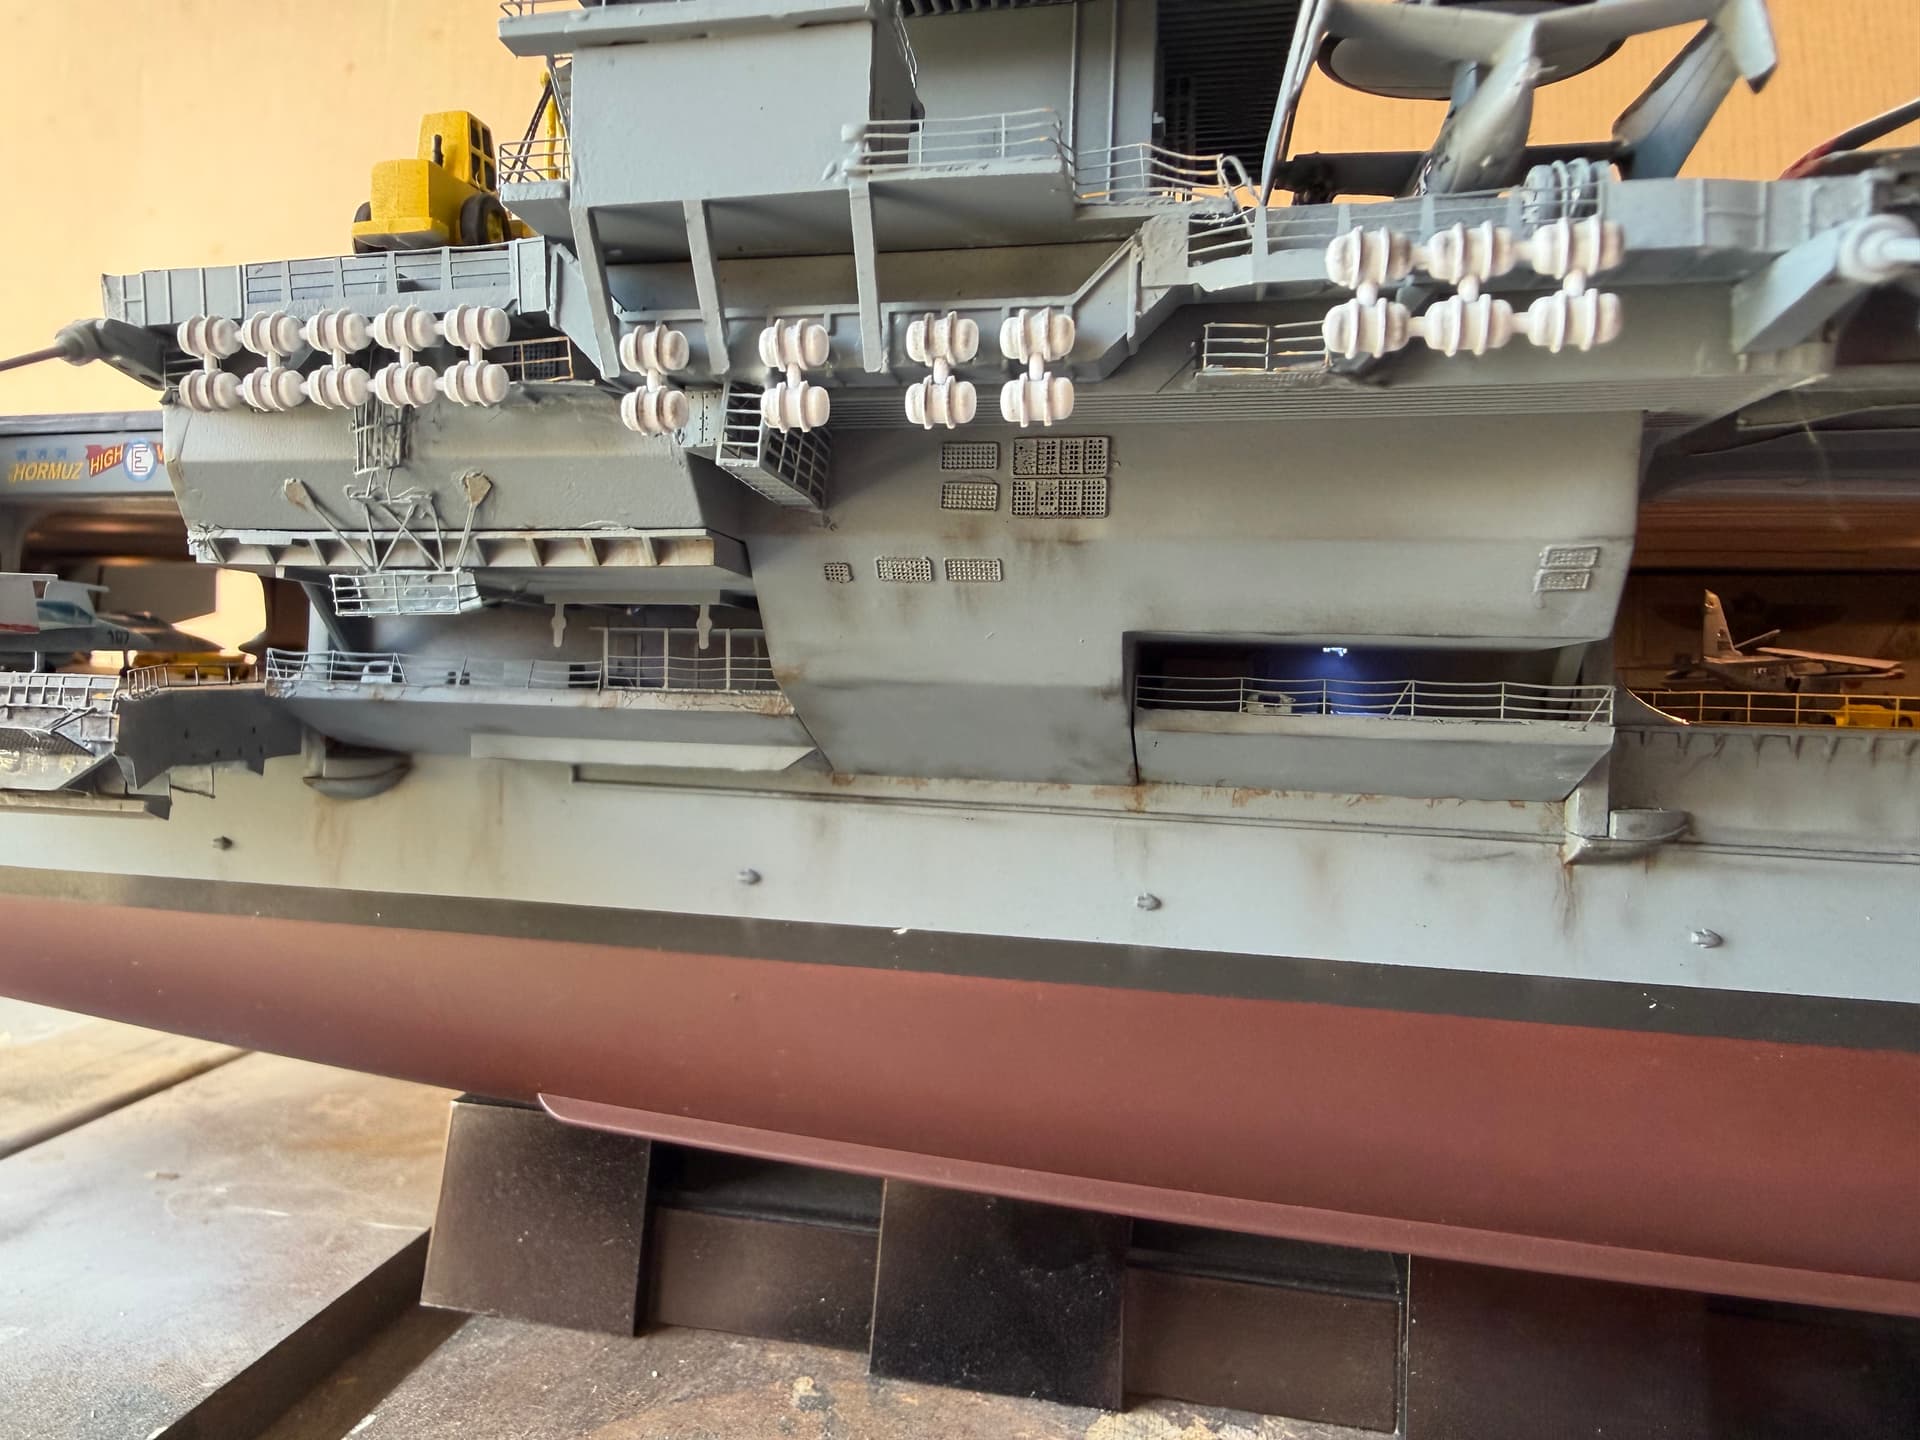
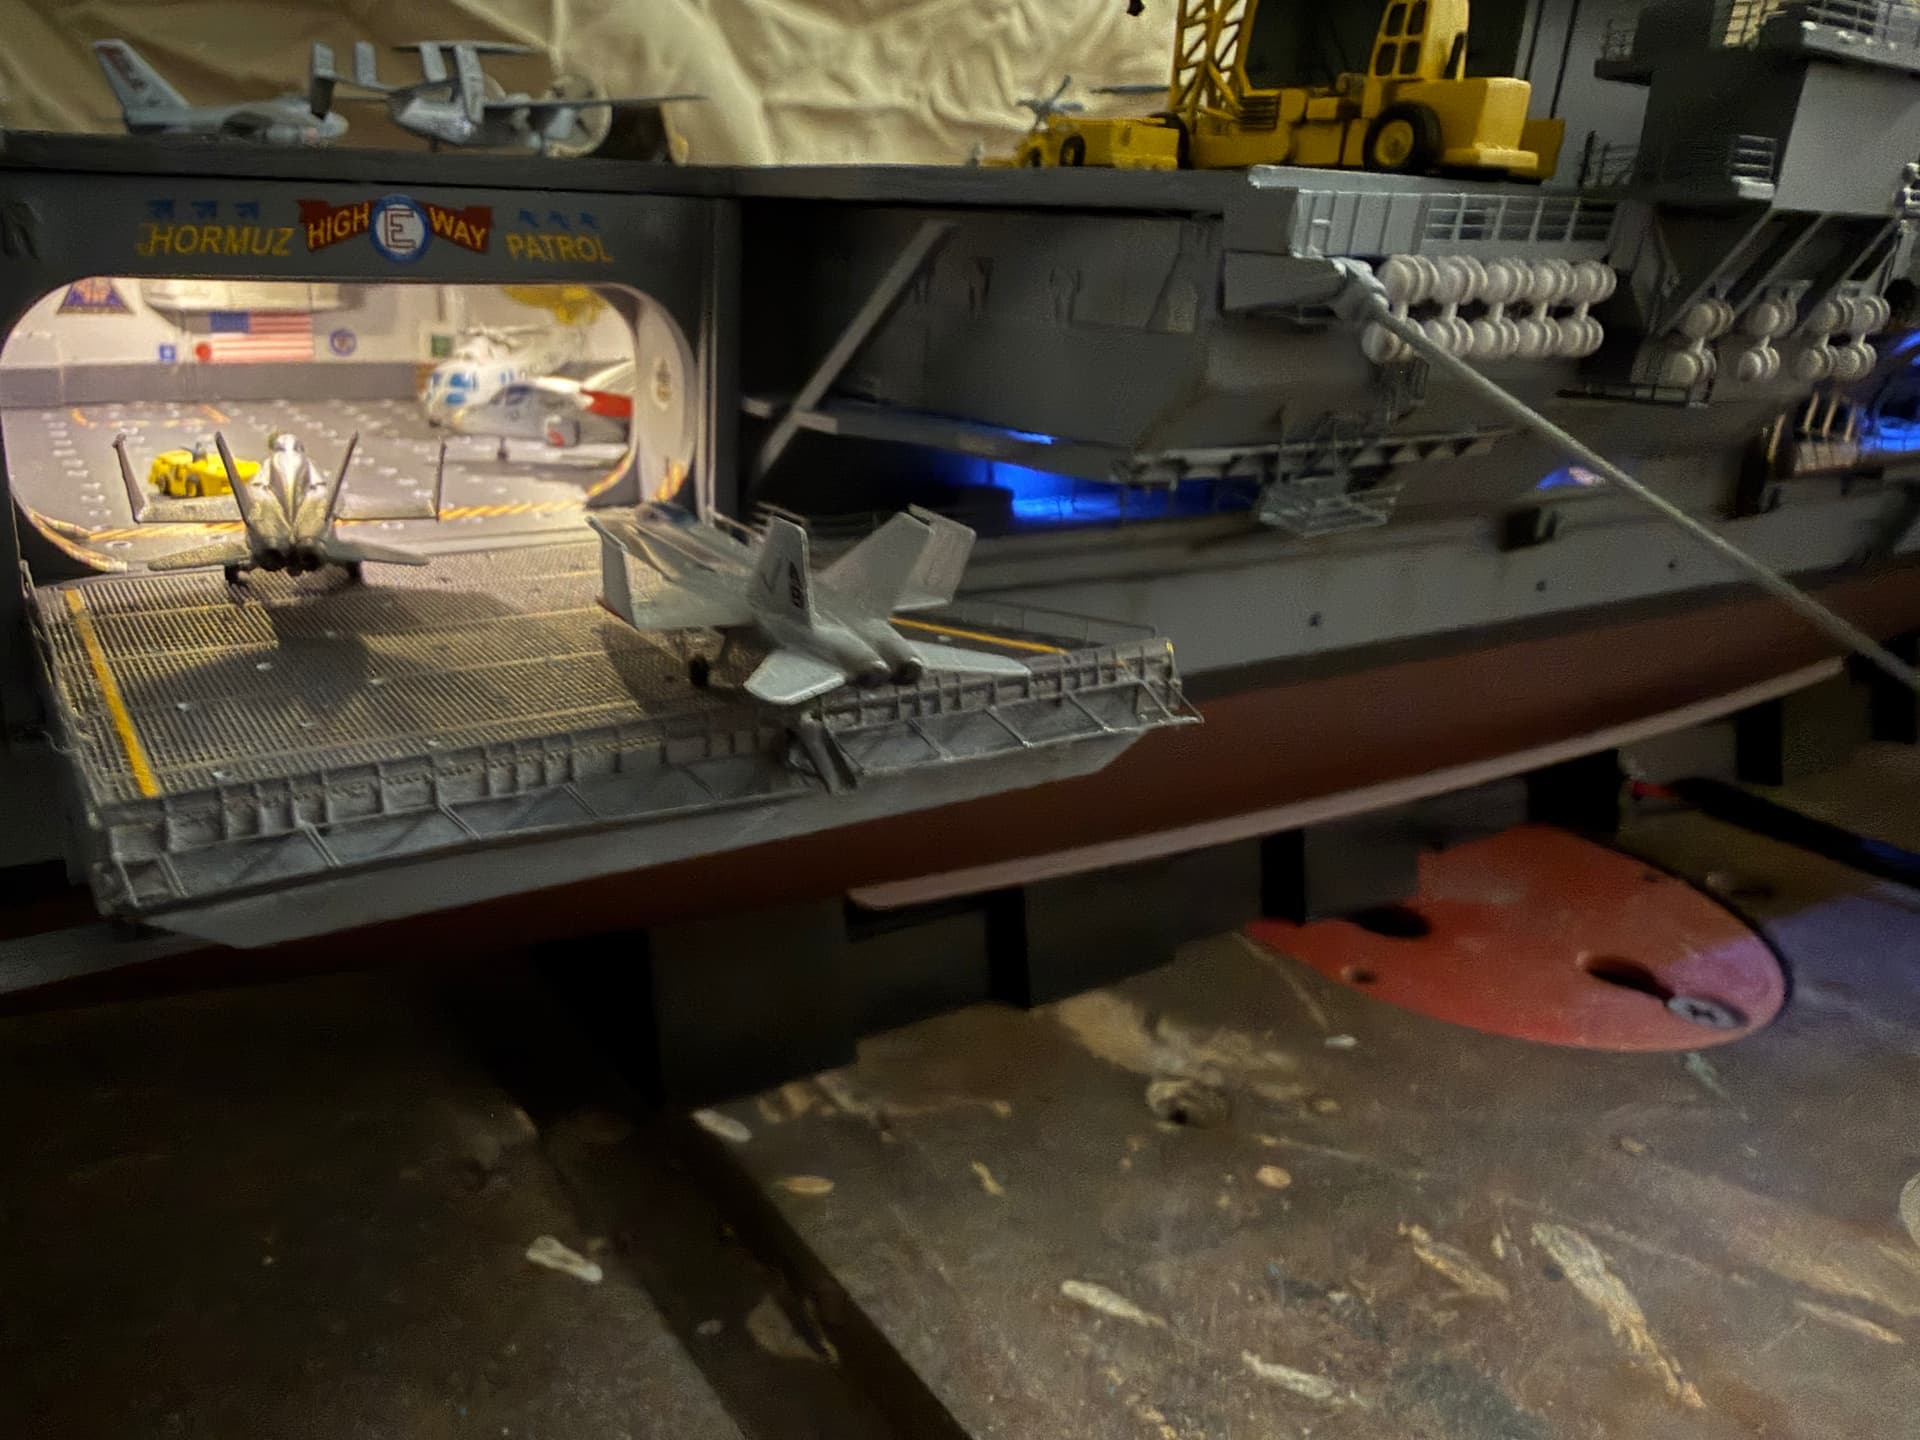
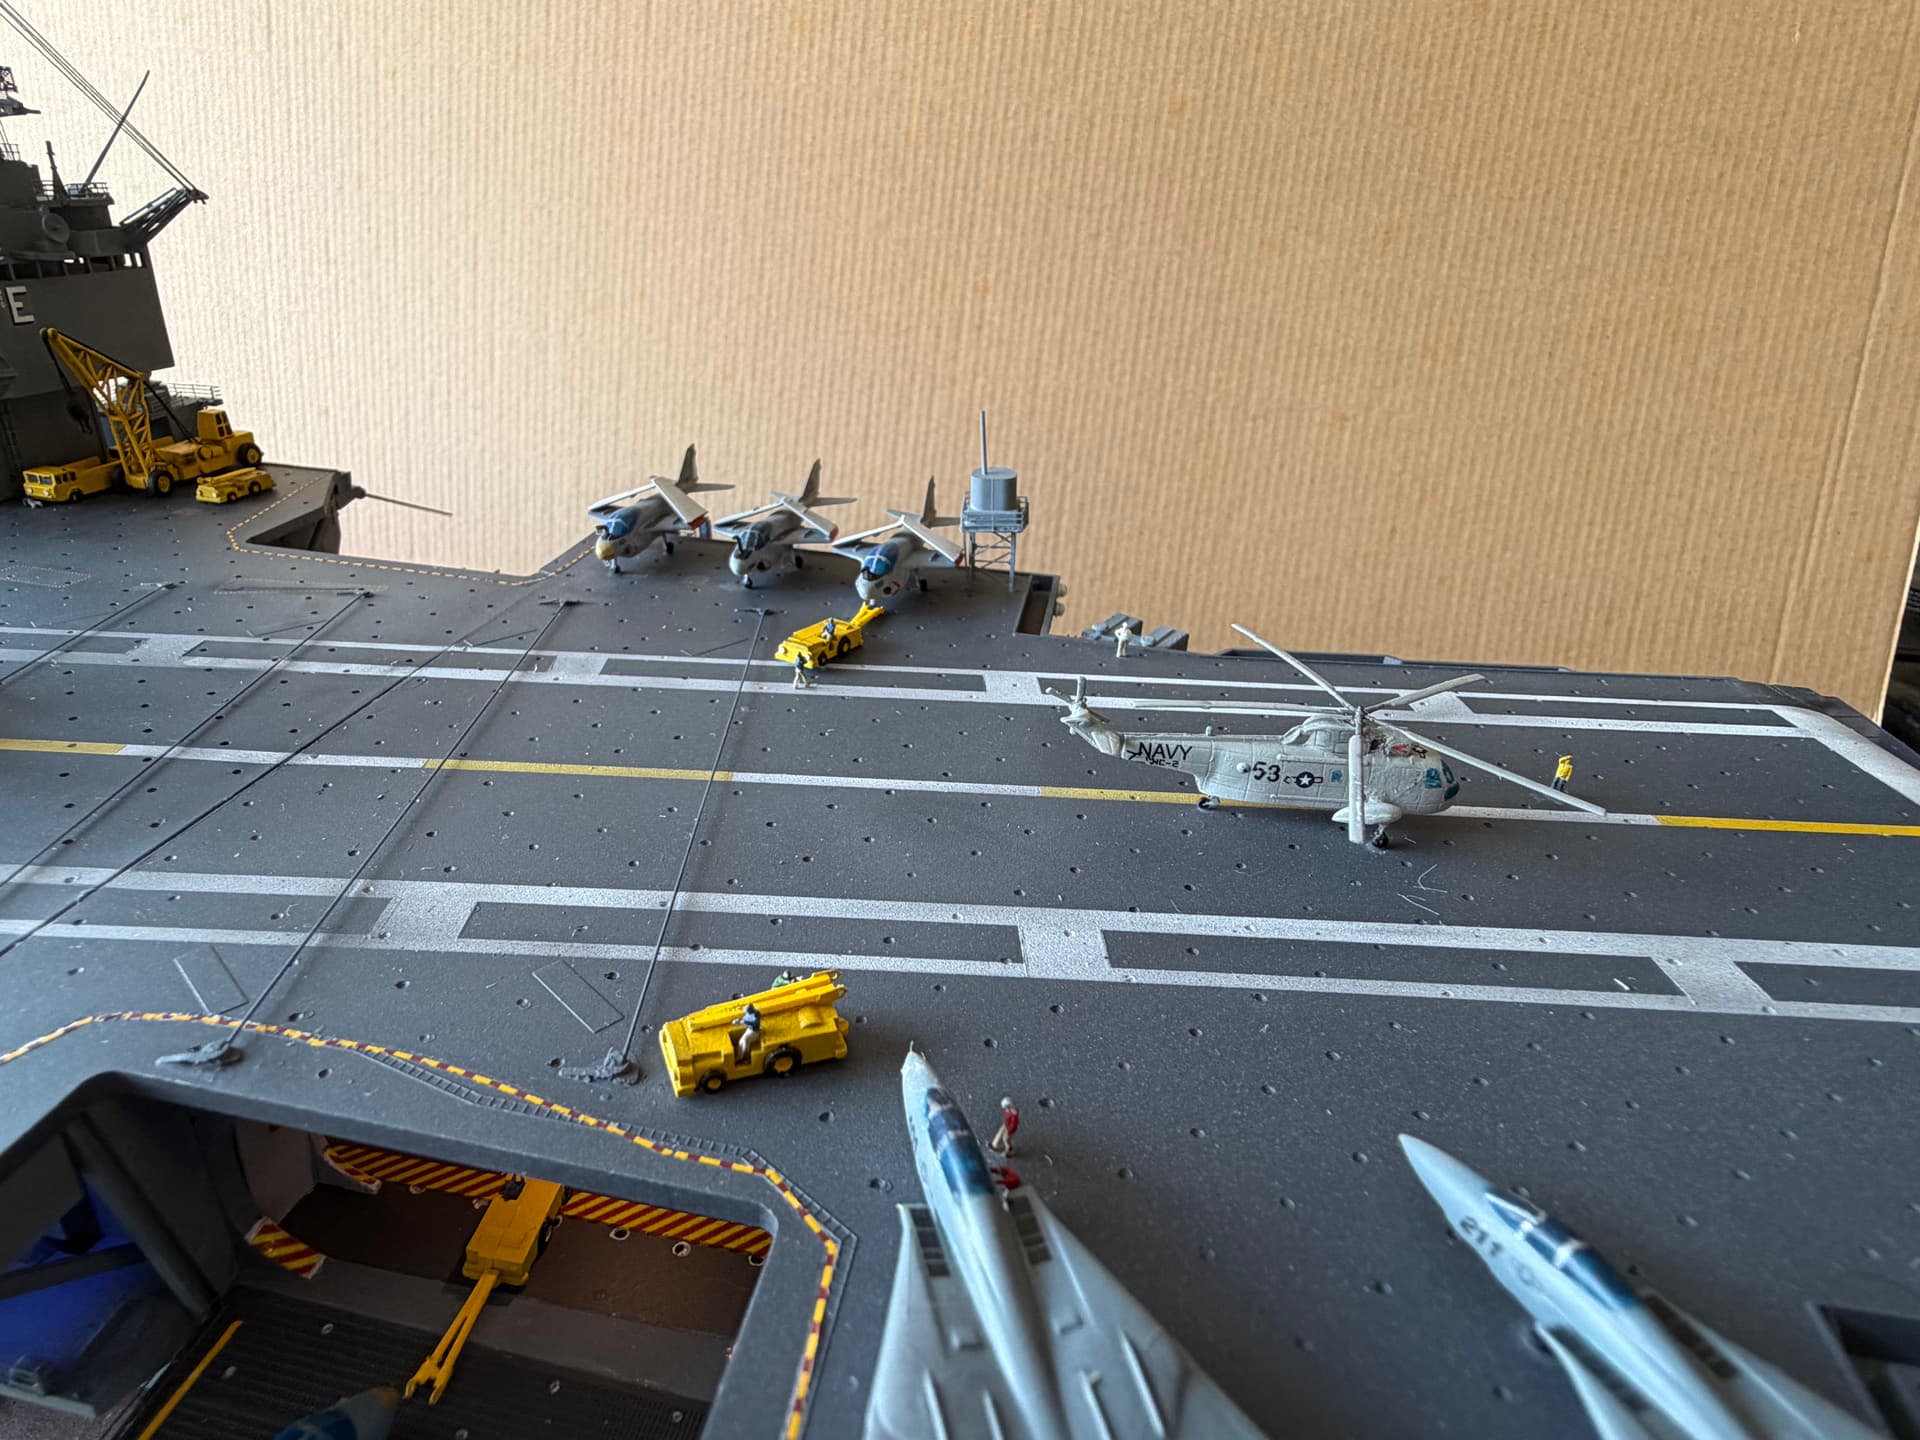
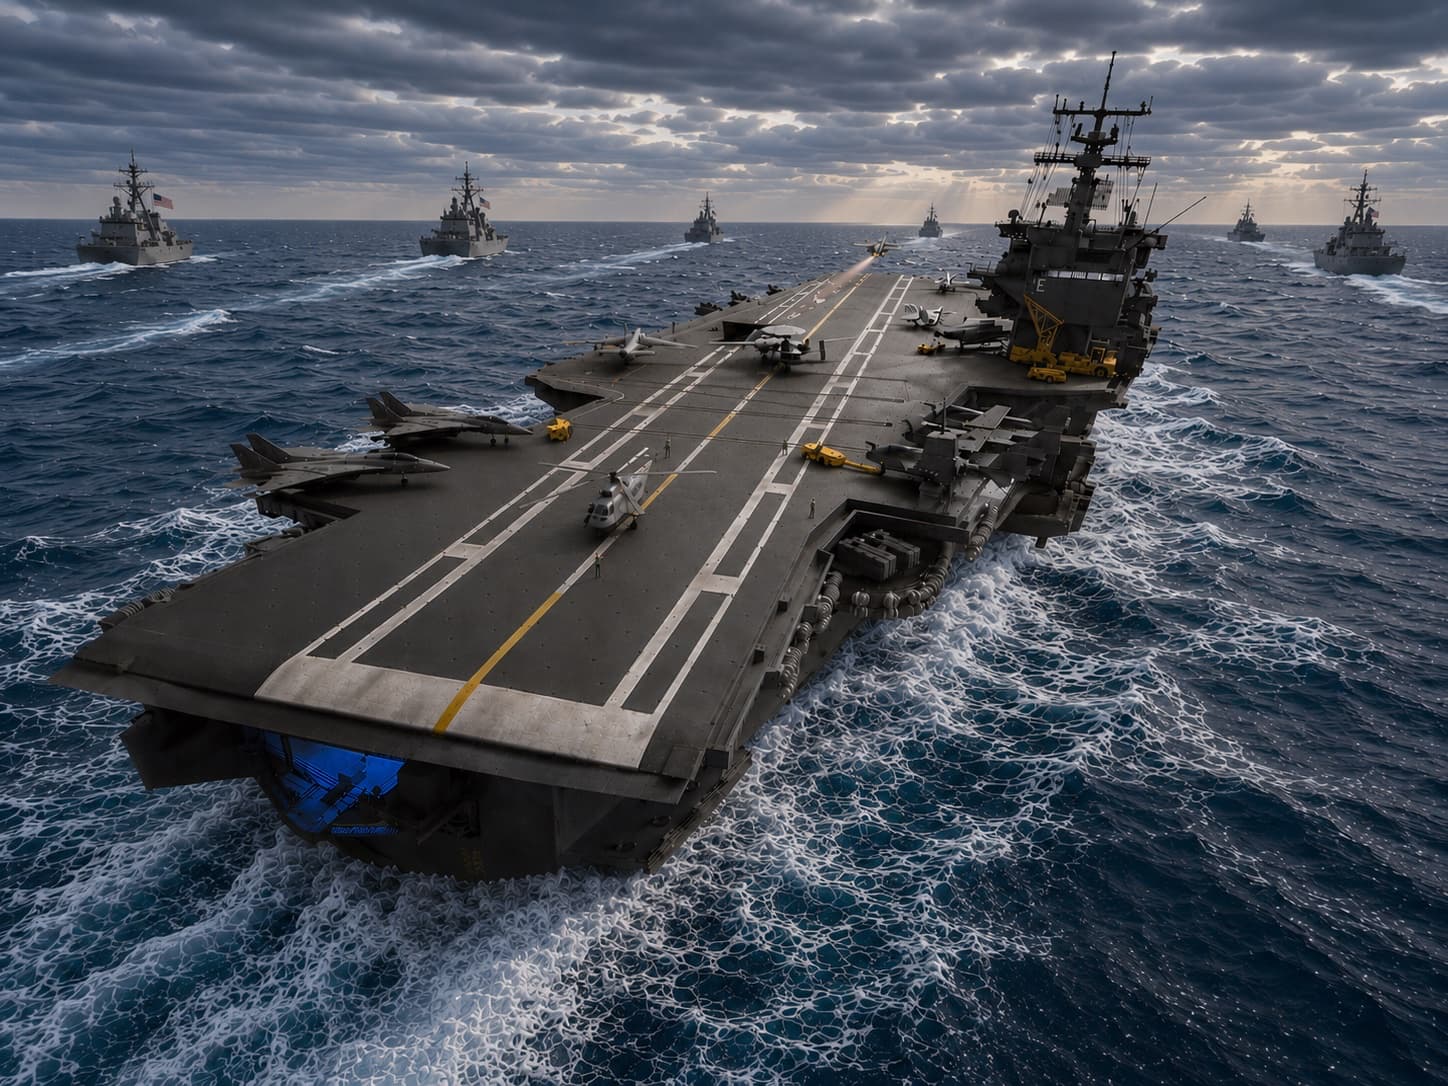
A stunning piece of work Jack- so much to look at on the deck alone, never mind the beautifully lit lower decks!
1 Like
Thanks Karl. I got a bit carried away with this one
2 Likes
Wow Jack, you pulled out all the stops on this one. An outstanding job all the way around. The flames from the engines  . Thanks for sharing it. It’s ashame I can only give it one like.
1 Like
Very nice! Congrats on a great build.
1 Like
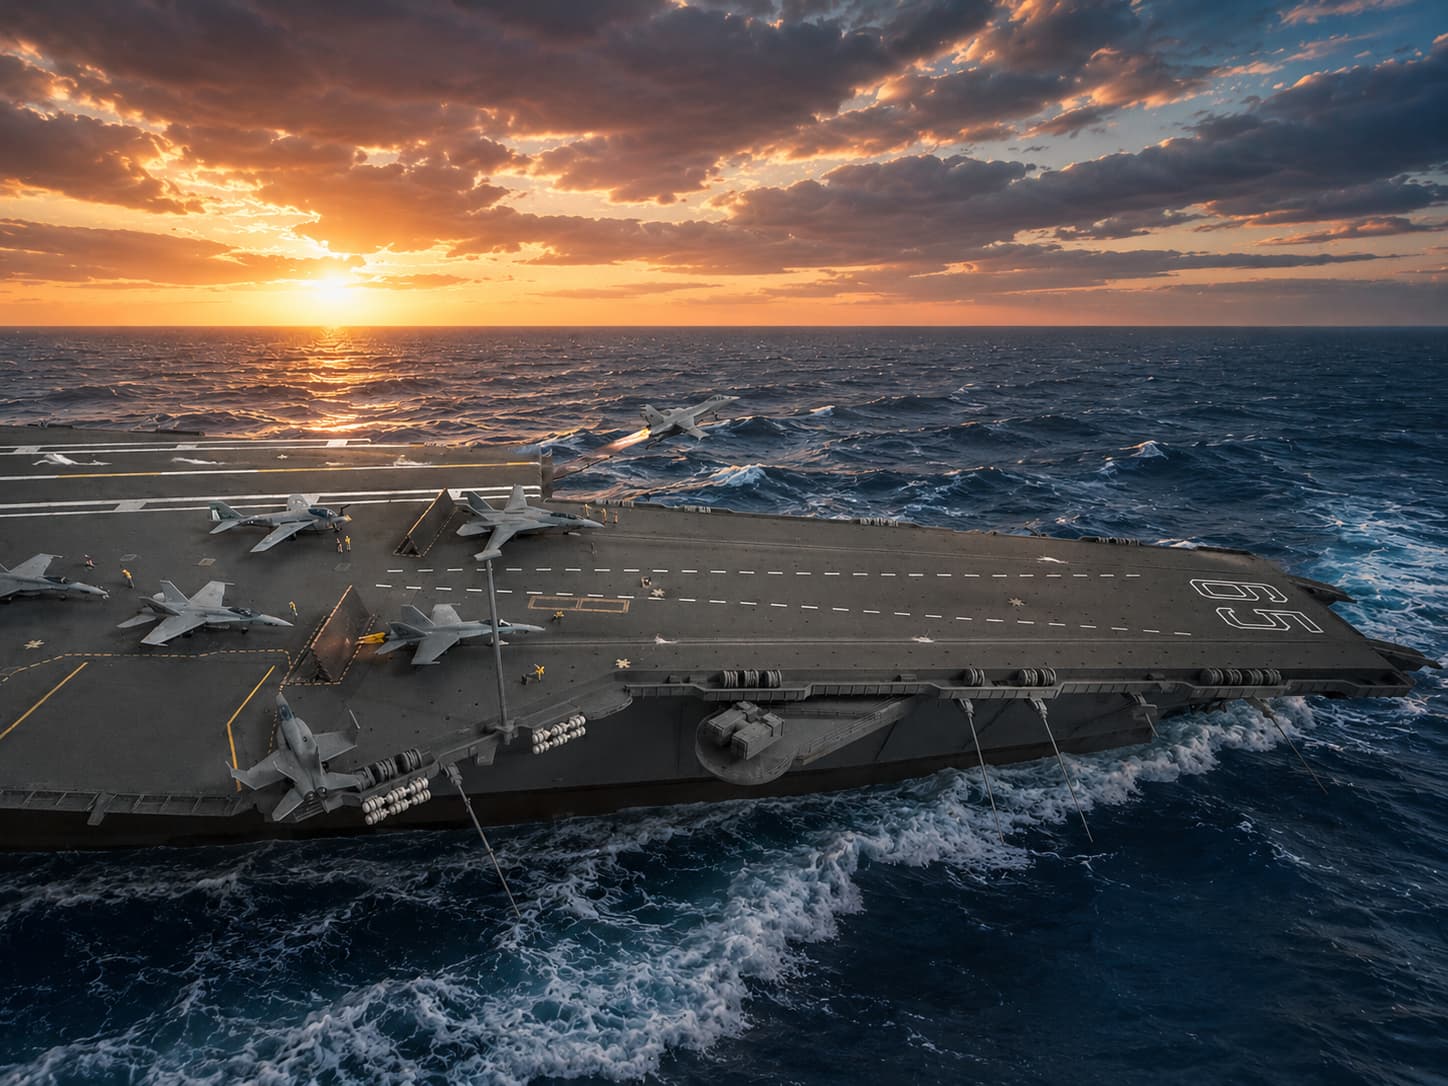
Amazing quality build. Appreciate you posting all the great pictures. And then fun with AI!
1 Like
all I can say is wow . absolutely beautiful .
1 Like
Looks great! What technique did you use for the flight deck weathering? It’s subtle and nice, ideal for this scale.
1 Like
What a beauty. And it was fun following along during your build.
1 Like
Thanks Anthony! I started the complete flight deck by airbrushing a base coat of German Grey. From there, I misted areas with two different shades of greys (medium to light). I can get the XF #’s if you wish. The runway markings were masked and airbrushed on with a variance of coverage so they didn’t all look “freshly painted”. From there, another very light misting of german grey thru light greys. For the finalé, the Tamiya Weathering Set B Snow, Soot and Rust was used; specifically the Soot and Rust. Soot for the traffic areas around the touchdown zone and catapult areas. Light applications of rust, via brush, added a hint of brownish tint in some spots where the aircraft are parked and in heavier traffic areas. Also curved areas of “soot”, applied via sponge applicator, was put down toward the end of the rollout section of runway to show some wear from the aircraft turning off toward their parking positions. The whole trick to it is getting the German Grey down first, then being gentle with the misting of other greys. It was really fun to do and rewarding to see the results (which surprised the heck out of me). The CAT tracks were done with Testors buffable Metalizer Magnesium & Gun Metal (yes, I still had a little of those rarities) and buffed them with a cotton swab. I put the metalizer down after the original base coat of German grey. Afterwards, I used Tamiya tape (6mm I believe) to cover the tracks while applying other lighter shades of grey.
I can see where one could go nuts over-weathering the deck. I think doing a light misting of lighter grey then walking away from it for a a bit helped to curb that urge to overdo. You just don’t see the change right away until it “sets up" and that is where over-doing it will bite ya.
1 Like
I thank you Keavdog! Glad you enjoyed watching the progress on the other board and got to see the final results over here on FSM.