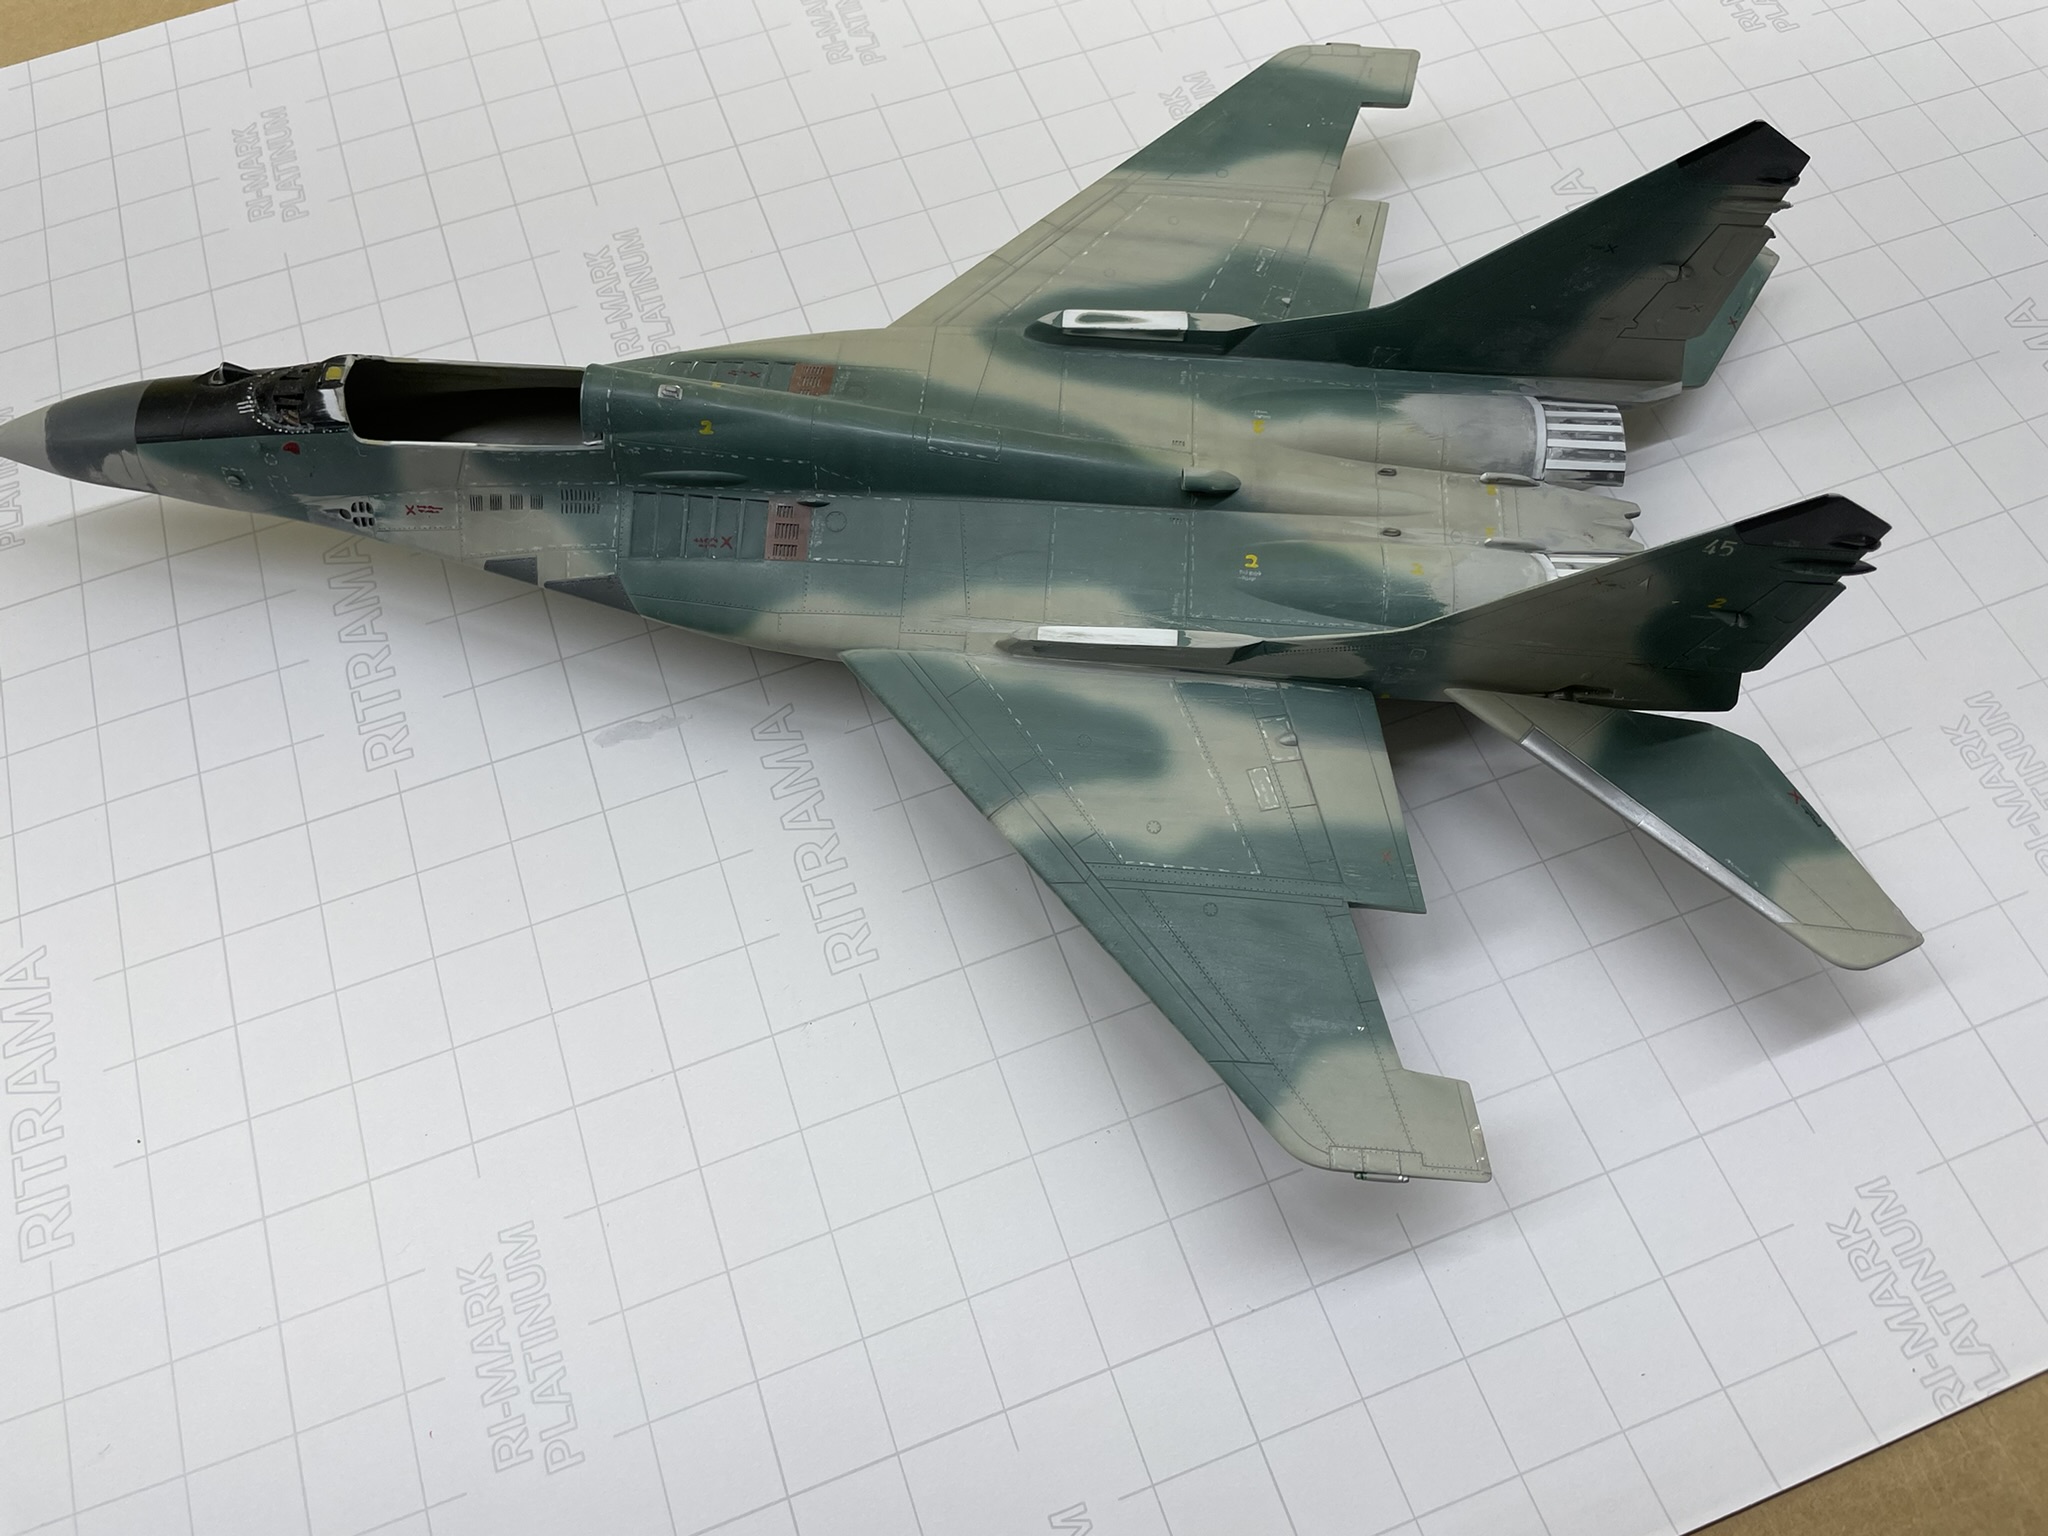
The origin of this project stemmed from the task of repairing my 35 year old Revell kit due to the hectic pace of moving.
That said, I was never happy with several areas Revell failed to get right so I thought this would be a good time to address that and the broken / missing parts.
I decided to see if I could take this kit and update it to a somewhat “correct” MIG-29 and with many aftermarket resin and PE detail kits it seemed doable.
New livery will be changed to Ukraine MIG-29MU1, serial number 29 BLUE.
Funny enough, I have the ol Revell 32nd MiG-29 tucked away.
I have a few aftermarket decals along with CAMs full interior.
Lookin forward to seeing where this goes and welcome!
Happy Modeling,
Mike
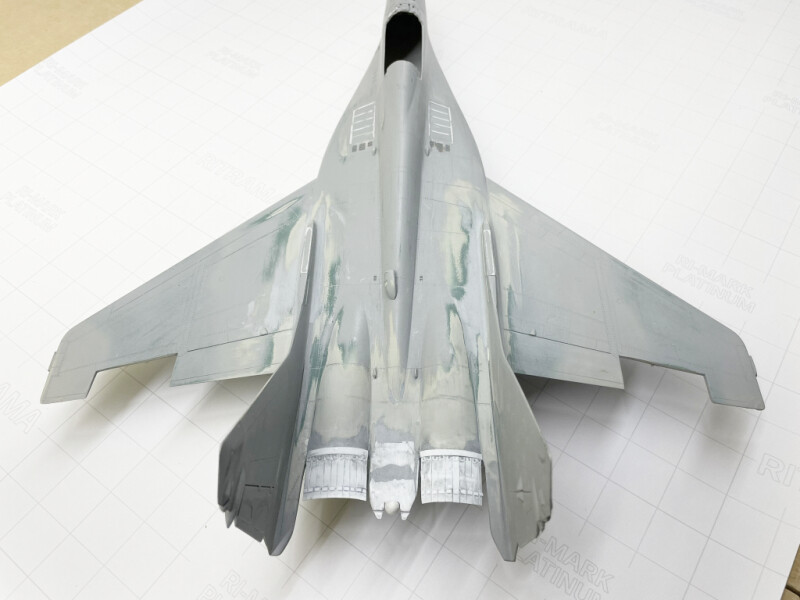
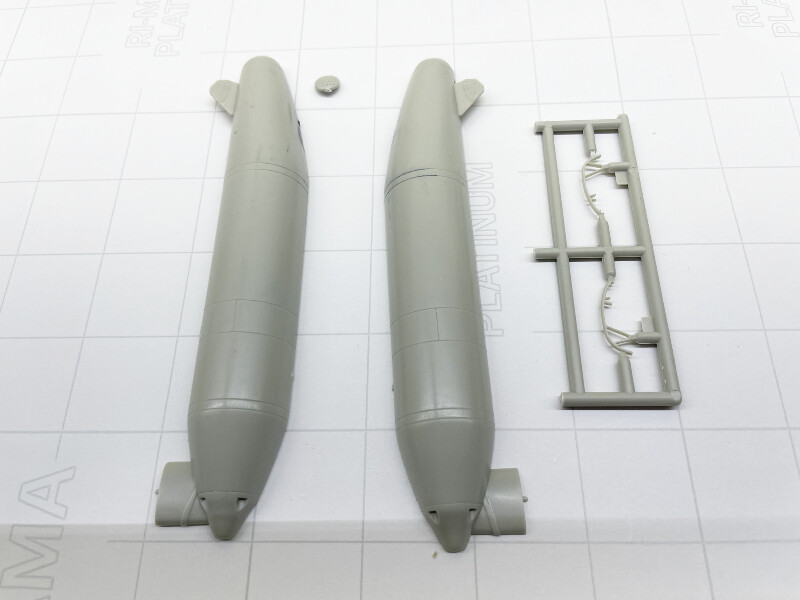
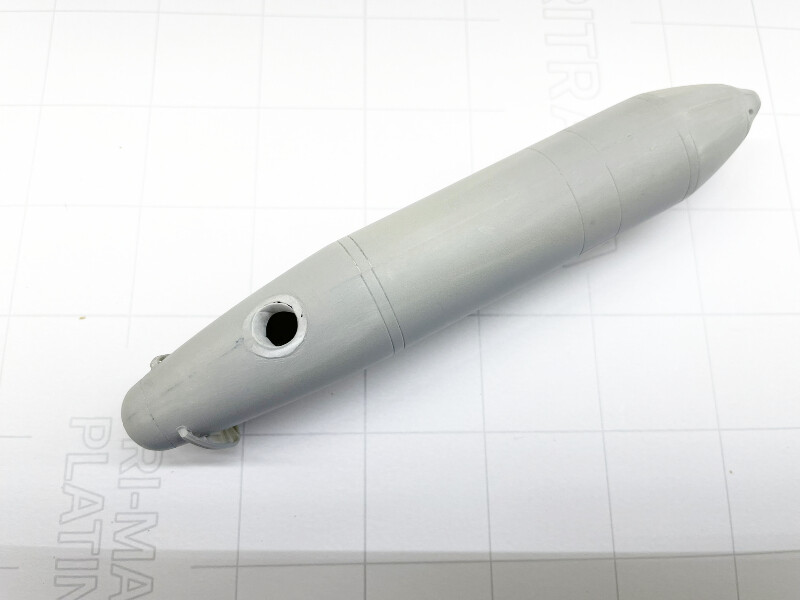
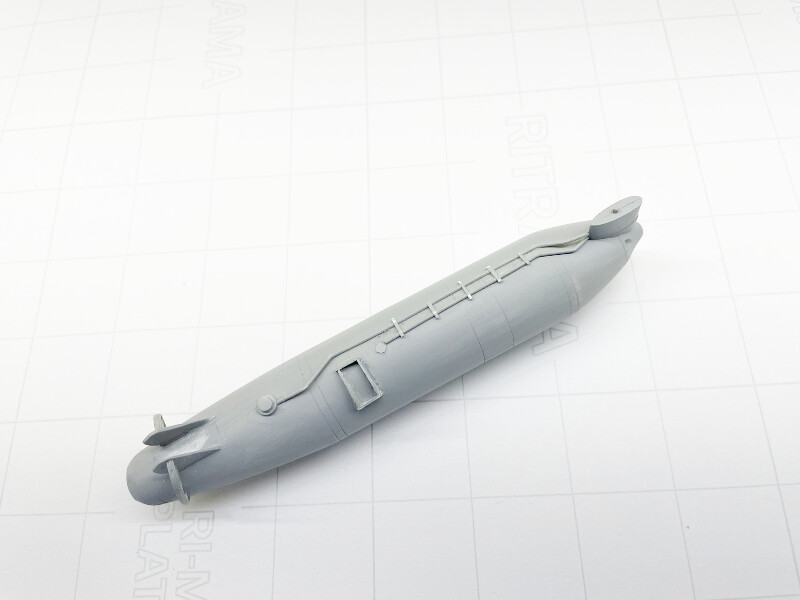
In hindsight it wish I had documented this project from the beginning but my intentions were just make repairs. So this photo is what I am working with, a little along at this point but things will start to make more sense and more interesting
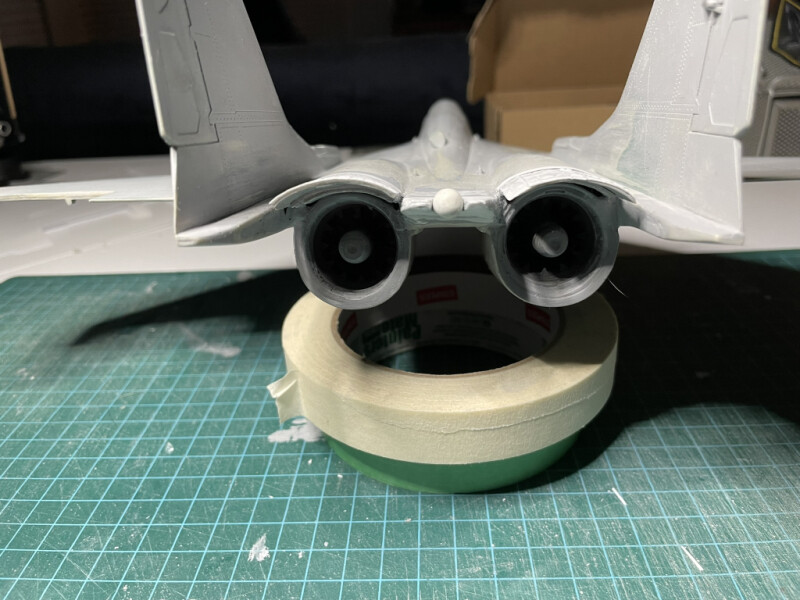
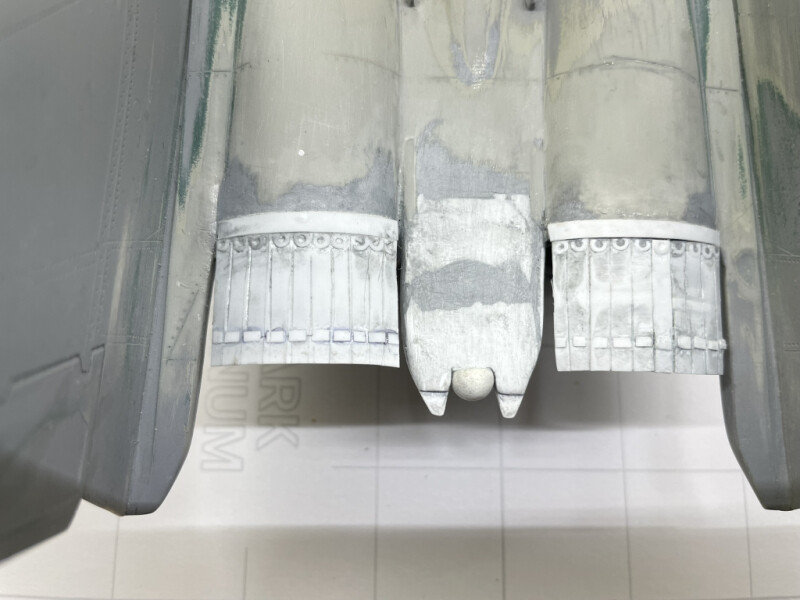
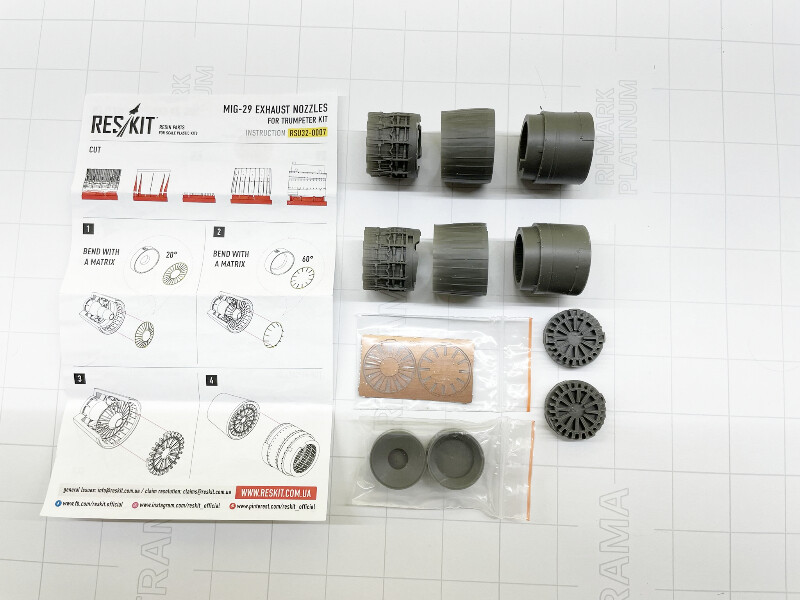
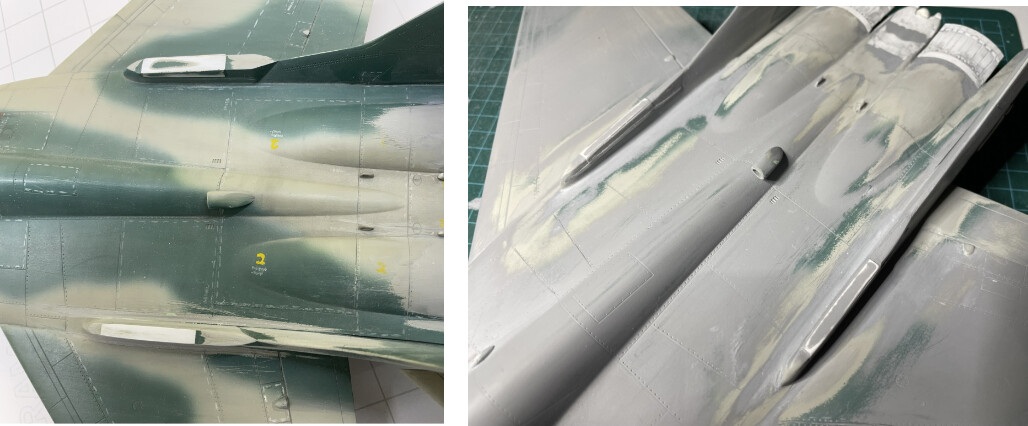
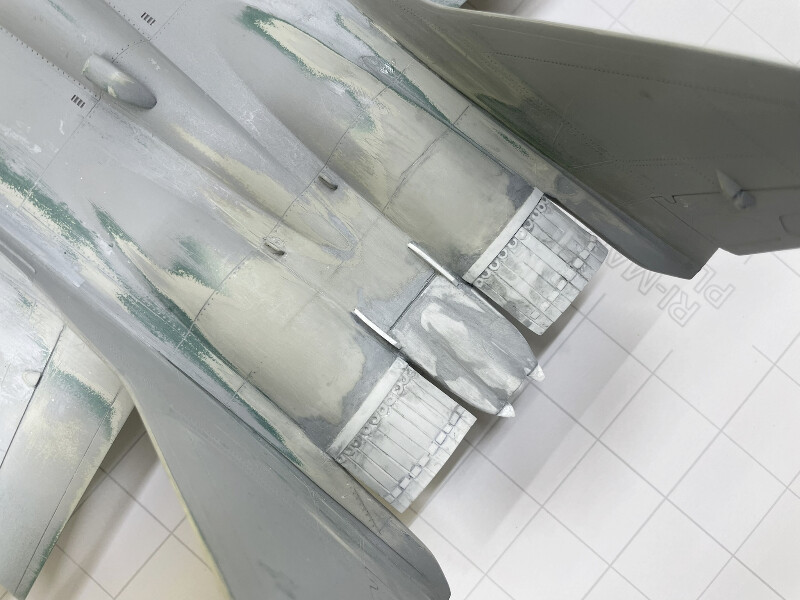
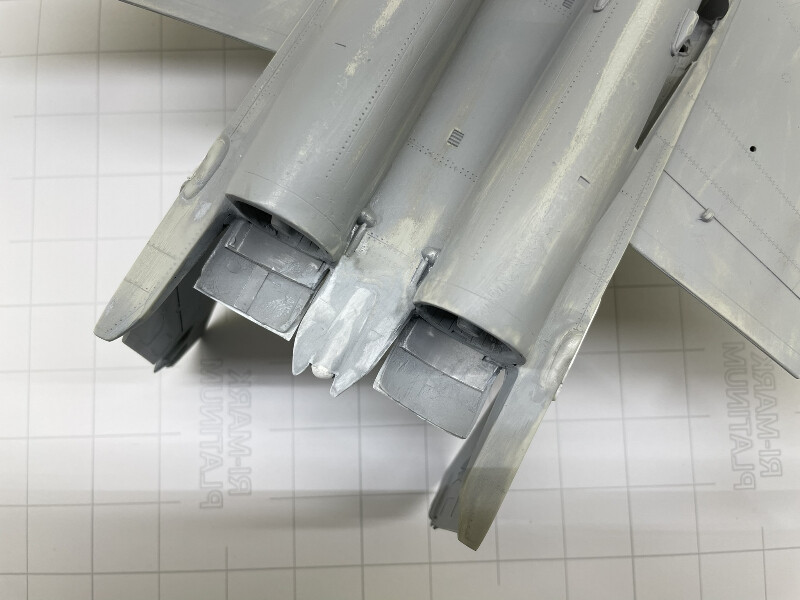
The most challenging part to this upgrade was the fitment of the new Reskit engine exhaust nozzles. The Revell engine nacelle shape was so wrong, I don’t know what they were thinking.
To insert the inner Reskit engine plug required a lot of relief cuts, bending, stretching, filing and sanding. Looks a little rough but when the nozzles are fitted they cover everything anyways, looks clean and the fit is excellent.
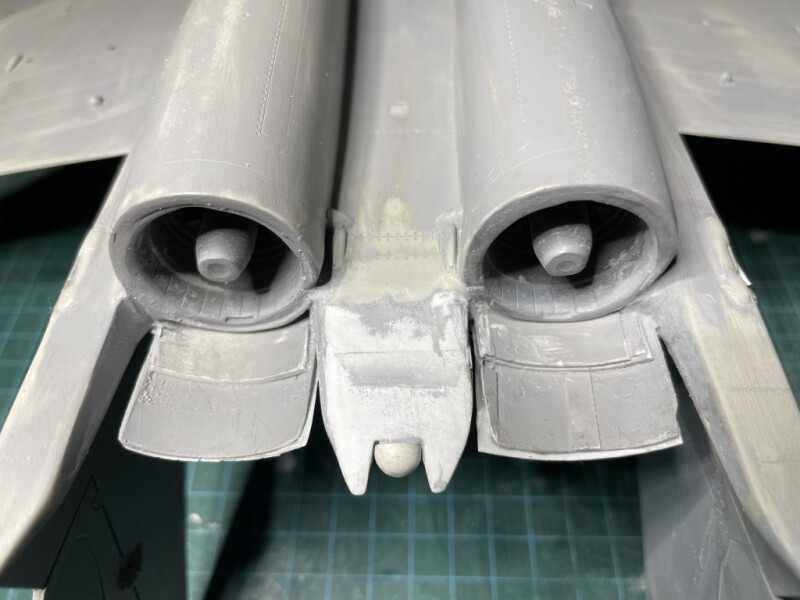
This mod now meant other areas would need to be addressed to work with the new nozzles like the speed brake and nozzle fairings.
I have since added a coat of Tamiya surface primer and started work on the mods.
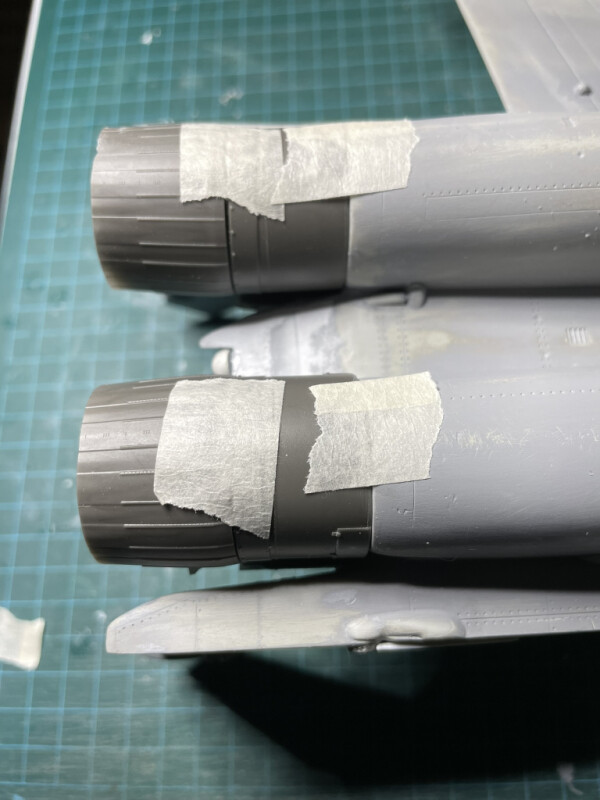
I made new exhaust nozzle fairings as the original kit design would not work with the new RESKIT nozzles. They cover various components, including hydraulic actuators for nozzle control and providing aerodynamic shaping for the nacelle.
Also maing progress on the speed brake / parachute housing./ brake hindge actuators
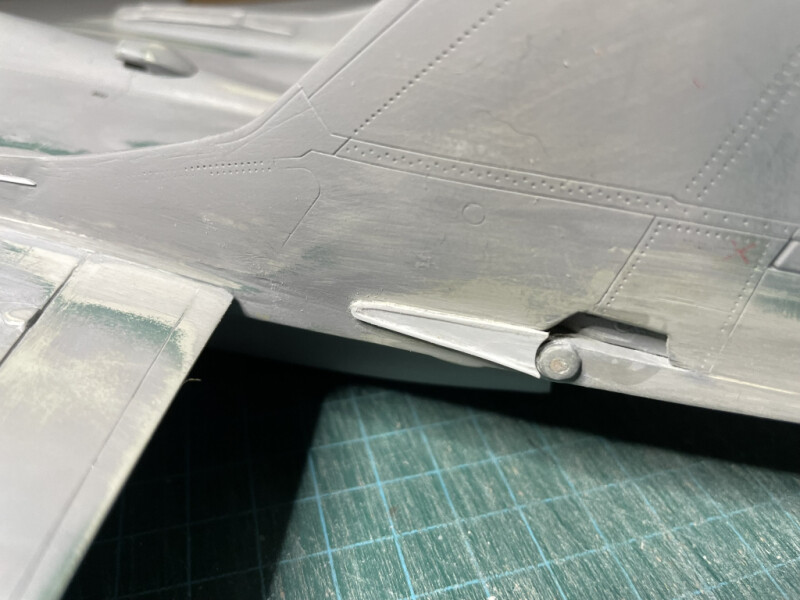
The stabilizers have single pivot point via a roller bearing that is hydraulically operated. There is also a fuselage fairing that provide some aerodynamics to the stabilizers when in level / neutral position.
These broke off a couple of times and I didn’t put much care into how they were reattached so I have made new bearings and fairings (holes to be made in the bearings for attachment via plastic rods later).
I reprofiled the flare dispensors, the originals were too wide and had no covers. Close as I could get without burning through the plastic. Covers and some details added.
The ‘hump’ down the center of the upper and lower speed brake panels now added and smoothed out (to clear the parachute cylinder underneath). New top actuator hindges made for the upper brake panel. Bottom ones are decent as is.
Other than some panel lines and rivits to be added in this area, the conversion to accomidate the new exaust nozzles is complete.
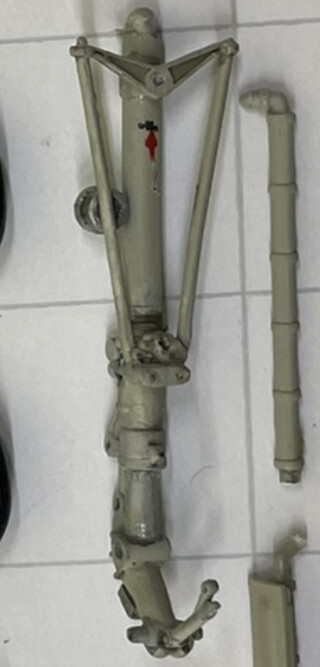
It took a lot of gentle persuasion but every part came off with no damage and the mounting holes clean. I used expoxy back in the day, which over 30+ years had become brittle enough.
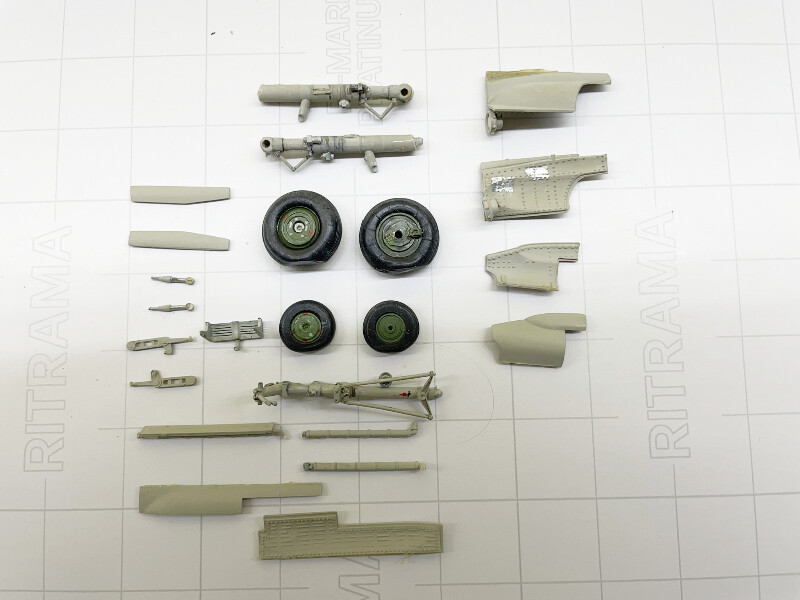
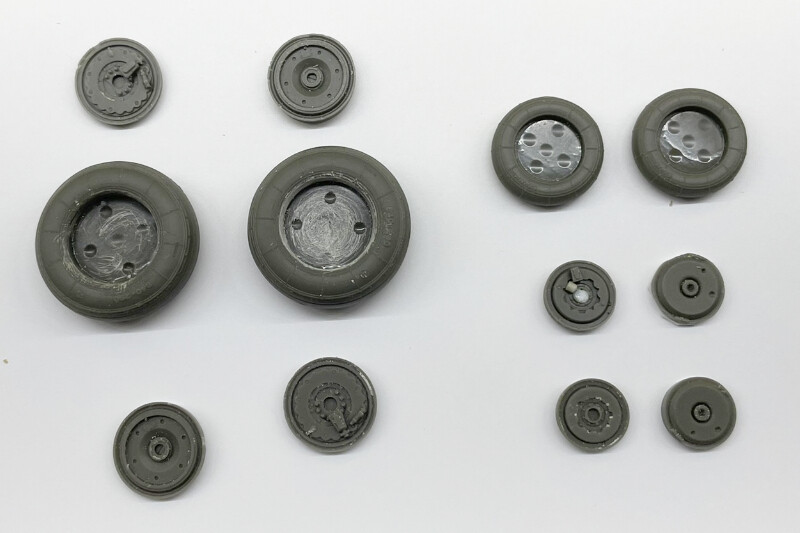
Will be adding new details, paint etc and resin aftermarket wheels/tires which look much better, more accurate.
Detailed the main gear with the various hydraulic hook up points and a bit of detail on the torque links.
Next will be painting the gear first, then make the hydraulic harnesses / lines. I will attach them separately which will be detailed and painted to get a better result. Same will apply to the nose gear.
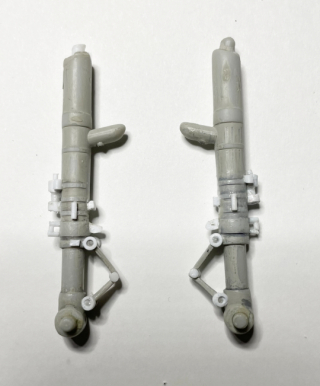
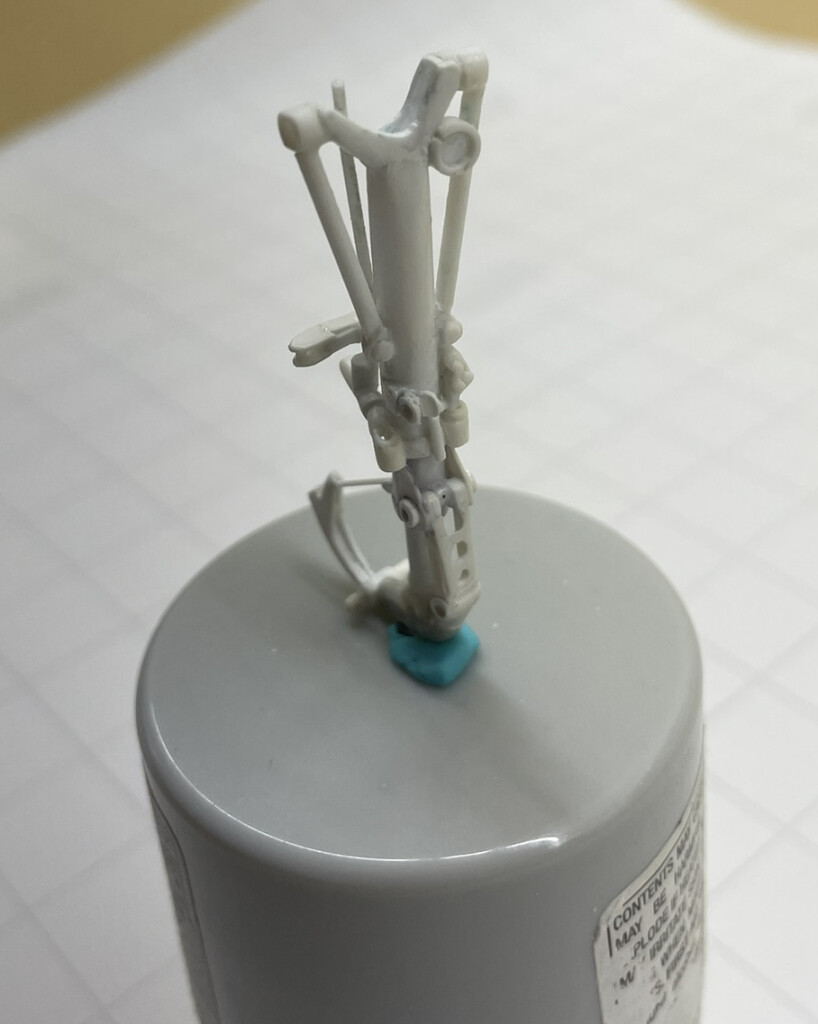
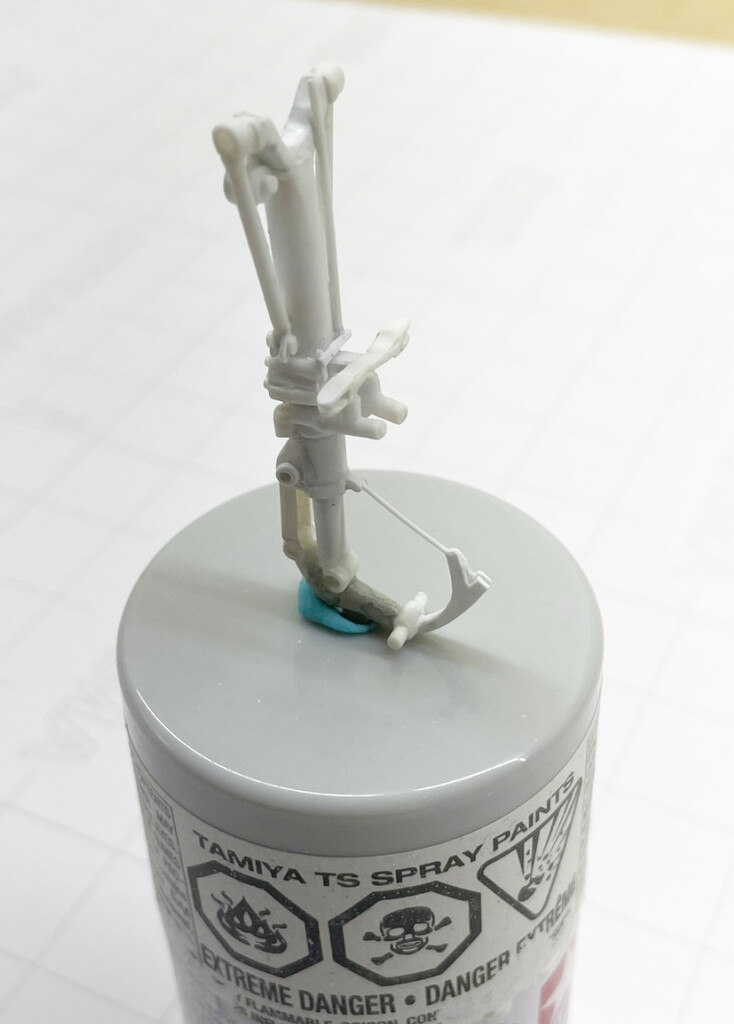
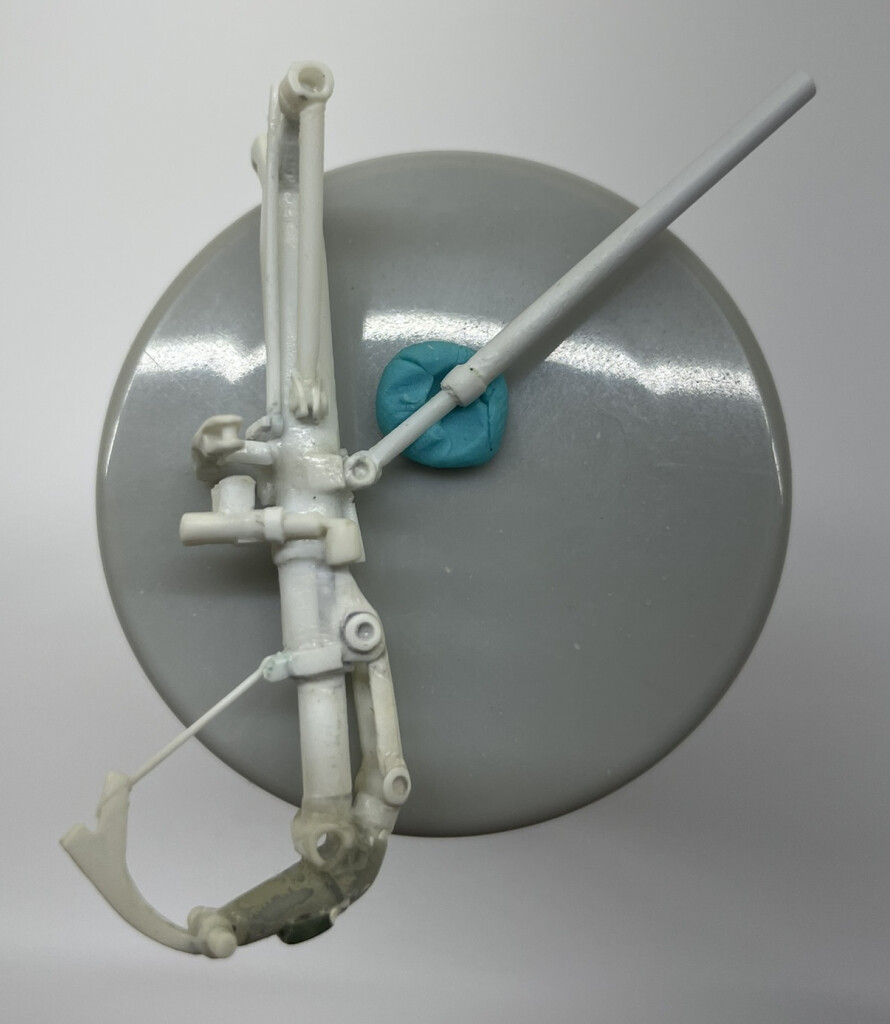
I started to detail the nose gear but soon found that it was too small and nothing made sense with respect to the details Revell made.
So will be making the gear from scratch with great photo references. Hydraulic harnesses / lines will be applied separately, detailed and painted as I did for the main gears.
There is a lot of quality work being done here. I’m enjoying your renovation log. Regarding your avatar, you must be a fan of Rush! I am too! Keep up the good work on this Mig.
Finally got some time to get back on this project! Nose gear was next on the list, the Revell gear was rough so not much to salvage from it. Lots of tubes and rods make up a gear, I could have fooled around with this a LOT more but I’m happy with it. Hydraulic, electrical lines and paint next.