Looks like the Panther build that I have been on since April of last year is in the final stages of completion and I’m moving at a snail’s pace on it trying to get everything done as good as possible after spending so much time on it. With that being said, I wanted to venture back into familiar territory with an automotive build that I can use a bit of artistic license on and still get this done in a 3–5-month time span.
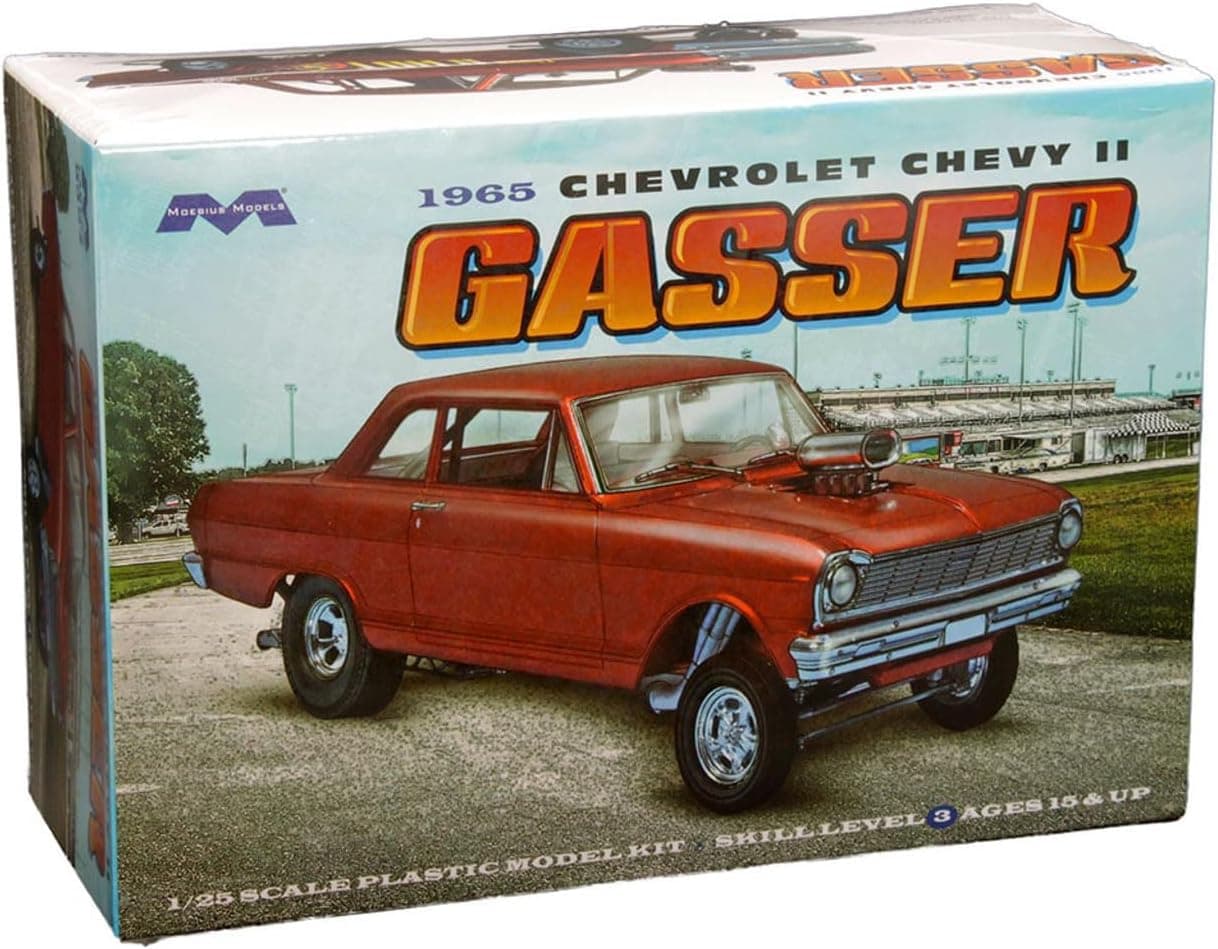
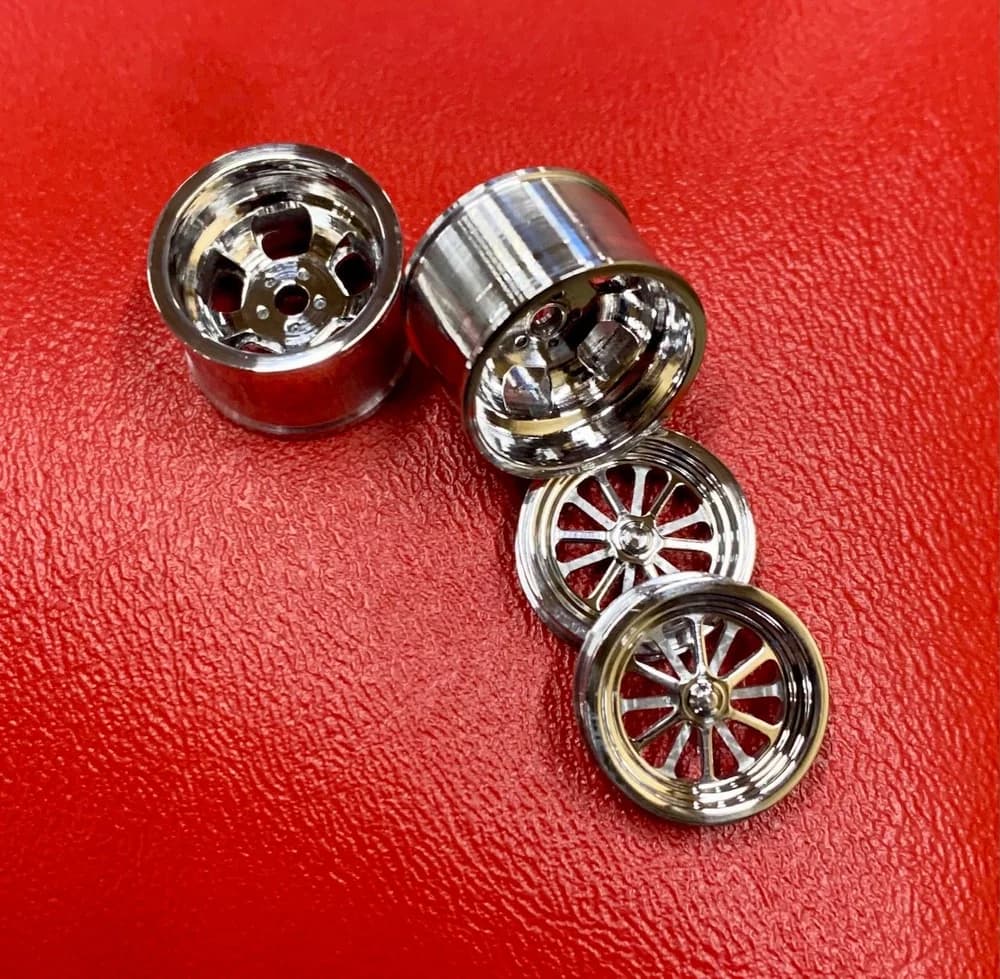
I chose this kit because it’s got a little history. I built this kit…er actually…it was my cousins kit that he got for Christmas when I was 12 our so. Needless to say he wasn’t very happy that I built it with no paint and pretty much assembled in around an hour or so…and it looked it. lol. We’ve always gotten along well so it ended up being water under the bridge for him and we moved on. I plan on building this kit in the maroon color scheme that you’ll see on the box top but adding a good set of wheels and tires to replace the anemic wheels in the kit. I think I have got the choice down and will post up pictures when I have the wheels. I will be spending some bucks on a good set of aluminum wheels for it to set everything on this car off in a better style. I’ll also be replacing the VERY basic small block Chevrolet in the kit with a dual quad small block Chevrolet and adding a few details along the way. My aim here is to have some good fun and make a decent turn out of this kit from memory lane.
I’ll be building two of these. One my way and the other one OOB for my cousin. Some of the stuff that’s in the box is pretty ridiculous. The radiator is like…wafer thin, engine is minus a good amount of detail and the interior has a full bench seat in it. Crazy.
Okay…I’ve already changed my mind on the 3D printed engine because I don’t want to have to do a whole lot of cutting and modifying. I’ve got an upcoming project that is going to have a lot of that and I don’t want to go over kill here.
We’ll be going with this kit for the engine and a few other goodies:
LOTS of work to do on this kit. Injector pin marks and flash…everywhere. I spent over an hour just cleaning up just the frame . Looks like I’ve got some touch ups to do as far as paint coverage but it’s not a biggie. Some progress so far…
I do like those Moebius kits and the engines are nicely detailed. Good choice for an engine swap, but what happens to the donor kit? I am sure you have a plan.
I might have some plans for using it later on but for now it’s going towards this project. It’ll take me a bit till I figure out what to do with the leftovers of the Chevy II kit.
Got a little further on the frame with the installation of the front and rear axles as well as touched up the missed areas of paint. Also straightened out the warpage on the frame which would’ve resulted in a FO SHO three-wheeler.
The shocks …OMG the SHOCKS!! I spent a good amount of time cleaning up the white ones you see to the left. They looked identical to the chrome ones on the right with all of the distortions, injector pin mark and mold lines. Got some work to do on the chrome ones and then I’ll re-chrome them. Yeesh!!
I managed to get the shocks defined a bit more and re-chromed them after finishing.
And then I did a quick mockup before I forgot to and I’m glad I did. If I left this whole thing how it was as it came from the box, the rear wheel openings would have been resting on the rear tires. Not good. So…I’m going to have to raise the body off of the frame a little bit to get the ride height that I’m after and then re-locate the bumper mounts to put the rear bumper where it’s supposed to be in relation to the body.
This is the ride height/ look that I’m after. BTW…the aluminum wheels from Dancing Bear are now on the way to me.
and now…to start on that small block Chevy motor from the Moebius Nova kit:
Hell yeah! looking good so far bud! Shocks are always the worst, injection marks in between the springs, flashing all the way down, like come on guys, you’re killing me here.
I know right??!! Been a minute since I’ve posted in here but I’ll catch everyone up.
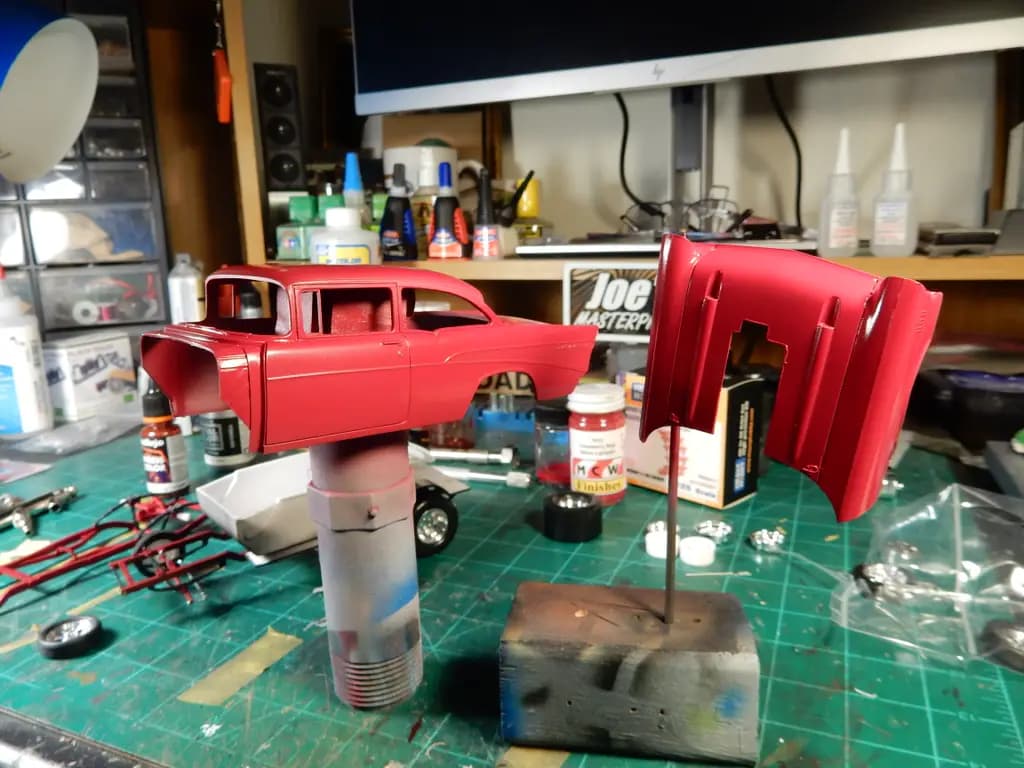
I managed to get a primer coat and color on this car body. I only got one real boo-boo in the whole paint job in the form of a fisheye but I think I’ll be able to smooth that out. LOVE this color.
Next is the engine construction and I’ve gotta say, this Moebius engine from the Nova Gasser kit is VERY well detailed.
I’ve been wanting to build this car with the front wheels turned to the right and I found a way to do it by using the front axle from the Nova kit as well. I’ll be cutting the ends of the axle at the steering pins, drilling holes in the axle and into the hinge pin and inserting a steel pin into both pieces and gluing the two pieces back together.
Ok yall…I was finally able to get some sort of bench time over the last couple of days and have a little bit of progress on both frames.
The frame in the foreground is going to be the OOB version that I’ll be building for my cousin. To say that there is a TON of clean up and work to be done to get just this far with his frame being OOB is simply a gross understatement. I just can’t begin to tell you guys how much work is involved between the clean-up, making parts like shocks look like shocks instead of the blob looking pieces of left over sprue that they started out as and then finally to get the chrome parts cleaned up to a presentable state and then re-chroming them.
All that aside…we are indeed…getting there.
The frame in the background is the one that’s getting a lot more lovin’ starting with the replacement of the OOB parts with an axle and leaf springs from the Moebius Nova Gasser kit. I’ve cut the ends of the axle to display the front wheels cut to the right and will be adding disc brakes up front. My aluminum rear slot and front 12 spoke wheels should be coming in the mail this week as well. I was able to raise the rear axle up so that both rear tires will now not be touching the wheel openings, so I won’t have to get all fancy with figuring out how to fit the rear bumper.