Morning Volt *Finished*

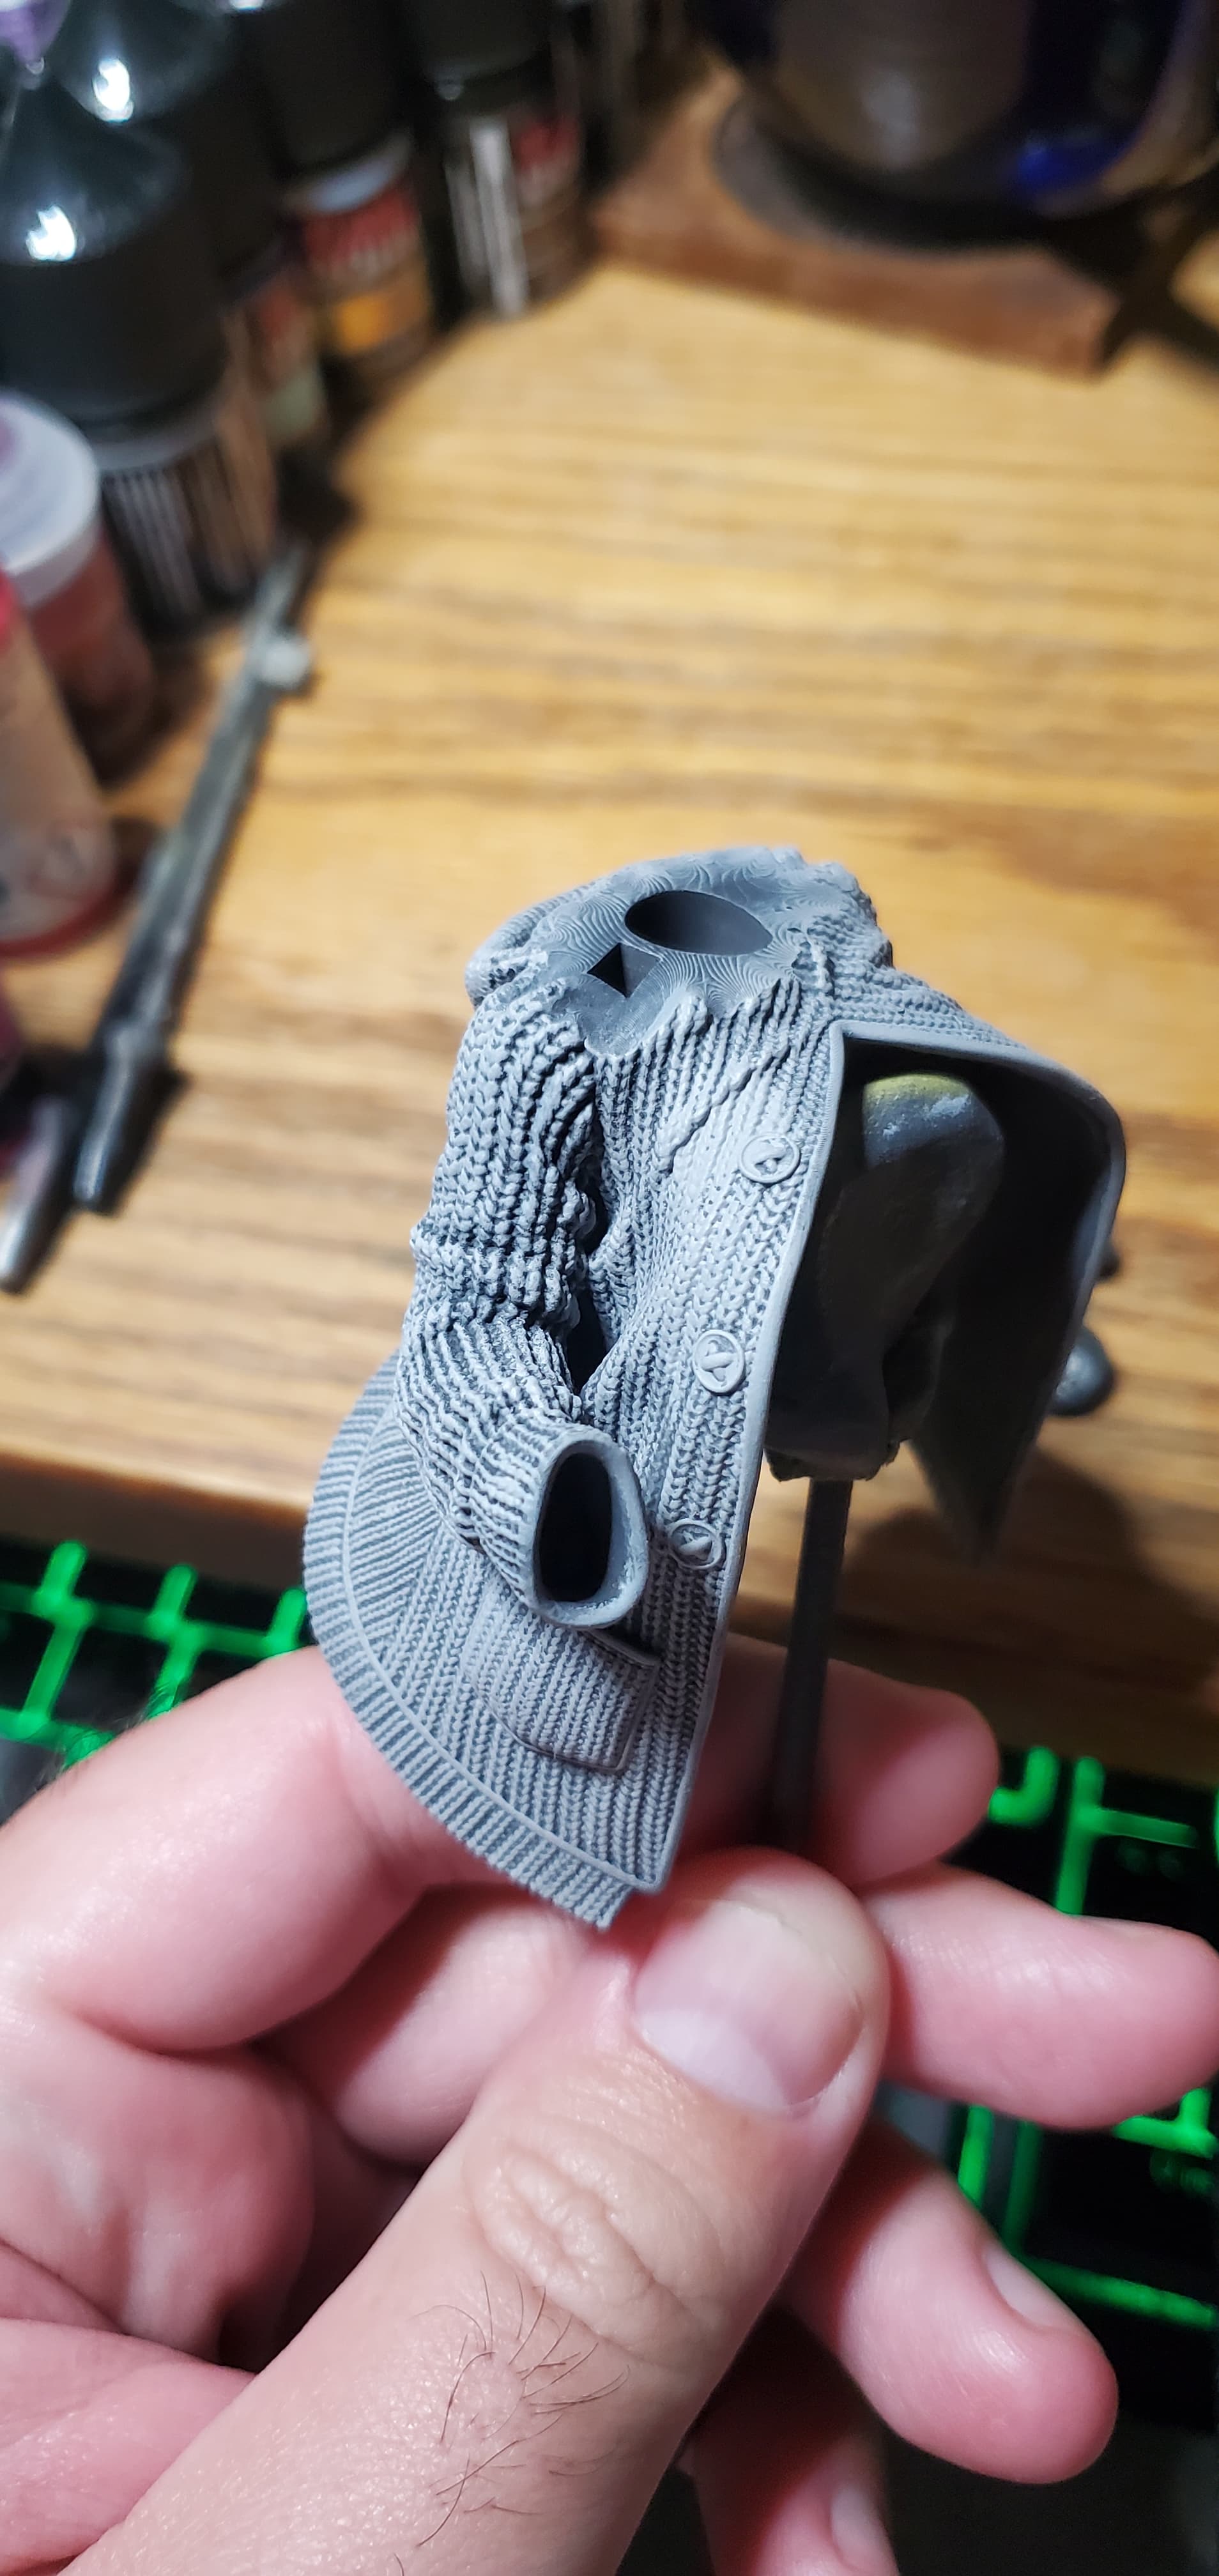
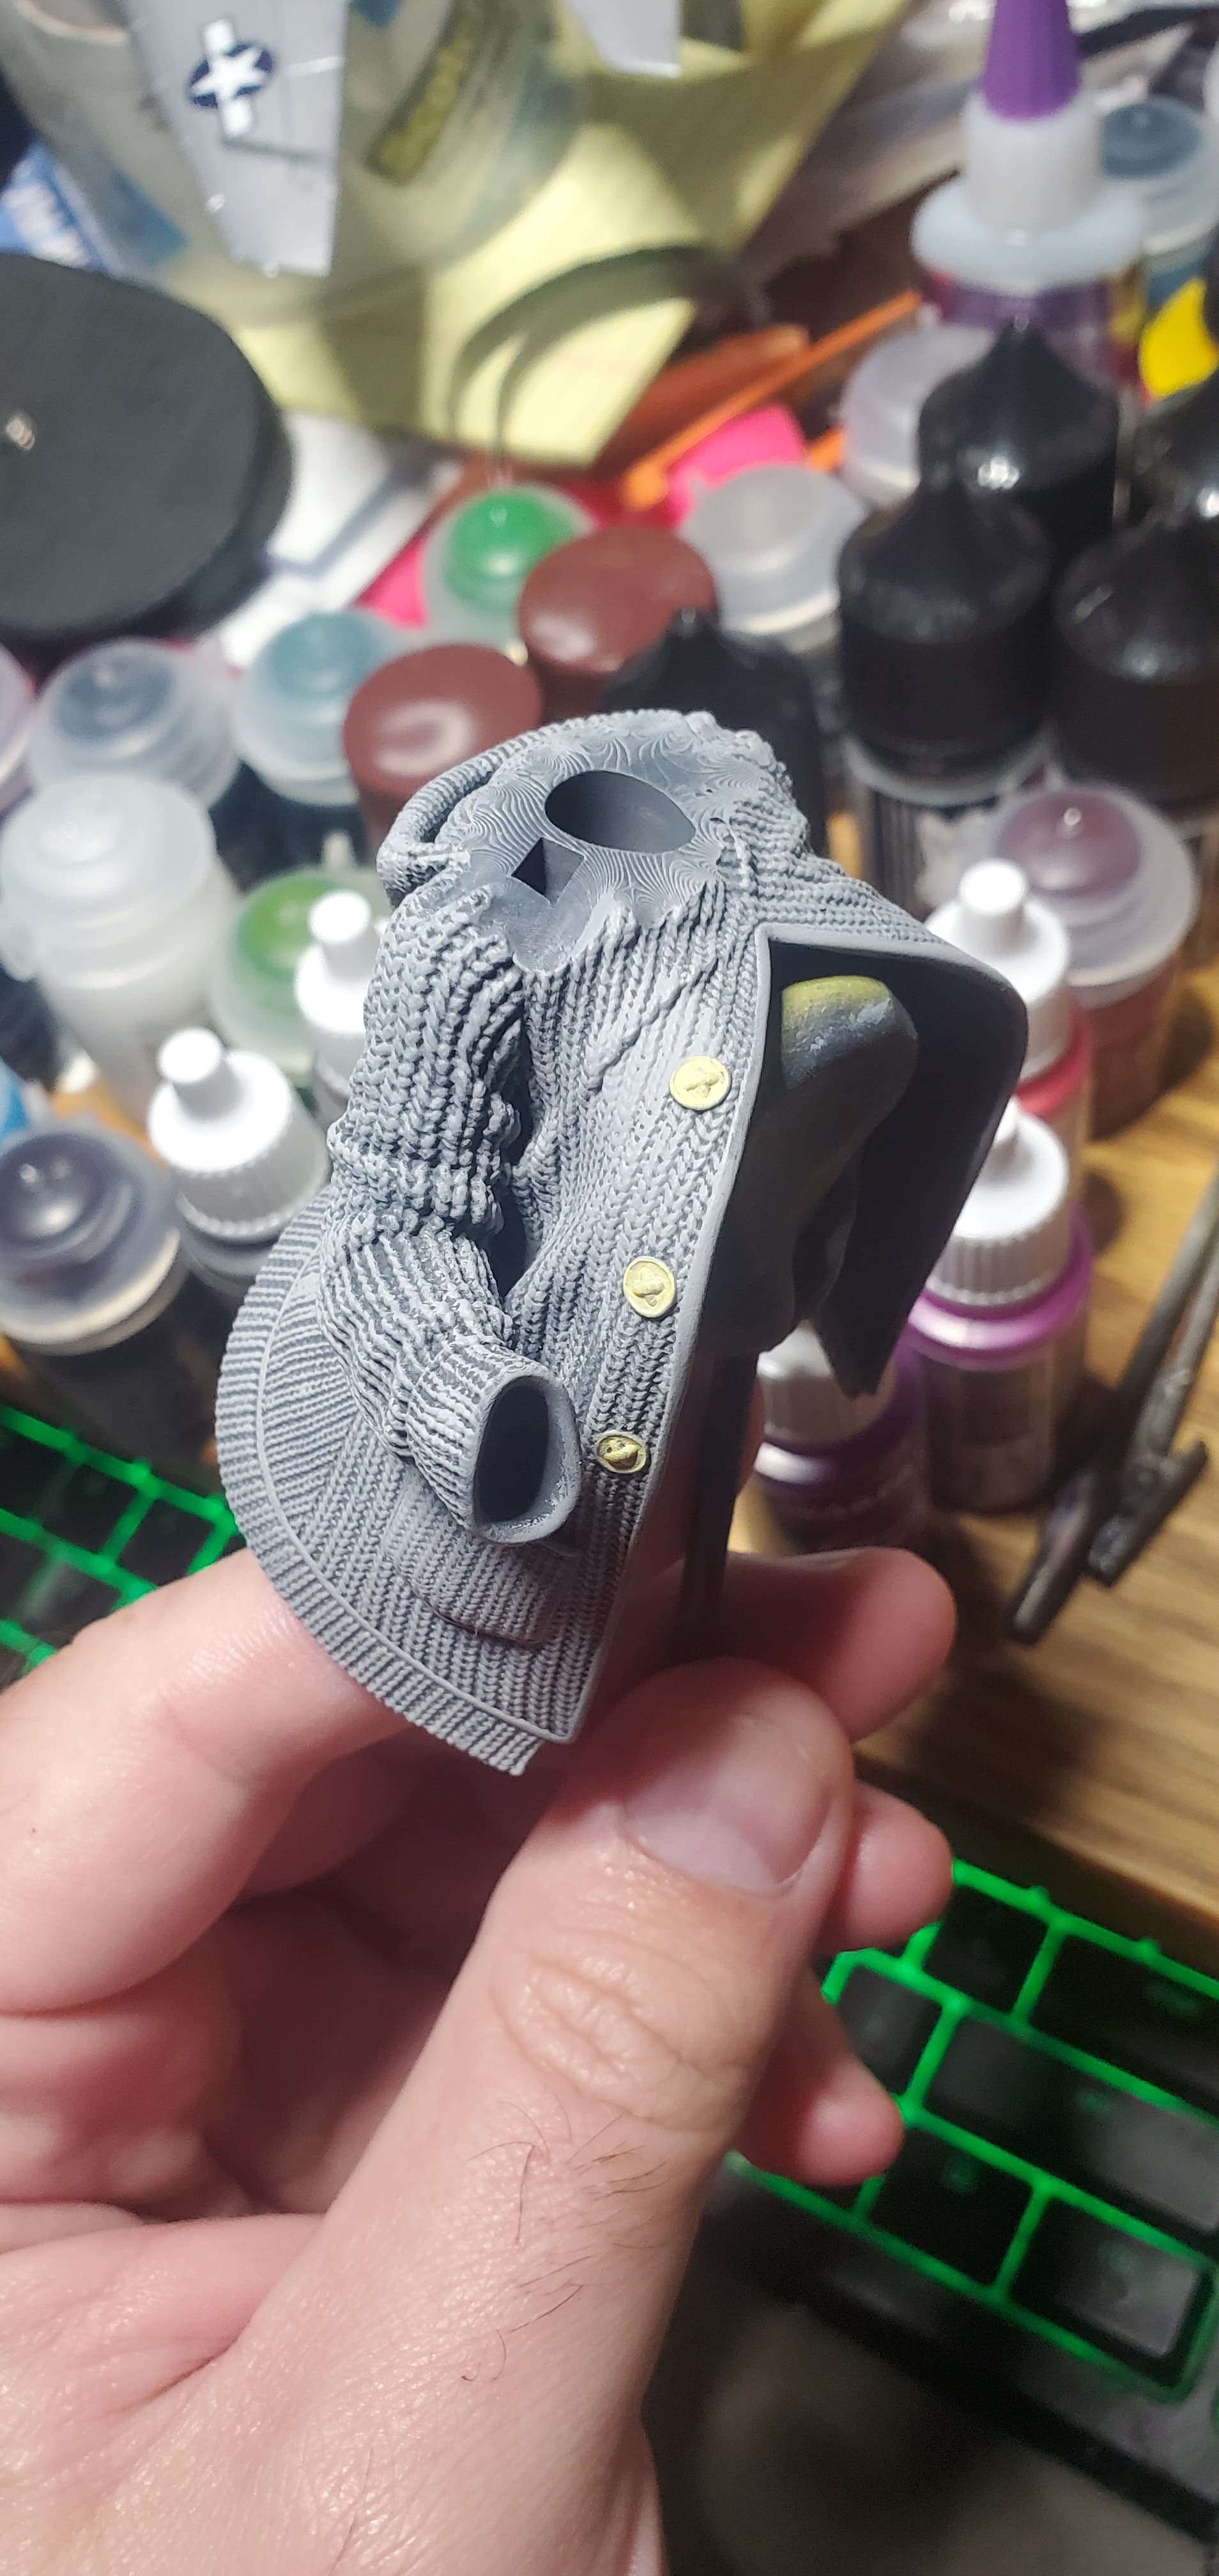
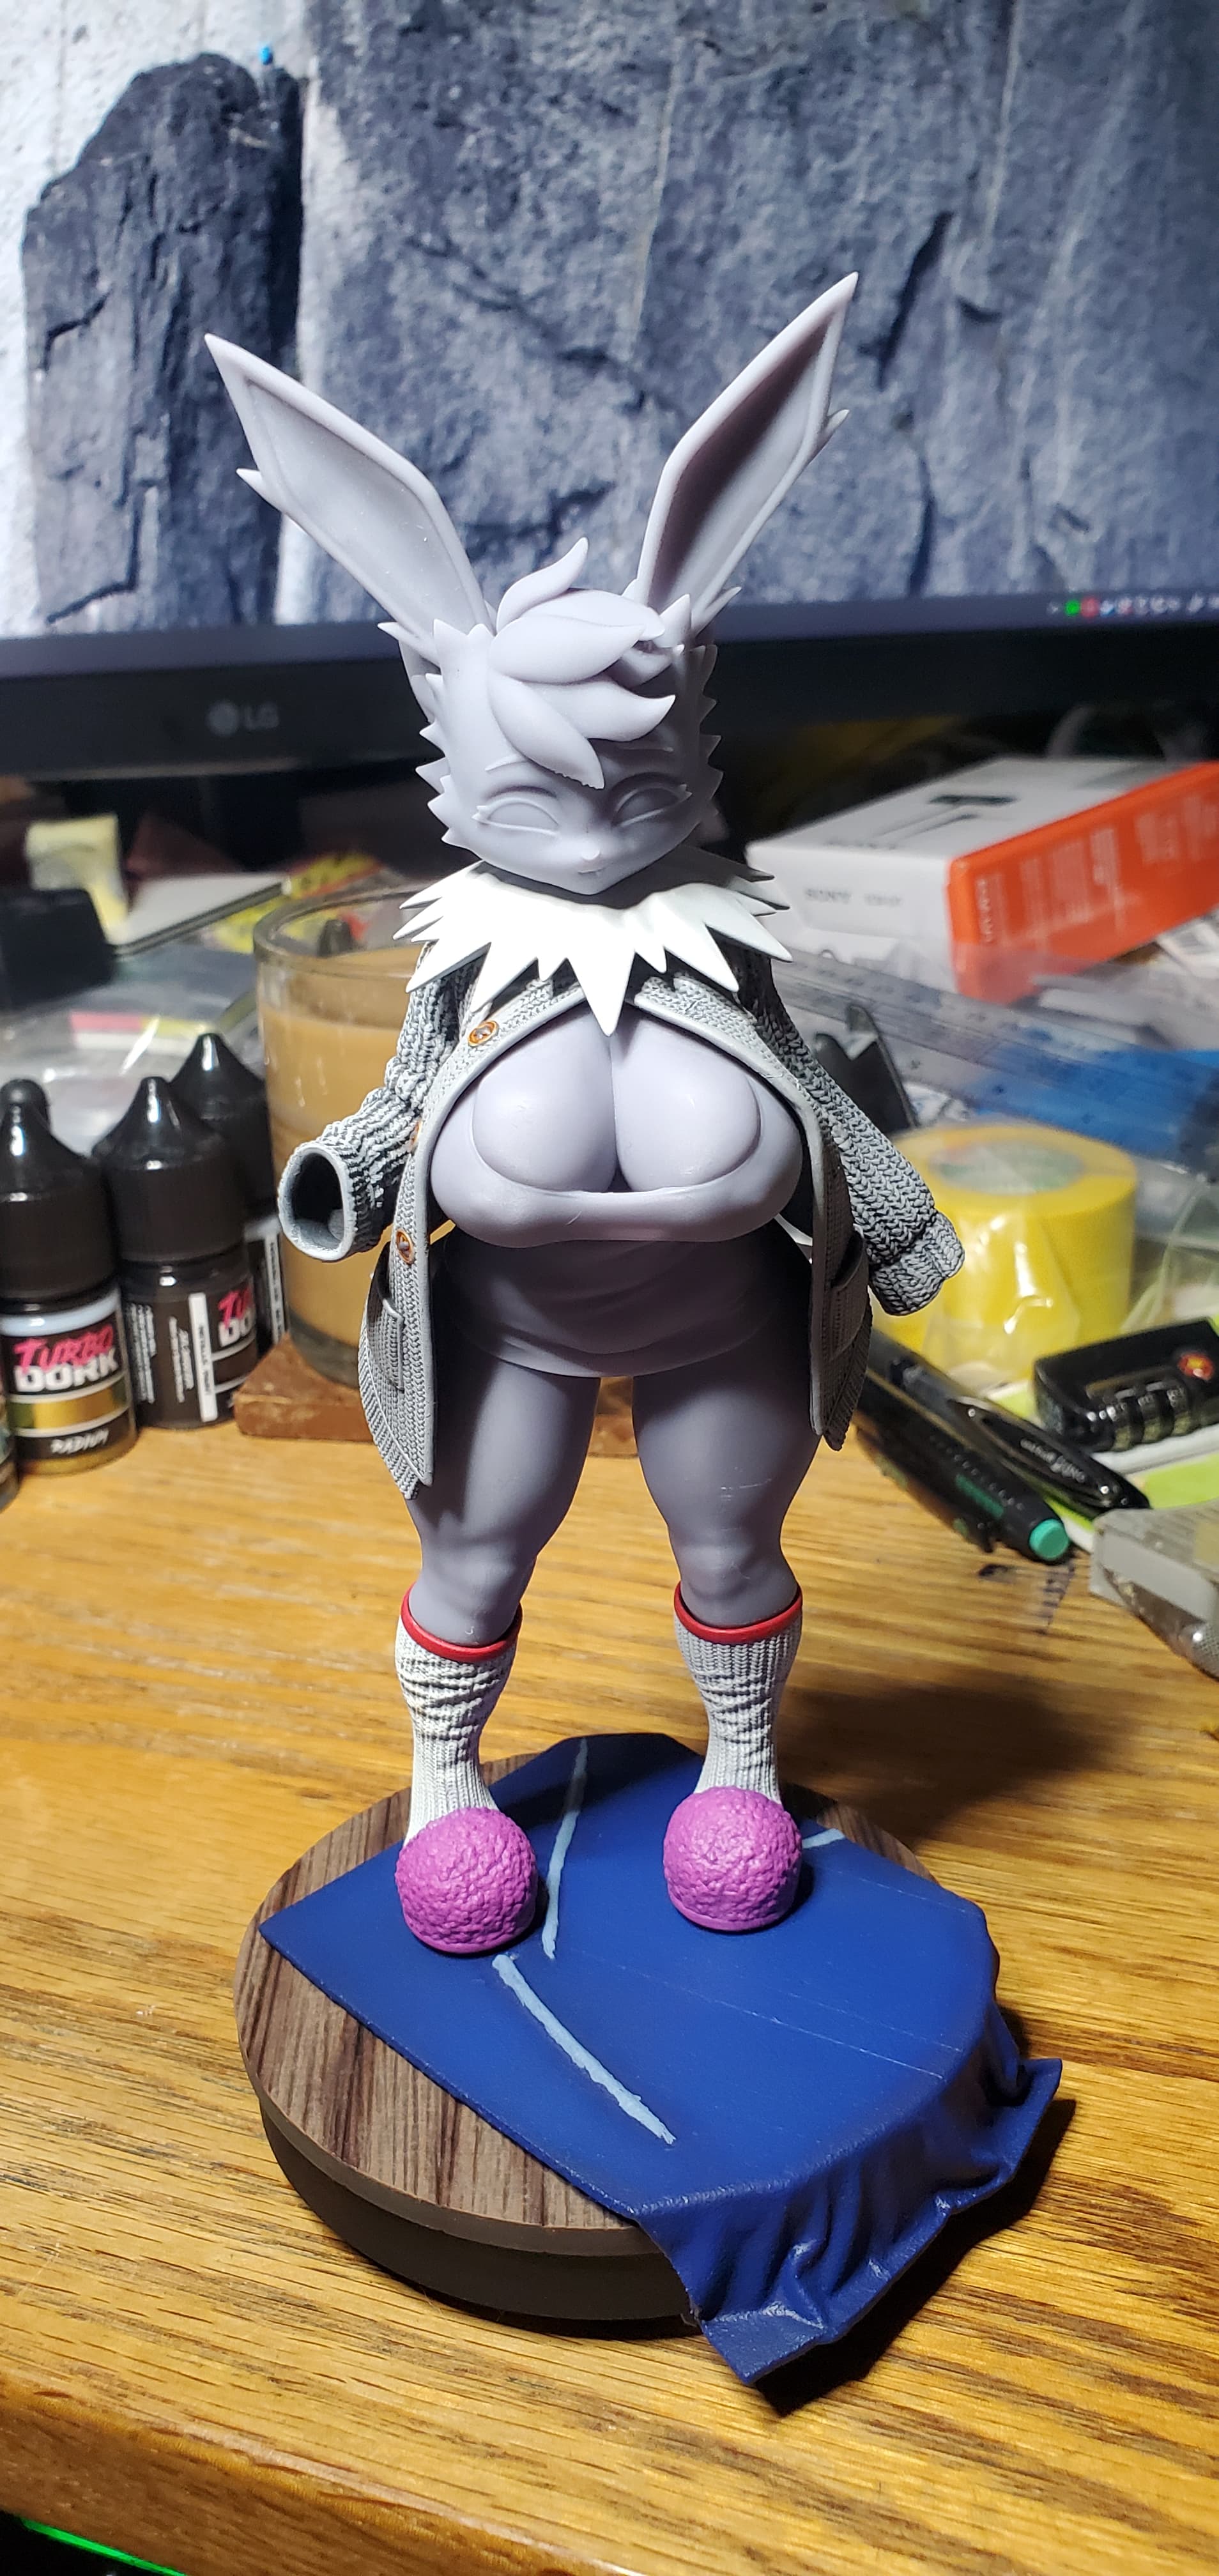
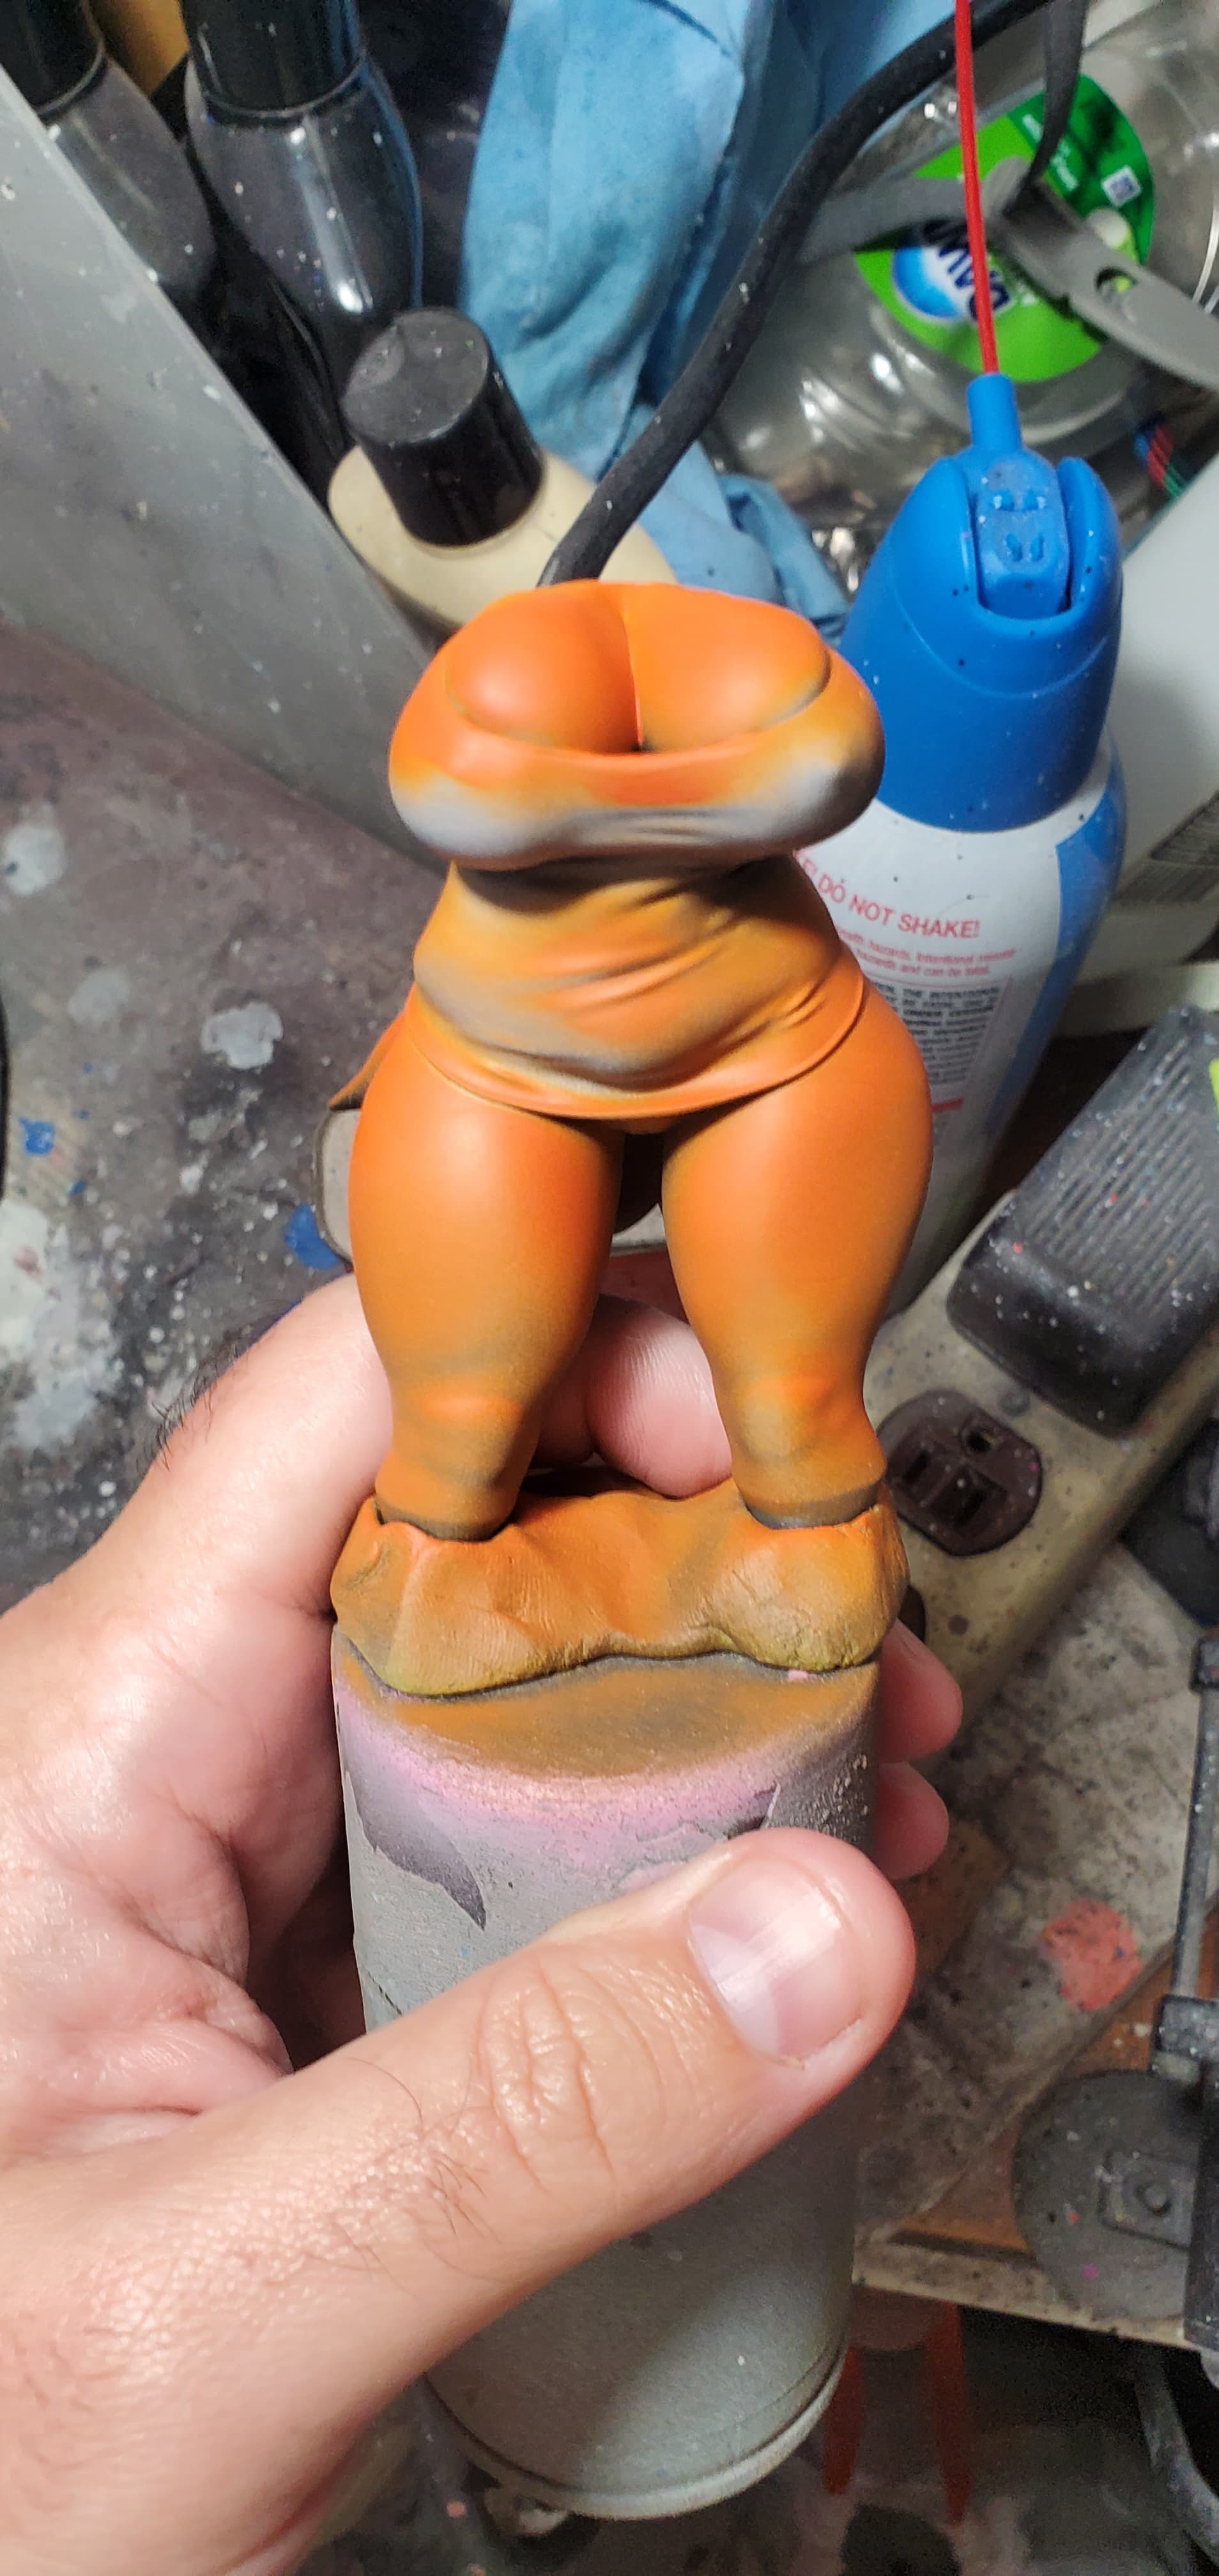
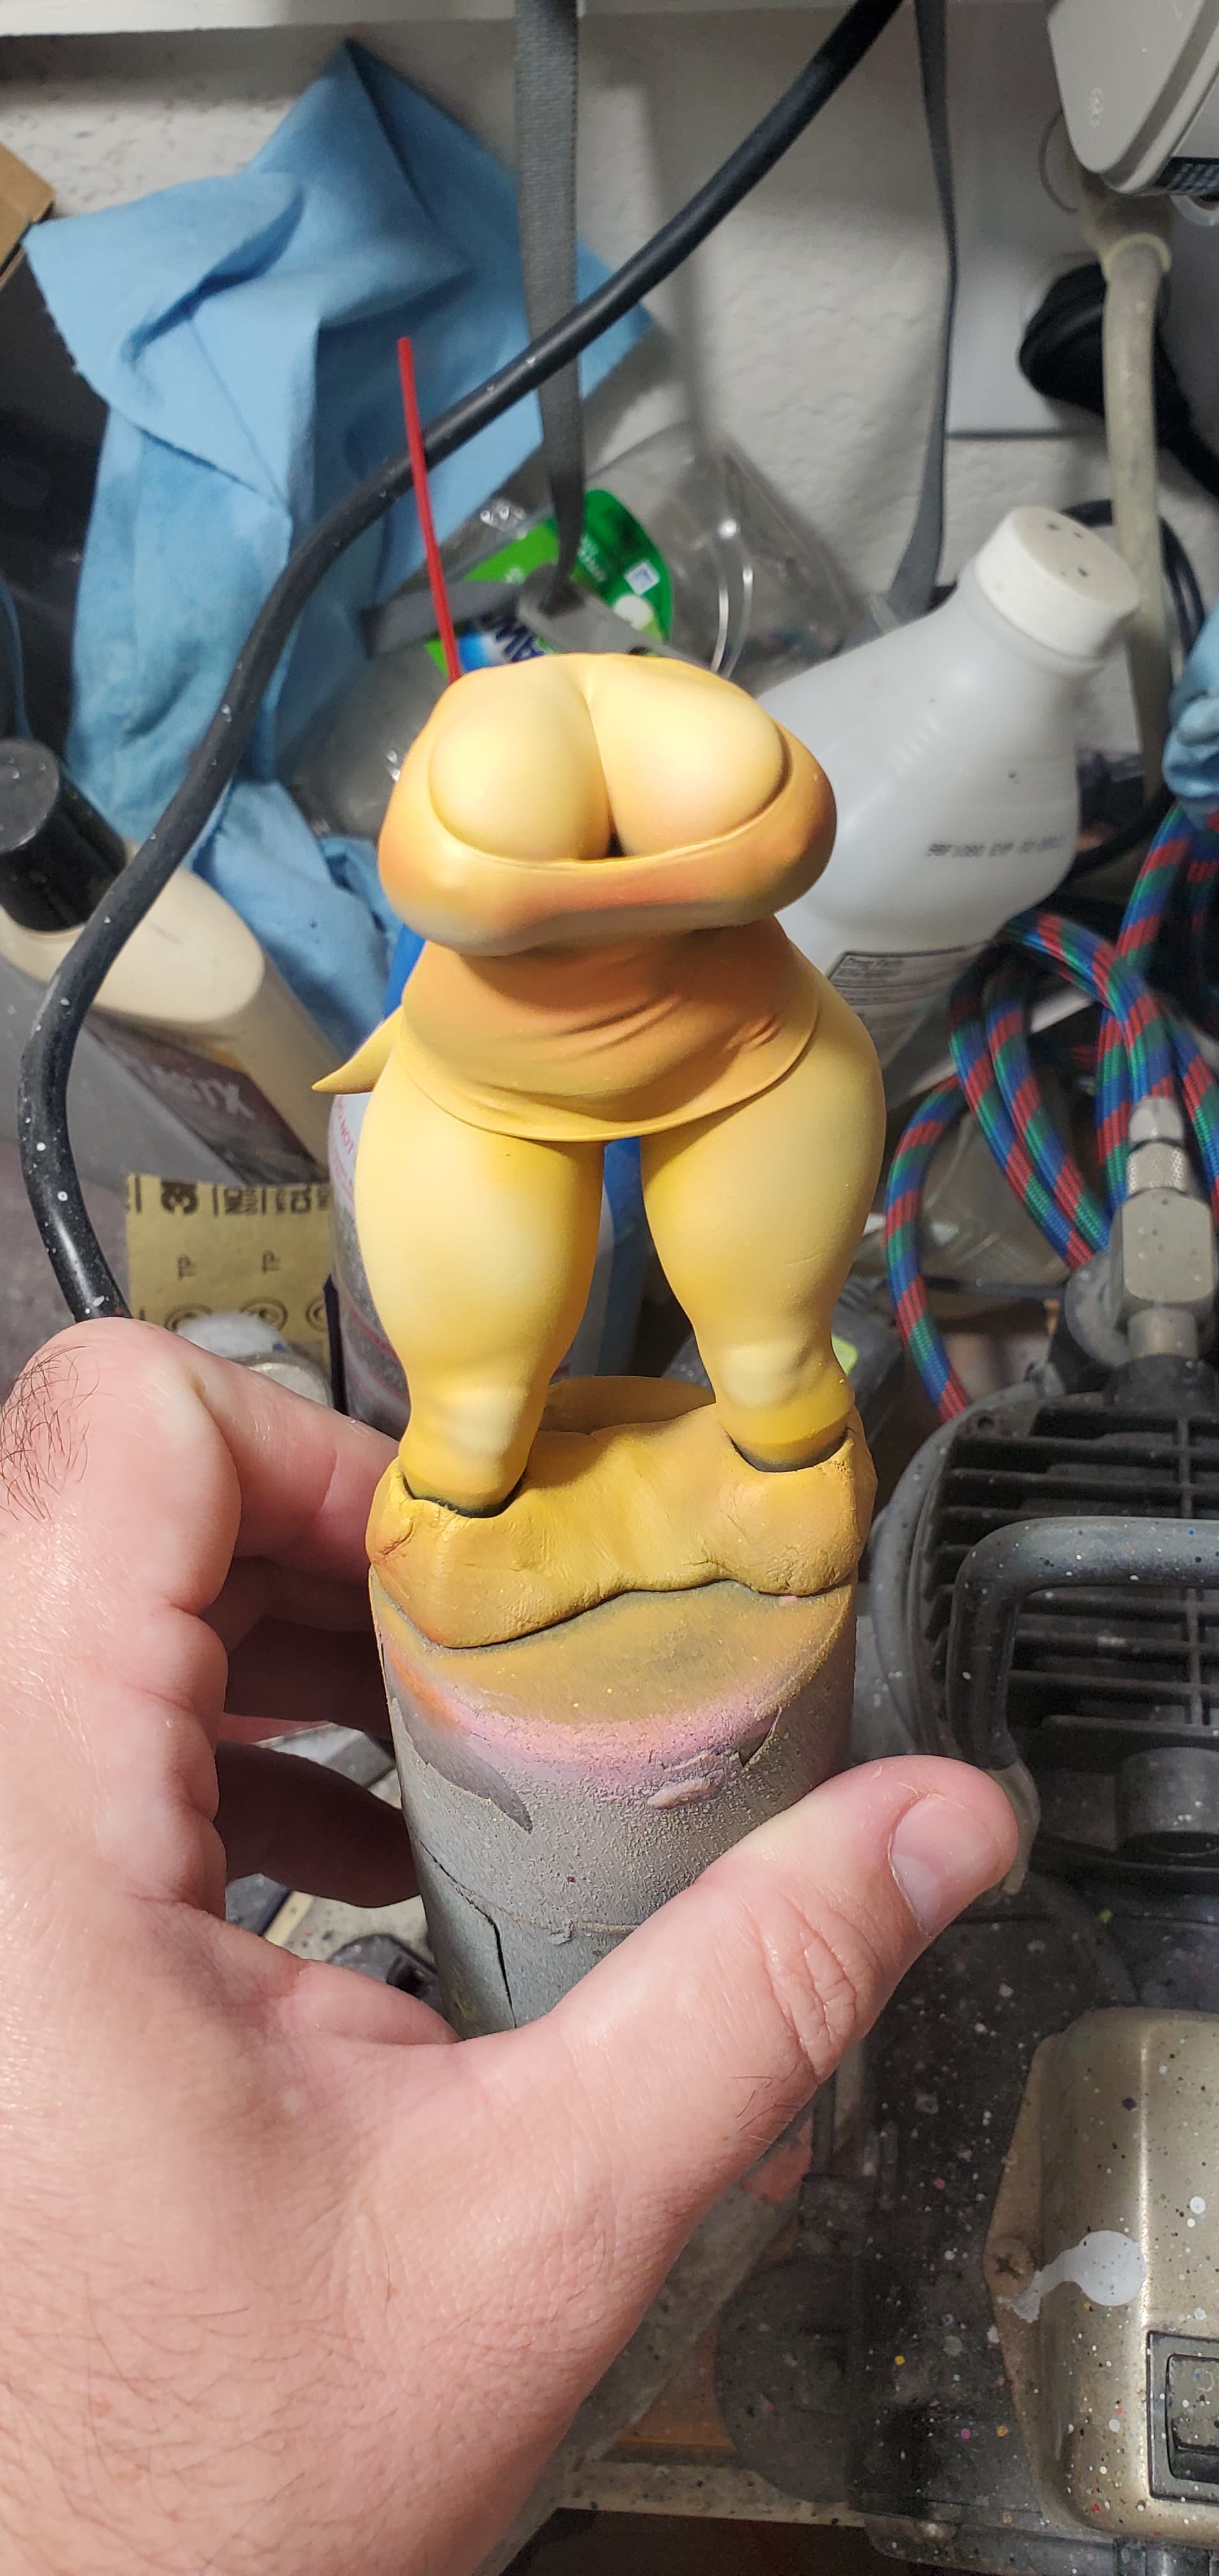
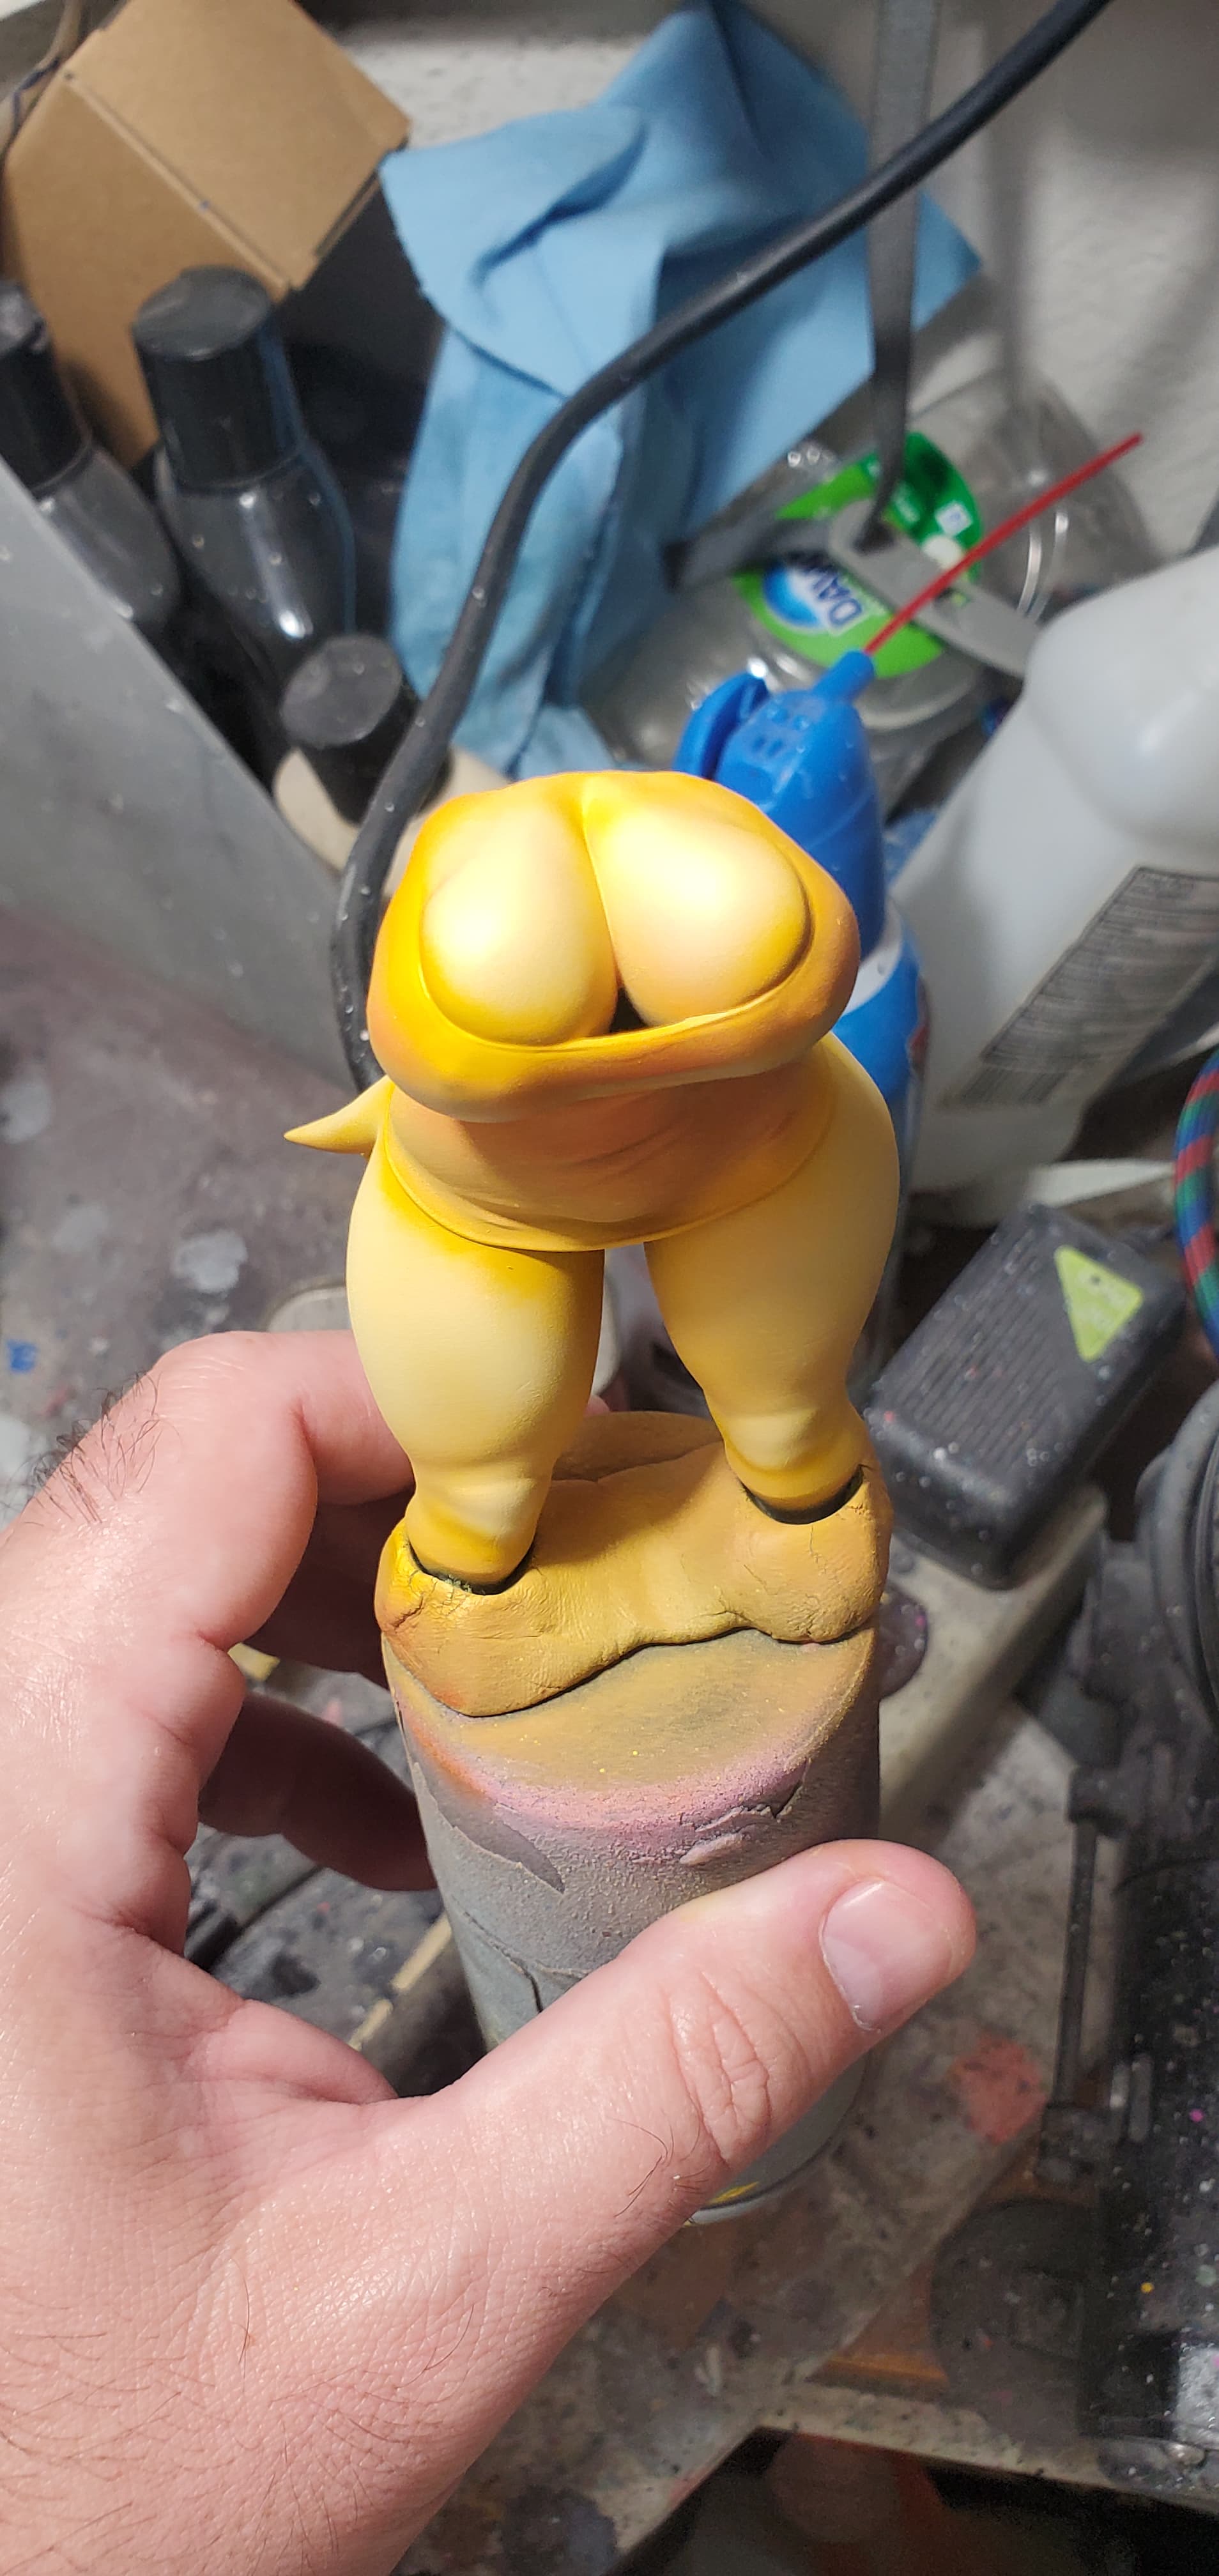
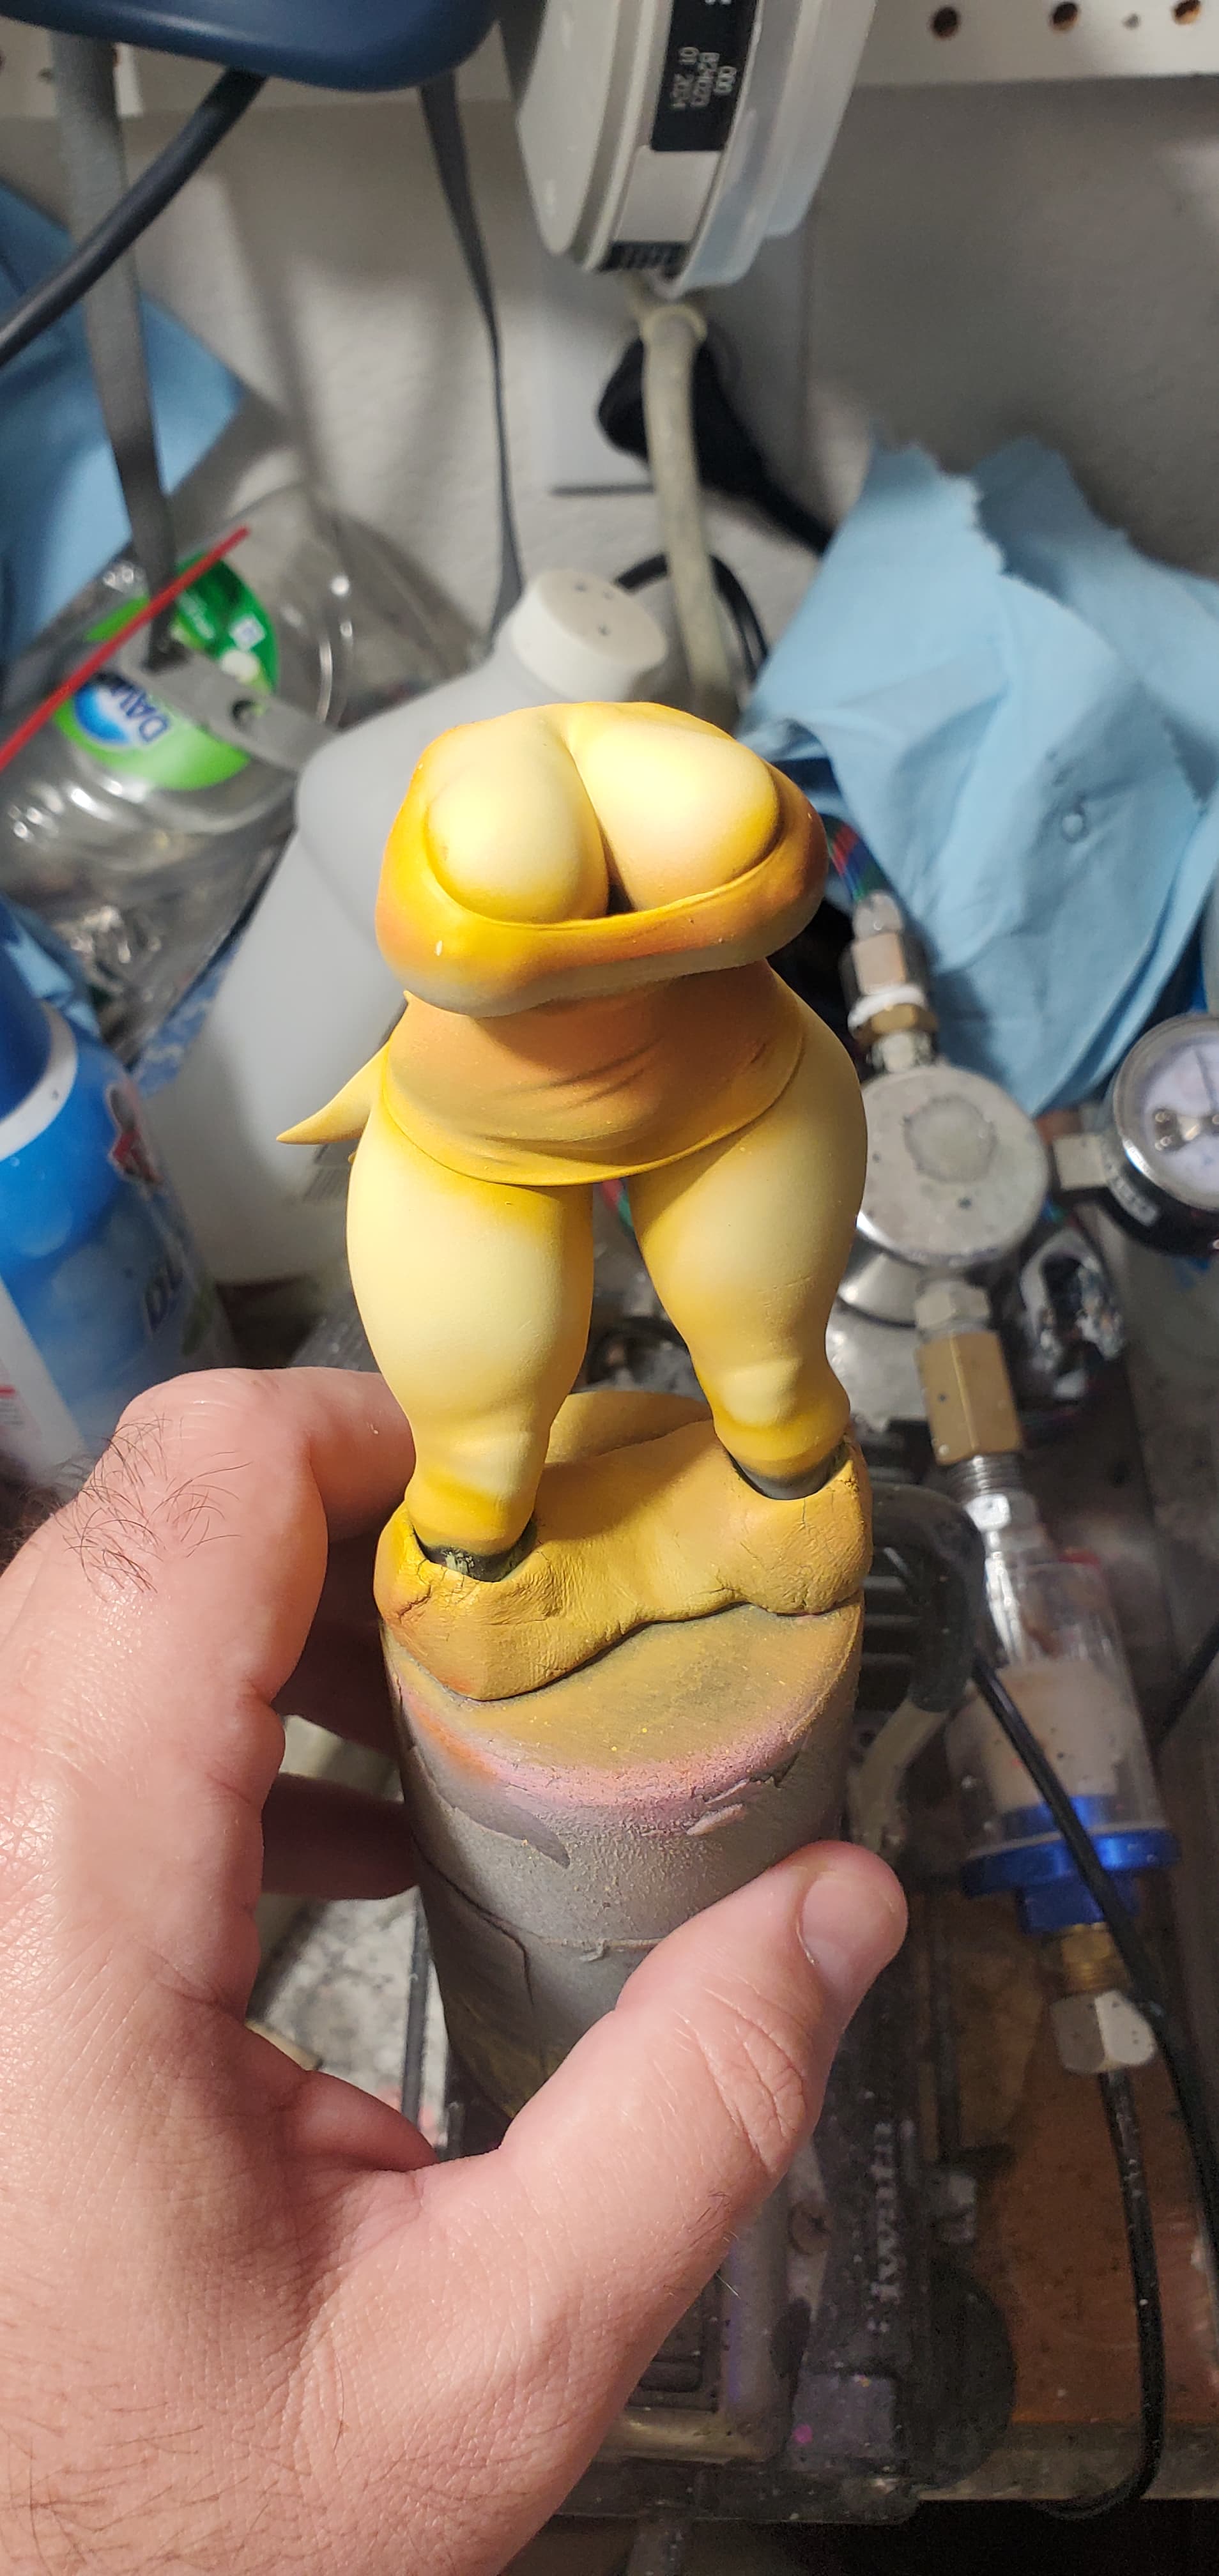
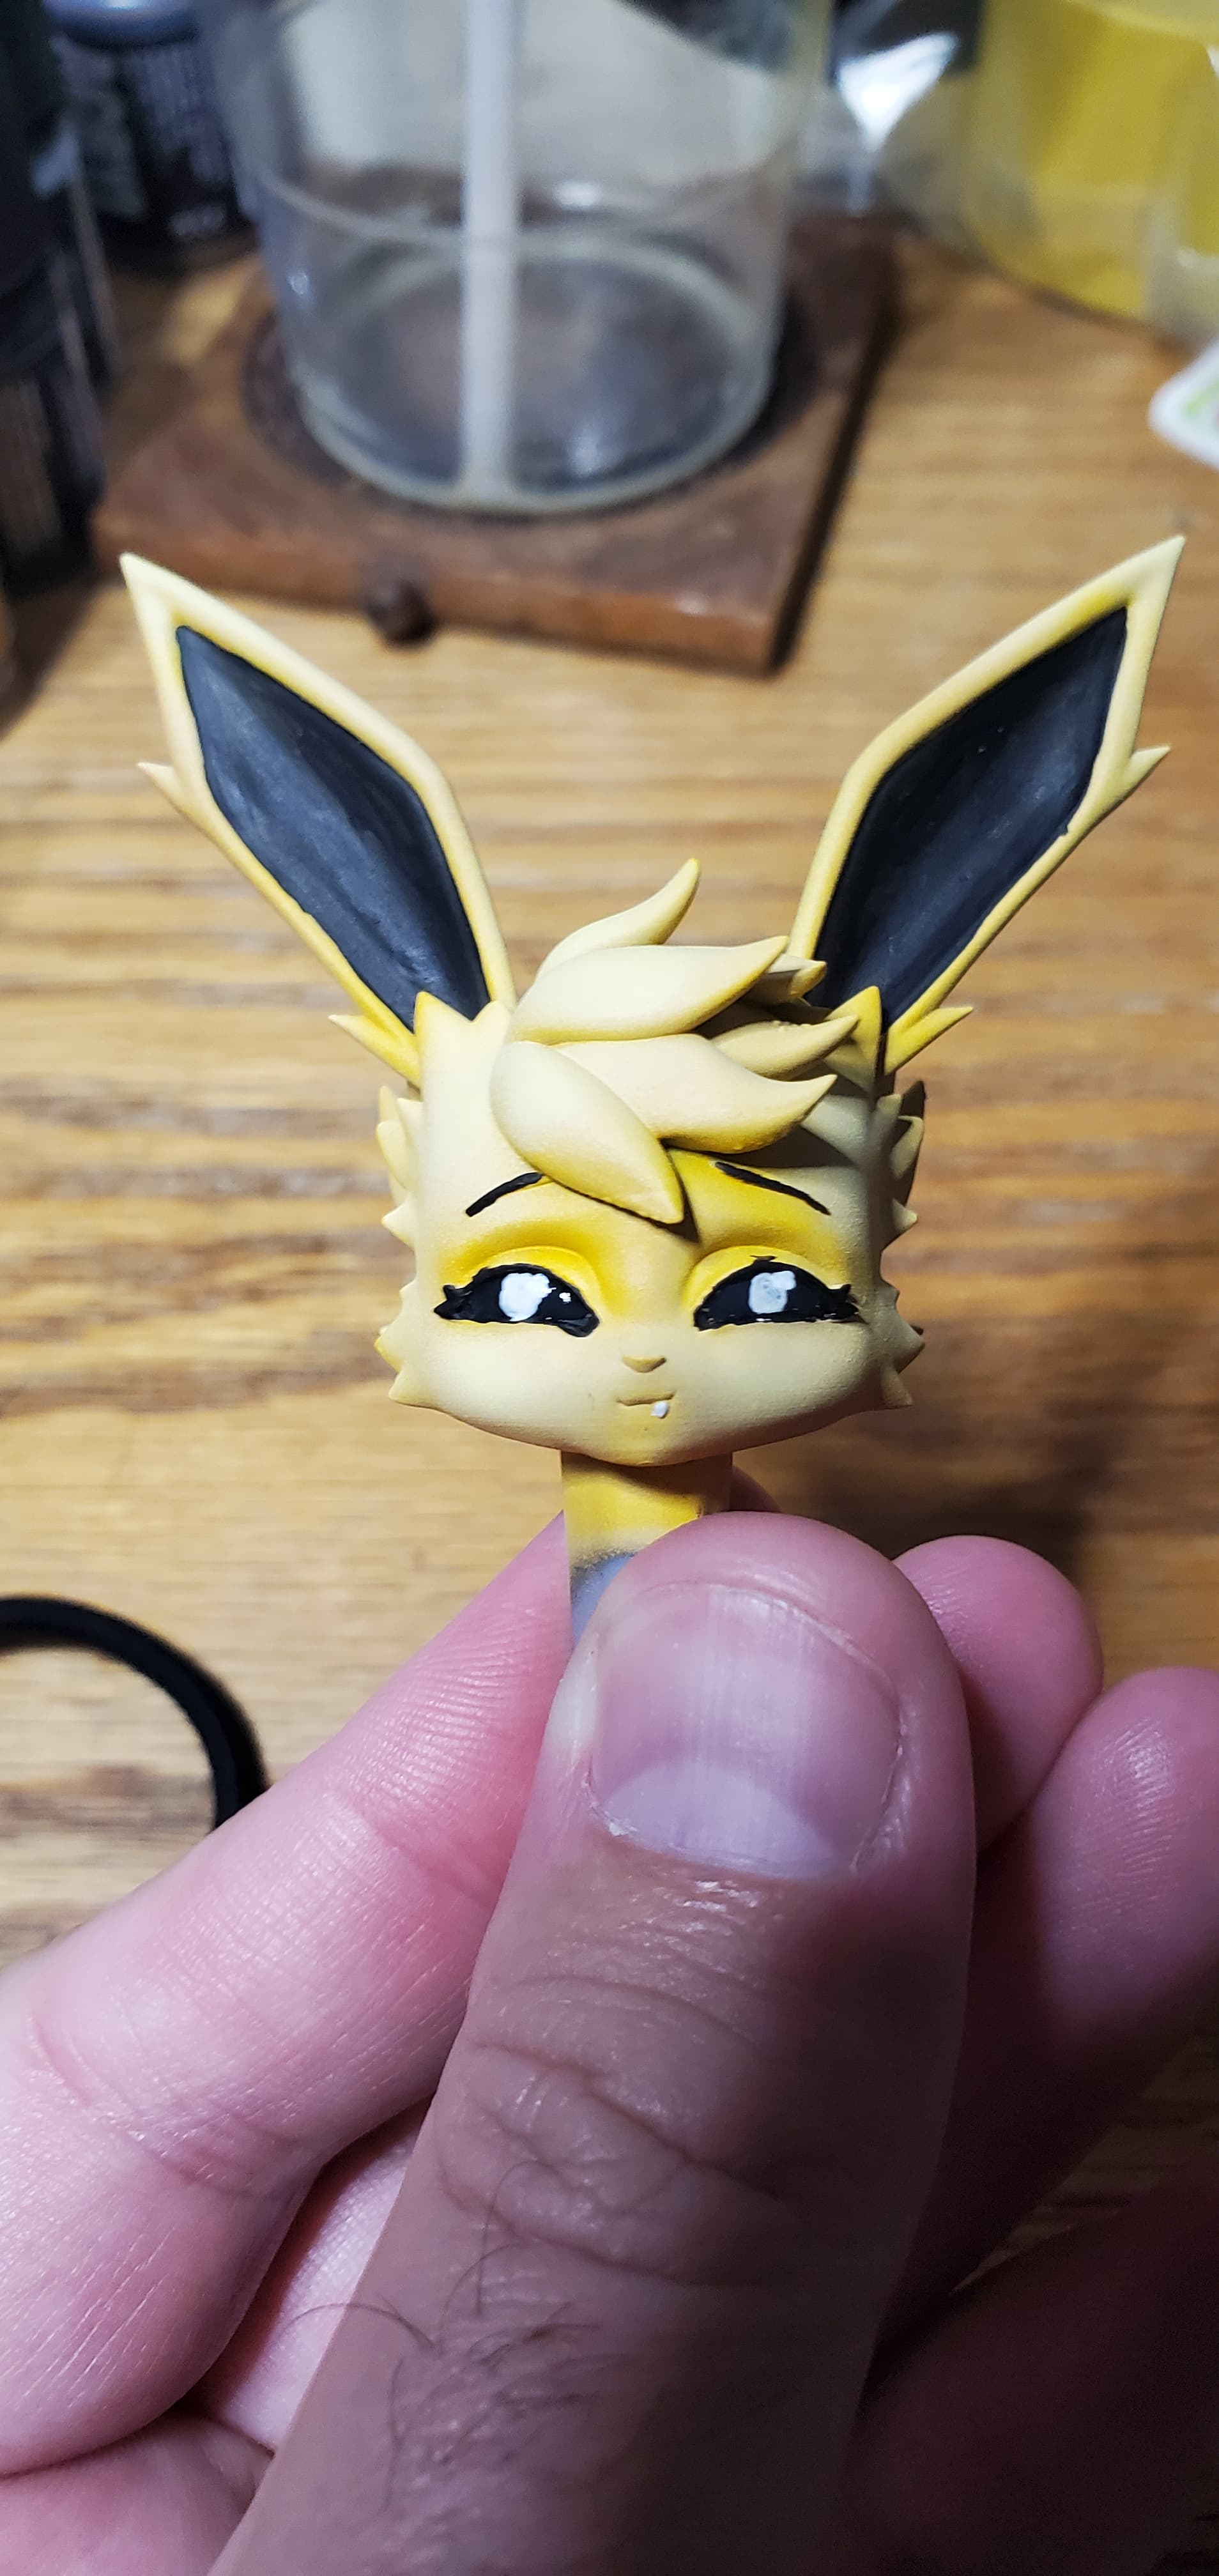
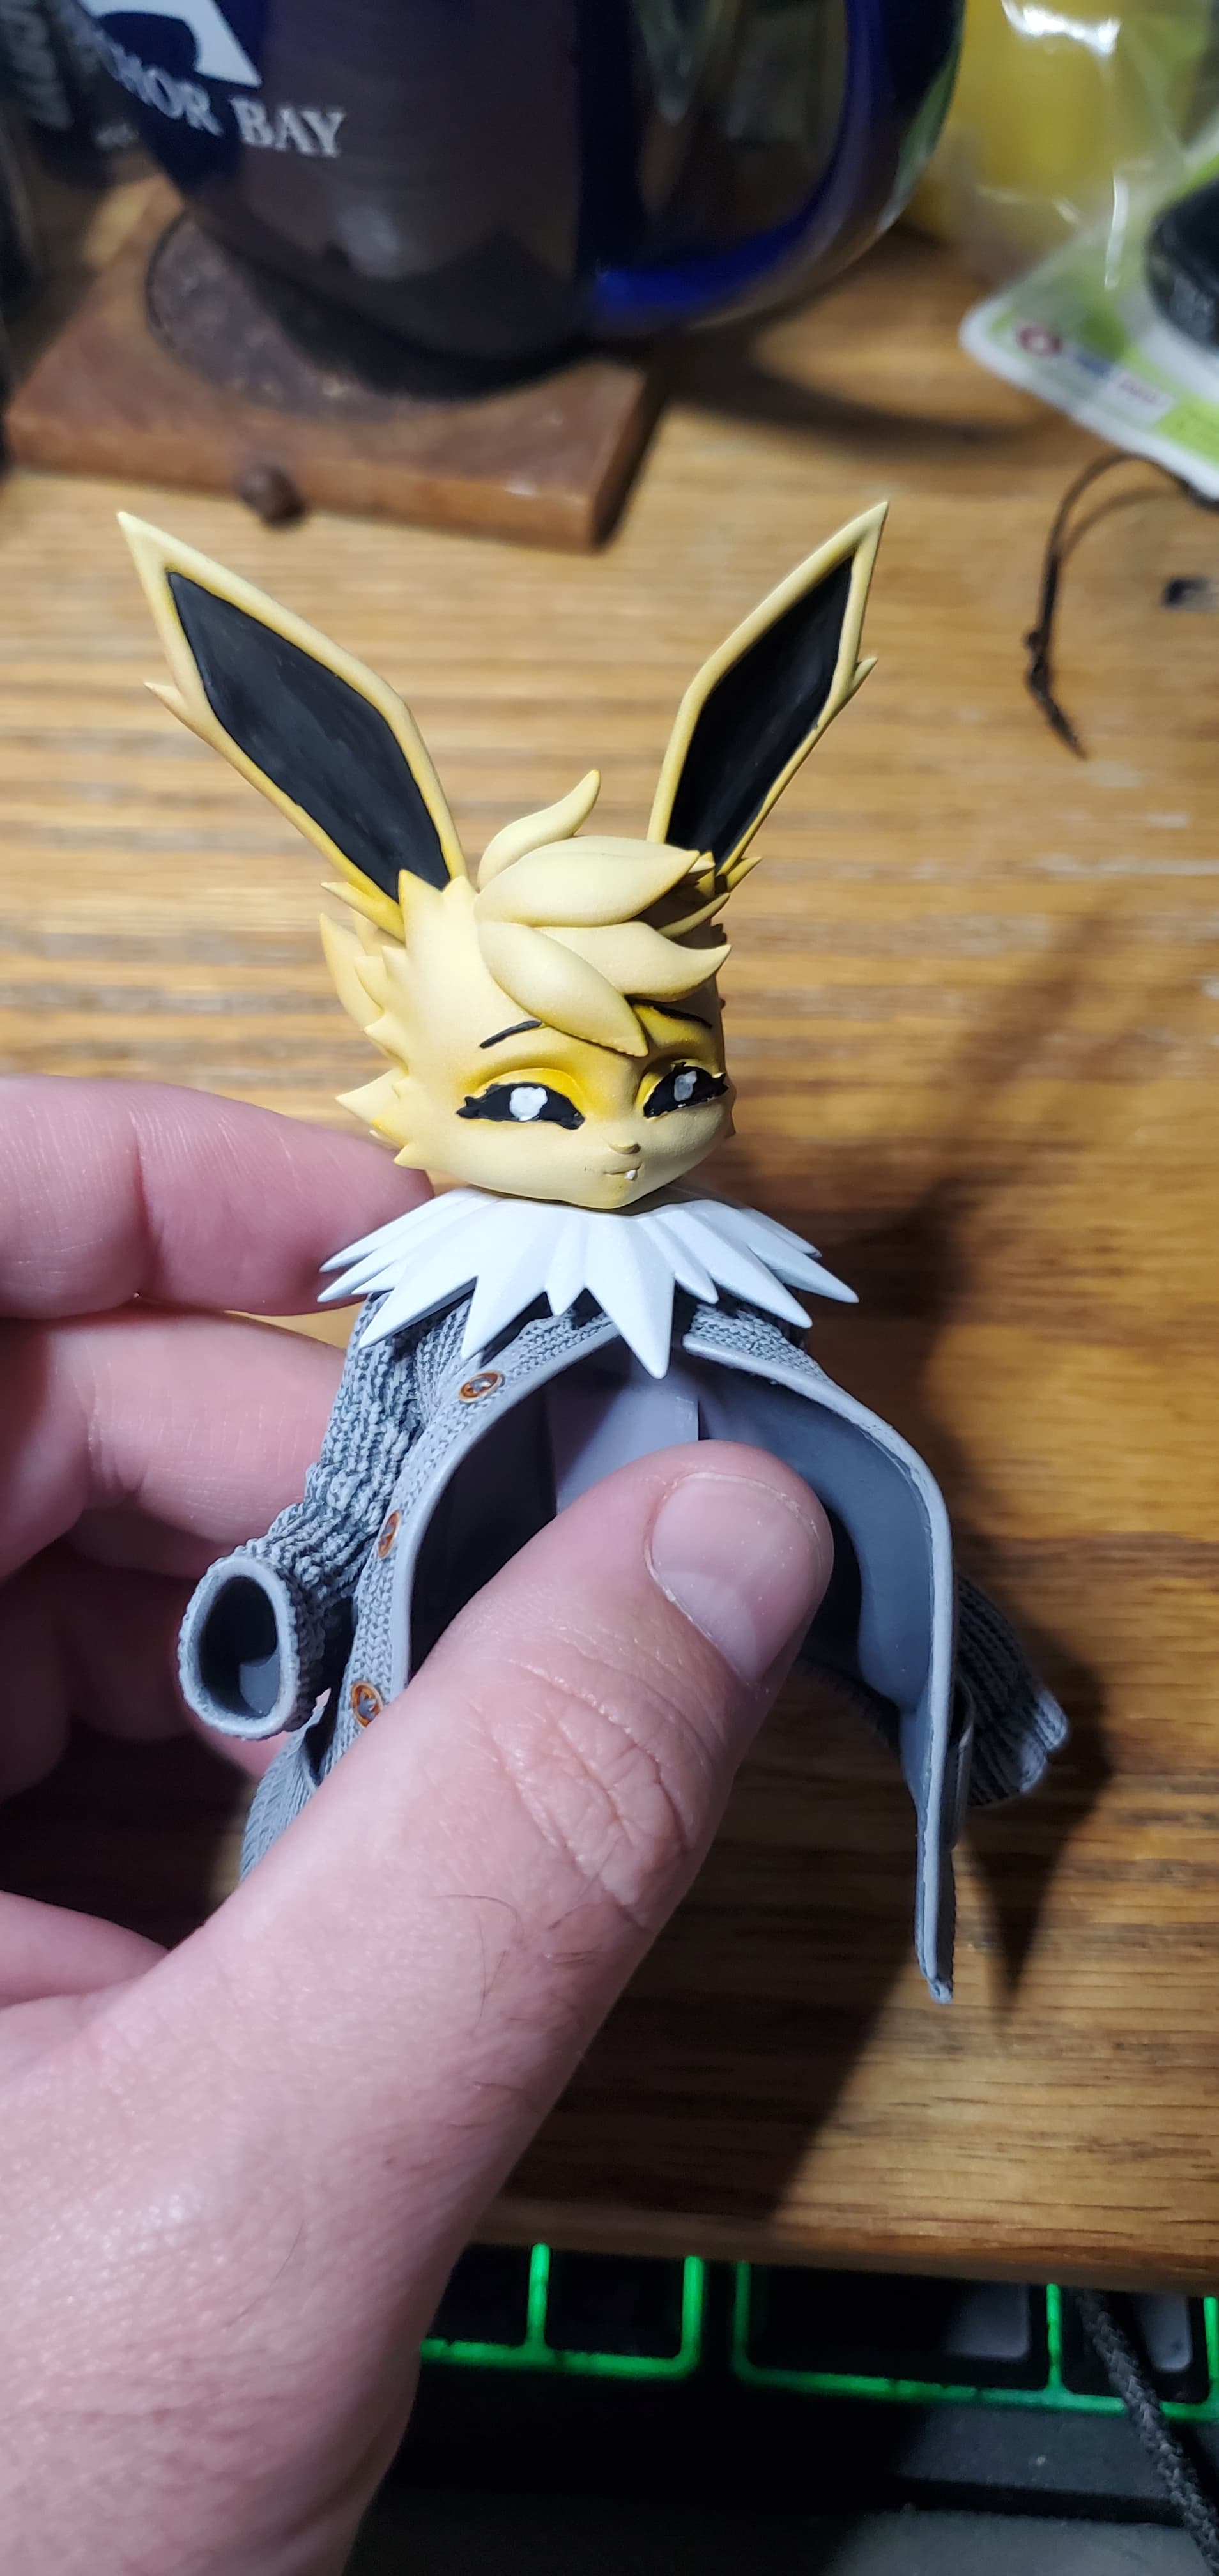
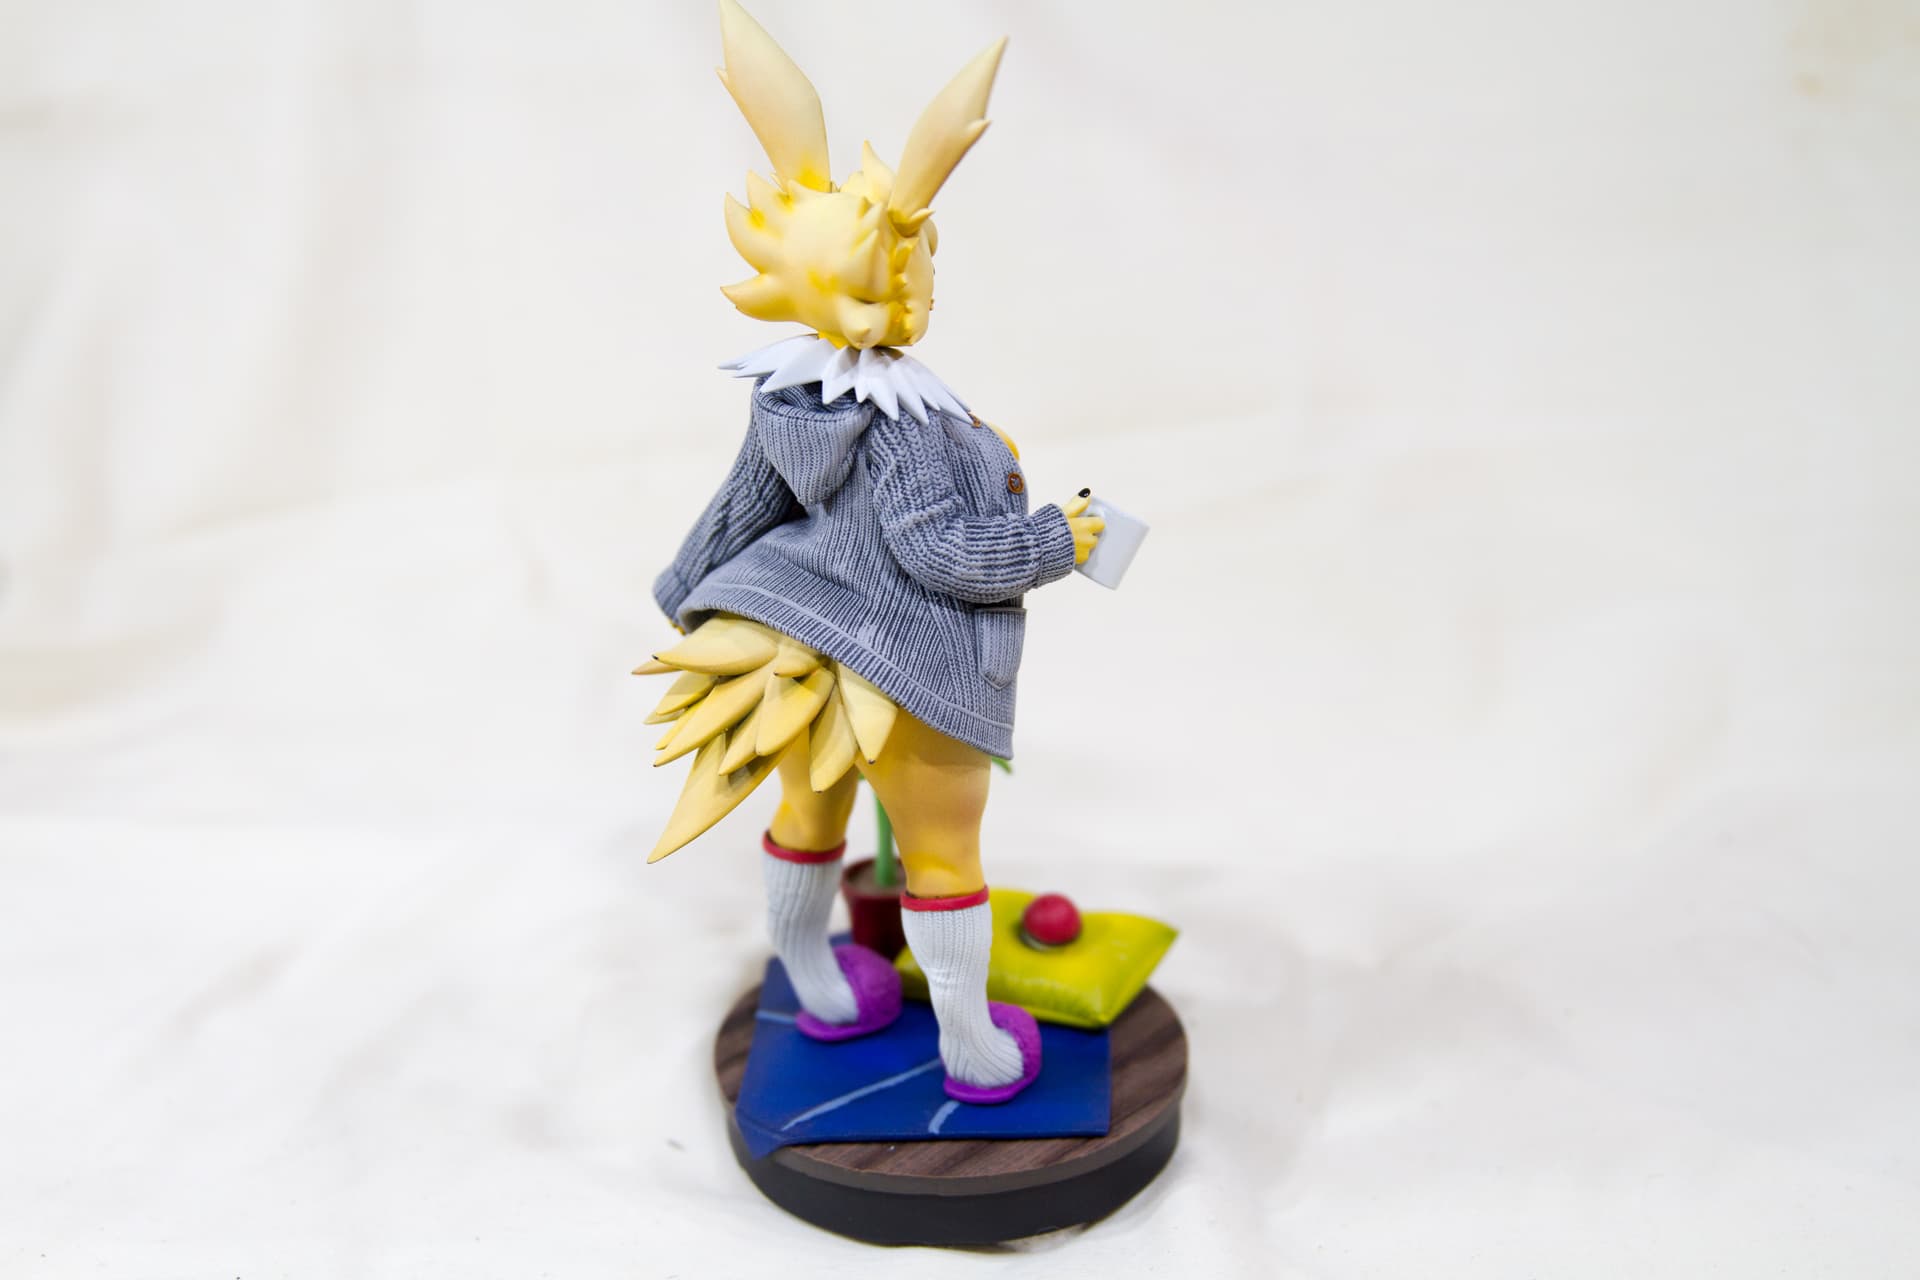
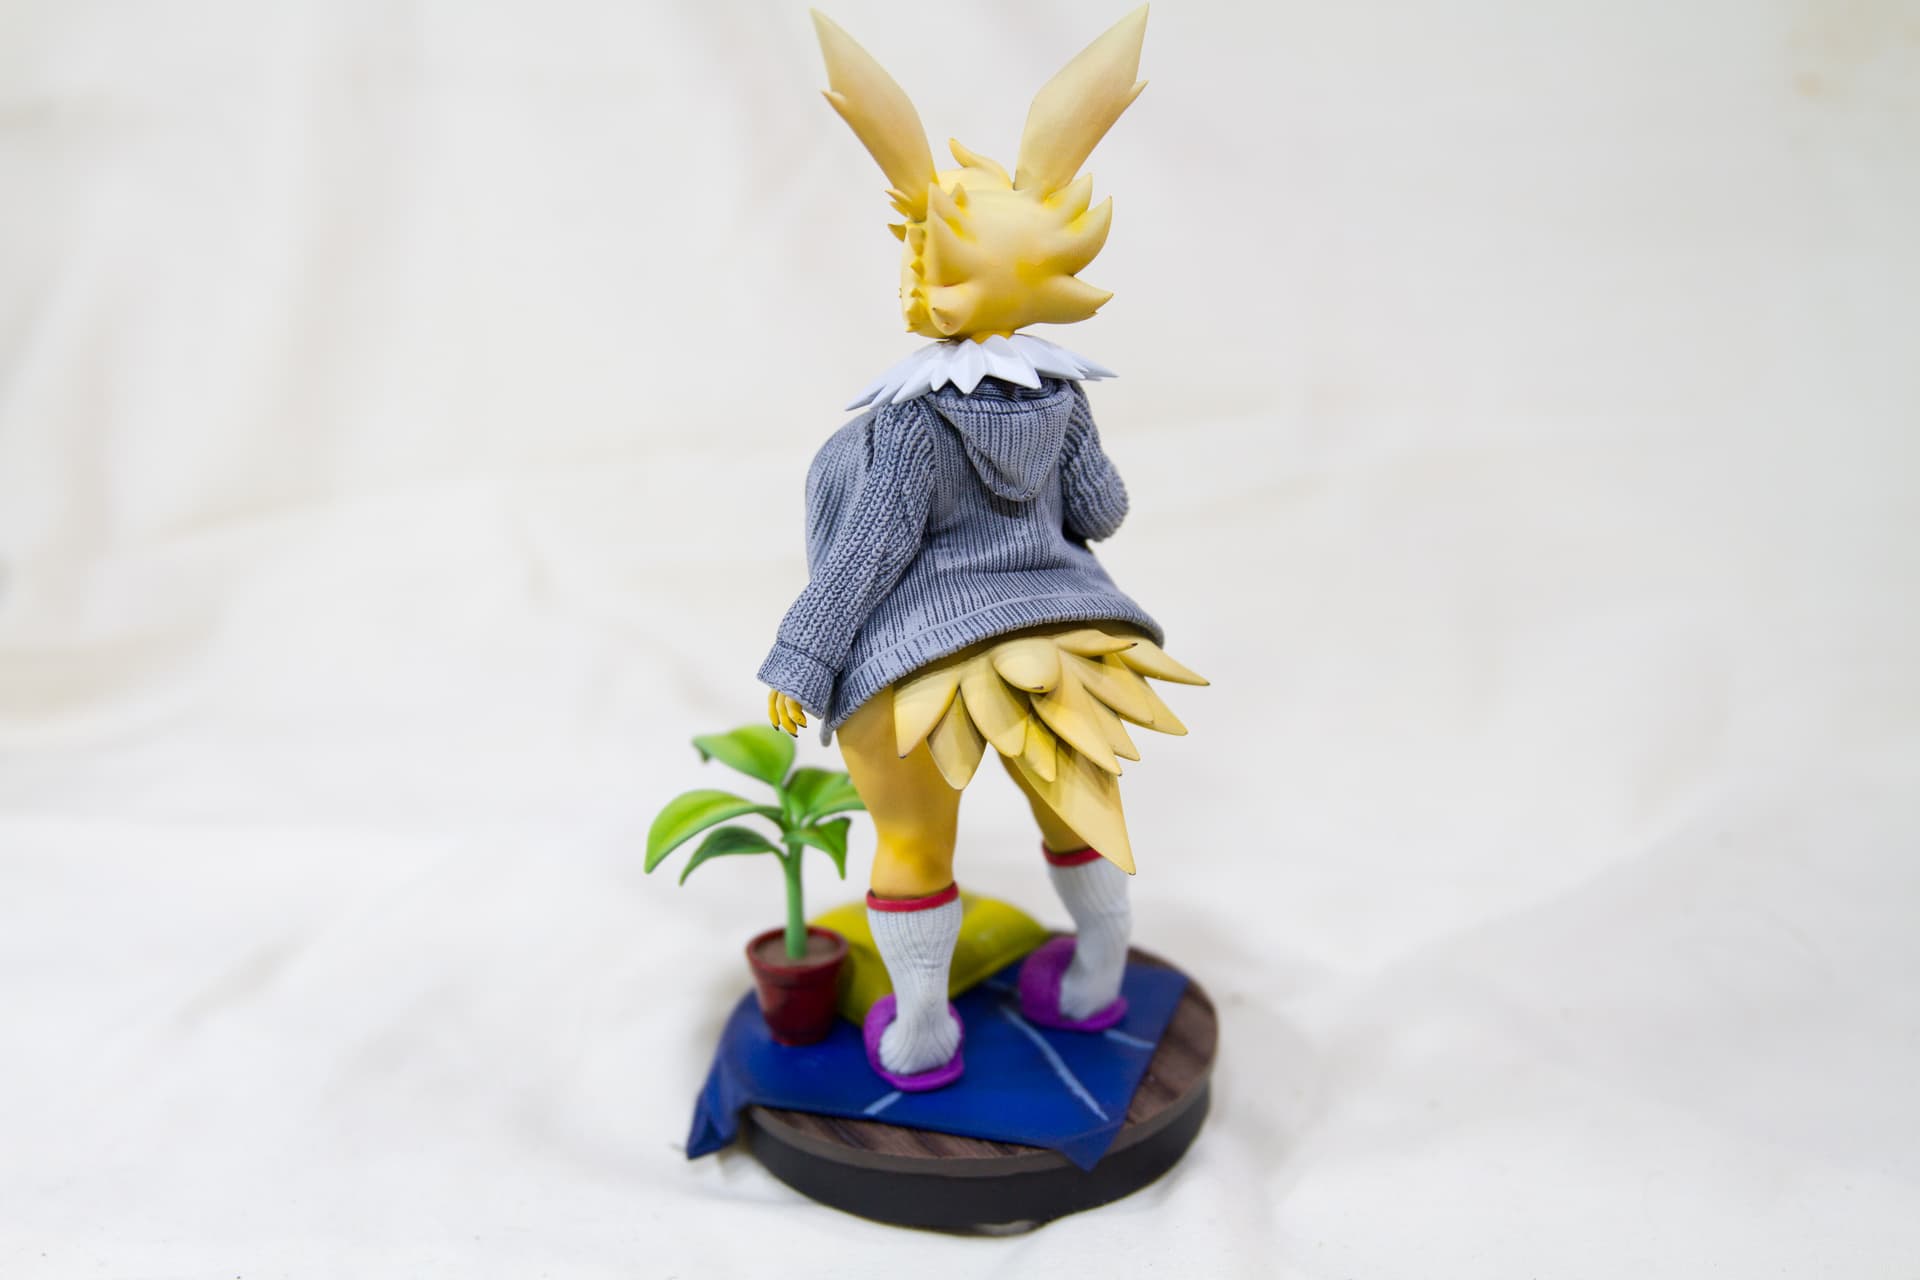
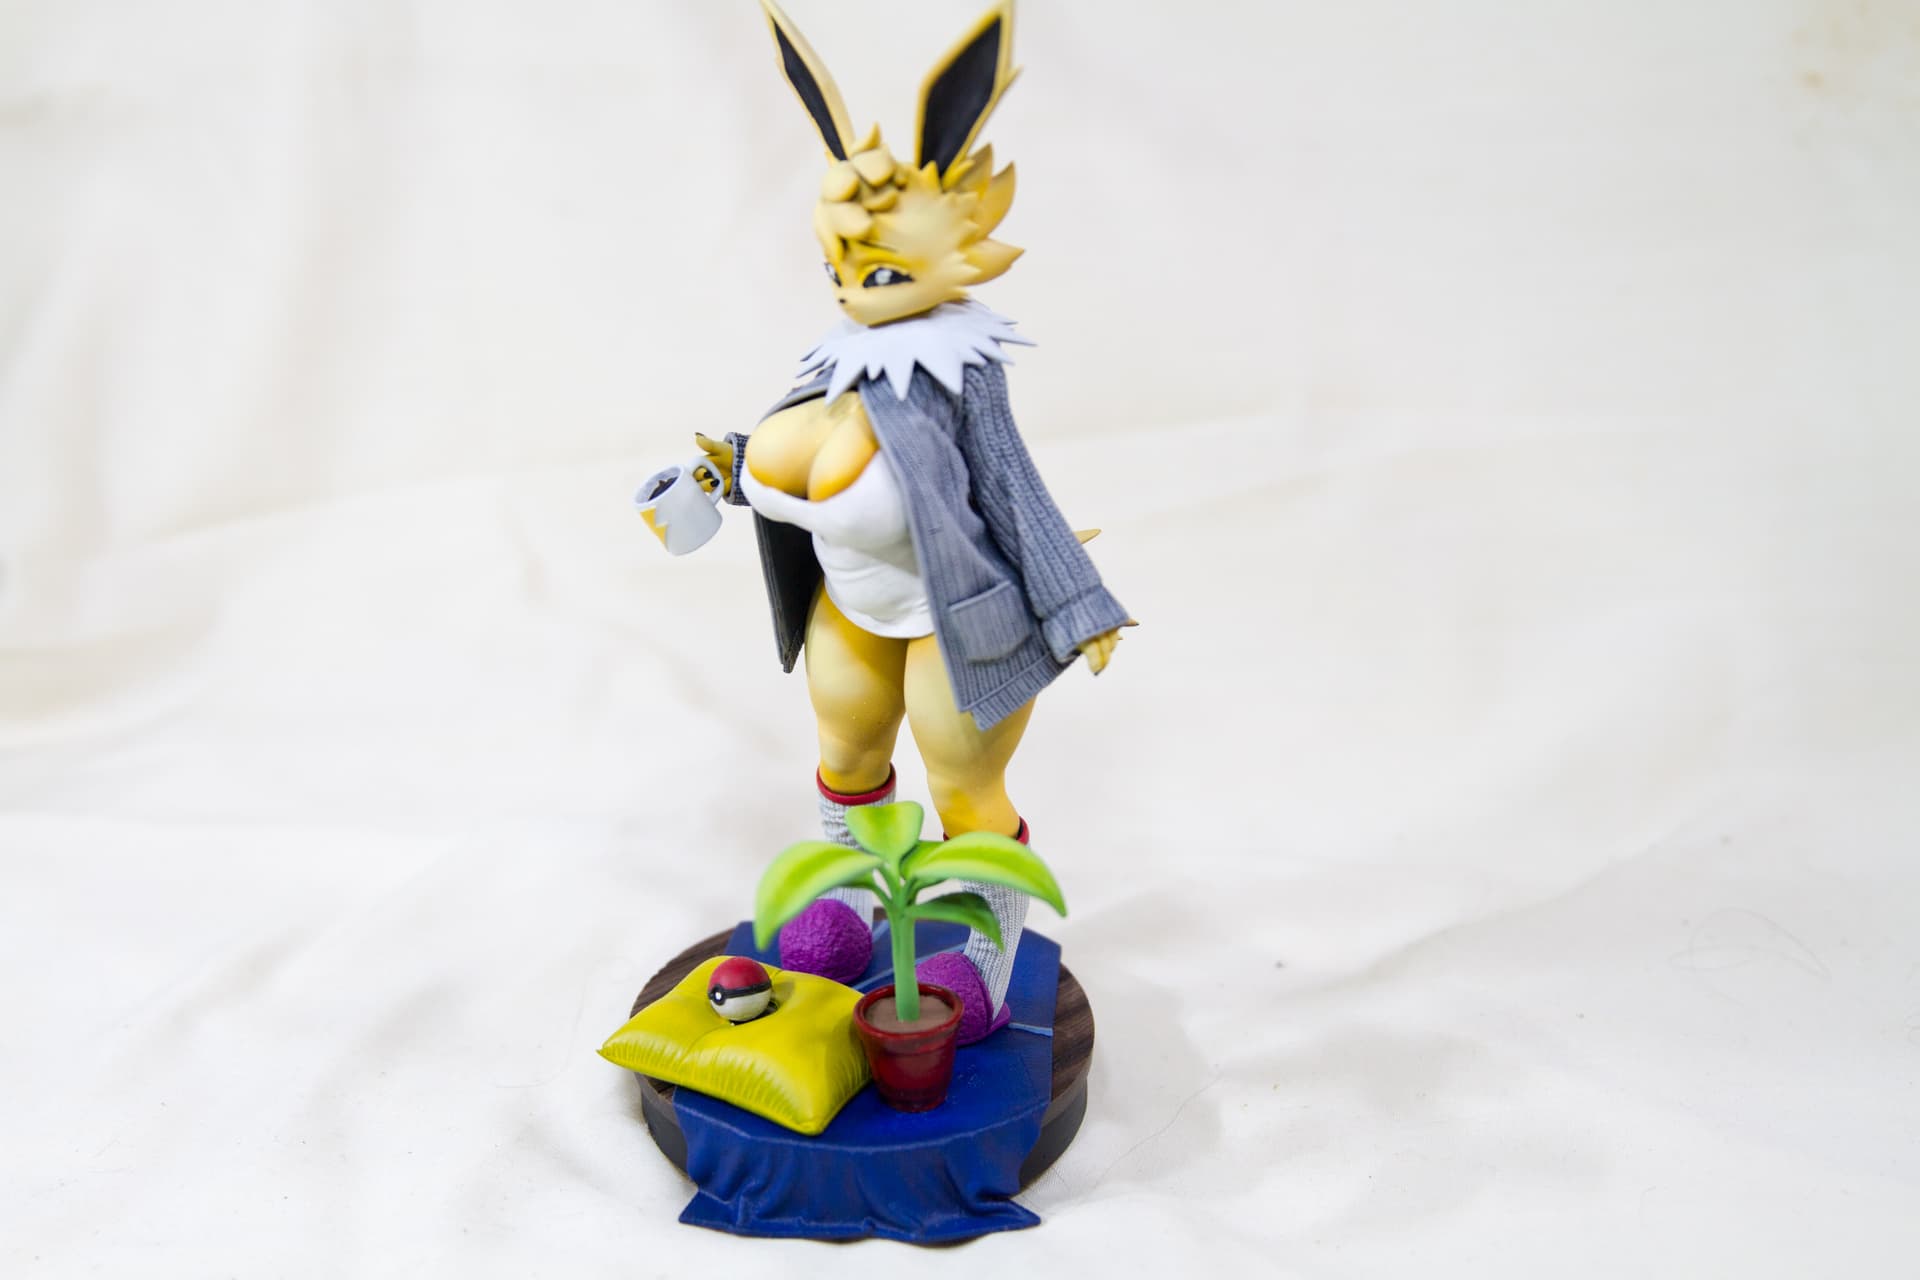
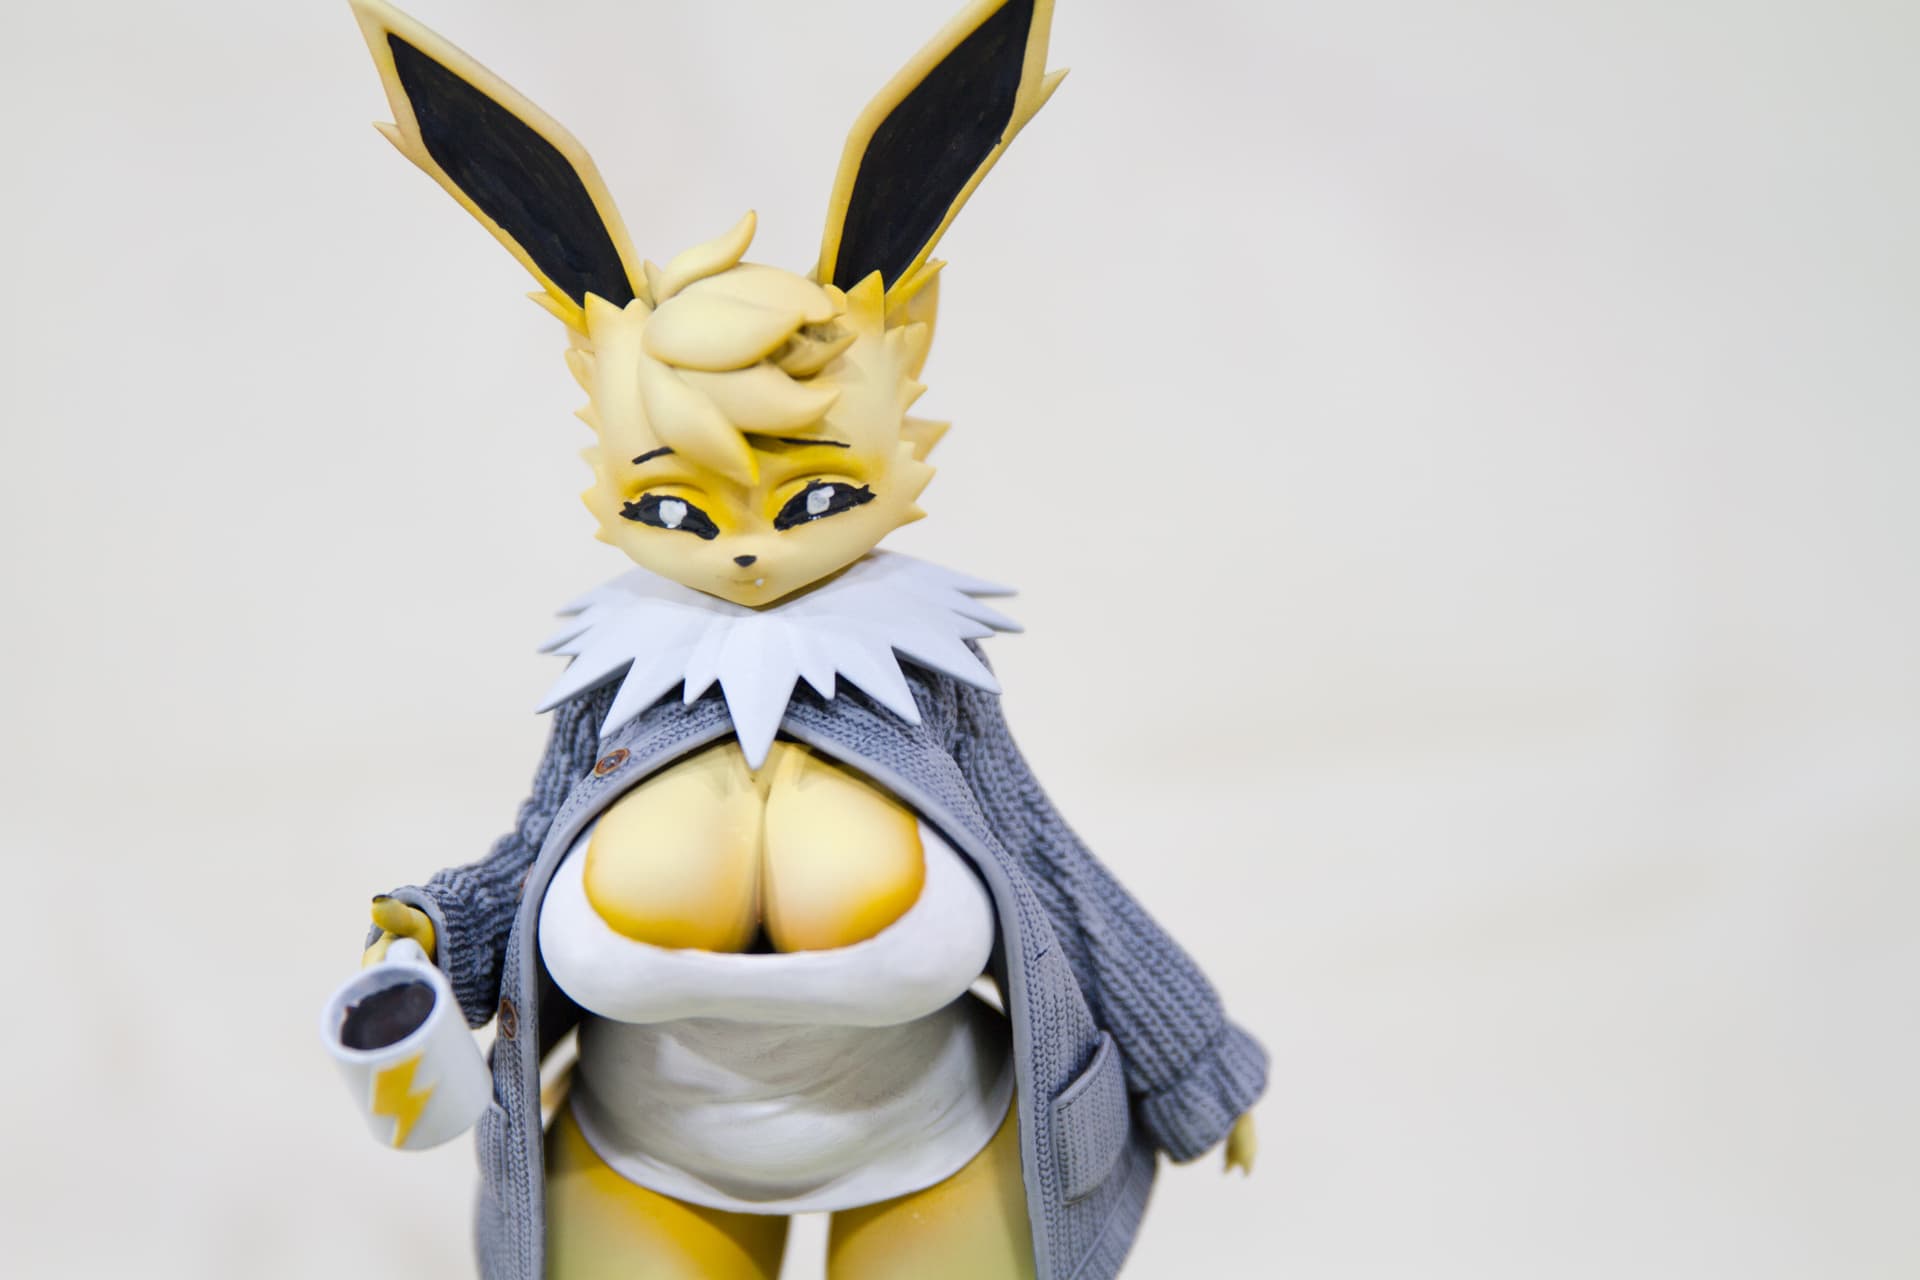
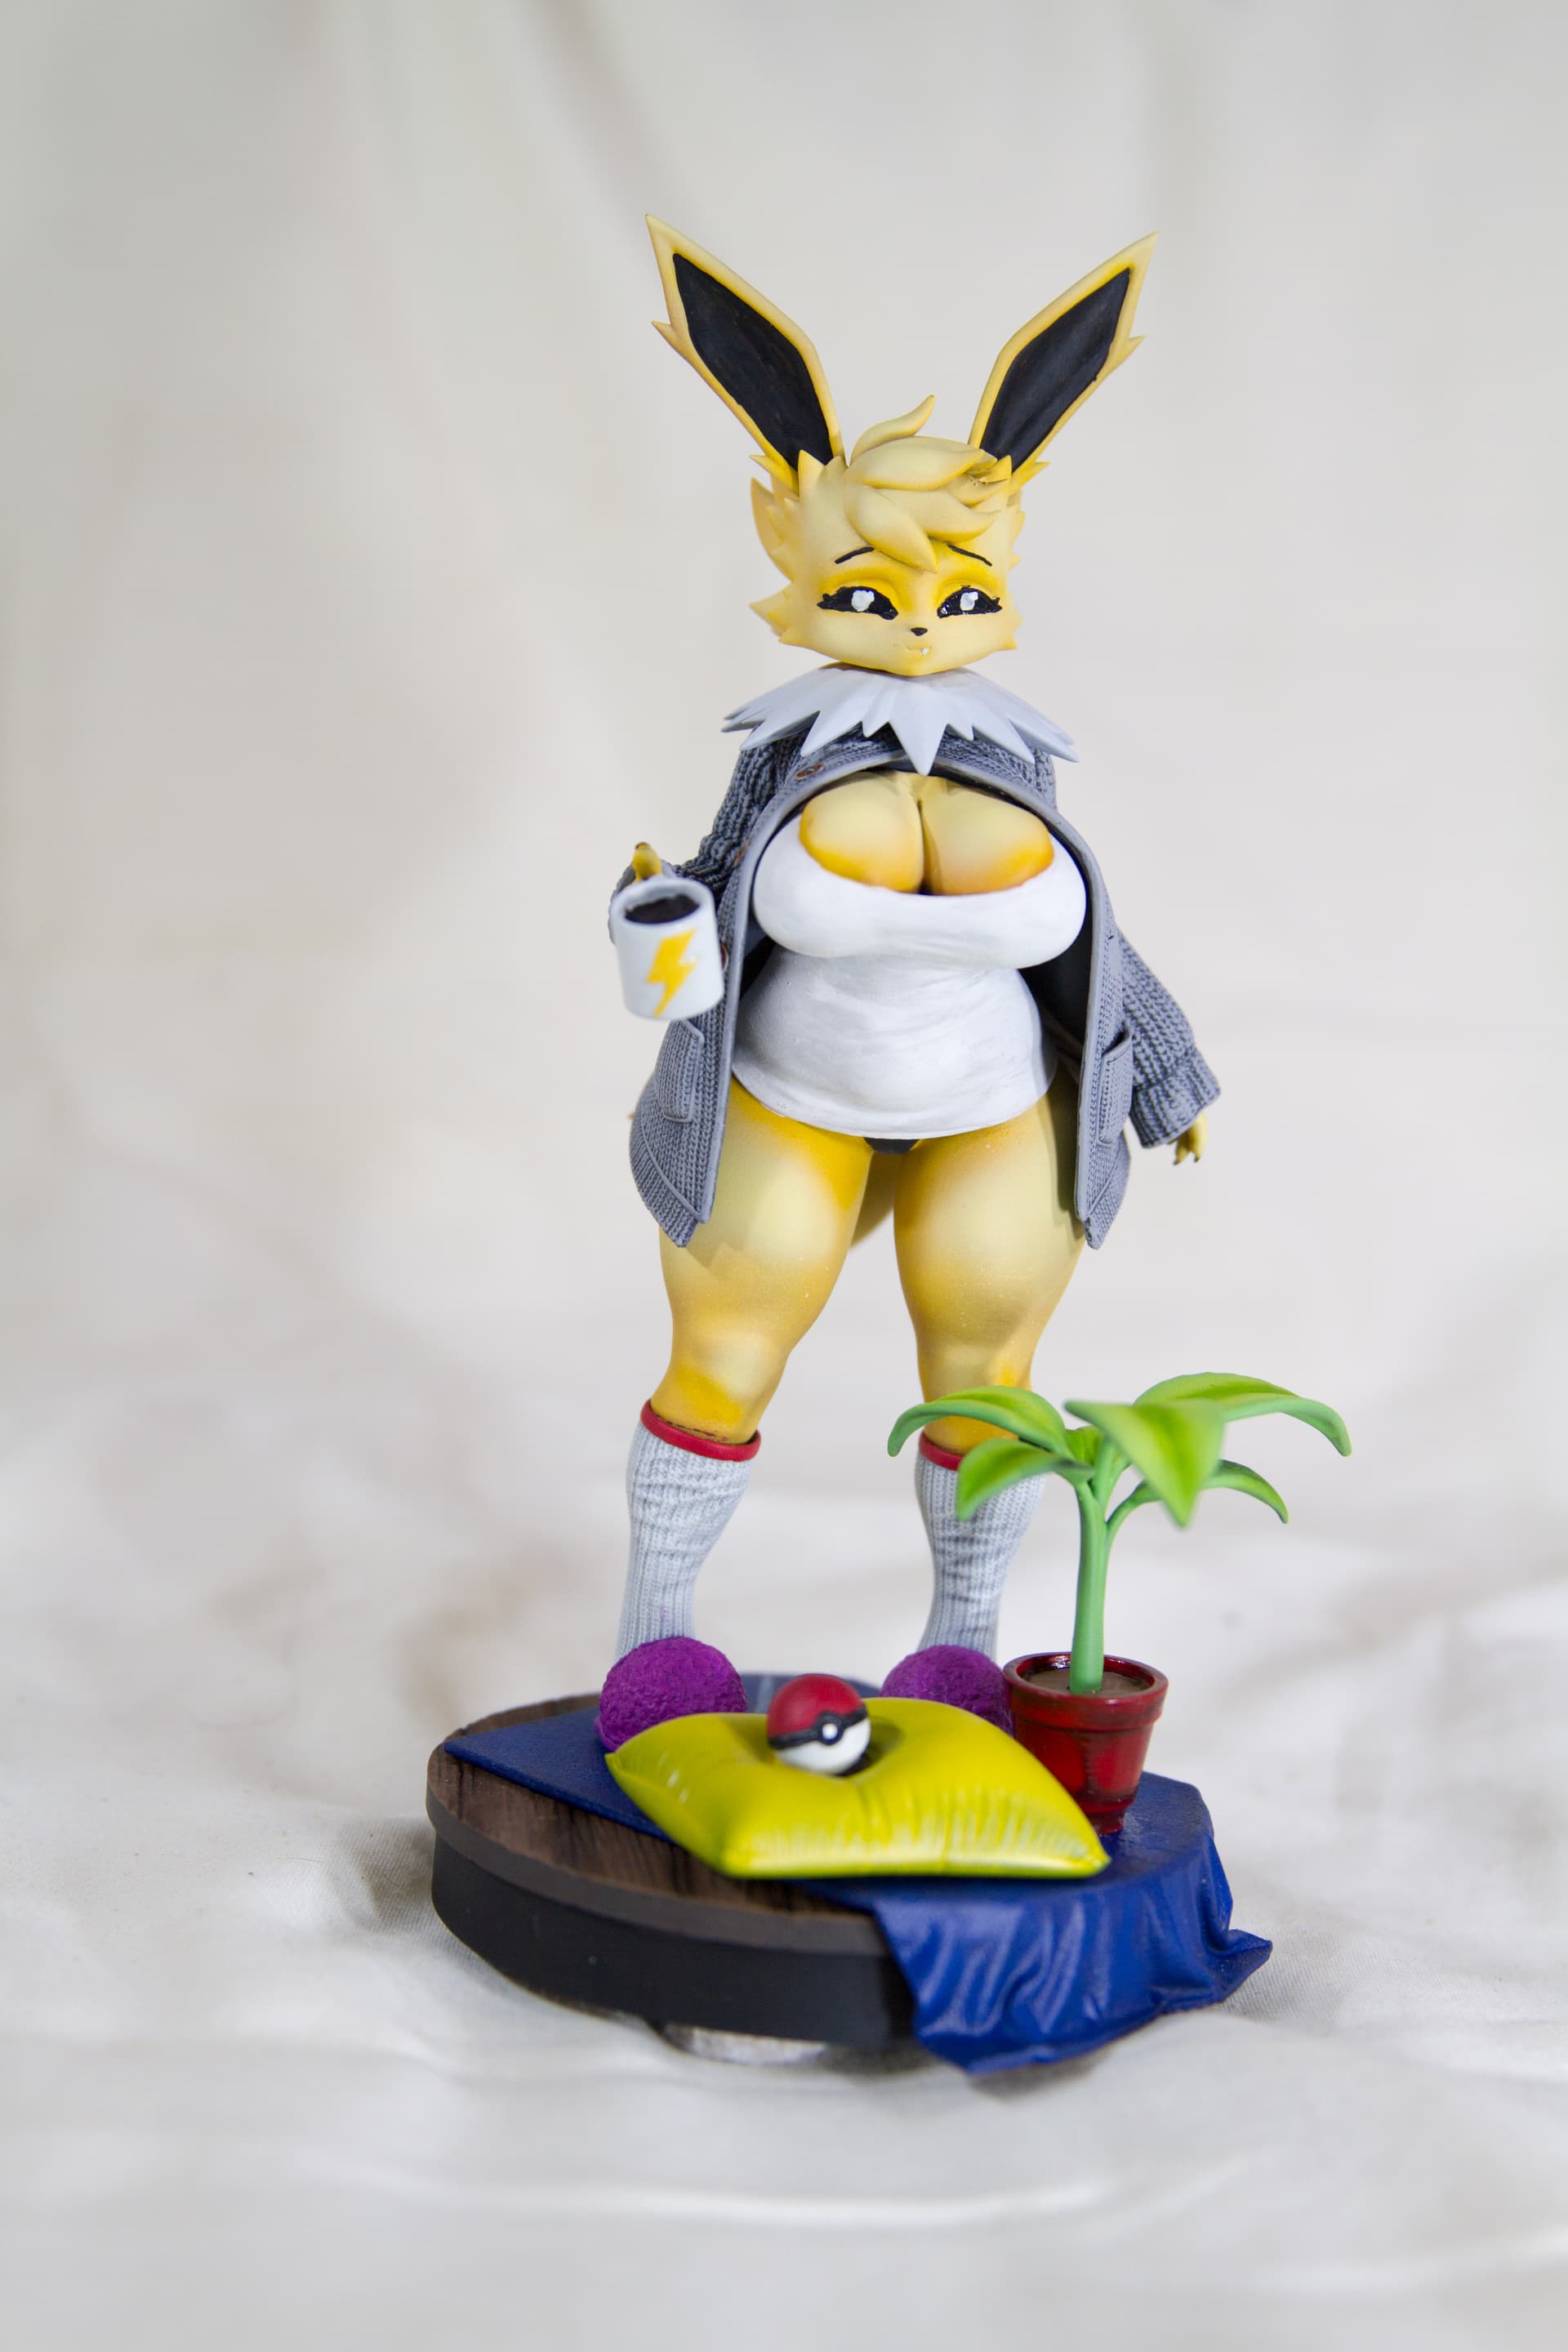
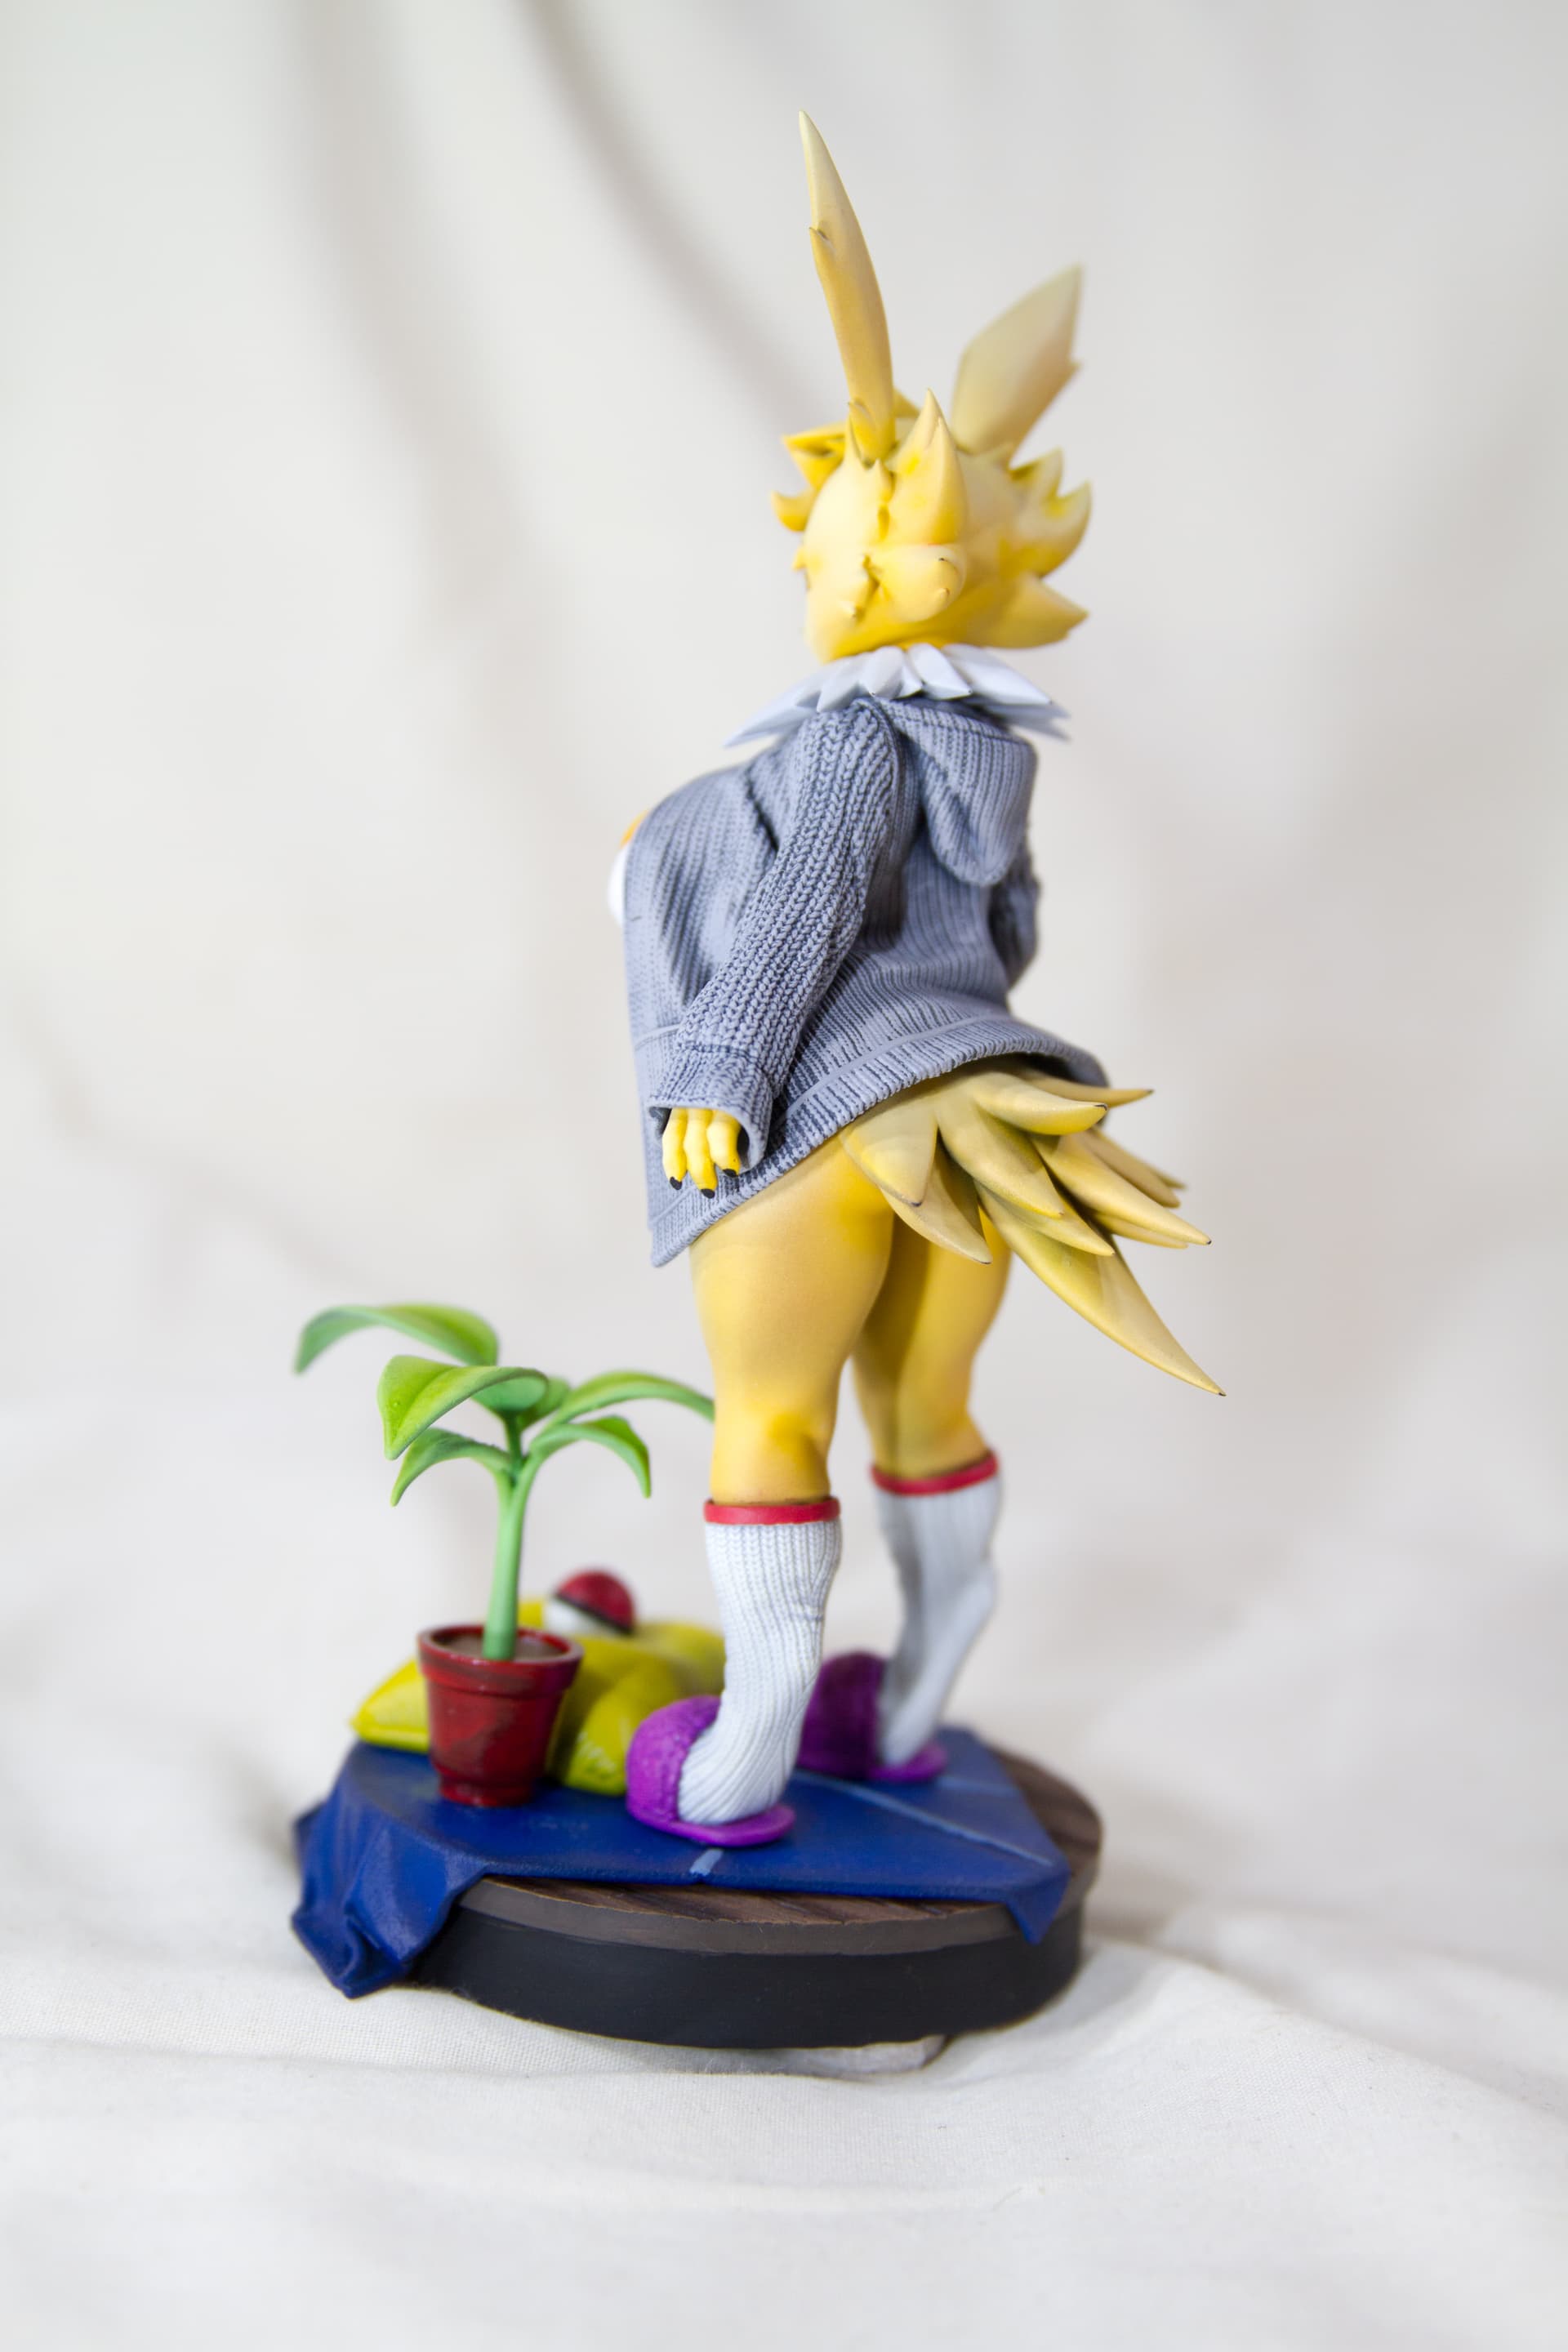
Printed this monster girl figure sculpted by Officer Rhu back in September, but it got stalled out due to needing magnets. But finally getting back to working on her as everything else has been cleared off the build plate.

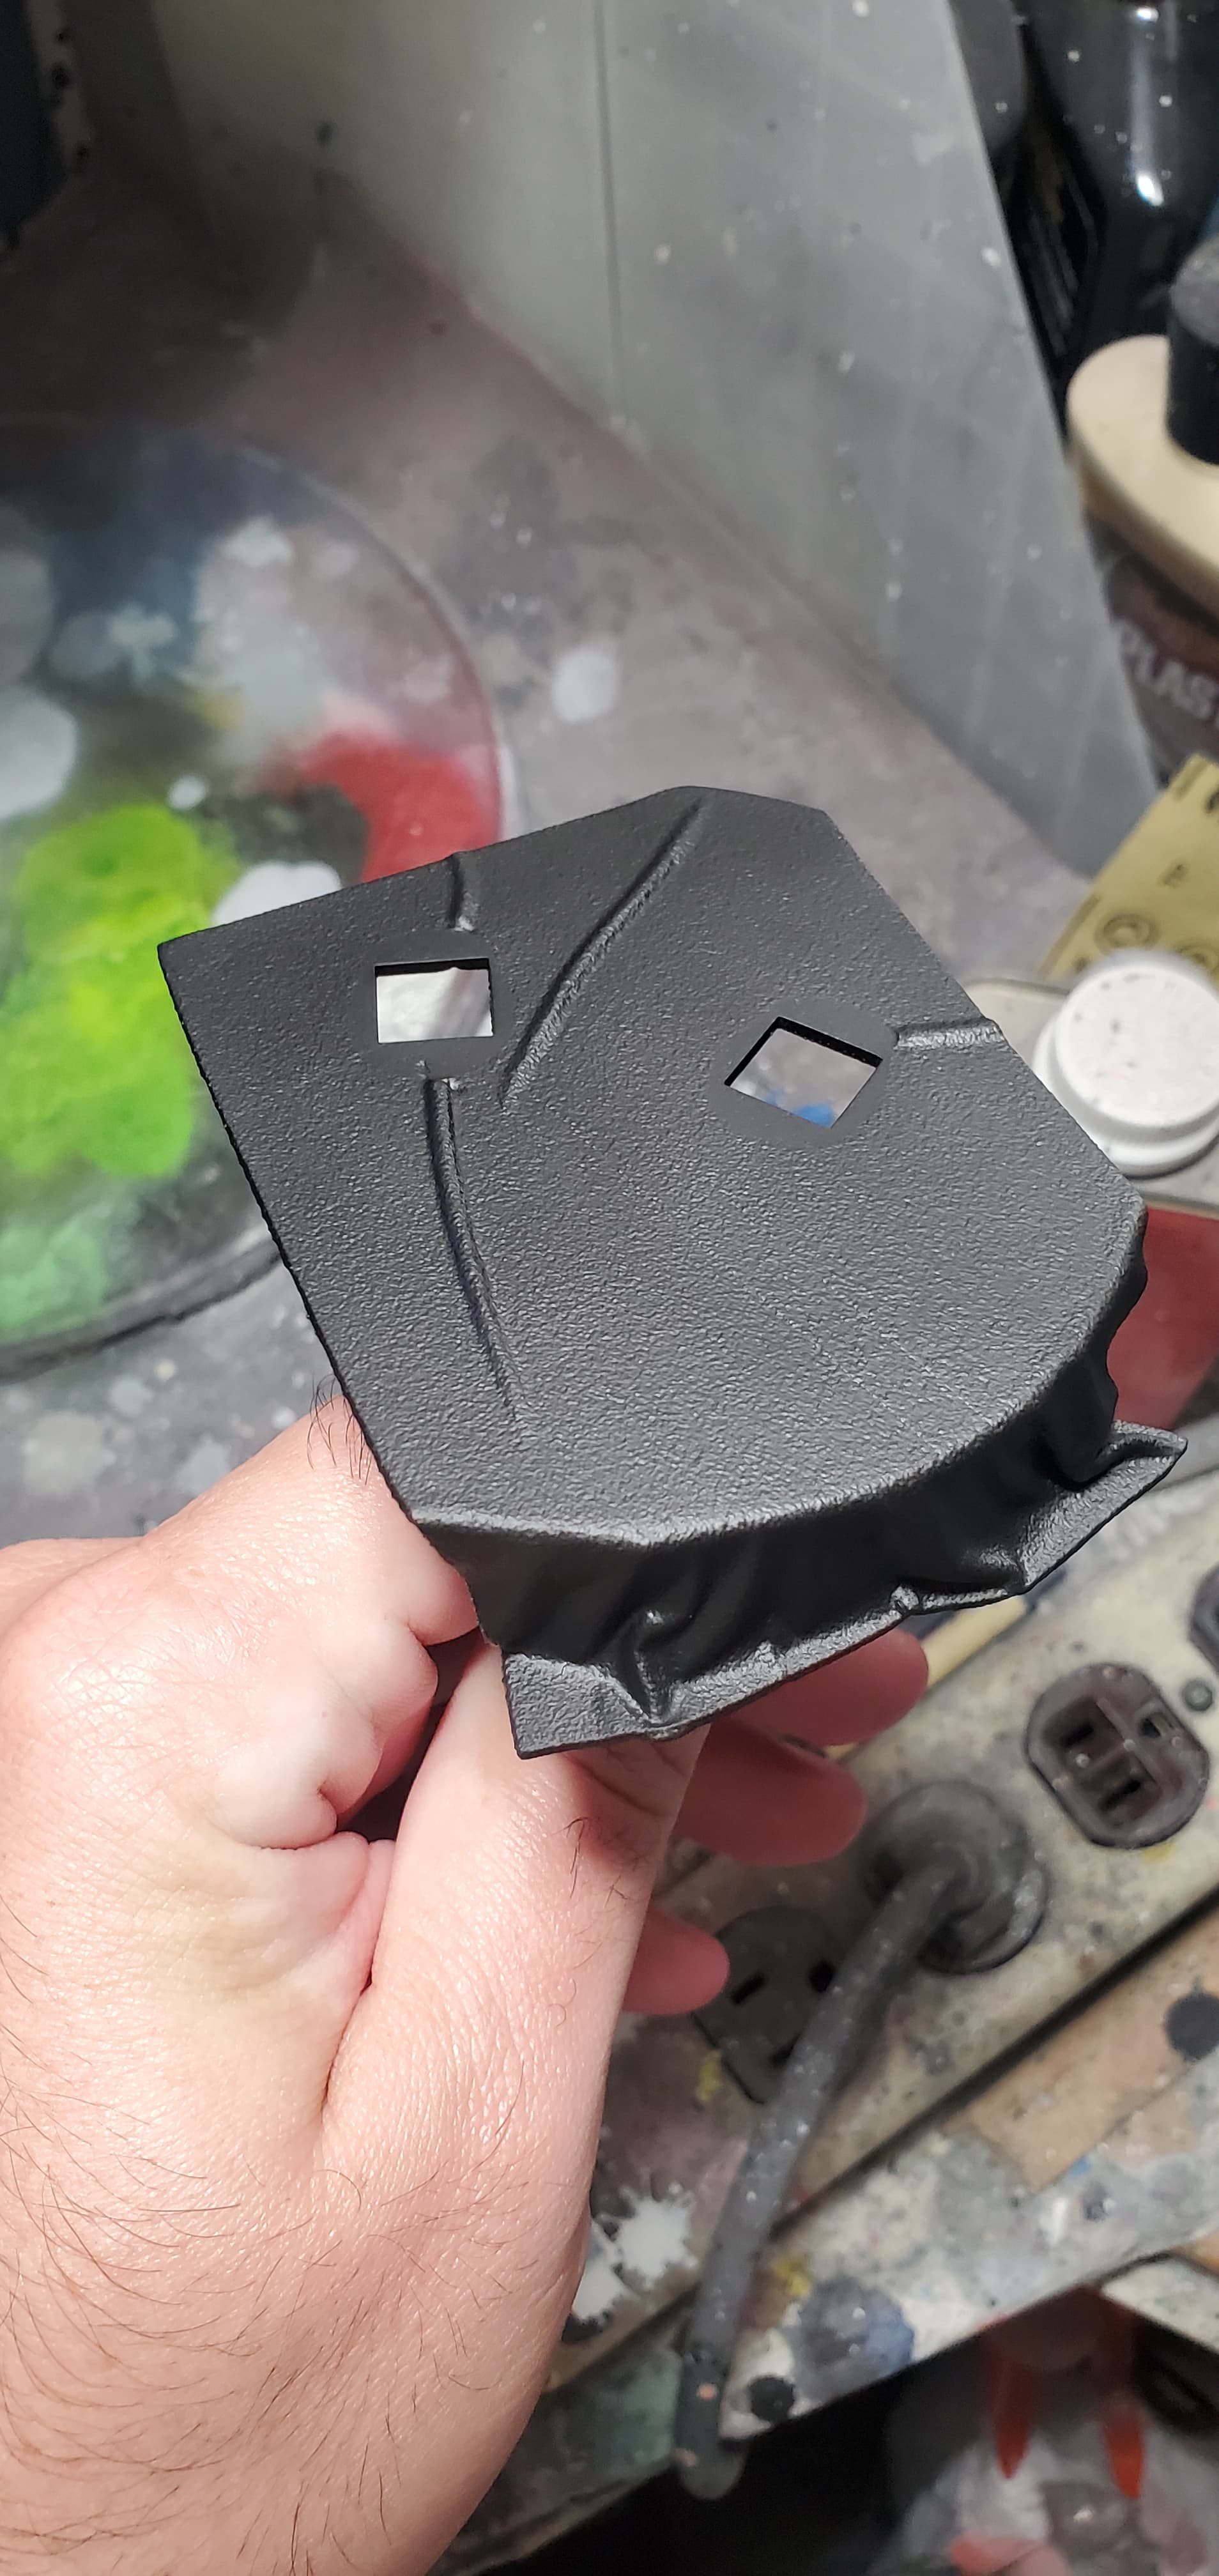
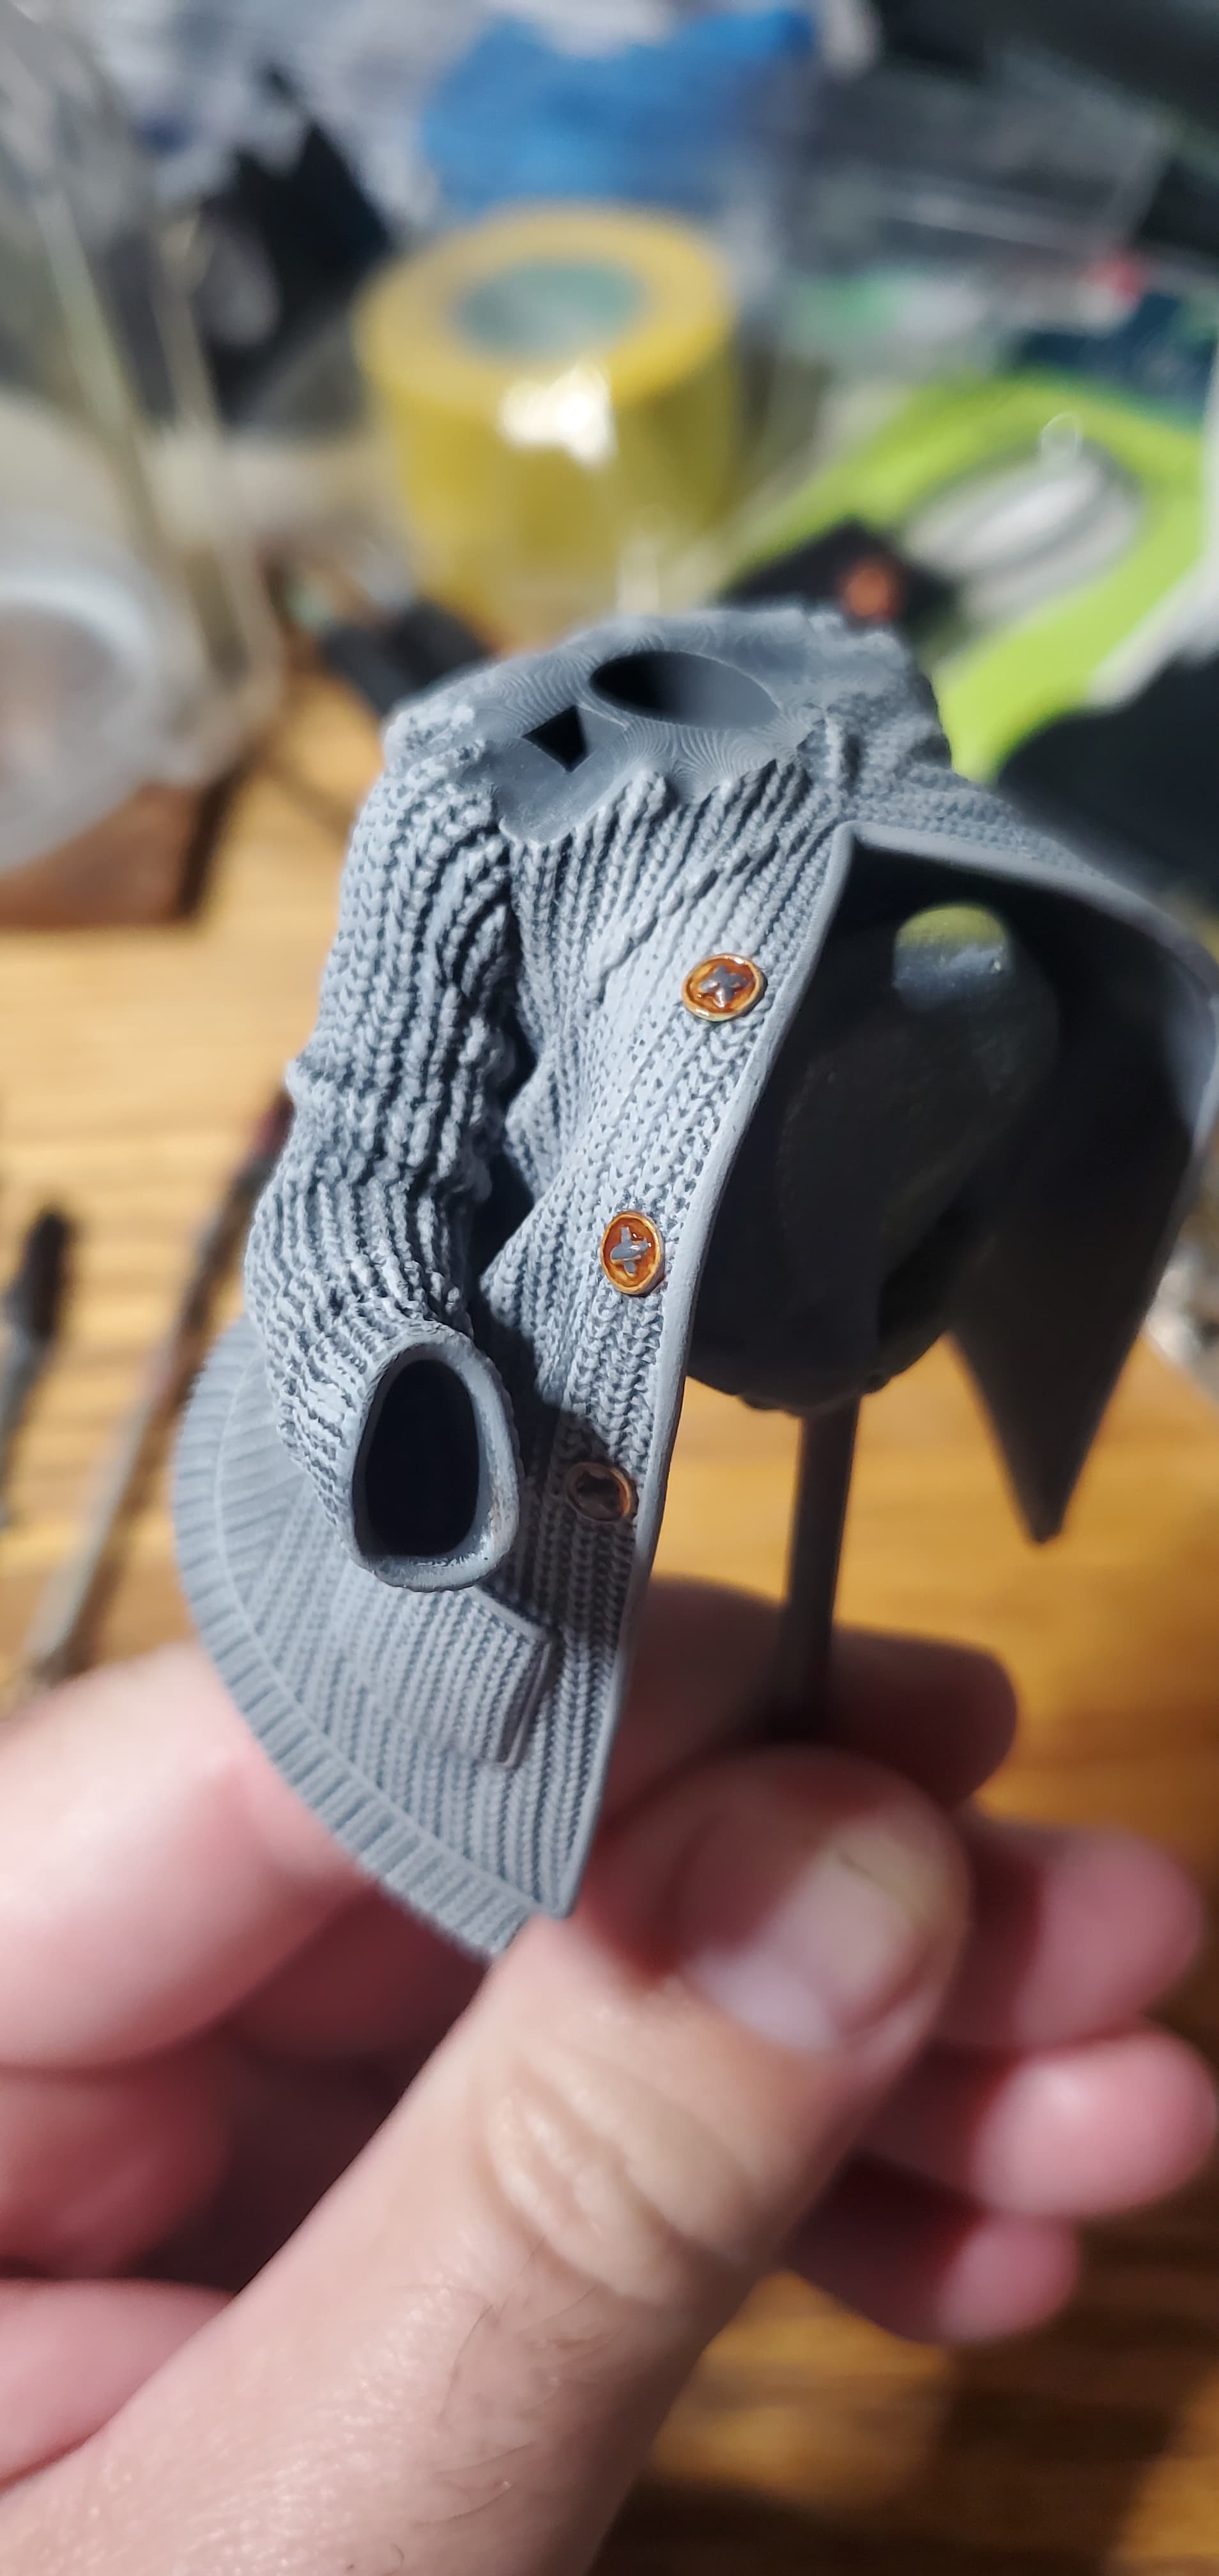
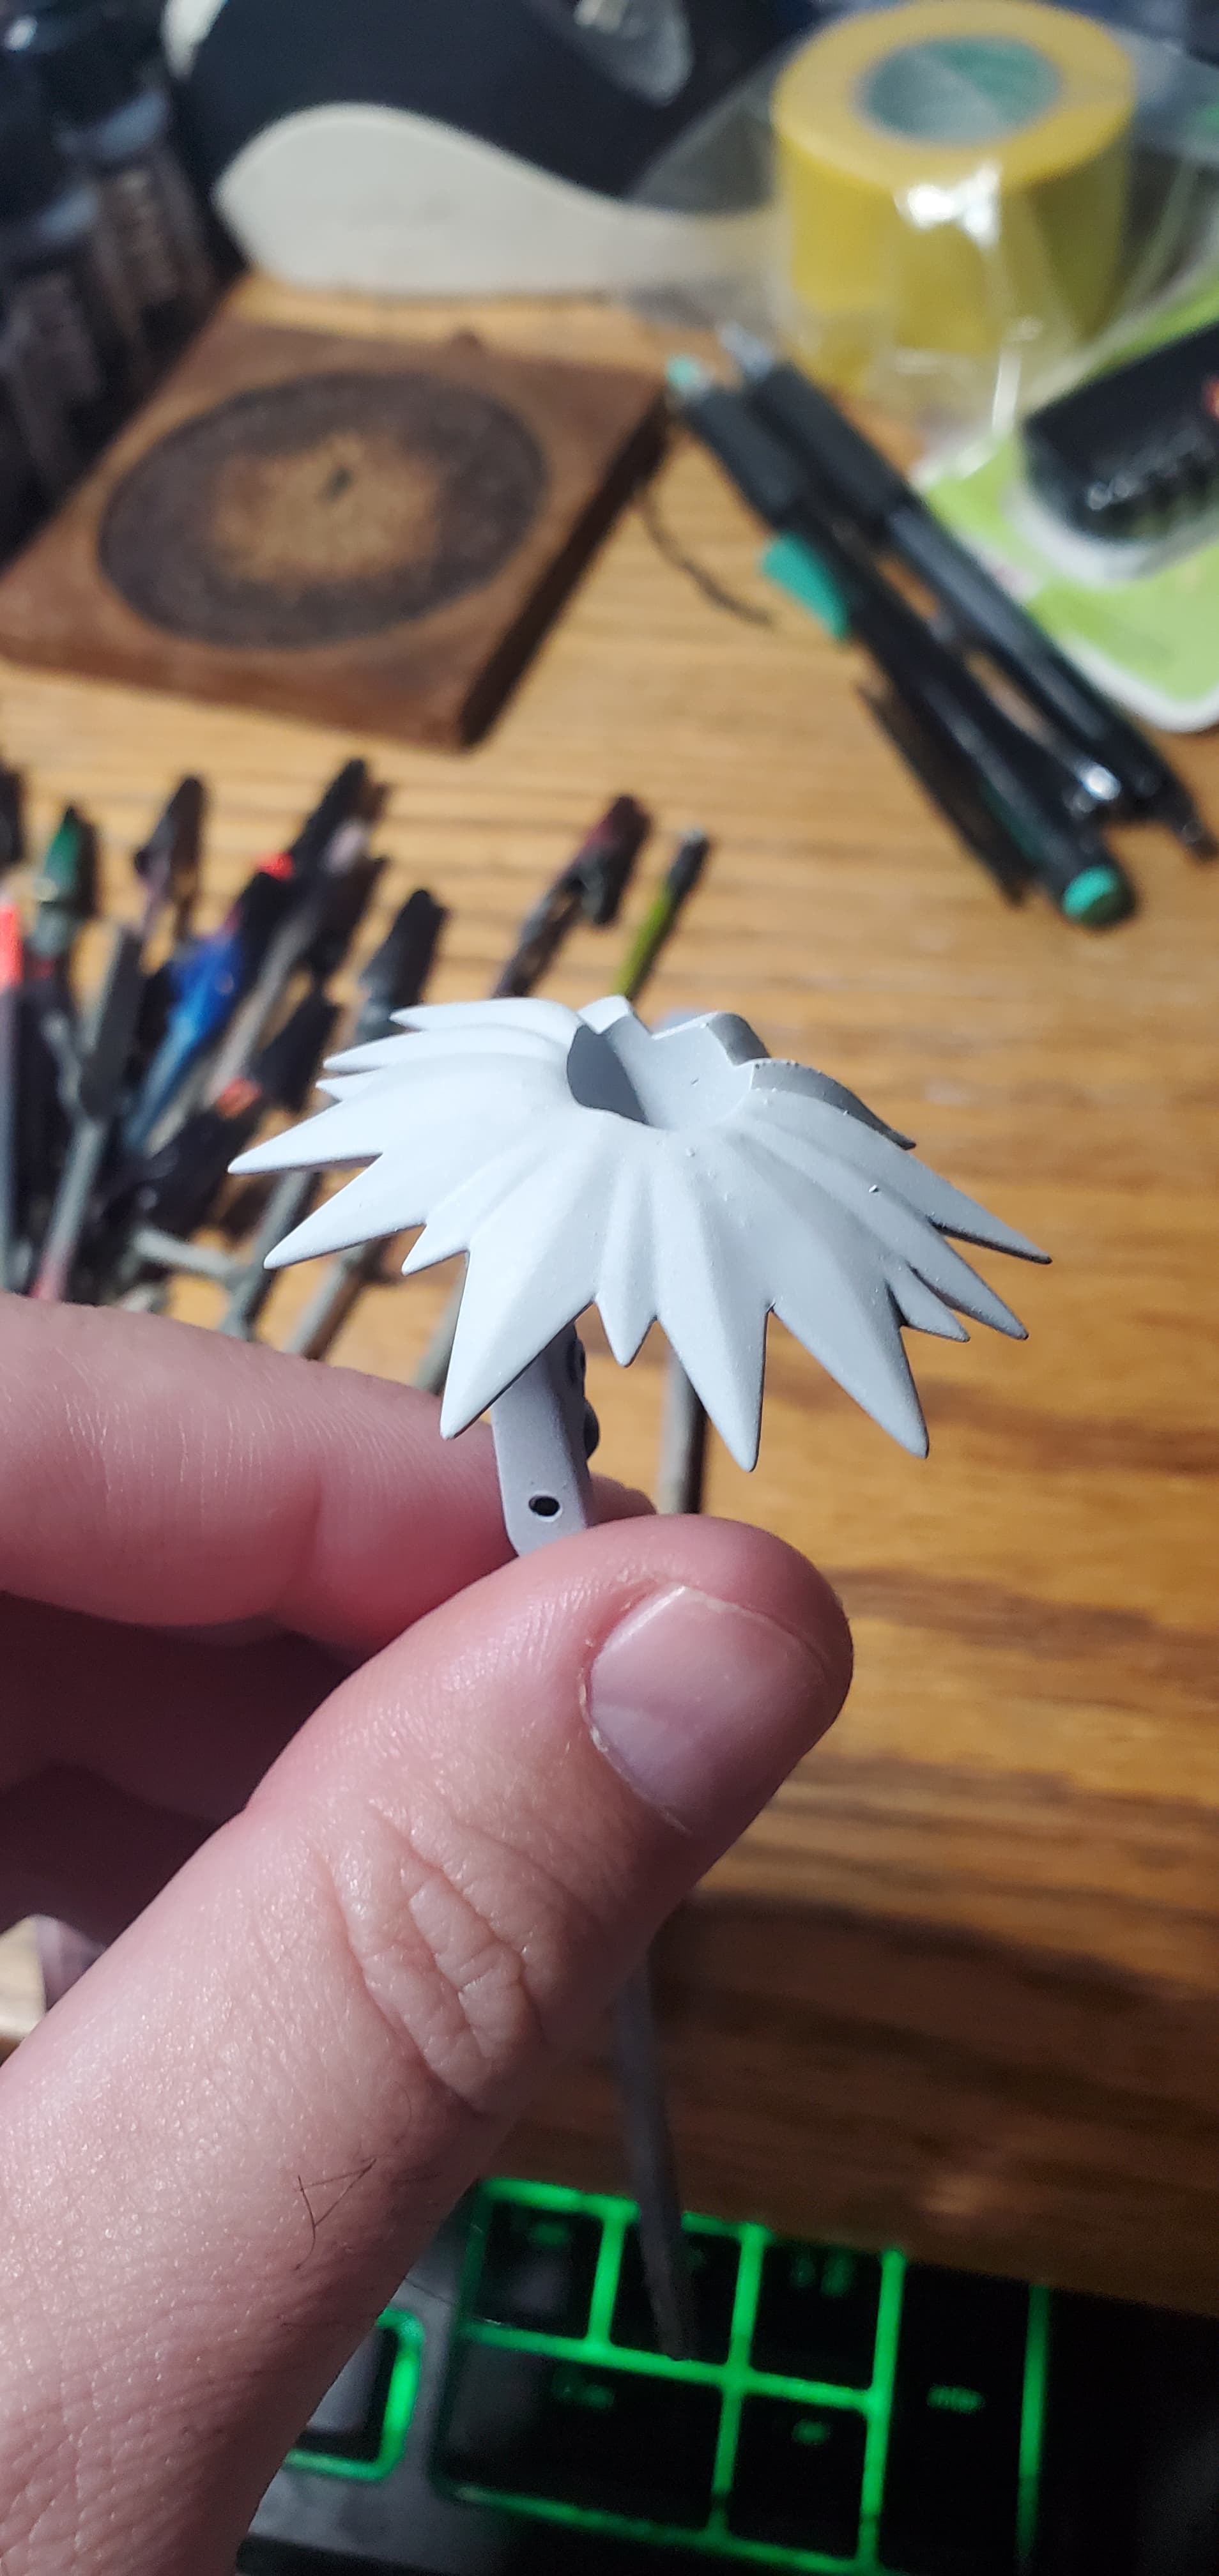
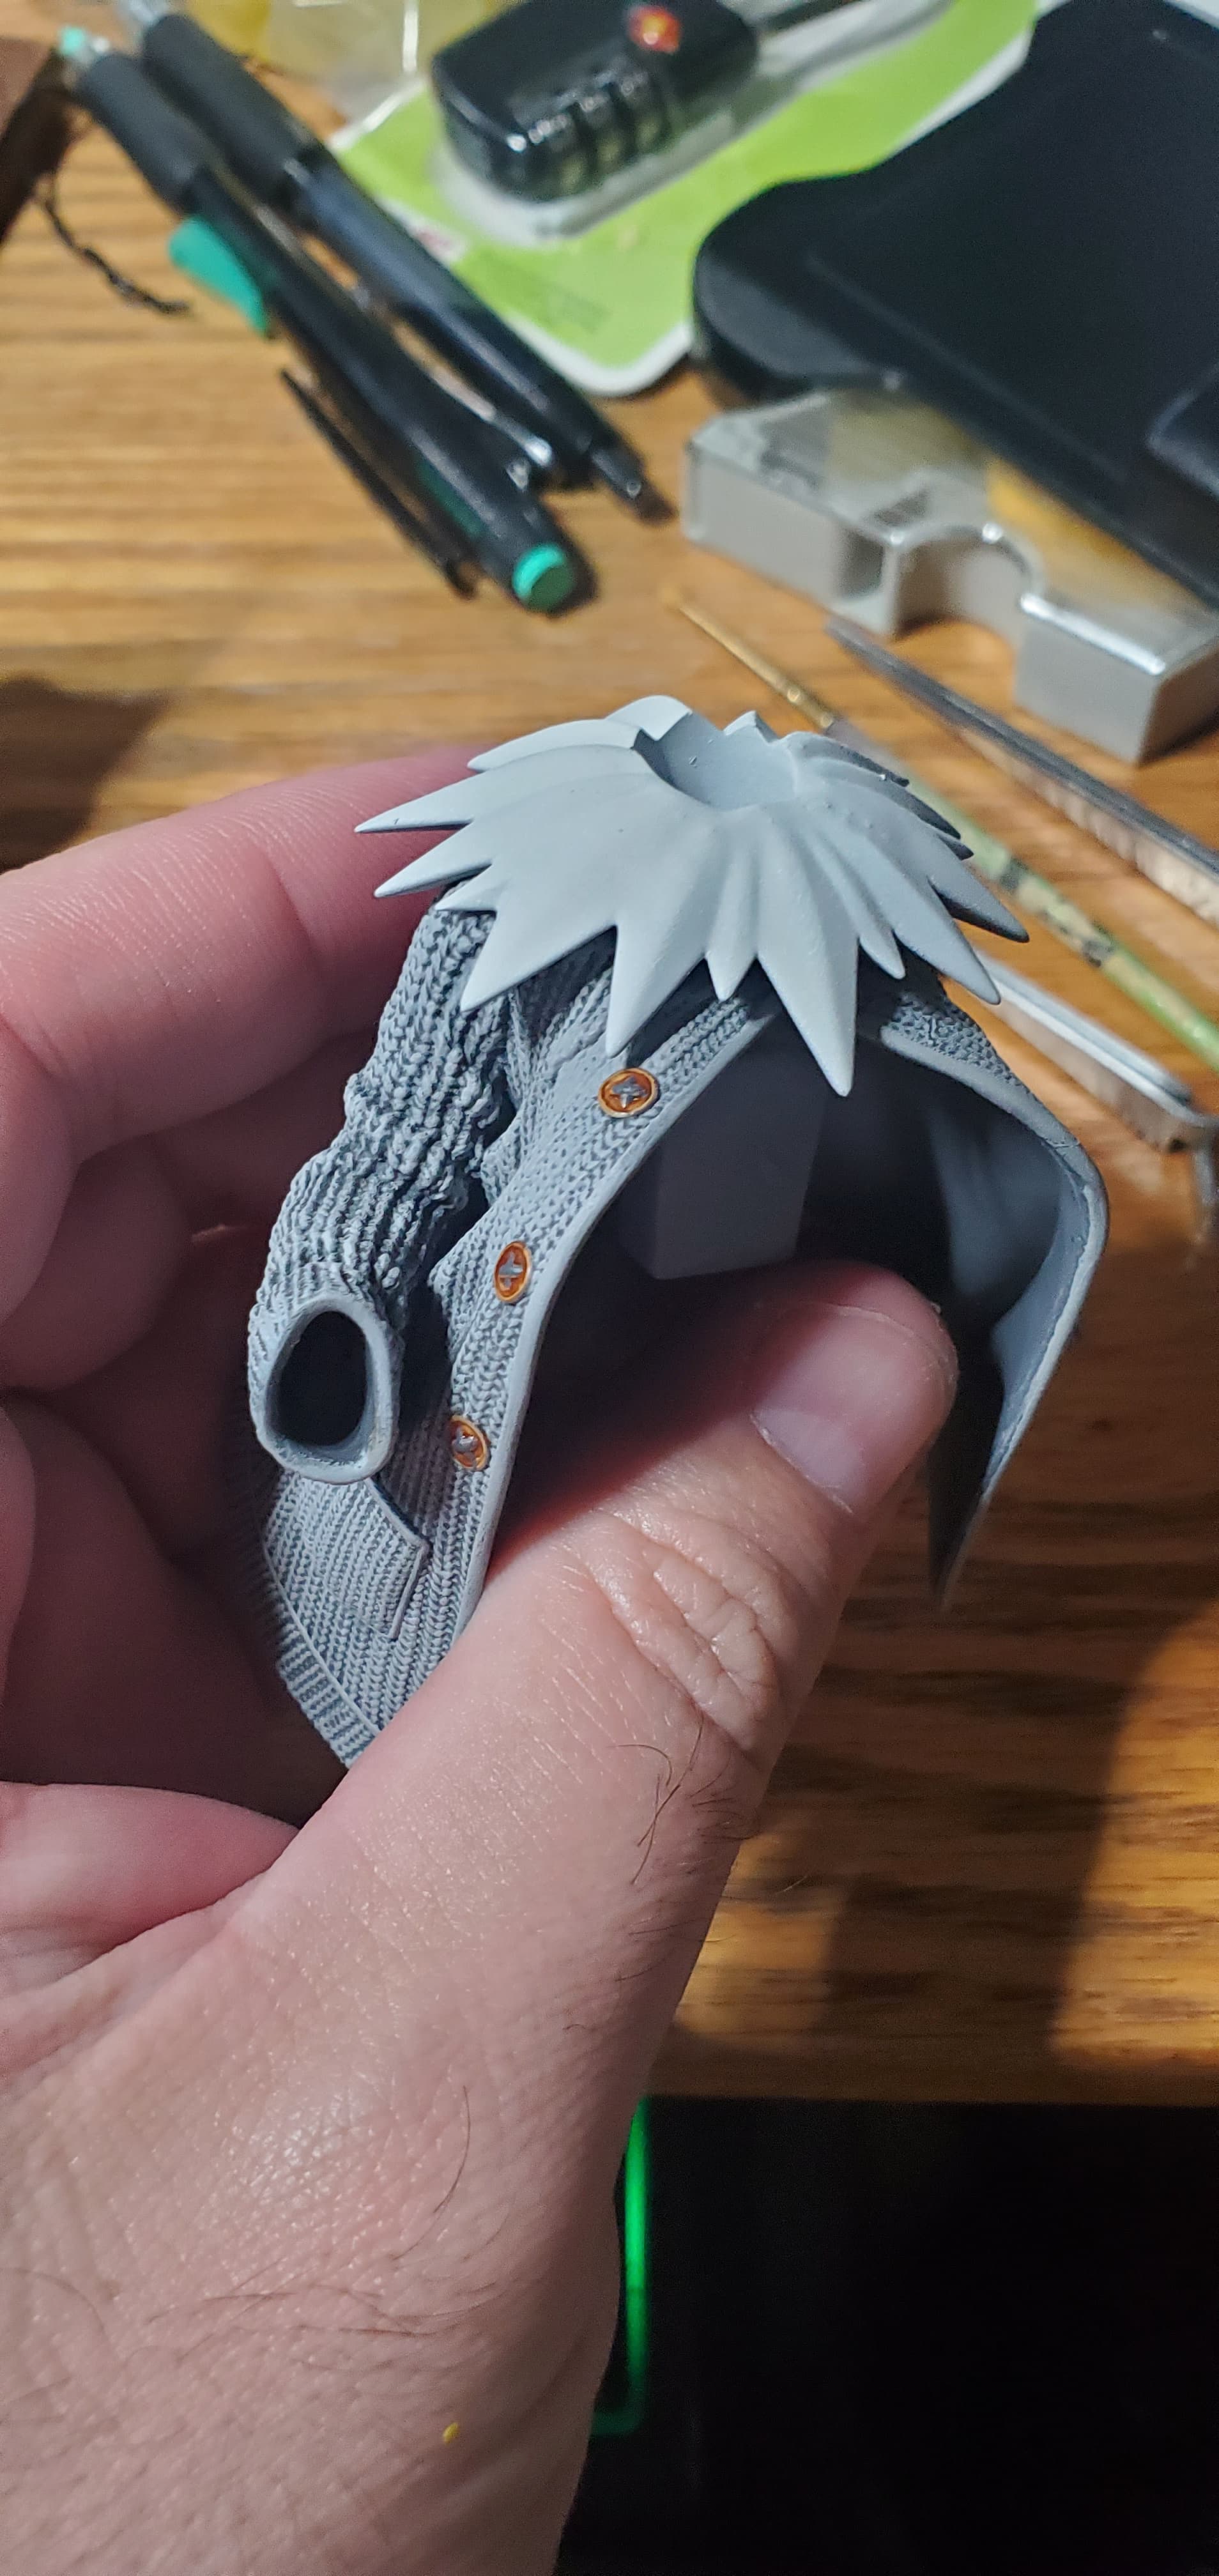
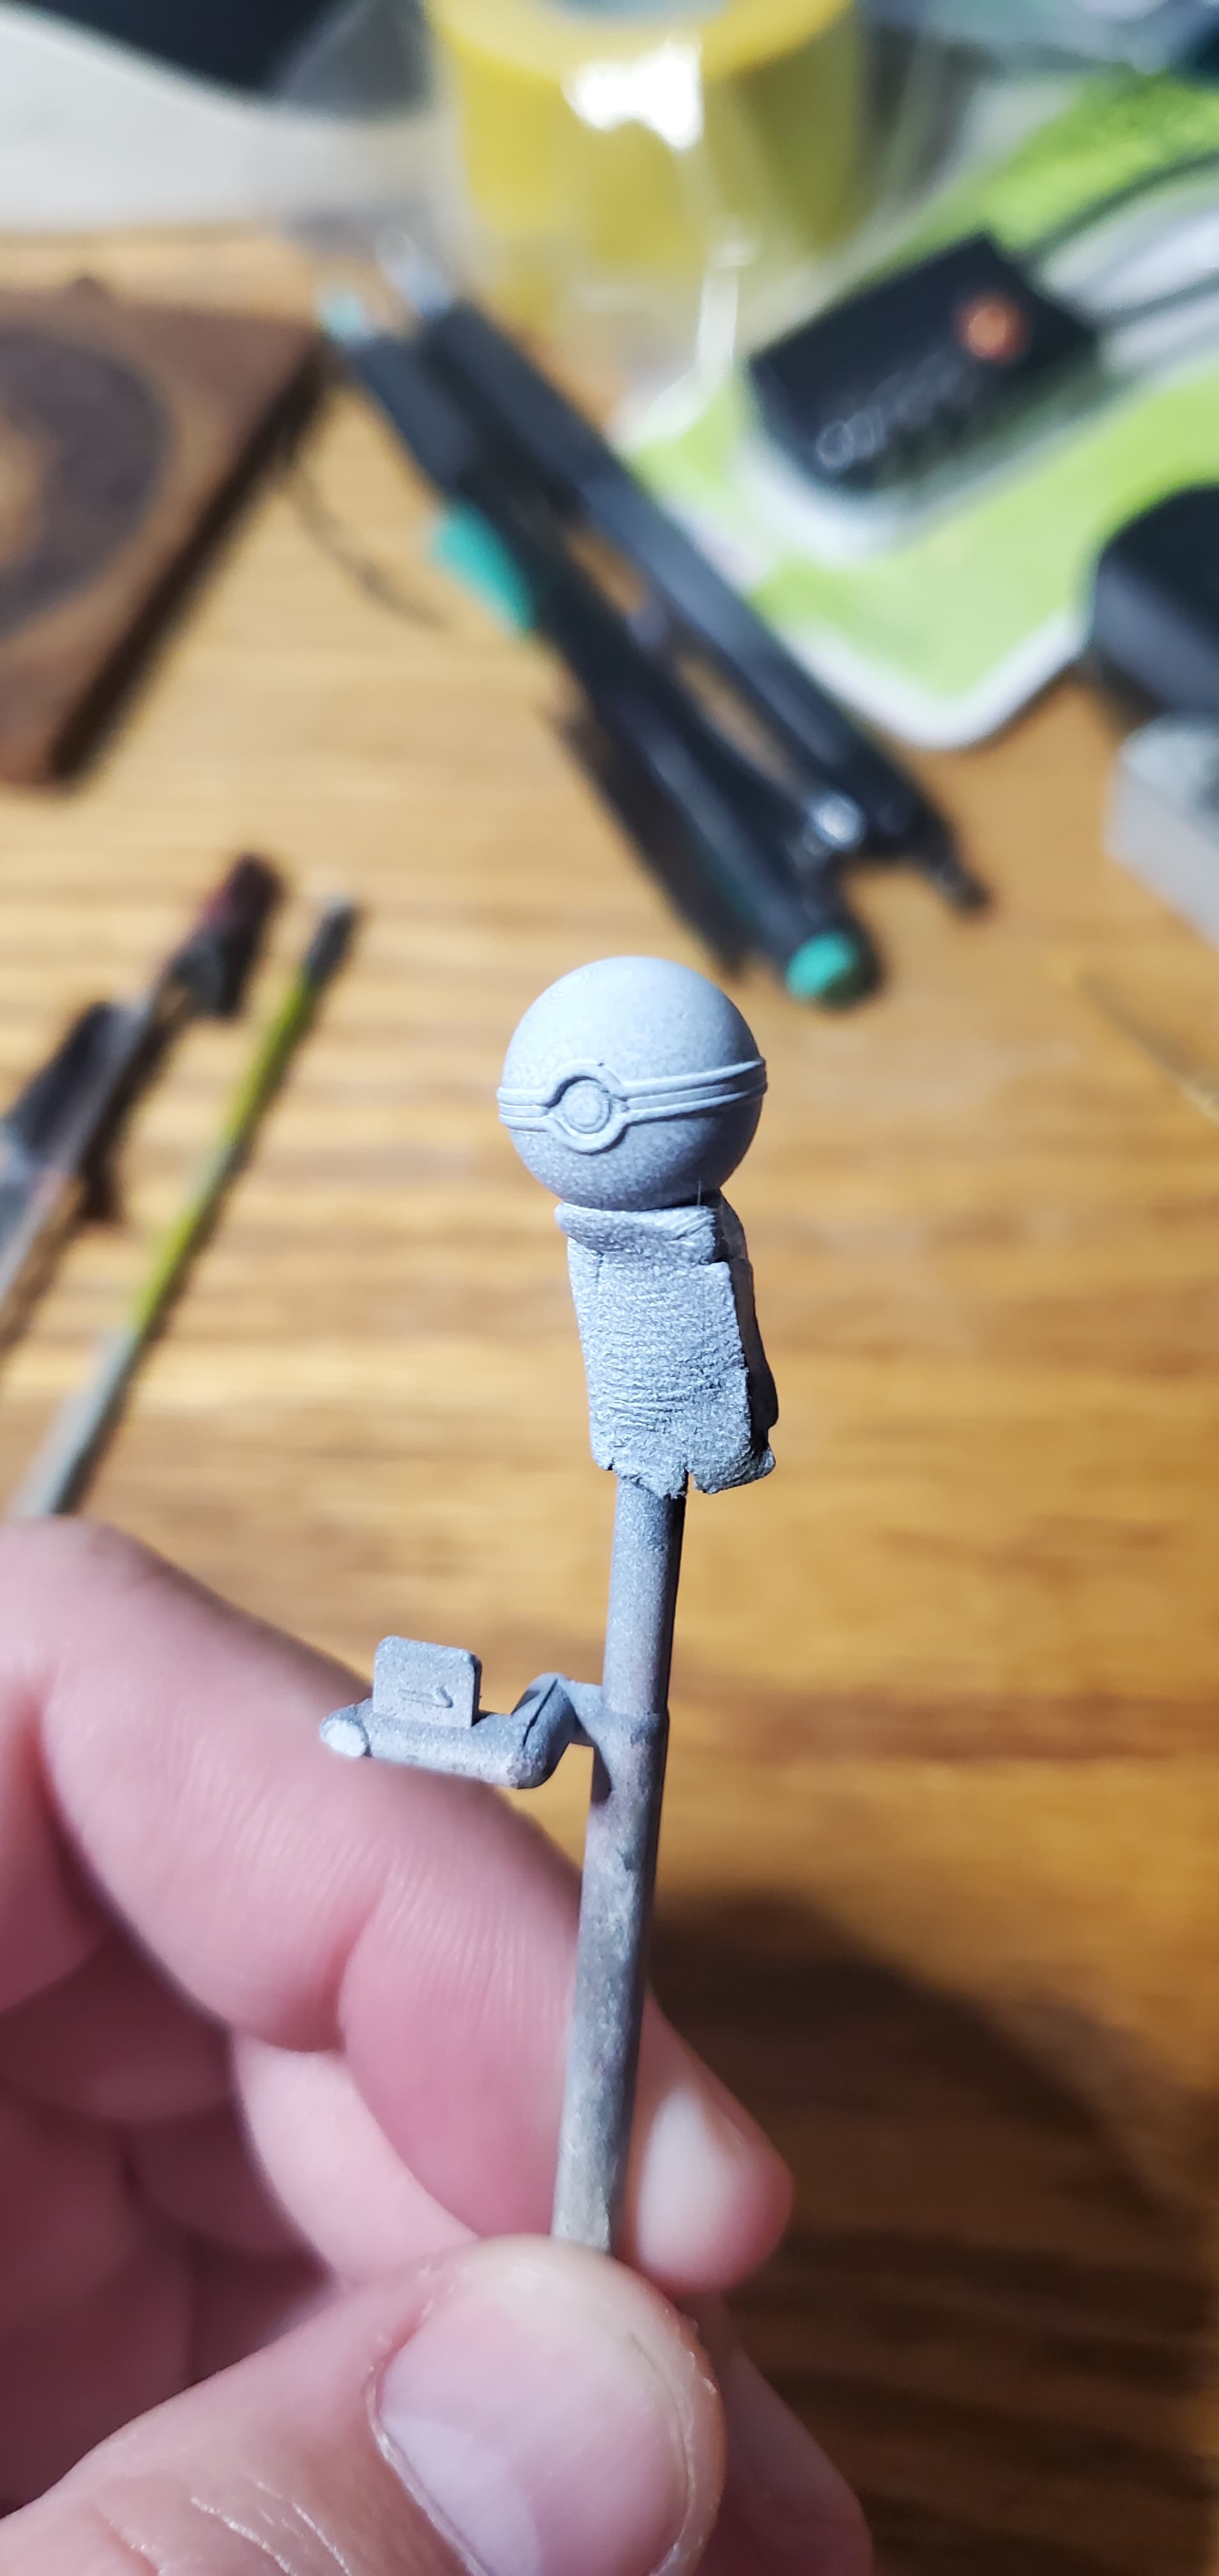
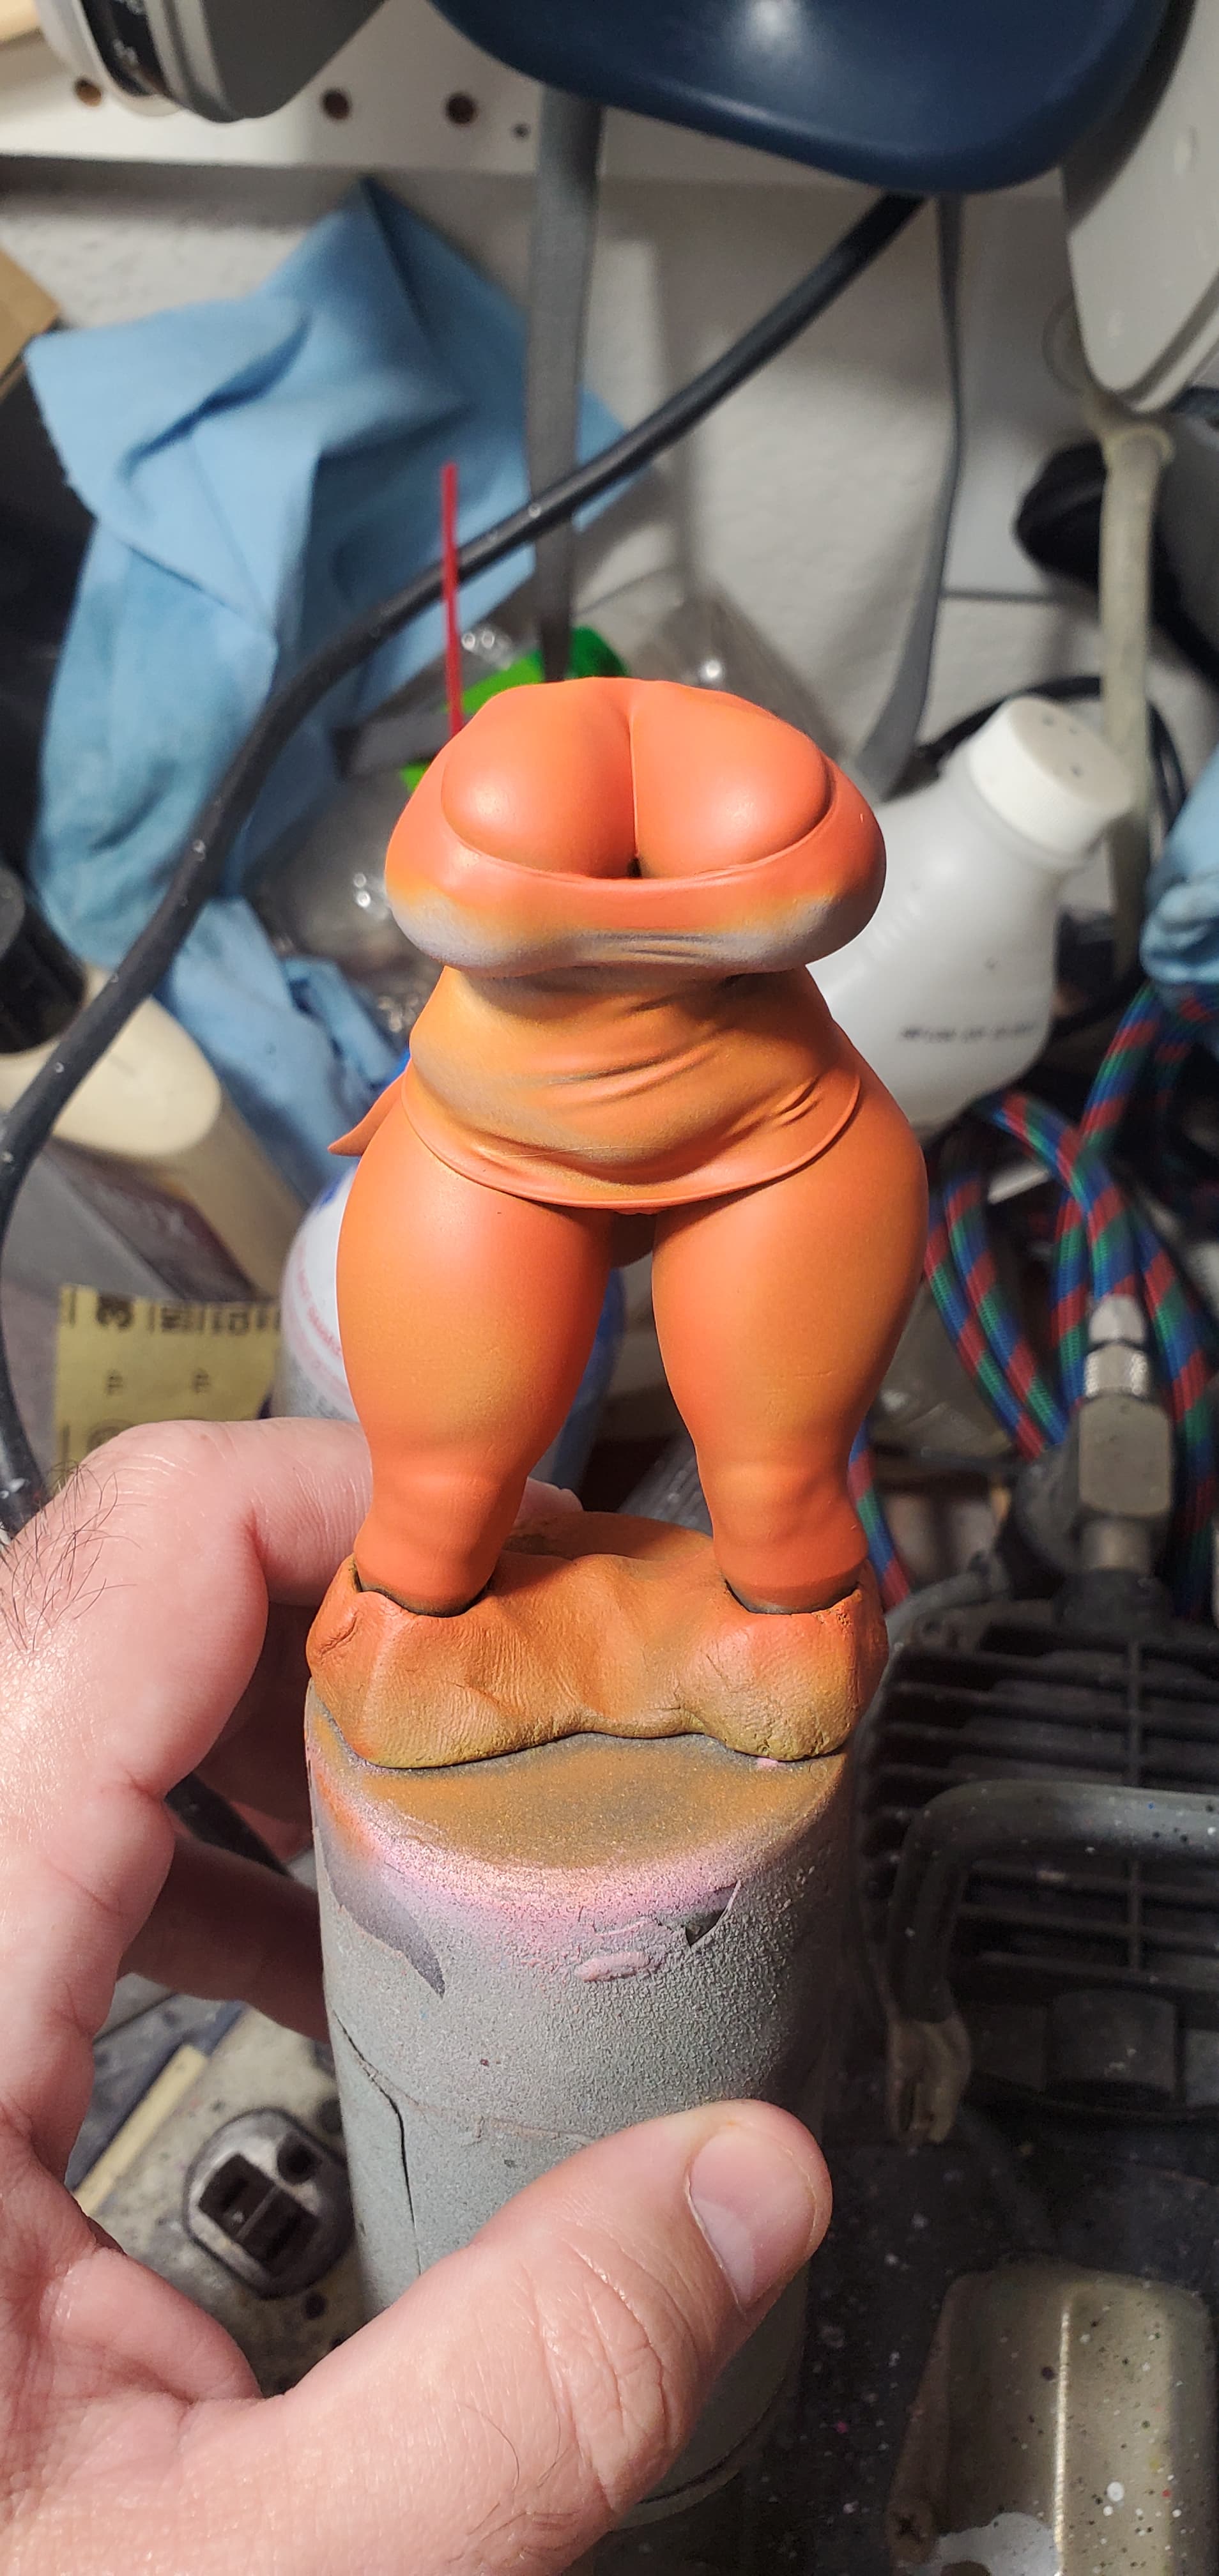
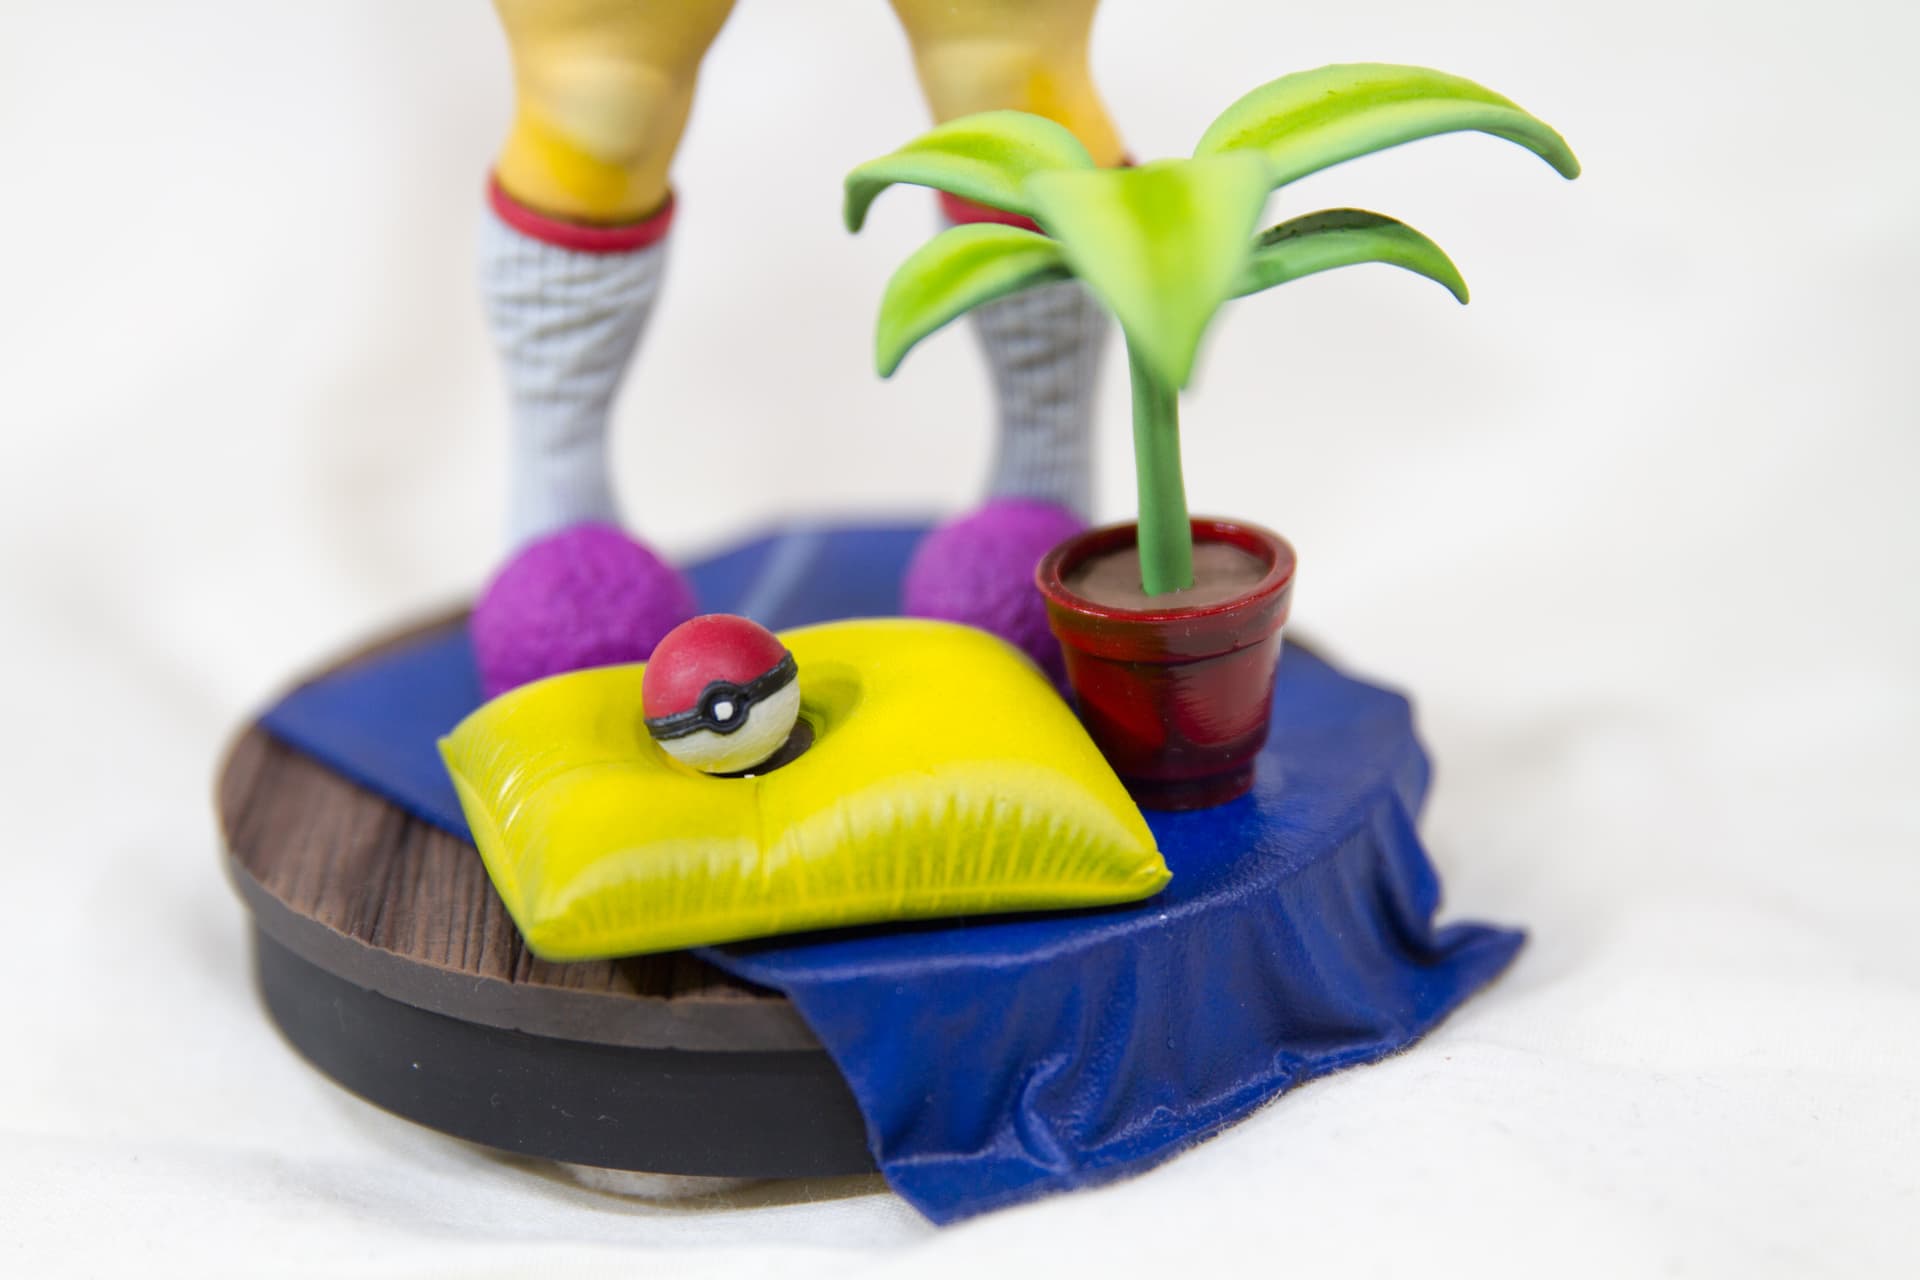
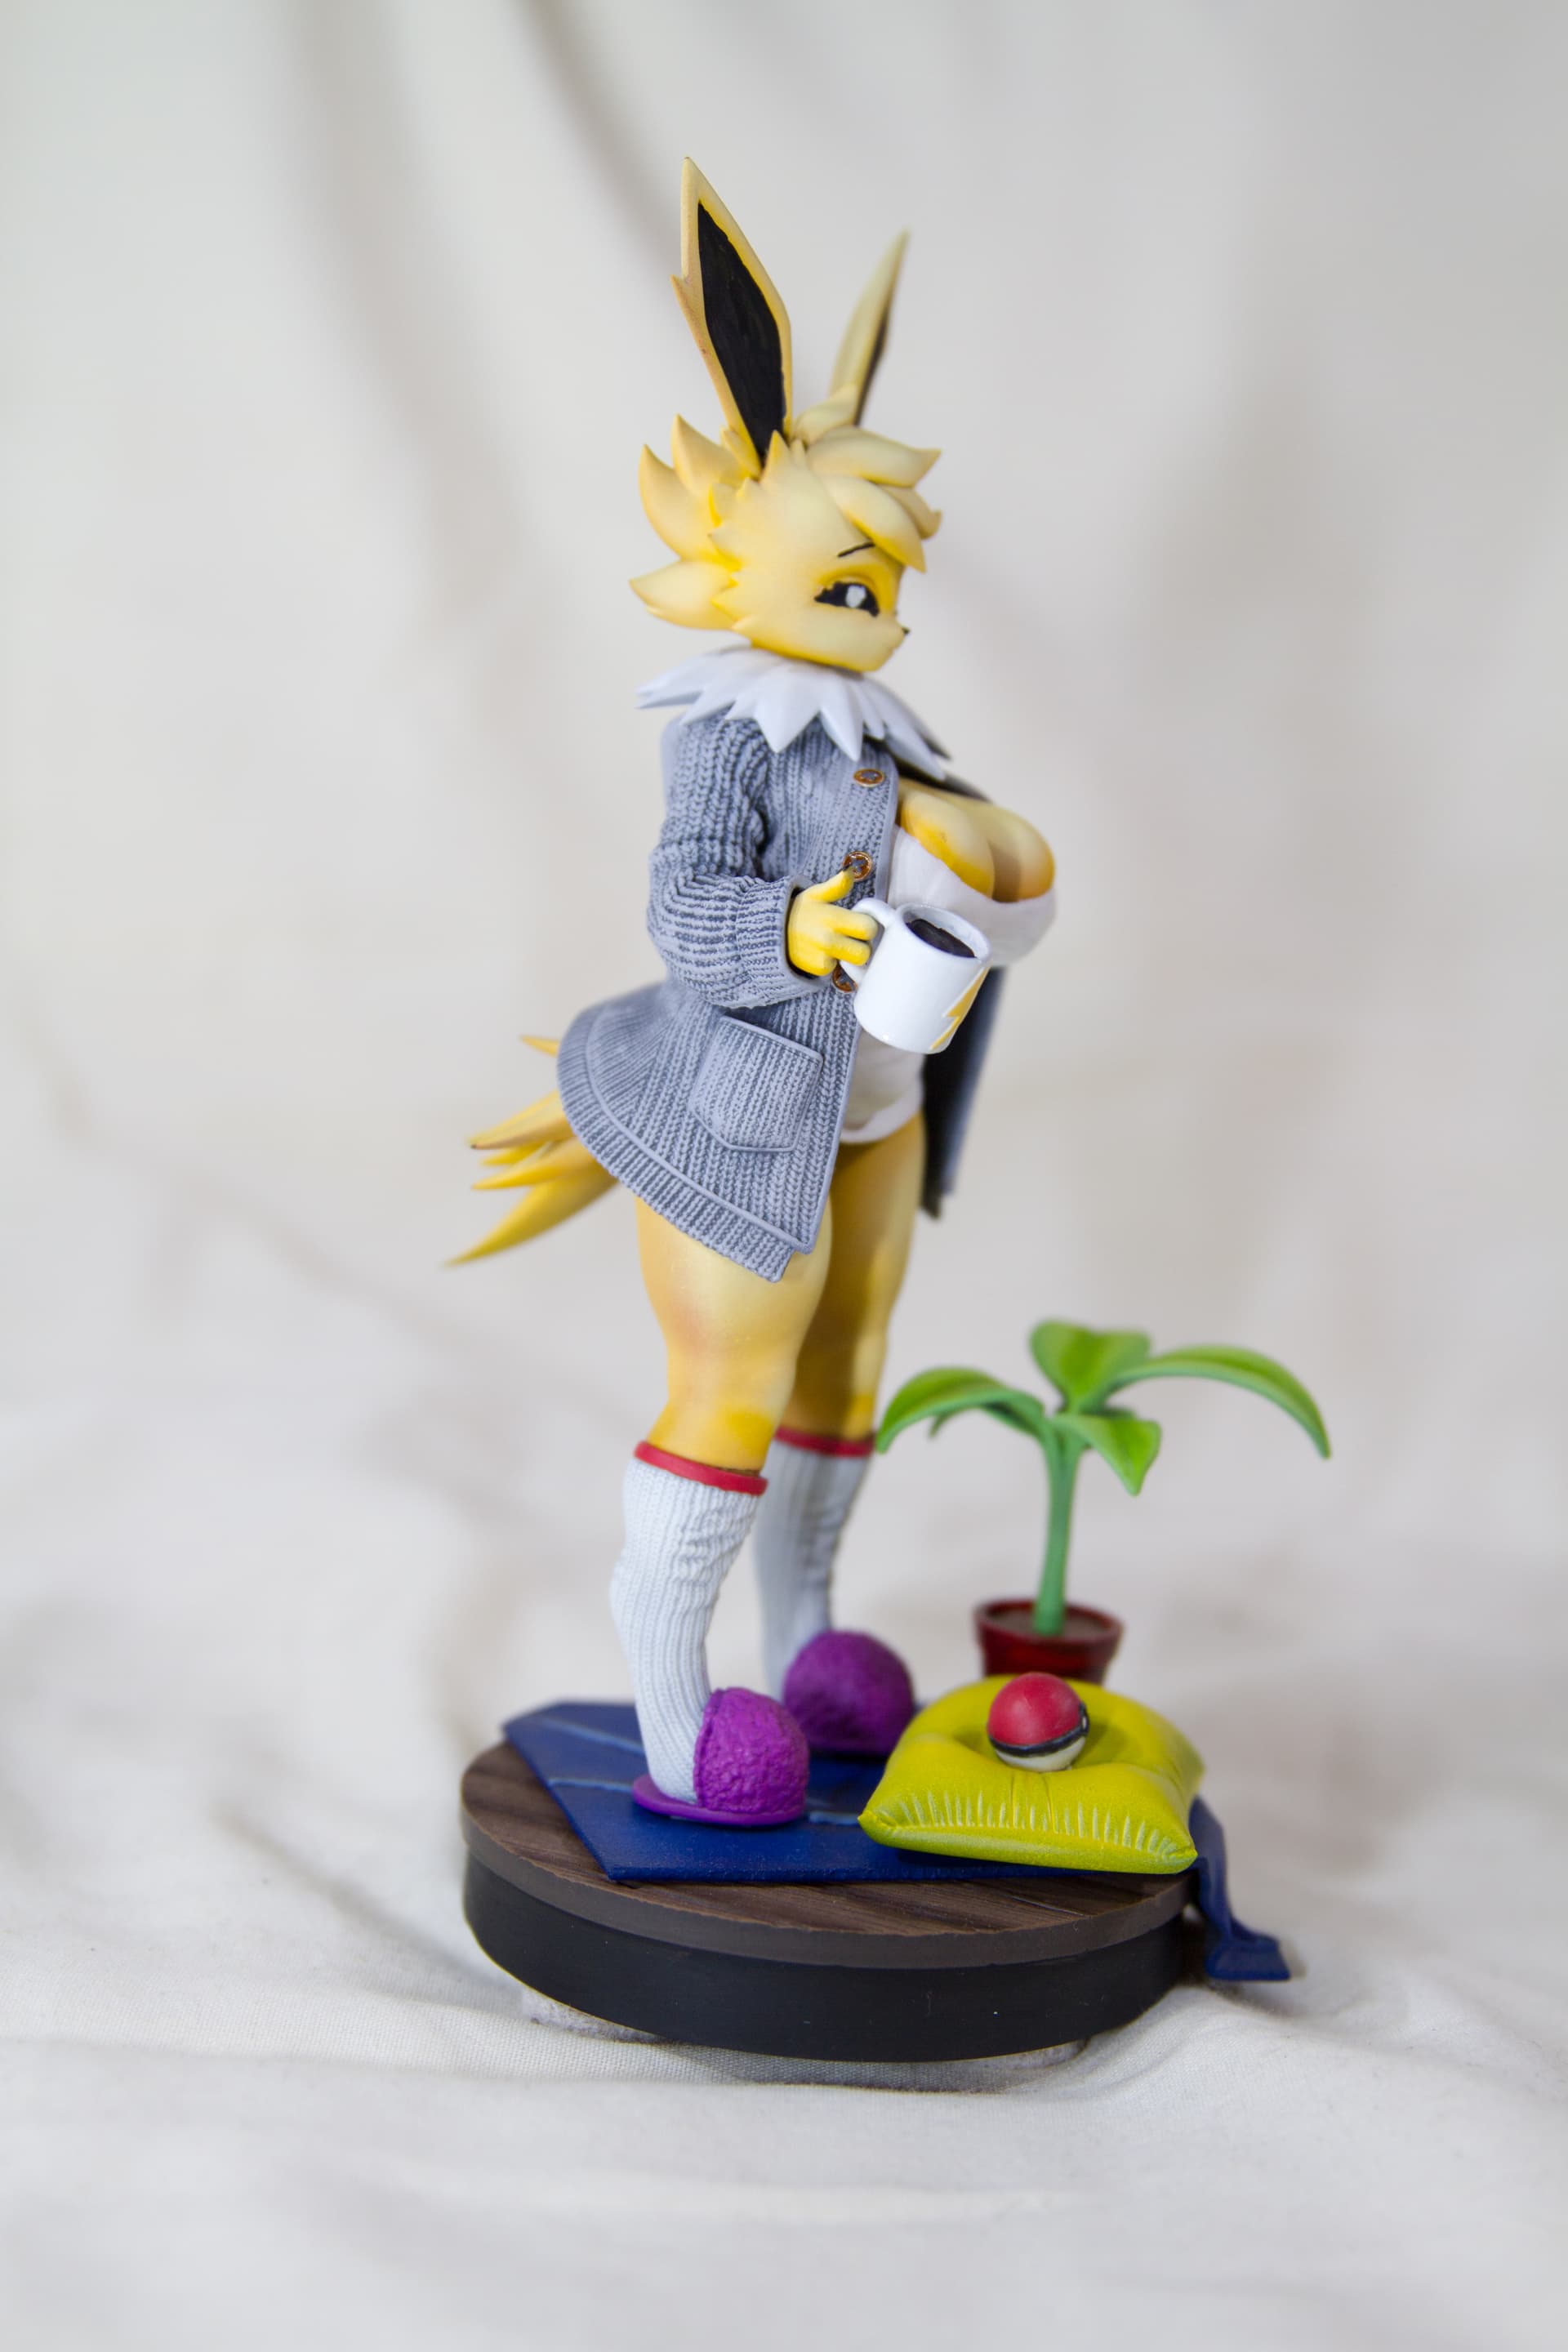
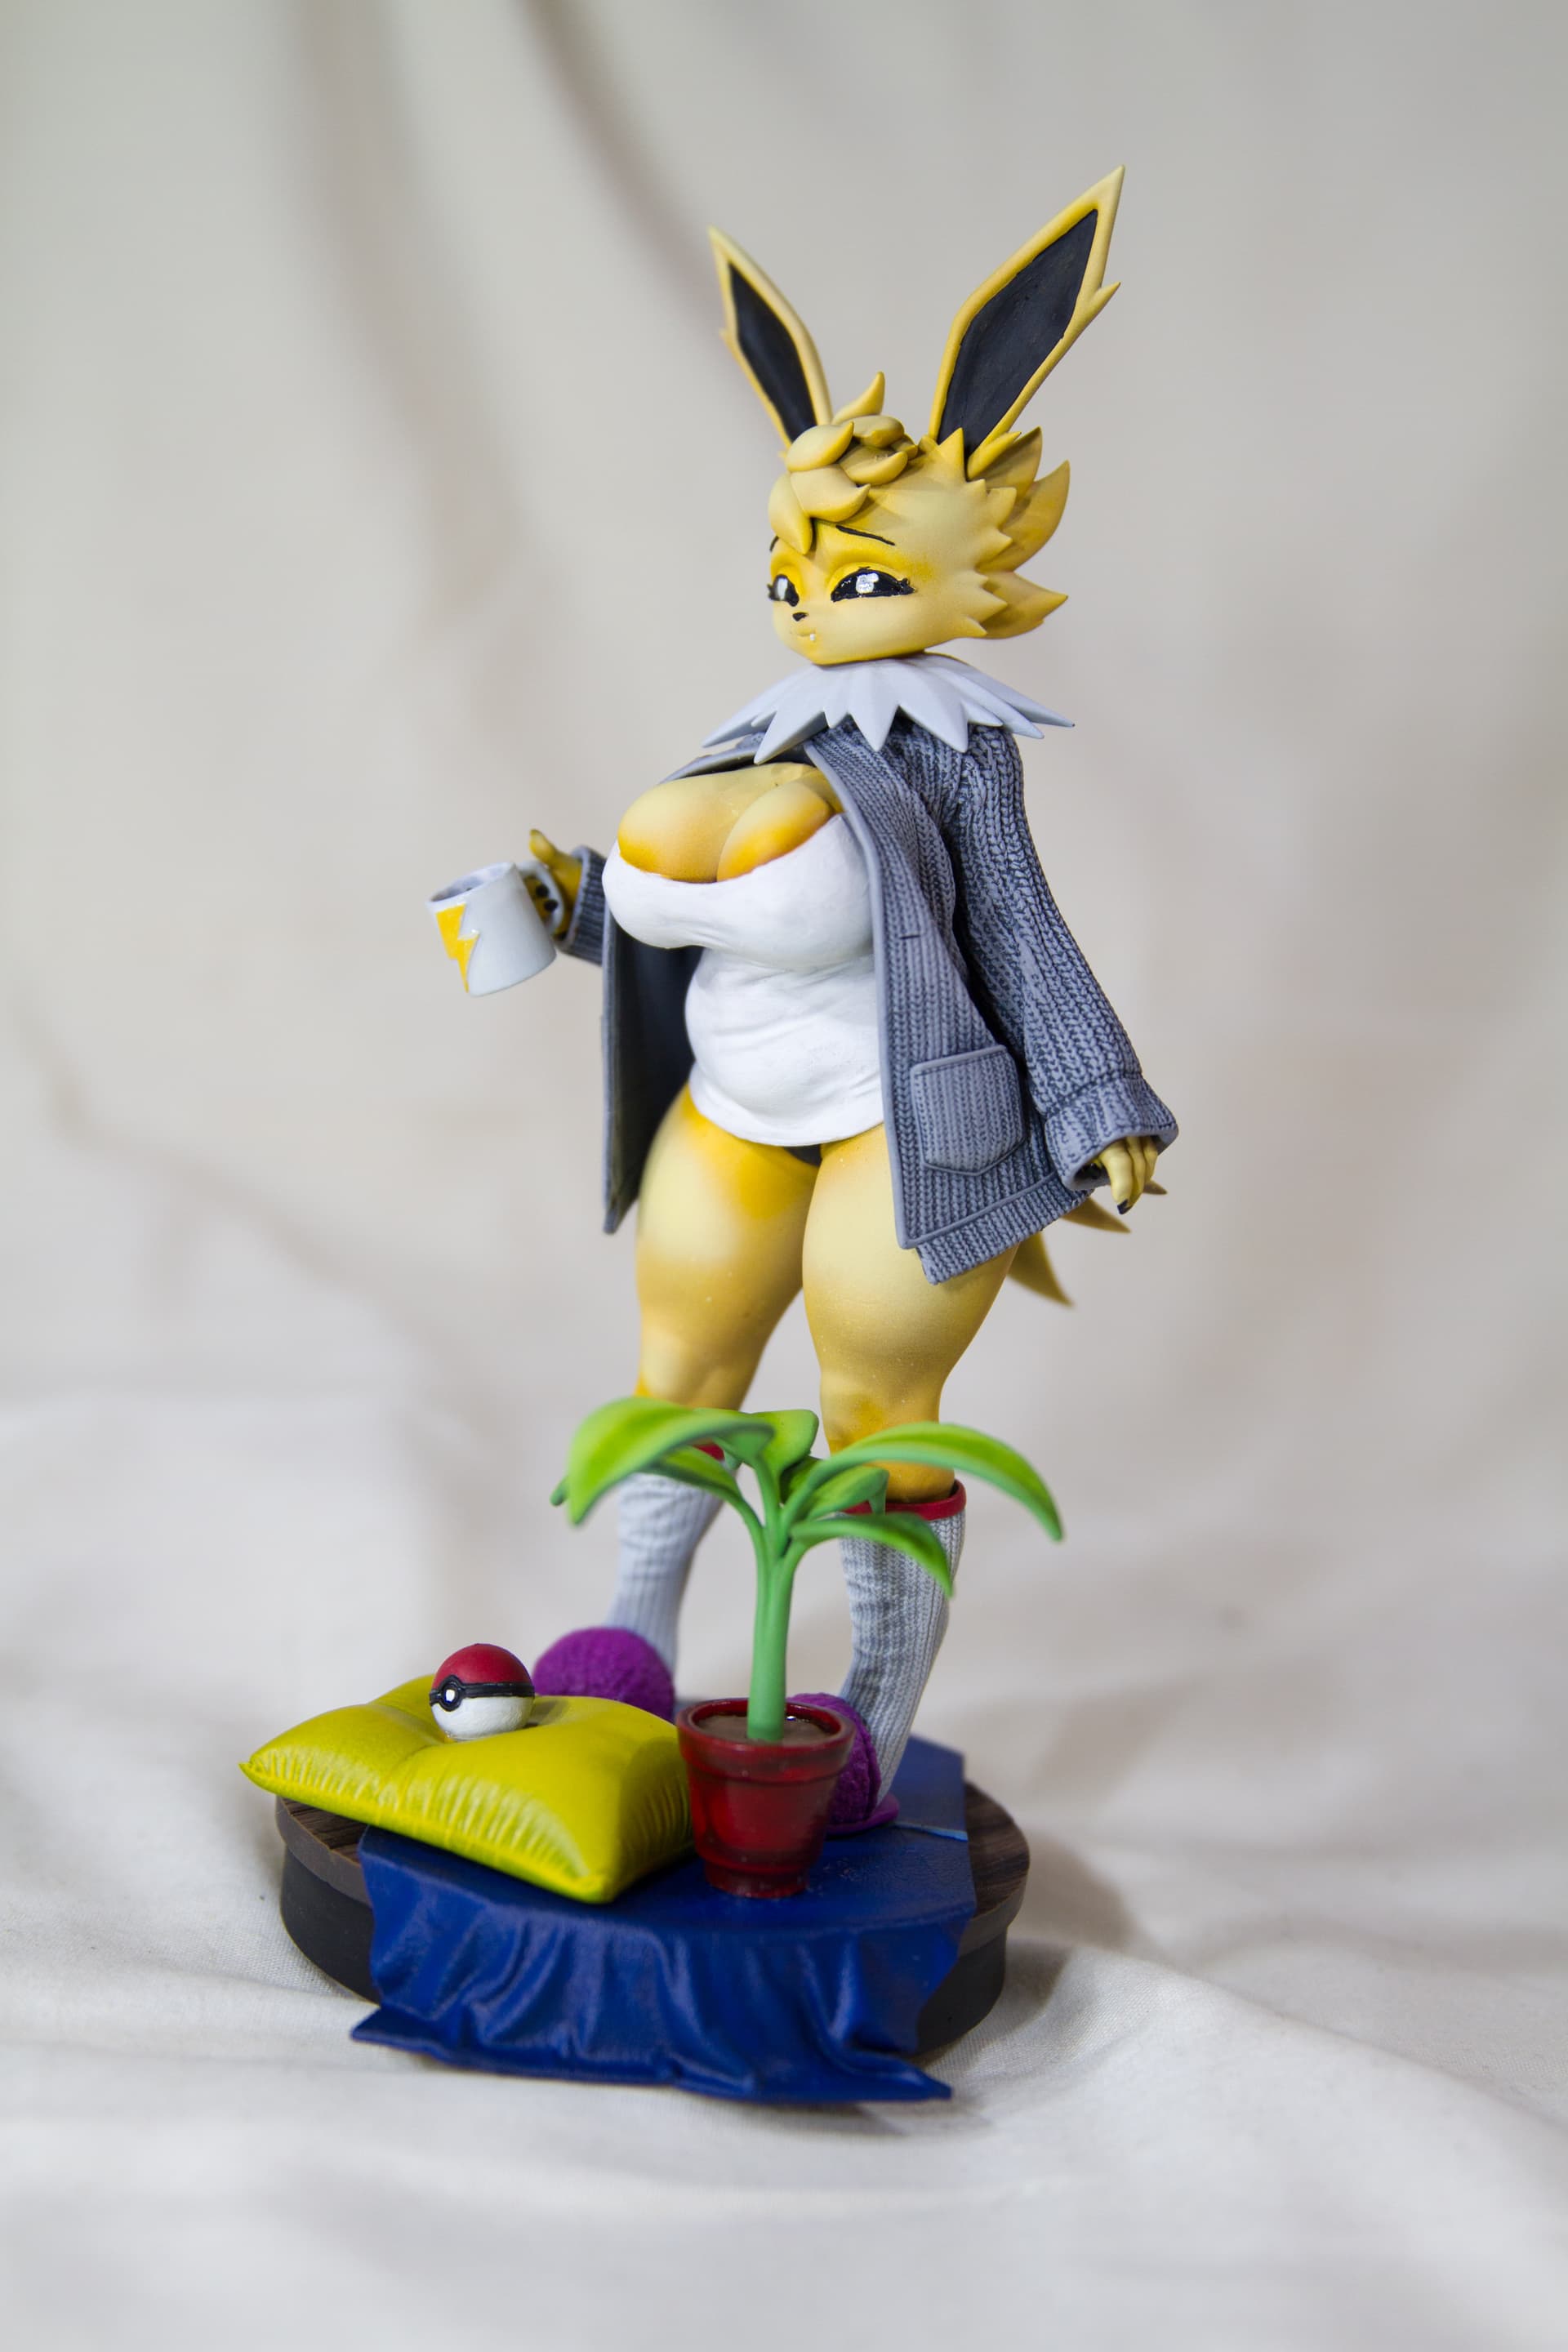
So first up is the initial test fit shot. Was waiting on magnets as she has multiple torso options. Unfortunately, I can not show those here as they vary from slight to mild spiciness and I don’t want to get in trouble. Will post elsewhere though. After attaching the magnets I then puttied the drain holes and filled the torso, base, and pillow with a liquid putty for added strength.

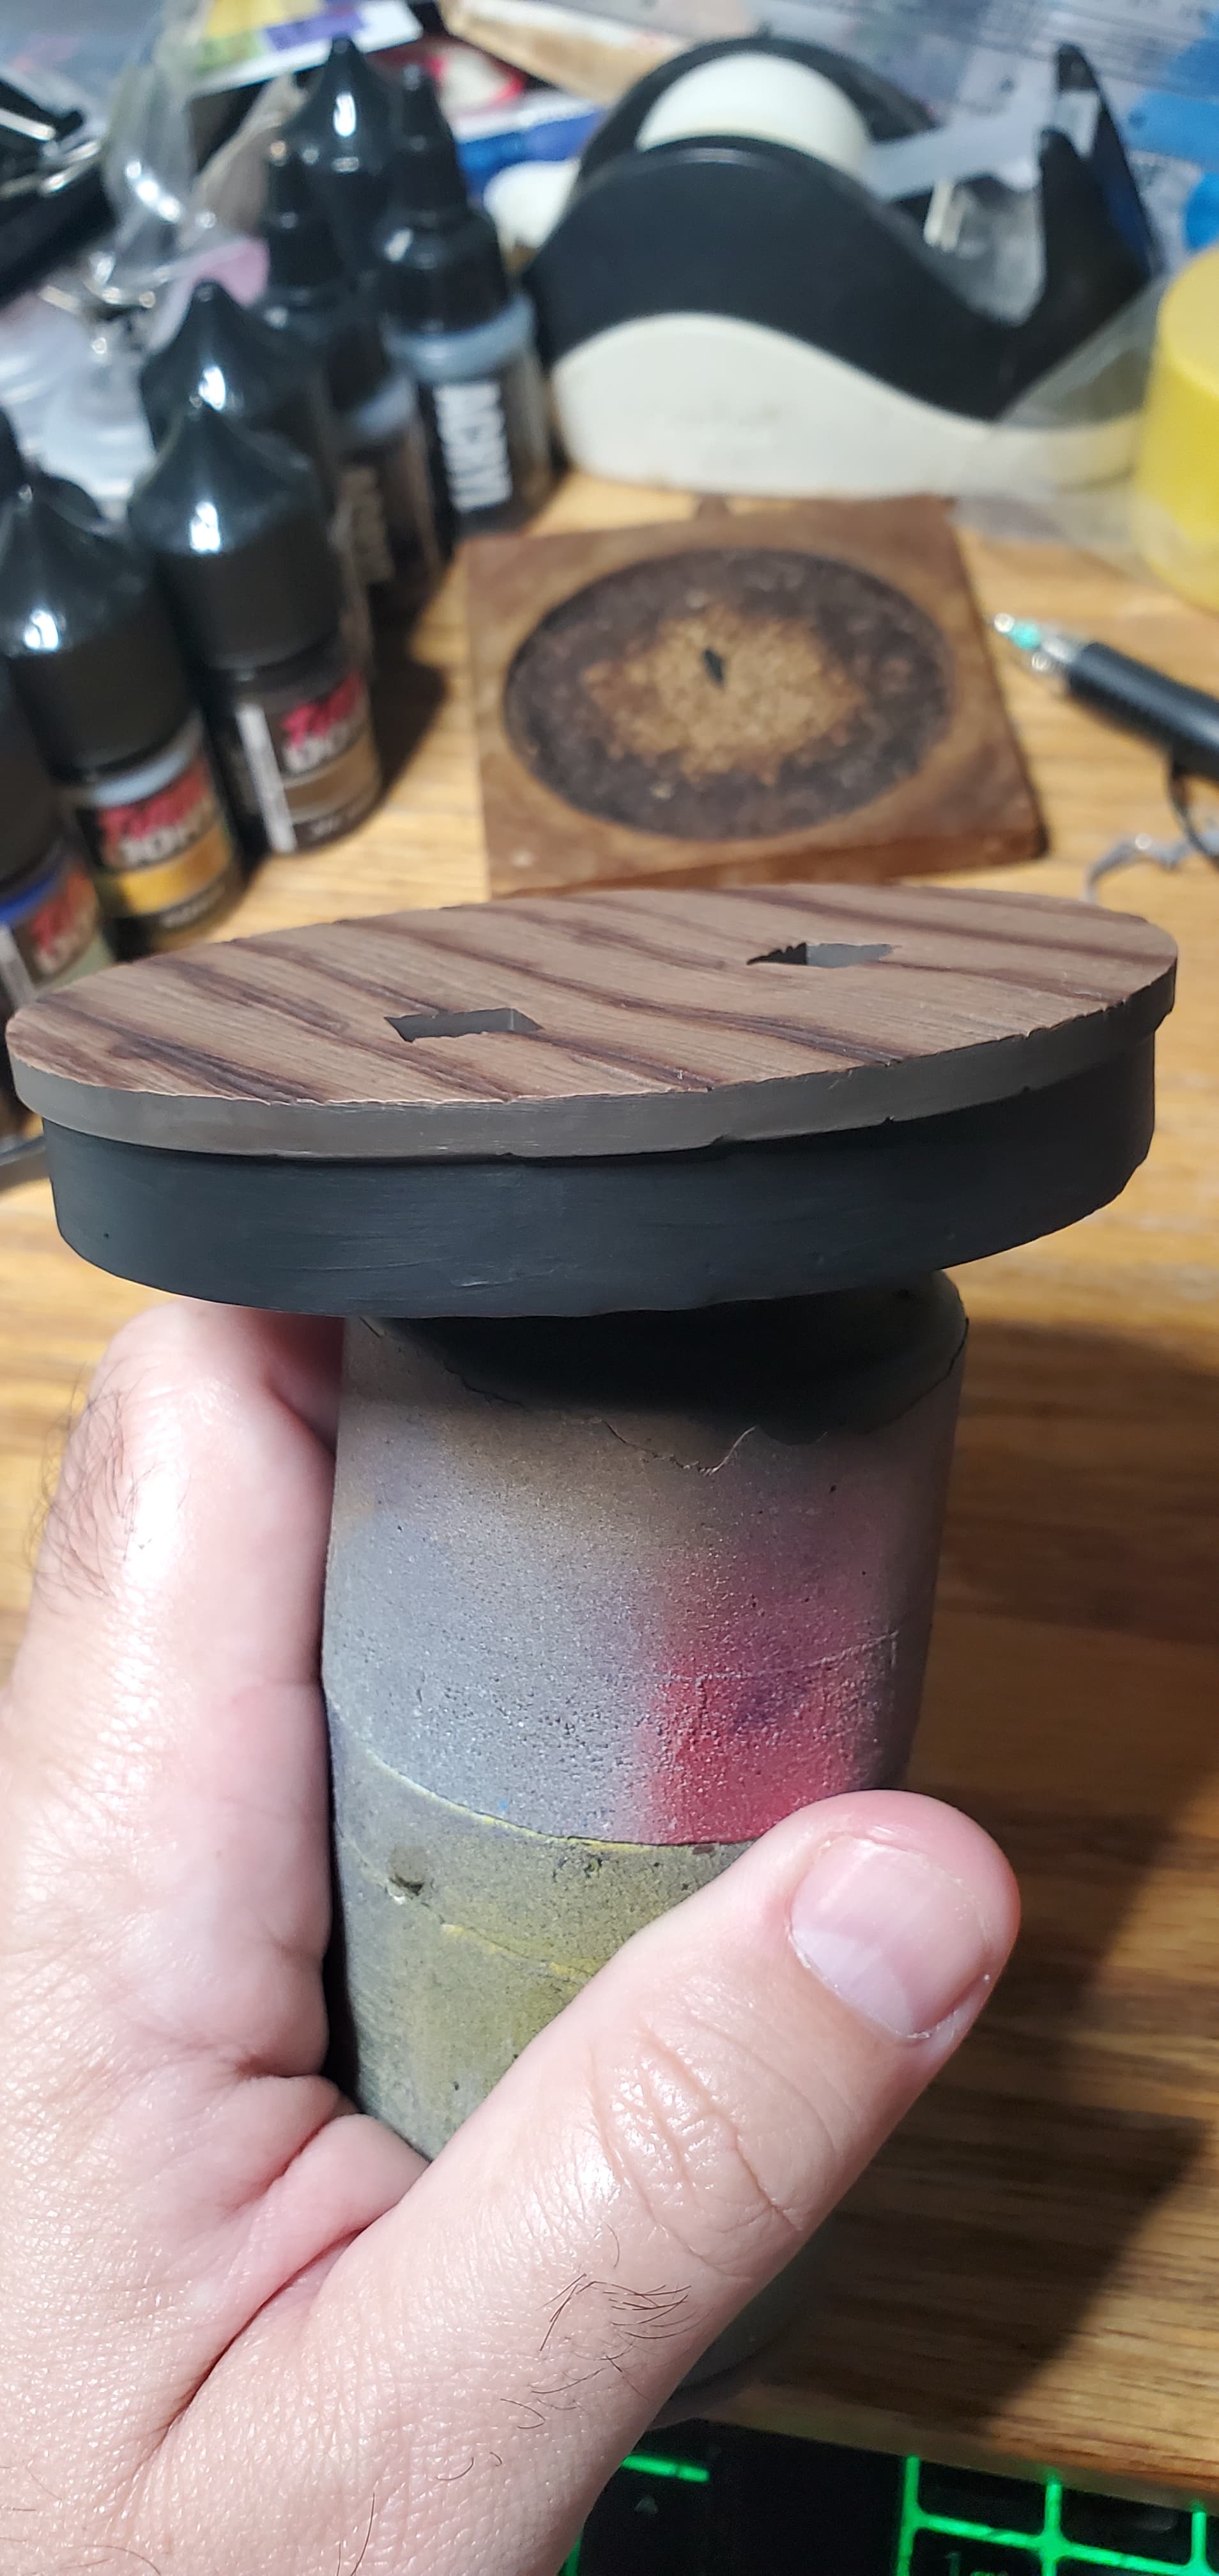
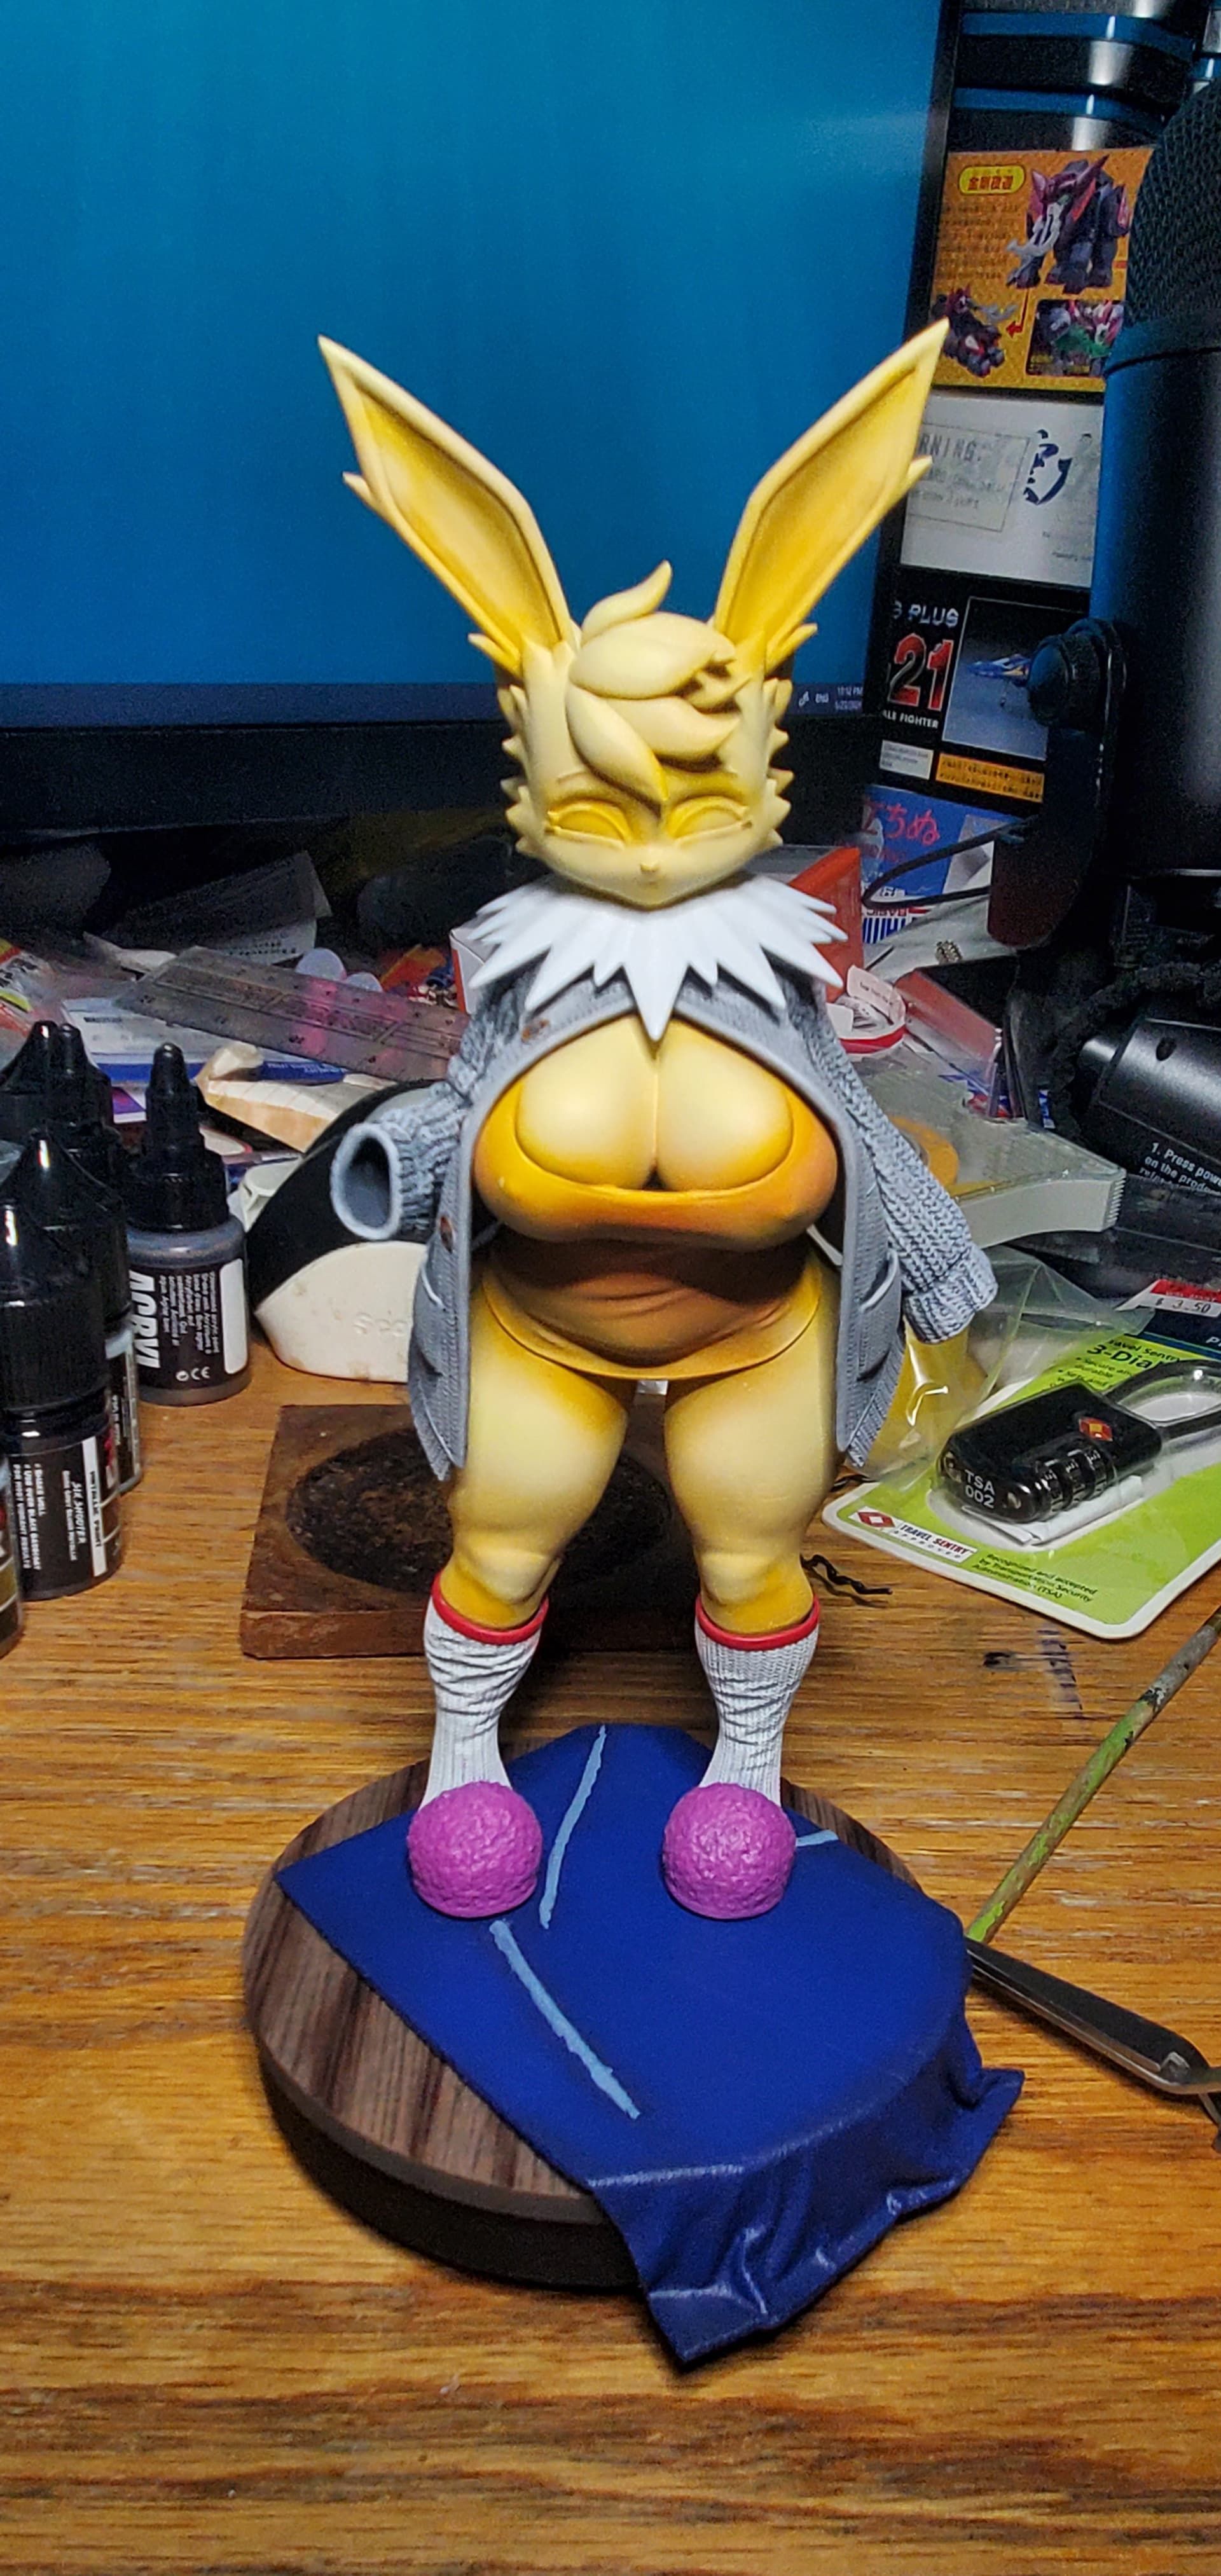
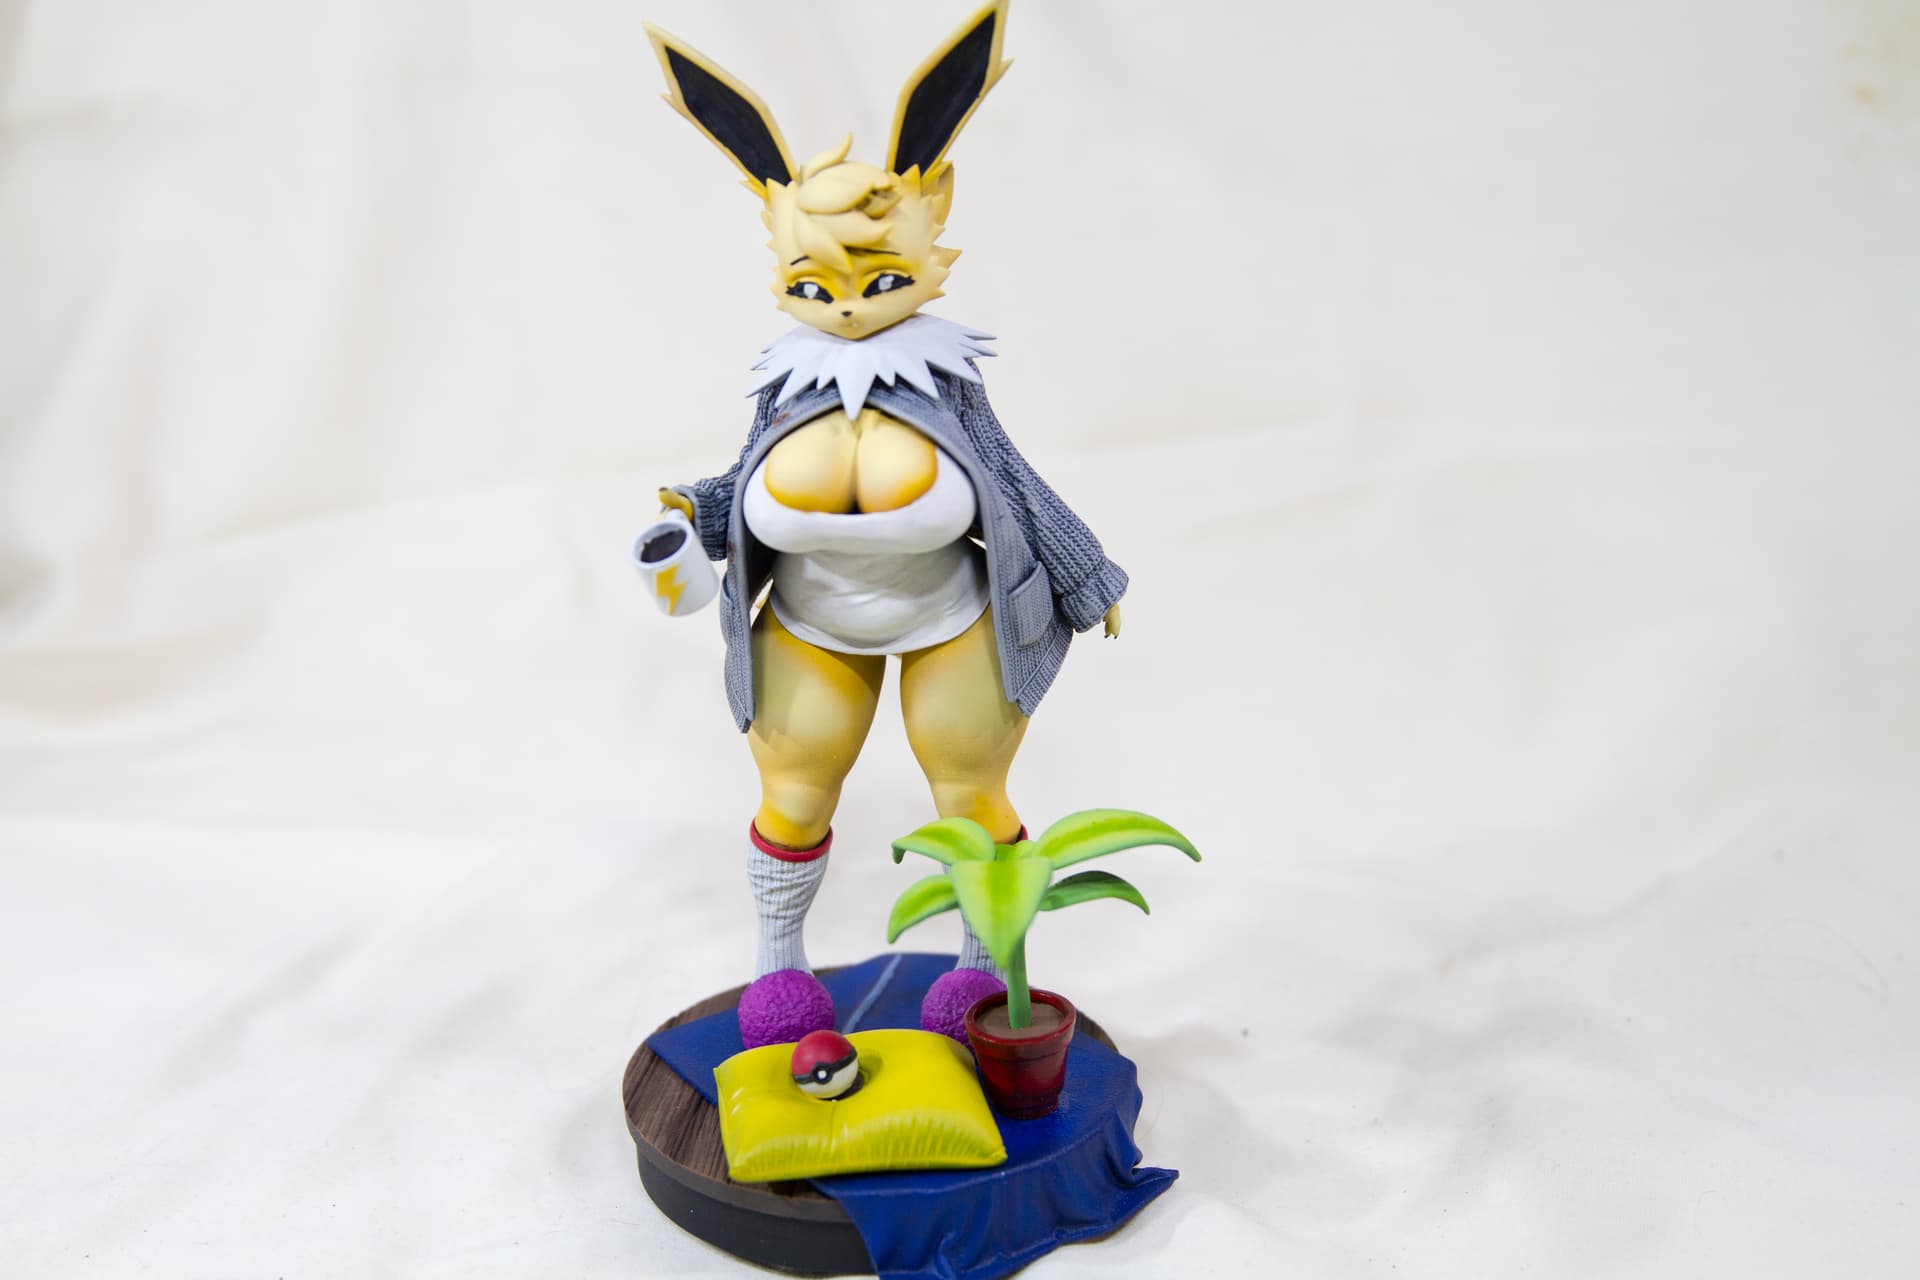
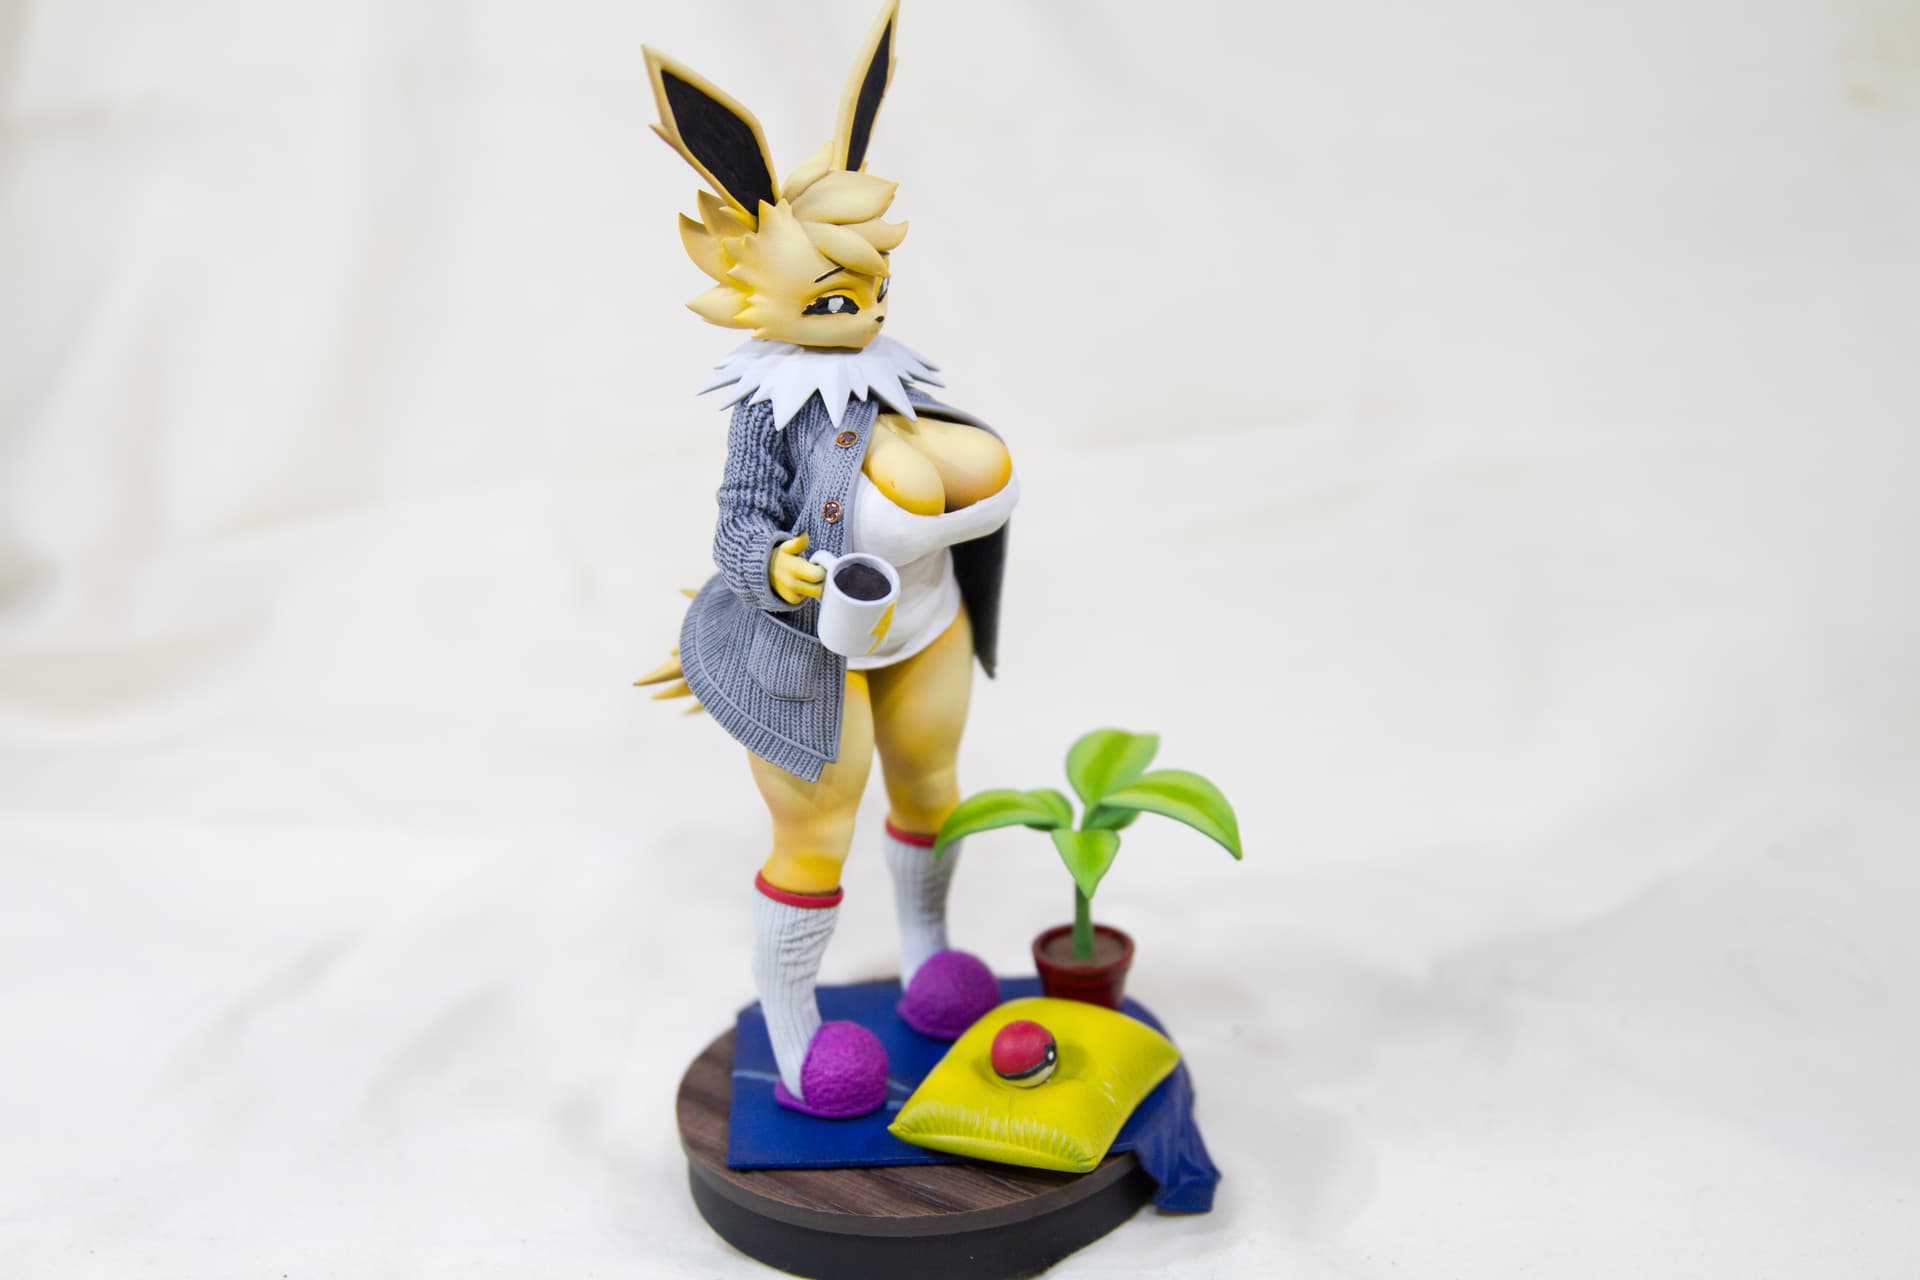
So first the first step of getting this girl painted I primed the base black to build up the wood finish.

I then base coated it in a dark brown

The middle brown tone was applied next using a heavy dry brushing. This allows the dark brown to still be visible in the groves.

The wood was further highlighted with a lighter brown shade, applied with a lighter dry brushing.

To finish it off I airbrushed some Cygor Brown into the grooves of the planks to add additional depth to them and provide additional definition. At this point I am debating using a dark brown panel wash further accent the wood groves, but am leaning towards not with the results I have thus far.

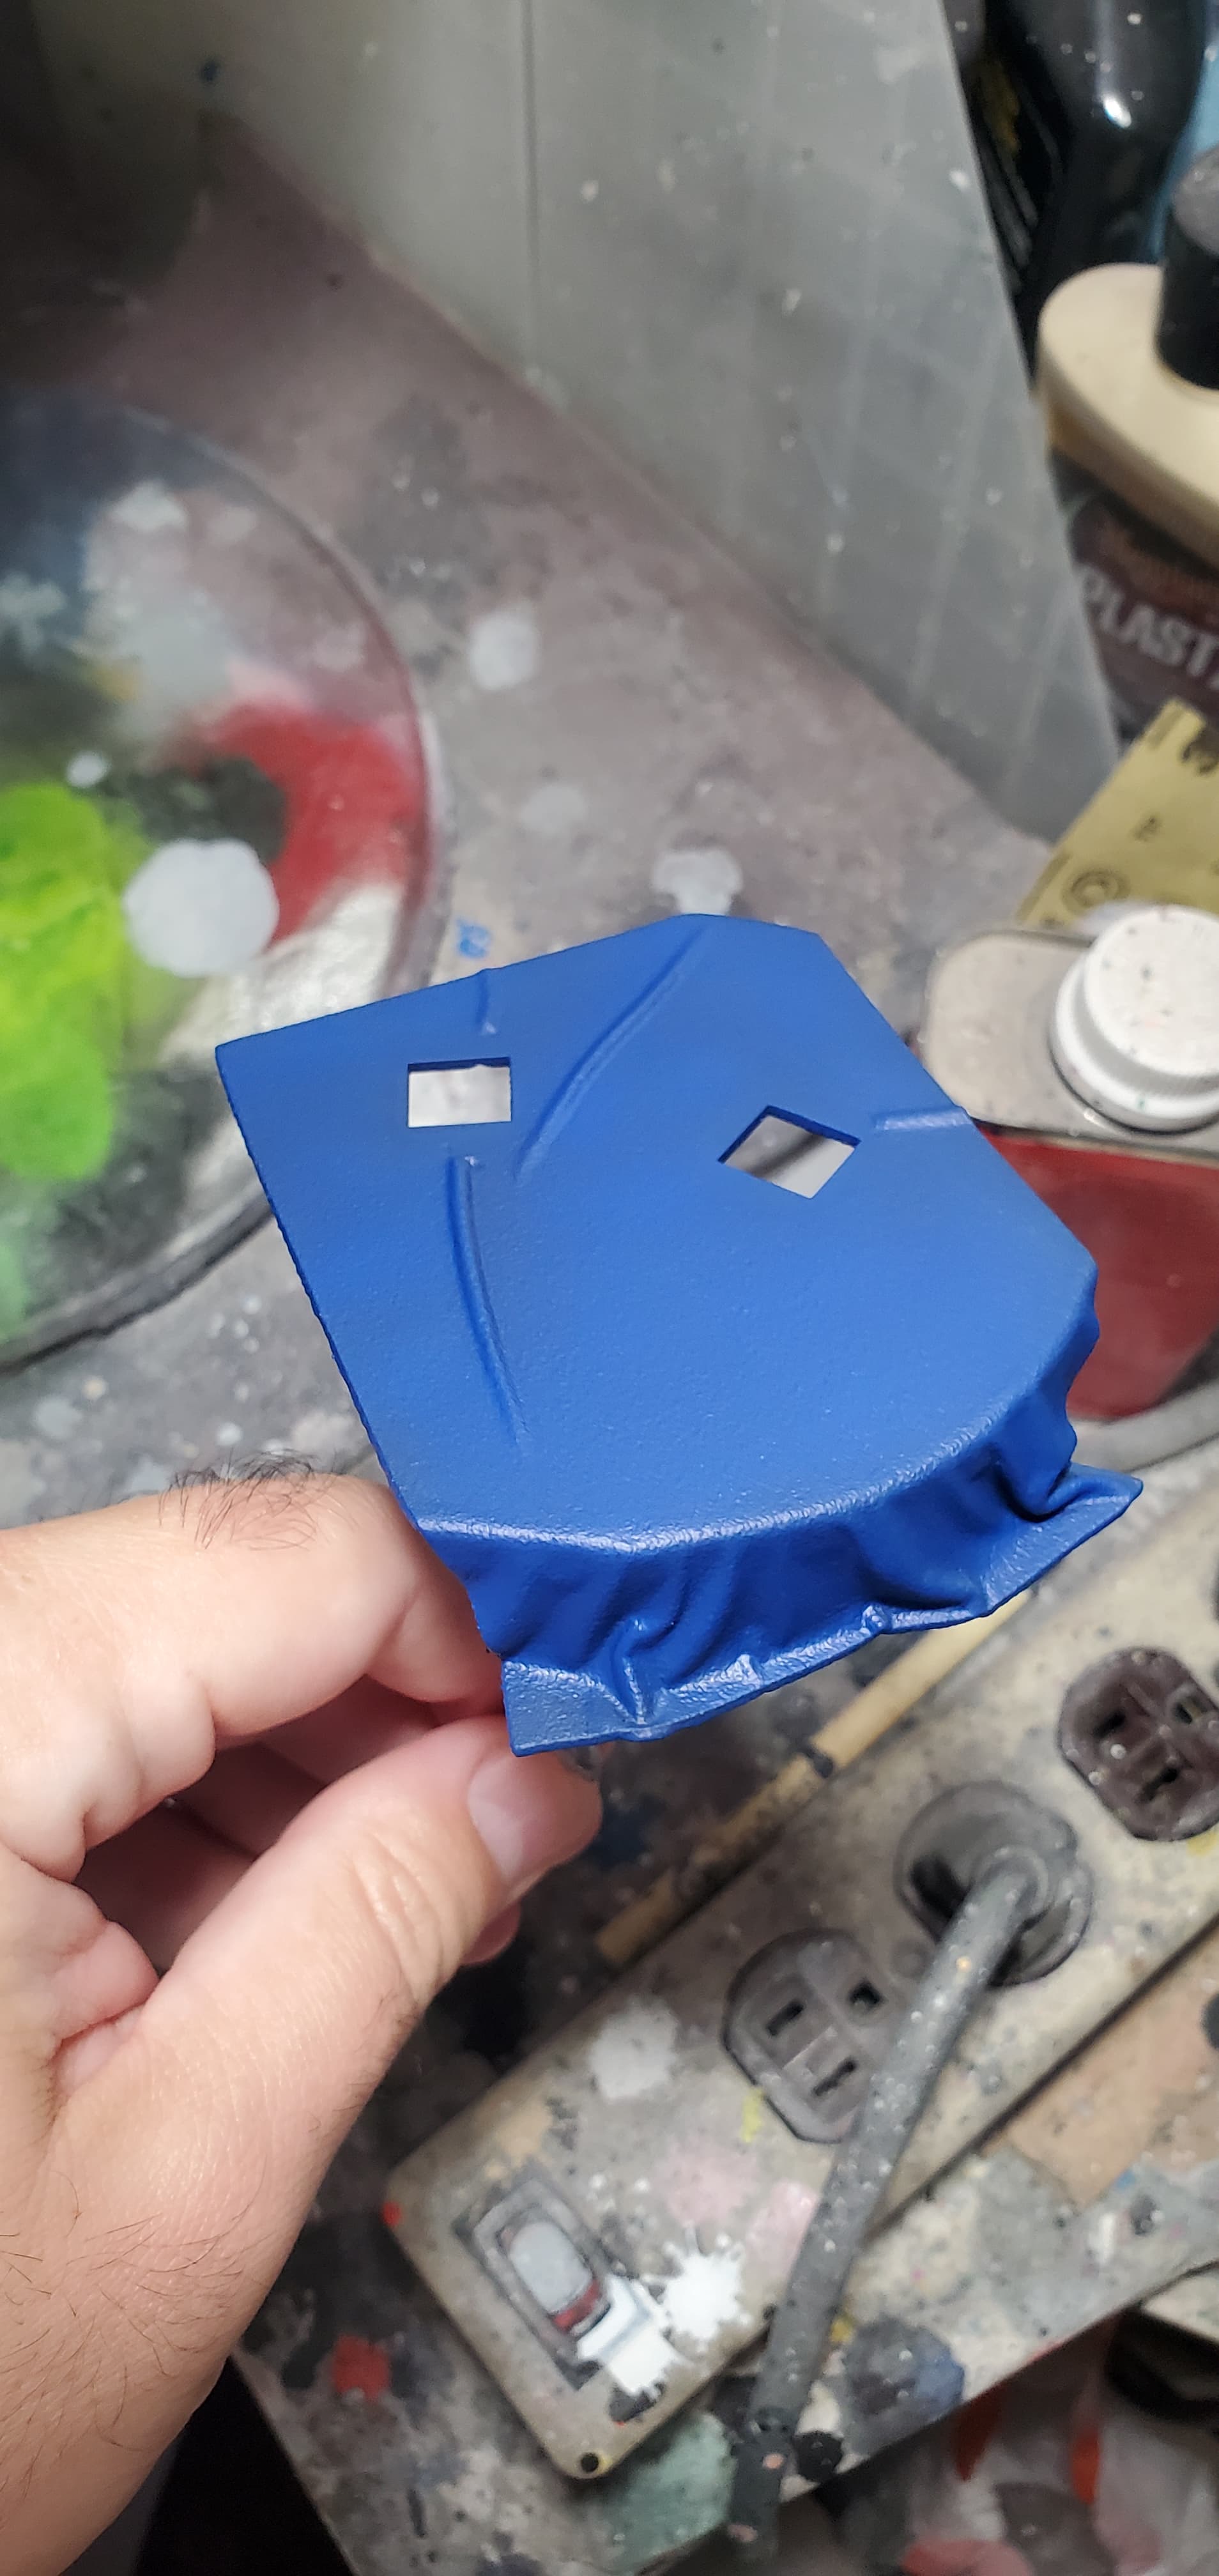
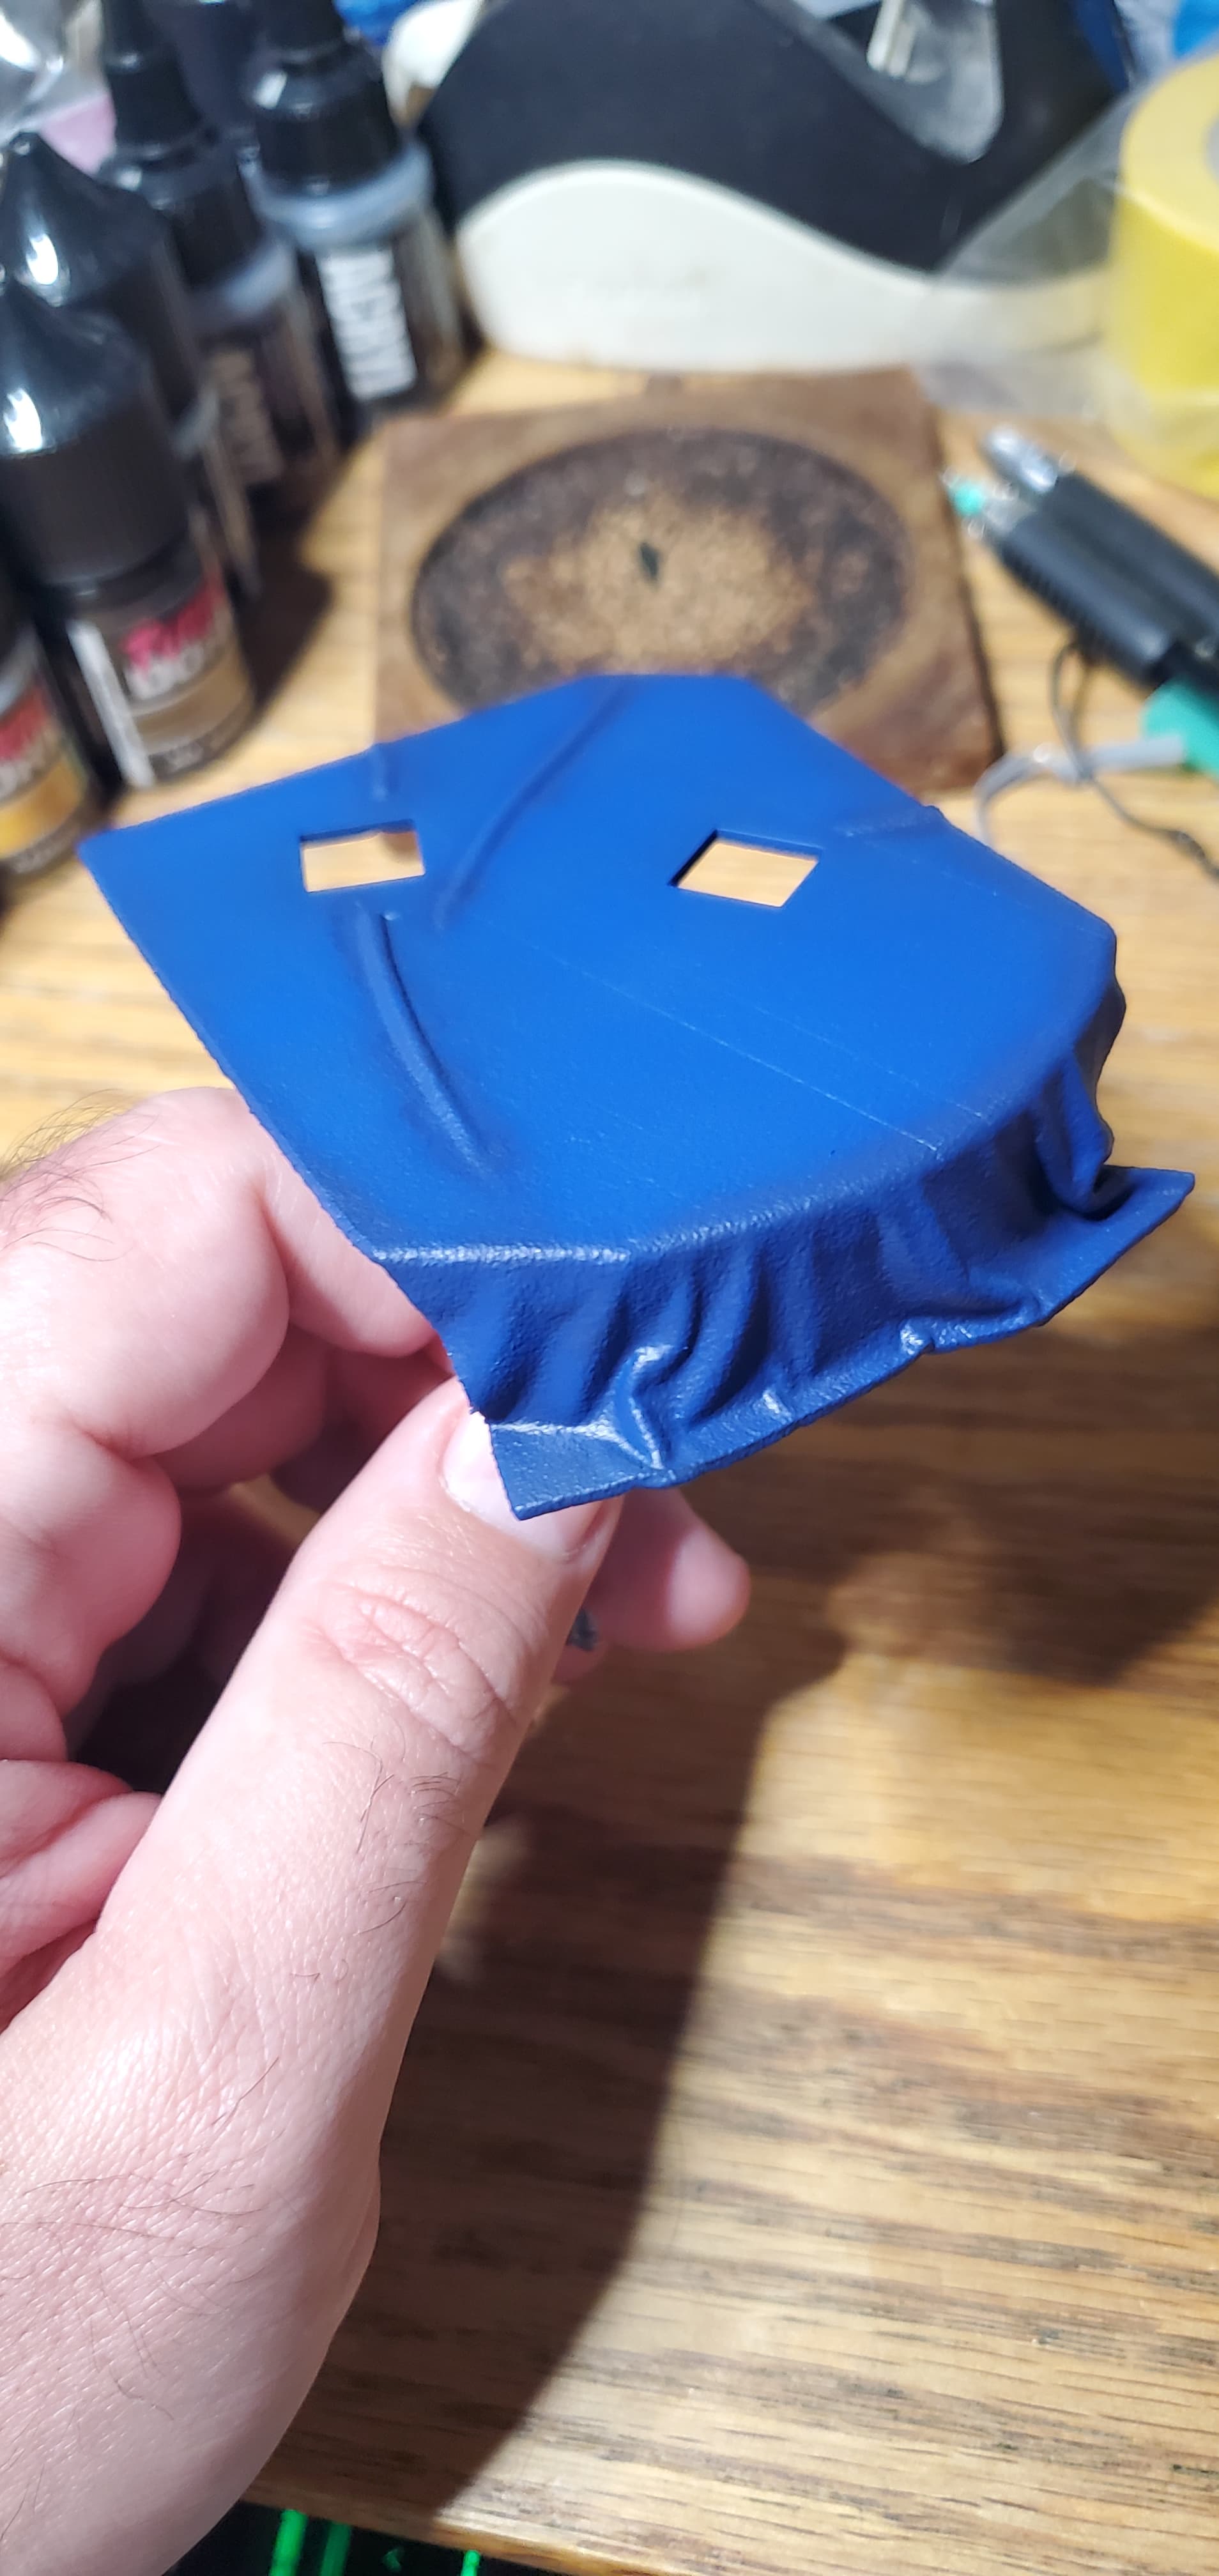
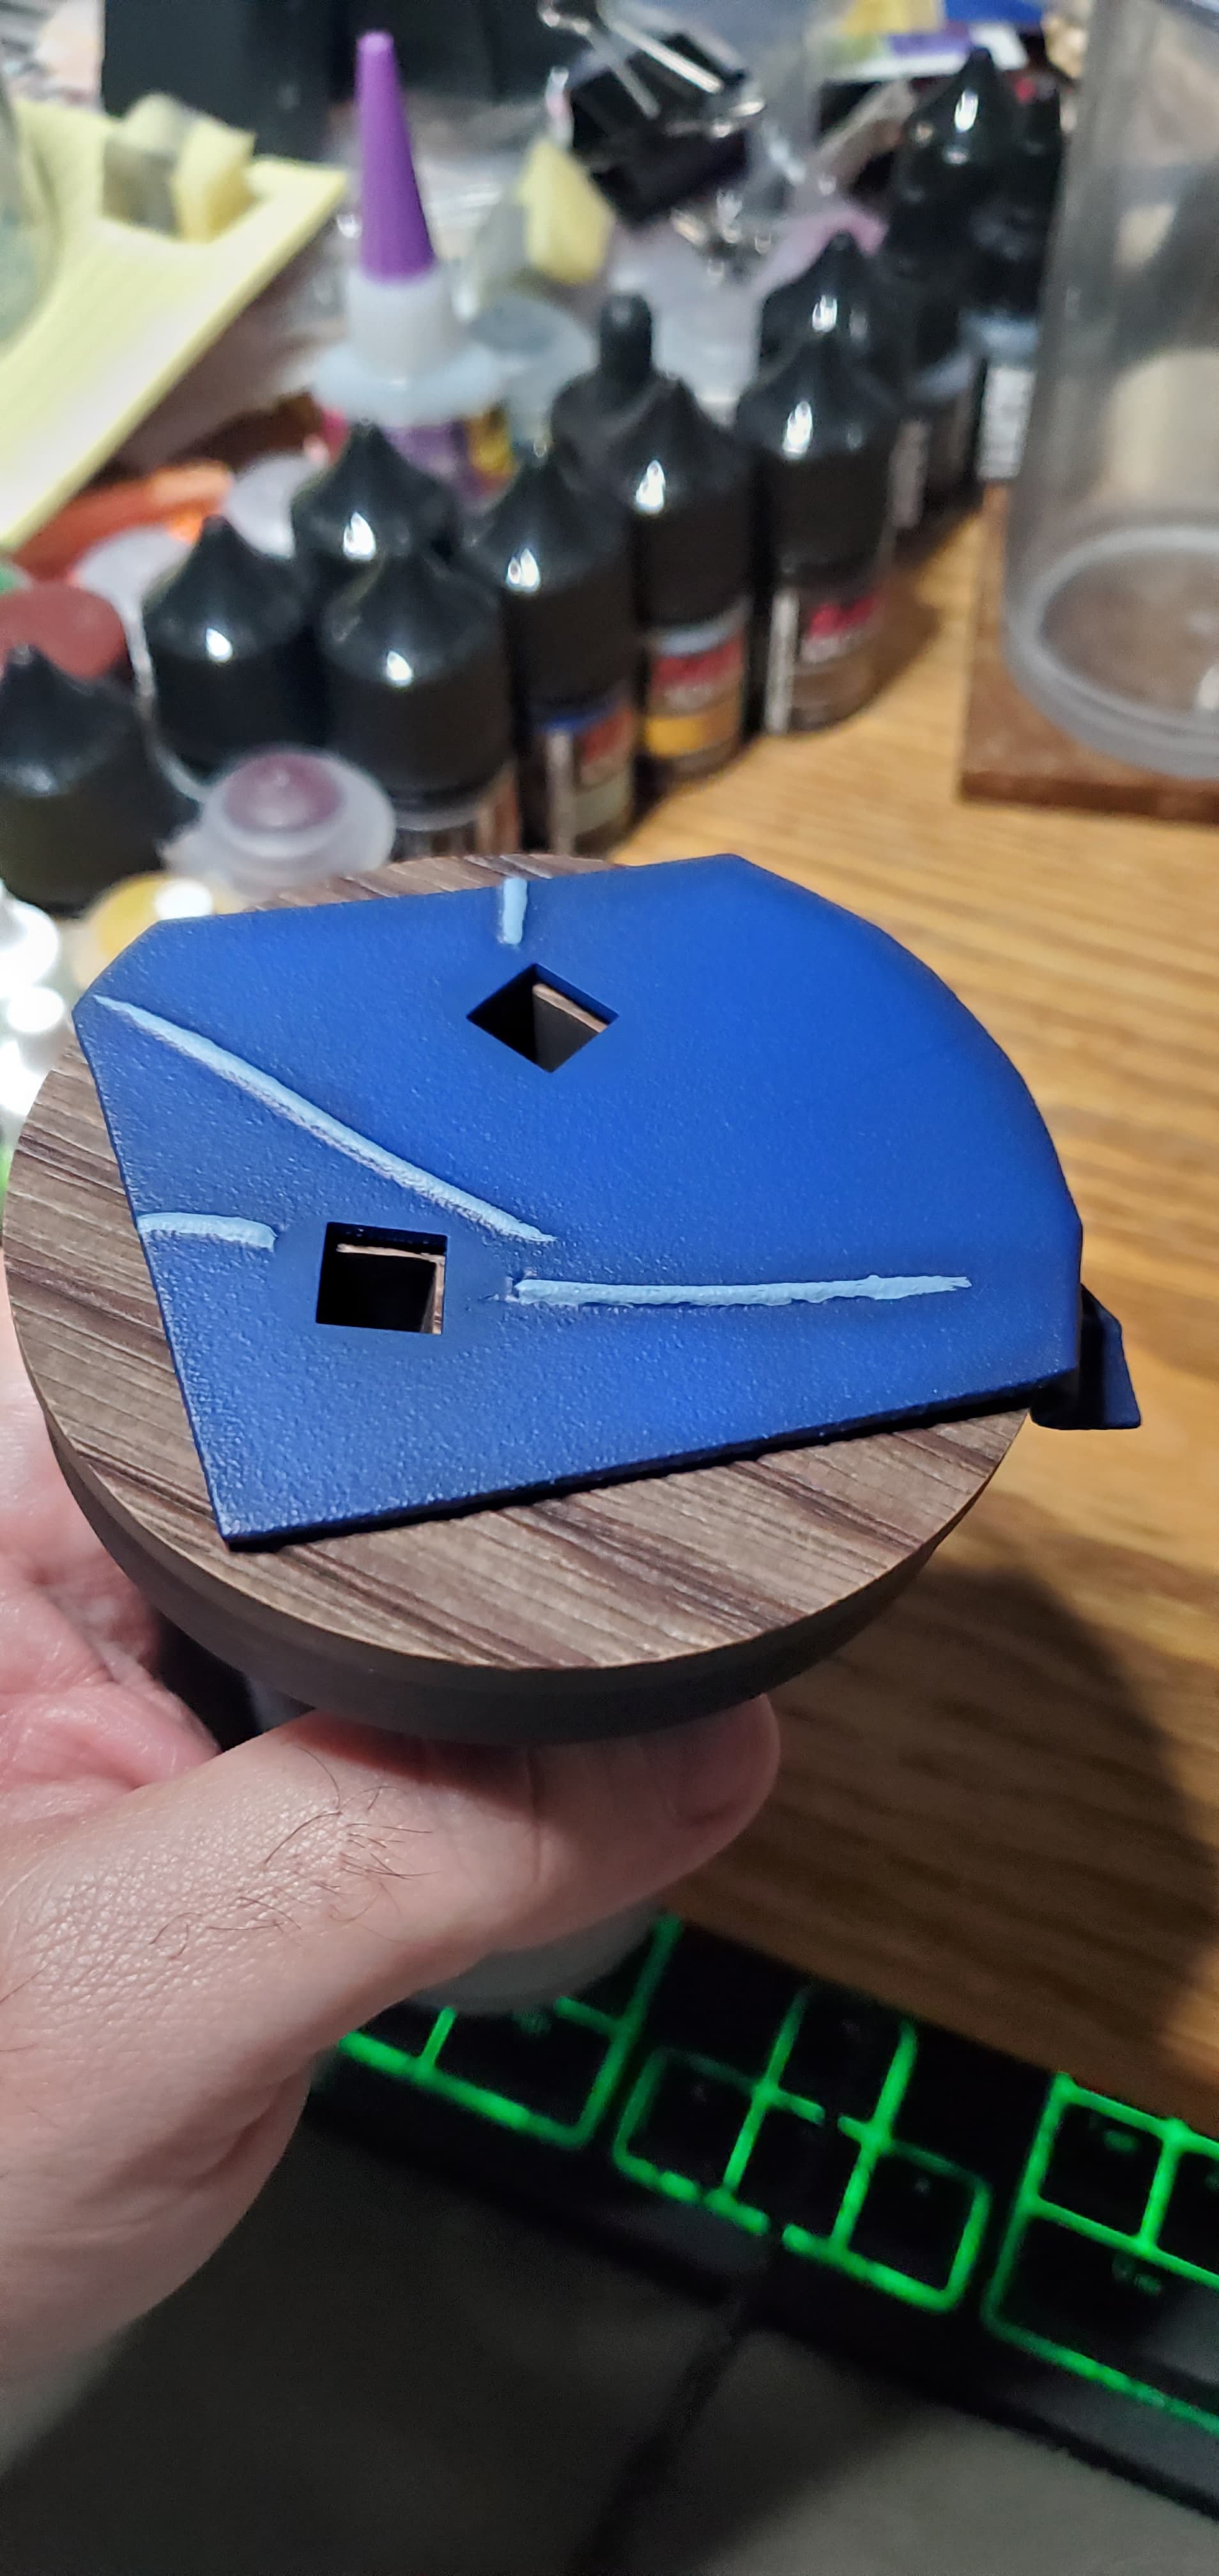
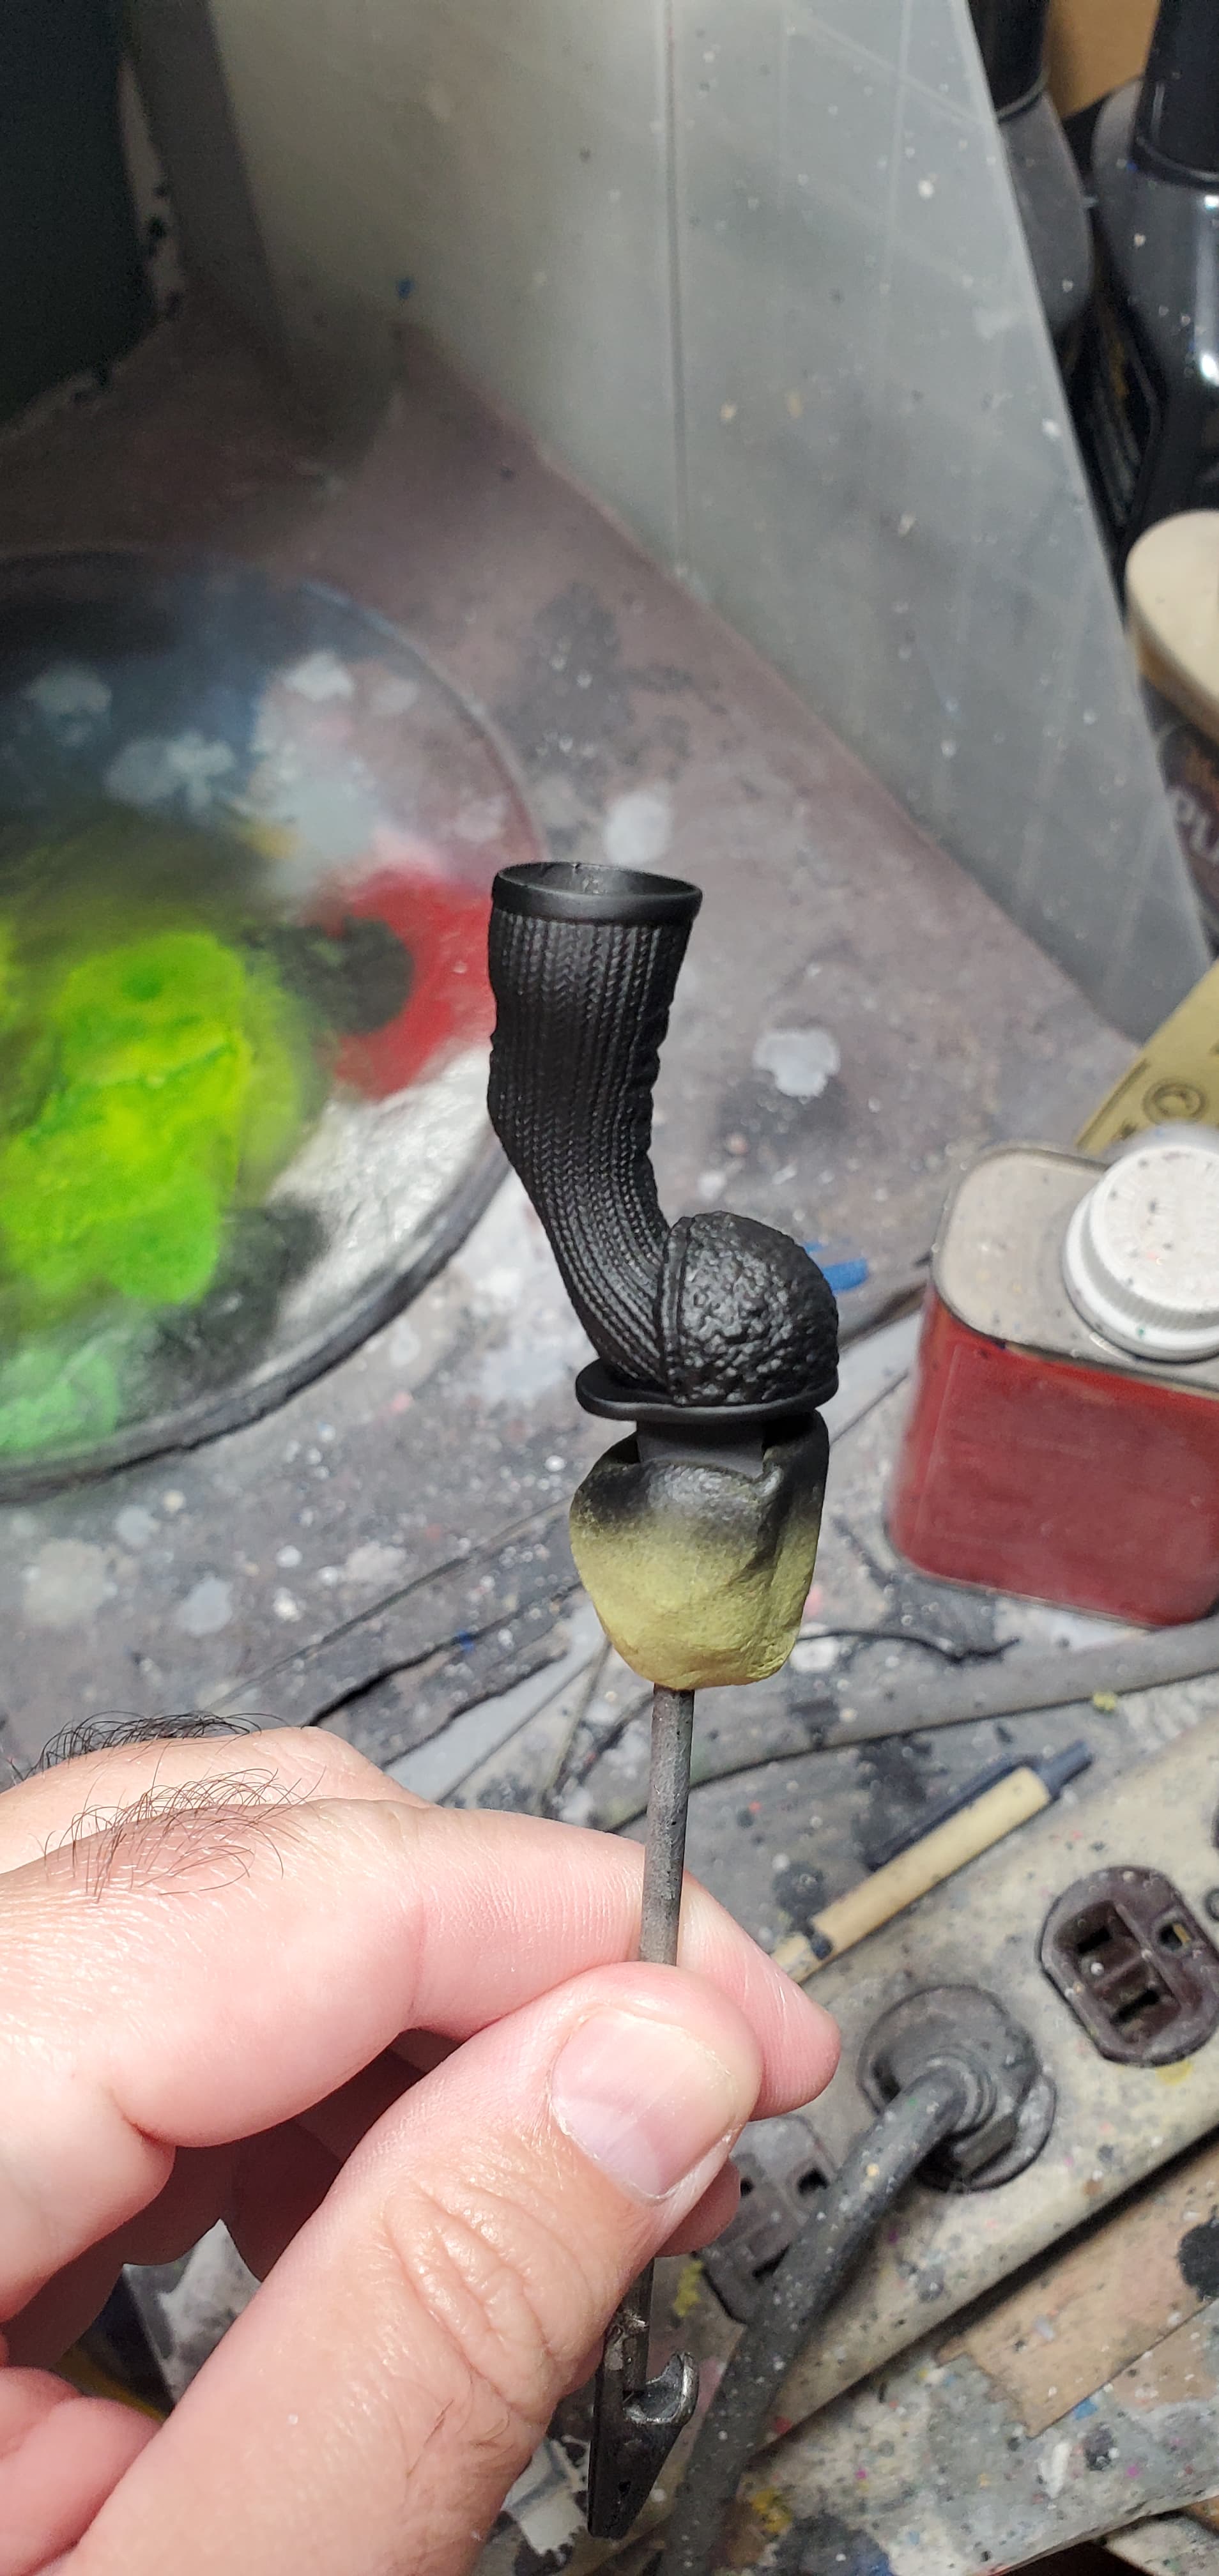
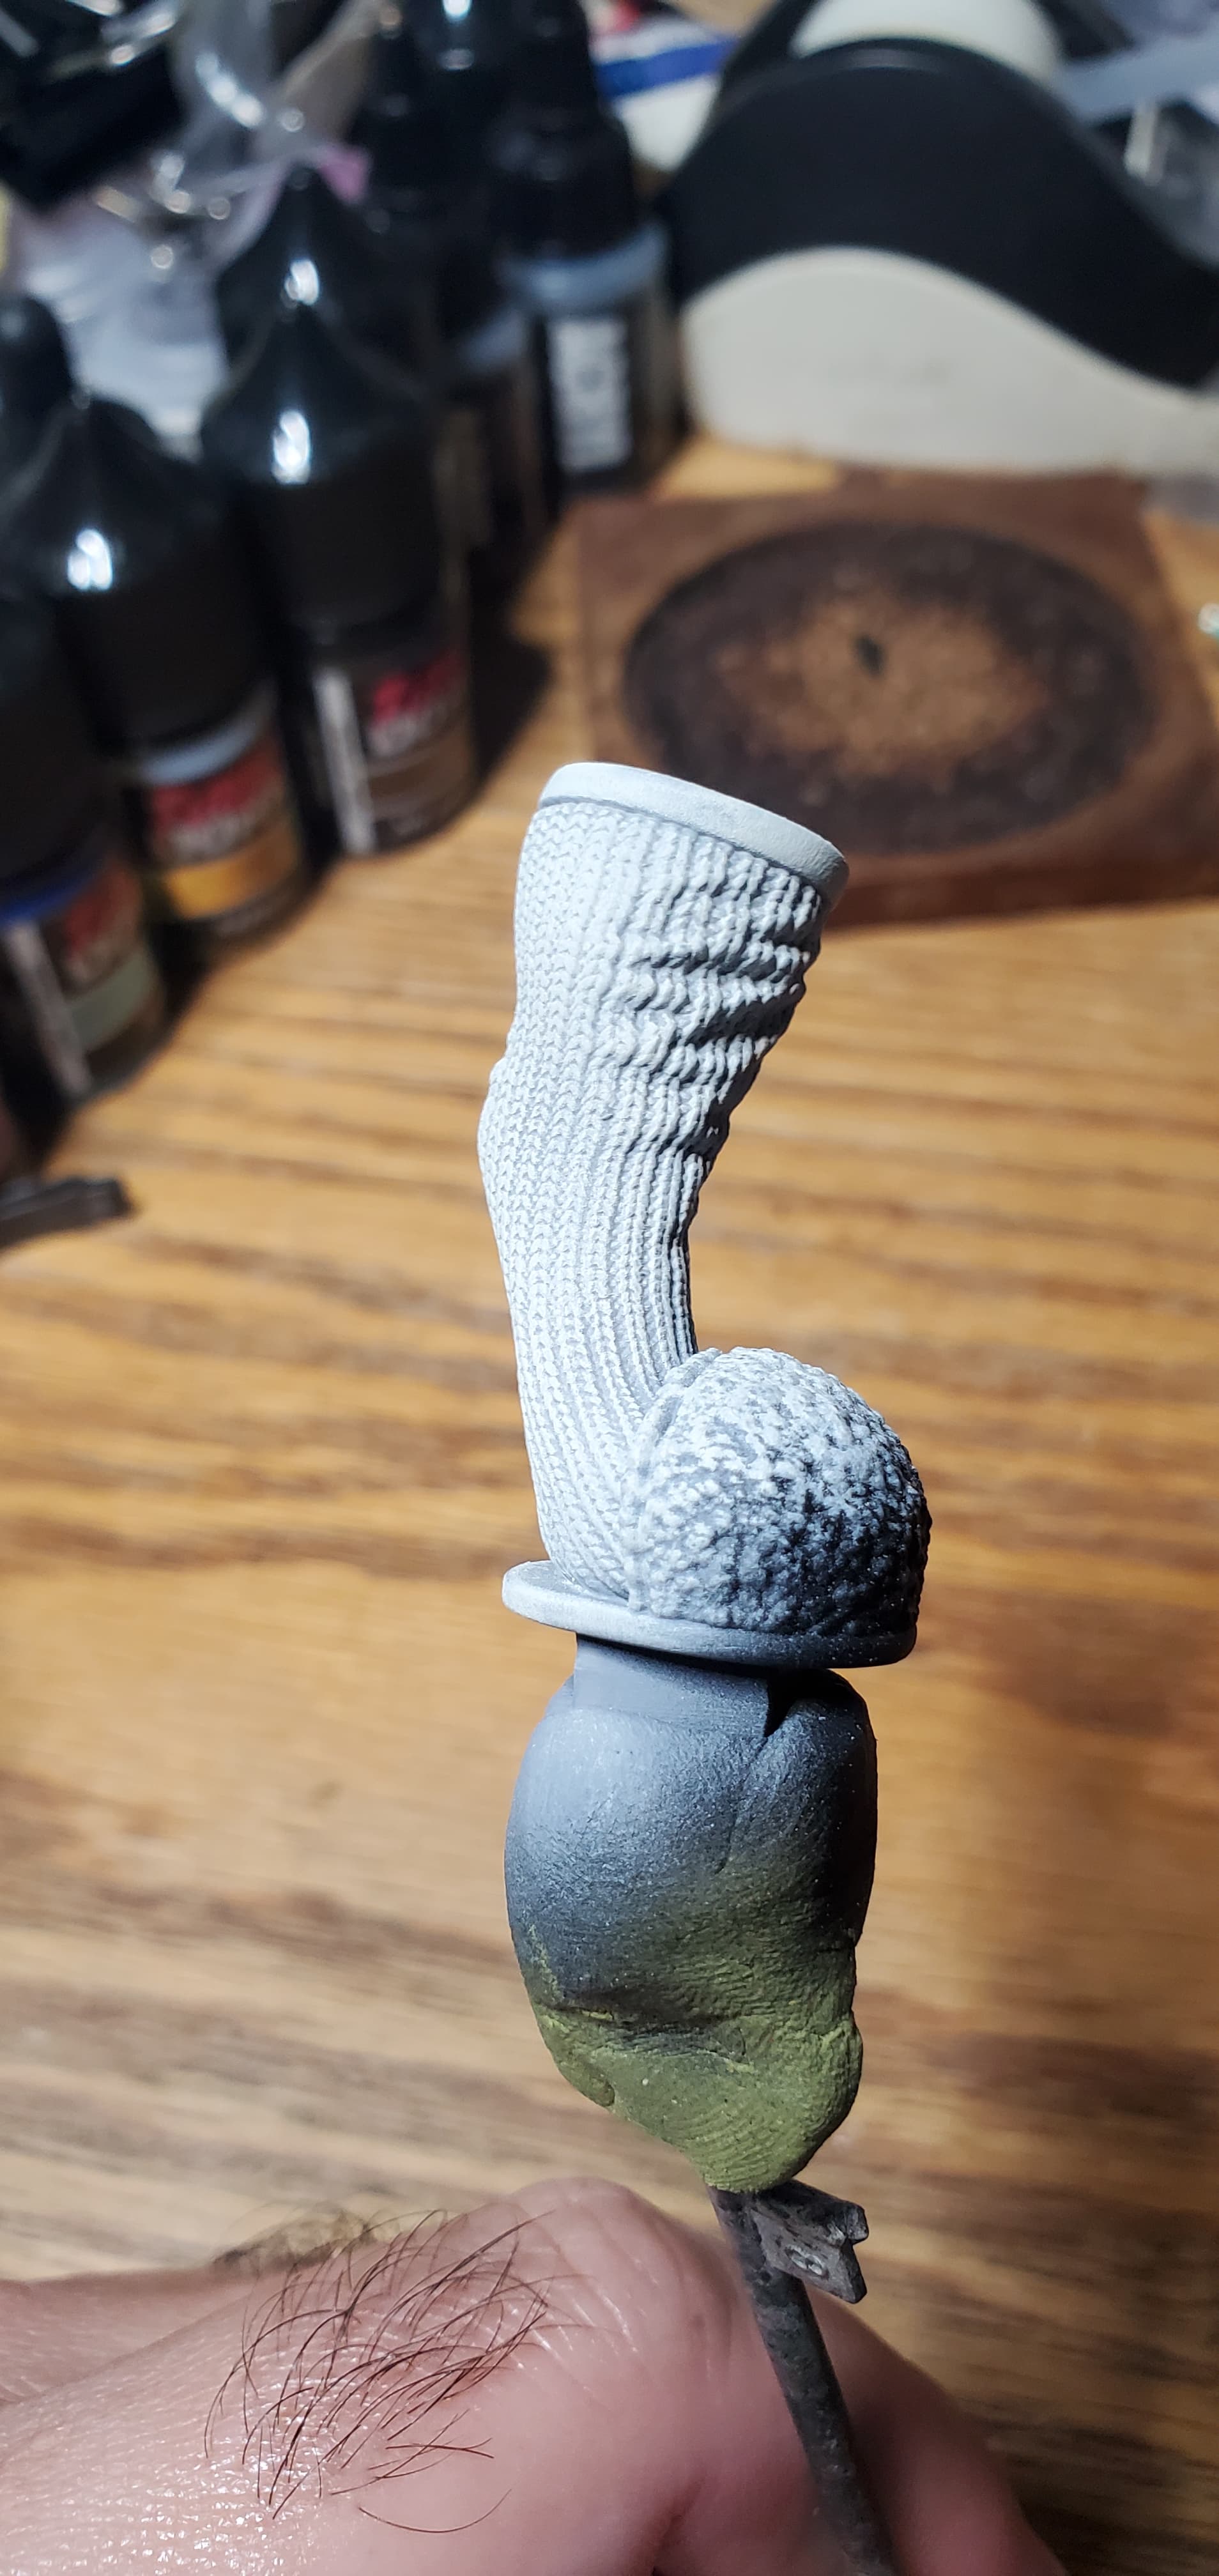
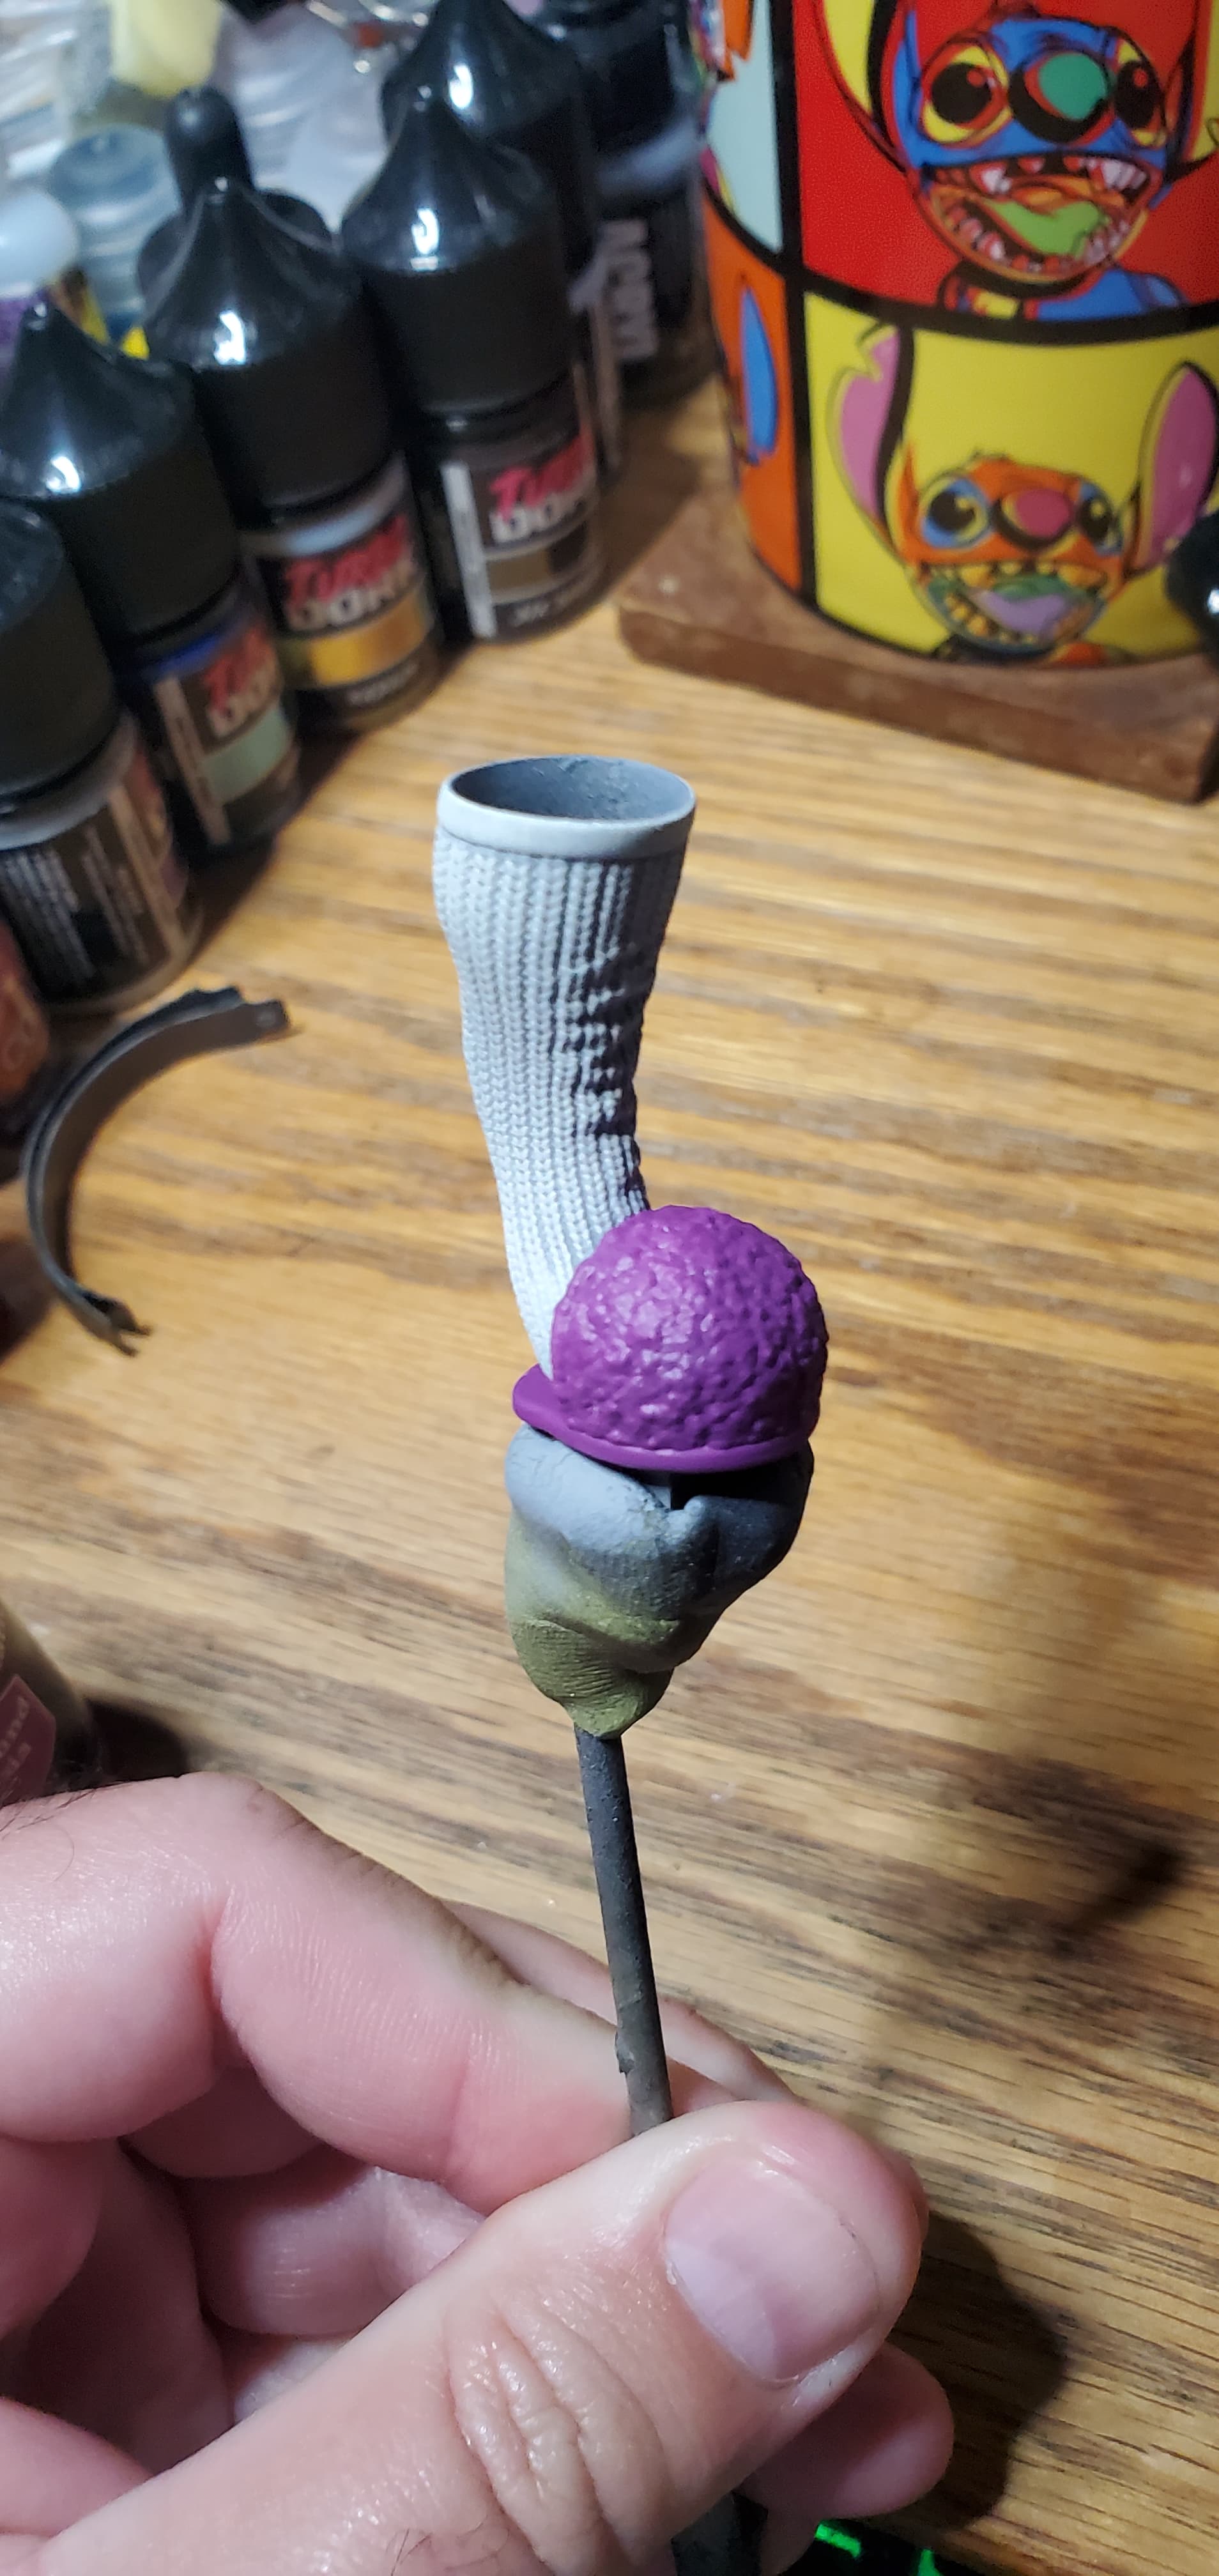
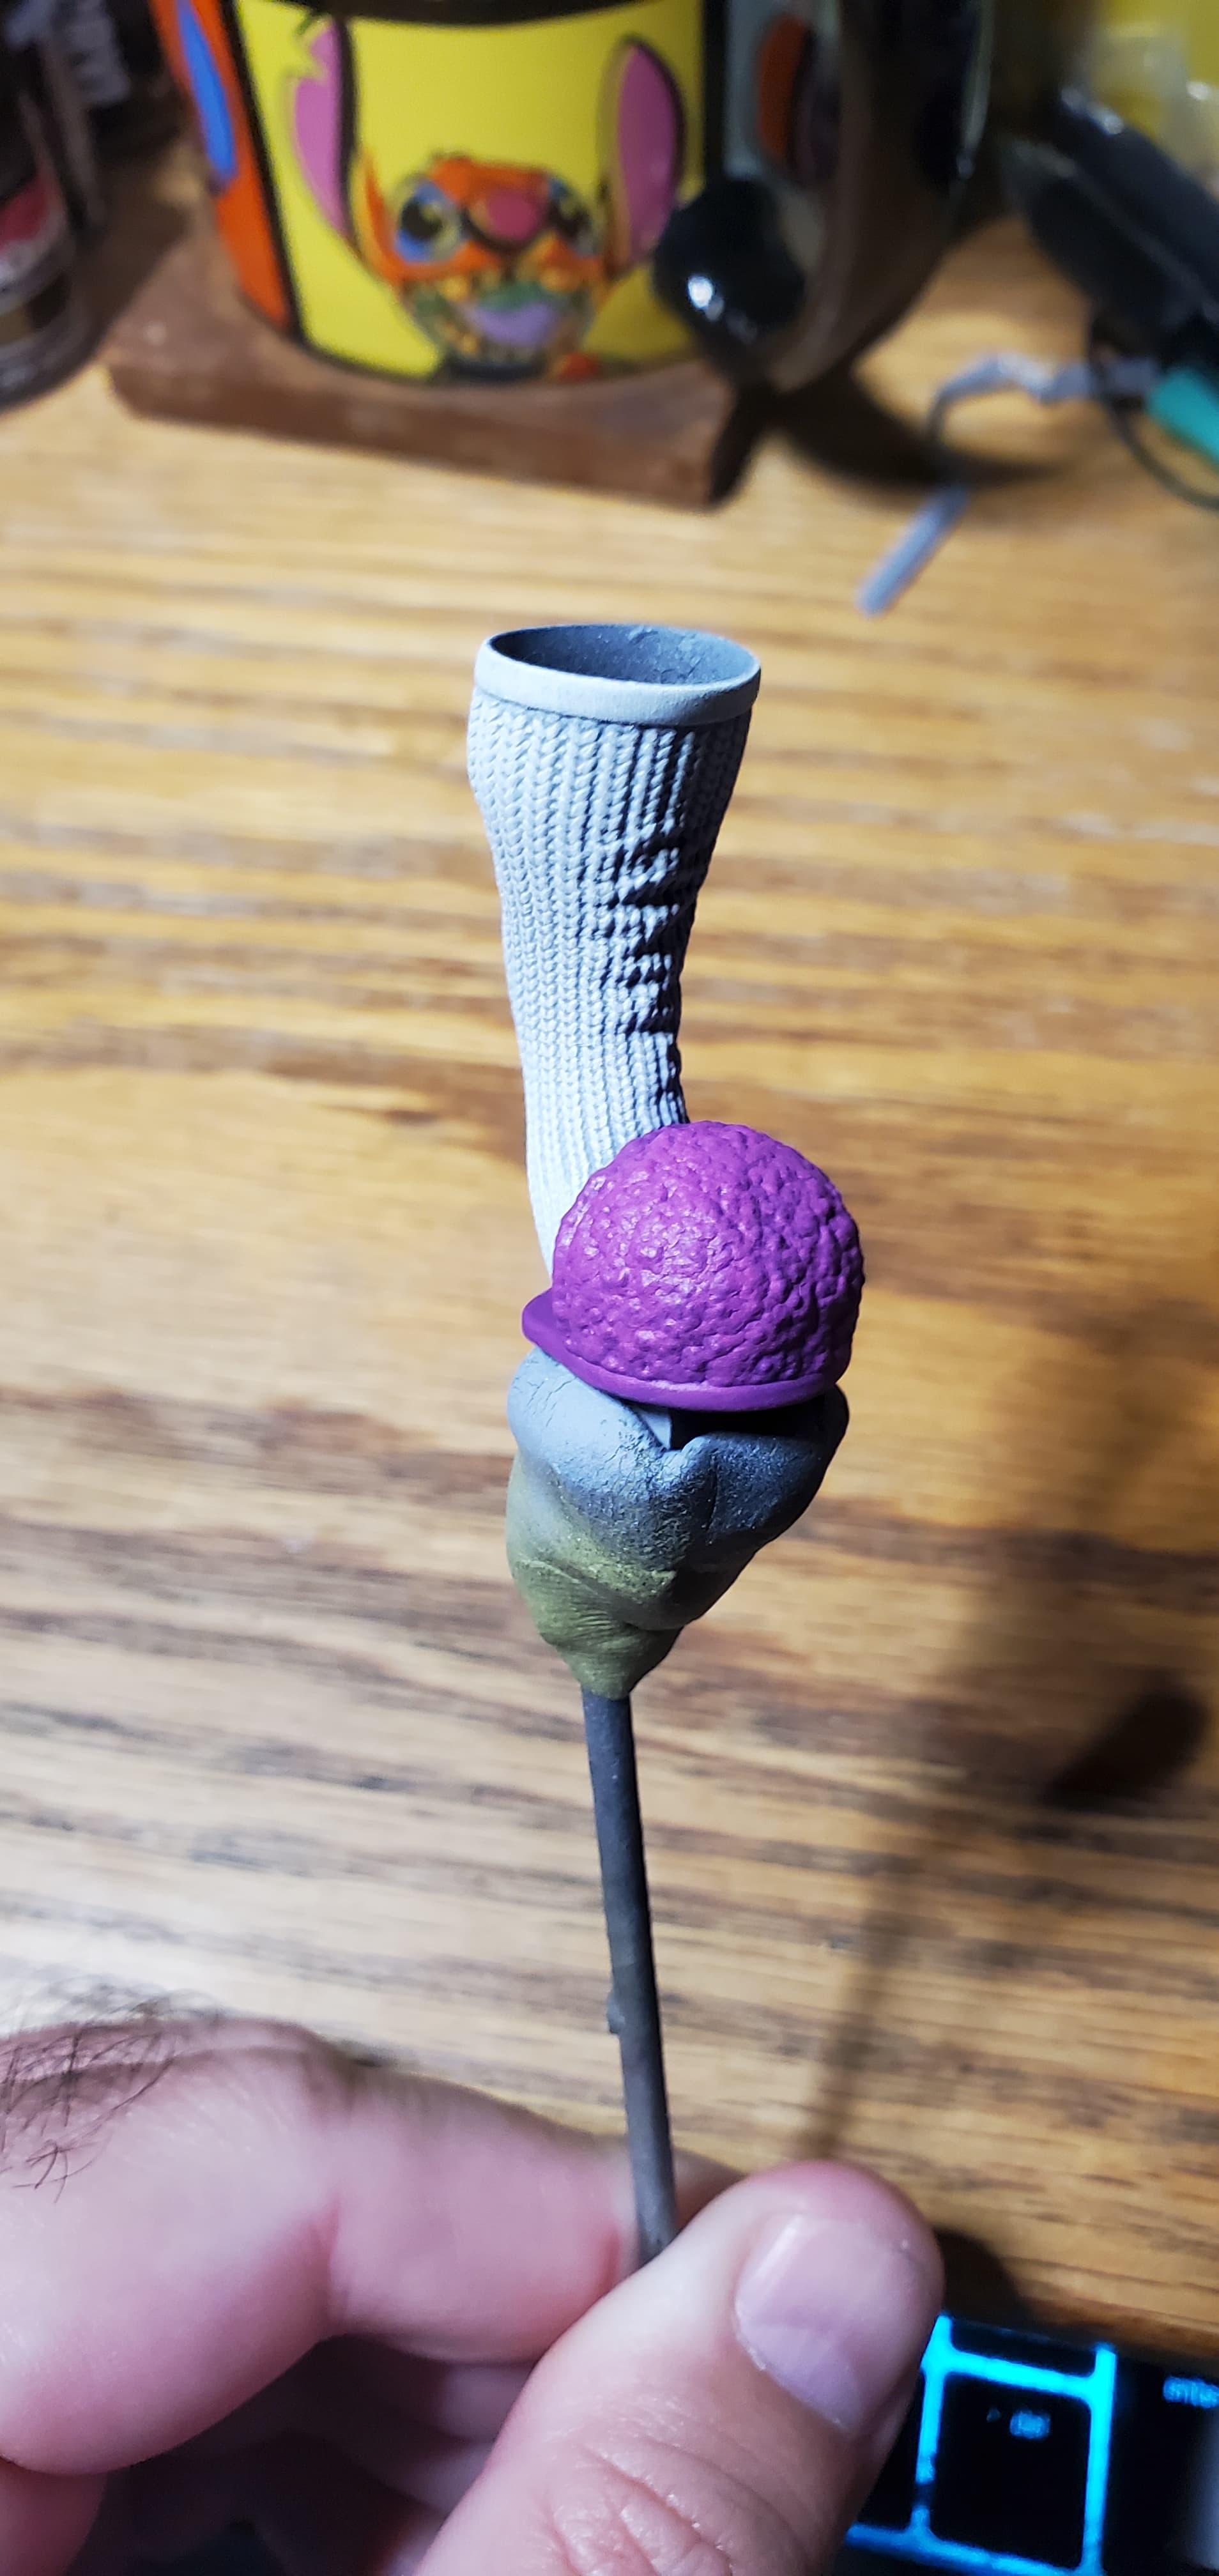
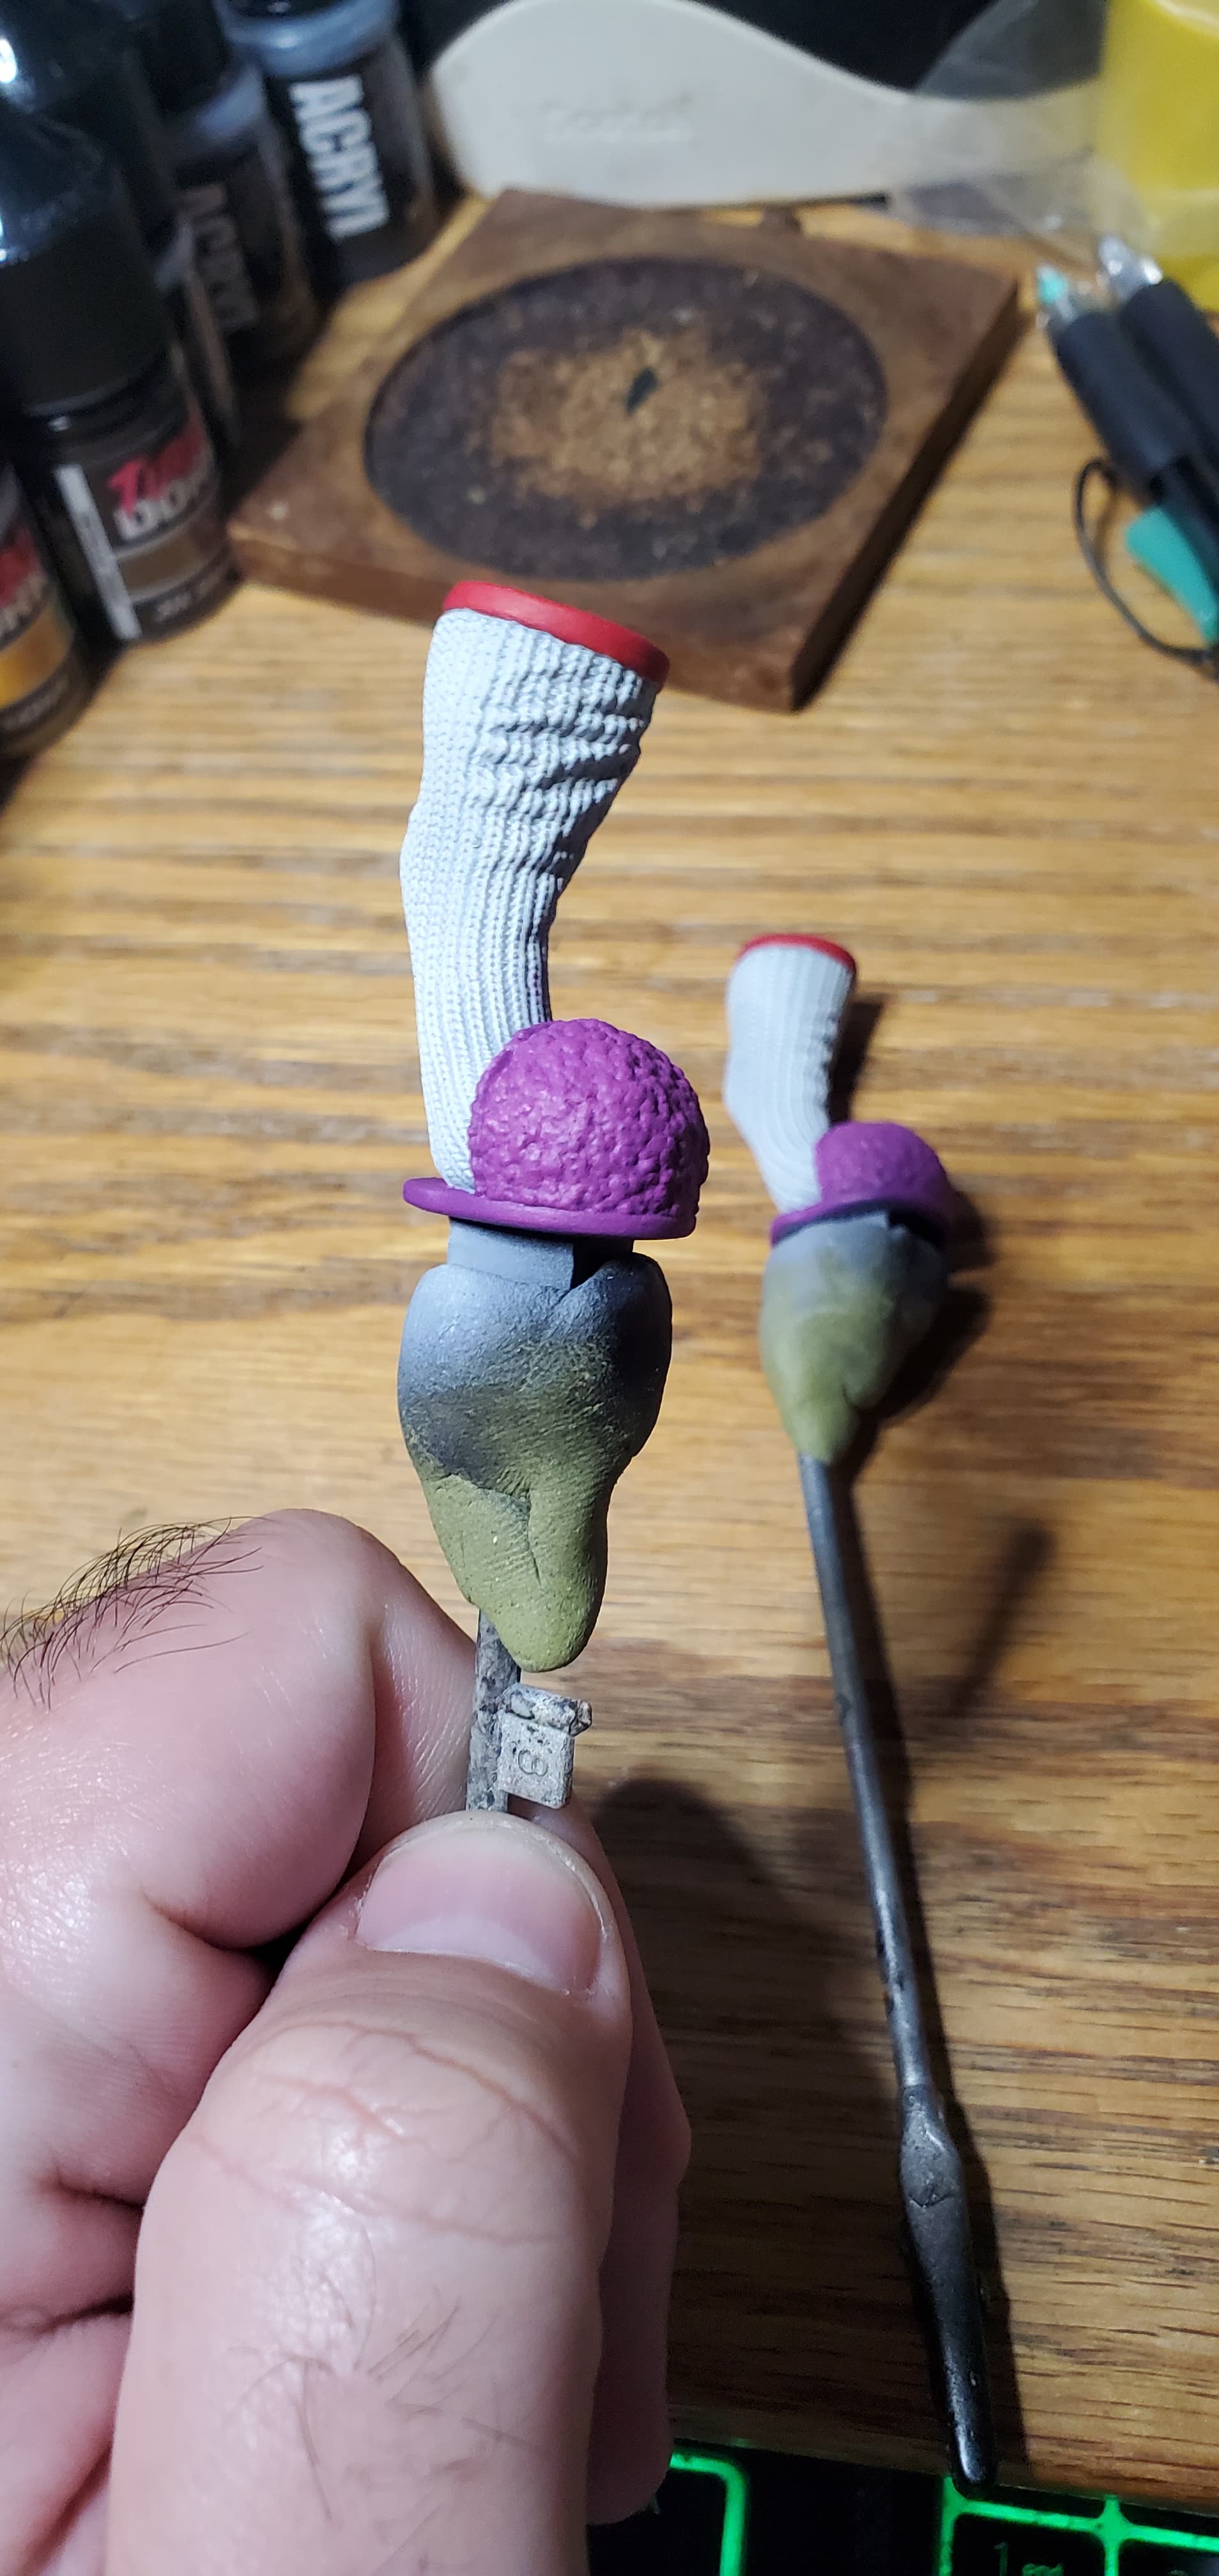
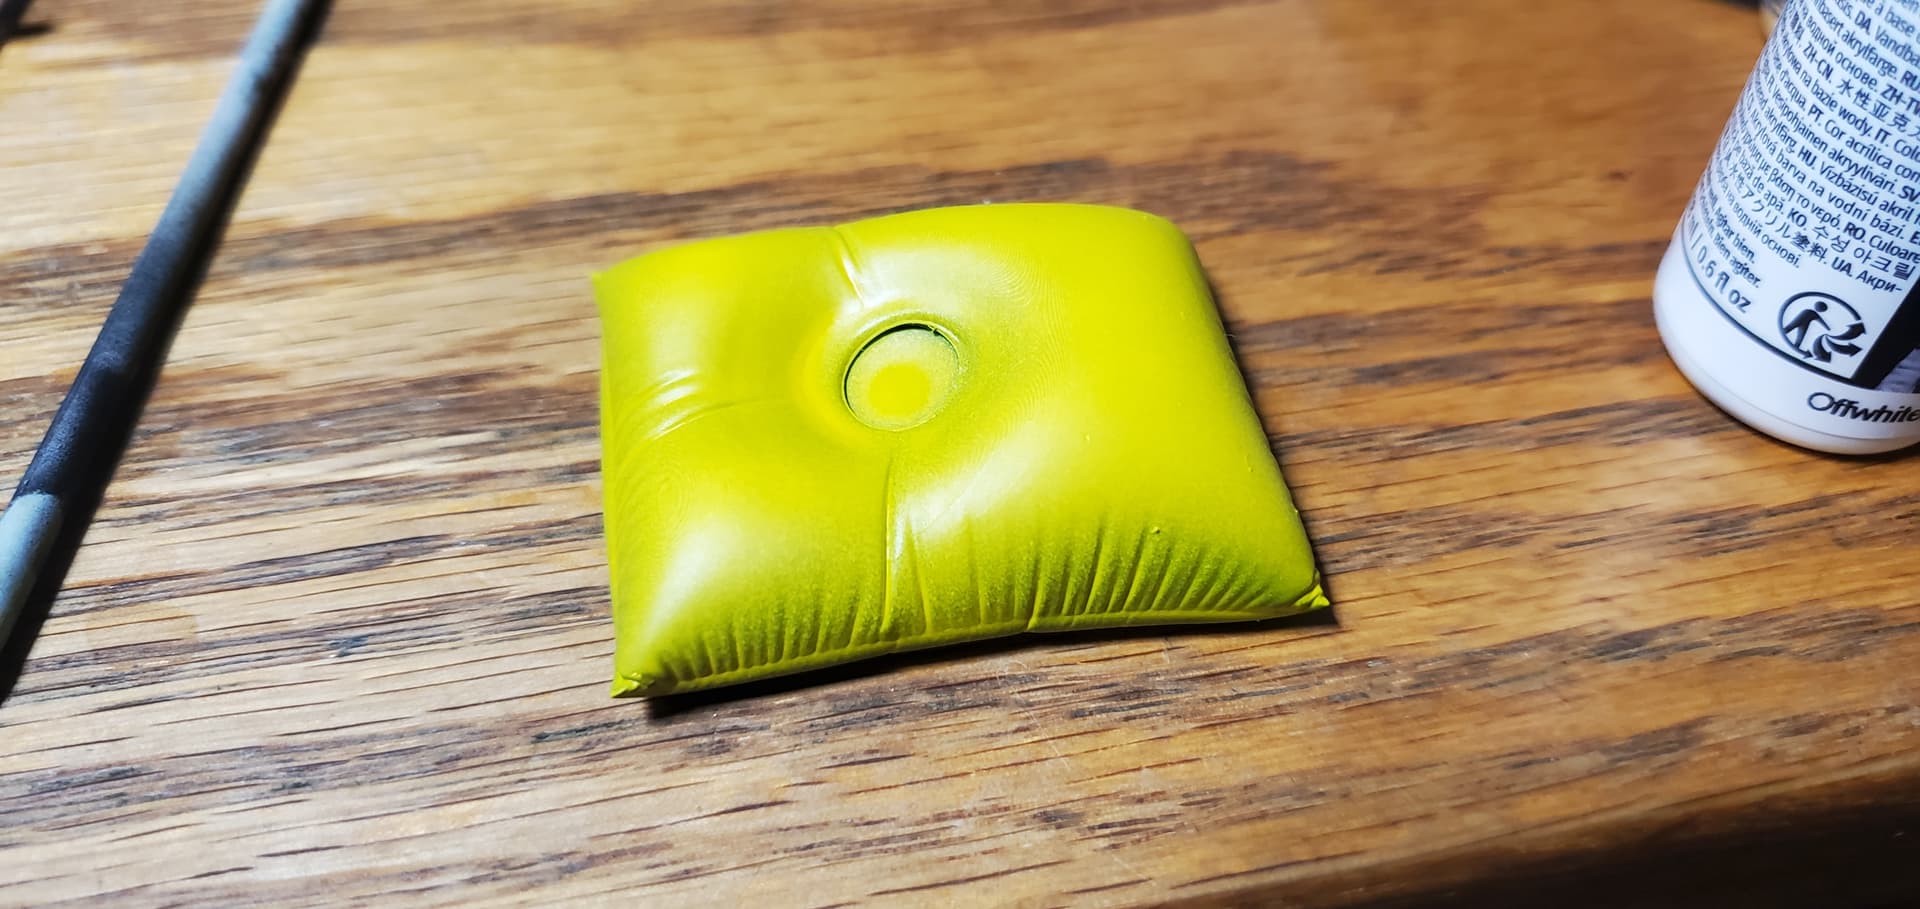
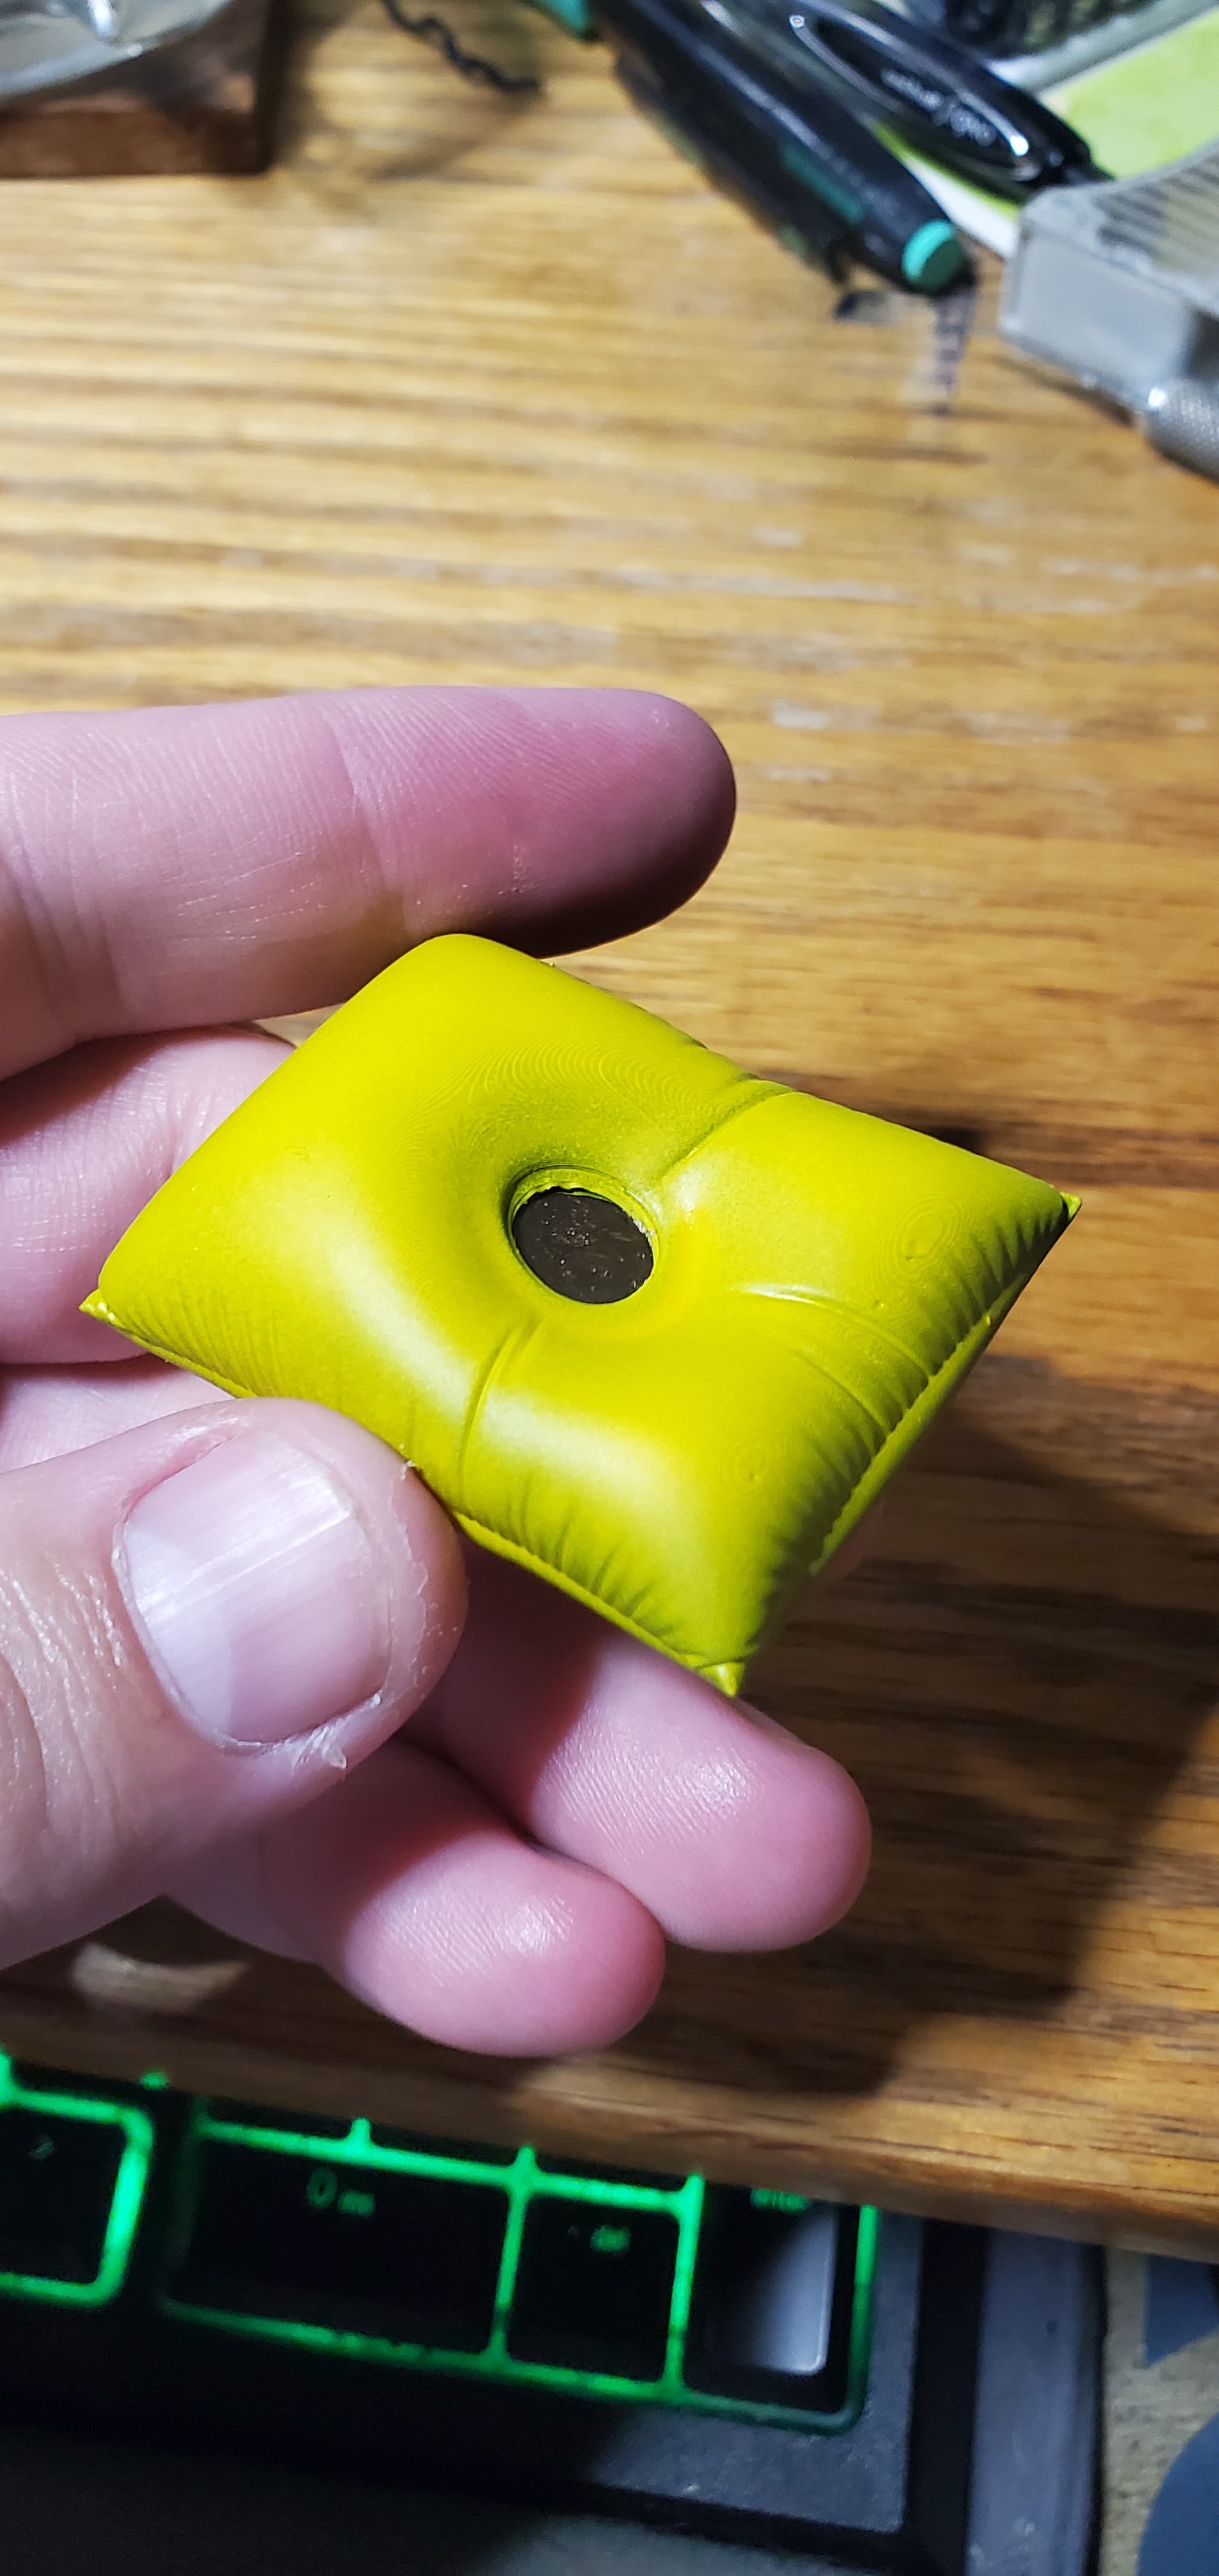
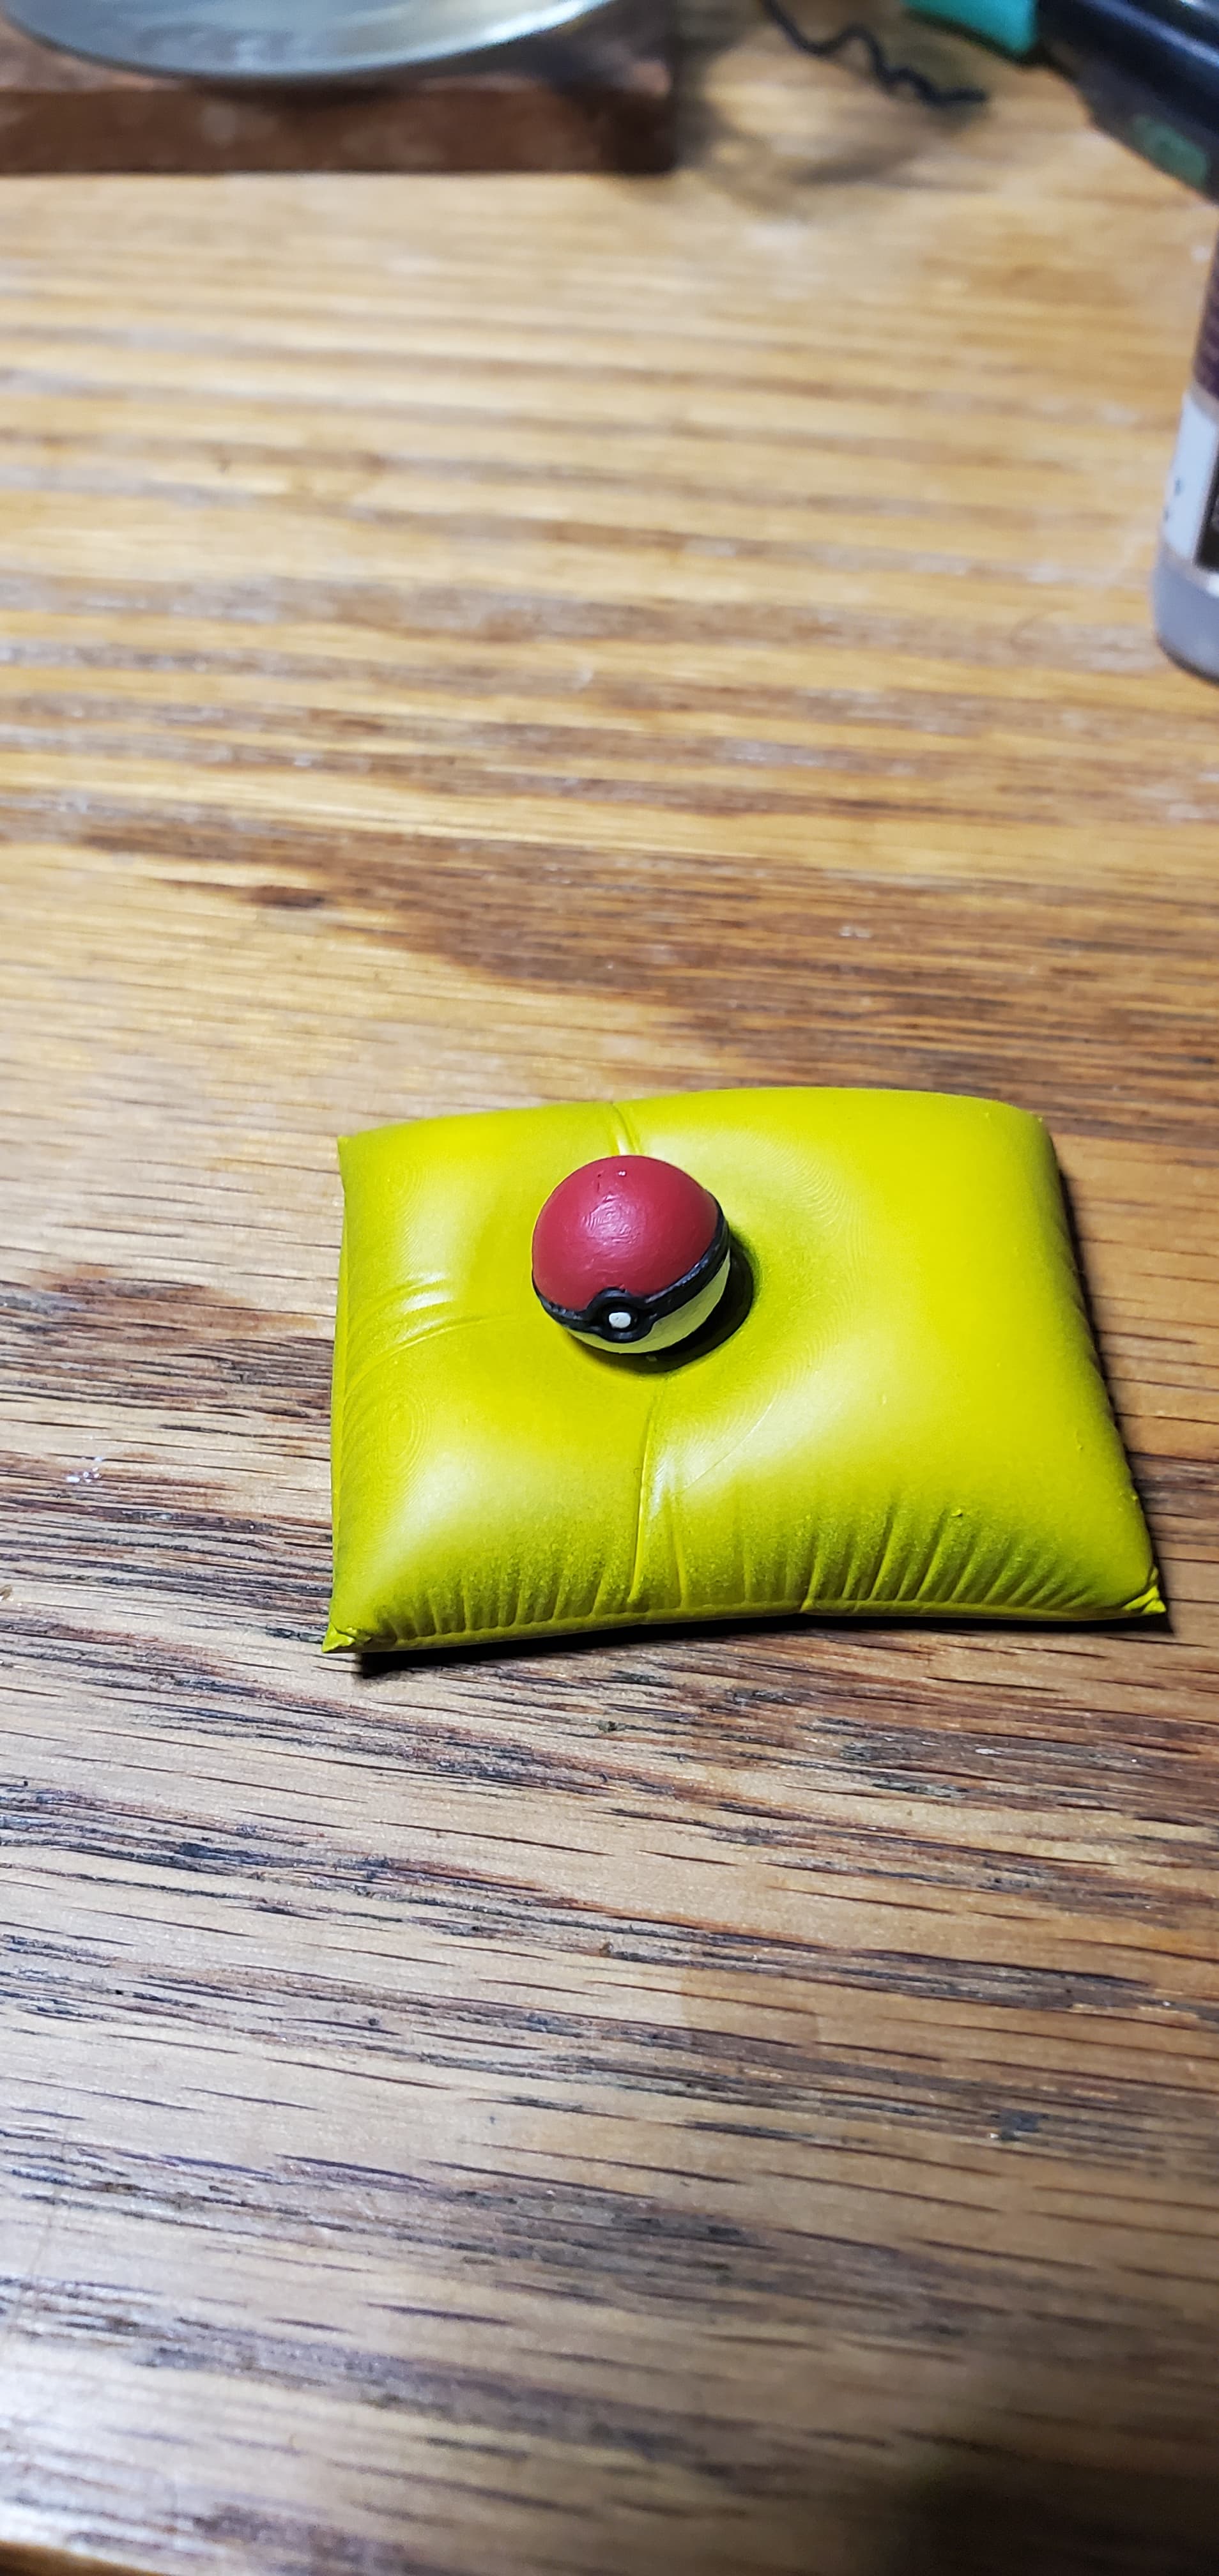
The last thing I did today is prime the pillow. Will apply a zenithal highlight to it tomorrow but am unsure what color to paint it. Will sleep on it and weigh my options.

9 Likes

Larger update on this girl today.

Finished off the base with a black band around the bottom. Decided against the wash. Feel it looks good enough as is and better to walk away before ever doing it.

Next came the rug, or what i am calling a rug. First up was the primer coat.

This was followed by a base coat in blue.

Next i used Ultramarine Blue to darken the folds and the edges for additional depth.

Finished it off by painting the threads a gray blue color for added visual interest.

Dry fitted to the base. Will fully secure it after i get her feet done to allow for some wiggle room during attachment.

Nextbi turned to her plant, as i had a very good idea of the colors i wanted to use.

I started again with a black primer coat to build off of.

A leaf green color was applied to the entier piece.

A lighter shade was then applied to the tops sides of the leaves, with a light dusting applied to the bottoms as well.

An even lighter shade was next applied to only the top of the leaves and only along the ridges.

Lastly i applied Mantis Warrior’s Green to the middle of the leaves for greater depth and visual interest.

Moving on i started work on her feet, again priming in black.

For her socks i had a good idea of what i wanted to do. So to start i base coated them in Sky Gray to serve as a foundation.

I then drybrushed on an off white, catching all of the texture and creating a very convincing faxcilamy.

Next i turned to her slippers. Initially i did not have an idea of what i was going to do for them. However, in a stroke of inspiration and a case of waste not, want not, the color i needed to use to retoch a decal on another model seemed the perfect choice.

I followed this up by drybrushing a lighter shade on the front poofs to break up the uniformity.

5 Likes

Smaller update today, as have been busy the last few days.

First up i finished up her feet by adding a red band to the top of the socks.

Next i moved onto working on her sweater, beging with a black primer coat.

This was followed by a dark grey base coat.

To bring out the texture I then drybrushed on a light grey. I was going for the look of a well worn and well loved garment so some if the areas where the drybrushing went on heavier than others to me fits with the look. IE different areas will wear more than others.

I then turned my attention to the buttons. I wanted to try something different so i first applied a light base color to them.

As i wanted to try and achieve a warm lacqured wood look for the buttons i then applied Darkoath Flesh, as it has the warm brown color i was looking for especially when compared to Cygor Brown which I had also considered using.

Once dried i applied a gloss varnish to them to finish the look.

4 Likes

You have really brought the texture of the sweater to life- awesome work!

Made some more work today on this girl.

First up is the finishing touch on her sweater, specifically the threads of her buttons. With that her sweater is done.

Another part i got done today, did not take progress photos, was her neck frill.

The frill now attached to the sweater.

I also made decent progress on the pillow. Not 100% what i was intending but good enough. Will paint the middle to give it a more decorative feel.

Lastly i got a zenithal highlight done on her ball.

5 Likes

Nice work and great colour choices. Is that a Pokémon ball on the pillow? I’m not an expert, but my kids certainly are, they say it is. If so, there are multiple patterns and colours you can use on it. (Don’t get lost down the Pokéball rabbit hole). :rofl:

Officially my response is No Comment.

Unofficially my response is most likely going with the classic colors, red and white.

Wow that sweater and the lacquered wooden buttons :star_struck:

Ok got another decent update today.

To start a quick semi assembled progress shot.

First up for work is the pillow. I painted the circle in the middle a bronze color, to give it a more decorative look and feel to it.

I also painted her ball, with the finished piece here.

Her ball was then attached to the pillow. Unfortunately the metalic is not really visible anymore, but is what it is.

Next i turned my attention to the pot for the previously completed plant. Decided to experiment a little for this piece, but forgot to document most of the work. I started by doing a base coat in a flame orange color. I then applied Blood Angel’s Red Contrast paint. This is where i bith messed up and succeeded. I accidentally thinned the contrast paint too much, and applied it too heavily. As it was running i quickly got a hair dryer and using it i both dried the paint and was able to move it in such a way as to produced something resembeling ceramic. While i was aiming for more terracotta look for the pot, this ended up being a “happy little accident.”

To finish off the pot i next applied a couple coats of gloss varnish by hand. Am overall happy with the results and have a new technique to play with.

Lastly i did her coffee mug.

3 Likes

Small update as i have been dealing with some tech issues.


Got the zenithal on and am letting that dry overnight

1 Like

Big update today as i got her skin done. This project was in part a study on doing non-human skin. So where there are many skin paints available they would not work here. So for skin like this you do have to think outside the box a little as to how you are going to achieve the look you are going for. Thankfully the core techniques remain the same, working from dark to light and building it up.


To start is the under layment, the deep tissue. For this since she has yellow skin i went with two different shades of orange as this would compliment the main slin tones nicely.

Then came the middle tone, being applied fairly evenly with a slightly more applied to the areas in light.

Next the shadow was applied. This was focused in the areas at the edge if her clothes, middle of her clevage, inside her legs, and below her tail.

I then applied the first highlight to the areas in direct sun.

This was followed up with some contrast paint applued into the shadows, with extra focus in the deeper points to help reinforce them.

Finally a second highlight was added to the brightest points, achieved by adding a tiny amount of white to the highlight color and applied in a very thin coat.

To finish tonight with a test fiting.

3 Likes

Very interesting and instructive to see your work process on the skin.

Great tutorial! Thank you!

Wouldn’t call it a tutorial per say, more of a detail build sequence.

Get close to the end on this project.

First up I painted the inner parts of her ears and her eye brows and eye lashed in black.

Next came the base of her eyes. Using reference images I bainted them black as well, however I used Black grey from Vallejo so as to help differentiate the two blacks.

Next came her irises, which were painted offwhite per reference images. I also painted her fang in this color.

The eye was then accented with a shine highlight in white. (Hence the reason for using off white for the irises).

A gloss coat was then applied to finish her eyes.

With her head finished I attached it to her sweater.

Lastly I did her nails, and despite not finding any good reference images I decided to use some artistic license and do them in black.

Now as I am writing this I relized I did not get photos of how I did her clothes. Unfortunately that will have to wait now for the final reveal as it late and I have to be up early. Fortunately we are at the point where there is only some final assembly to do, even the parts I cant show here are also done. So I should have her finished some time early next week.

2 Likes

Calling her done, will take better photos when I have a chance.

1 Like