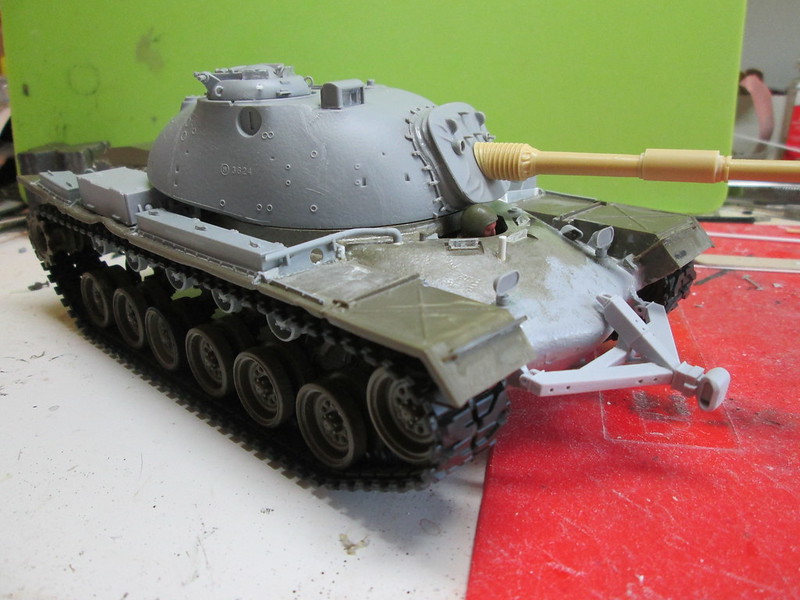
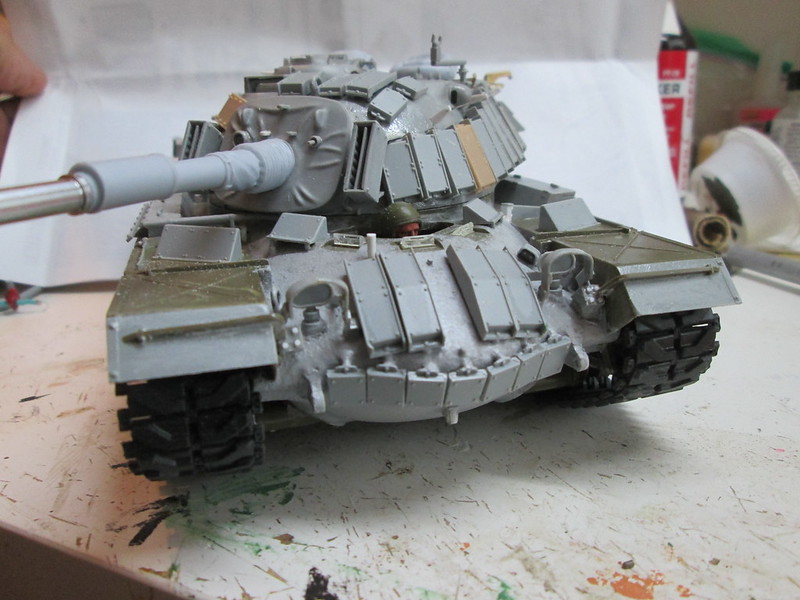
Yup, in my ongoing effort to use up partial kits in the stash, old AM stuff and even build some examples of things I haven’t done yet, I got two more going. Or, one and a half? The “half” is actually a shelf queen, from way back, maybe five years, that I decided to go a different way with. It’s a Tamiya M48 that I was going to do as a beat up A3 in VietNam, but since I have accumulated some Dragon parts kits, I decided to do a Magach5, using the M48 turret from a Takom M48H kit I also fell into recently, and some other bits and pieces laying around. It also gave me an opportunity to use the Desert Eagle air cleaners and battering ram I scored a while ago. I’m using AFV Club tracks, and a Verlinden gun tube.
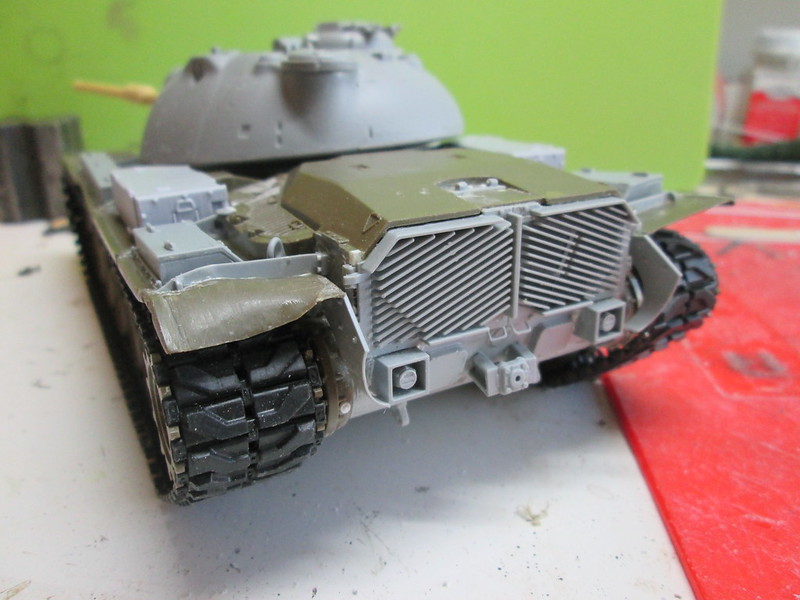
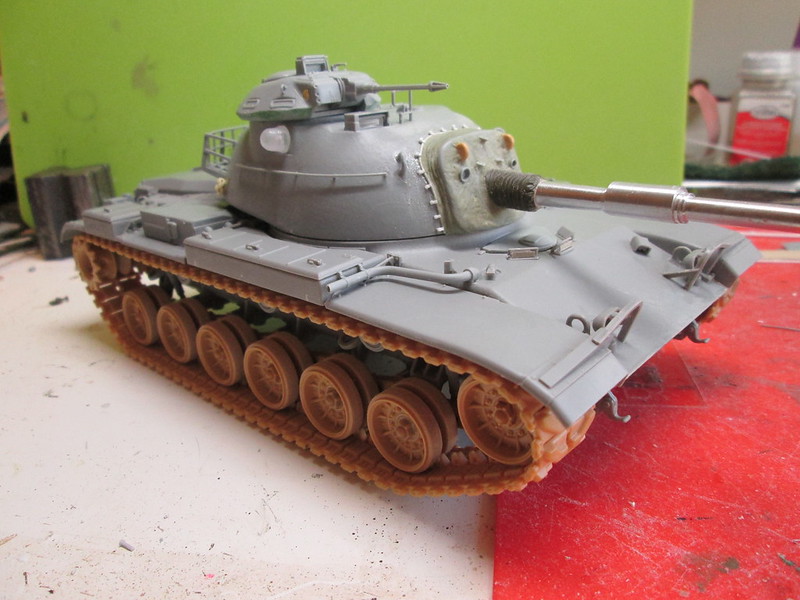
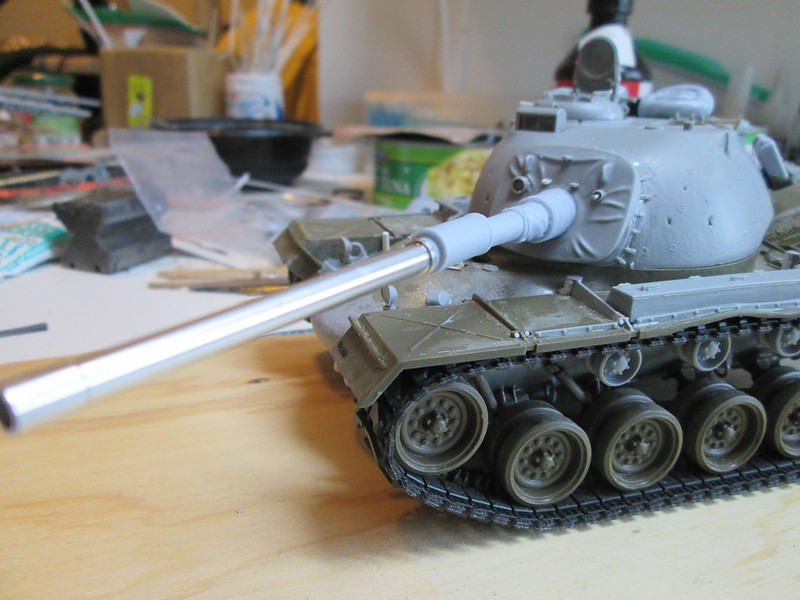
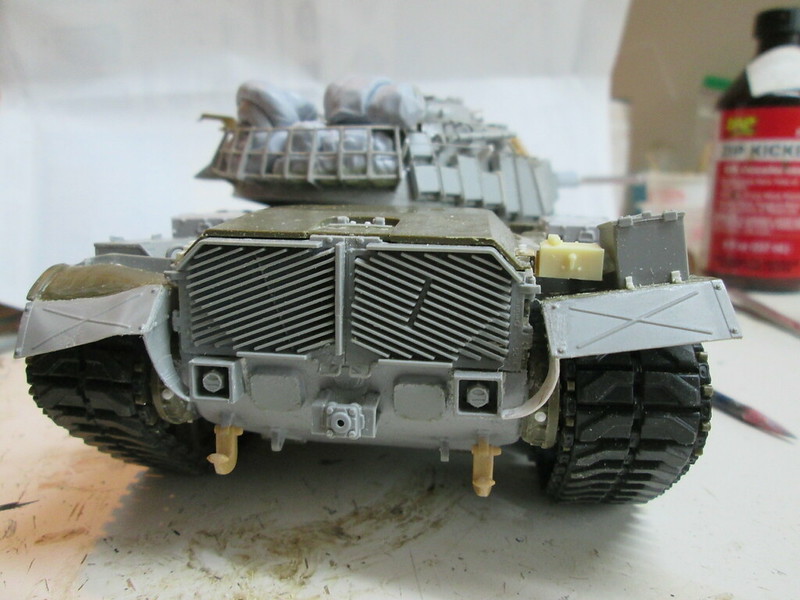
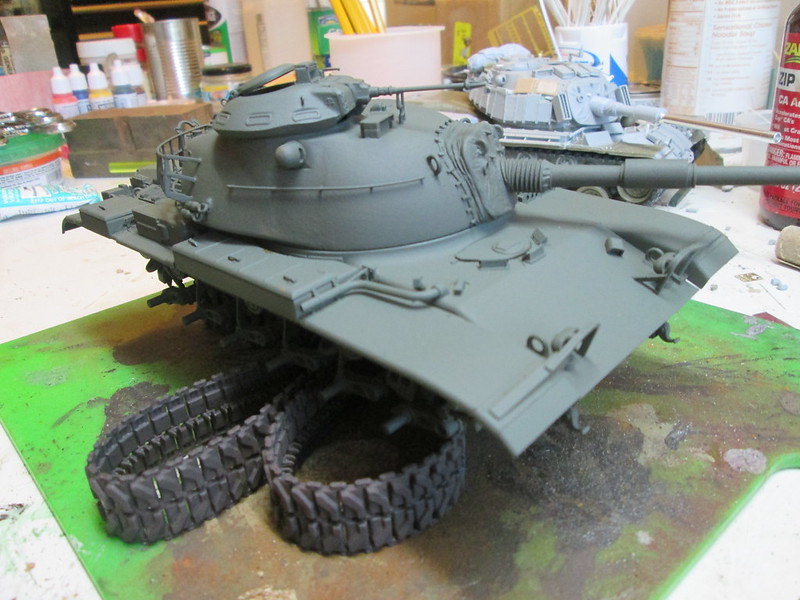
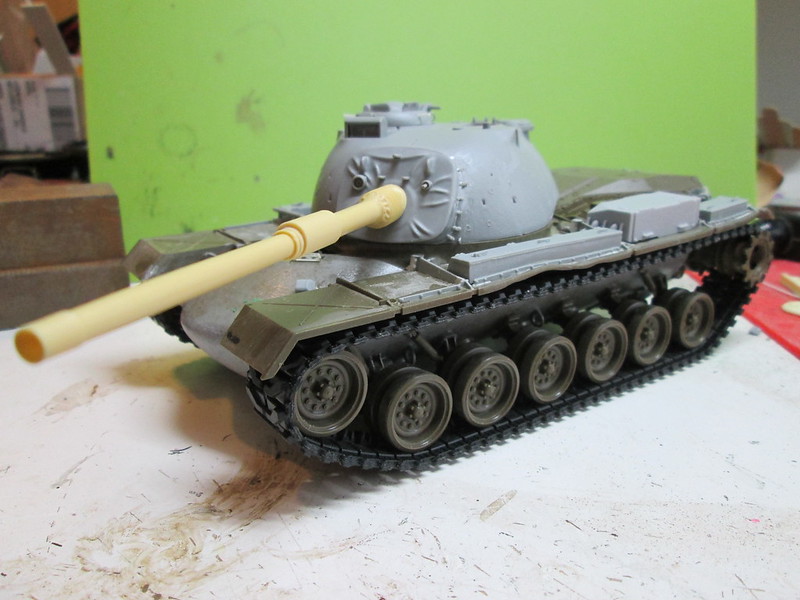
The other one is the Takom M60 hull, with a Dragon M60 turret and Academy wheels. I have to say, the Takom parts just kind of flow together, no drama, good fit and sharp detail. Dragon tracks and early style Tamiya drive sprockets on this one, with a Barrel Depot gun tube. I deleted the second shock and moved the first return roller forward. Mantlet cover is Aves putty.
So, a Magach-a-rama after all! I like to look at you building those israeli monsters. They really hava a talent for re-fitting tanks, don’t they? Good luck with your builds and have a nice day
Thanks Pawel. I guess I’m on a roll, still have lots of stuff in the stash to use up.
More pics soon, the M60 is ready for primer and M48 moving along too. I have to say here most of the Dragon Magach parts are pure fiction, so I’ll have lots of scratch work to do.
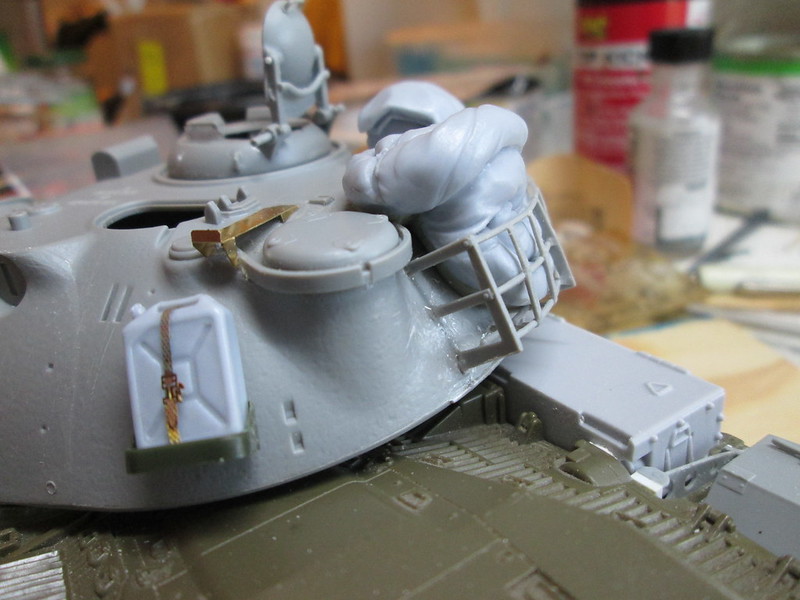
So far the Takom parts for the turret have all been great, even the very fragile bustle rack. Getting the DEF parts to go in there was fun, as they’re designed for the Dragon kit, but with a little Aves putty, it all worked.
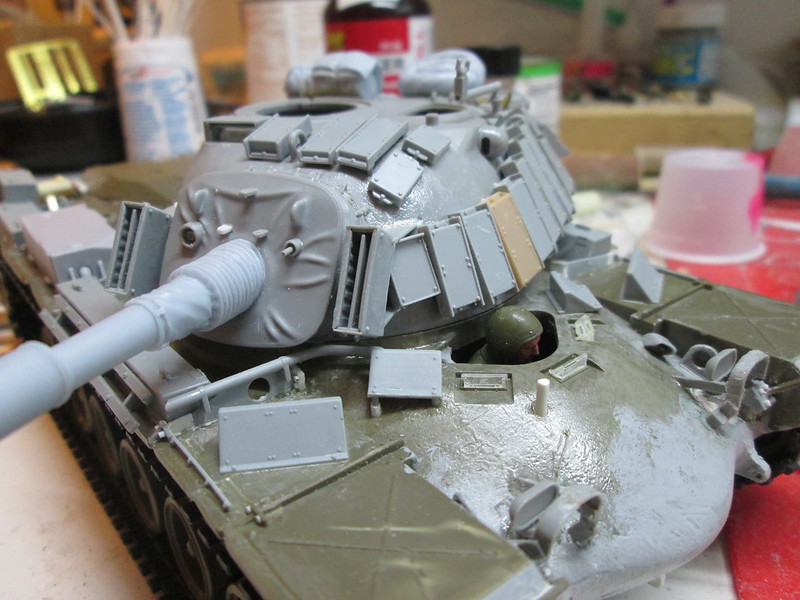
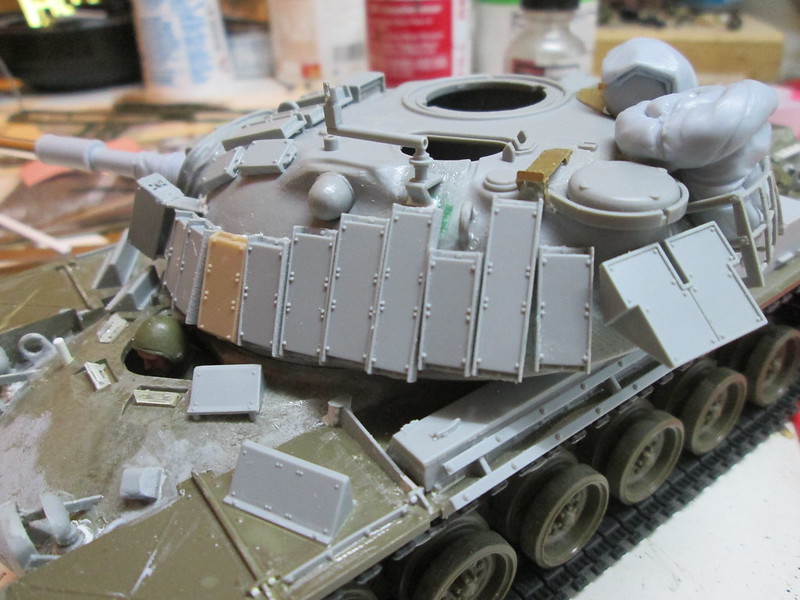
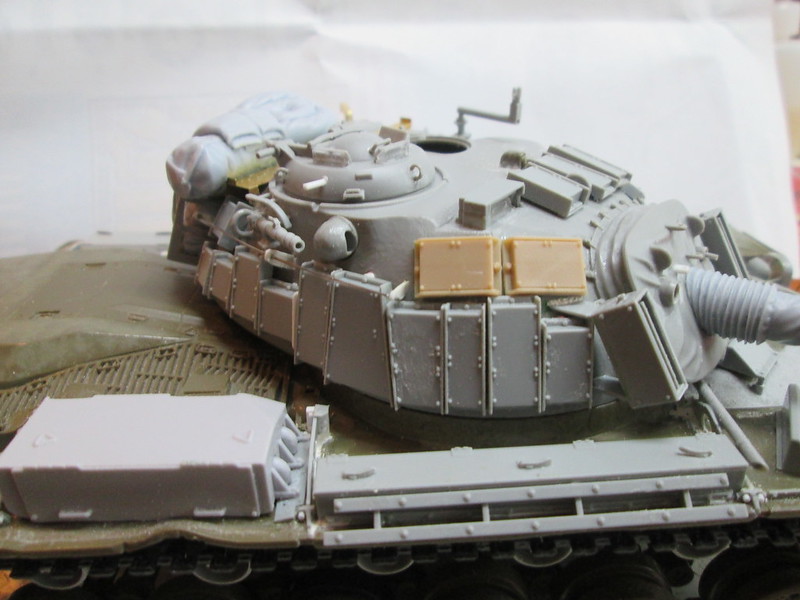
I’ve started the ERA on the Magach, not a lot of fun since Dragon has done a poor job on the grouping and mounting of the individual blocks. I’m assembling them per instructions, then separating them, filling and sanding and THEN mounting them, individualy as per the real thing. Tedious, but necessary. It took most of a day to do the port side of the turret.
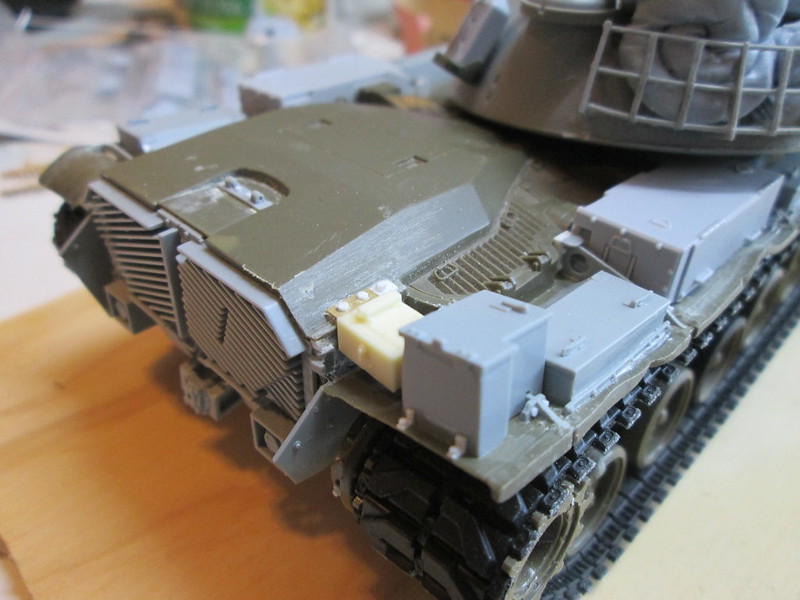
I’v also added what is probably the last of the hull detail, and could possibly work through the rest of the turret soon, even considering the corrections I’m having to do. I’m also into the spares for ERA blocks, as Dragon shorts a few.
Thank you! I think one of my next projects is going to be very simple, OOB and just for fun, never mind accuracy, although the M60 was pretty straightforward to get together, and if it ever stops raining around here I’ll get some paint on it.
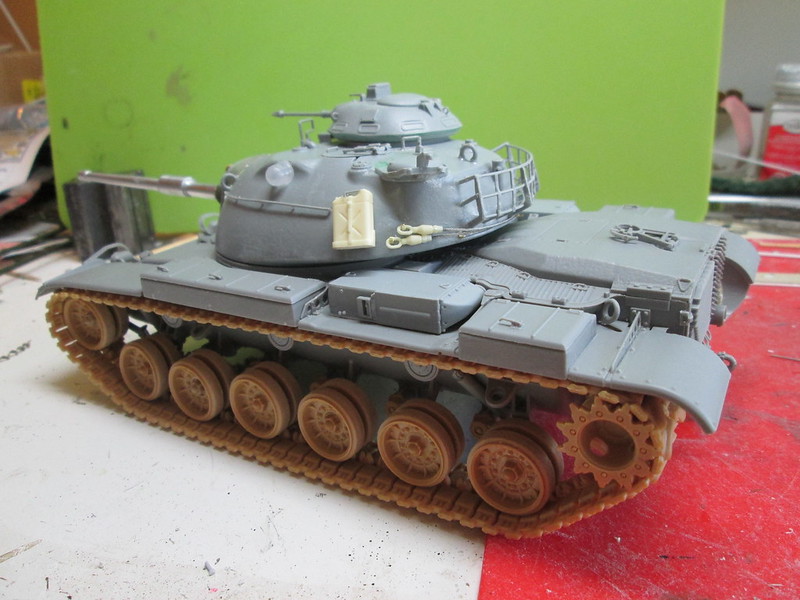
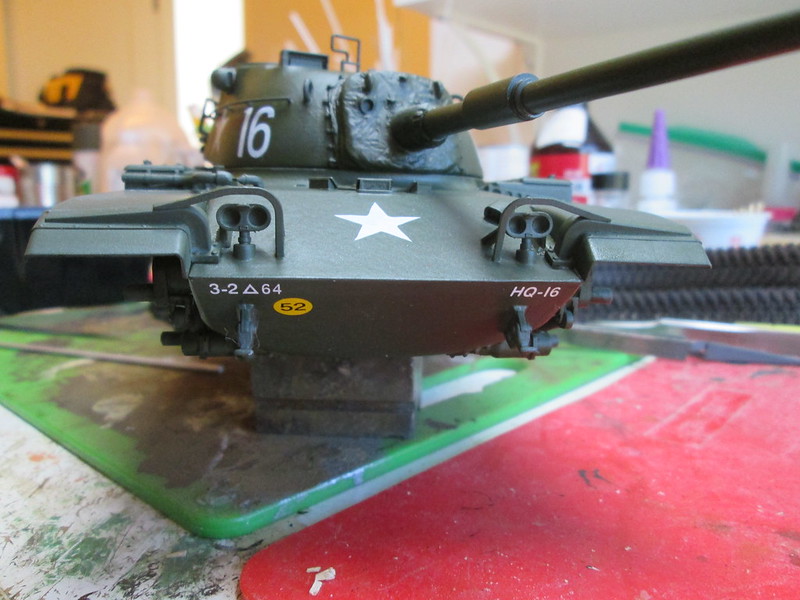
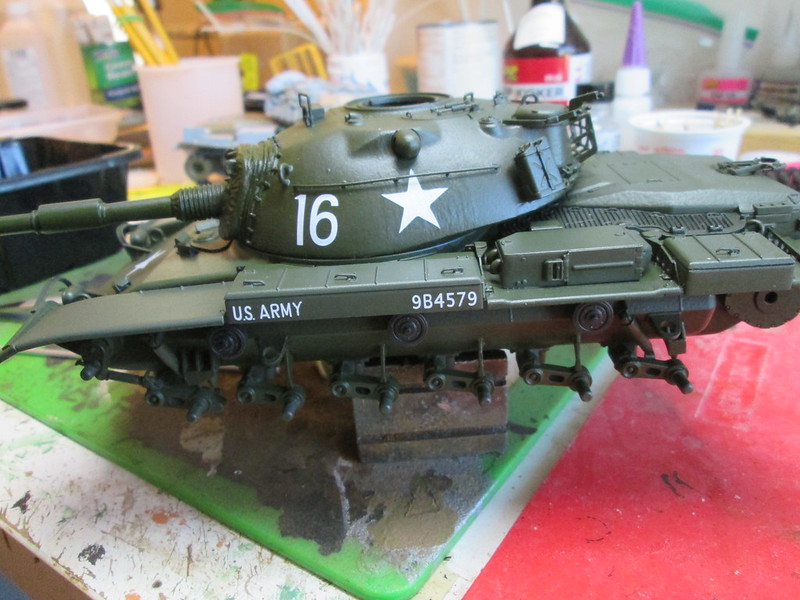
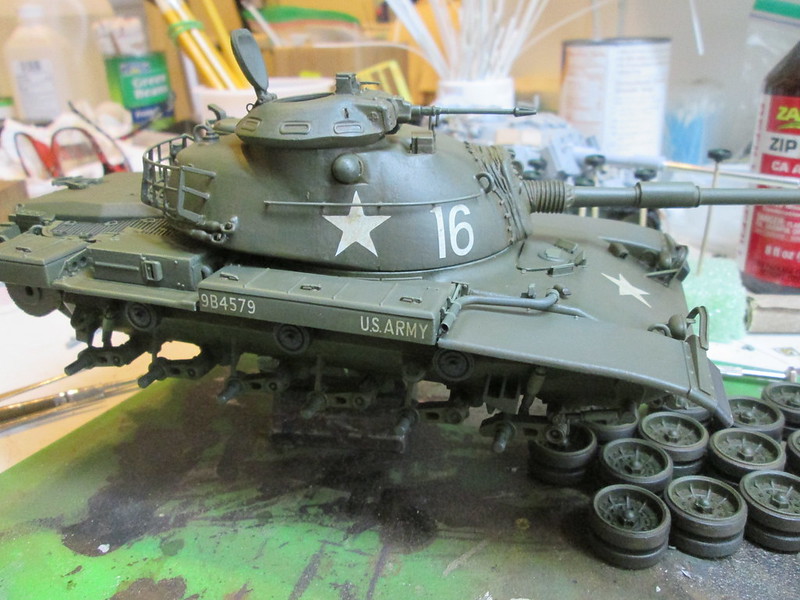
Thanks G. So it calmed down outside, and I shot some green on the M60, skipping primer this time in an attempt to preserve fine detail and textures. I’m using Krylon “camo green”, and I think it worked. I had an interesting experience, too. My old can was getting very low, so before it ran out I warmed and shook the new can and shot a bit, noticing right away that it was a shade or two lighter. Thinking ahead (surprising for me) I finished the ititial coverage with the new lighter can, then went back with the last of the old, darker can and very lightly sprayed the lower hull and bottom ot the turret. It’s not readily apparent, but time (and better photography) will tell.
I did an acrylic dark green wash, highlighted a couple of areas with a lighter green, then a sime-gloss clear coat and decals, from the Dragon kit. so far:
 IMG_7263 by Russel Baer, on Flickr
 IMG_7264 by Russel Baer, on Flickr
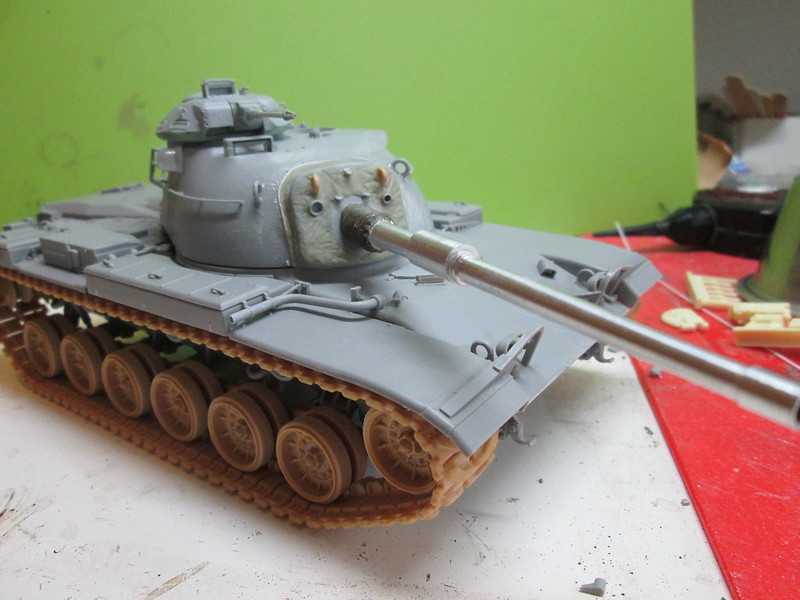 IMG_7265 by Russel Baer, on Flickr
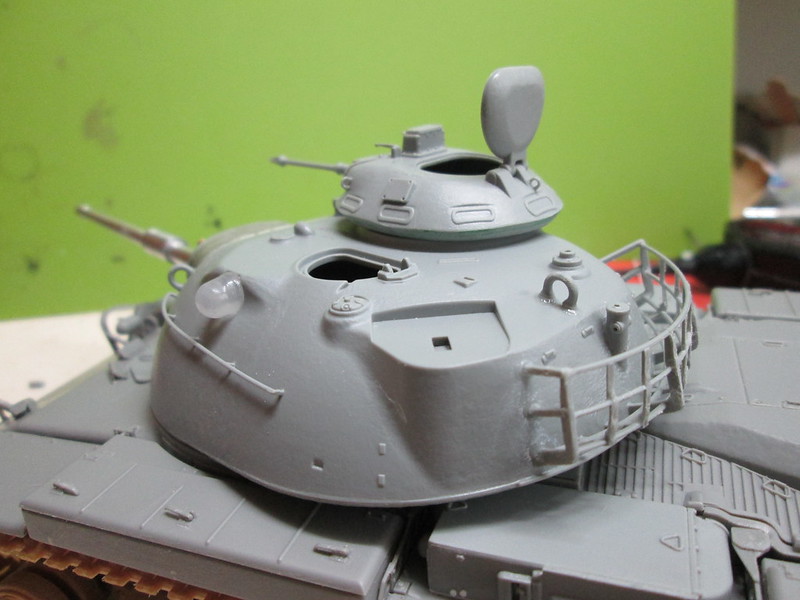 IMG_7266 by Russel Baer, on Flickr