Mono's 1/48 Spitfire finished pics

I know… no where near the level of detail Ive seen some of you guys crank out, but Im not super picky just yet. Im still trying to increase my skills before I get to the kits that are really important to me. So up next Monograms 1/48 Spitfire. I imagine this one will be mostly OOB. Mostly just a chance to work on my filling and sanding skills… maybe some panel line shading and weathering. I was suprised at the level of detail in this kit. and dry fitting seams reveal a rather nice fit? I guess we’ll just have to wait and see :smiley: The kit provided decals for the seat belts I tried to use them but that was a no go… they pretty much fell apart as soon as I tried to slide em off the backing. No biggie… I wasnt super worried about interior detail. But It makes me a little worried about the rest of the decals…

Looks good so far. I almost always build OOB. I love to build Monogram kits, they have more detail than most people think, and you can do a lot with them! Keep up the good work!!!

If the seat belt decals disintegrated so will the rest of the sheet. You may want to clear coat it and cut around each decal seperately. Also there is the option of Microscale decal restorer.

So I got a little but more work done today… closed the fuselage which needed a little sanding but nothing serious. Now I need to decide if I want to try and re scribe the lost panel lines. not sure yet. Its not something Ive ever tried and the kit (like most revellograms) has raised panel lines. I also tried to attach the wings which is proving to be troublesome. Dry fitting before the cockpit was added had me hopeful. Now, trying to glue it together is leaving big gabs and mis allignments around the wing roots. Right now its lookin like its gonna be alot of filling and sanding, a skill Ive never been too good at. Ill post some pics here in a bit

So this morning I was admiring my sanding job and realized that something was wrong. That the shape of the plane just didnt look “right”… I tried to take and post a pic so maybe you guys can see what Im talking about. The starboard leading edge seems further forward that the port side… and body else ever have this problem? know what causes it? or how to kix it???

I usually attach the upper wings to the fuselage first and then install the lower. It looks like you have the wing misaligned with the fuselage, and that’s why the gaps at the wing root… The left wing appears to be forward and the right wing a little aft.

so moving right along… I blasted this with a can of light grey to see just how bad my seem lines were then tried to do some pre-shading. if you look at the pics it did absolutely no good. :frowning:

So not such a good start today… after applying a coat of future I was looking at the decals when I realized that that white band around the fuselage is painted and not a decal. So back to masking tape and paint. Now I almost exclusively use MM Enamels… so I never bothered to check else I would have noticed that I was using an acrylic that Id tried to thin with thinner… oops. The band was painted, dried and another coat of Future… and decal time… Just as someone already predicted, they fell apart… disintergrated into tiny little pieces :frowning: Fortunately I have the same kit in my stash and I raided the decals from that one which seem to be working nicely. Photos to follow soon :smiley:

ok, between both sets of decals I managed to make something work…

All I need to do now is another coat of Future to seal the decals… maybe some more weathering… add the last few bits n pieces, a dull coat and maybe some chalk weathering.

Coming right along. :smiley:

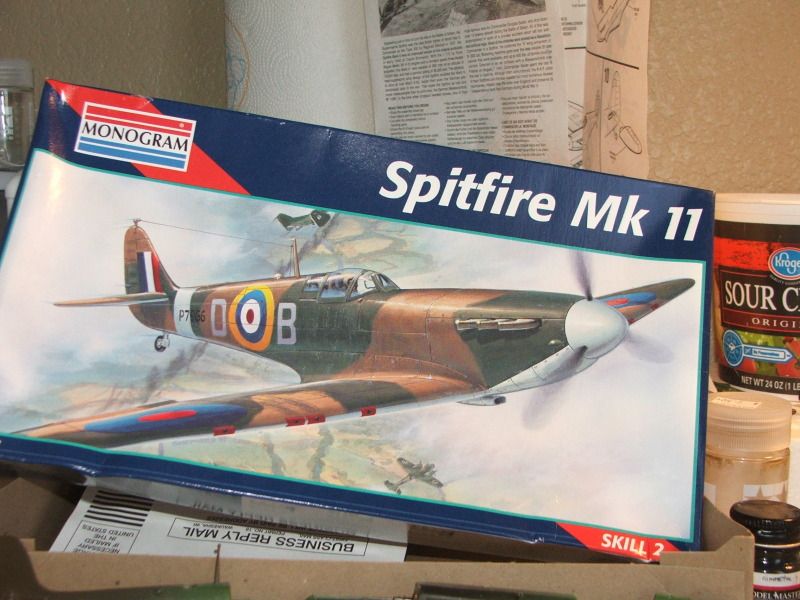
Just so ya know, it’s not really a Monogram kit, but a re-boxing of the 1978 Revell Spitfire kit… The “one true” 1/48 Monogram Spit kit was the 1960’s Spitfire Mk IX (with the retractable landing gear, mummified pilot figure glue to a bulkhead, decal instrument panel, no other parts for the 'pit)… A “bare-bones” kit that one was… I built it for the “Monogram Mafia”, using your kit’s cockpit parts as patterns for casting new parts for the Monogram kit…

!(http://img.photobucket.com/albums/v233/HansvonHammer/Aircraft Profiles/Box Art/Box Art-Monogram/MonogramSpit.jpg)

Revell did a fine job on this kit though…

!(http://img.photobucket.com/albums/v233/HansvonHammer/Aircraft Profiles/Box Art/RevellSpitfiremkII.jpg)

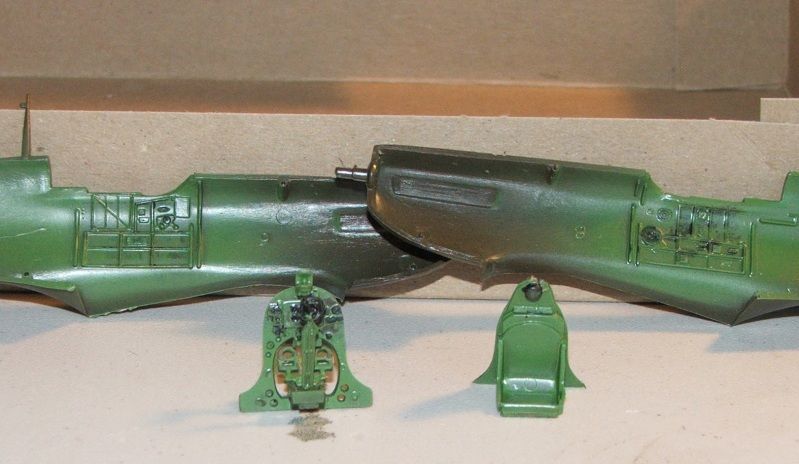
Don’t sell it short even if it’s only a 12.00 kit… If one isn’t quite up to casting and scratch-building interior details and parts yet, this kit’s perfect for the budding Gizmologist to get started with…

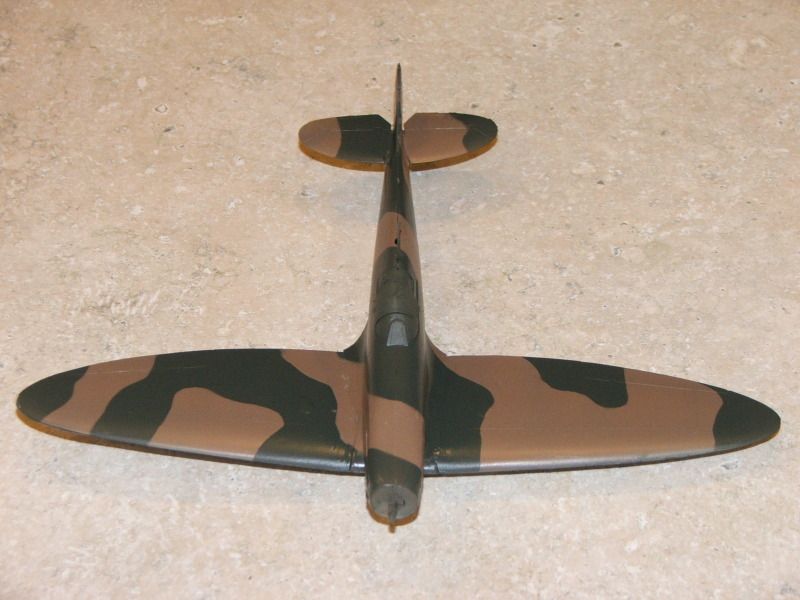
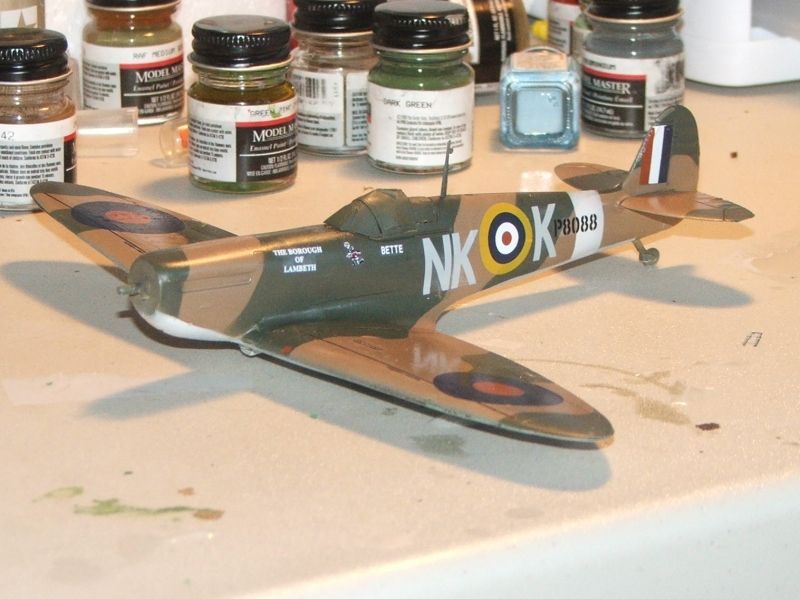
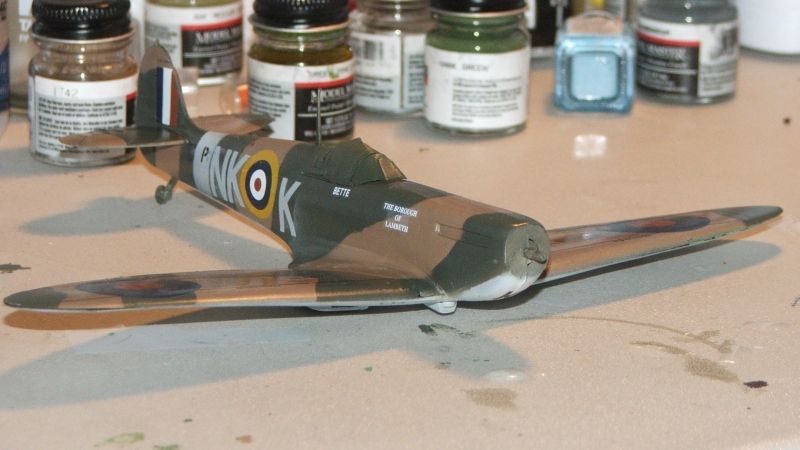
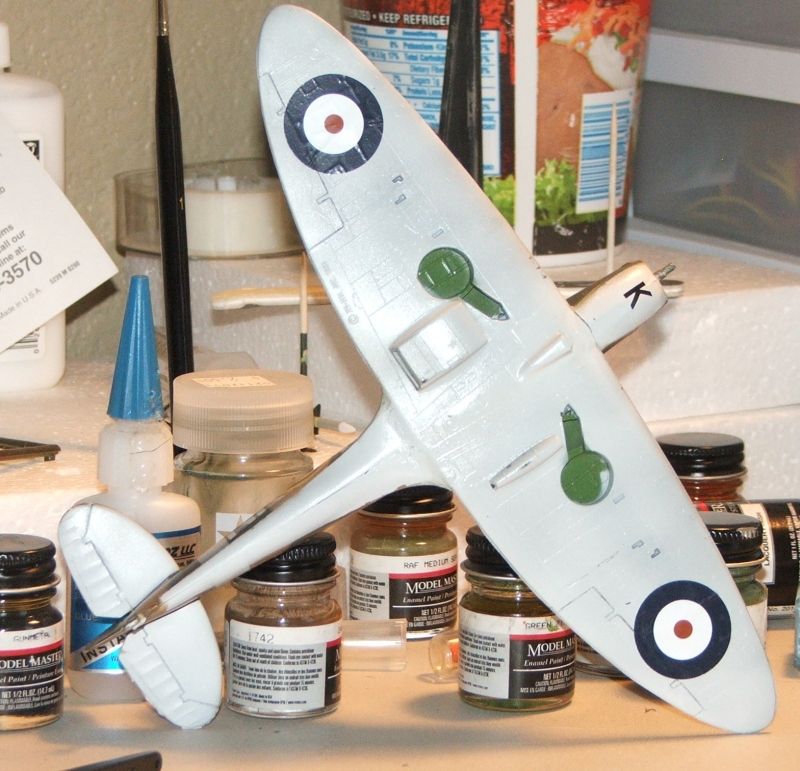
I know it’s a bit late, but here’s some shots of a Mk II “Office”:

!(http://img.photobucket.com/albums/v233/HansvonHammer/Aircraft Profiles/Aircraft details/Spitfire cockpits/Photo-8-Spitfire-Cockpit.jpg?t=1327099367)

!(http://img.photobucket.com/albums/v233/HansvonHammer/Aircraft Profiles/Aircraft details/Spitfire cockpits/spitfire-mk-ii-cockpit-3.jpg?t=1327099367)

!(http://img.photobucket.com/albums/v233/HansvonHammer/Aircraft Profiles/Aircraft details/Spitfire cockpits/spitfire-mk-ii-cockpit.jpg?t=1327099367)

!(http://img.photobucket.com/albums/v233/HansvonHammer/Aircraft Profiles/Aircraft details/Spitfire cockpits/spitfire-mk-ii-cockpit-2.jpg?t=1327099367)

The device that’s attached to the loop of the yoke is a “gust lock”, which is installed whenever it’s parked outside on a windy day… The Supermarine Company’s anwer to “The Club” (and probably where the The Club’s design came from)

Interesting design, since you can’t take off with the controls locked (a distinct possibility on many other, “newer” fighters that have internal locks or external “pass-through” types… This one’s is designed so that the pilot can’t even sit down in the seat with it installed, lol…

They made it “P/O (Pilot Officer) Proof”… (Or 2nd Lieutenant-Proof if you’re a USAAF rookie pilot), lol…

Three words, Pard…

“Testor’s Decal Bonder”

!(http://img.photobucket.com/albums/v233/HansvonHammer/Model Tools/testorsbonder.jpg)

I’ve been telling folks who wanna use old decals about this stuff for years… I get it at Hobby Lobby for about 3.00 with their coupon… It’s actually for fixing the inks on home-printed decals (inkjet printers), but it’s fantastic for this application too…

Spray your decal sheet as soon as you start the kit, then it’ll be ready for use… I’ve used kit decals that I could see were cracked and they stayed together after I dipped 'em… And I’m talking about 20-30-year old sheets, Pard… It’s flexible in warm water and won’t crack on it’s own accord, unlike clear laquers and acrylic clears that’re often over-sprayed in hope of saving a decal sheet…

Just be sure to trim VERY close to the ink, since it basically turns you sheet into one ginat decal…

Well, she’s all done (for now) By no means a great build or accurate. I didnt bother trying to fix the allignment of the wings, the decals gave me fits to no end hence the red squares that are supposed to cover up the wing guns? were omitted. Also if you look you can see the transparency in the fuselage roundels. Either my kit was missing or it didnt come with a rear view mirror. and I screwed up painting the wheels. Despite these errors Im happy with how she turned out and it now sits proudly beside my last build of the AVG P-40. Maybe some day Ill go back and add some weathering, and maybe an antenna… so here she is. Critiques are always welcome especially if you have suggestions on how to fix goofs :smiley:

Its still not bad. The most important part is whether or not you enjoyed it. Few kits are built to absolute perfection unless they are assembled by master modellers I knew one of those once and he was an artist with plastic. Unfortunately, he died a few years ago before I was able learn more of his techniques. With his passing I lost interest for some time and slowly over the last 10 to 12 years have gotten back into building again.

Nope, you didn’t lose it or anything… There isn’t a mirror included… As for the red squares, that’s just tape that was placed over the muzzle-openings to prevent moisture from accumulating in the guns and icing-up during high-altitude flights… There wouldn’t be any tape (or very little of it) remaining after it returned from a mission during which the guns were fired… So you’re good there, too…

i’ve always wondered what that was…

i remembr this kit. it, along with the revellogram P-51, were the first few kits i built before anything else. my dad got me two of each and told me we had to build them before we built anything more advanced. to this day, i still think they are fun little kits, nice for a quick, put-together-in-a-weekend for some stress relief kindof kits. since they dont cost an arm and a leg, you can build one every now and then just as a have fun buuld where you dont have to freak about detail and accuracy…of course i have one (a P-51) that i went overboard on detail and finishing with, but that wasnt as much fun as just smashing one together lol. nice job on the Spitfire!

Thanks for the kind words fellas… Shes not perfect but Im happy with it. Ive still got a long way to go but my builds look alot better than when I started. Fingerprints in the paint… glue on the canopies… brush strokes for camo…landing gears the would make any plane look like it just came back from a night on the town :smiley: and lets not forget paint in the carpet, on the kitchen table, on my new jeans :smiley: it was fun then and still is…