I’ve had this kit for decades now. Probably close to 30 years. I’ve also built this same kit a few times as a kid. In fact one of, if not the first model I ever built was the snaptite version of it.
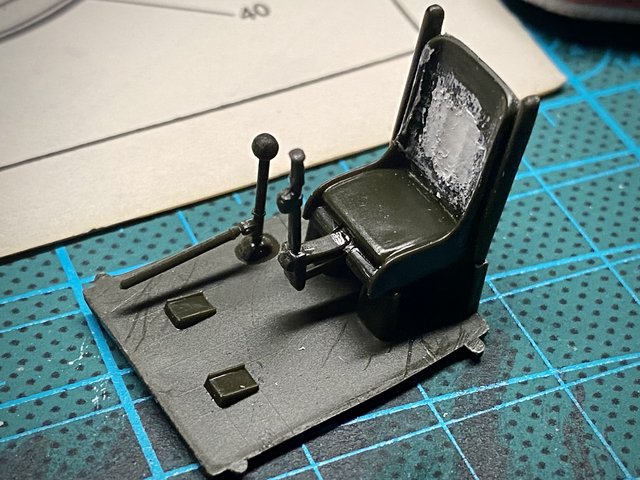
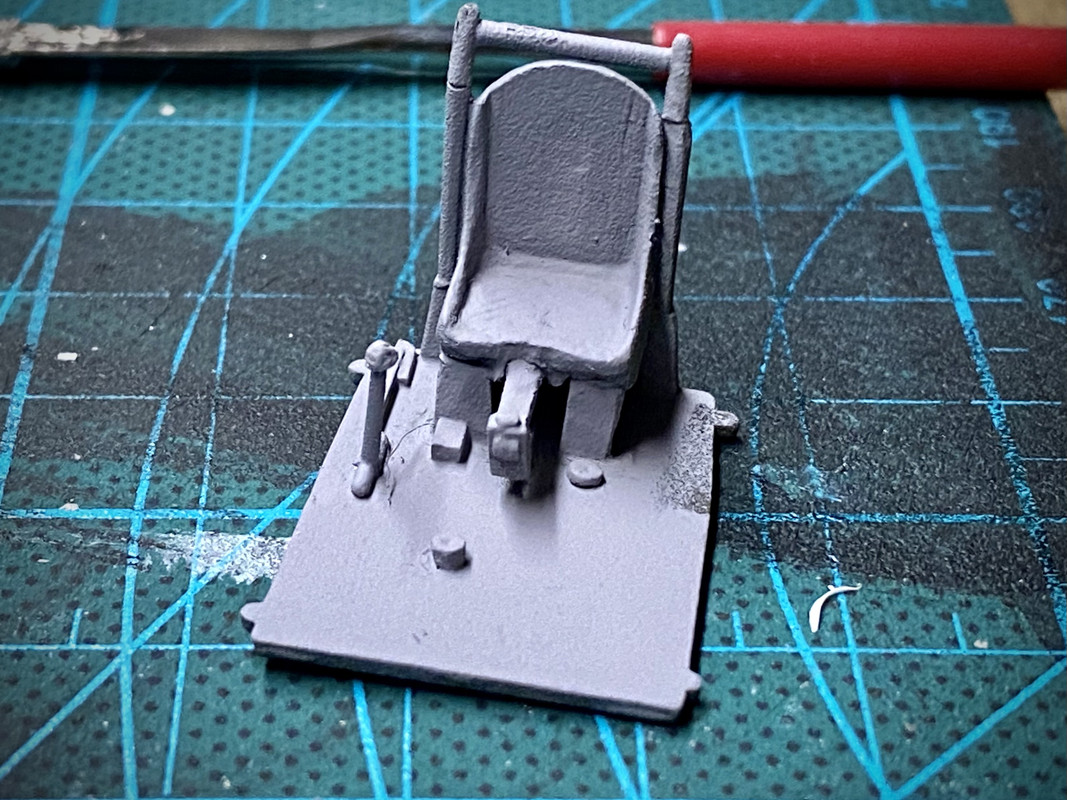
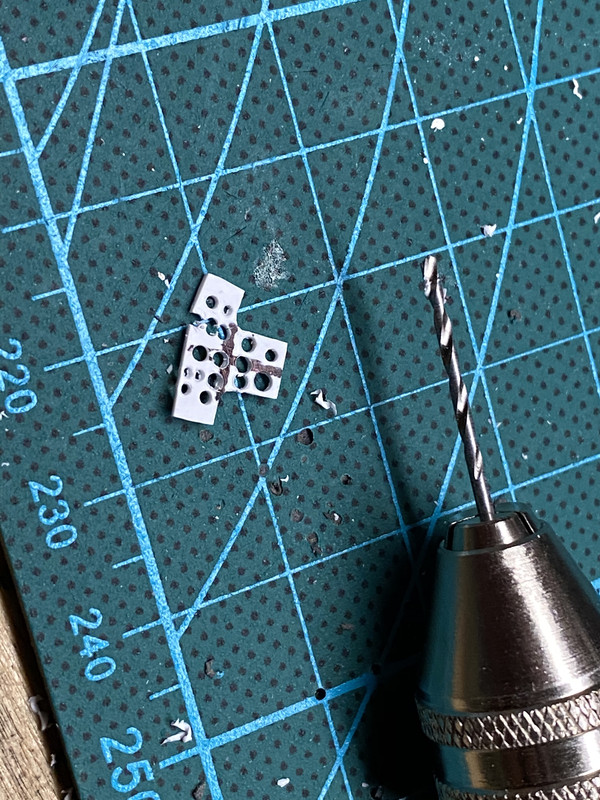
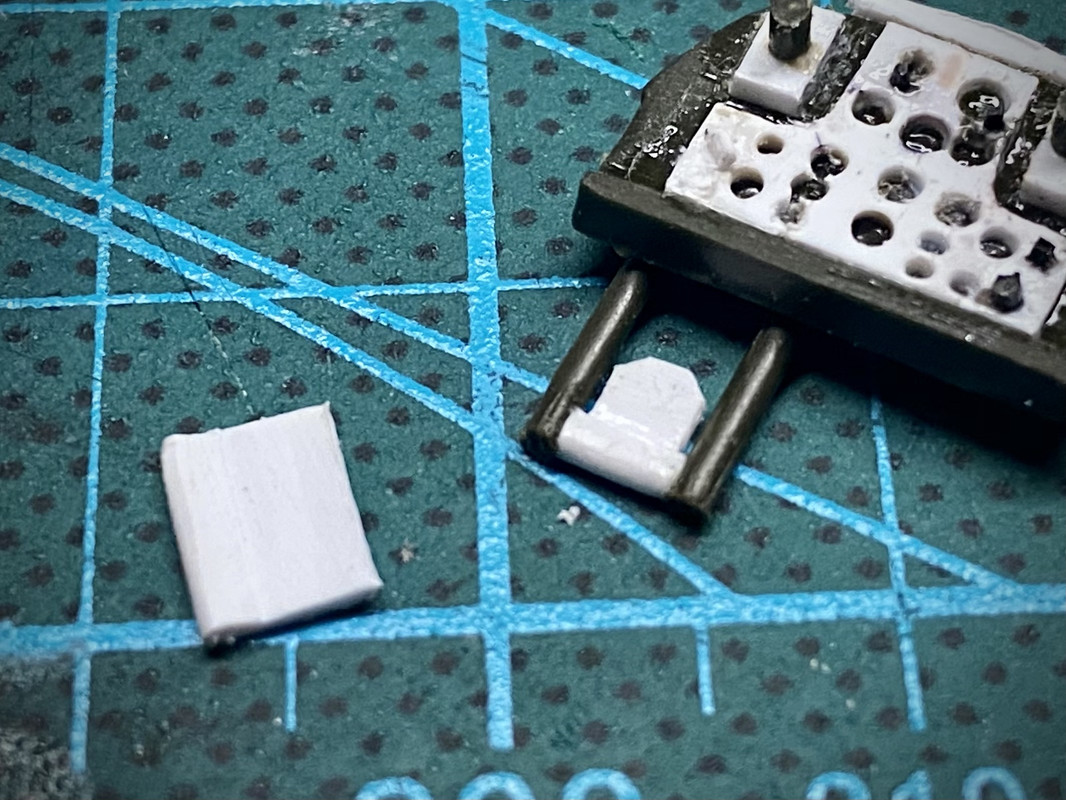
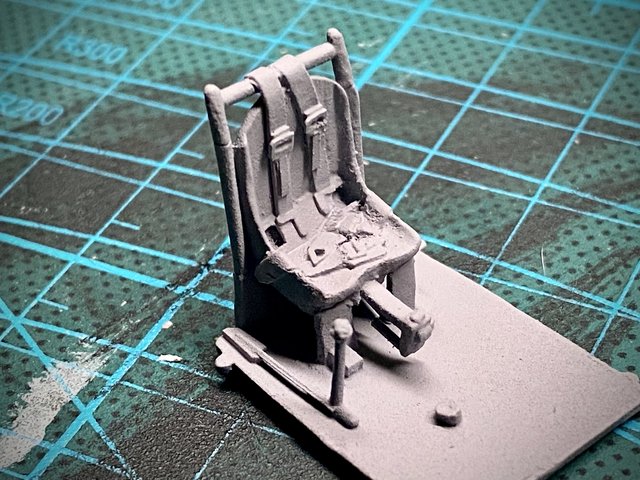
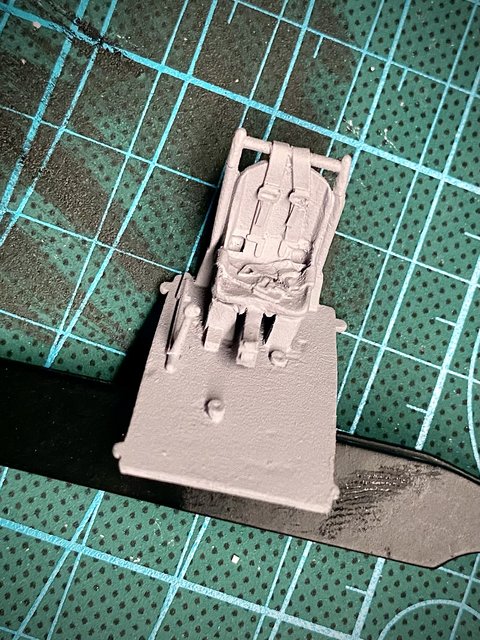
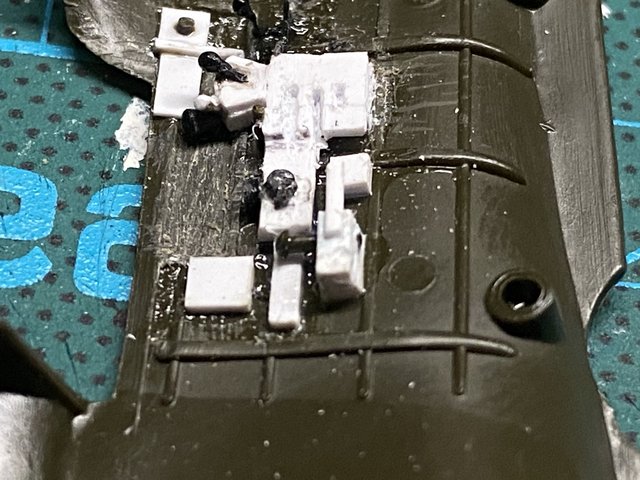
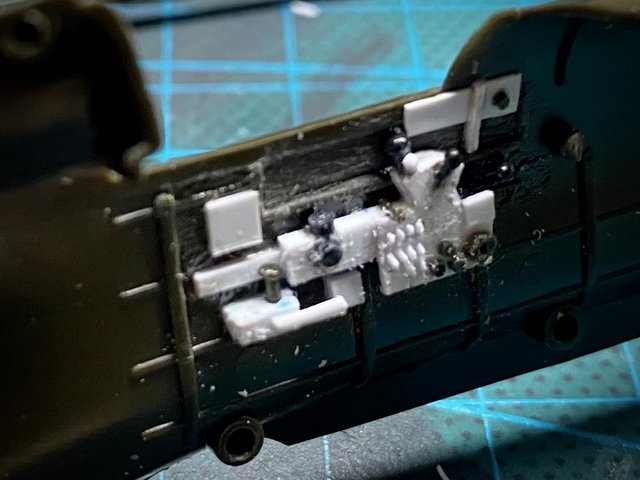
The first thing I did was to go over all the parts where I noticed I had lost the right side cockpit plate so I decided to scratch build one. I’ve also decided to forego the pilot and will scratch some seatbelts.
I may pull the left panel off as well and scratch it too. I feel the scale between the two sides may be off but I feel mine is closer to accurat.
Please feel free to critiqe my work here. I want to grow as a modeler so any feedback is welcome.
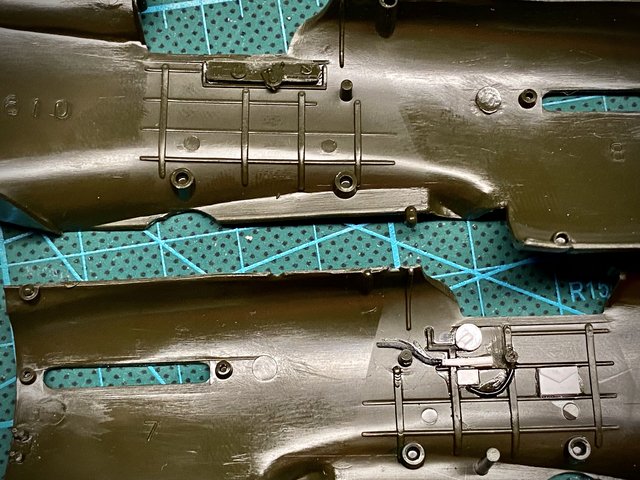
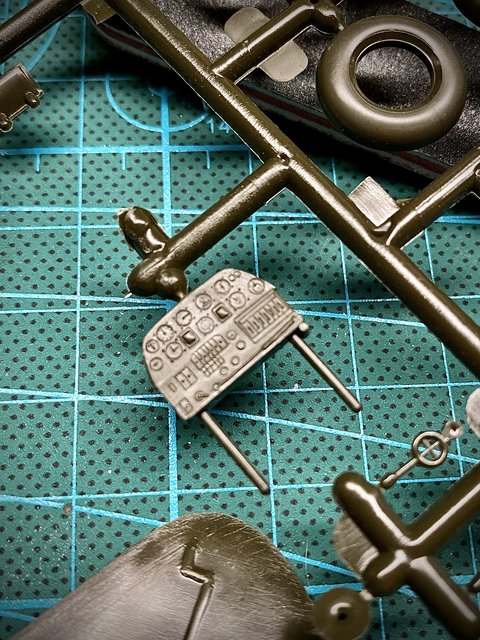
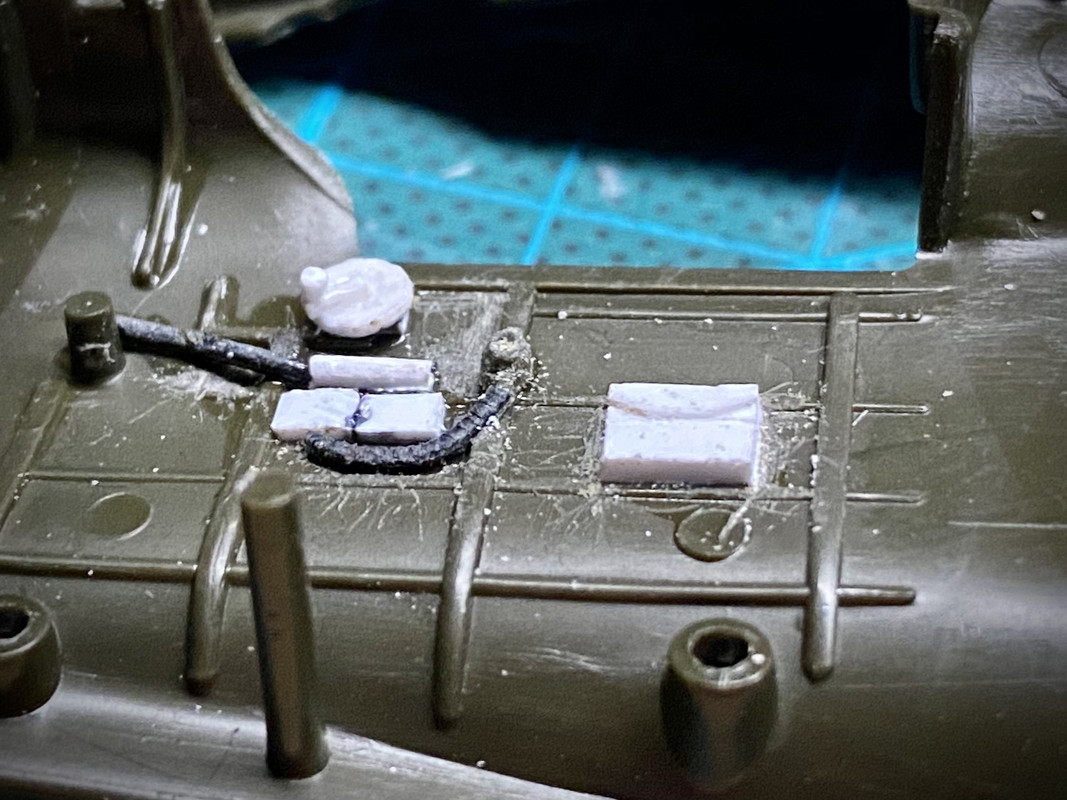
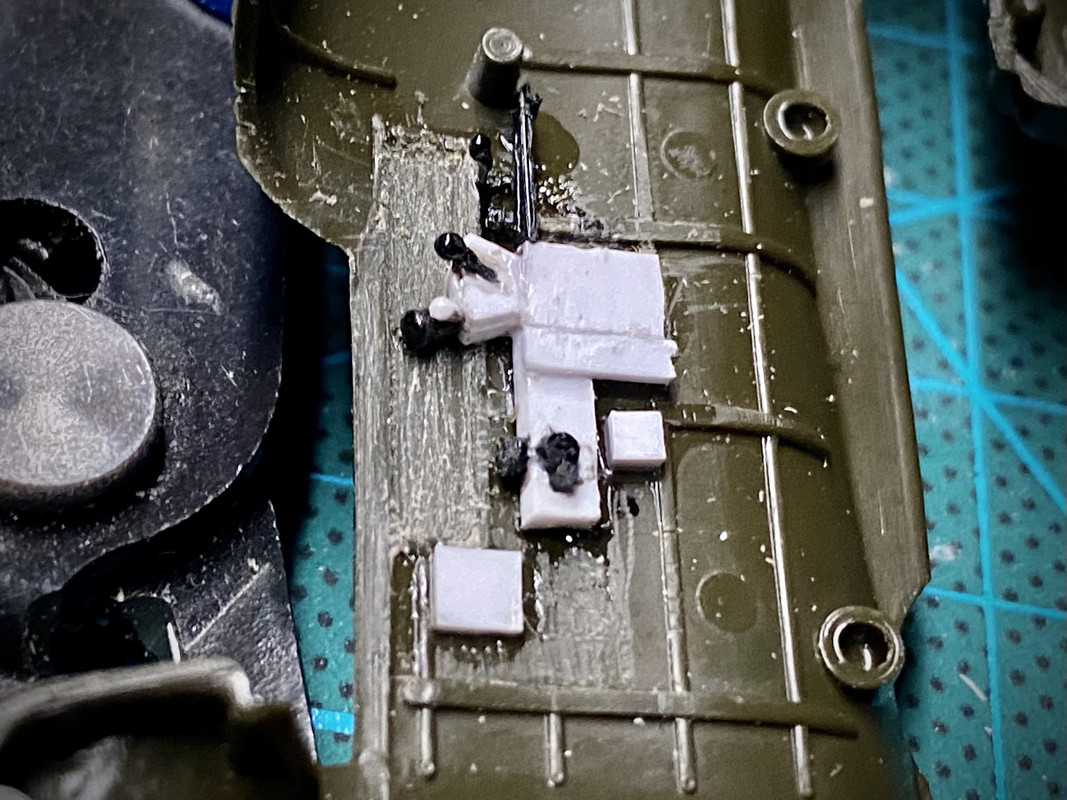
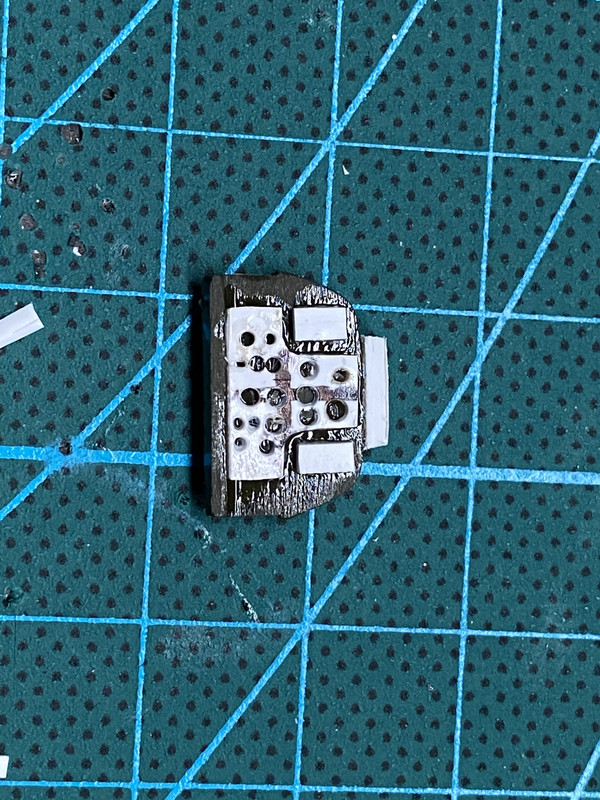
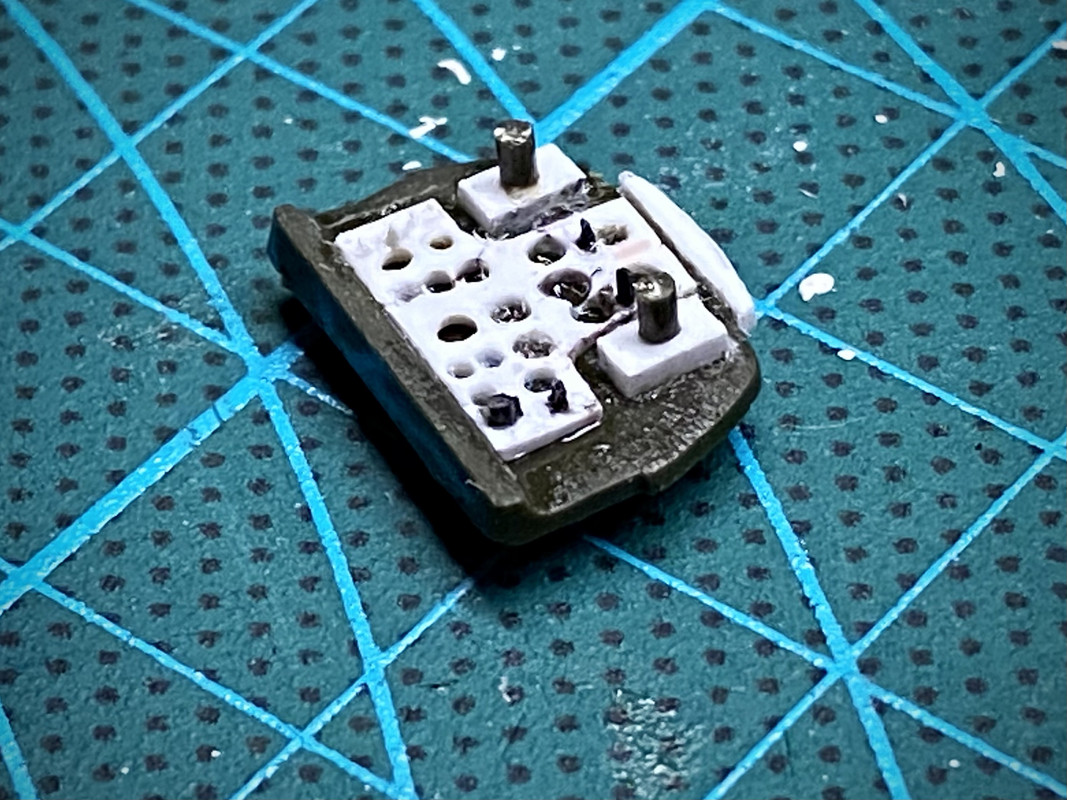
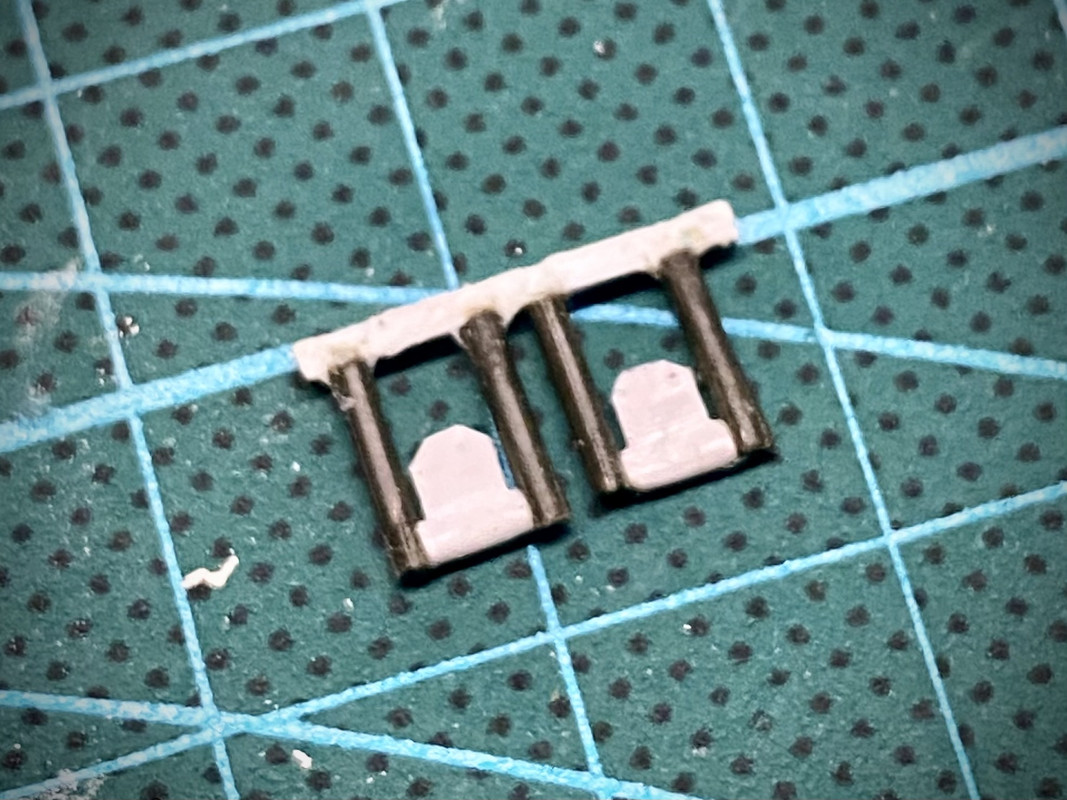
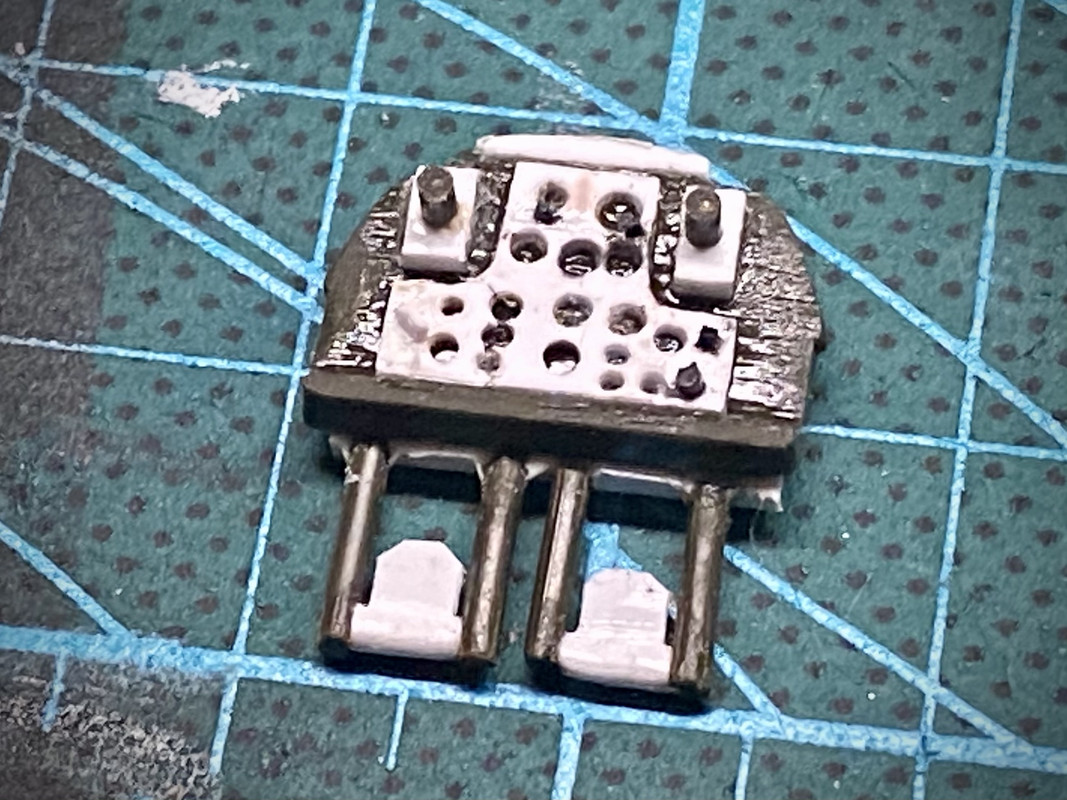
So I believe that the instrument panel is wrong for a B model. It should have two guns with their receiver rears and buffer tubes protruding into the cockpit on either side of the instrument panel. I’ll have to scratch that as well.
Im also not sure if I want to use the decals it came with (they are starting to yellow in the clear areas), replace them with new copies of the original, or use decals from another plane? I haven’t even begun to look and see what may be available.
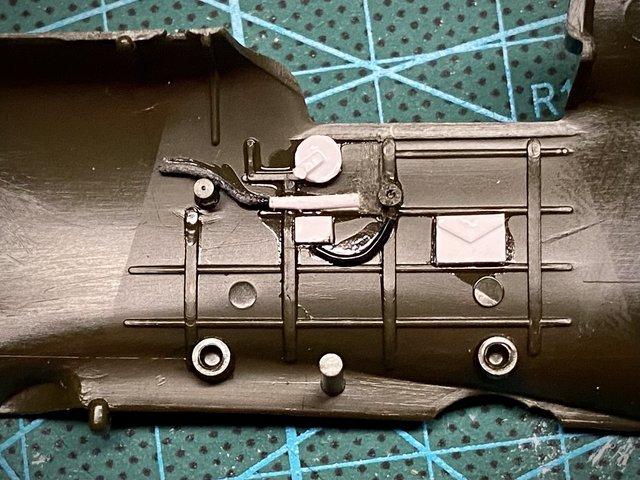
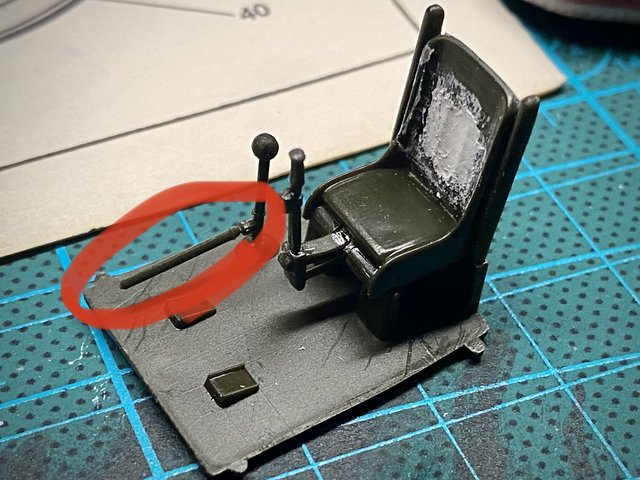
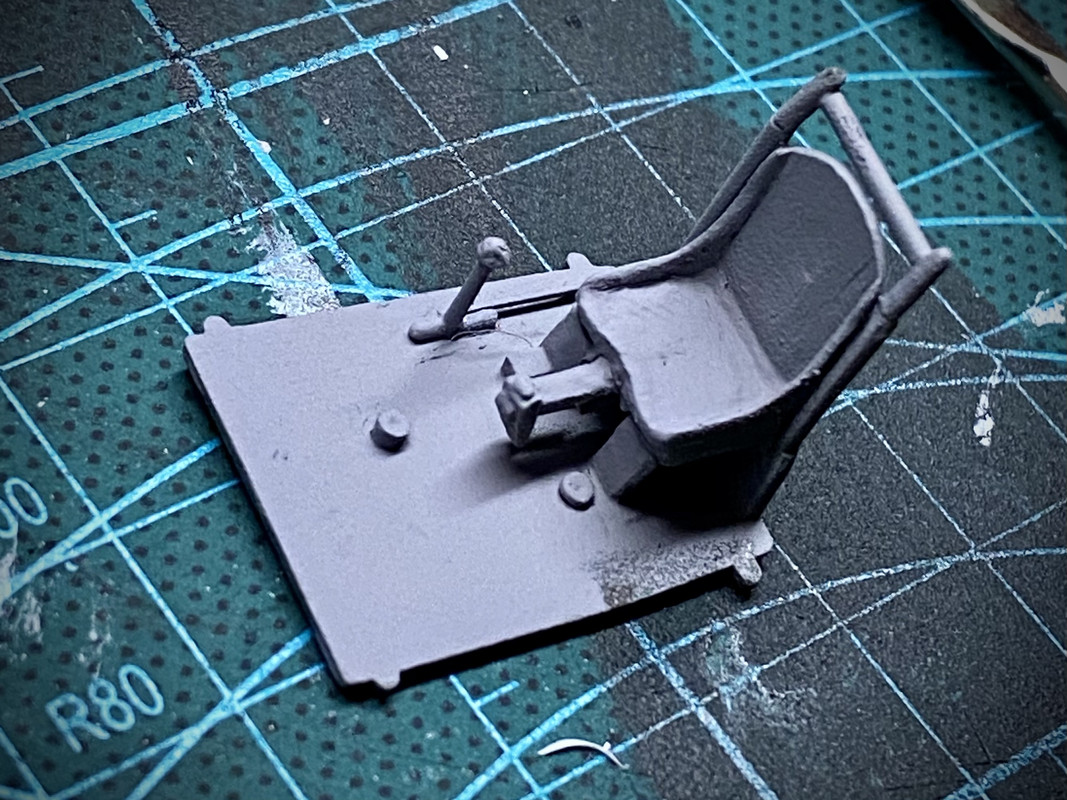
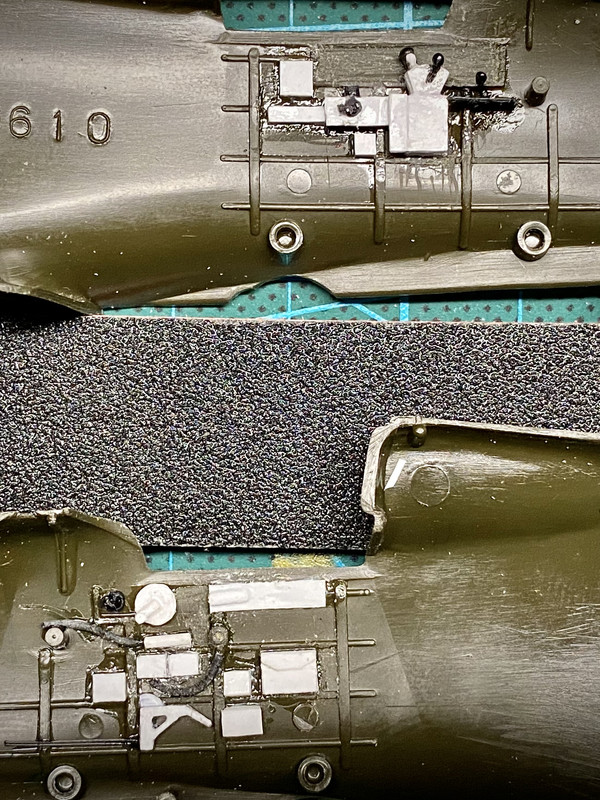
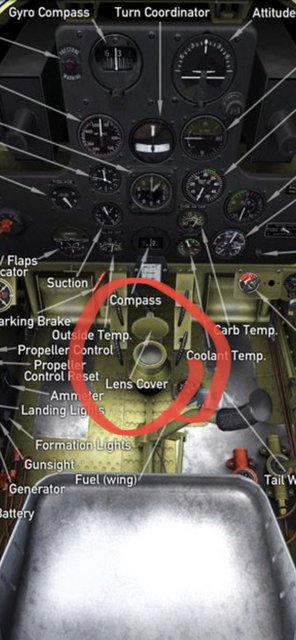
One question I have is if this push pull tube coming off of the manual hydraulic pump is there or not? I have just begun to research but I have not seen it in the photos or prints that I’ve examine.
This has been of my favorite kits of all time and I’ve still got one more in the stash for later.
First, I love that you are scratch building the details. I went the same route as well. I did end up rebuilding and detailing the throttle controls and if you do too, you’ll be much happier with it.
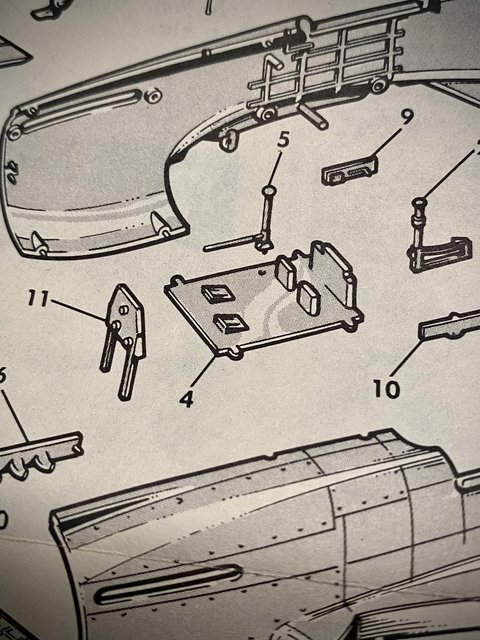
The hydro pump should be facing aft towards the tail because the pump is behind the cockpit and not in front of the instrument panel.
Those cut outs on the sides of the instrument panel are indeed for the .50 cal. Receivers and they have charging handles the protrude from them. Look up a good picture of the pit for reference, you’ll see what we mean.
Try spru brothers for some decals and scheme ideas. I’ve got a spare set from the Airfix kit I’m going to use on mine.
I seem to have lost the pictures in my build thread and no longer have them in my phone anywhere. But I do have a YouTube link to the 30 second video I made and there are some cockpit pictures so you can see what I did.
Yeah this doesn’t have any cutouts or M2 receivers. It even shows to put the hydraulic pump handle on like I did. I’m glad you said something before I got too far into the build.
I’ve been trying to find reference photos for the cocking handles for the M2’s. I didn’t know anything about it but I figured it probably had to be cocked something like the M240C in a Bradley.
This is the instrument panel it came with. I plan on scratch building the correct one.
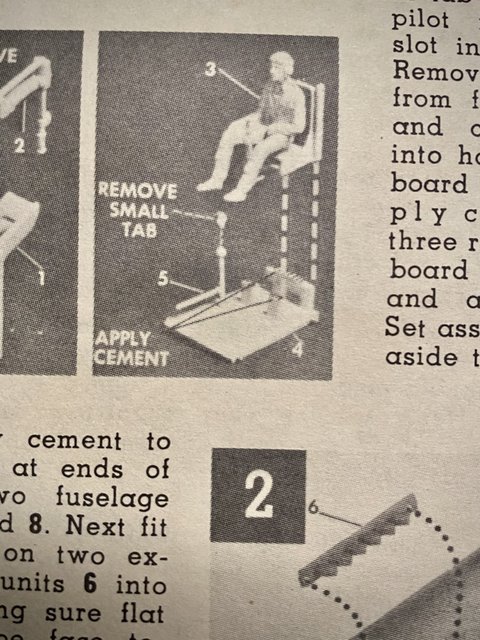
And the original instructions showing the wrong assembly of the hydraulic pump handle
Nice work. I first built this kit when I was 3 (with some help from my dad). I have probably built about a dozen of these through the years. My most recent effort came about 7 years ago, when I added an aftermarket cockpit and scratched the wheel wells, and opened up the cowling flaps with some of the intake details located behind the chin.
That kit was the test bed for many of my “first attempt at” items. Despite the well known downsides I really do like it and enjoy building it. Yours is looking good.
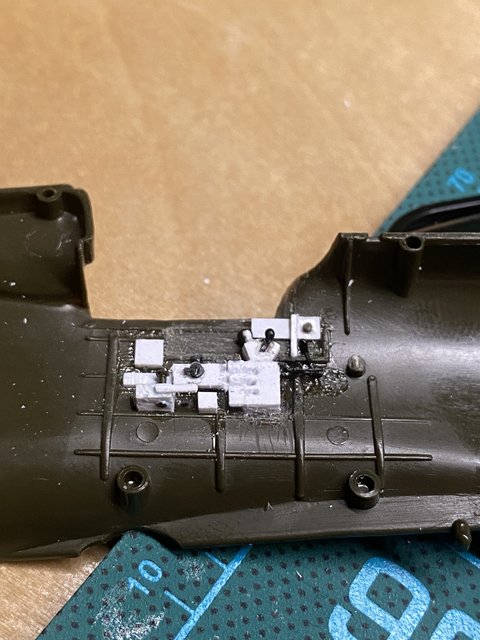
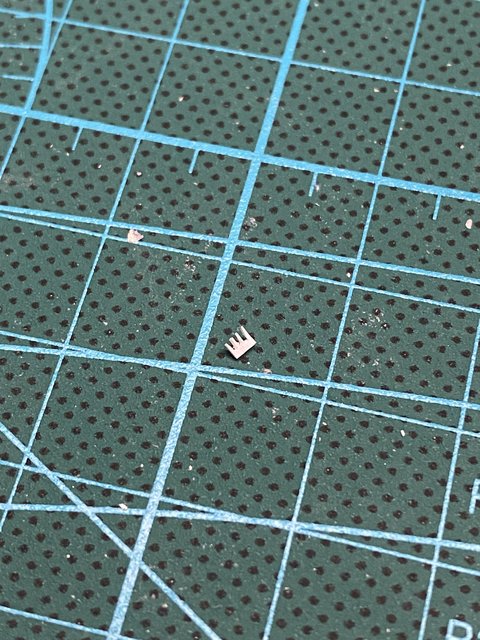
Here is some toggle switches I added and how I did it. Not sure how it’s supposed to be done but I just cut a strip of styrene the width I need, cut bristles like a comb would have, and then cut slots to stick the row of switches (bristles) into.
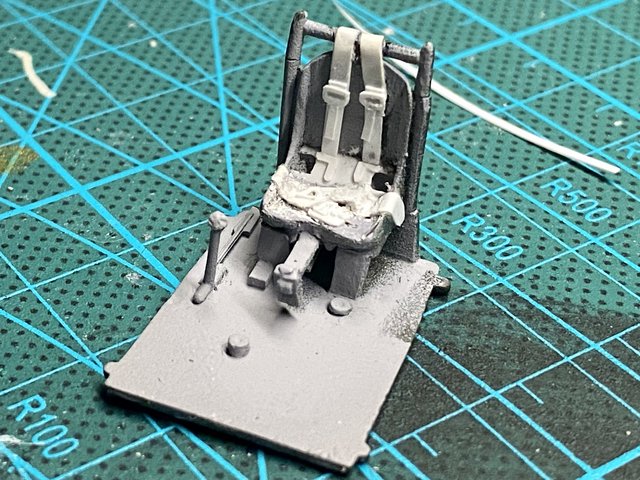
Only one thing I noticed that you did, and I wouldn’t change it now, is the seatbelts. The “B” only had lap belts and no shoulder belts. But don’t try to fix that. What you did looks great and fixing it would make a mess of things.
I like your approach to the instrument panel. I simply cut the corners off and used a bit of styrene to hold my MG receivers in place, but kept the dial details.
Yes, correct a wide lap belt. And the export version had a square back seat pan instead of the arched back. I found that all out after I did the arch back to the seat. After that I figured I’d give it a full harness since I had already modded the seat.
I also learned that the AVG exports didn’t have gunsights on them so they fit N-2a gunsights on them in the field. Howeve, I’m still doing the factory gunsight.
A passage in the book “Baa Baa Black Sheep” halfway confirms this and the lapbelt only when Boyington stated he attempted a 3 point landing on his first flight of an AVG P-40 where it caused the plane to bounce and threw him forward splitting his head open on the electric gunsight.