At the recent Space Coast ModelFEST I bought two Monogram P-51B kits from a vendor. The price was just too good to pass up. Five bucks each! Anyway, I’ve been examining one of the kits and I am very impressed with the quality of the mold and the detail. I haven’t built this kit since the late 1970’s and I just don’t remember the kit being this nice. Of course the kit is molded in O.D. plastic and not the now accepted light gray we see today, but who cares. They have nicely rendered recessed panel lines that we expect today. I would say that the quality is right up there with the Tamiya kit of the same airplane. The Tamiya kit has way more stuff in the box than I need to have a good build. The Monogram kit is right in my wheelhouse. I’m going to build both kits in parallel since they will both be Natural Metal Finish. One will be an aircraft of the 118 Tactical Reconnaissance Squadron and the other will be a Red Tails Mustang. This is gonna be fun.
Congrats on a good bargain and a good find. Looking forward to viewing these nice kits and what your capable hands do with them.
I remember building one in the mid-70s, and being very impressed with it. It was the first plastic model I built that had any cockpit detail other than a seat. The interior molding on the fuselage was the first time I had ever seen that- important stuff on both sides of a part!
Thanks for your confidence, Jay Jay. We’ll see how well these turn out. One thing confuses me though. There are two square holes in the lower wing behind the shell ejection ports. What are they for? I can’t find any reference to them to explain them. I’m not going to fill them but I think I’m going to cover them from the inside. The two square holes just look odd. They are also on the Tamiya kit shown below:
[CENTER]
 [/CENTER]
I have literally lost count of how many of these I have built over the years: everything from ‘what-if’ glue bombs to superdetailed ace’s mounts! Hope you enjoy your tandem build; we’ll be eagerly anticipating the results.
Yeah, Don, the cockpit detail is very good. The copyright date on these two kits is 1996, but, yeah, I last built the kit before 1980.
Frnak, those Revellogram P-51C kits are absolutely gorgeous! Back when I was suffering from a case of “model burnout”, I needed something that would get my (moe joe) back up and running. I picked up the Mono P-51C and built it as Tex Hill’s mount. All I can say is that the kit went together beautifully! There was only one little hiccup though. The windscreen didn’t fit all that great and it required quite a bit of shaving, scraping and sanding to get it to fit nicely. I’m going to guess it was due to being an older mold.
Other than that, it was an absolute joy to build. As for those rectangular holes under the wings, boy I wish I could tell ya. I forgot all about those. I seem to recall wondering the same thing when I built mine about three or four years ago.
Can’t wait to hear how yours turn out!
Eric
Thanks, Eric. I’m building and posting at the same time. Like the Hobby Craft F6F-3 I just finished, I’m looking forward to two quick builds then a long time painting and detailing. There’s a crummy instrument panel decal on the decal sheet that I won’t use. The kit instrument panel is very nicely molded and should paint up well. The pilot figure looks pretty nice too. I’ll use the figure in at least one of the finished airplanes.
Here’s a link to a picture of the bottom of the wing on the P-51A through C. I think it was for the links to be discharged from the ammunition belts. Lots of other details on the pages you can get to from that link. The second link shows how the guns on the early Mustang were mounted almost on their sides. Item 8 on this picture pretty much aligns with the retcangular holes on the bottom of the wing. The guns were mounted straight up in the D because the sideways mounting caused jamming of the feed belts.
Jeaton, thanks for this reference. I just wanted to know what the hole are for.
Congratulations on your score! Monogram’s P-51B is a great kit. I built one a couple of years ago:
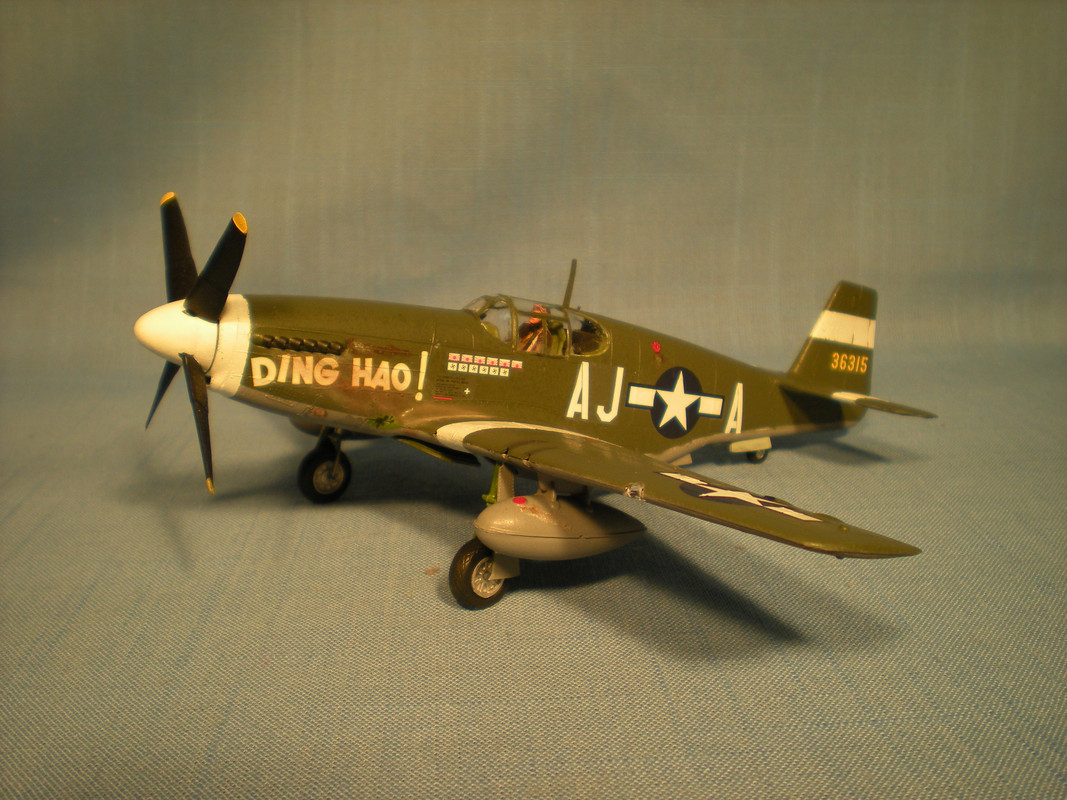
alongside ICM’s copy of Tamiya’s P-51B, and I think Monogram’s kit still holds up well for its detail, and it’s easier to build.
I do agree that the canopy fit could be better. I found the side panels needed some white glue to help fill some gaps. But you can build it quickly and have a nice model of a Mustang.
I look forward to seeing some photos of your build!
John,
Thanks for posting those links. I’m used to seeing the narrow rectangular slots for the shell ejector chutes. I just thought it was odd/interesting/different to see those large square holes.
Eric
I have the Revellogram P-51D and there aren’t any holes, but it’s the D not the C version.
How are you going to do the NMF? I just got Vallejo Acrylic Steel that I’m going to try out on the P-51 to see how it works.
Brynn
It’s funny, but I never noticed that detail before.
In Roger Freeman’s “Mustang at War”, there’s a picture on page 26 of a Mustang I in RAF service, showing the underside and you can see those square chute openings there, too. On that aircraft, either the edges of the chutes are painted or they are bare metal, because they show as white against the gray underside.
I checked the kits in my stash, and both Monogram and Tamiya show the square opening, in their -B/C kits. And for the -D kits, both Monogram and Revell show the later rectangular chutes, one for each machine gun in the wing.
I expect that North American must have changed the configuration in the -D series.
Been out of town for a few days so I haven’t been able to post any responses. Hopefully I’ll be doing some painting before we head off to Atlanta for the Dixie Wing WWII Heritage days next Friday. Then I’ll have some pictures to post.
Been working on the dual Mustang build since I returned from Atlanta Sunday. Been working on the interior. First I sprayed everything with Alclad Black Primer & Microfiller. Then I shot everything with MM Green Zinc Chromate enamel. After that set for a day, I detailed the cockpit and side panels with MM red, silver, tan and flat black acrylics. Now I just need to get everything stuffed into the fuselage and close up the fuselage halves.
[CENTER]
[/CENTER]
[CENTER]
[/CENTER]
Probably won’t see any of this work after the fuselages are closed up but I’ll know the detail work is in there!
[CENTER]
[/CENTER]
[CENTER]
[/CENTER]