The new 1/48 scale Italeri Mirage F-1 I ordered a few days ago arrived and I searched for and found the first 1/48 scale E.S.C.I (original kit molding) Mirage F-1 that was given to me by Ron Gibson waaaay back around 1996.
I took inventory of all the parts and discovered a short shot wing and it was also missing the underside part as well, and a few landing gear parts and doors.
The new kit is complete and for the cost of some mold compound and resin…I can have two complete aircraft models.
Soooooo later this year I will be making a few parts and building TWO Dasault F-1 fighters in 1/48 scale !!.
3 Likes
What products do you use to make your mold and cast your parts? Is there a kit available in a one stop shop type solution? Approximate costs for startup? Sorry for all the questions but I may need to do this in the next few days. Any help is appreciated!!
2 Likes
Oomoo-30 from smooth on is the easiest mold material I have used and thier polystyrene 2 part resin casting material is what I use.
There is a steep learning curve here and it took me a while to learn what works and what won’t, it is one of the reasons why I wanted to wait and go through the process thoroughly
2 Likes
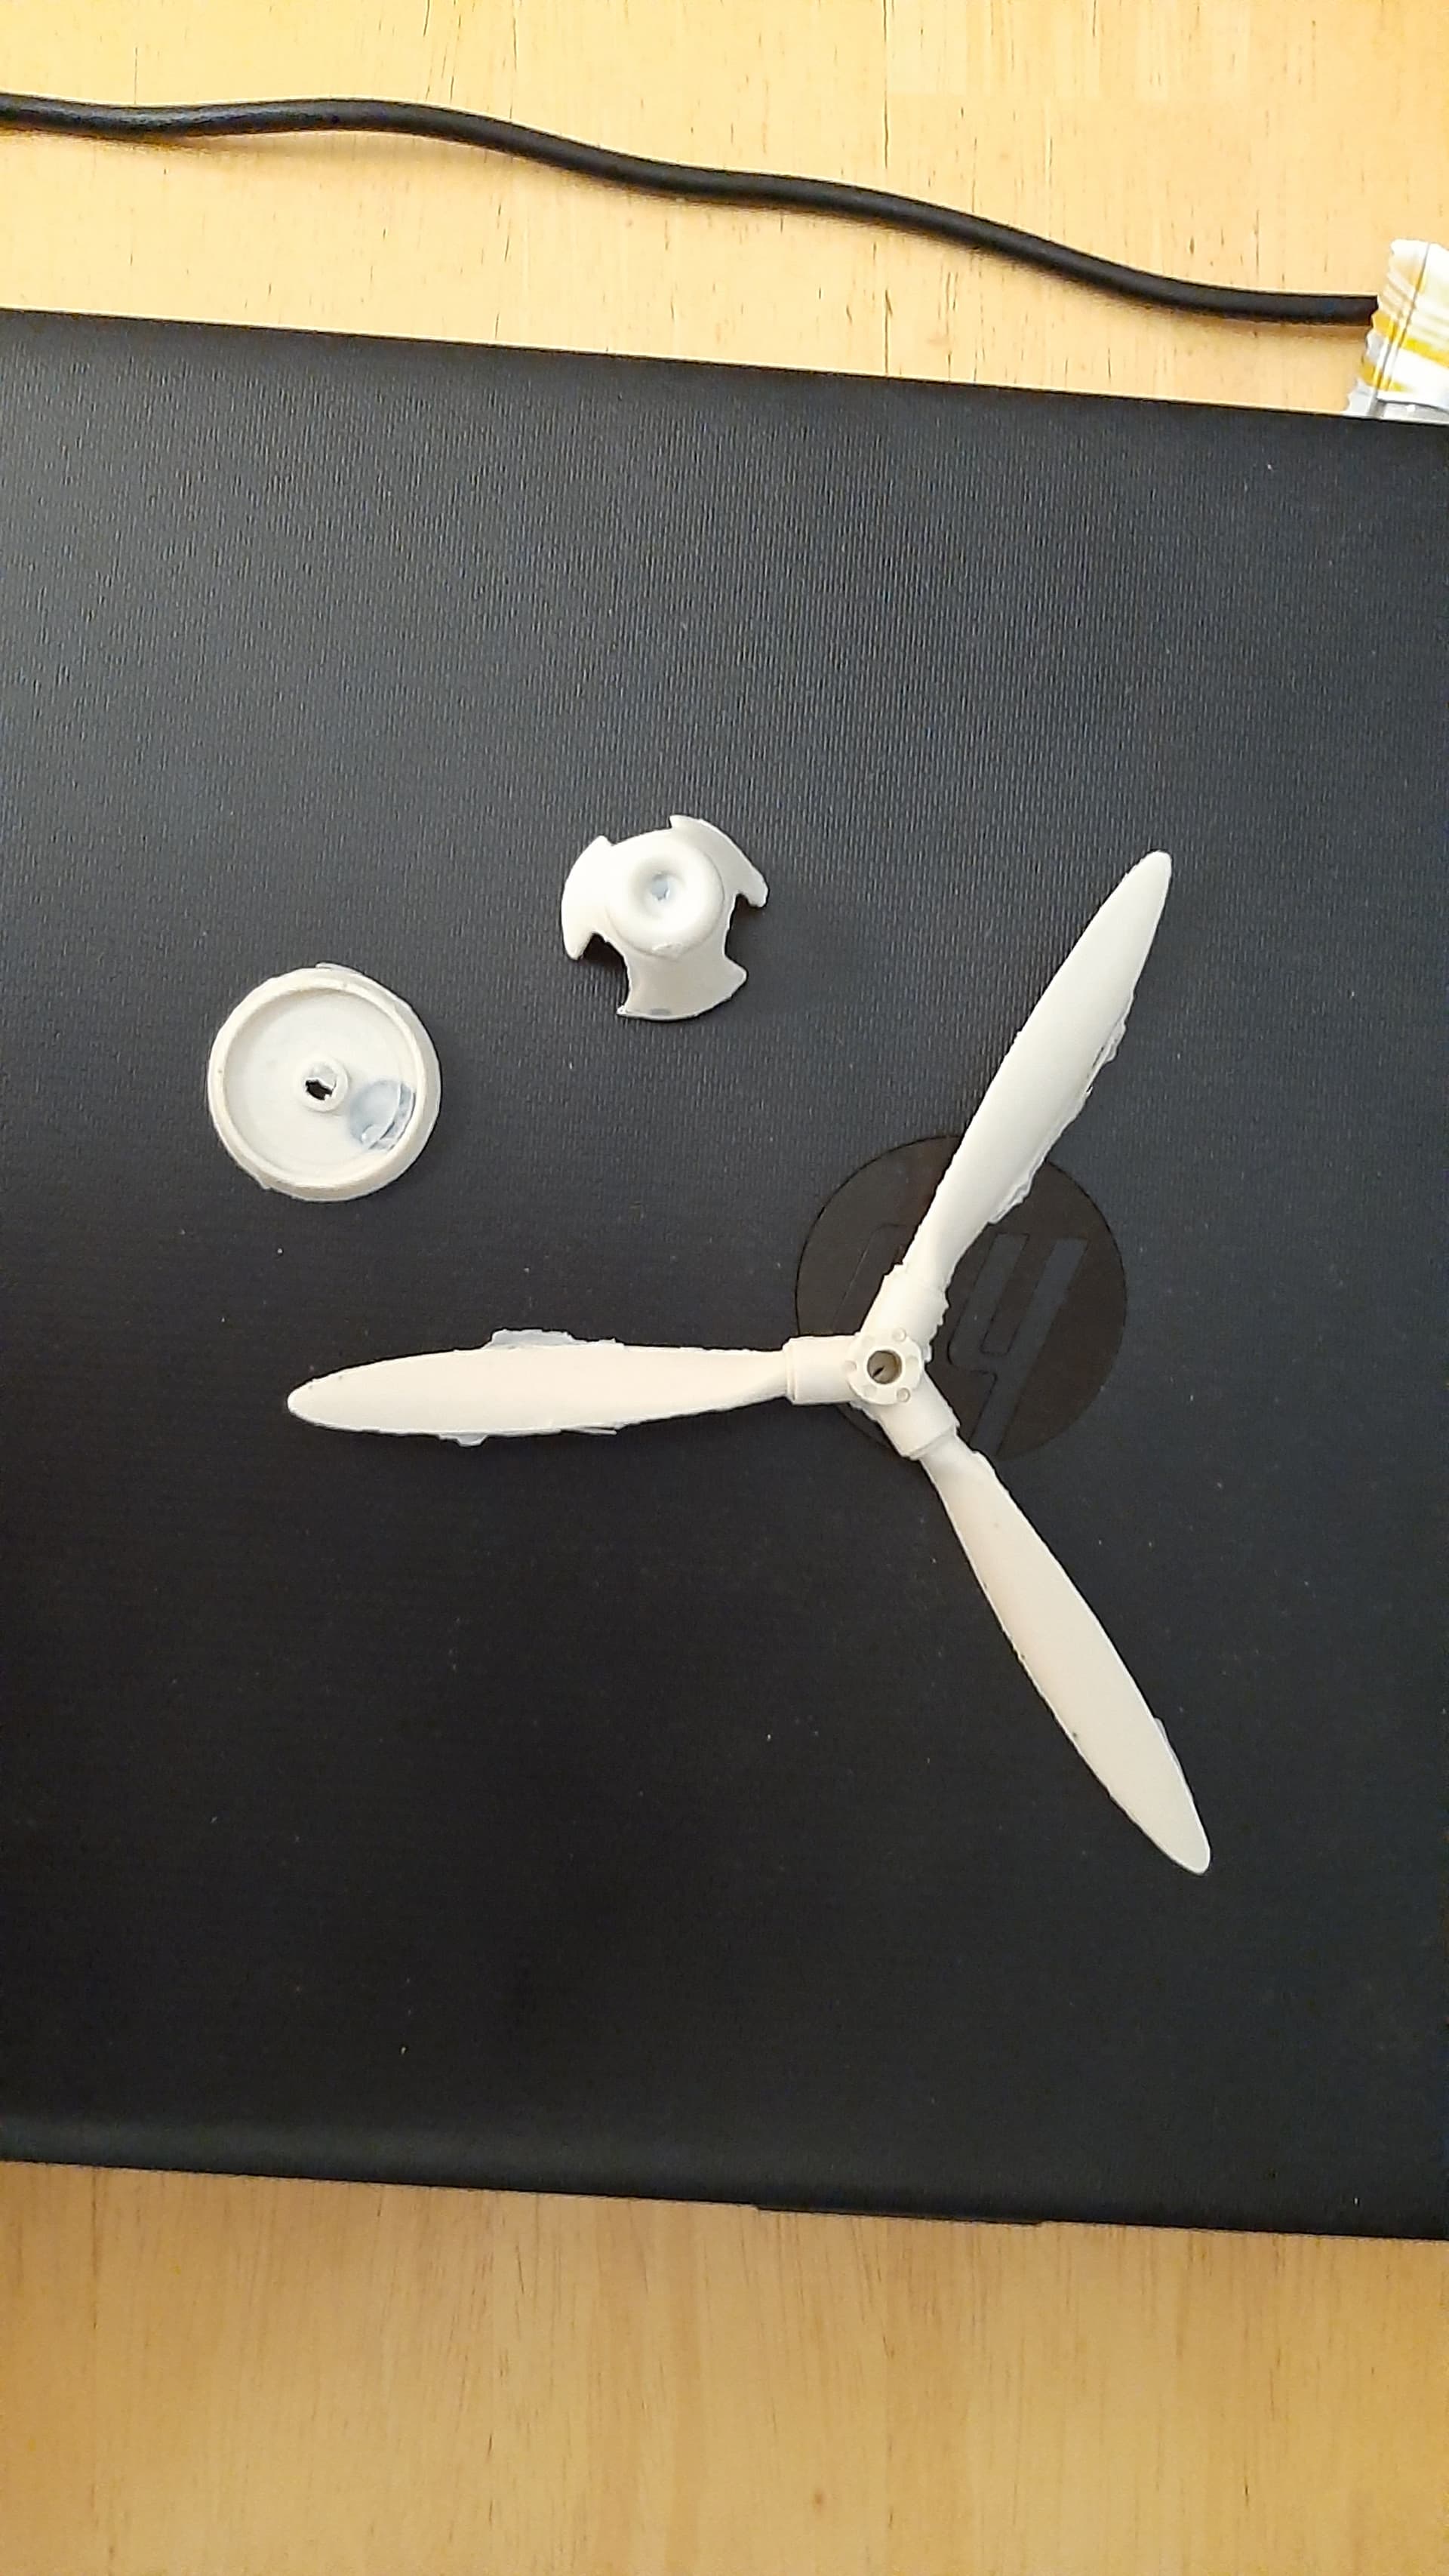
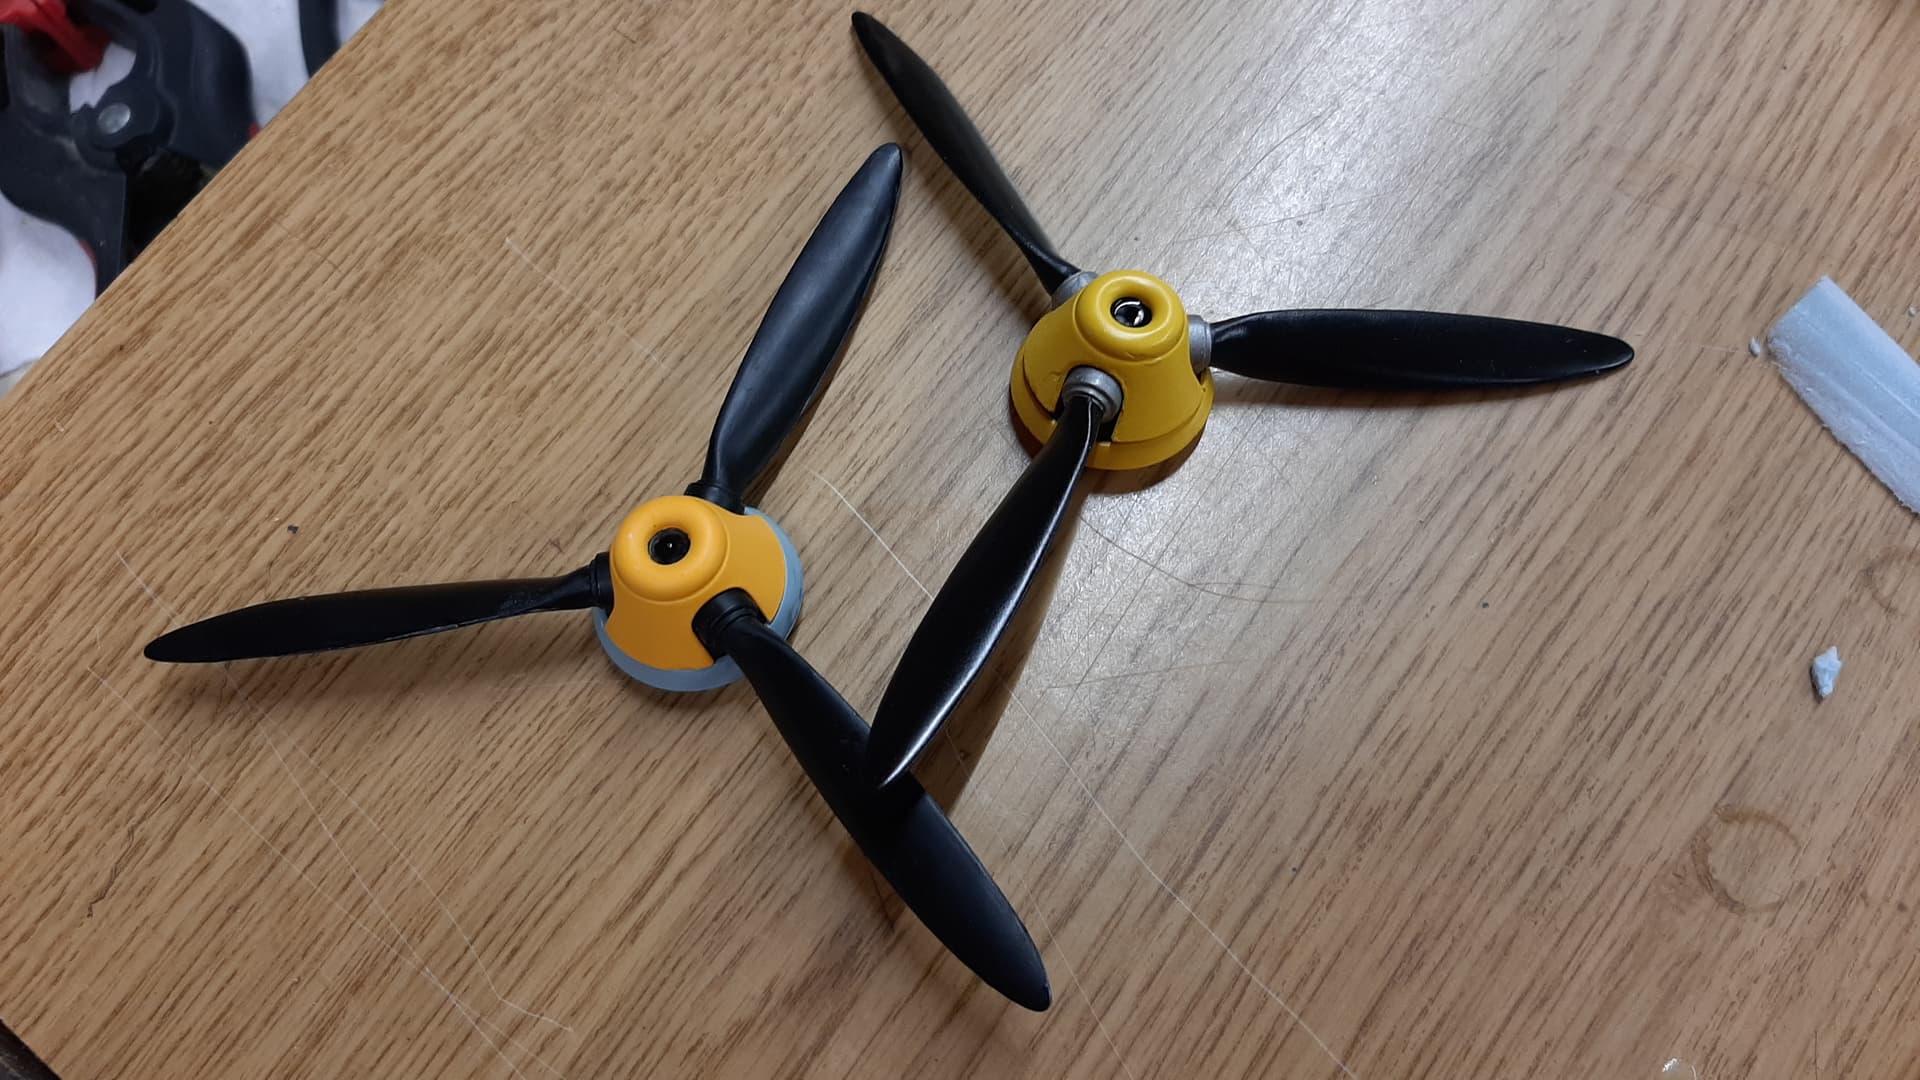
As there is a little more than just pouring oomoo on a part I will show you a quick mold I made to replace a prop & spinner for a 1/18 scale ME-109E I bought for cheap on ebay because it had missing parts that I had on a second 109E.
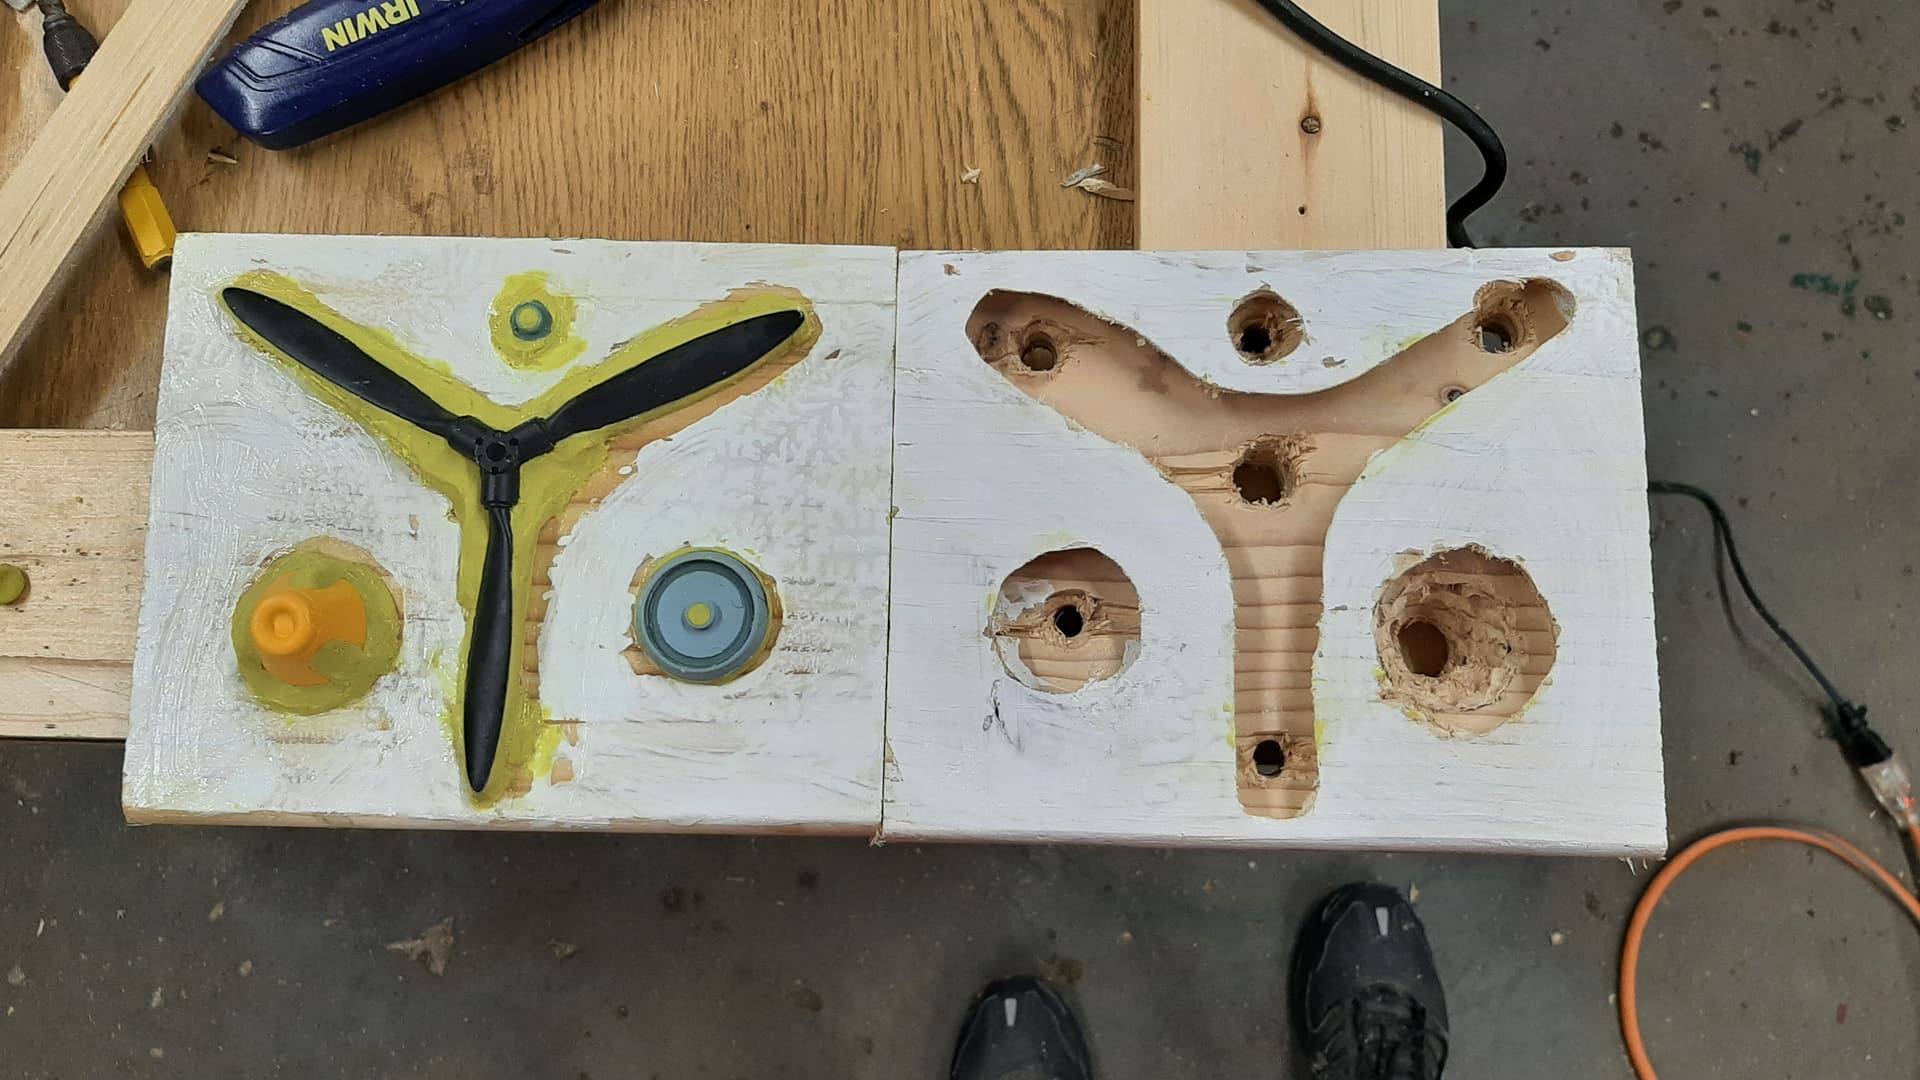
For larger parts I route out a rough shape a little larger than the original part in a two squares of 2X8 pine Using a reverse taper bit to keep from pulling the mold material from the wood surround.
This is a basic squish mold that will be over filled with the polyurethane resin so a hard surround for the oomoo is a requirment to keep the soft part of the mold in shape.
The part will need to be bedded above the upper surface of the wood in modeling clay and the oomoo poured into the cavity from the top of the second half to insure any air bubbles move away from the part to be molded.
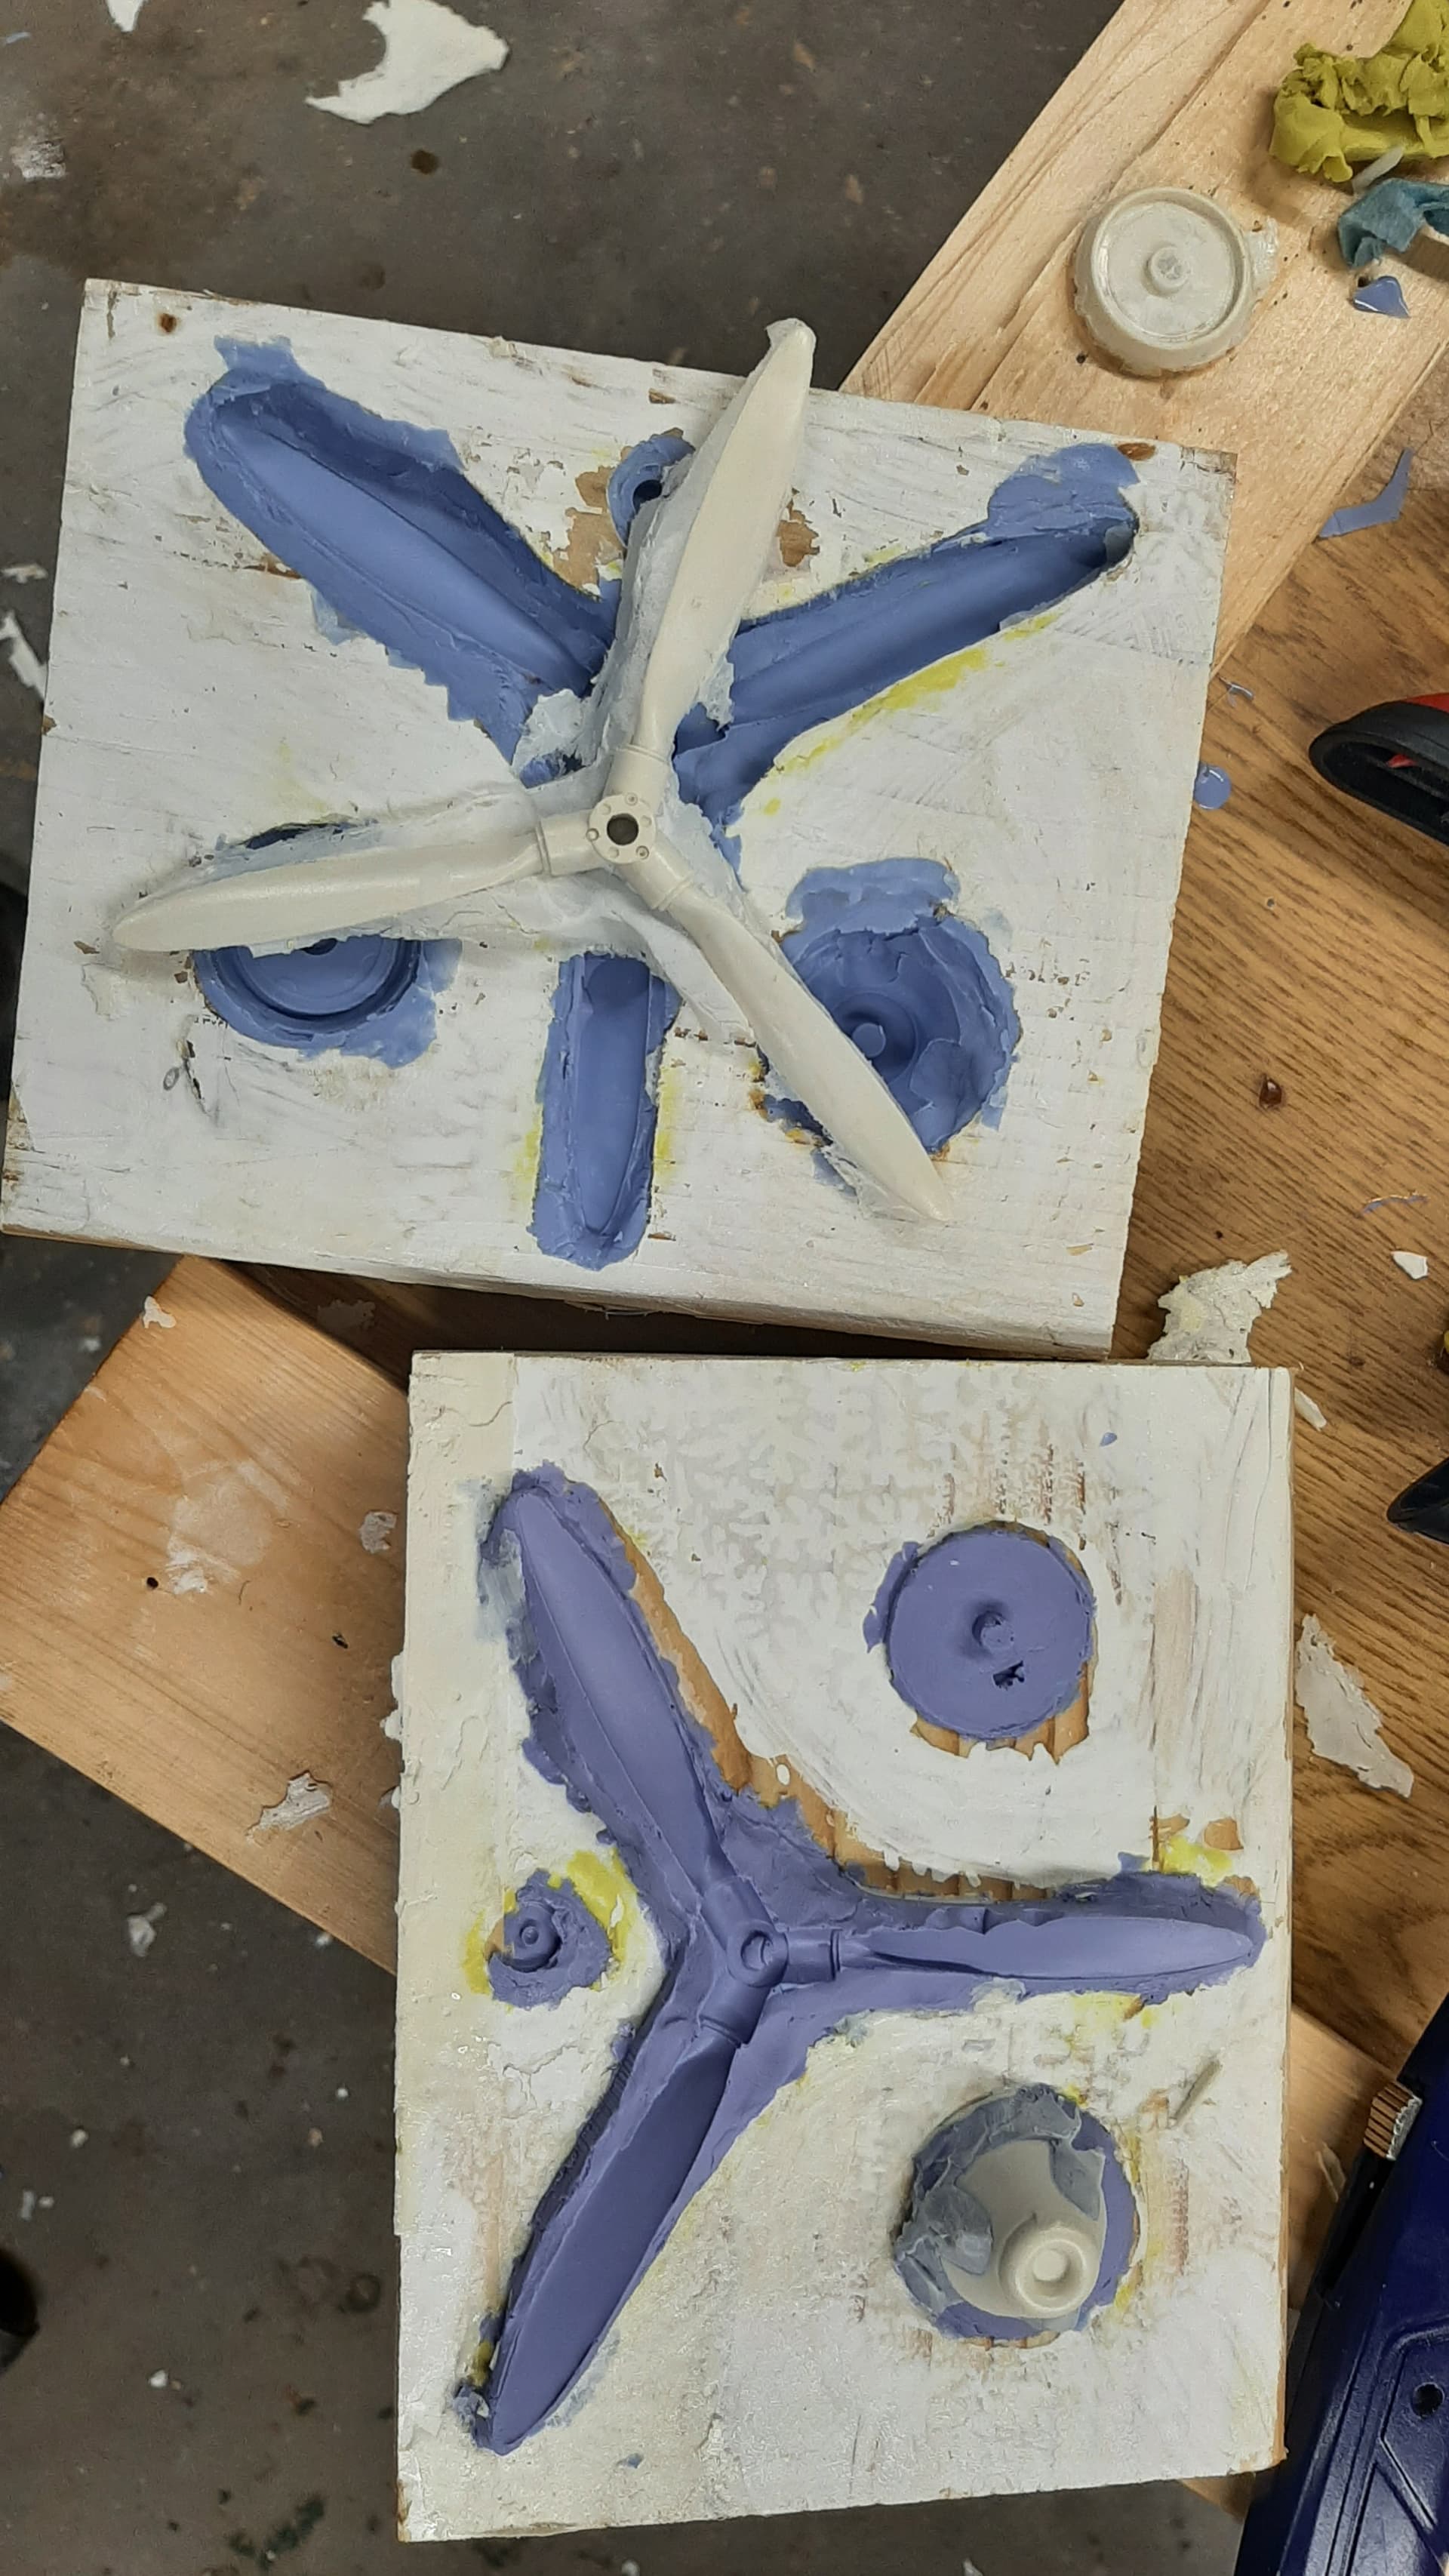
Once the oomoo is cured, pull apart the blocks and remove the modeling clay from the cavity.
Place the part into the cured oomoo and smear a light coating of unscented Vaseline on the part AND all of the oomoo.
NOTE : oomoo bonds to itself and any non Vaseline coated surface.
Also coat the mating wood surface of the wood block … BUT NOT THE INSIDE OF THE MOLD CAVITY. you want the oomoo to adhere to the inner surface of the wood mold cavity.

NOTE:
Always create a mating key to keep the mold halves aligned.
The oomoo can ooz out of the mold unless you put a small worm of modelling clay around (but not into) the the routed cavity.
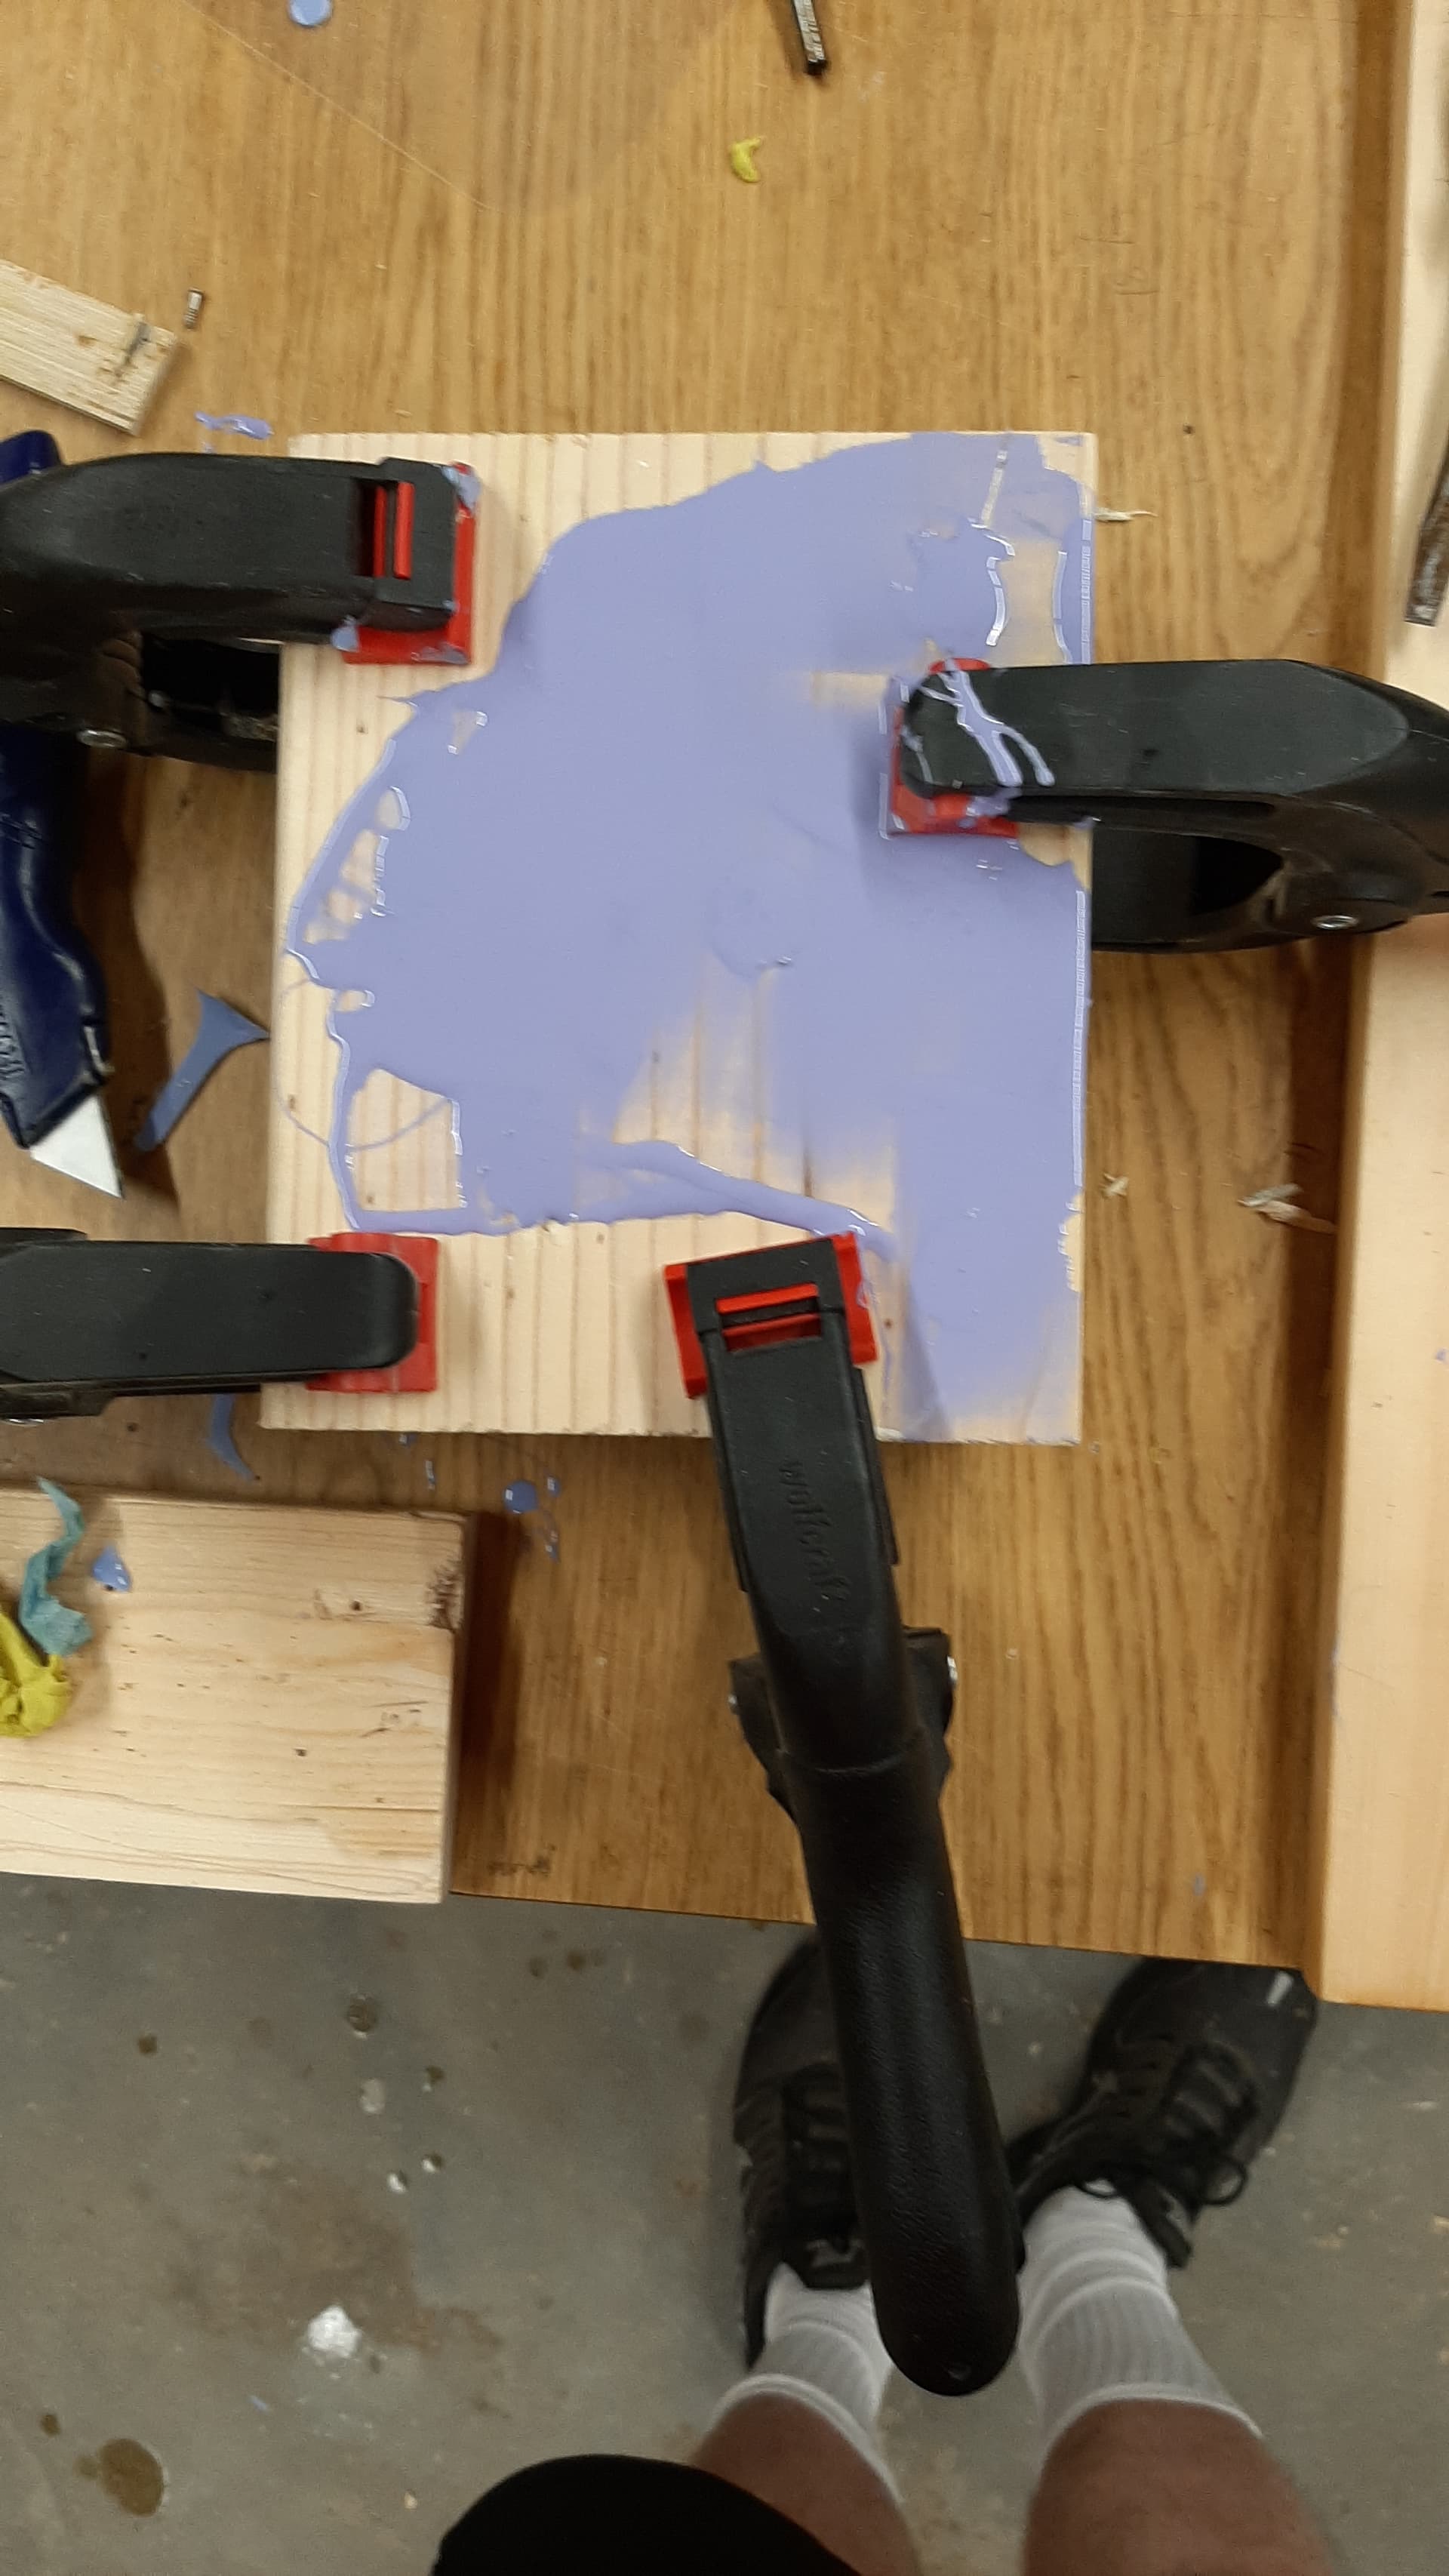
Once the mold is ready insure the wood is covered with Vaseline to keep the polyurethane resin from gluing the mold together (I found out the hard way) and you are ready for the first pour of resin.
DO NOT expect this to come out perfect the first time and expect some air bubbles in the resin, some can be filled the autobody spot putty and sanded smooth or just tossed and repoured. Practice makes for better parts but don’t expect perfection right out of the gate, these parts will need clean-up.
2 Likes
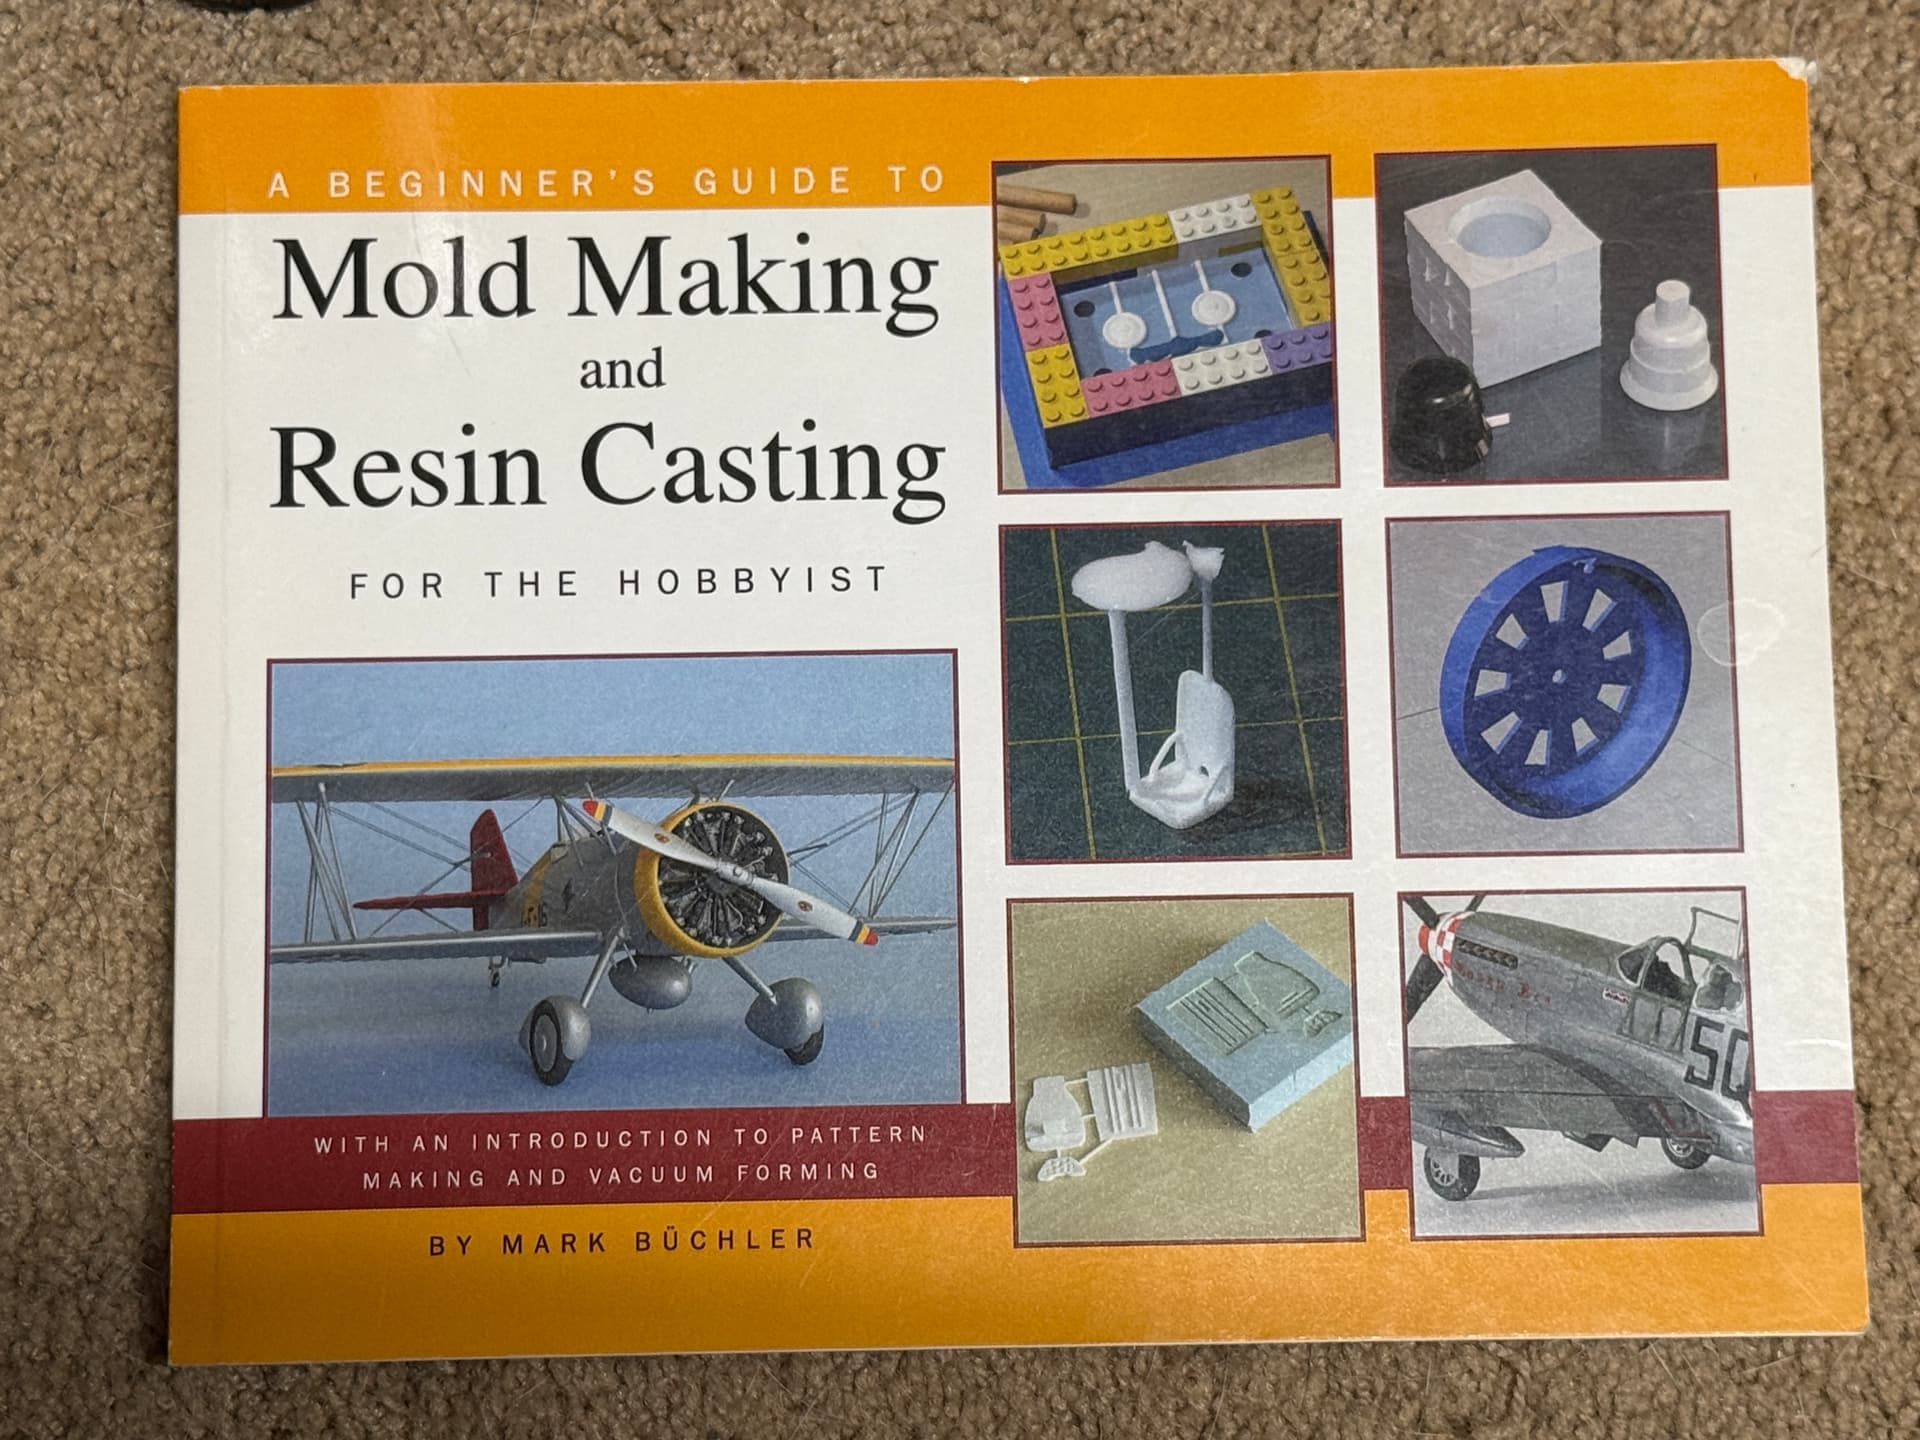
The Oomoo-30 is what I was using along with the Smooth-Cast 300. Found a starter kit by Smooth On that had both the molding compound and the epoxy. I bought mine from an art store but do remember that Smooth On also sold this on their web site at the time. My biggest problem was getting the epoxy mixed and poured before it started to set up. I also bought this simple book to guide me through the beginning.
2 Likes
I know this sounds odd, but try a few “dry” runs before to actually pouring the styrene casting resin in order to finger out the best placement of everything and all the motions.
And above all wear the blue gloves of love to keep your hands clean.
1 Like
Thanks for all that info. Very timely as I am curious and interested in learning to cast items using styrene resin. For my interests, I am going to have to be able to make a lot of my own items, most of which I will most likely wish to cast in quantity.
Another series of items I will have to start slowly building up piece by piece in order to get started.