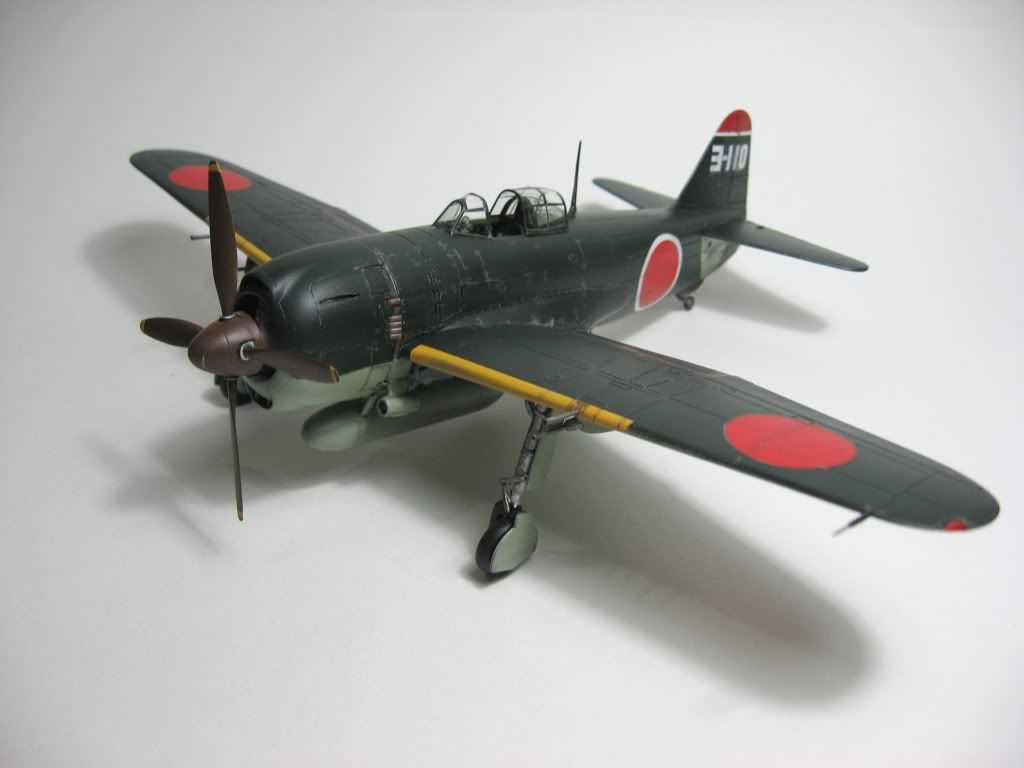
I’m trying to model some clear lens wingtip position lights. What is the best advice on doing this?
I’ve tried to cilp off the very tip of some clear plastic fork tines, also have gone to Michael’s Crafts and found some very small glass beads that I liked, however, trying to hide the hole on the outer end is an issue as well as glueing the glass bead to the wingtip isn’t simple. Maybe stretching some clear scrap sprue might be the way to go?
I’m doing propelller driven aircraft in 1/32, 1/48. and 1/72 scales. Any or all suggestions welcome here,
There are some aftermaket options- MV Products make lenses in several sizes and colors, but these are all round. I think you can purchase online from Spue Brothers. I’ve used them before and they are pretty nice.
I’ve also used the translucent colored “Light Brite” pegs, you can pick these up in toy stores. It take a little work but there are shaped pretty easliy with files and sandpaper and polish nicely. although attaching them is tricky.
For lights that follow the contour of the wing, I have used clear/colored plastic.
This example was done with a piece of clear red reflector lense. The green I got from an old lighter.
Once it’s ground down and sanded, it looks great.
I used liquid mask on it for painting.
For clear lenses with colored bulb, I have cut the sprue to fit the wing, or if the sprue isn’t quite big enough, heat it up over a candle and smash it into the wing, this will bulge it out. I also drill out the “bulb” and add a dab of red/green paint.
and finished off.
For raised lenses (which is what I think you’re talking about), I have used clear stretched sprue. For a round “bulb”, slowly bring the tip of the stretched sprue toward the candle, it’ll “mushroom” out, clip it off and there you go. For a longer, oval shape, you do kinda the same, just run the stretched sprue over the flame pretty quick, it should bulge and bend. Just slice off your lense from the bend. Hopefully that makes sense, sorry, no pics of those. It usually takes a couple tries to get em right…practice and patience!
…if the light is small sometimes I cut it out then fill in with testors clear parts maker/glue…I also do the following…first paint the area of the light with a nice chrome silver, on top of that some tamiya clear green or red then finish it all off with a coat of future.
now this one I cheated a bit…I added fiber optics but i also used the Testors clear parts maker formed around the tip of the fiber…built it up in layers.
I just finished this George and although a bit out of focus you can see the red tip light stands out nicely…this was using the chrome, clear red, future method