Bluejacket makes a solid-hull 1/48 Elco PT with photo-etched parts. As I understand it, the company is happy to sell its photo-etched sheets if it has any leftovers.
Thanks John! I’ll check out BlueJacket and see what they have and if the PE sets are available. I was thinking of replacing the the gun barrels but I am of the opinion that this model will be OOB. However, I will check out BlueJacket to see if they anything I can use on the “later” version boat I have.
Thanks again,
Steve
Unfortunately not - I typically don’t build for others but broke that rule twice this summer and am having to focus on other things. I have been itching to get back to it because I think I have finally figured out a way around the front chart house windows. To me, they look too inset but I hadn’t come up with a good way to change this given the work I had already done. At this point, since I had replaced the clear plastic with sheet styrene, I think I’m just going to fill and sand level with more sheet styrene and then mask off the outline and spray some thick paint to get a slightly raised version. We’ll have to see how good my cutting skills are though!
Considered Krystal Klear?
Tracy and Bill,
Both seem good suggestions. I’ll have to go through my books to see if there any other pictures of the charthouse forward windows other than the PT109. I was considering using sheet styrene like you did Tracy, but if there is a better way… Although, I am still trying to do an OOB model. Otherwise, I would get the Model Master .50 brass barrels and the RB 20mm barrel and then who knows when I’ll finish this baby.
Steve
There’s a decent shot of PT-157’s forward windows on the first post of my build WIP on ModelWarships. Krystal clear would still be recessed, although not as bad. For better or worse, shape and appearance matter to me and things that I know are wrong jump out. So, the fix I’m planning should give a good appearance as long as I can cut the masks correctly. To that end, I ordered one of these (it arrived today) and am hoping to get some good holes cut in tape that I can use to layer paint in a precise fashion to get that raised appearance.
Tracy,
Wow, that is a significant difference! I think adding another layer or two of sheet would get you the height but I’ll have to look again at my model to see what can be done about the piping around the window. It is possible to try and shape evergreen strip around the window after you get the height. Or as you are thinking, try and get the piping with thick paint.
I understand all too well about shape and forms being important when building models. I have a bad case of AMS and I have TOO many of my builds that are hold until I can figure out how to improve on the mistakes that the manufactures make. I always try to make a decent or better scale model out whatever I am working on but it can be maddening too. I look at models on Warships, Model Ship World as well as here and feel I cannot even compete! I was getting more and more frustrated so I am trying to get back to enjoying this hobby again.
This summer has been spent building kits with my boys to try and get my modeling m o j o back. I remember the joy I used to get when building a model as a kid, getting it home and jumping right in and building. I got a good dose of that watching and helping them on their kits and trying not to take over. I built a couple of planes, flying saucers, a great deal of Star Wars among others with them and we had a blast.
If the tool you received today doesn’t work out as expected, I have used the swivel x-acto knife for years cutting frisket film for airbrushed illustrations. Once you get the hang of it, you will be able to cut beautiful curves with it. Not that expensive and you can get replacement blades for it. I have also used it on Tamiya and 3M Blue Painters tape with great results.
Steve
Steve,
Thanks for the reply, regarding PE detail sets. It was what I thought, but just coming back to plastic modeling, I wasn’t sure I had looked everywhere.
As has been noted on many hobby sites, Shep Paine passed away a few days ago. My only personal contact with him touched on the subject you, and Tracy mention, about fixing kit errors, making them right, andcomparing your efforts to those you see online.
At a wargaming/modeling weekend, many, many, many (get the idea? ![]() ) at MIT, this subject was being informally discussed by a few modelers, with simialr feelings to your’s being mentioned. Mr Paine was there, and he had us few follow him to the display/contest room. He then pointed out errors not fixed, on several entries, 2 of which had won in their catagories. He also pointed out that, A, unless someone looking at the model was a expert, the error would not be noticed, and B, step back a foot or 2, and even a expert might not notice. He stressed, if we get too bogged down in this, we can lose the basic joy of model building, and maybe never finish the build. Yes, fix the larger glaring errors, but work to do a excellent job of finishing the model, and it’s presentation, and the little ones will hardly get noticed by most people viewing it. He also addmitted, then, that a few of his models present had errors, but would not tell us what they were
) at MIT, this subject was being informally discussed by a few modelers, with simialr feelings to your’s being mentioned. Mr Paine was there, and he had us few follow him to the display/contest room. He then pointed out errors not fixed, on several entries, 2 of which had won in their catagories. He also pointed out that, A, unless someone looking at the model was a expert, the error would not be noticed, and B, step back a foot or 2, and even a expert might not notice. He stressed, if we get too bogged down in this, we can lose the basic joy of model building, and maybe never finish the build. Yes, fix the larger glaring errors, but work to do a excellent job of finishing the model, and it’s presentation, and the little ones will hardly get noticed by most people viewing it. He also addmitted, then, that a few of his models present had errors, but would not tell us what they were ![]()
Myself, I had been getting way too bogged down with correct details, with my UK modelling, until I recalled this chance meeting. It made me realize, I was not having FUN. So, I have stepped back, and am now going to work at building some kits of subjects that interest me, such as PT Boats, a couple of aircraft I have always liked, and a couple of MG car models. I plan to have fun, again.
Oh, and my original question regarding the PE details was not because I am hung up on super details, just I wanted to try my hand at soe of te PE stuff. I had the Italeri 1/35 PT kit, and the Eduard PE set, some time back, but sold it, as I just didn’t have any space to work on it, then.
Sorry for going on so. Thanks again, and your build looks like it is going great, looking forward to seeing the end result.
Jim F
Thanks Jim, I think there are a great number of modelers who expericence burn out and I have seen a number do exactly what I did this summer. Try something new, out of your comfort zone and try and have fun with it.
I also wanted to thank you for the link to my log over at the PT forum. I am going to be trying out a new airbrush this weekend to preshade the hull. Pictures to follow.
Steve
So, I did not get to preshade as I hoped because I decided to follow Tracy"s advice and fix some of the issues with the kit.
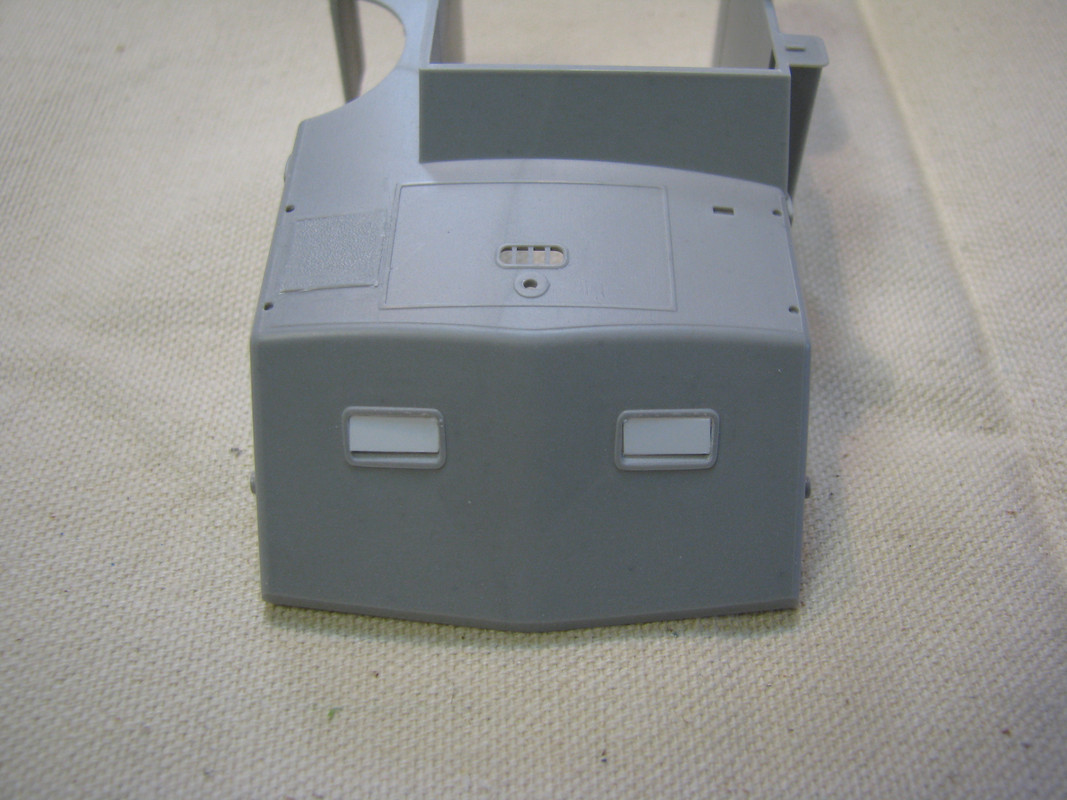
I started with the charthouse and removed the boxing around the rubber mat atop the charthouse. Next up was the windows. The majority of pictures of the early Elco’s show that the forward windows were replaced with materail other than glass. Therefore, I used strip styrene to fill the window openings and then used Mr Surfacer 500 to fill in the gaps. I think I need to smooth out them out a bit more, but I’ll see how I like them in the morning.
Steve


Not sure if these have been mentioned anywhere, found them yesterday. 1/48 sailors.
Not combat poses, more like general on duty ones, but could be useful to you more creative types. ![]()
Jim F
Guess I missed these, might be more suitable…
Jim F
Jim,
Thanks for the links, I did see them; however, I do not put figures on my ships… a quirk maybe, since they are nice to show scale. I’ll tell you though, the figures companies are putting out now are incredible. North Star also does some awesone figures.
Steve
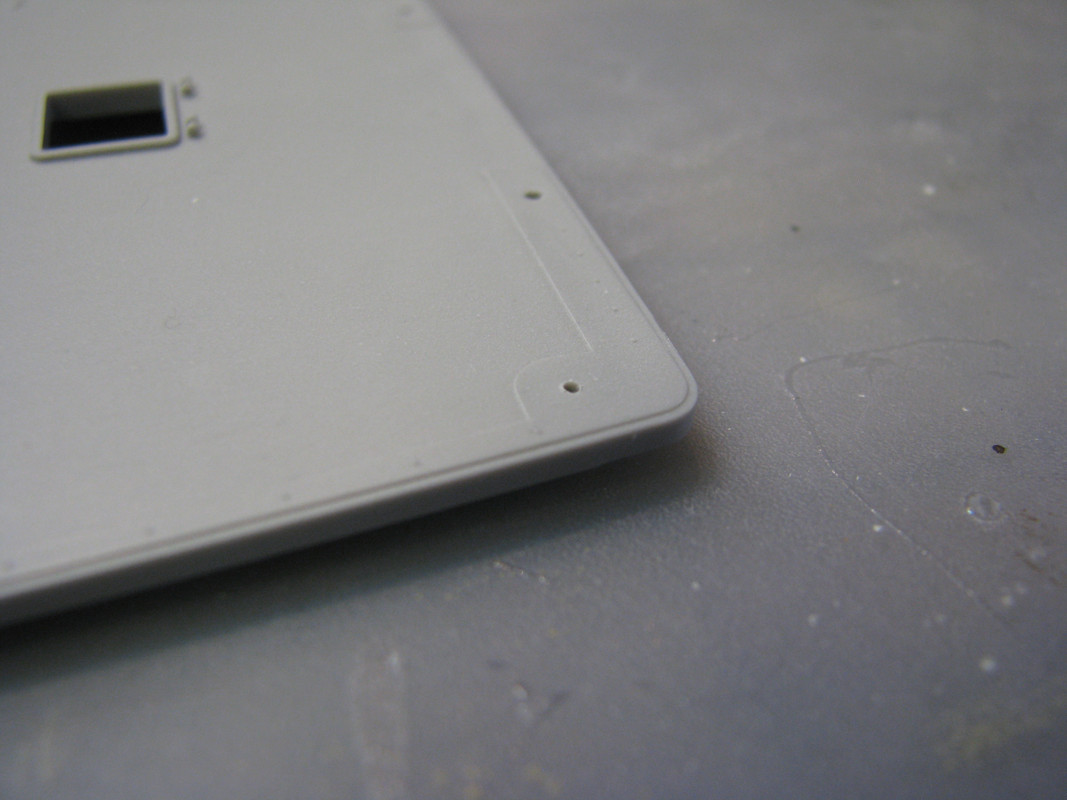
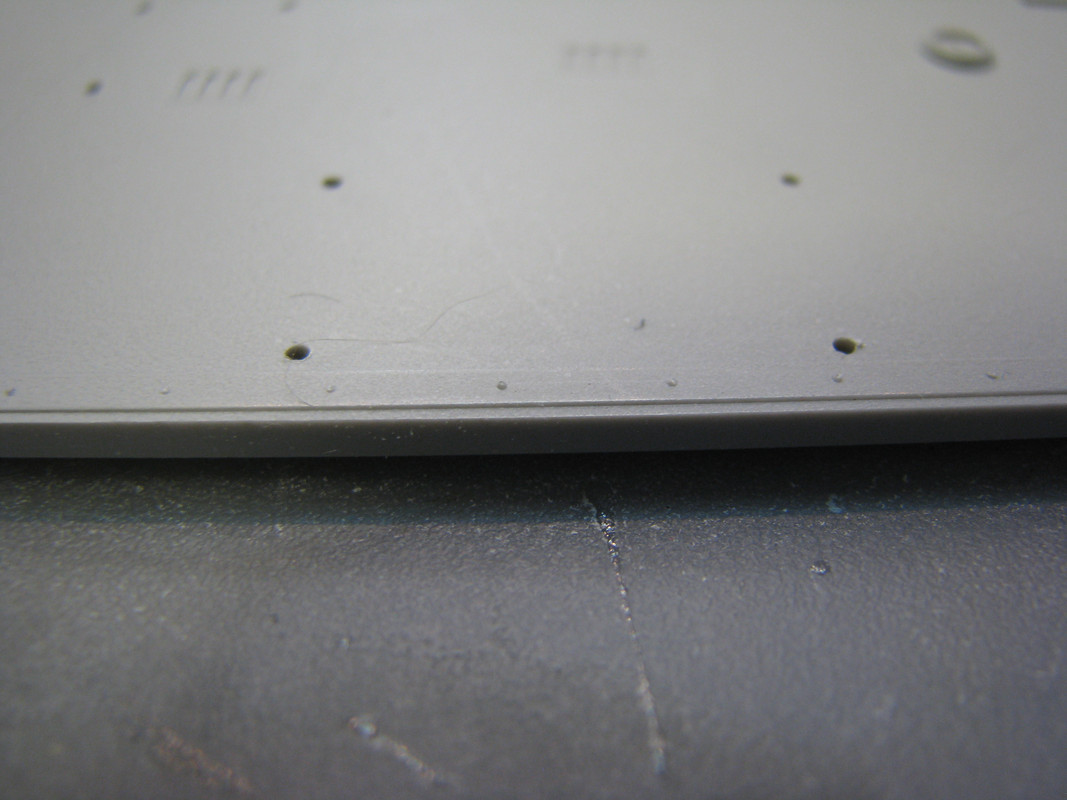
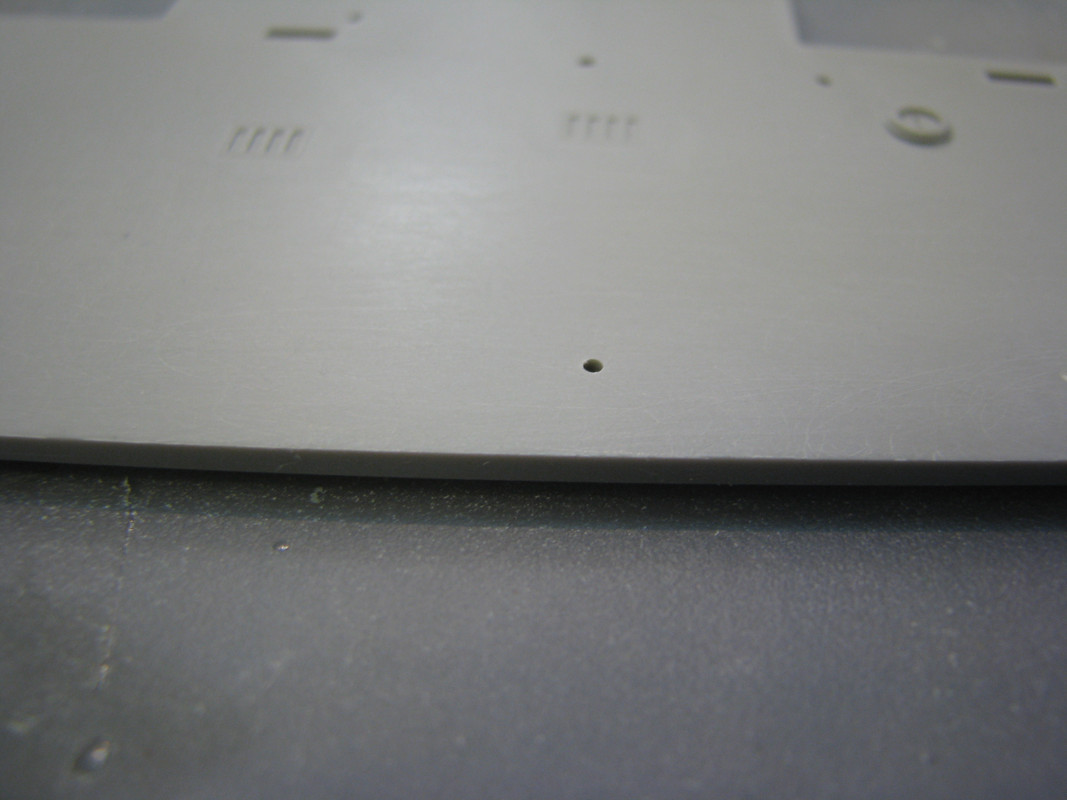
Here are some updates. First off I sanded the moldings along the edge of the decks since the early boats did not have this feature. Merit uses the same deck for both early and later boats with the modeler drilling out the appropiate holes for the different deck features.
Tracy recommended it so I gave it a shot and after an hour and a half I now have a smooth deck. The first shots show the deck before and after. I am going to go over the deck again with fine sandpaper to make sure I have it SMOOTH.
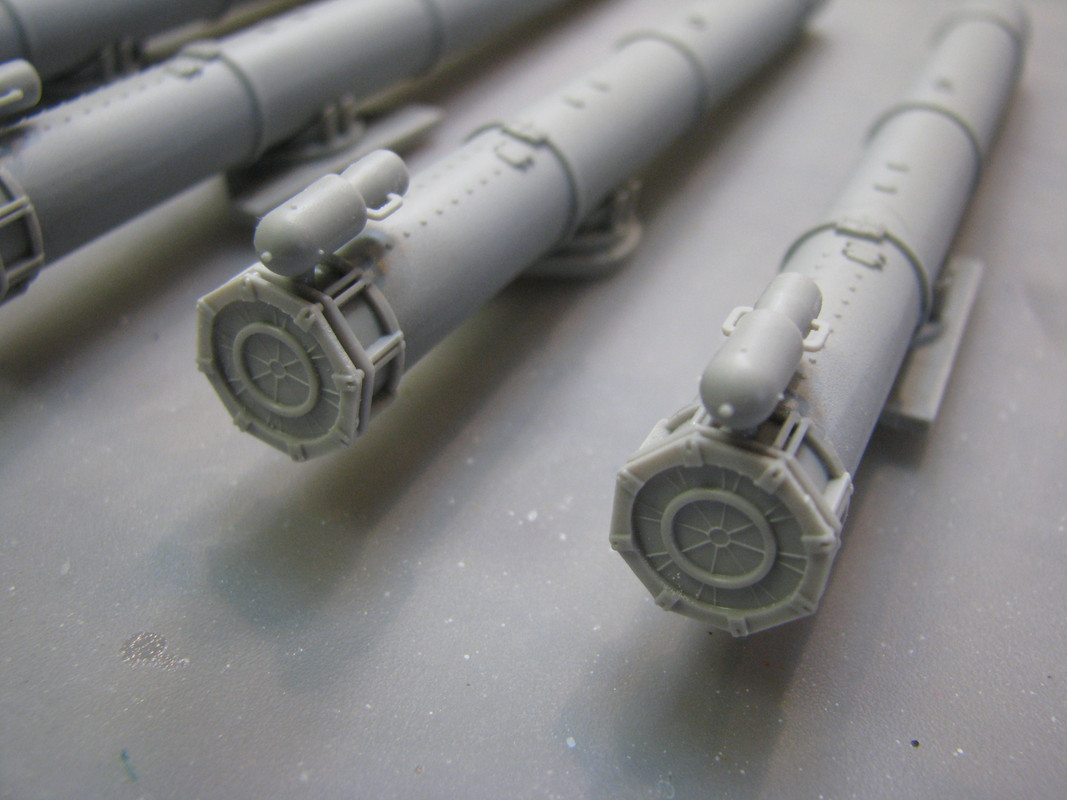
The next pictures show various subassemblies I have been working on. They all need some more attention to detail as in clean up and priming. The torpedo tubes have 7 pieces per and the railings on the gun turrets were a bear to get close to even.
The torpedos themselves have 4 pieces and it looks like the fins are the wrong shape, but as they are going into the tubes… except for one that I am thinking of having displayed on the base. Another will have the cover off so you can see the head of the torpedo. The other two will be buttoned up.
I am working on the mas duces and will post pictures after they are completed.
Steve


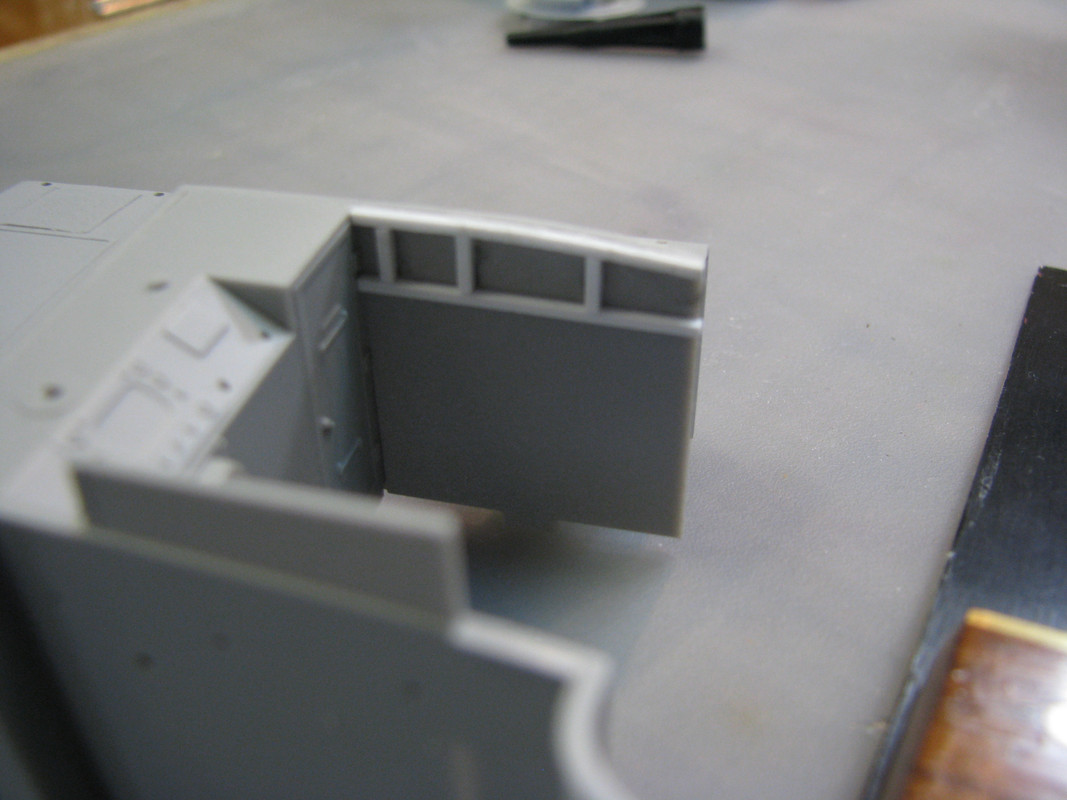
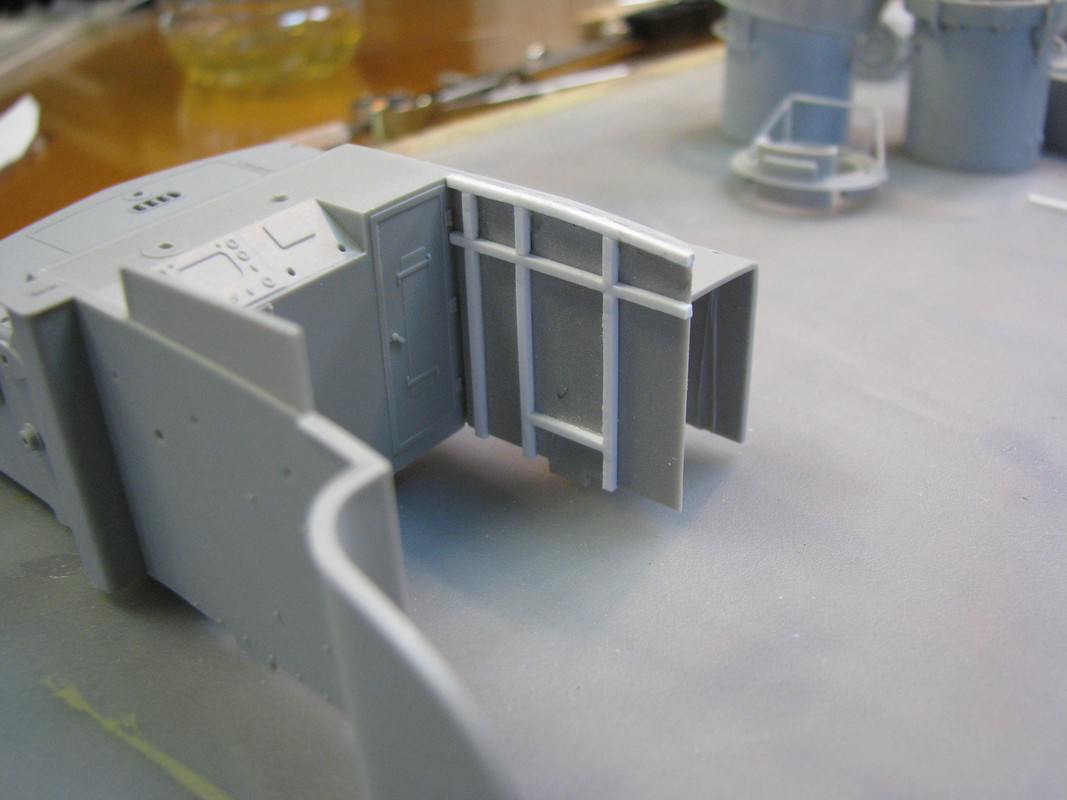
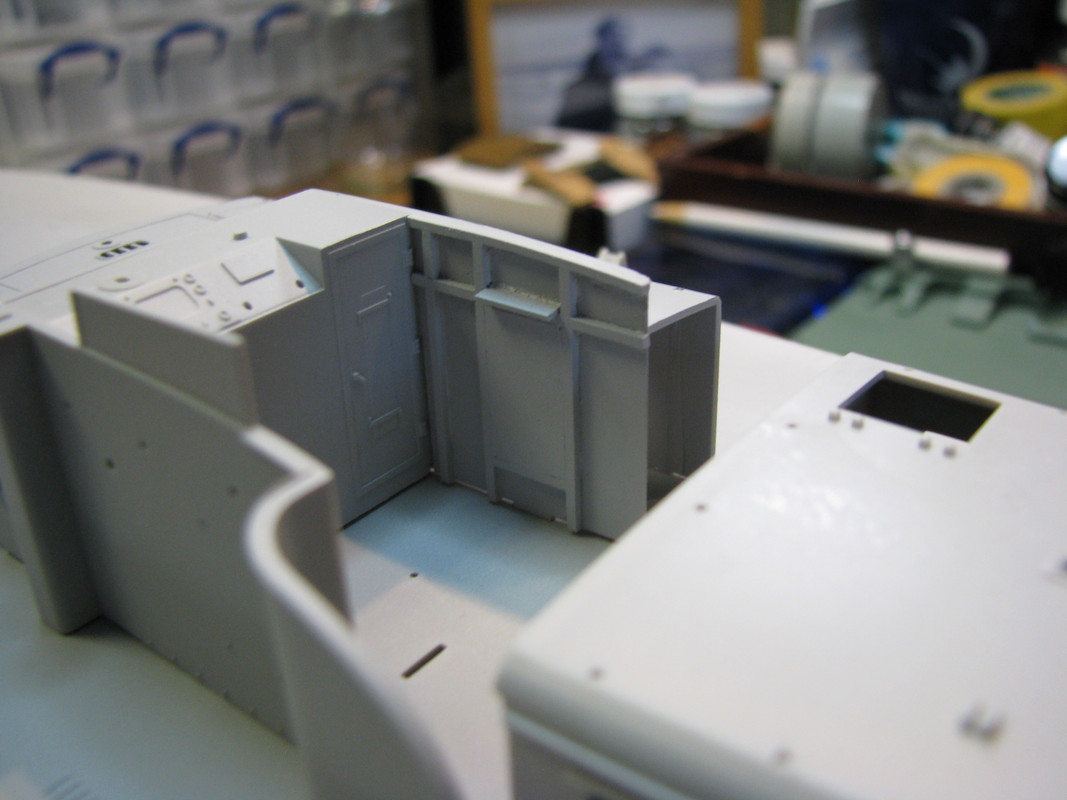
It turned into a scratchbuilding day. While looking at Tracy White’s log I noticed that he had scratched the interior framing of the bridge on his early boat as well as providing pictures showing an example. I also checked out the PT103 website to check out their scale drawings to see what I was in for.
Actually, it did not turn out that there was much work so I gave it a try. Using Evergreen sheet and strip styrene I constructed the framing and starboard door for the bridge. this is another one of those kits that I SWORE I would build out of the box… ah well. I think this will be the end of scratching anything on this kit now… hopefully. The styrene strip is .040 x .040 while the sheet is .040 thickness and eyeballing the whole thing. The small shelf is a .020 x .100 strip cut to length.
The sequence of pictures show the process I went through if anyone is interested in building this kit down the road.
Steve


I went through and looked at all of his sets. There are three “combat” sets and one “Dungaree” set that is not in battle dress. Honestly, all feel over dressed for the South Pacific to me, but they are definitely an option in the tool chest.
Combat Set 1 - Sorta useful, but more designed around destroyers and larger in poses and dress (director captain, for example)
Combat Set 2 - AA Gunners and loaders (20mm & 50 cal, all standing)
Combat Set 3 - Quad 40mm team, train & elevate & a bunch of loaders (for four guns)
But I think they are a good start.
You know something, guys?
I never noticed that the back of the torpedo tubes are inaccurate. For one, they should have a little concaved look to them and the bracing looks wrong. Hmmm. Someone should do PE for that.
Tim,
I also wish someone would come out with a PE set for this kit and the later version. I have the White Ensign set for the 1/72 Revell kit so I’ll have to look at it and some photos to see how off the bracing might be. Thanks for pointing it out, but I think I will leave fixing this for a later kit…
Steve
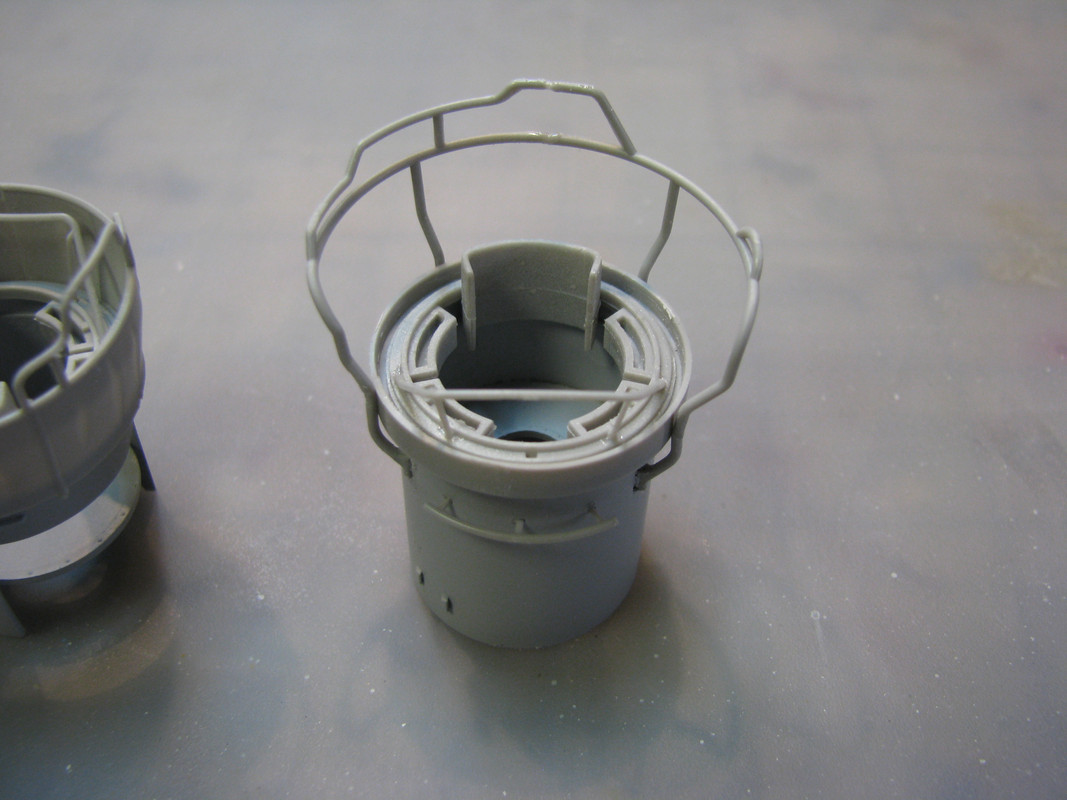
A question for the experts.
Is this fixture a heating unit? I have fouind it on photos of boats at the training base in the Northeast but not on any of the South Pacific boats. I recall reading that it was a heating unit but again, I cannot find where the heck I read it! If so, then I will leave it off and fill the connnection points.
Thanks in advance,
Steve


