*** Due to PhotoBuckets latest shakedown efforts, blurring all my photos on pretty much all my WIPs, unless I purchase more space, I’ve deleted all my photos from their site. But I saved off all them first. So, I’m going to be reposting photos slowly but hopefully surely. Since the Docs have said the building models would be great therapy for the nerve damage surgey I’ve been going through for the last couple of years. So, I’ll post a teaser of some actual work I’ve gotten done in the last five months. ***
I have been trying to build again I have been debating whether to post a WIP or not for numerous reasons, but it seems that we have a dearth of WIP right now so here goes. I have a number of kits on hold right now due to nerve damage in my right hand and it being summer with my two boys out of school. However, the boys and I have been busy modeling such things as the C57 Space Cruiser, T2 Terminators, various Snap Tite Star Wars and a 1/48 B-17g. I cannot complain that the boys have wanted to build models between vacations, etc…
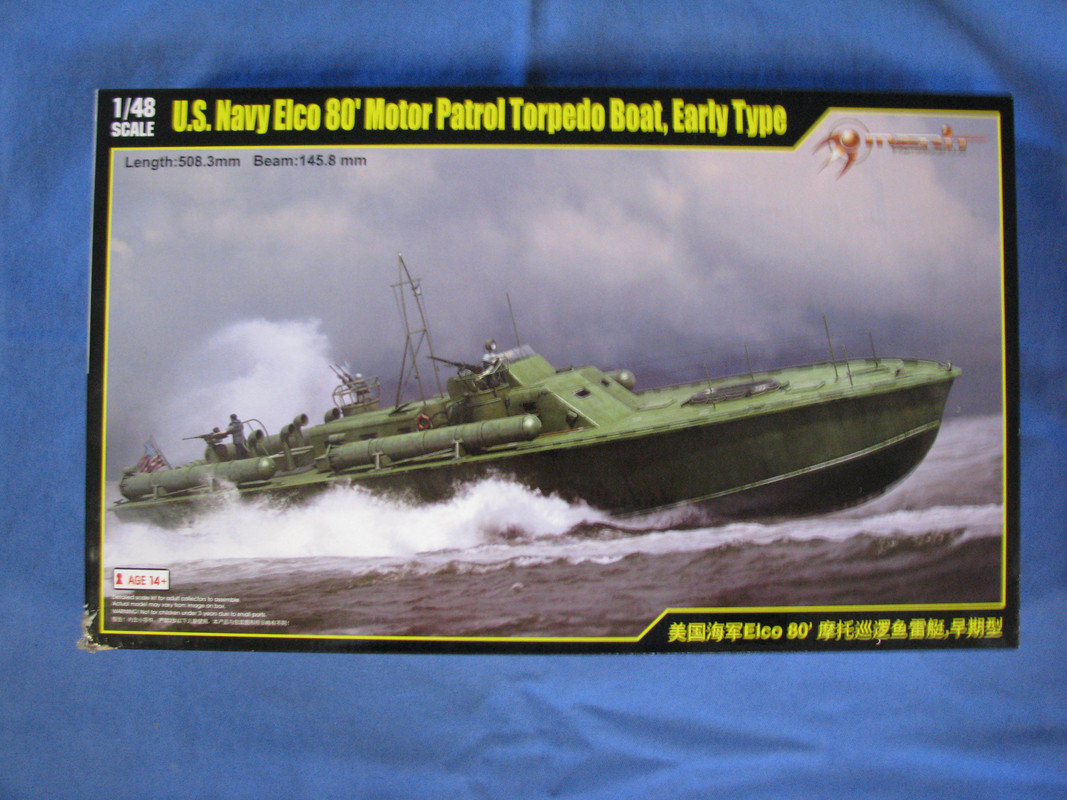
Anyway, the LHS was having a July 4th sale, so I picked up the Merit 1/48 MTB Early Type to go with my Later Type from the same manufacturer. I found the Later version nicely designed and well detailed. Another plus is that it is big but not as big as the 1/35 boats. Both kits comes with PE which is nice. The instructions are well done with logical sequences and unlike Trumpeter they recommend glueing the deck on after drilling out the correct holes for each version.
I decided to start with the Early kit since the painting is pretty straight forward and I wanted to practice with my airbrush before tackling the camo scheme of the Later boat. I picked up the AK paint set for the Later kit but I knew that he colors were not the same as the earlier boats. Thanks to all the input, recommendations and help in general from the other thread I posted for color help, I decided to go with ColourCoats’ Tropical Green. This will be the first time using ColourCoats but after a bit if research I think I can handle using enamels again. Although this does create an issue with weathering due to the fact that I usually use Artist Oils to get the effects I want; however, Artist Oils do not work with enamels. So, we’ll see how well I can remember how to do acrylic washes again…
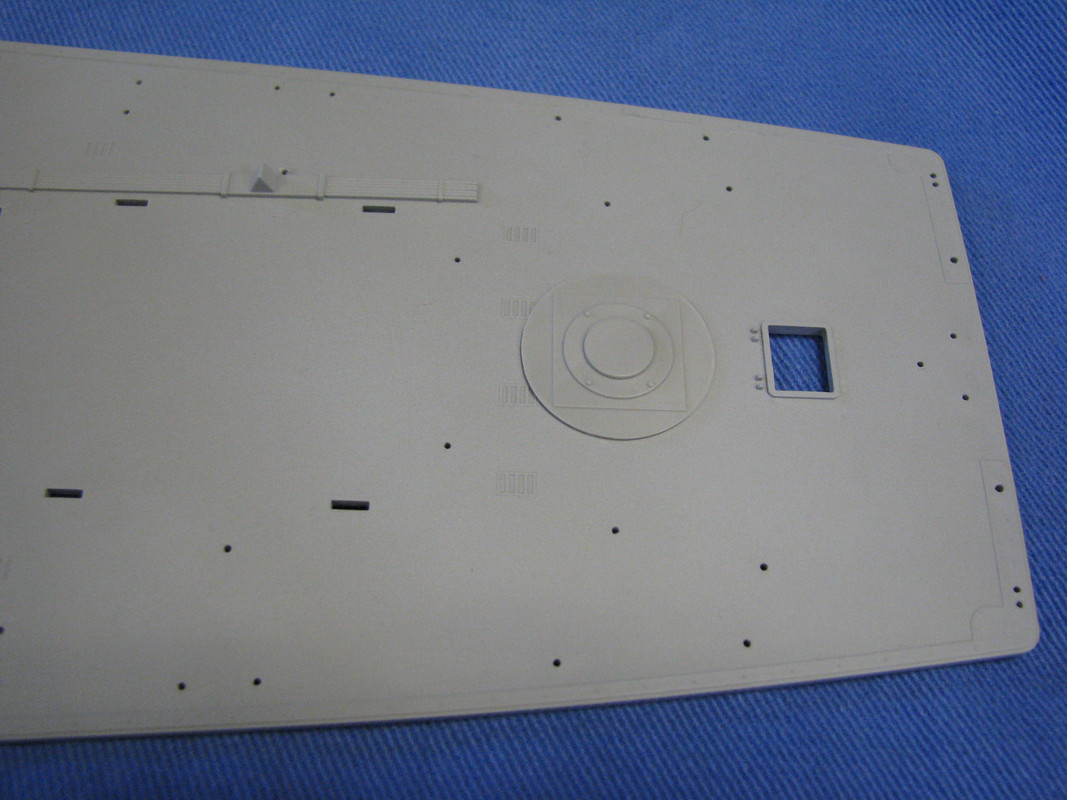
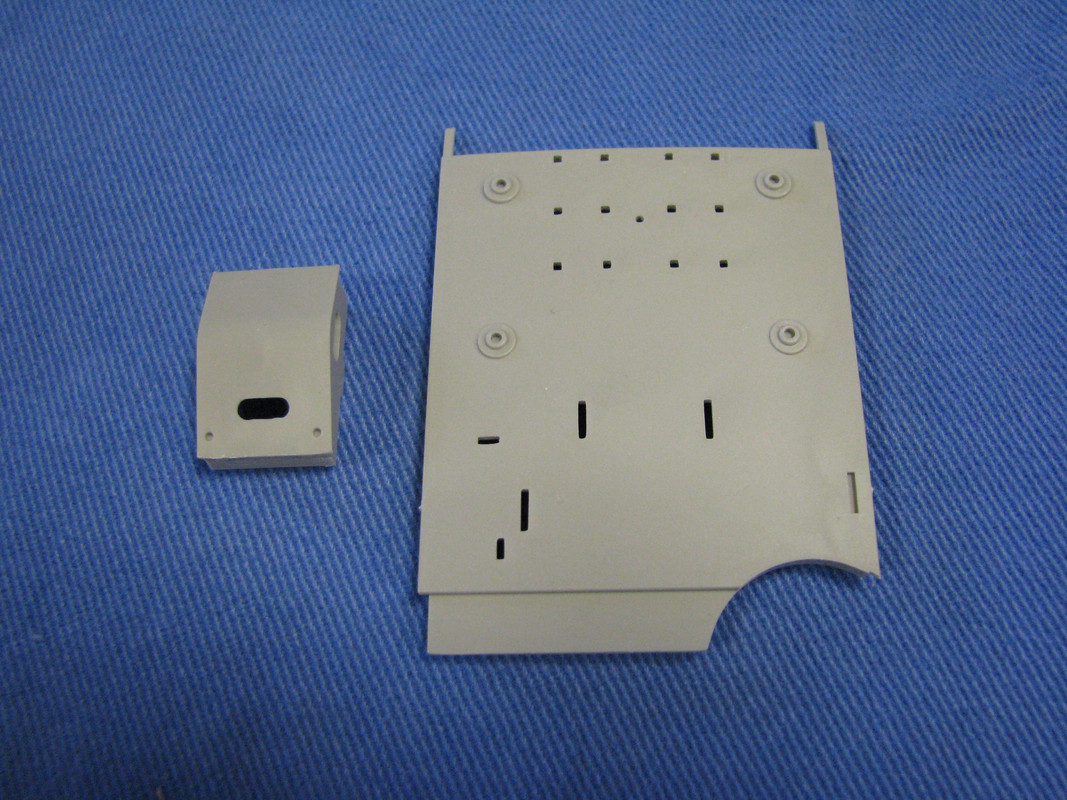
The first part of the build was to locate and drill the appropriate holes on the deck for the earlier version vs. the later. I found it a really good idea to triple check locations and then circle each with a Sharpie before I started drilling. I also painted the interior of the hull Model Master Flat Black just in case the interior shows through the day cabin windows. I then painted the interior of the chart and day cabins Tamiya’s Insignia White.
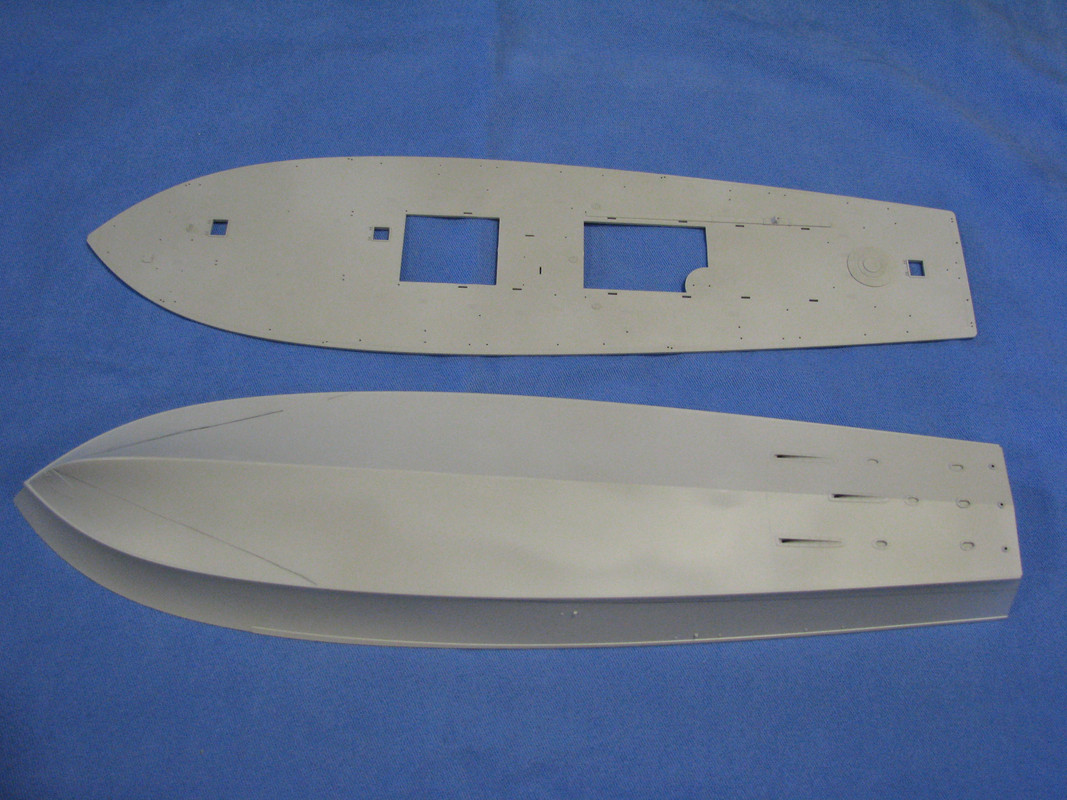
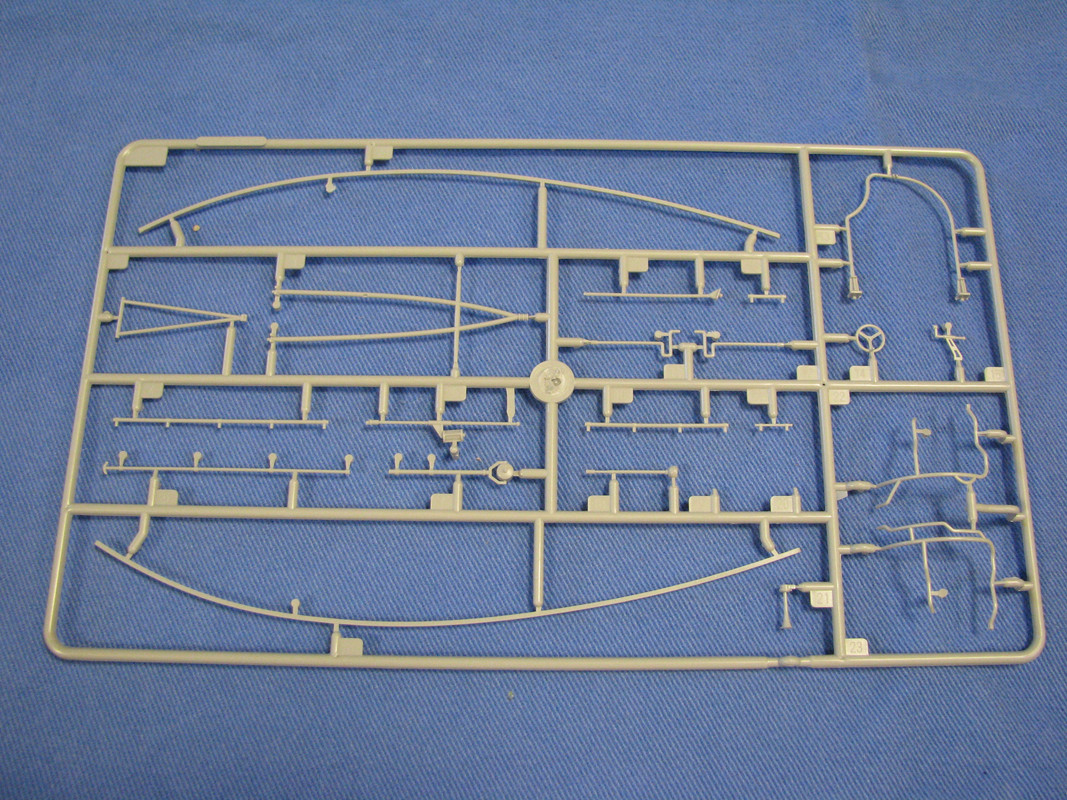
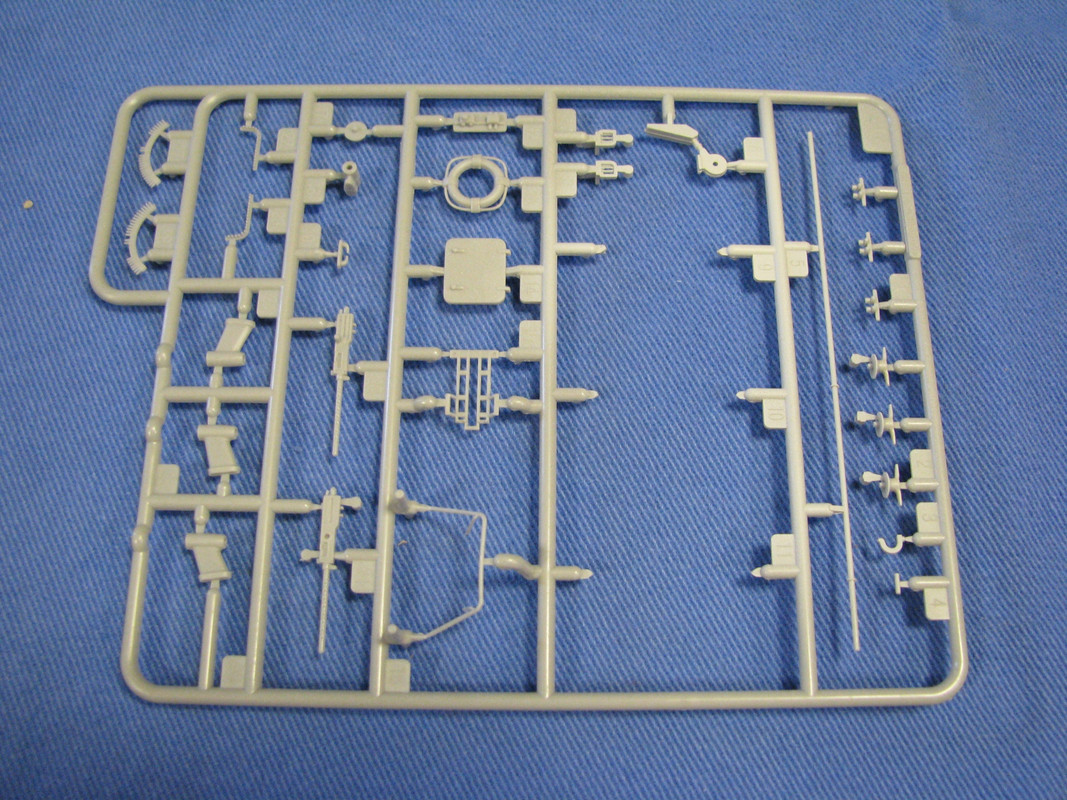
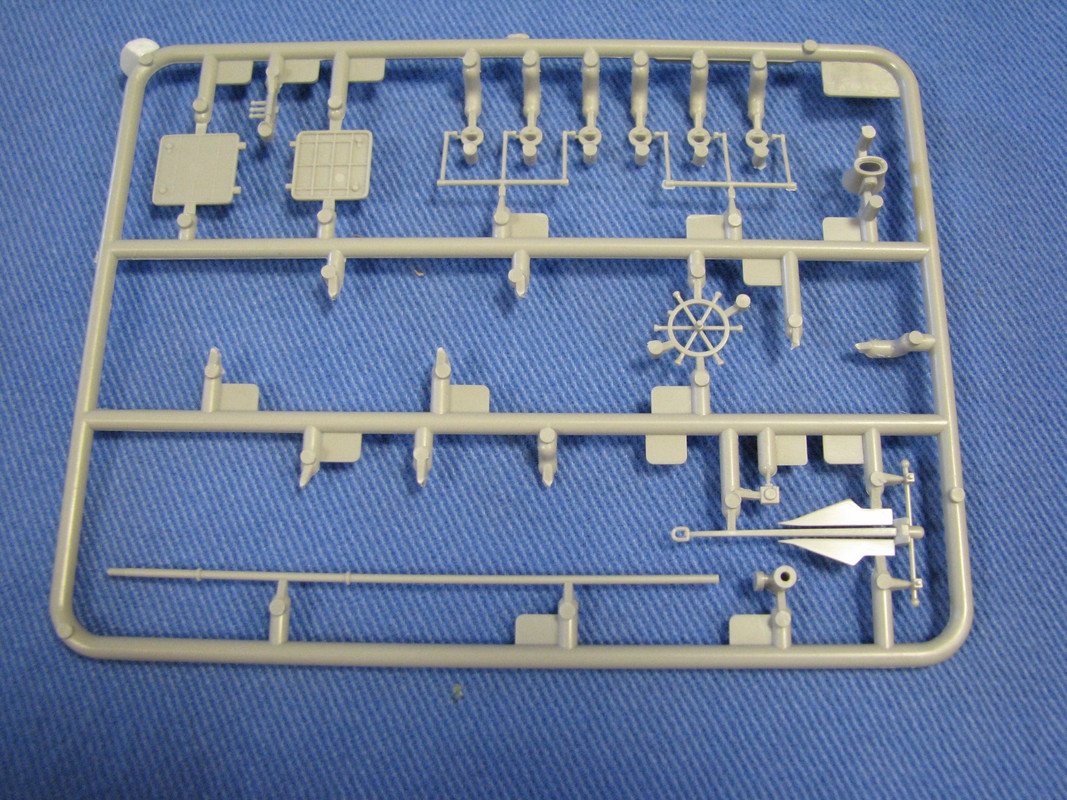
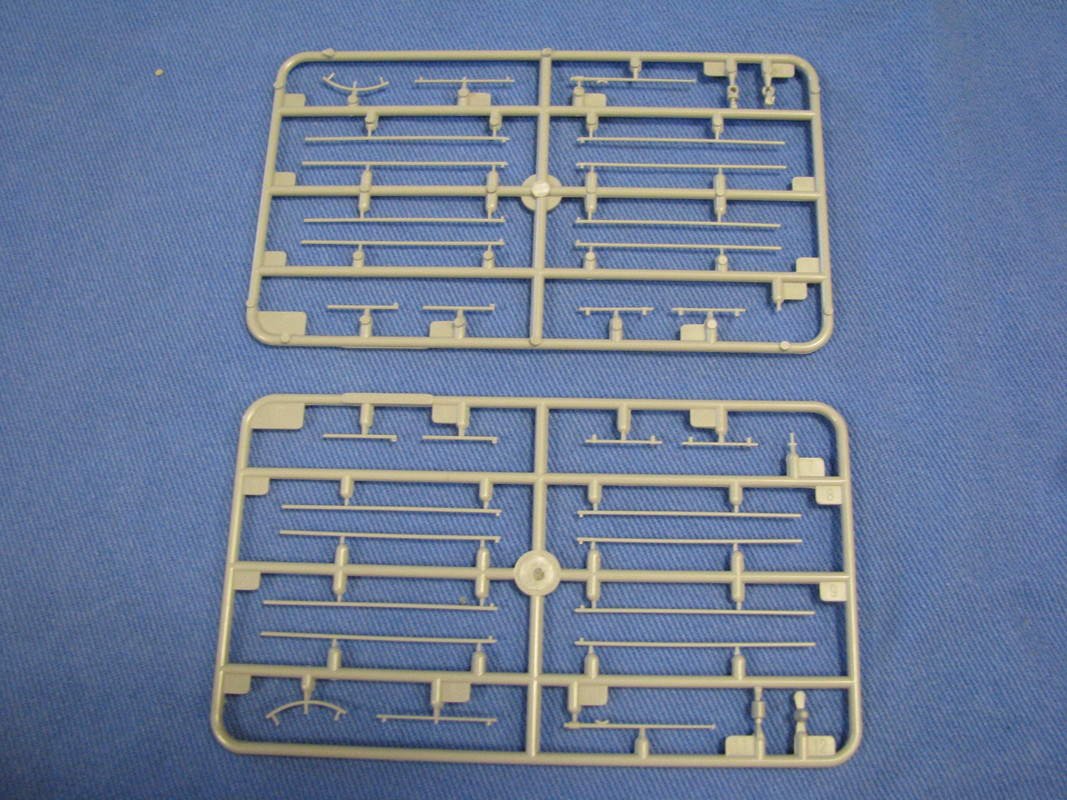
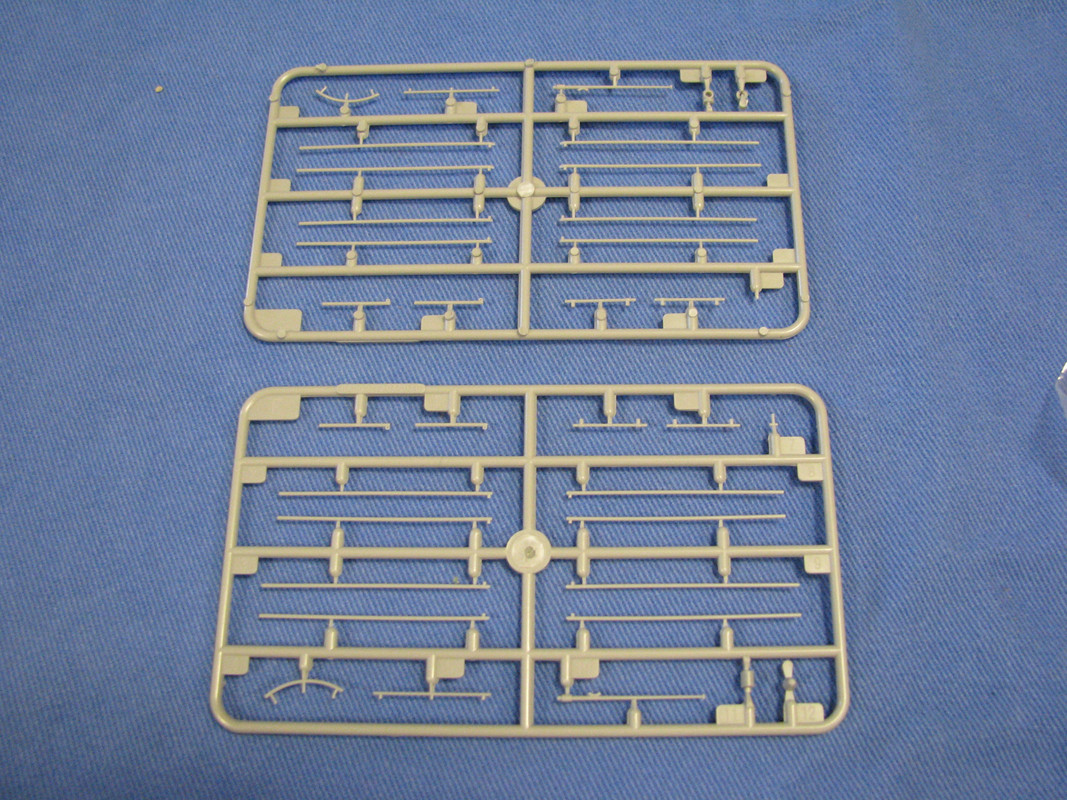
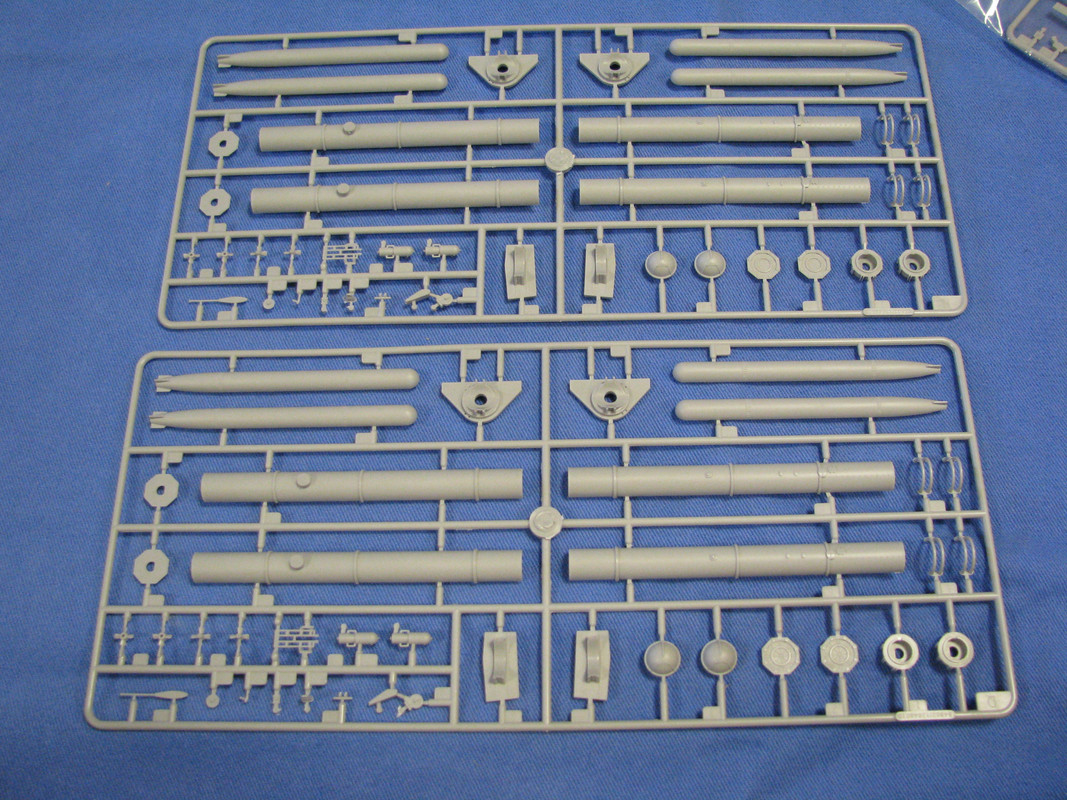
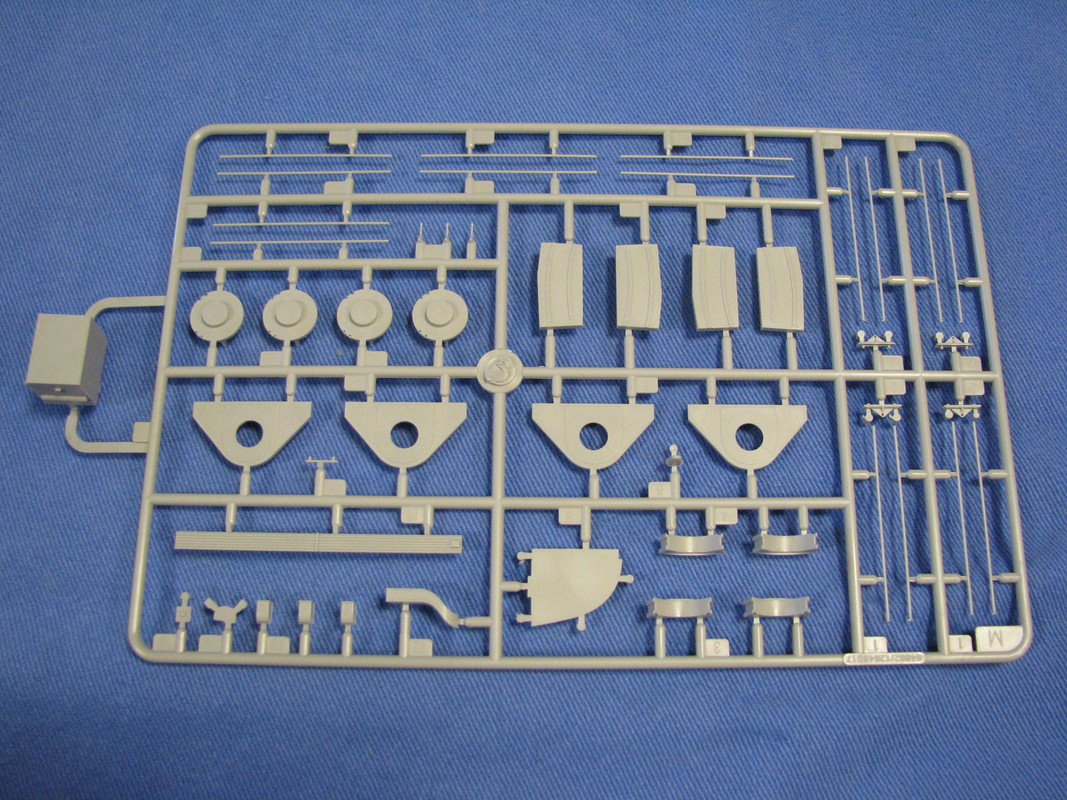
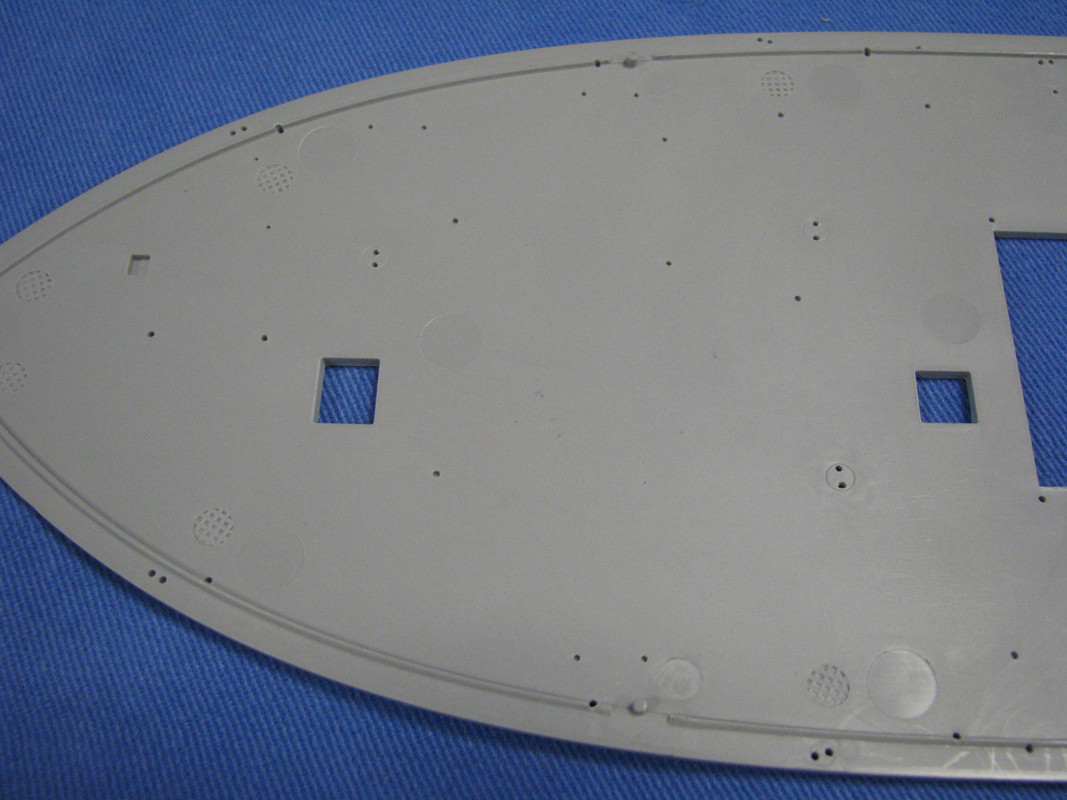
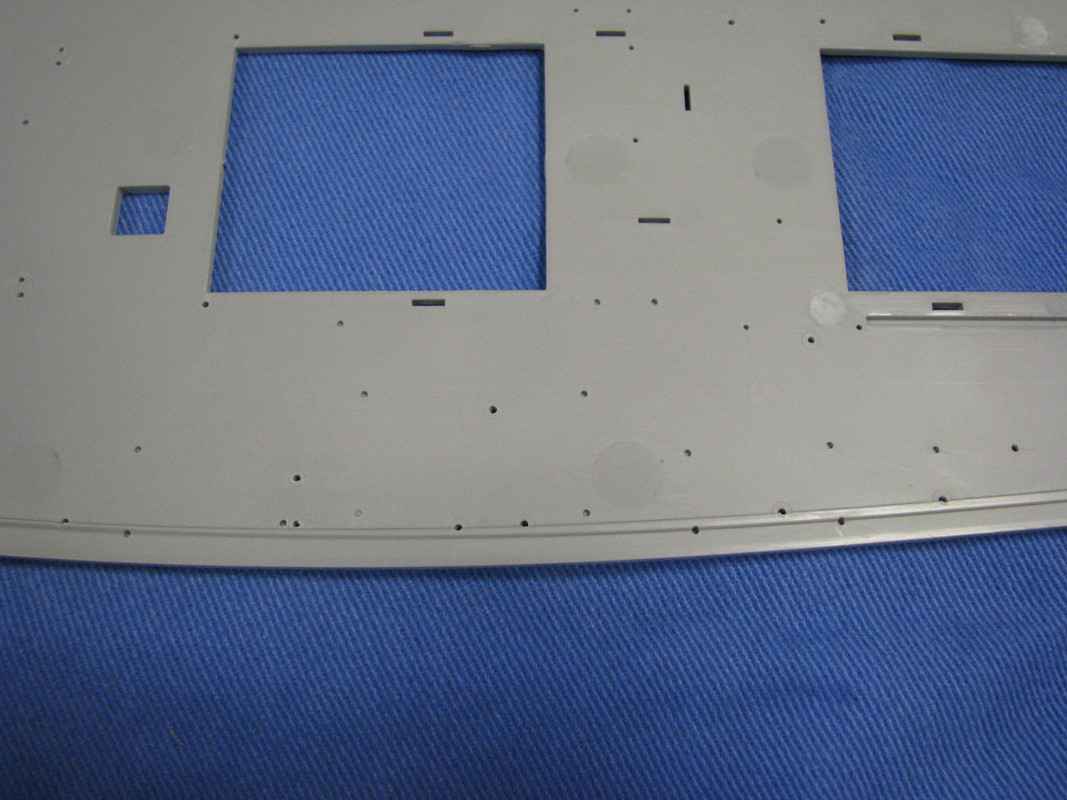
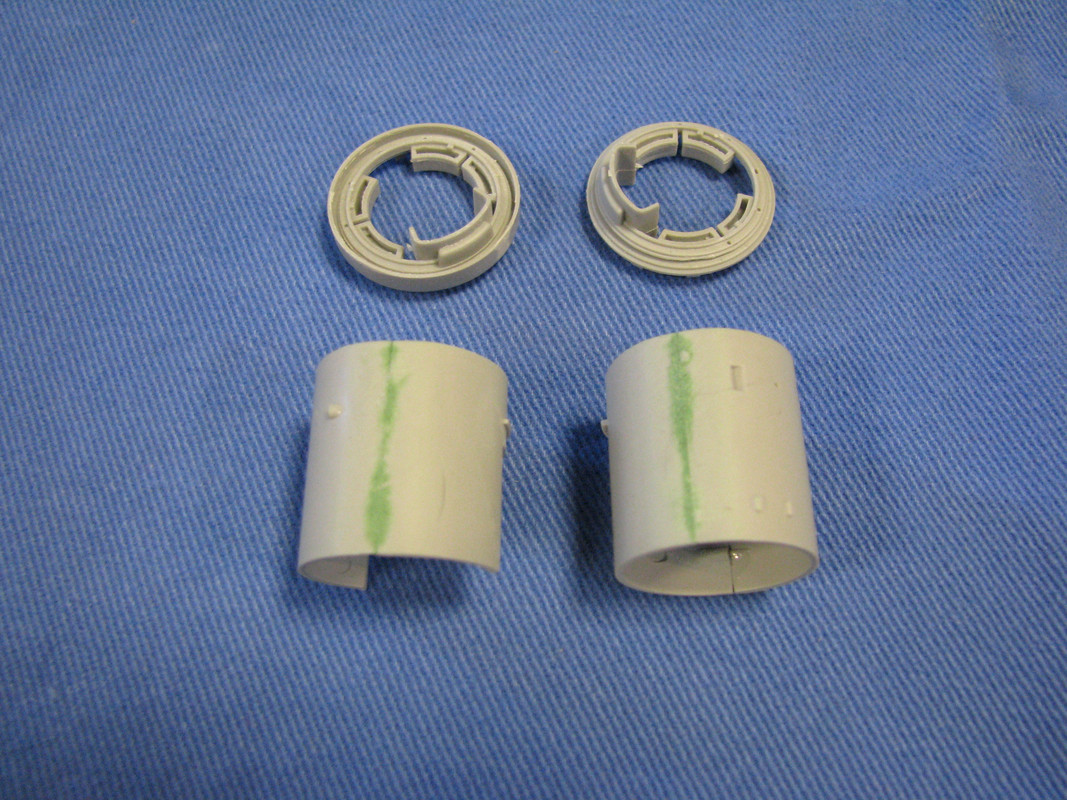
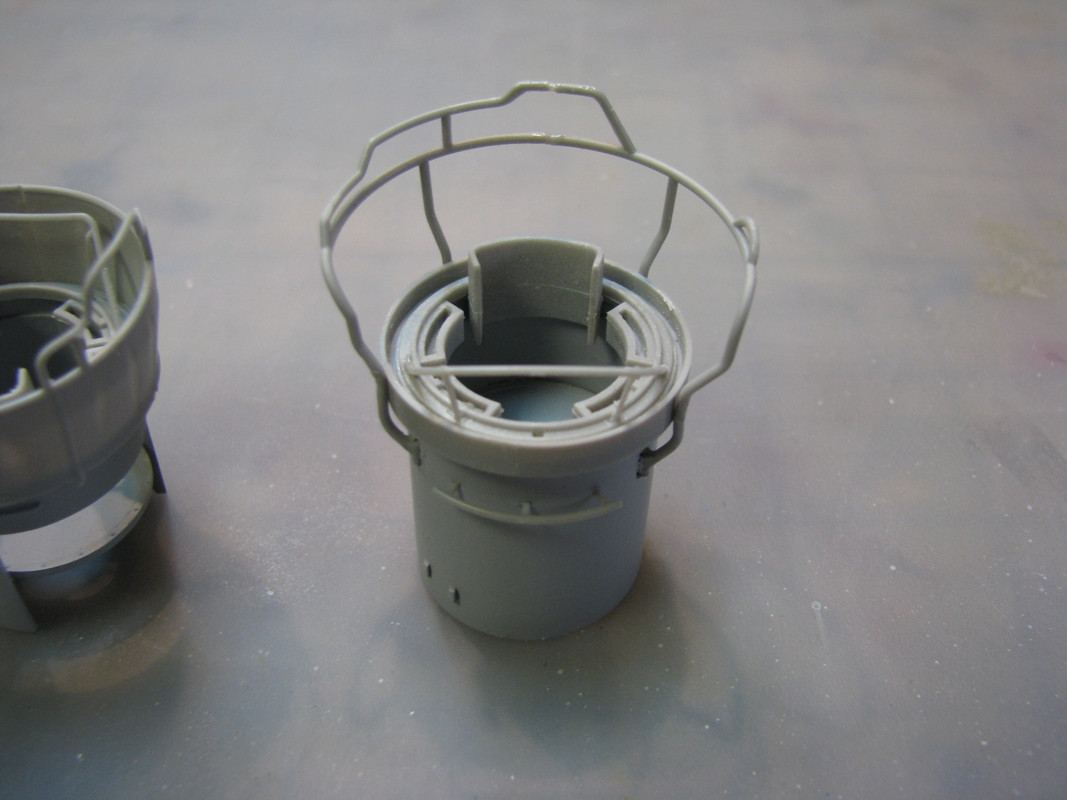
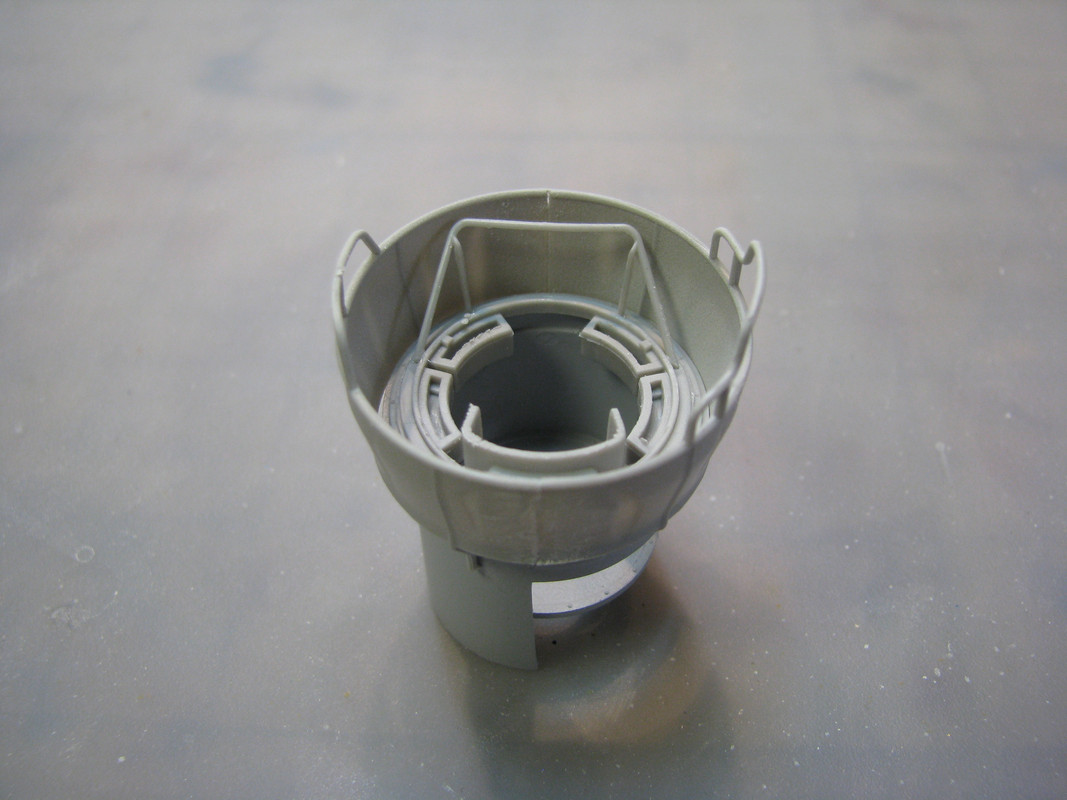
I am going to build this OOB without any scratch building, hopefully. The first set of pictures are of the box top of the kit as well as the hull and deck. The last picture is some of the detail for the prop and rudder region. I’ll post the various sprues before I get into the construction. Any and all comments and help will be appreciated.
Grab the lawn chairs and your favorite brew because here we go. Sub, just make sure you don’t light anything off on your head please.
Bill, I have drilled holes through the hull at the keel and will be using nuts and bolts to secure her. The bolts are hidden with brass finials that I found. The nuts are secured with epoxy. But more on that later.
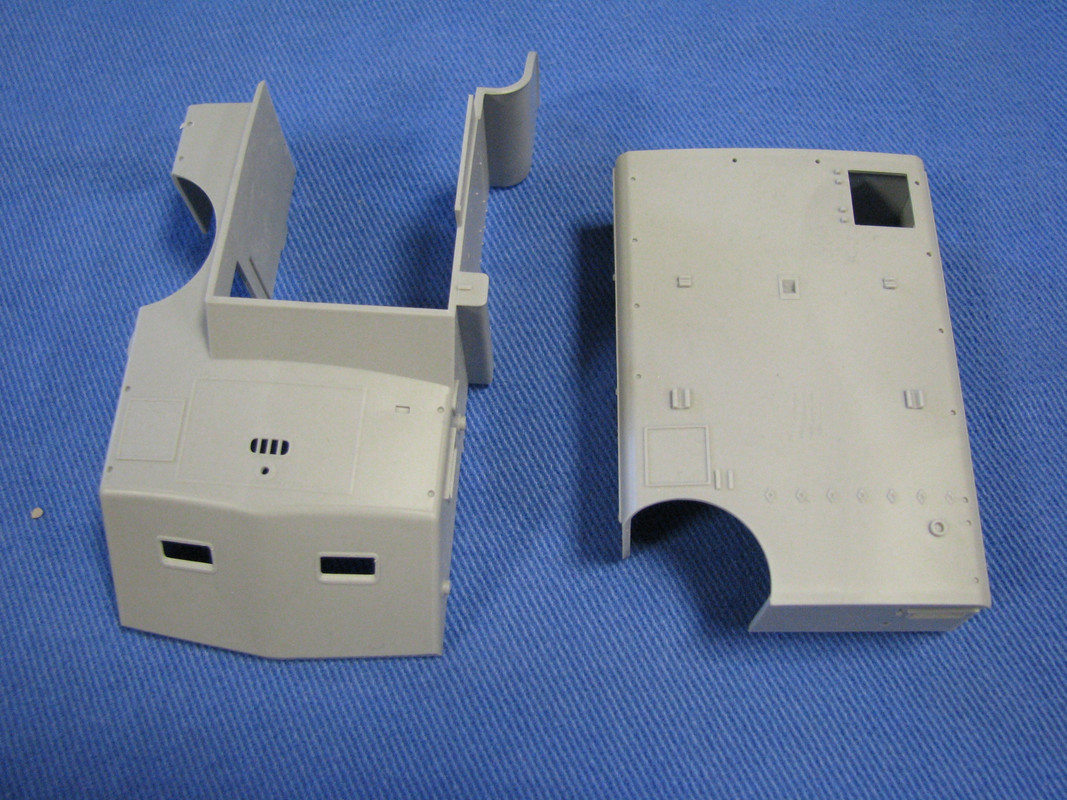
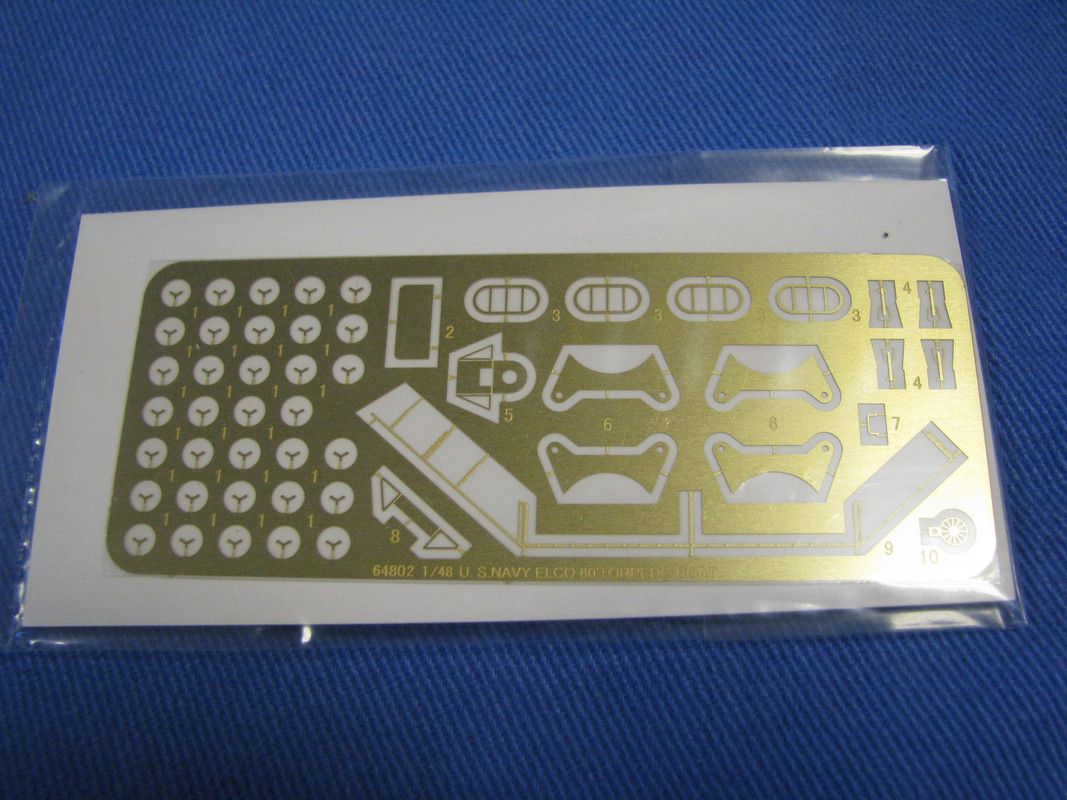
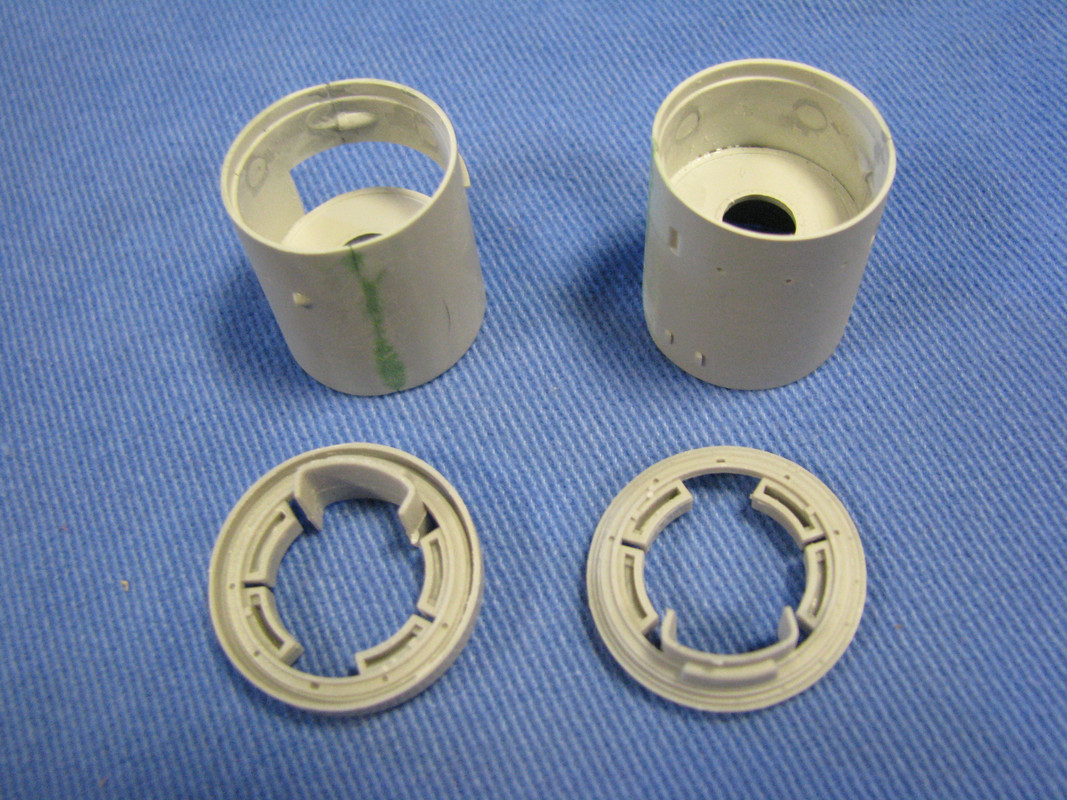
Here are the superstructures and the various frets as well as the PE fret.
Let the building begin. After measuring three times and cussing twice, I drilled holes through the keel and then expoxied the nuts on the interior of the hull to hold the hull secure on it’s base.
I found some lamp finials at a great local lamp repair shop that has been around longer than I have. I then drilled holes through the top of these to facilitate the bolts.
The base itself is a Michael’s find. Stained with MinWax Gunstock and finished in Deft Satin Lacquer. I then drilled holes through base.
When she is sitting on the pedestals the waterline is level so, I am happy.
Here are some pictures showing the setup.
Steve
P.S. Bill, does this answer your question on how I was going mount the boat?
I seem to remember reading that the interior of the gun tubs were painted white, but for the life of me, I cannot find where I saw it. Can anyone enlighten me as to a color?
Thanks! I really appreciate the feedback. I would highly recommend picking up one of these kits. I am loving this kit due to the detail, fit and the overall lack of flash. I also happen to love PT Boats in particular due to seeing PT 109 when it came out back in the day.
I also think that the 1/48 scale is a Goldielocks scale for this subject; not too big, not too small but just right. At least for my needs and room to display. I also have the later type kit which I think I’ll build right after I finish her. Tim had Stan P build his later type and it is posted on the Merit site and it is beautifully built too.
Is your PCF the old Revell kit by the way? I recently found the 1/35 Tamiya PBR for a great price which needs to get queued and on that one I will pick up the Eduard PE set as well the Verlinden extra gear.
I wish someone would make the resin extra gear for this scale boat as they did for the 1/32 scale Italeri kit. I would SO add those.
Yuppers, my PCF is the old Monogram kit reboxed by Revell a few years back. I replaced or enhanced the kit weapons to doll it up a bit. I am a big fan of small boats and their exploits.
I agree 100% about 1/48 being the “Goldilocks” scale as you call it. I just wish that the model companies would see this in all genres and had done so about 30 year ago when I started building my stash
I would love to see some pictures of your PCF if you have any. What color did you paint her, Gray or Riverine Green? Also, what did you replace or enhance the weapons with, Model Master brass barrels or something else?
if you’re thinking of picking one of these up, I’m not sure which I might recommend. I like the lines of the earlier boats because they remind me of the movies “They Were Expendable” and “PT 109”. However, the later boats were loaded for bear and have the look of ‘Don’t Mess With Me’. Either kit is really nice which is one of the reasons why I bought both!
I only started back into modeling about five years ago so my stash, while impressive to me, pales in comparison to others.
Drilled the holes on the deck today. Again, I triple checked to make sure I only drilled the Early version holes and not the Later version. Also started construction of the gun tubs. Glue, sand, fill sand, you all know the routine. Although the nice part is that the sanding and filling was neither difficult nor extensive.
In answer to your question in post 3 regarding sealing the enamels with Future and then doing terpenoids washes, I am not sure. The only way I have done washes in my limited reborn model career is acrylics over enamels (the Viking ship), enamels over acrylics after a gloss coat (U-Boat), and artist oils over acrylics (everything else). I have used Future in clear parts with the Sci Fi and Aircraft models I have built and love it. On the Viking ship, I probably put about 20+ washes on her to get the wood grain effect I wanted! which is also why I started experimenting with oils!
The reason I haven’t used Future or a gloss/dull coat on the sailing ship models I have done so far is that I was worried about losing the grain of the wood. On the PT Boat, there is no grain so that is not an issue, although if I put a Future coat on I would rather do an artist oil weathering than something else. I guess I can experiment with some styrene sheet to see how any of these weathering techniques will work before I try it in the model. Who knows, maybe I’ll find another awesome weathering techniques.
Another question for the group. I remember a thread that dealt with the mounting of model ships. I think it was for an American Cup racer but it could have been for something else such as 17th Century Dutch built ships, in particular, the Wasa and/or St. Louis. I remember this thread because with the design of the ship, the keel was lower in the stern than the bow, but the waterline and main deck were parallel. Therefore, the rear pedestal was supposed to be lower than the forward pedestal so that the waterline and deck were level.
I am trying to remember if it was the waterline or the deck that needed to be level for the correct mounting. Case in point, the PT Boat has a deck that is higher at the bow than the stern. Right now I have set up the mounting so that the waterline is level but not the deck. In my opinion, it looks correct and the current mounting gives the boat a sense of motion with the deck sweeping up vs. looking like the boat is taking a nose dive, or pearling as we say in the surfing world. Also, if I make the deck level, then the waterline is not.
Anyway, can someone or someones, please enlighten me?
P.S.: On page two of the above thread jtilley says the following:
“Looks mighty good from here. A crucial element in designing a base for a ship model is to keep the waterline level. It looks like you did. I gather that, in order to add the support under the stern, you had to slide the forward support aft a bit. To my eye it’s almost - but not quite - too far aft. If it were shoved any further aft the model would look like it was about to fall on its face. But as it is, it looks like it’s getting ready to launch itself forward. Very nice.”
Let me emphasize again that there’s no “right” or “wrong” to this. But I think most people would agree that a ship model looks most natural if it’s mounted so the waterline is horizontal (i.e., parallel to the baseboard).
If the PT boat were mounted with the deck horizontal, the conspicuous painted line at the waterline would make the model look like it was nosing into a wave.
Thank you Mike and John! That is exactly what I was looking for. It must have been the luck of the Irish that I got it “right”. As I posted earlier, I agree with John, if the deck was horizontal it would look like it was taking a nose dive.
After what I could find online at the time, I ended up using Navy Helo Gray, 36081 as the base color. I replaced the kit .50s with some Verlinden ones. Then I dressed up the 81mm mortar a bit with some drilling and filing and such. The kit really can be done up in the pilot house and such to shine with more time and effort than I put into mine.
Here is link to the thread on here with my finished build. Nothing too fancy.
Yes, I would love to see a kit of the PTs used in the Phillipines from the “They Were Expendable” period. But I do love the late war bristling with assorted weapons look as well. Like the ones that were at Surigao Strait. I will have to look at these Merit kits, as I did not even know about them until your thread here.
Dr. Tilley is being gracious. I would say that to mount the boat in a nose down attitude would require some effort to establish the context, like a waterline model skating down a swell. Otherwise its, well, not done correctly as a display that’s meant to show the lines.
Only the Lord knows what you would do with the figures on deck.