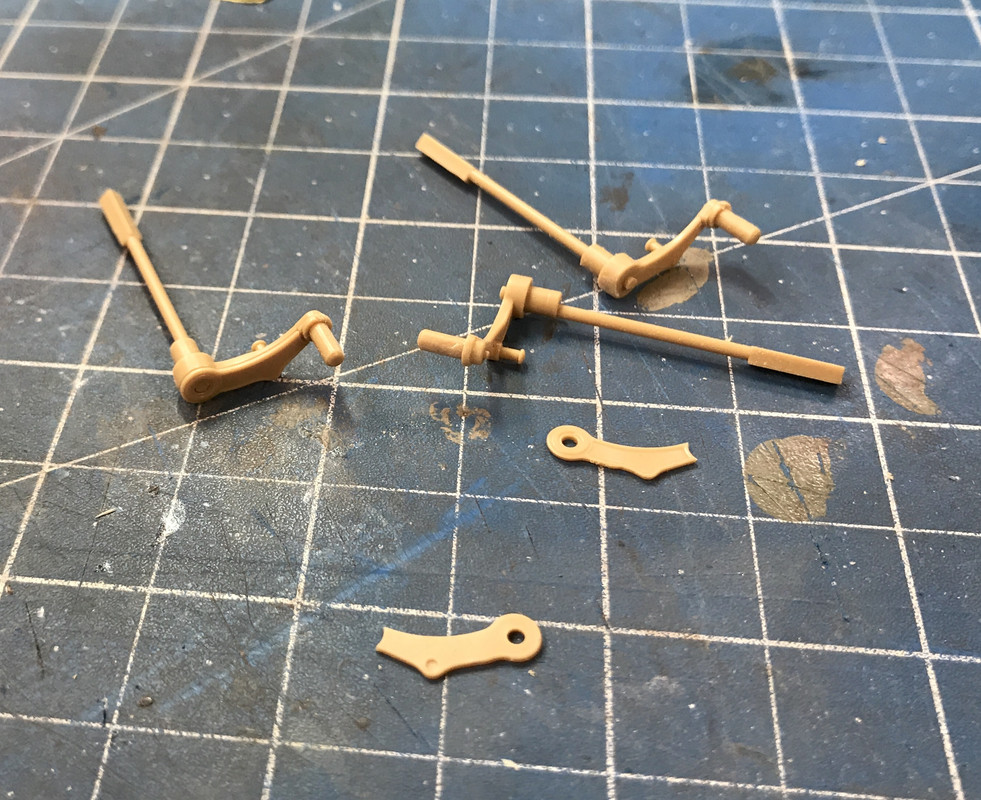
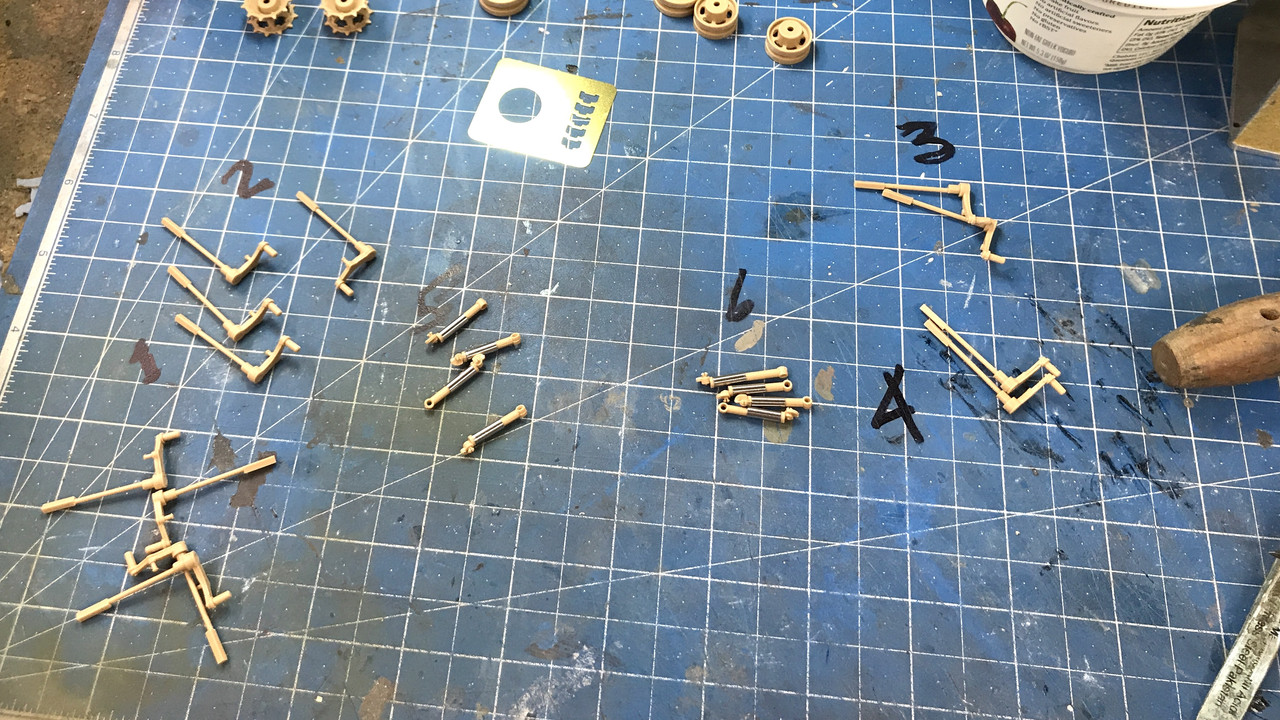
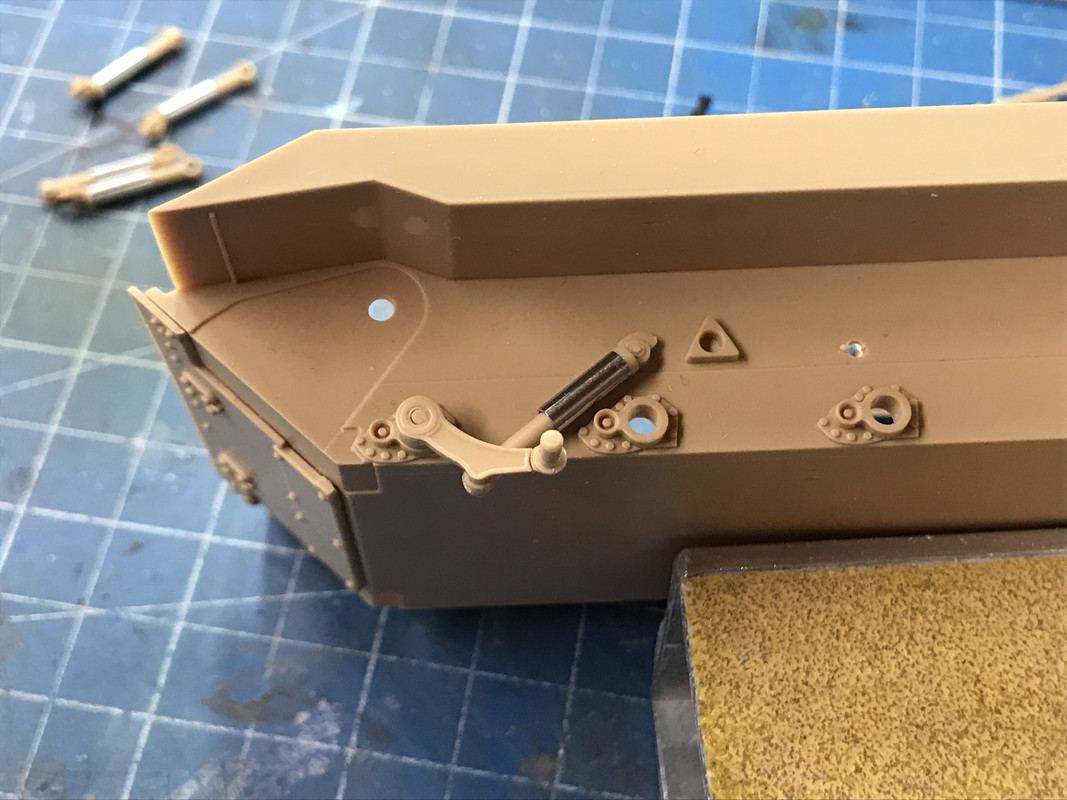
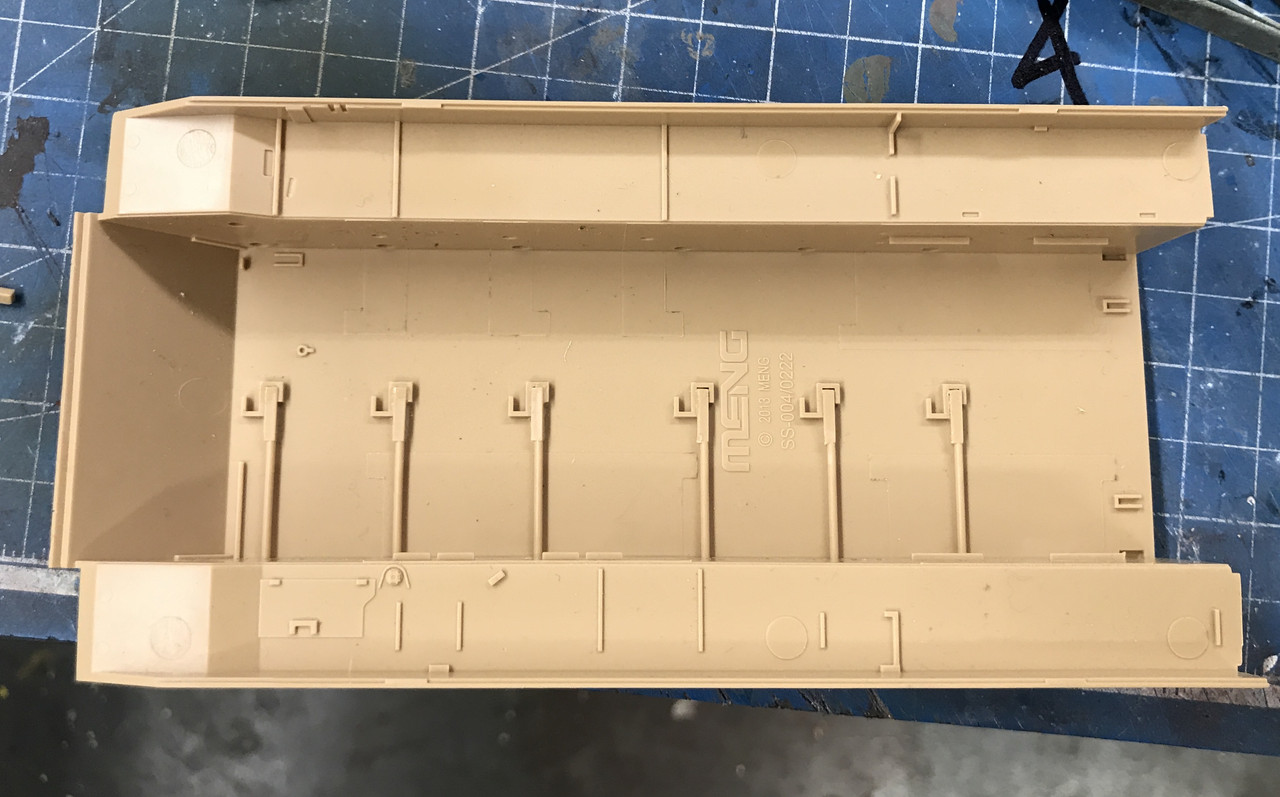
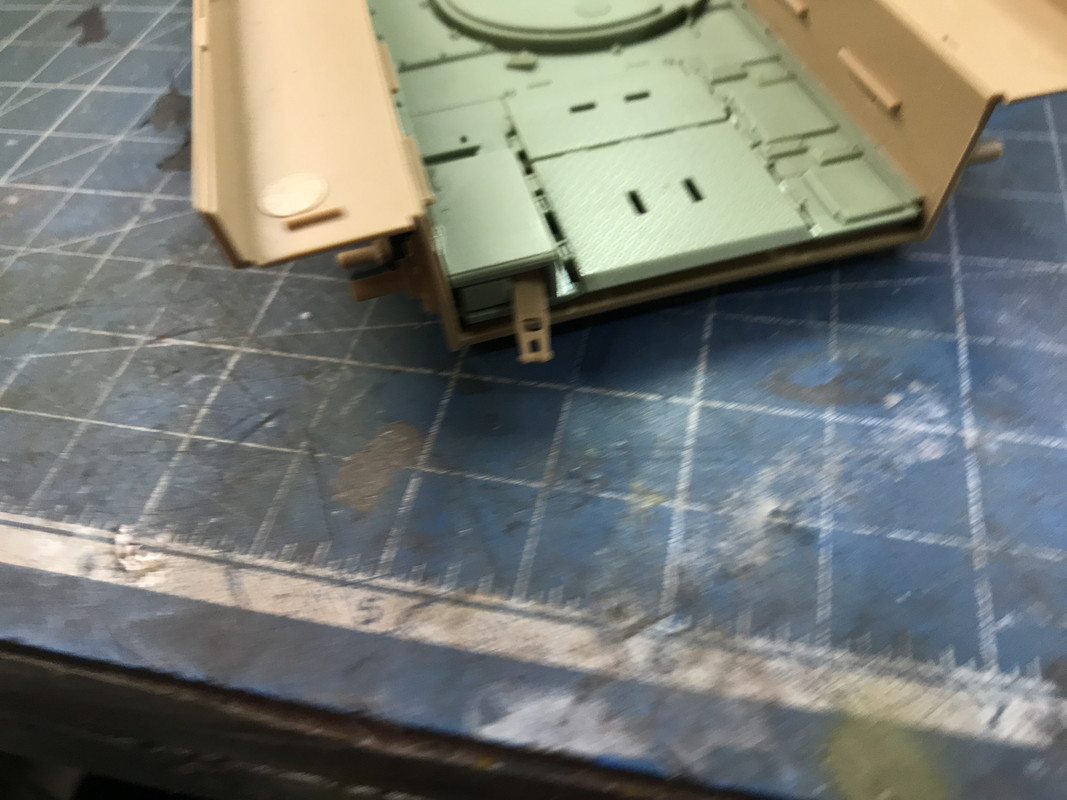
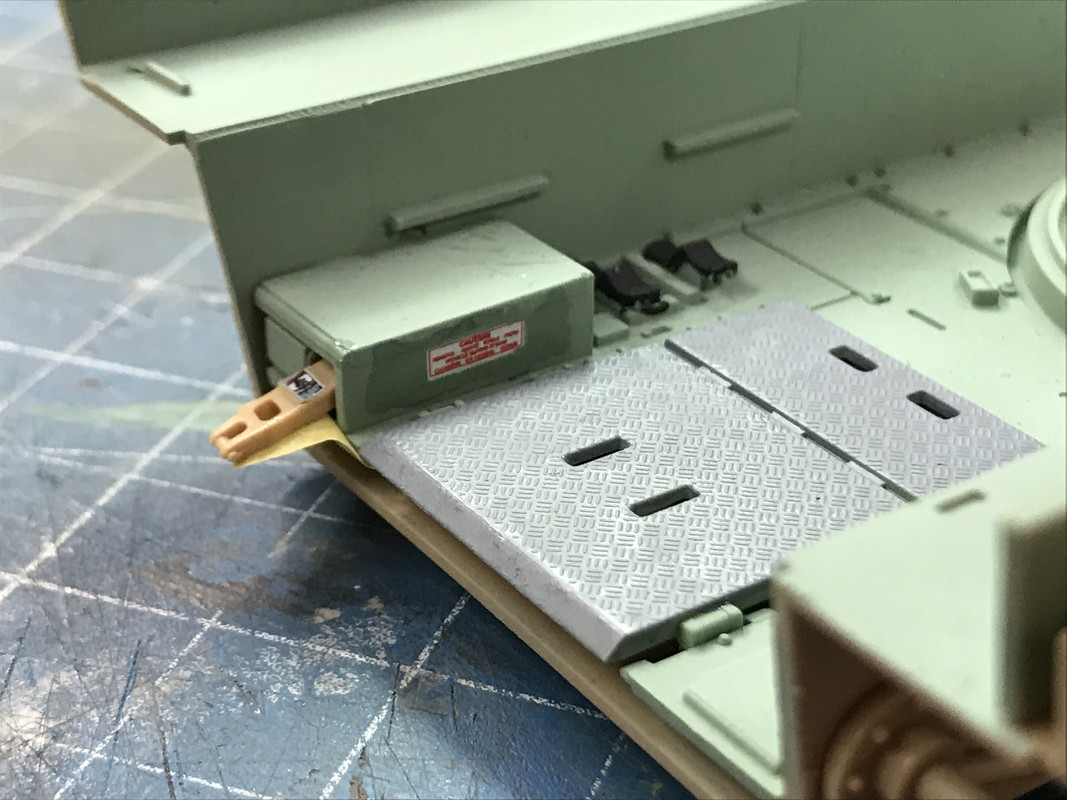
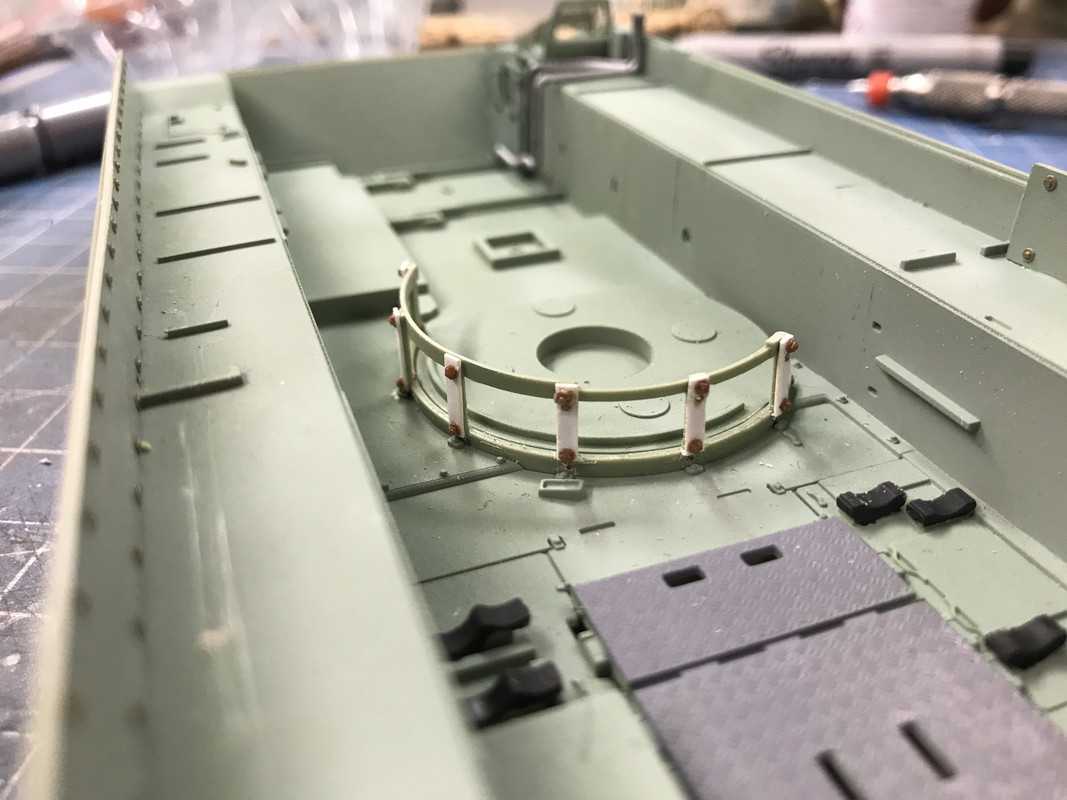
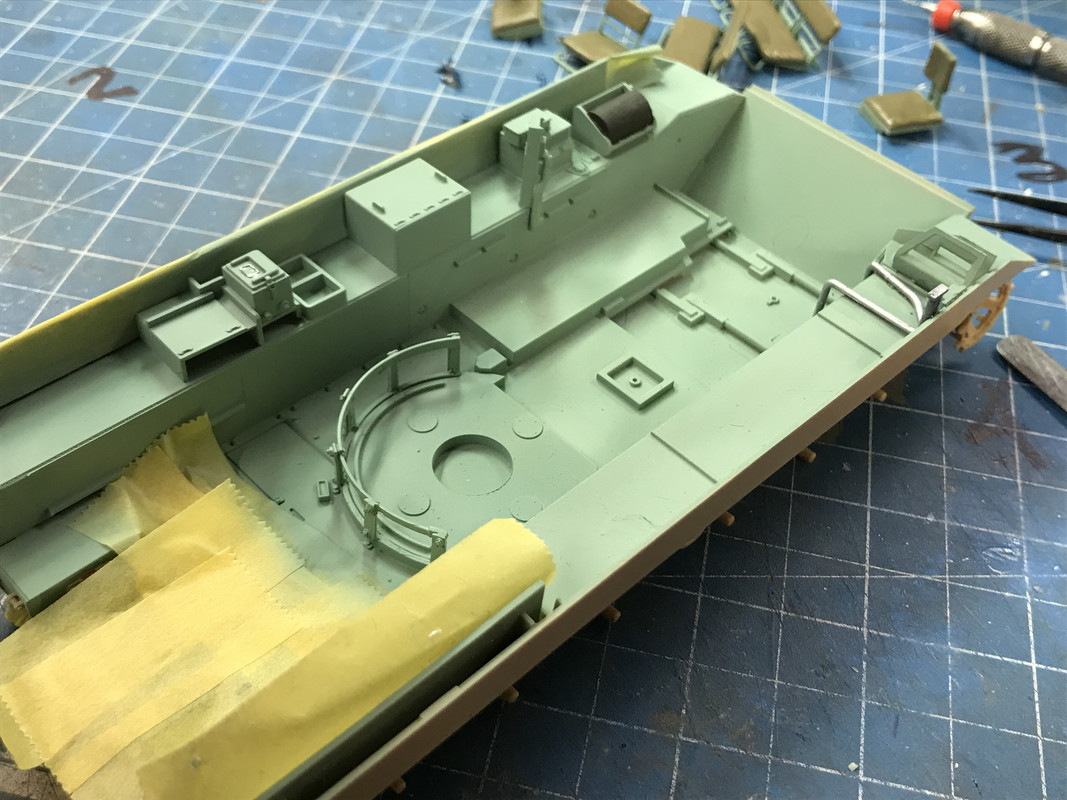
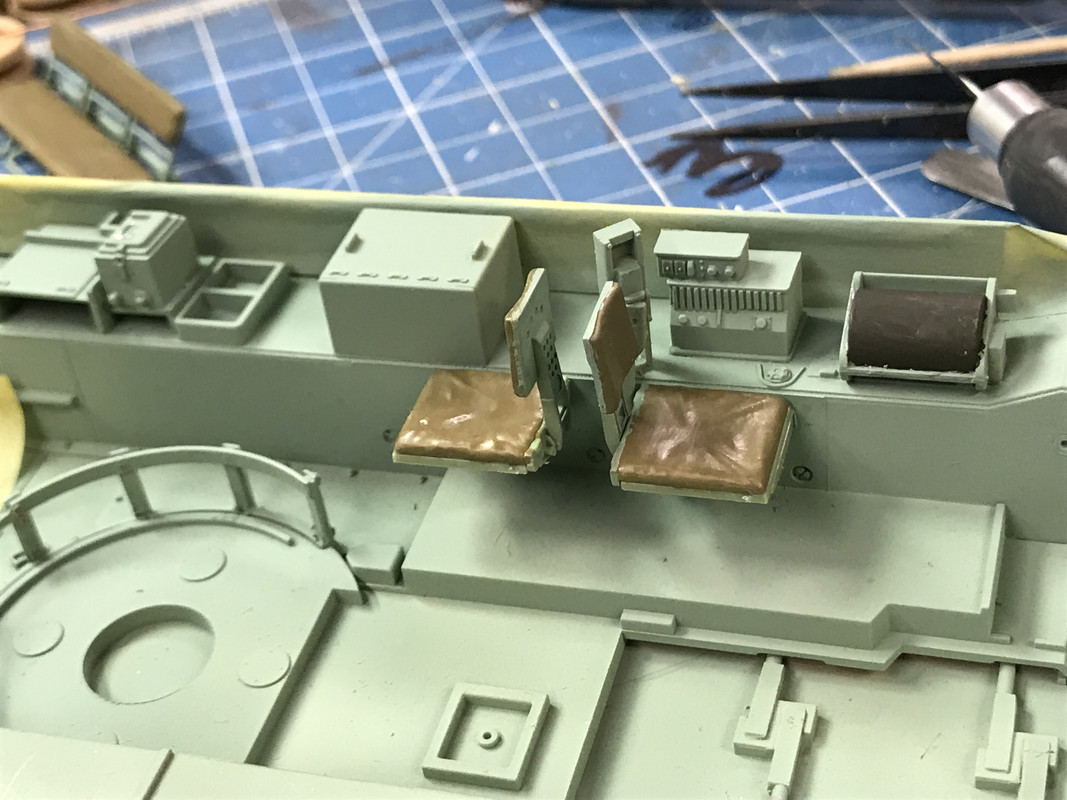
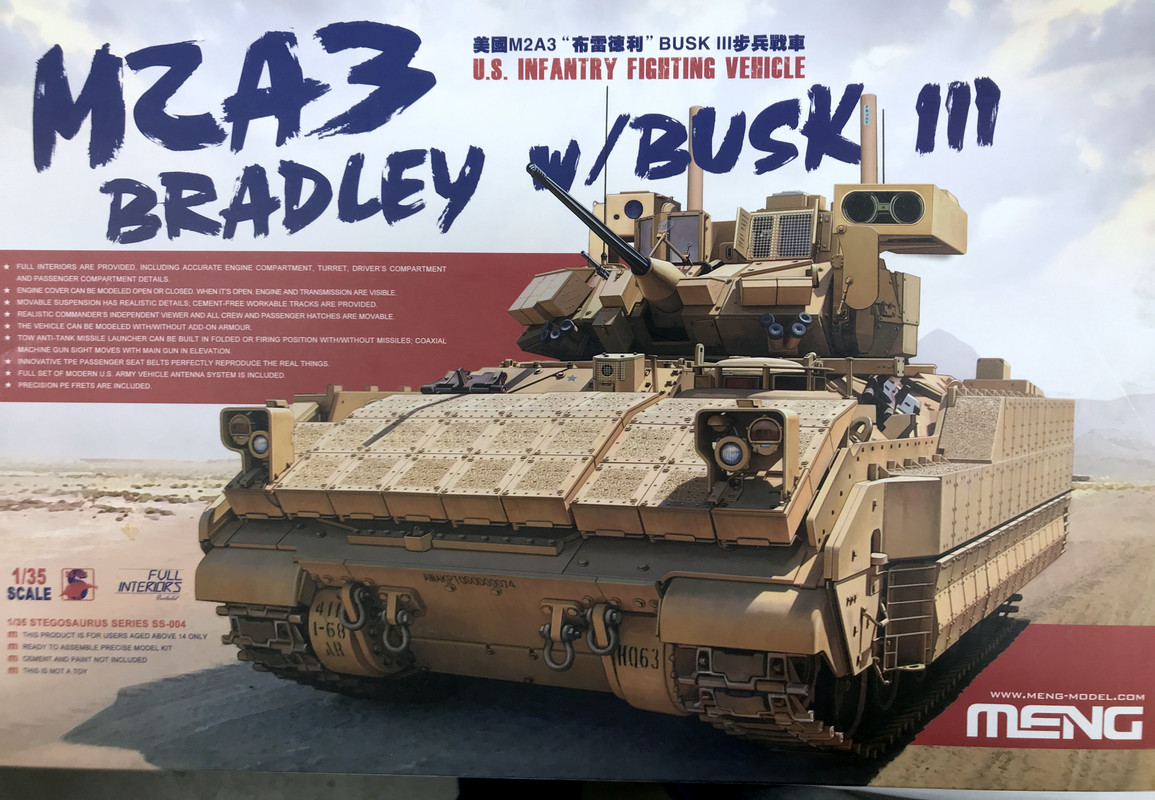
After finishing another railroad project, it’s time to build some plastic. With the fun I had building the massively complex Rye Field Model Sherman M4A3 76W HVSS, I decided to do it again with another complex tank with full interior, the Meng Bradley Busk III with interior. This model only has 874 parts (or something like that) instead of almost 2,000, mainly because the track are one part for each link instead of 7. The rest of the parts reduction is a reflection that Meng is not as manic as Rye Field.
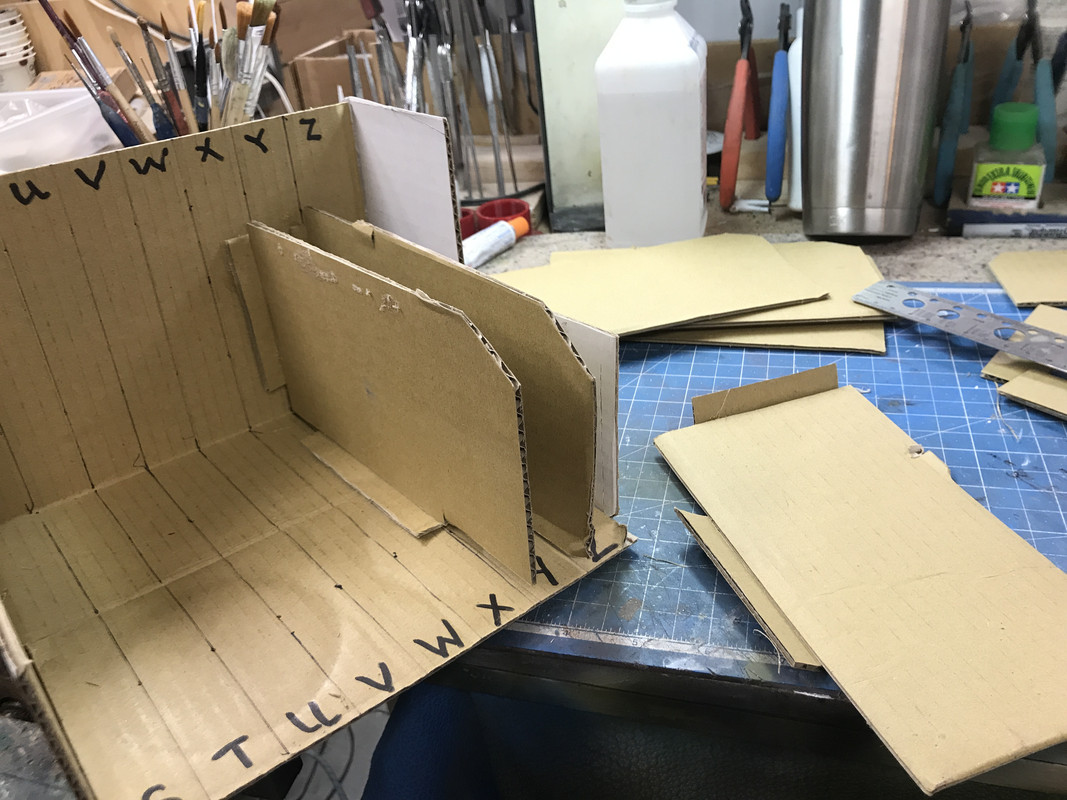
I started using my home-made sprue racks with my Tamiya Corsair project. I refined it with the Tyhphoon and Sherman. These are available commmercially from Hobby Zone, but with some scrap cardboard from boxes and a hot glue gun, you can make a very solid, practical and useful sprue rack that saves so much collective time in building high-parts-count kits that I’m surprised I didn’t start using this years ago. I’m 75 and learning new crap all the time. My sprue rack for the previous kits went up to letter “R”, but both the Sherman and this kit go beyond that. For the Sherman I re-labeled unused slots for the higher alphabet letters. This time I decided to simply build an extension to take me all the way to “Z”.
Most of the cardboard came from on liquor box that I carried wine from the Party Store a week ago.
This is the first part of the operation: build the overall enclosure and then add the partitions.
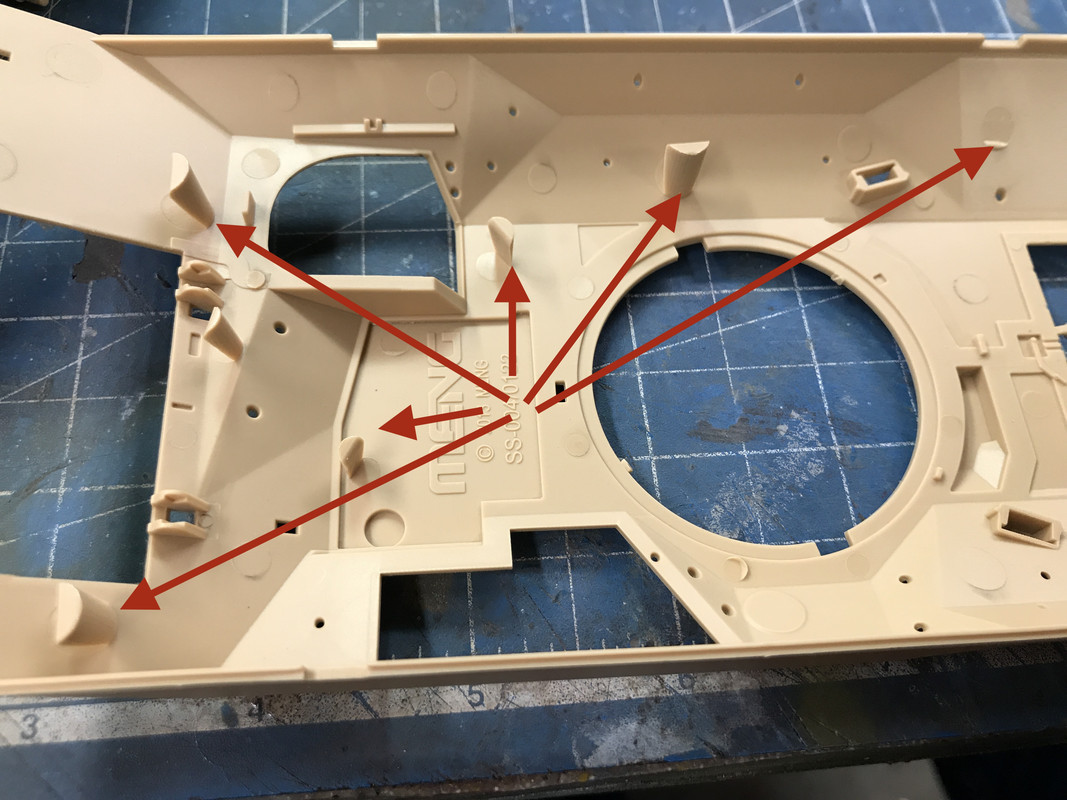
Notice that I use separate glued-on tabs rather than attempt to make the tabs part of the partition. It’s simply easier and less time consuming to do it this way. I pre-lettered the slots since that too was easier to do before the partitions were in place.
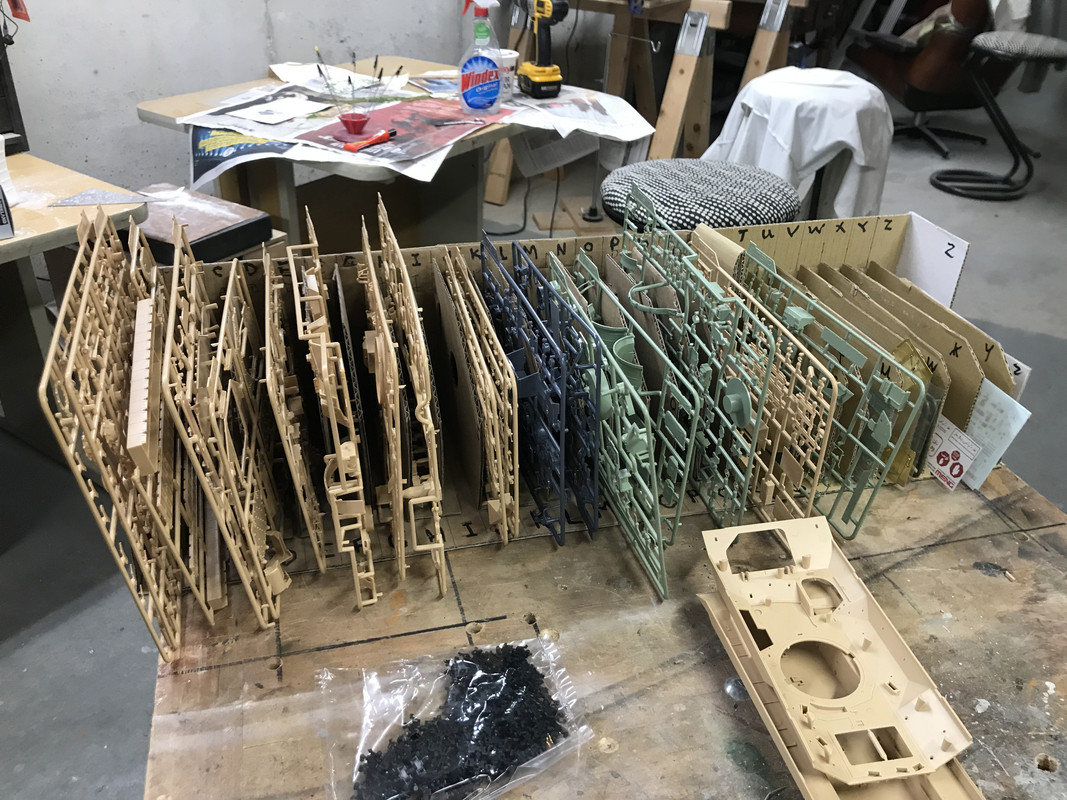
Here’s the entire extender rack. I used more cardboard tabs to lock the extension to the existing rack, and I used duct tape to fasten the rack to my jerry-rigged work table so it can’t slip and fall off the table when I’m shoving a sprue back into the rack. That mod came from experience. That work table is my old college drawing board carriage bolted to an IKEA four-legged bar stool.

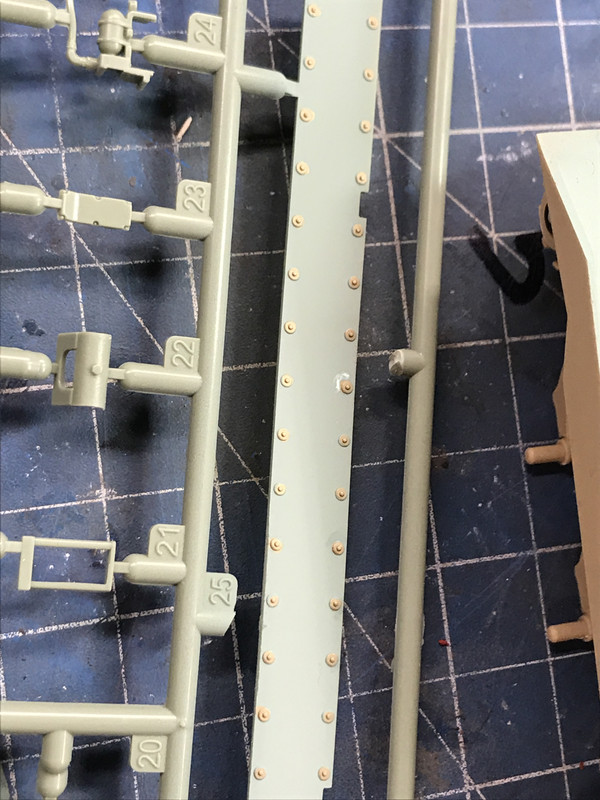
And here’s the rack filled with lots of Bradley parts. The Meng kit actually had all those sprues in the box in letter order… very nice of them.
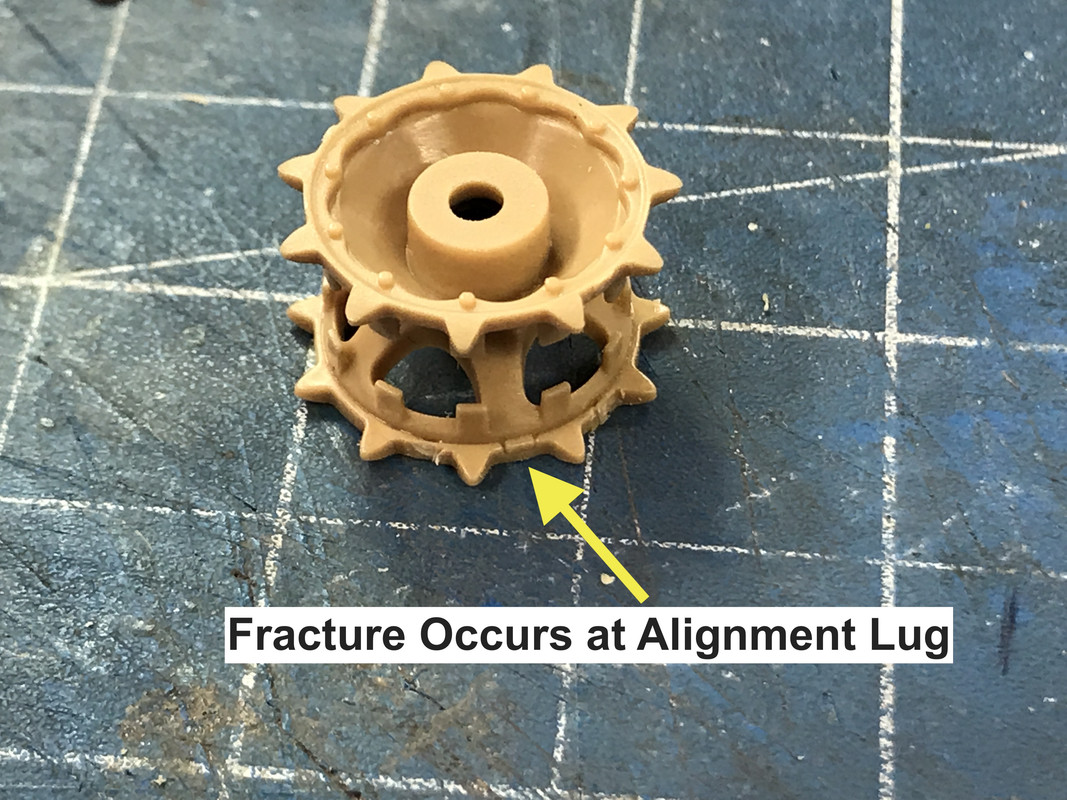
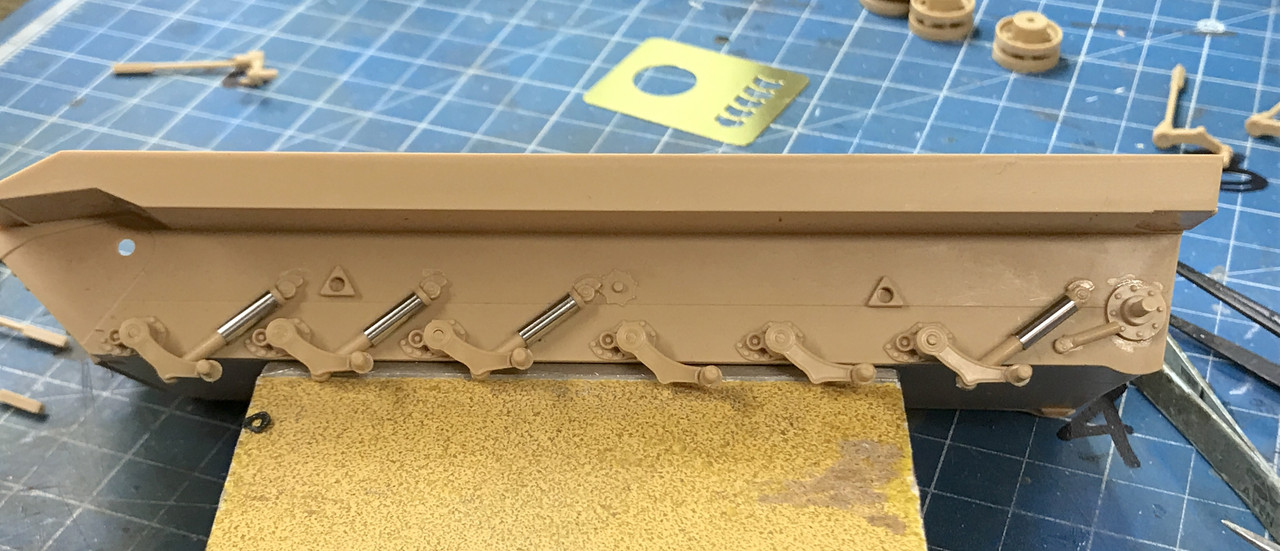
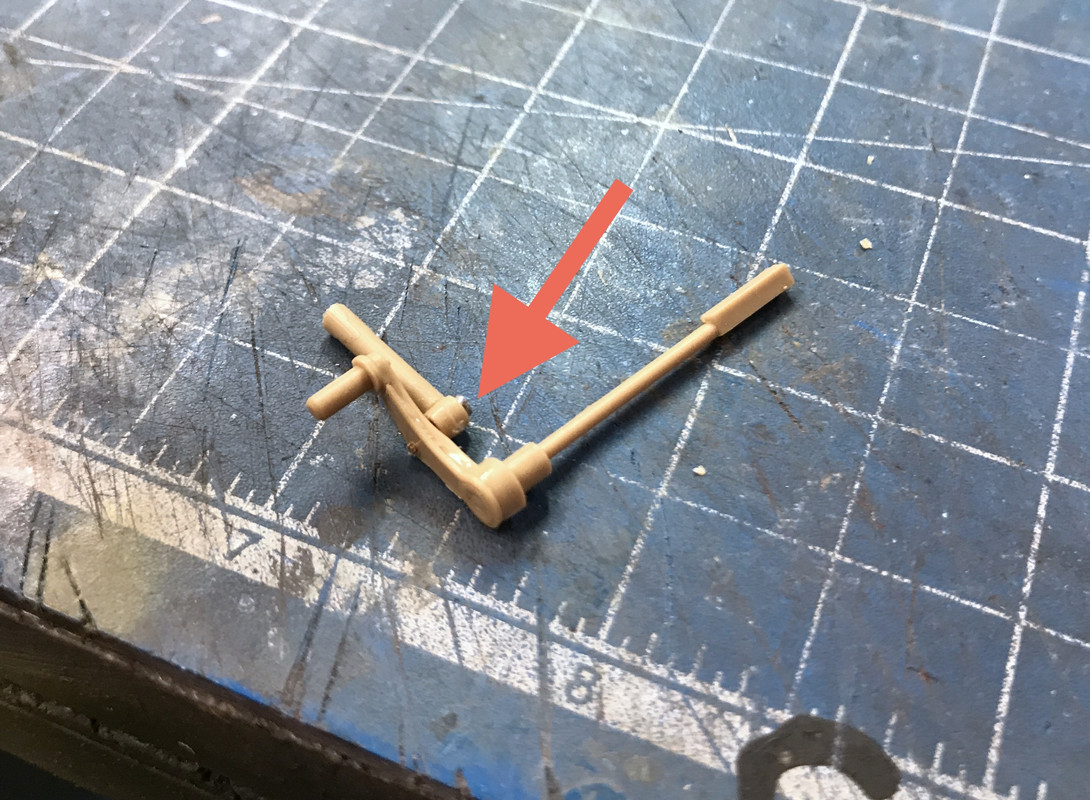
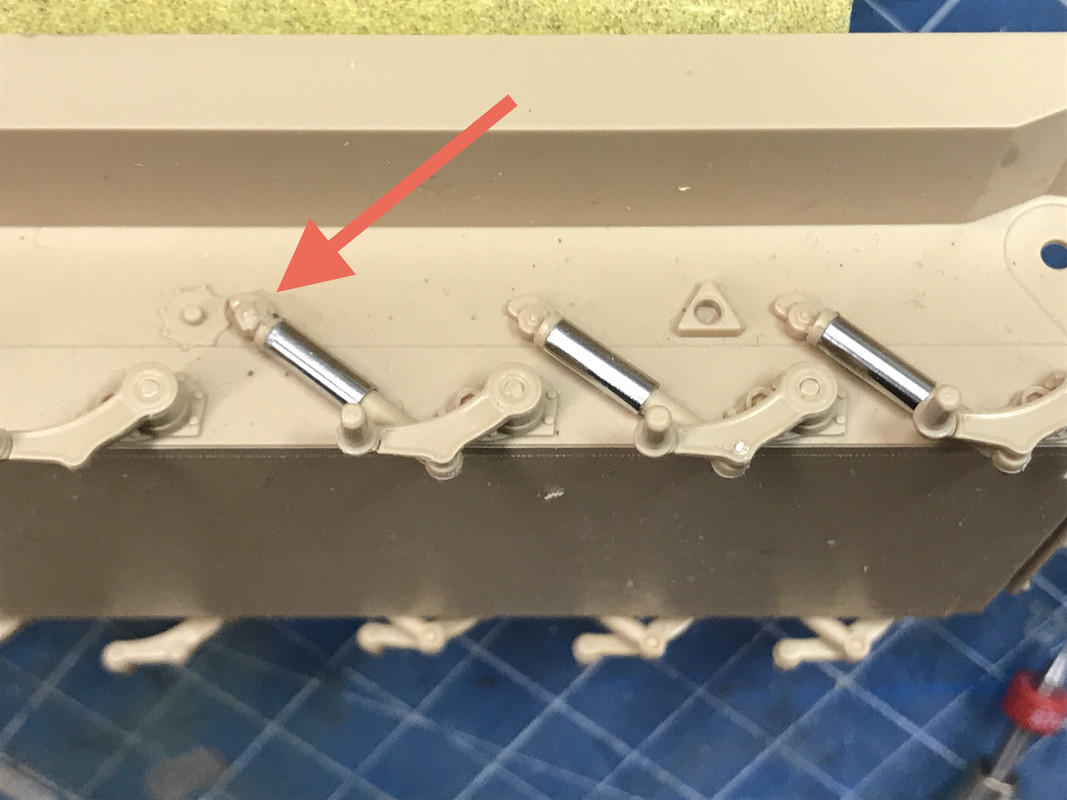
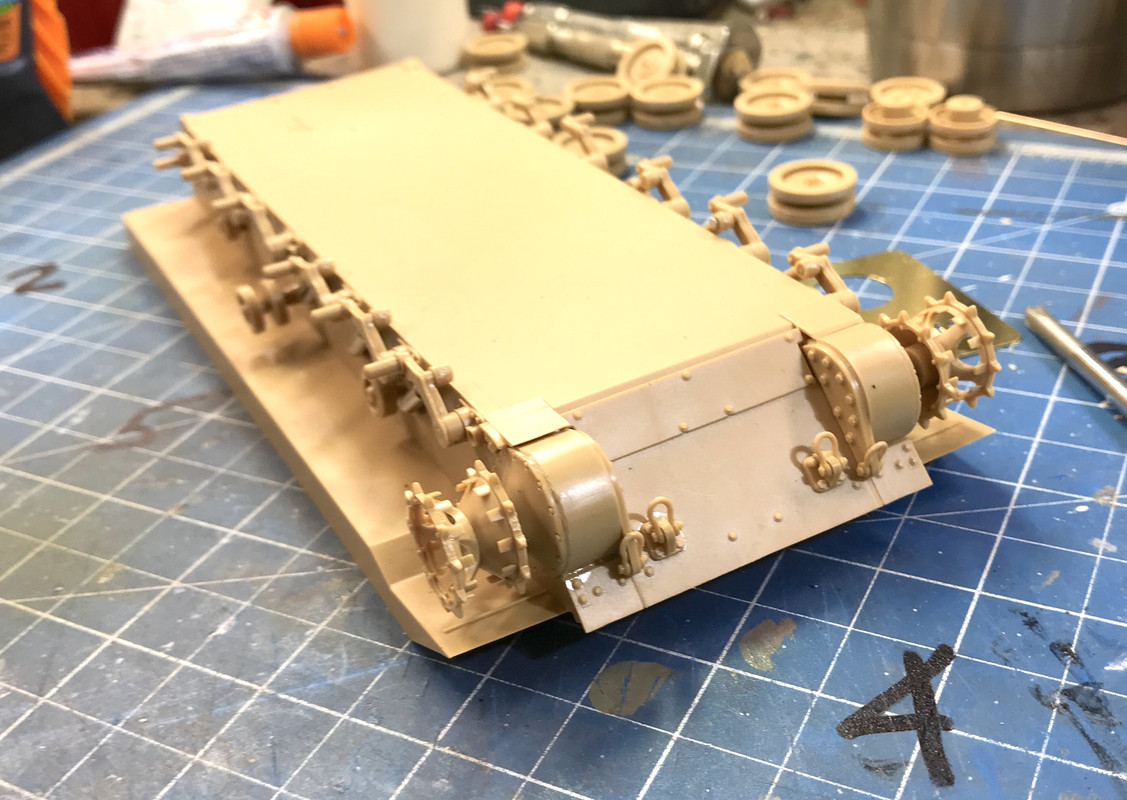
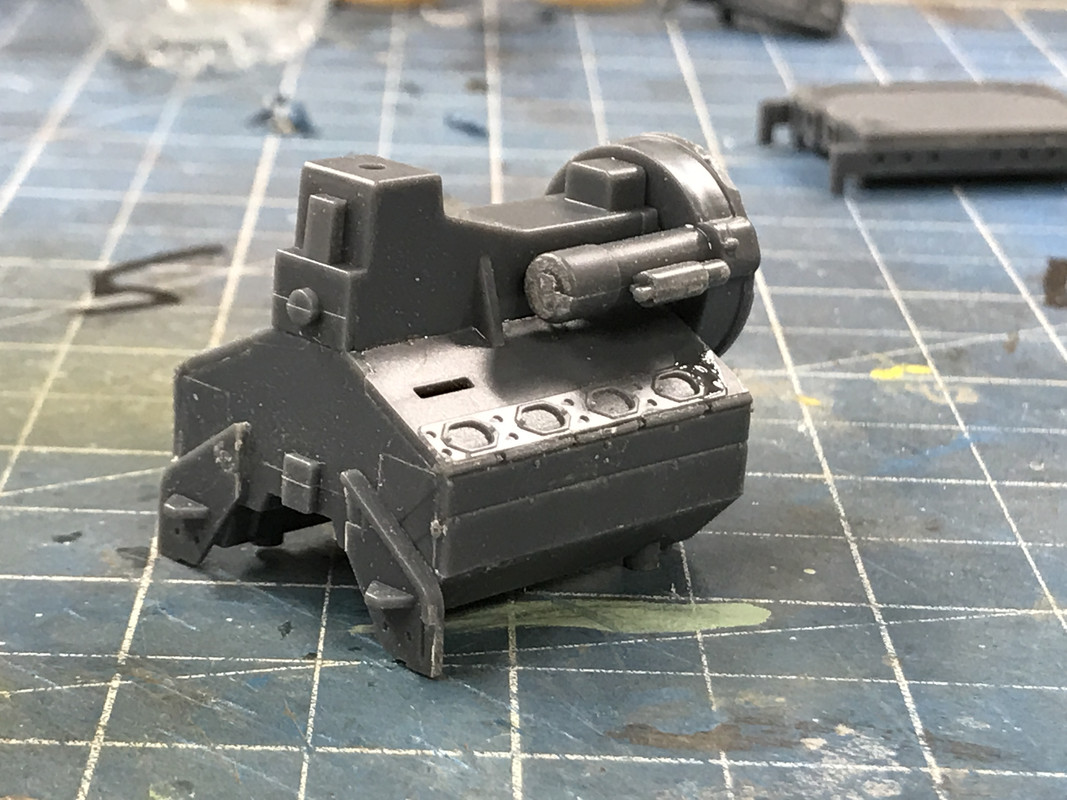
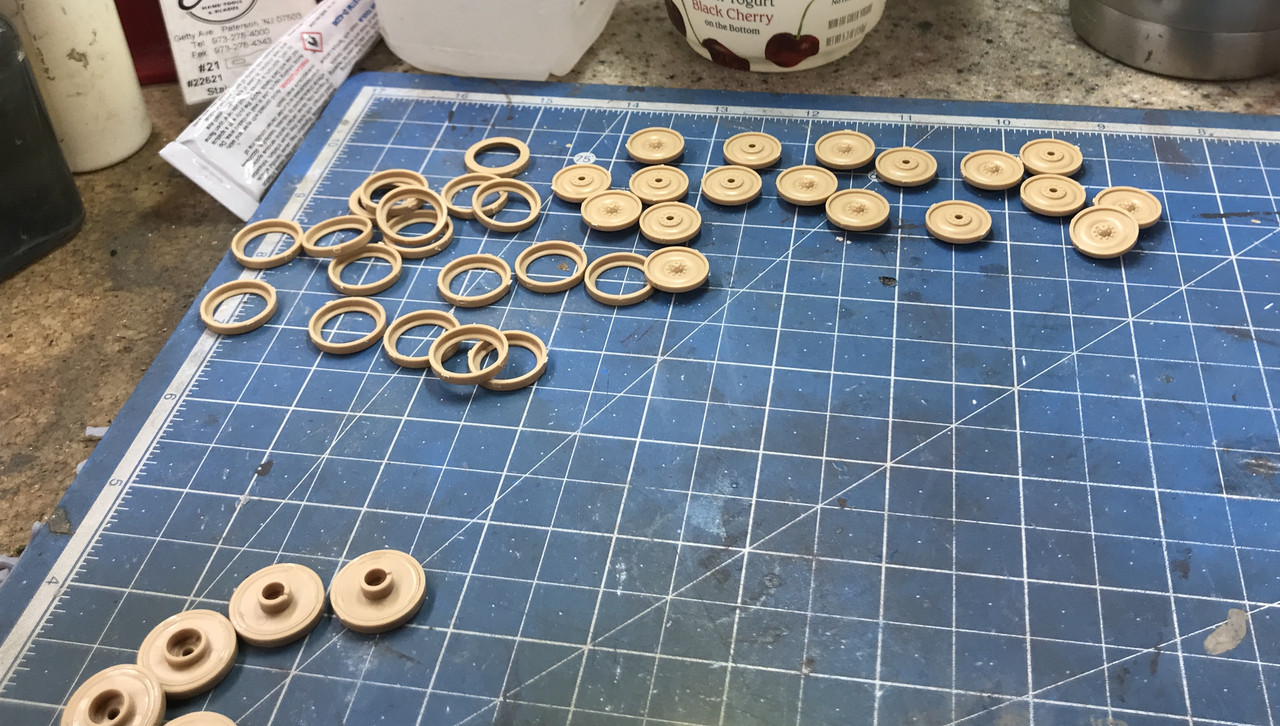
And then work actually commenced. You have to assemble the 12 sets of road wheels first. I started clipping them off the sprue, but didn’t like that it may damage the tire surface of the outer part, so I used the micro-razor saw to saw them off and then sand a small nub that remains. It gives more control to do it this way when you can.
I was wondering why they chose to have the tire plus a little bit of rim as a separate part from the wheel hub. From this closeup you can see why. The outer rim overlaps the hub portion in such a way as to make molding in one piece impossible if they wish to maintain this interesting profile. As an aside, I wonder why the prototype used this design. Seems like it would pack with mud.
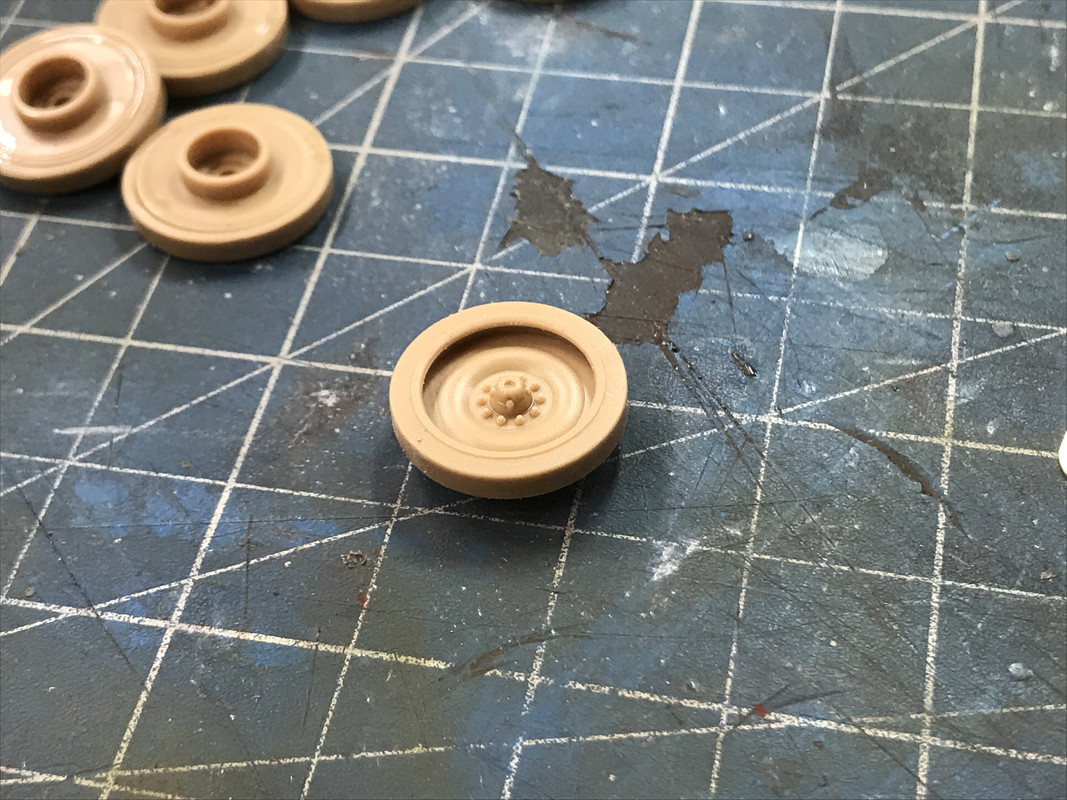
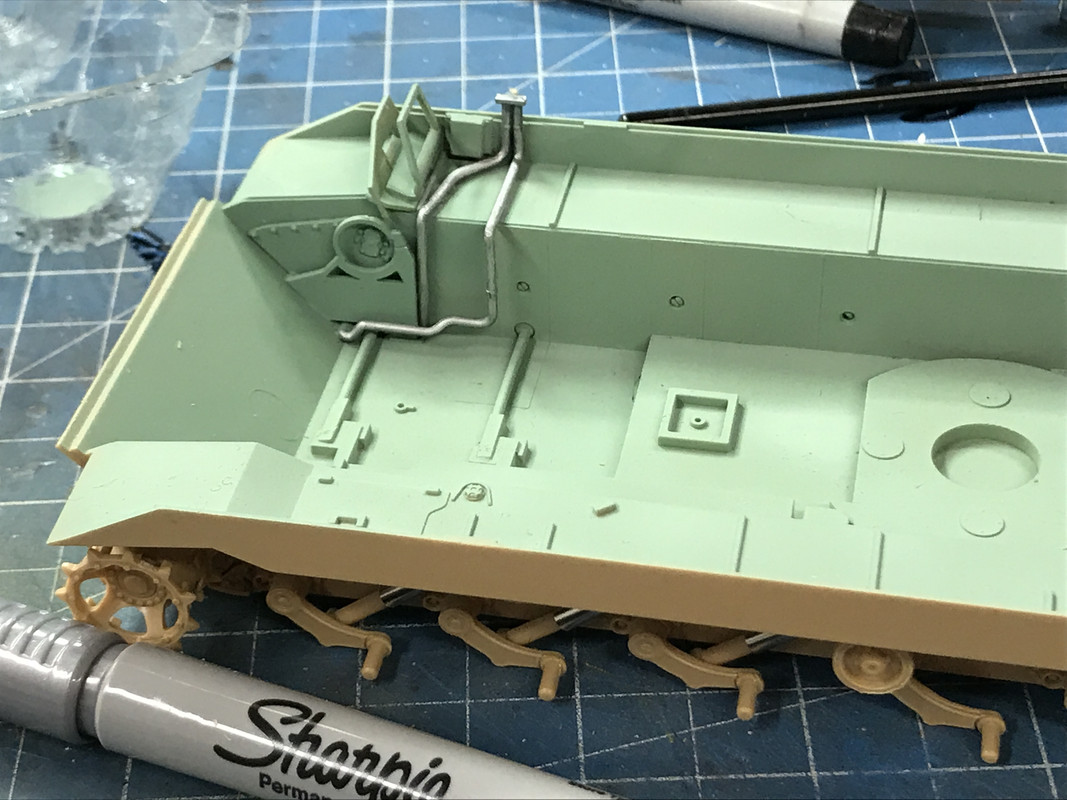
The inner wheel set is glued to the outer with an included polycap. Meng also includes a PE template for masking the tire and painting the hub. I think I’ll use it to cut circular masks to paint the hubs first and then mask to paint the tires.
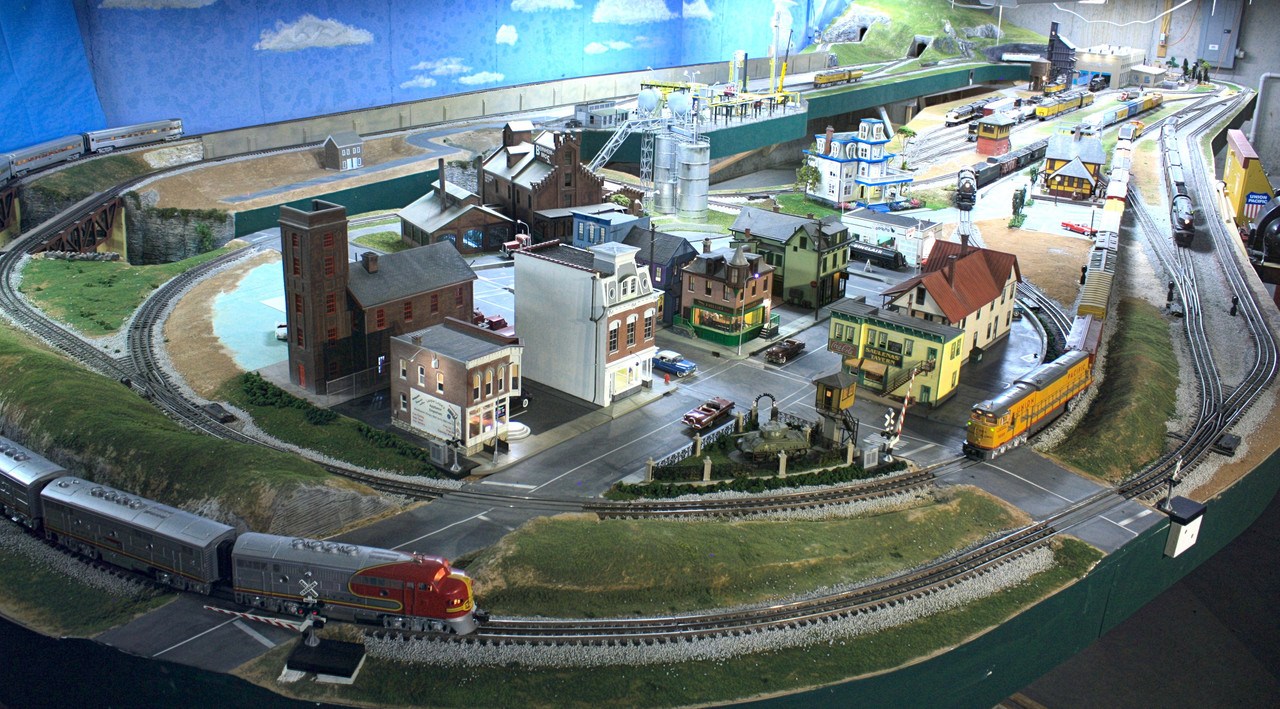
And here’s the latest shot of my model railroad showing the new projects that have been added. The white and blue Victorian mansion in the middle ground is my rendition of Edward Hopper’s “House by the Railroad” masterpiece. And in the foreground is a small park featuring another Sherman. This one is a Hobby Boss 1:48 Easy 8 that was given to me almost complete and only took a couple of days to make a nice permanent display in “Heritage Park.” Lots of little bits were drawn by me and 3D printed.
Stay Tuned!