I had to do it. It’s French and very different from its contemporaries, and the Meng kit is pretty good.
The box:
 IMG_5147 by Russel Baer, on Flickr
I got it at a show, waited until the tracks from R-Model showed and got after it. About four hours got me this far:
 IMG_5149 by Russel Baer, on Flickr
It’s going together nicely, no complaints other than this particular set of tracks need a LOT of cleanup, the only set of R-Model tracks I’ve bought that did.
6 Likes
Nearly out of box,quite a departure for you Russ,must be tough,but looking good
2 Likes
I’ve been sweating while I work on it… that and there’s next to nothing in the way of useful AM for it. 
1 Like
I got some quality time with plastic last night, my Friday night end of week reward to myself.
It’s going together nicely. I subbed the spare tracks on the hull side for some R-Model spare links, for consistency and looks. The kit spares weren’t great…
I’ve added weld beads where needed, using stretched sprue. Meng really did pretty good but there are a few that are very visible they didn’t do.
 IMG_5153 by Russel Baer, on Flick
 IMG_5152 by Russel Baer, on Flickr
I really should grab the French crew figs from Djiti. They would emphasize the slight weirdness of the whole tank.
3 Likes
I jumped ahead in the assembly sequence a bit to the turret. I was curious to see how it would go together, and how it would look too. I like the 20mm co-ax that can be de-coupled from the main gun, and Meng designed the kit this way. I was also impressed with the side stowage baskets on the turret. They were well supported on the sprue, necessary as they are fairly complex and appear fragile. I cleaned them up on the sprue best as possible, removed and installed them, waited for the glue to set and then finished the cleanup. They had quite a bit of flash to remove. And since I have a thing about it, I removed all the molded-on blobs that represented footman’s loops and replaced them with small gauge wire.
 IMG_5154 by Russel Baer, on Flickr
 IMG_5155 by Russel Baer, on Flickr
The dust shield on the mantlet is molded in soft plastic, nicely detailed and adhered to the mantlet with CA glue. Good job Meng.
2 Likes
I had some happy time last night so I did some more assembly and started texturing on the turret.
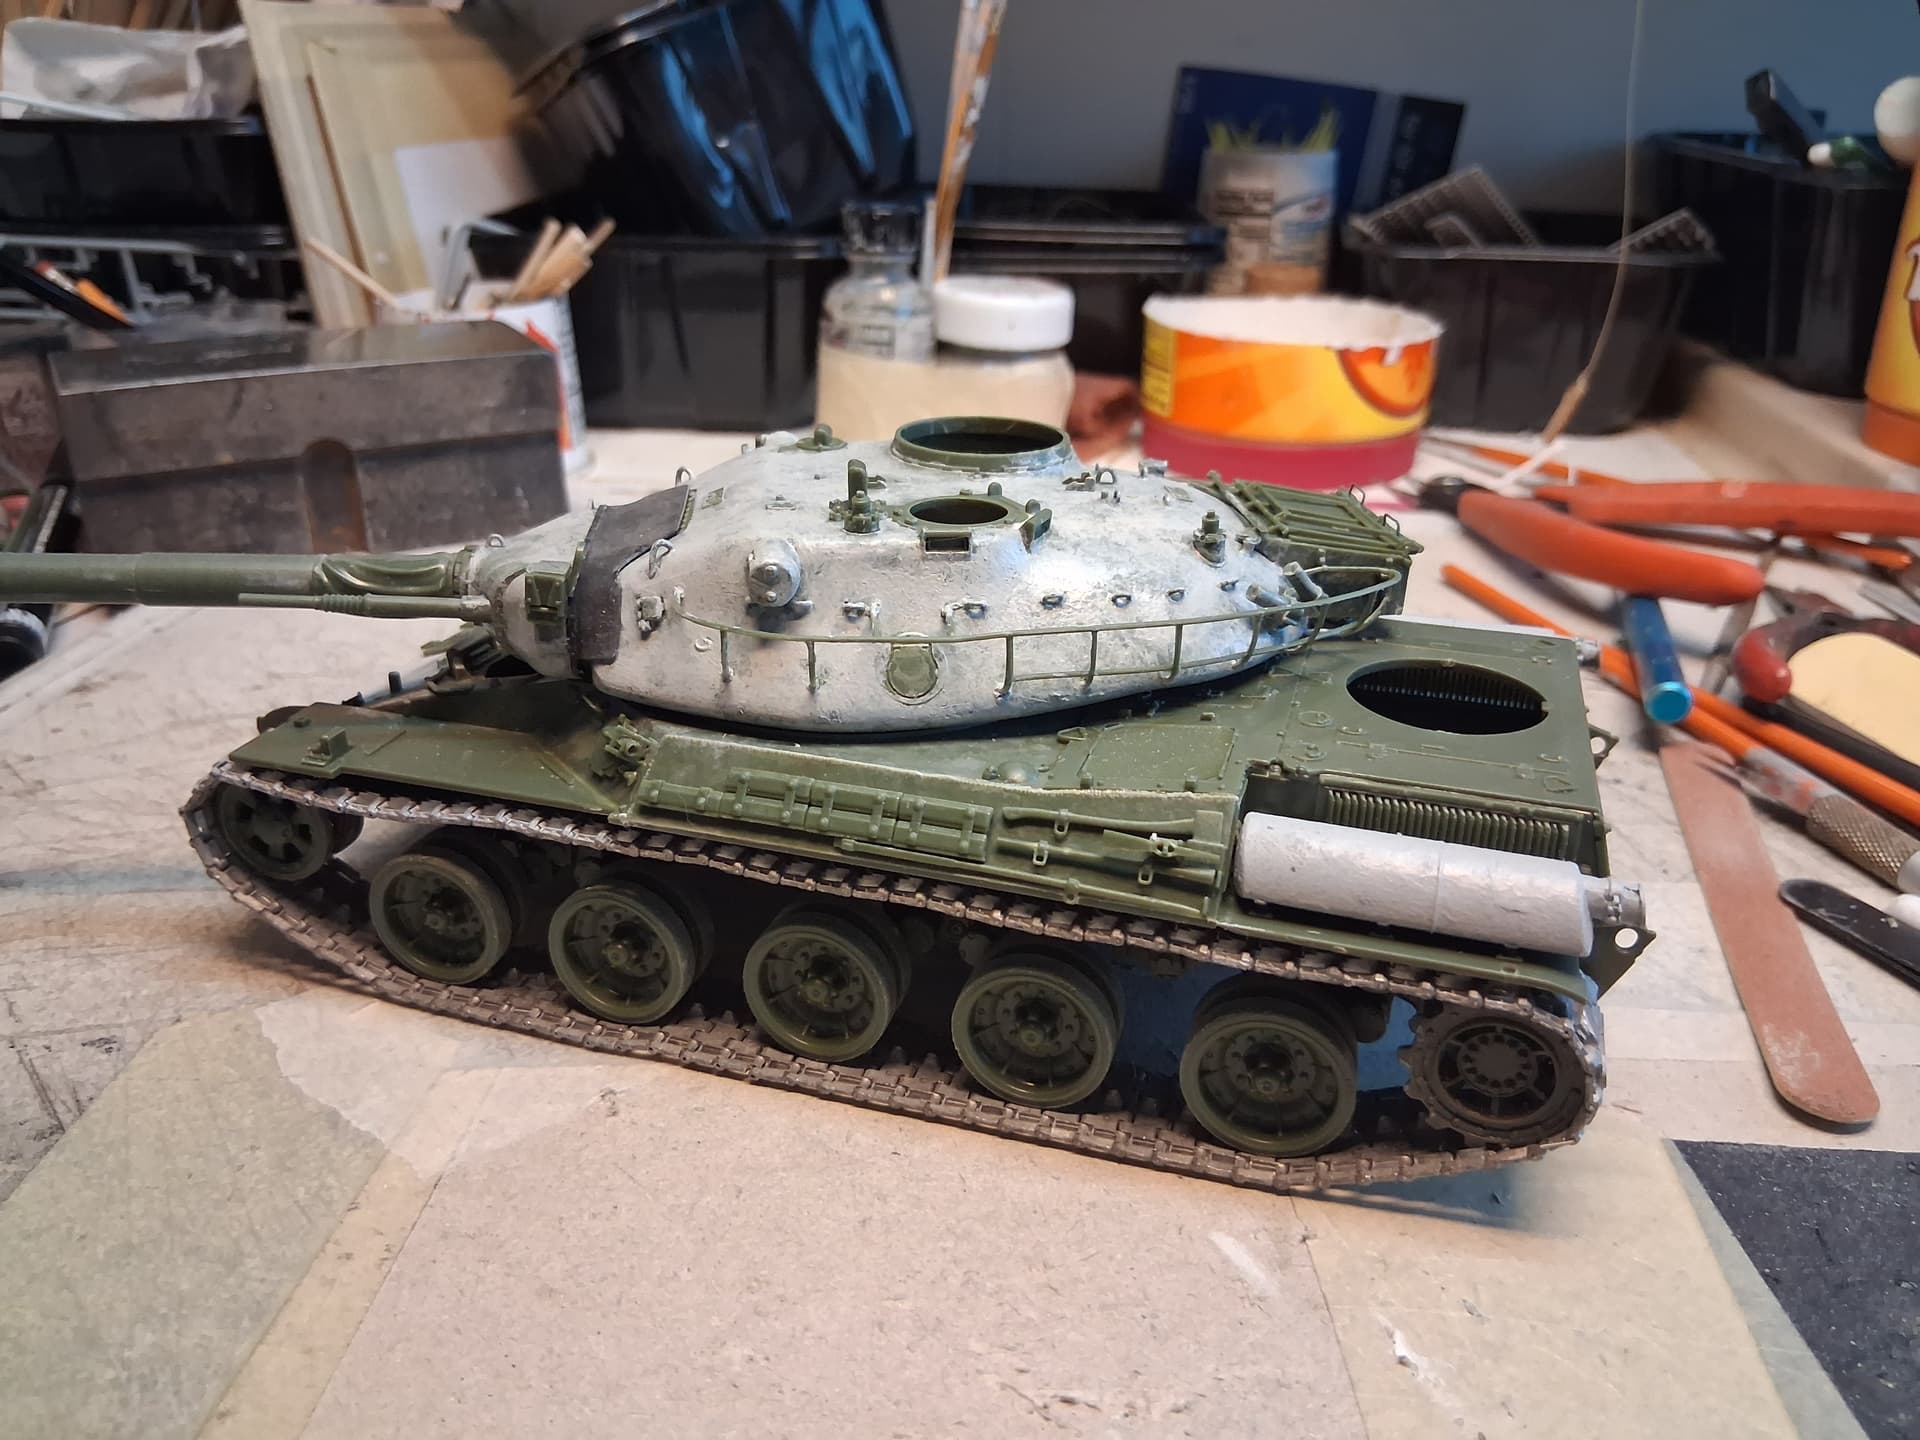
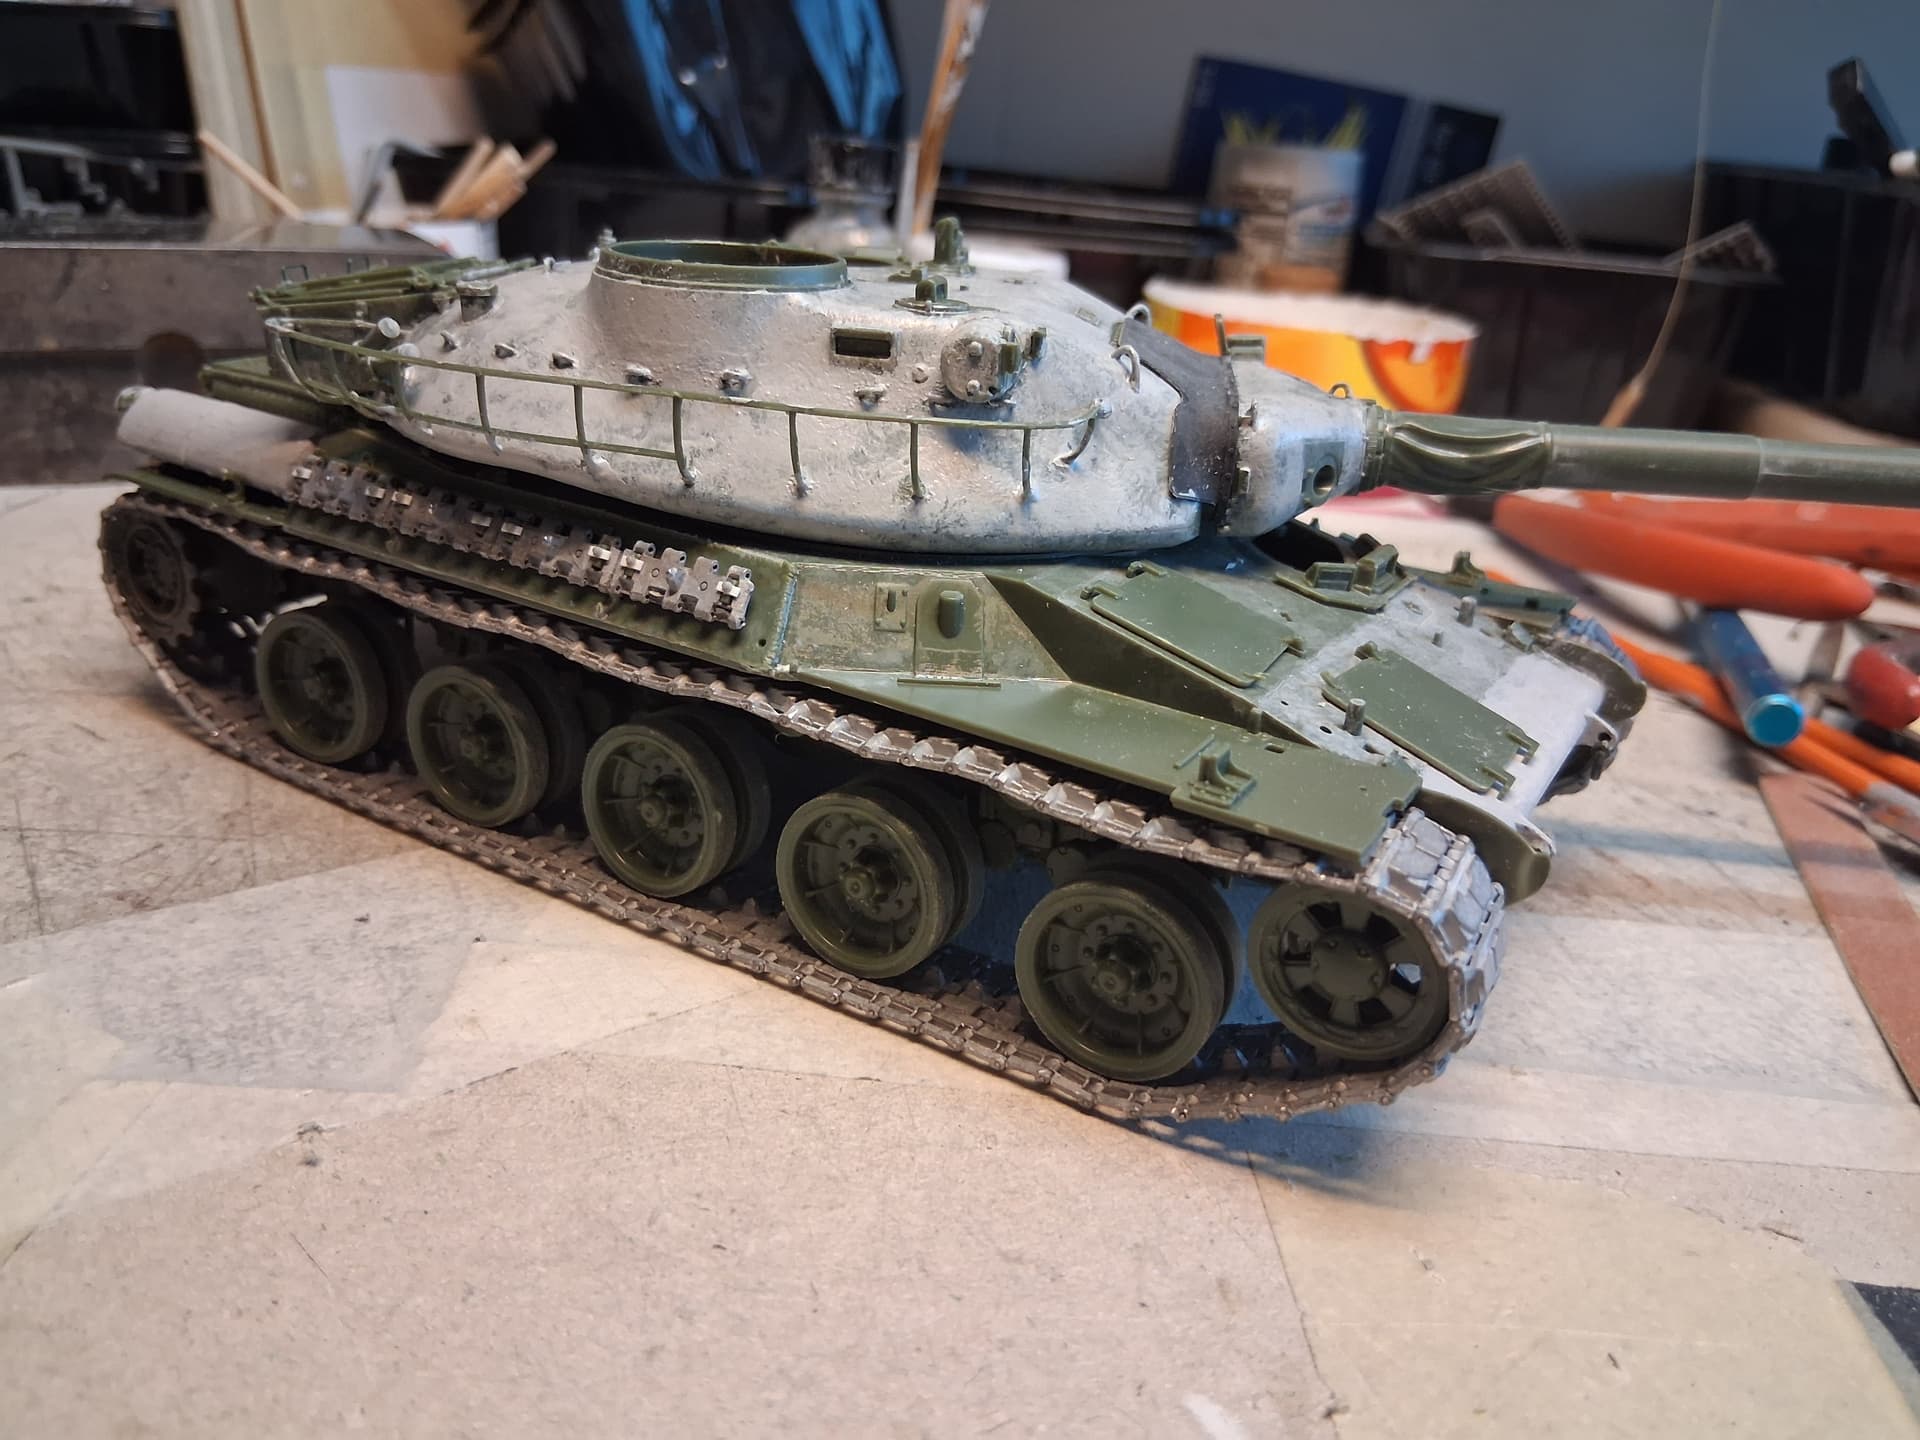
I’ll soften the turret texturing a bit as the real thing appears to be pretty clean. I just wasn’t fond of the OOB finish of dead smooth.
I’m enjoying this build so much that I’m already shopping the Tiger Models AMX-30 Brennus kit. It’s out there but it’s pricey.
1 Like
From where I sit the texture on the turret looks fine. About the tracks, how were they to assemble and where did you get them?
1 Like
Some parts of the turret are a little more rough than others, hard to see in the pics.
The tracks were packaged in too small of a container so I had quite a few deformed links. Most straightened easily. A few were too bad to use but plenty of spares are included.
I had to clean the holes with a .020" drill on about half the links, a lot for this brand (R-Model). I also think the included pins were of less than normal quality, contributing to slow assembly. Next time I’ll make pins from .018" steel wire.
I sourced them from eBay, about $40 including shipping.
1 Like
Thanks, I’ll check them out. Looking for ones for an M1A2 that won’t break the bank.
I would take a look at CRS Tankwerks. They’re 3D printed, one-piece links and very reasonably priced. I have an order on the way from them, looking forward to seeing them in person.
1 Like
I’m thinking this kit is more “AFV Club” than “Tamiya”: lots of small parts, finely detailed but delicate. It’s still going together though.
 IMG_5158 by Russel Baer, on Flickr
 IMG_5159 by Russel Baer, on Flickr
The hull is done except for the driver’s hatch, not sure if it will be open or closed.
Edit: Pics can be good. I noticed the bent exhaust flap in the pic, just finished fixing it…
4 Likes
Coming along nicely, Russel. Nice work.
1 Like
You building something nearly out of the box!!! At first I was breathtaken but the more I see how intricate this model is, the more I’m thinking that it’s like calling a “stock” 1000 hp ZR-1 …stock. Looks like this kit has a good number of “aftermarket” right there in the box. lol
Nevertheless, you’re making good progress with this one Russ. Always enjoy your builds as you come up with some of the coolest stuff to put on 'em.
2 Likes
Still out of the box Joe.
In fact, it’s ready for primer, less a small amount of stowage that I want to add. Pics I have of these tanks in the field show them carrying very little stowage, maybe a camo net and a soft bag or two.
Pics show some parts on but not secured until after painting.
 IMG_5178 by
Russel Baer, on Flickr
 IMG_5177 by Russel Baer, on Flickr
 IMG_5176 by Russel Baer, on Flickr
 IMG_5175 by Russel Baer, on Flickr
3 Likes
Pop: While making it clear I have no affiliation with CRS Tankwerks whatsoever, my tracks arrived today. I haven’t had a chance to put any together yet but they look great. I ordered a set of T-156 for an M1 Abrams and a set of T-97 for an M48 or early M60. I was pleasantly surprised to find an extra: a set of 20 very nice US jerrycans.
I’ll be using at least one set of these tracks soon and will post up when I do.
1 Like
Love this stage of your builds as you can tell what’s been added onto your work. Lookin’ good Russ.
1 Like
Joe, I keep thinking I’m going to do a “naked” model one of these days, maybe something with lots of kit-bashing going on, just for goggles.
2 Likes
I had a squirrel peeking at me so I thought I’d make it go away by doing the stowage on this model. I was partially successful. I got the stowage done but the squirrel is on the bench. Oh well.
 IMG_5184 by Russel Baer, on Flickr
 IMG_5183 by Russel Baer, on Flickr
I used a couple of Value Gear items, some rolled and bagged miscellaneous “stuff” and a camo net made with gauze, teas leaves and a pre-mixed spice blend, fittingly enough “herbs de Provence”, all soaked in diluted white glue.
Primer time!
 IMG_5198 by Russel Baer, on Flickr
 IMG_5199 by Russel Baer, on Flickr
I’ll need to take a real good look at it for boo-boos before it gets color, and do a bit of research on the actual color it gets too.