Meng 1/35th scale Merkava Mk4/4 LIC w/ Nochri-Kal mine roller

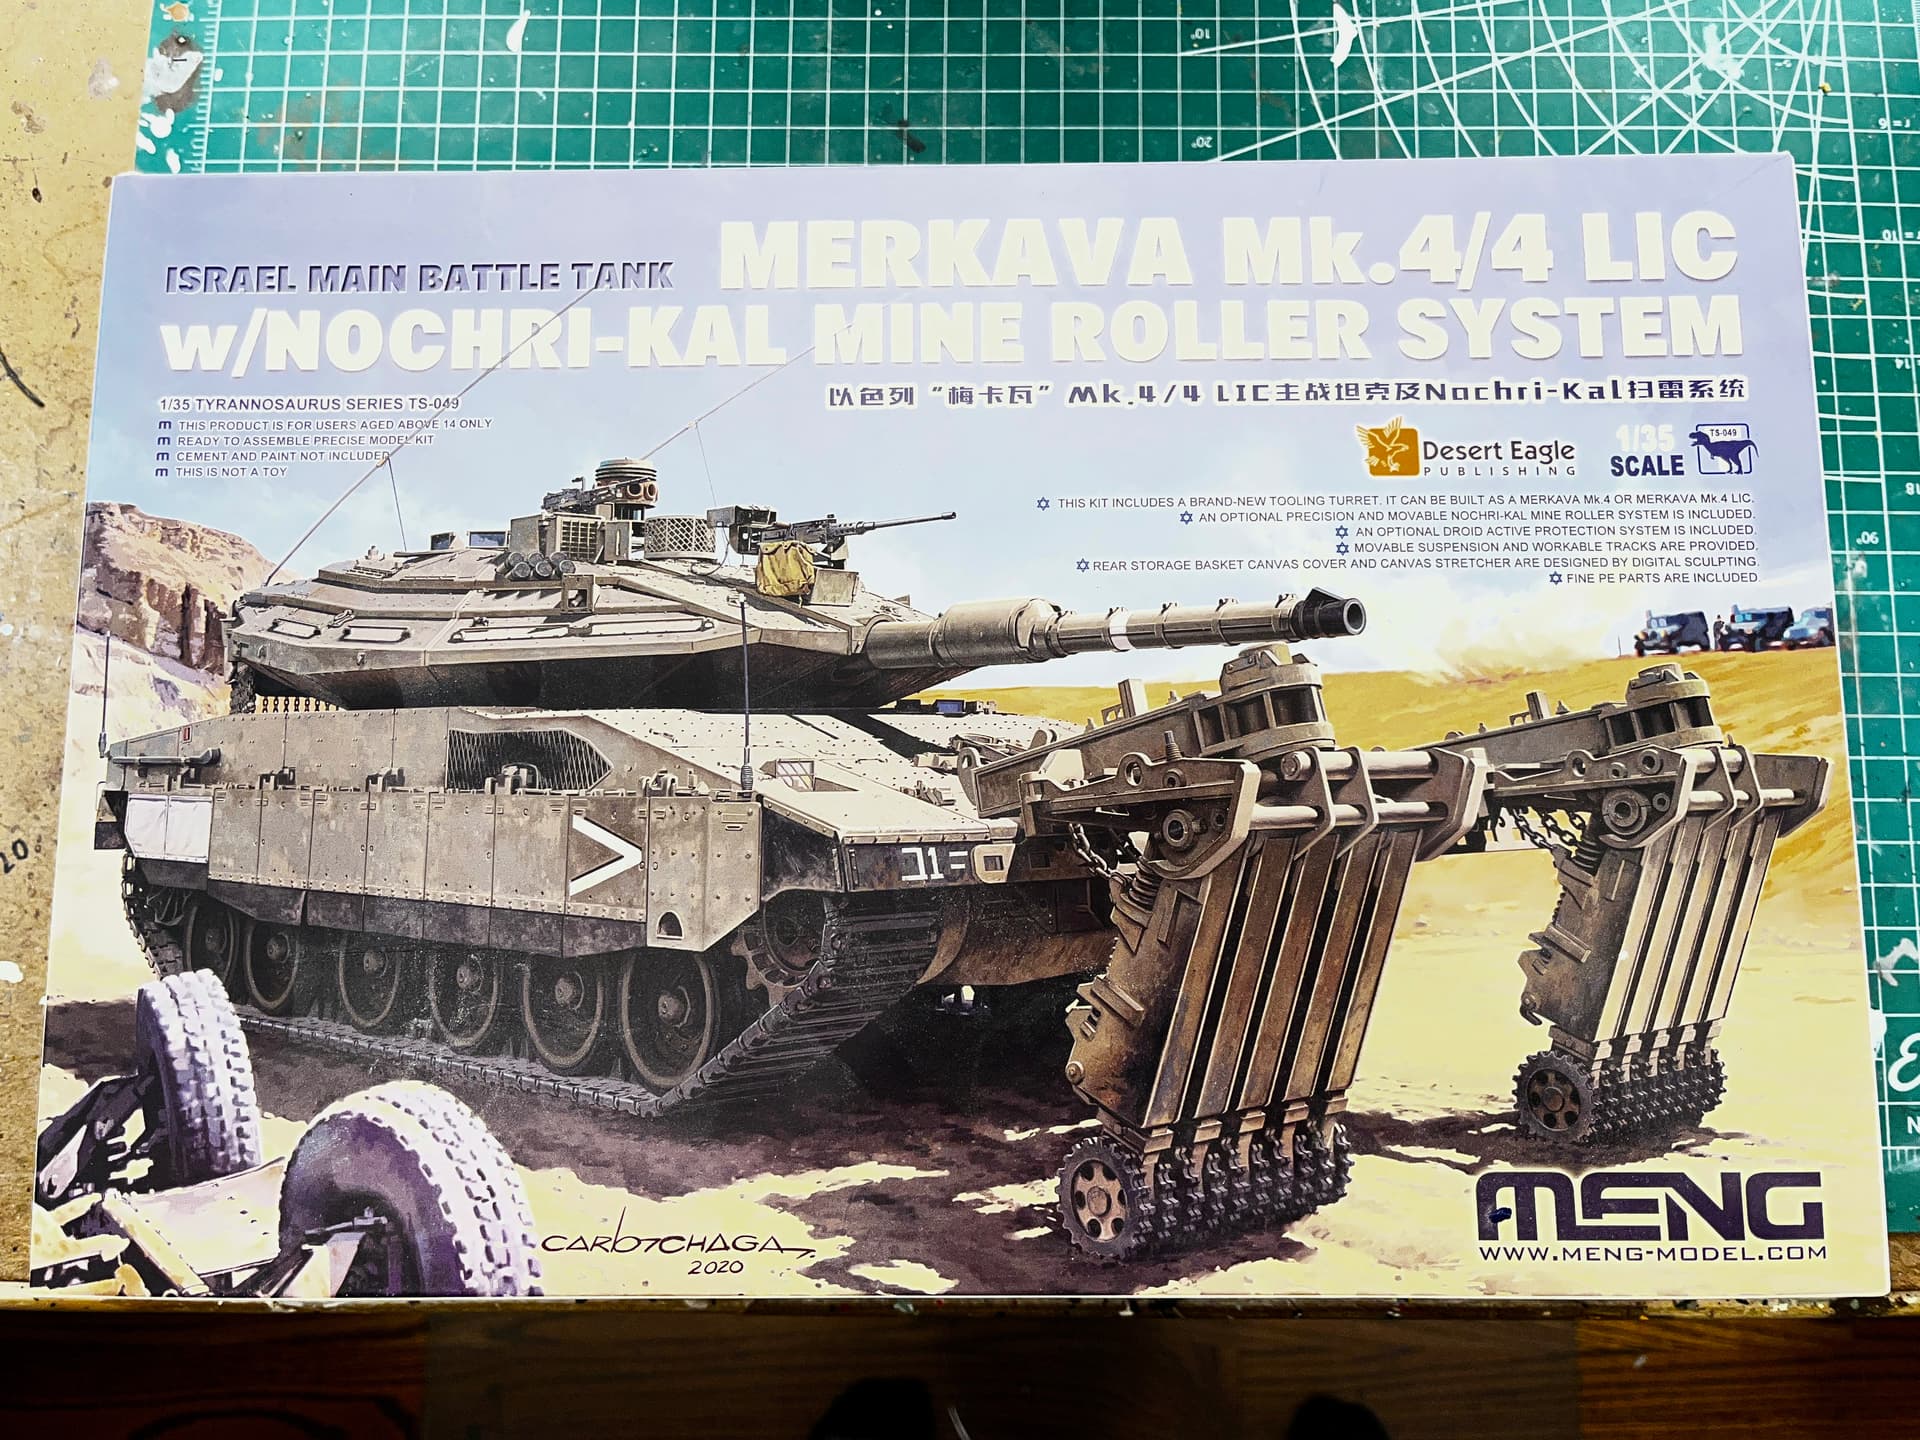
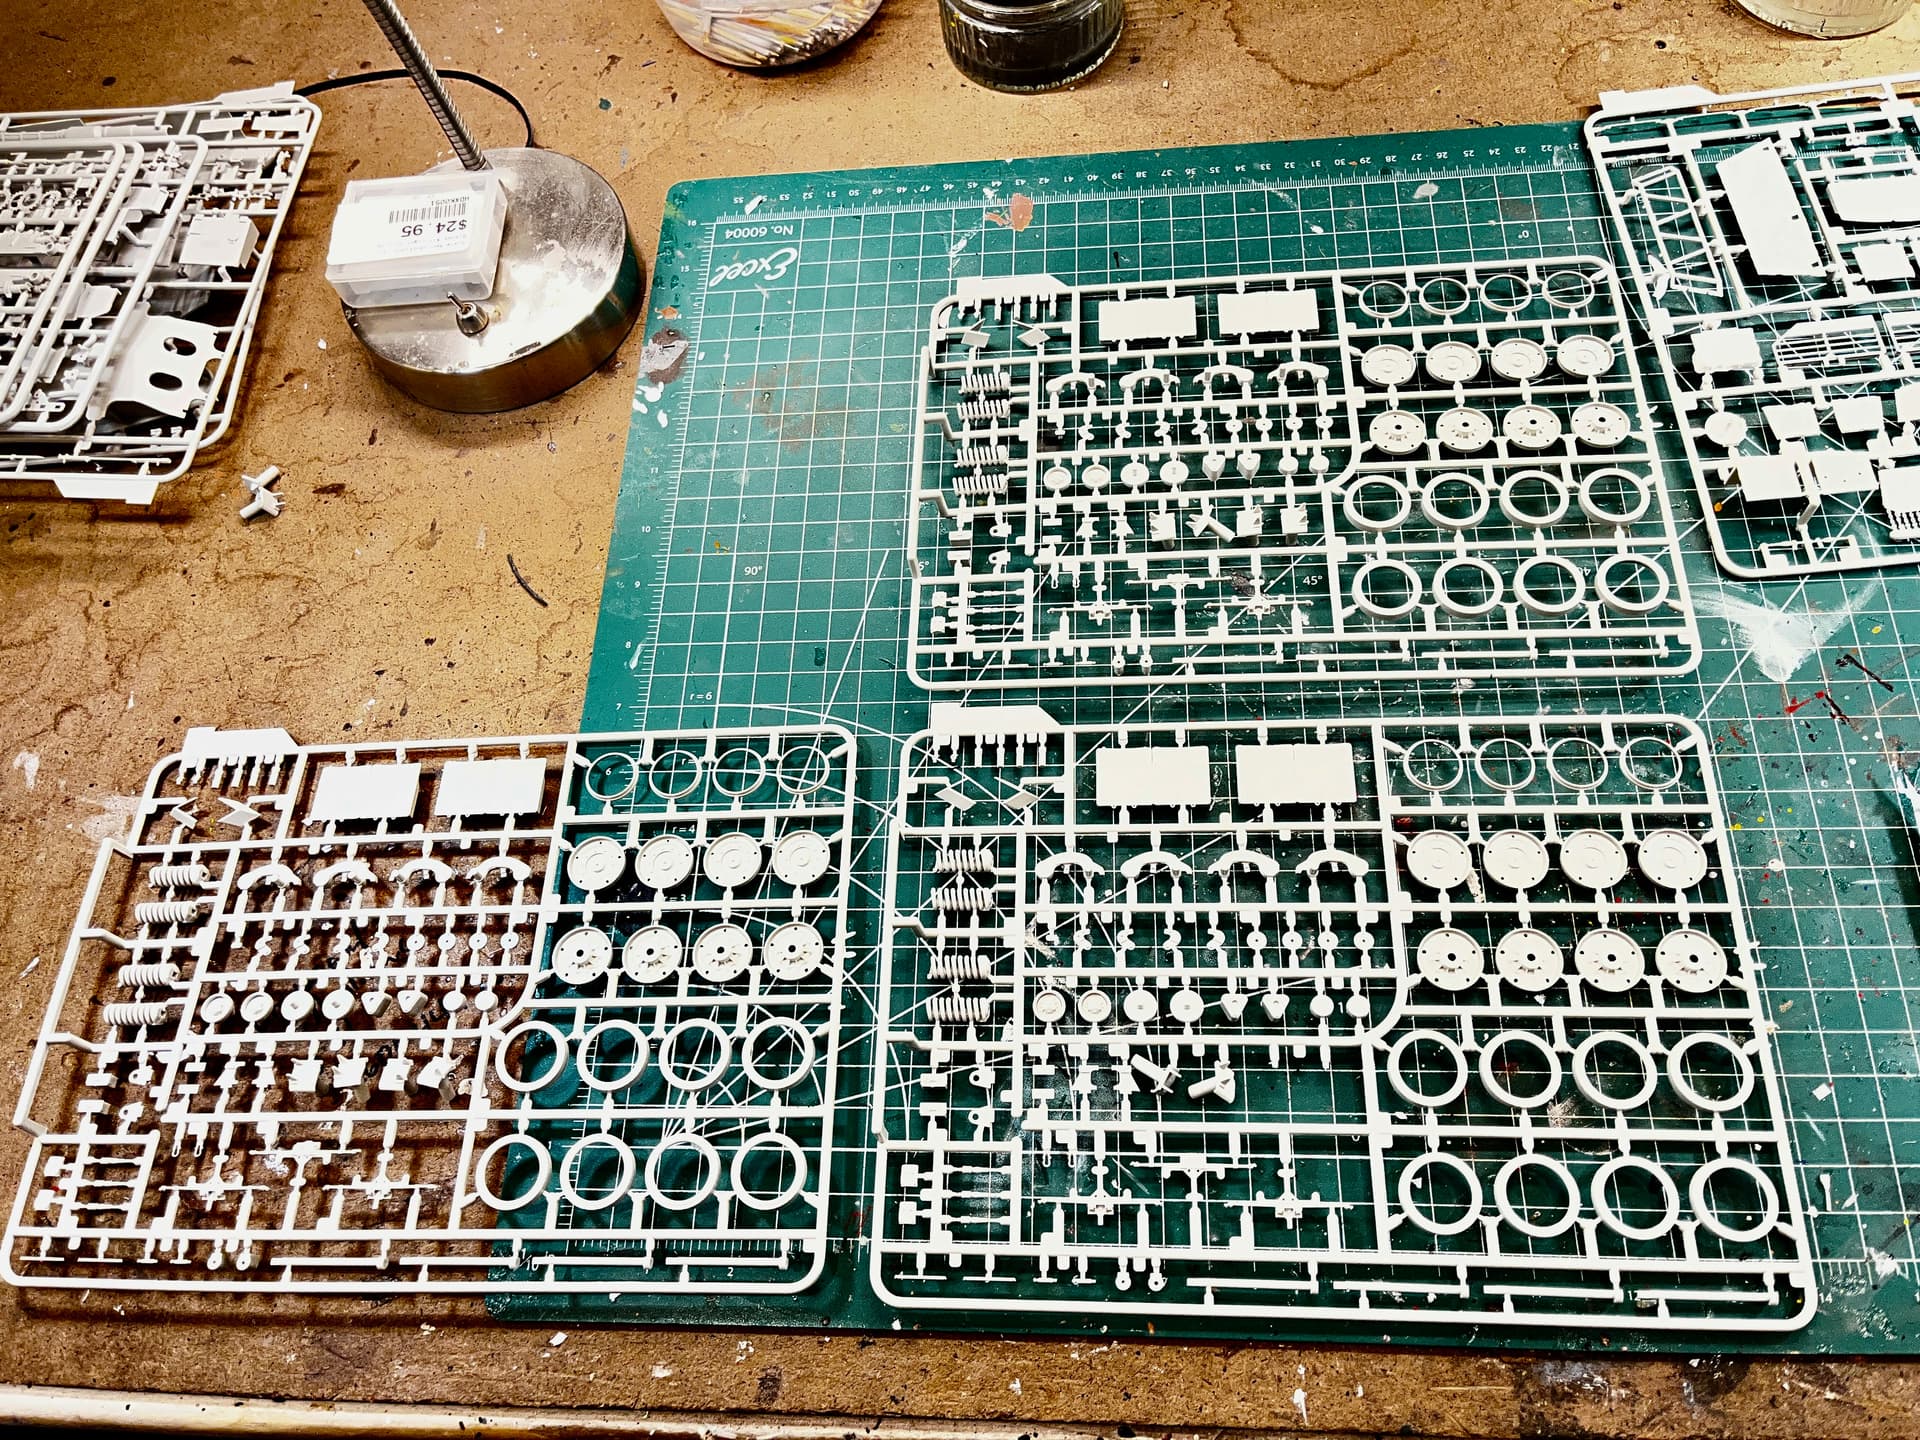
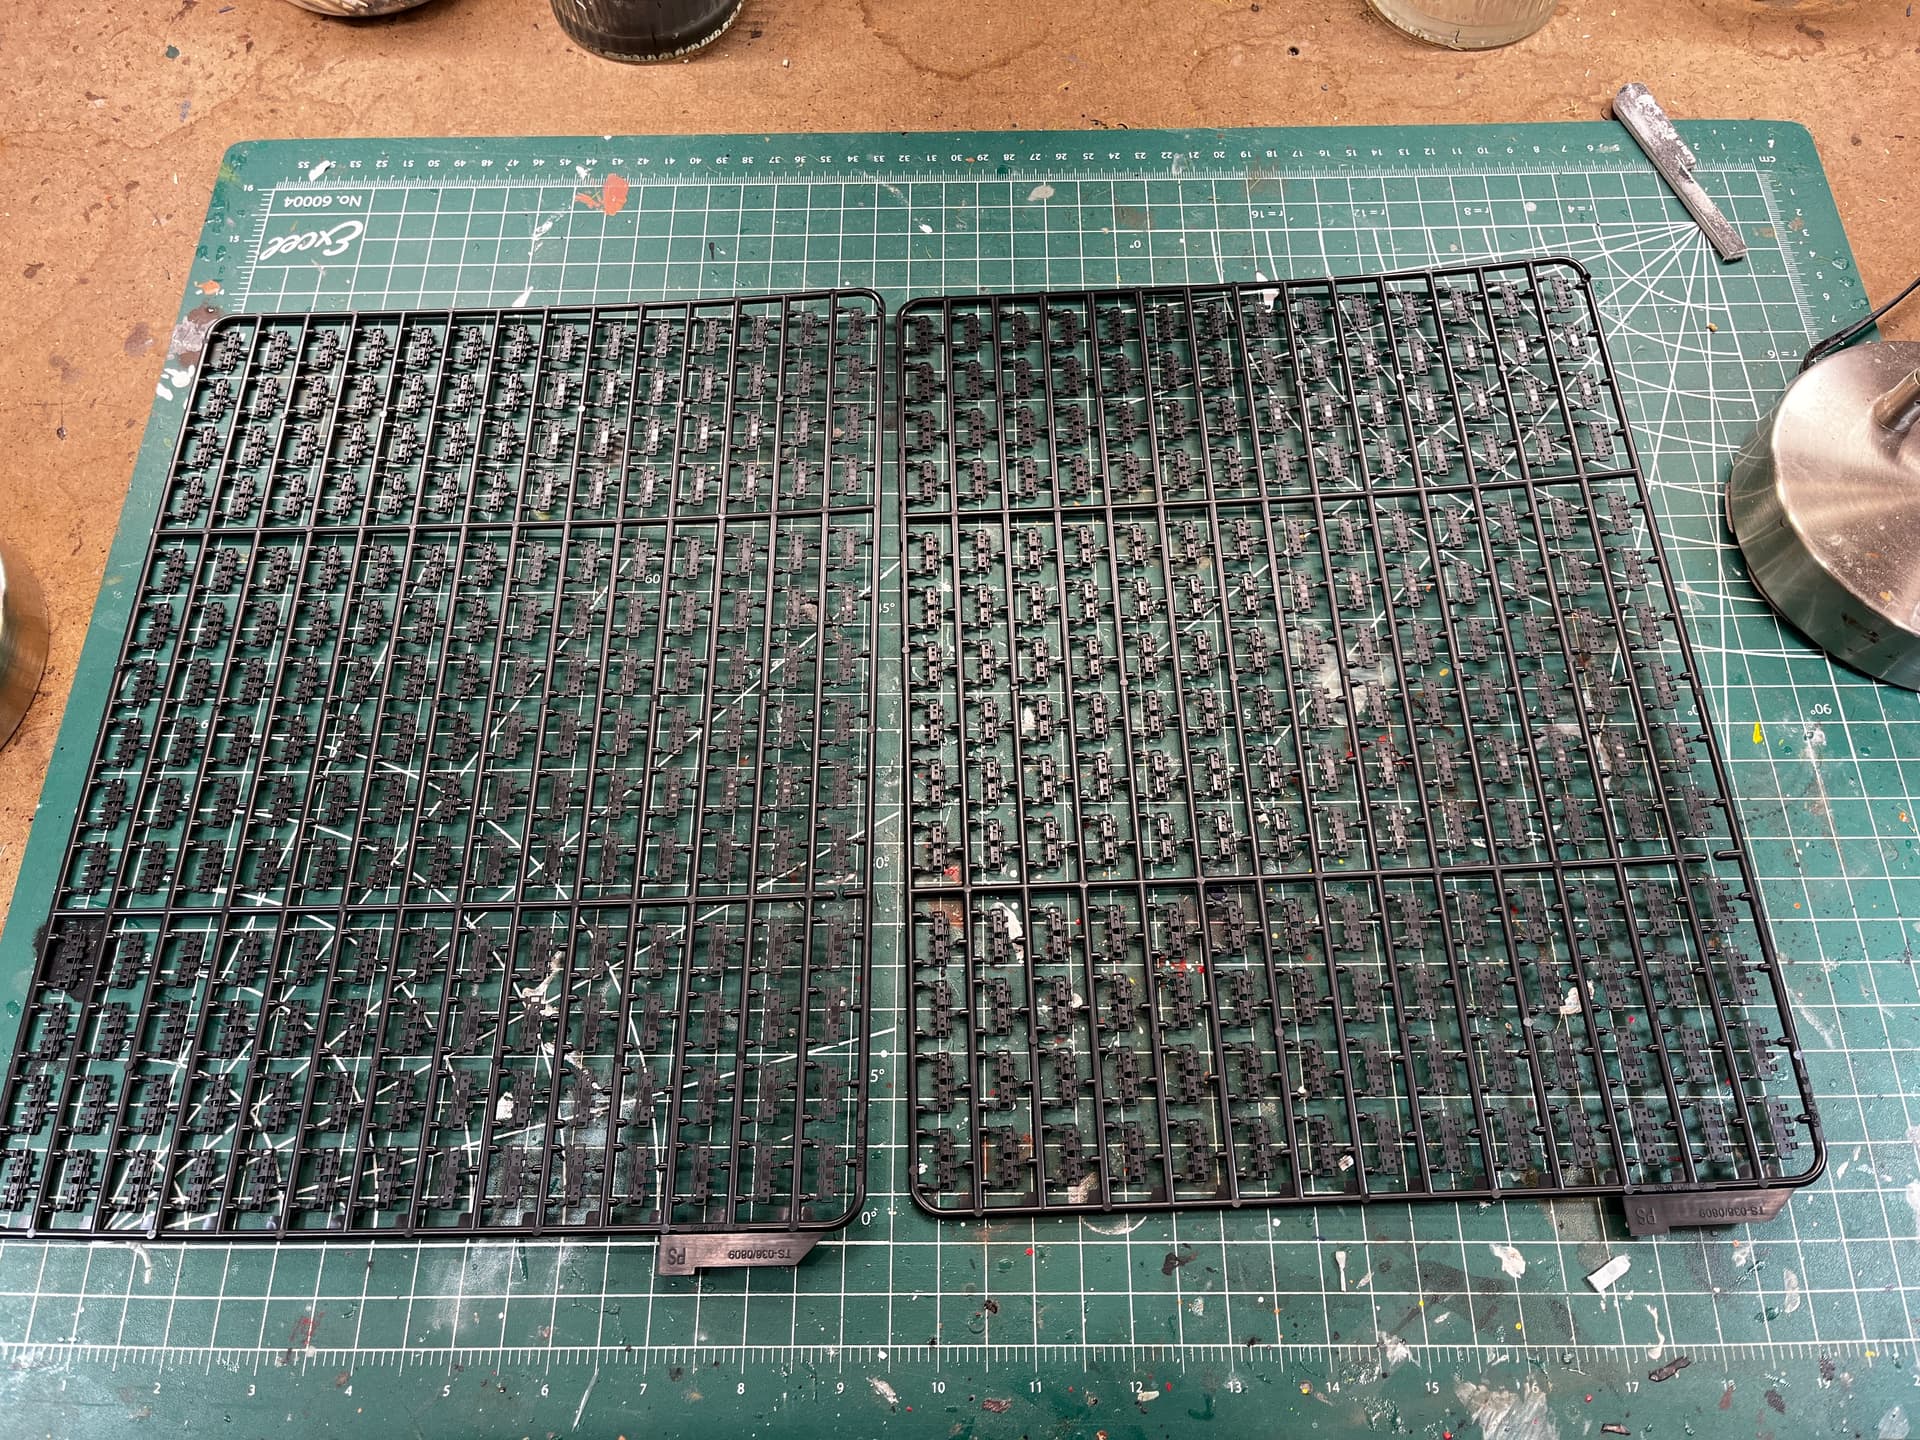
I’ve decided to switch gears, and finally pull this one off the shelf. I’m really impressed with the detail on the Meng kits. I’ve built 3 other IDF tanks that they make. I’ve built Tamiya, AFV, Dragon, and Ryefield armor models. (Ryefield being my first choice). Meng is right behind them. The tracks consist of individual track shoes that have to be put together to make two. Although the process is time-consuming, the finish tracks look great.
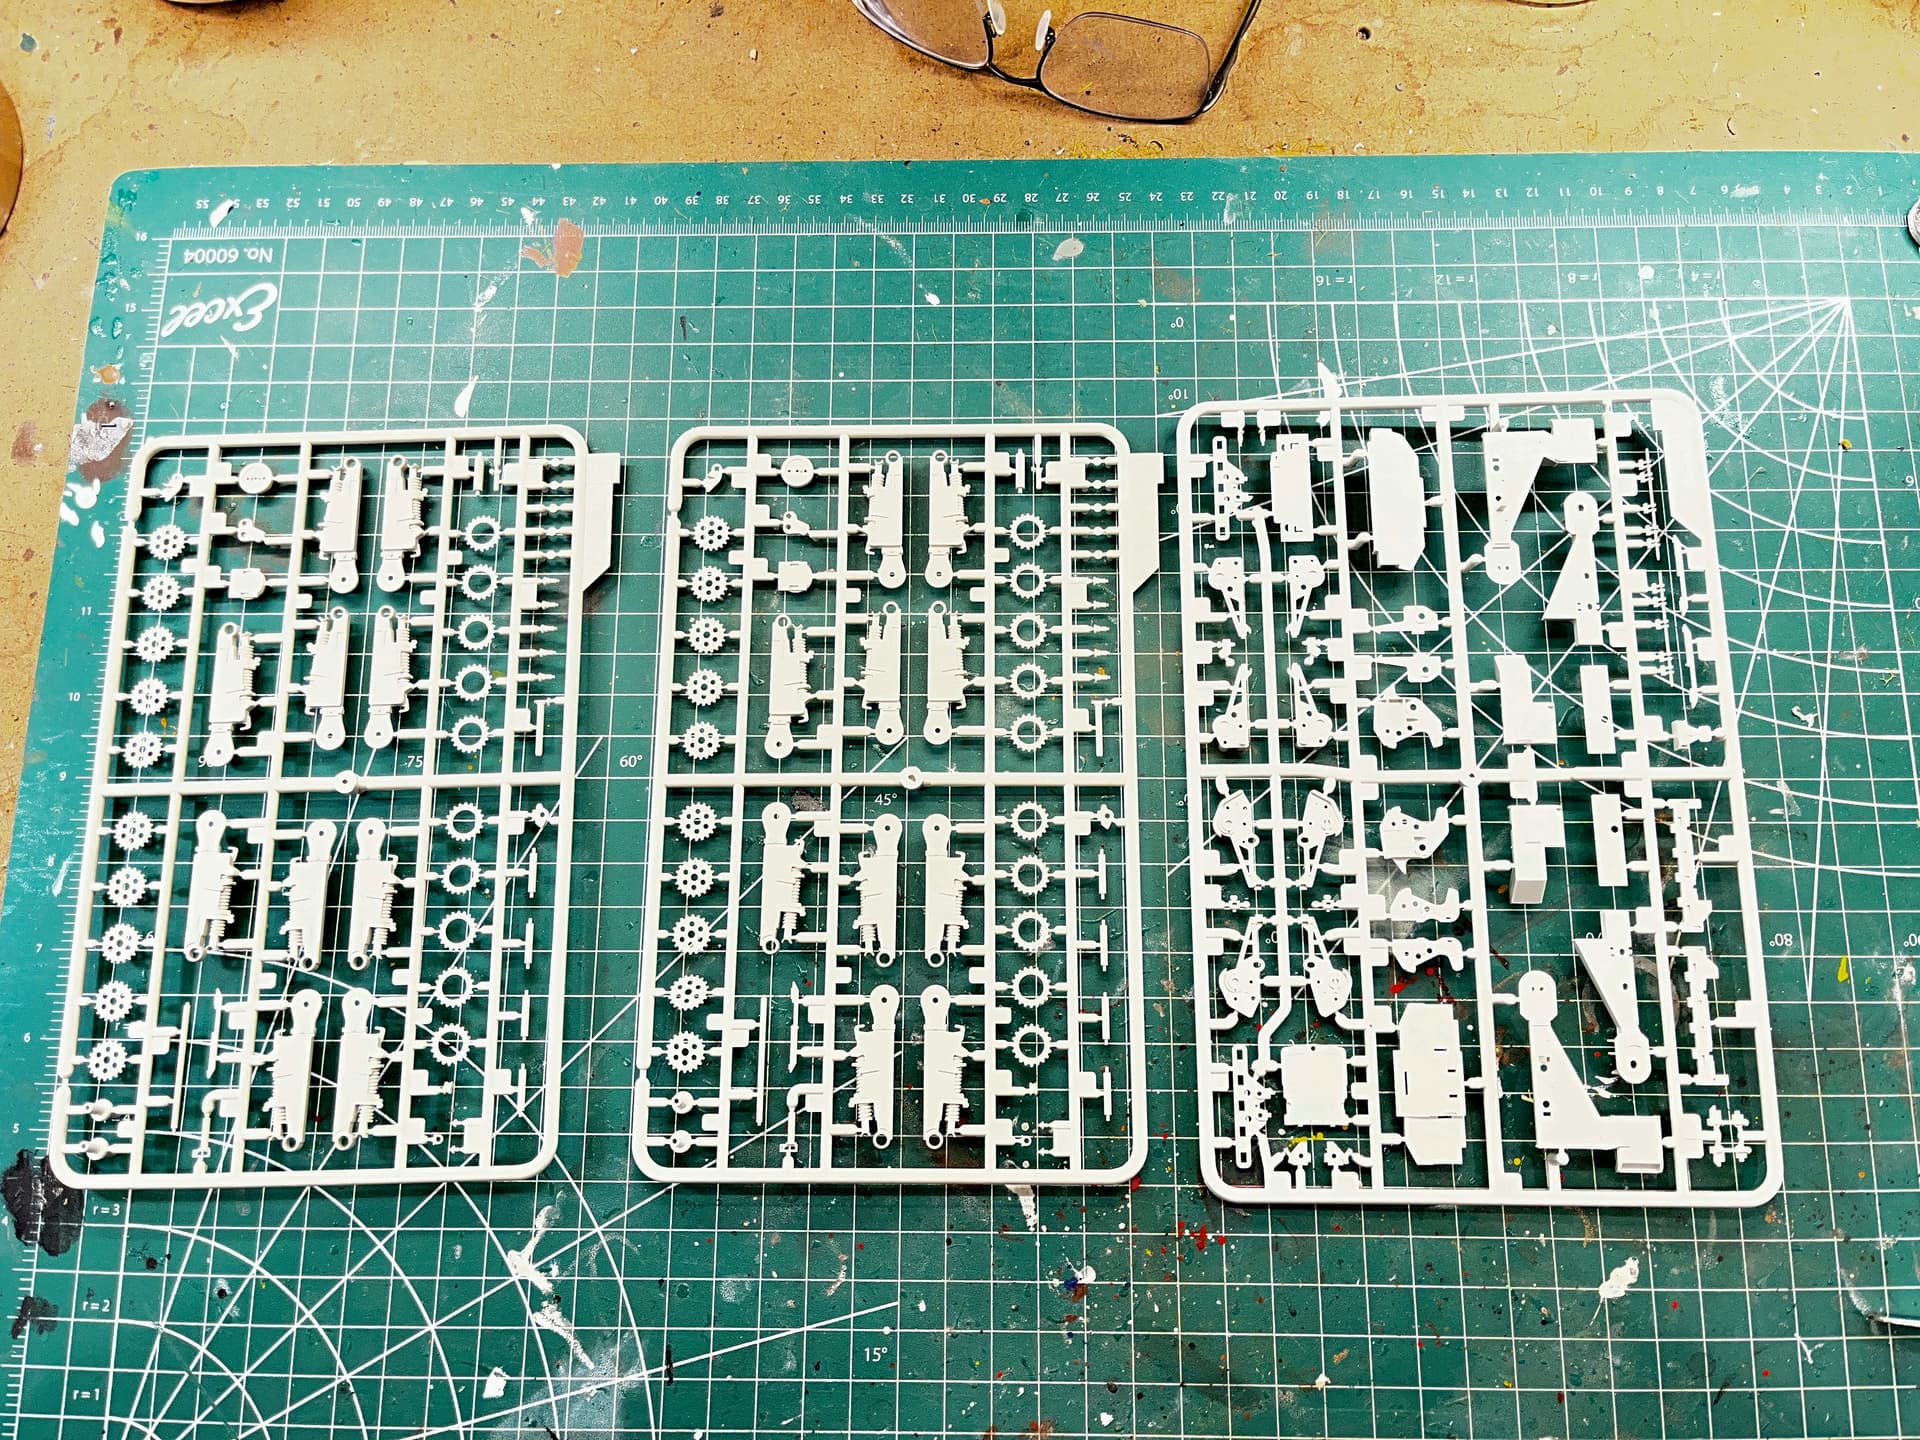
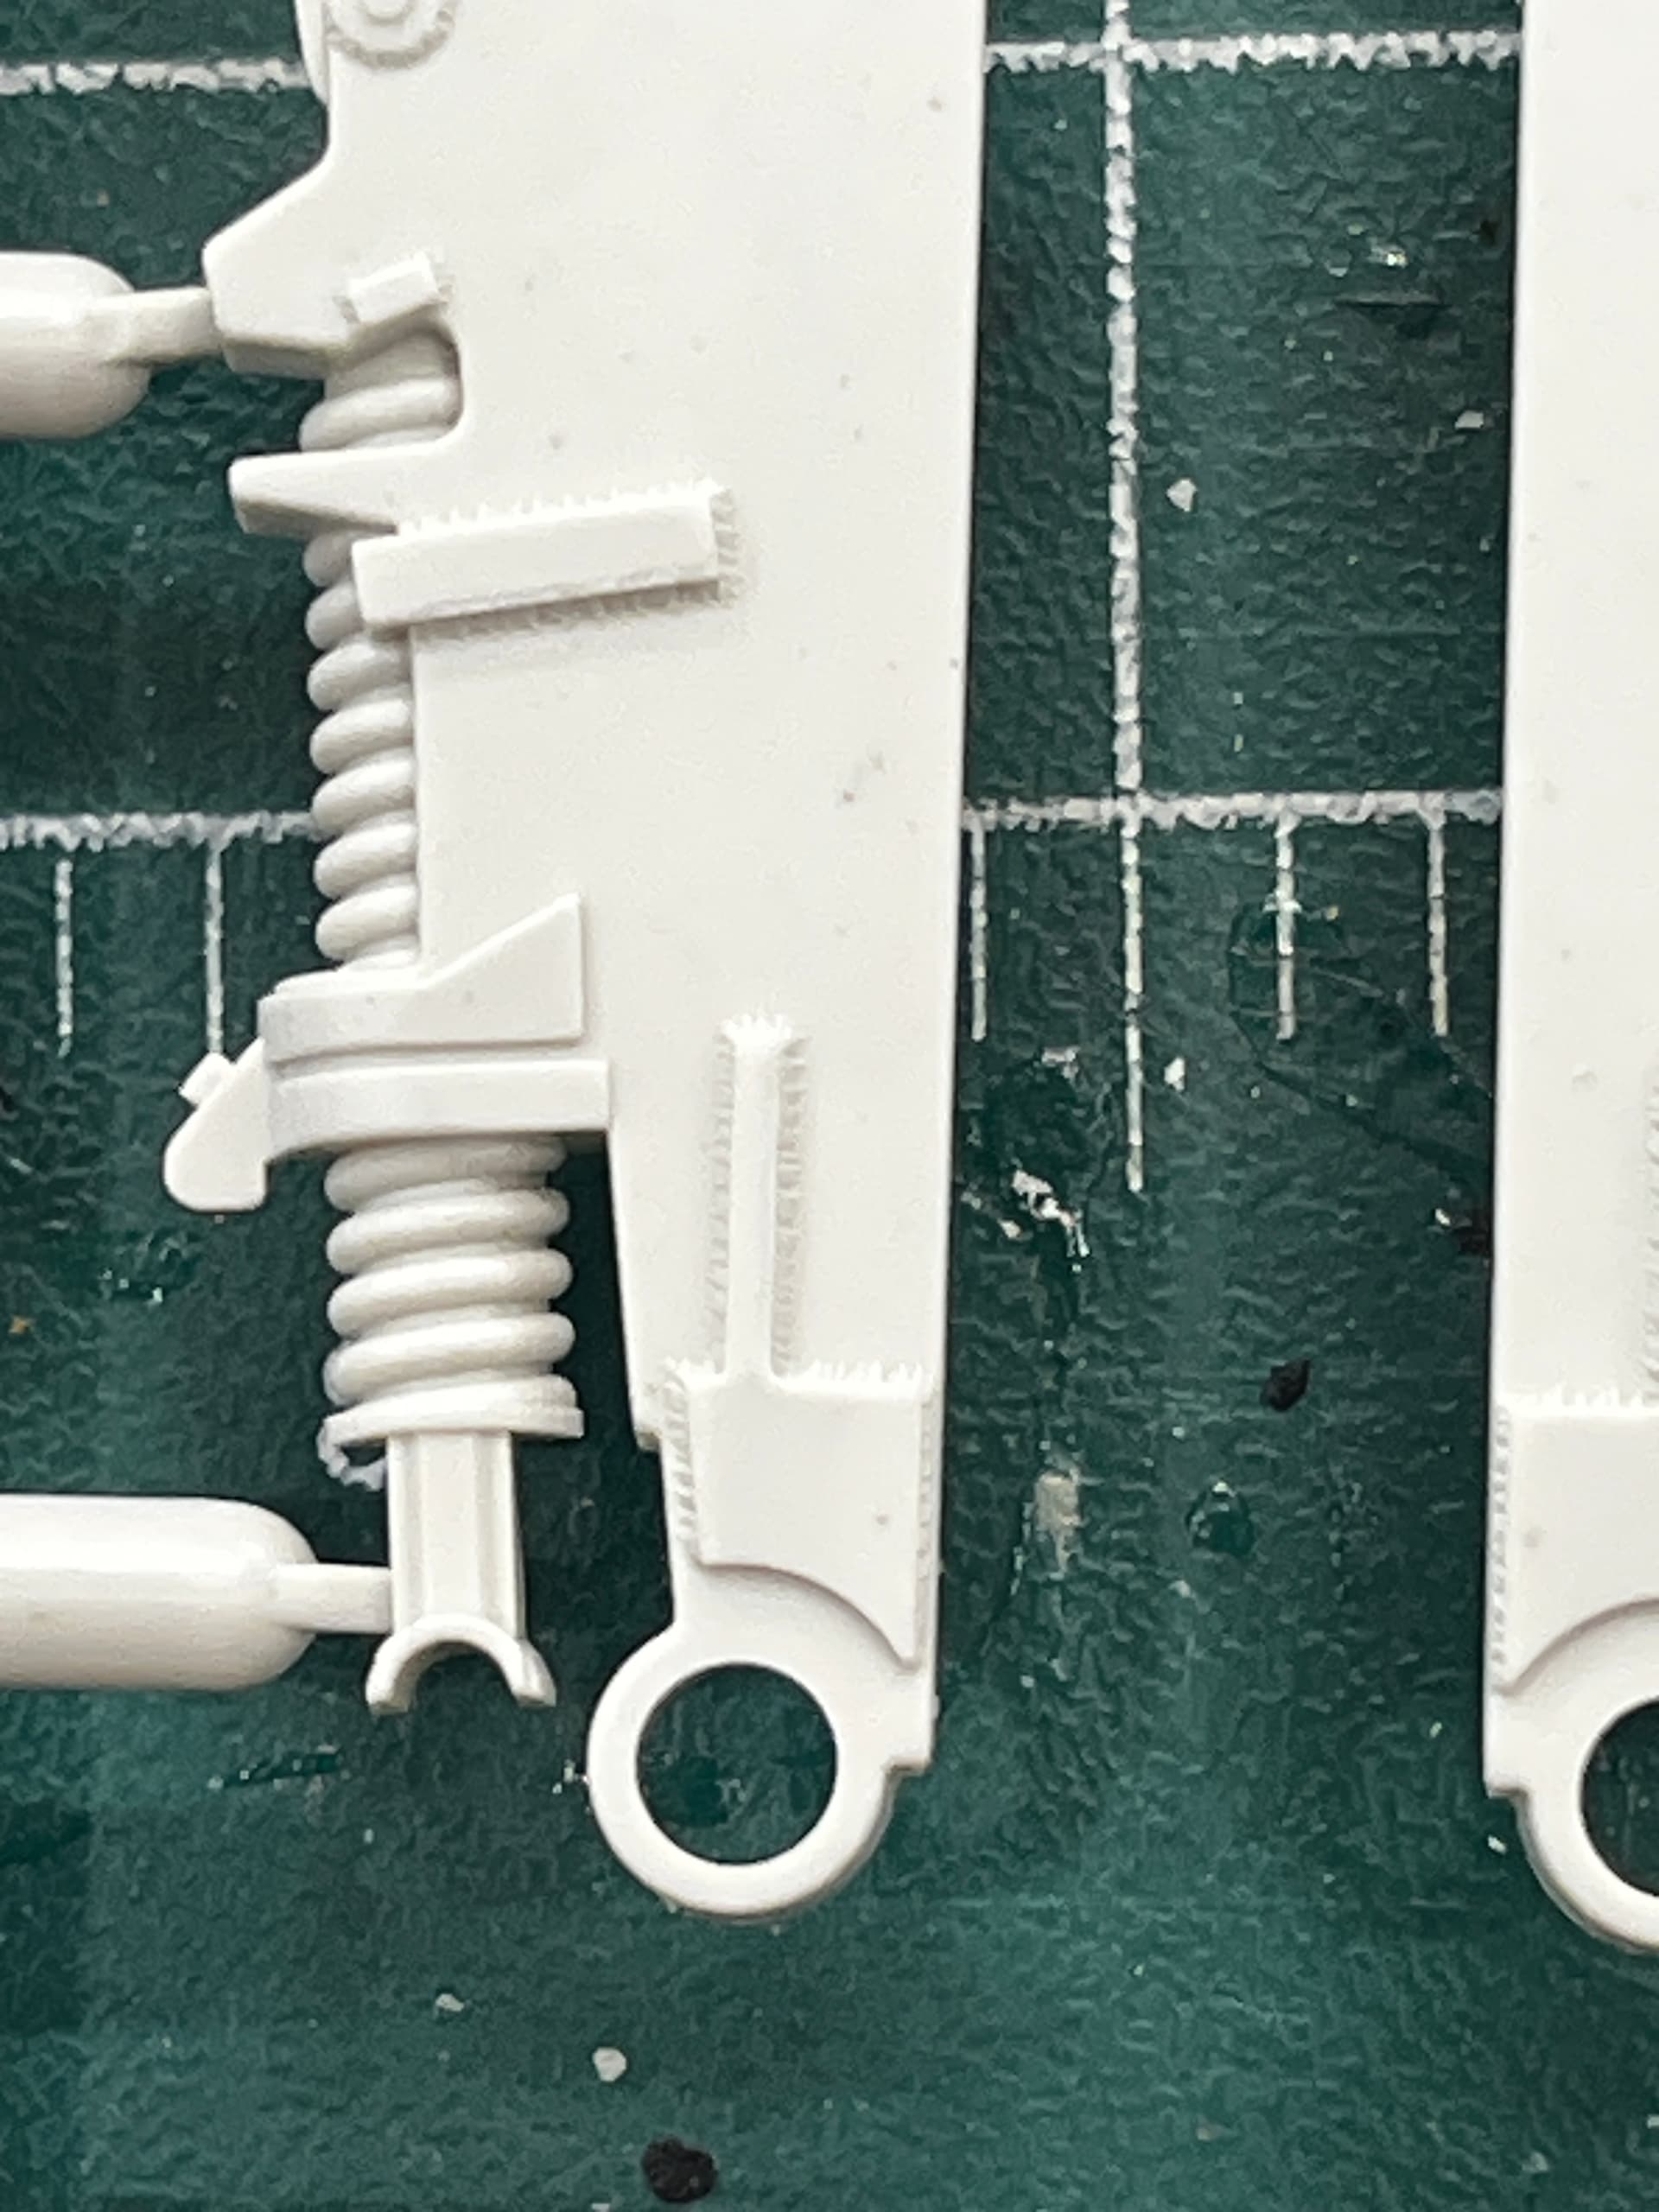
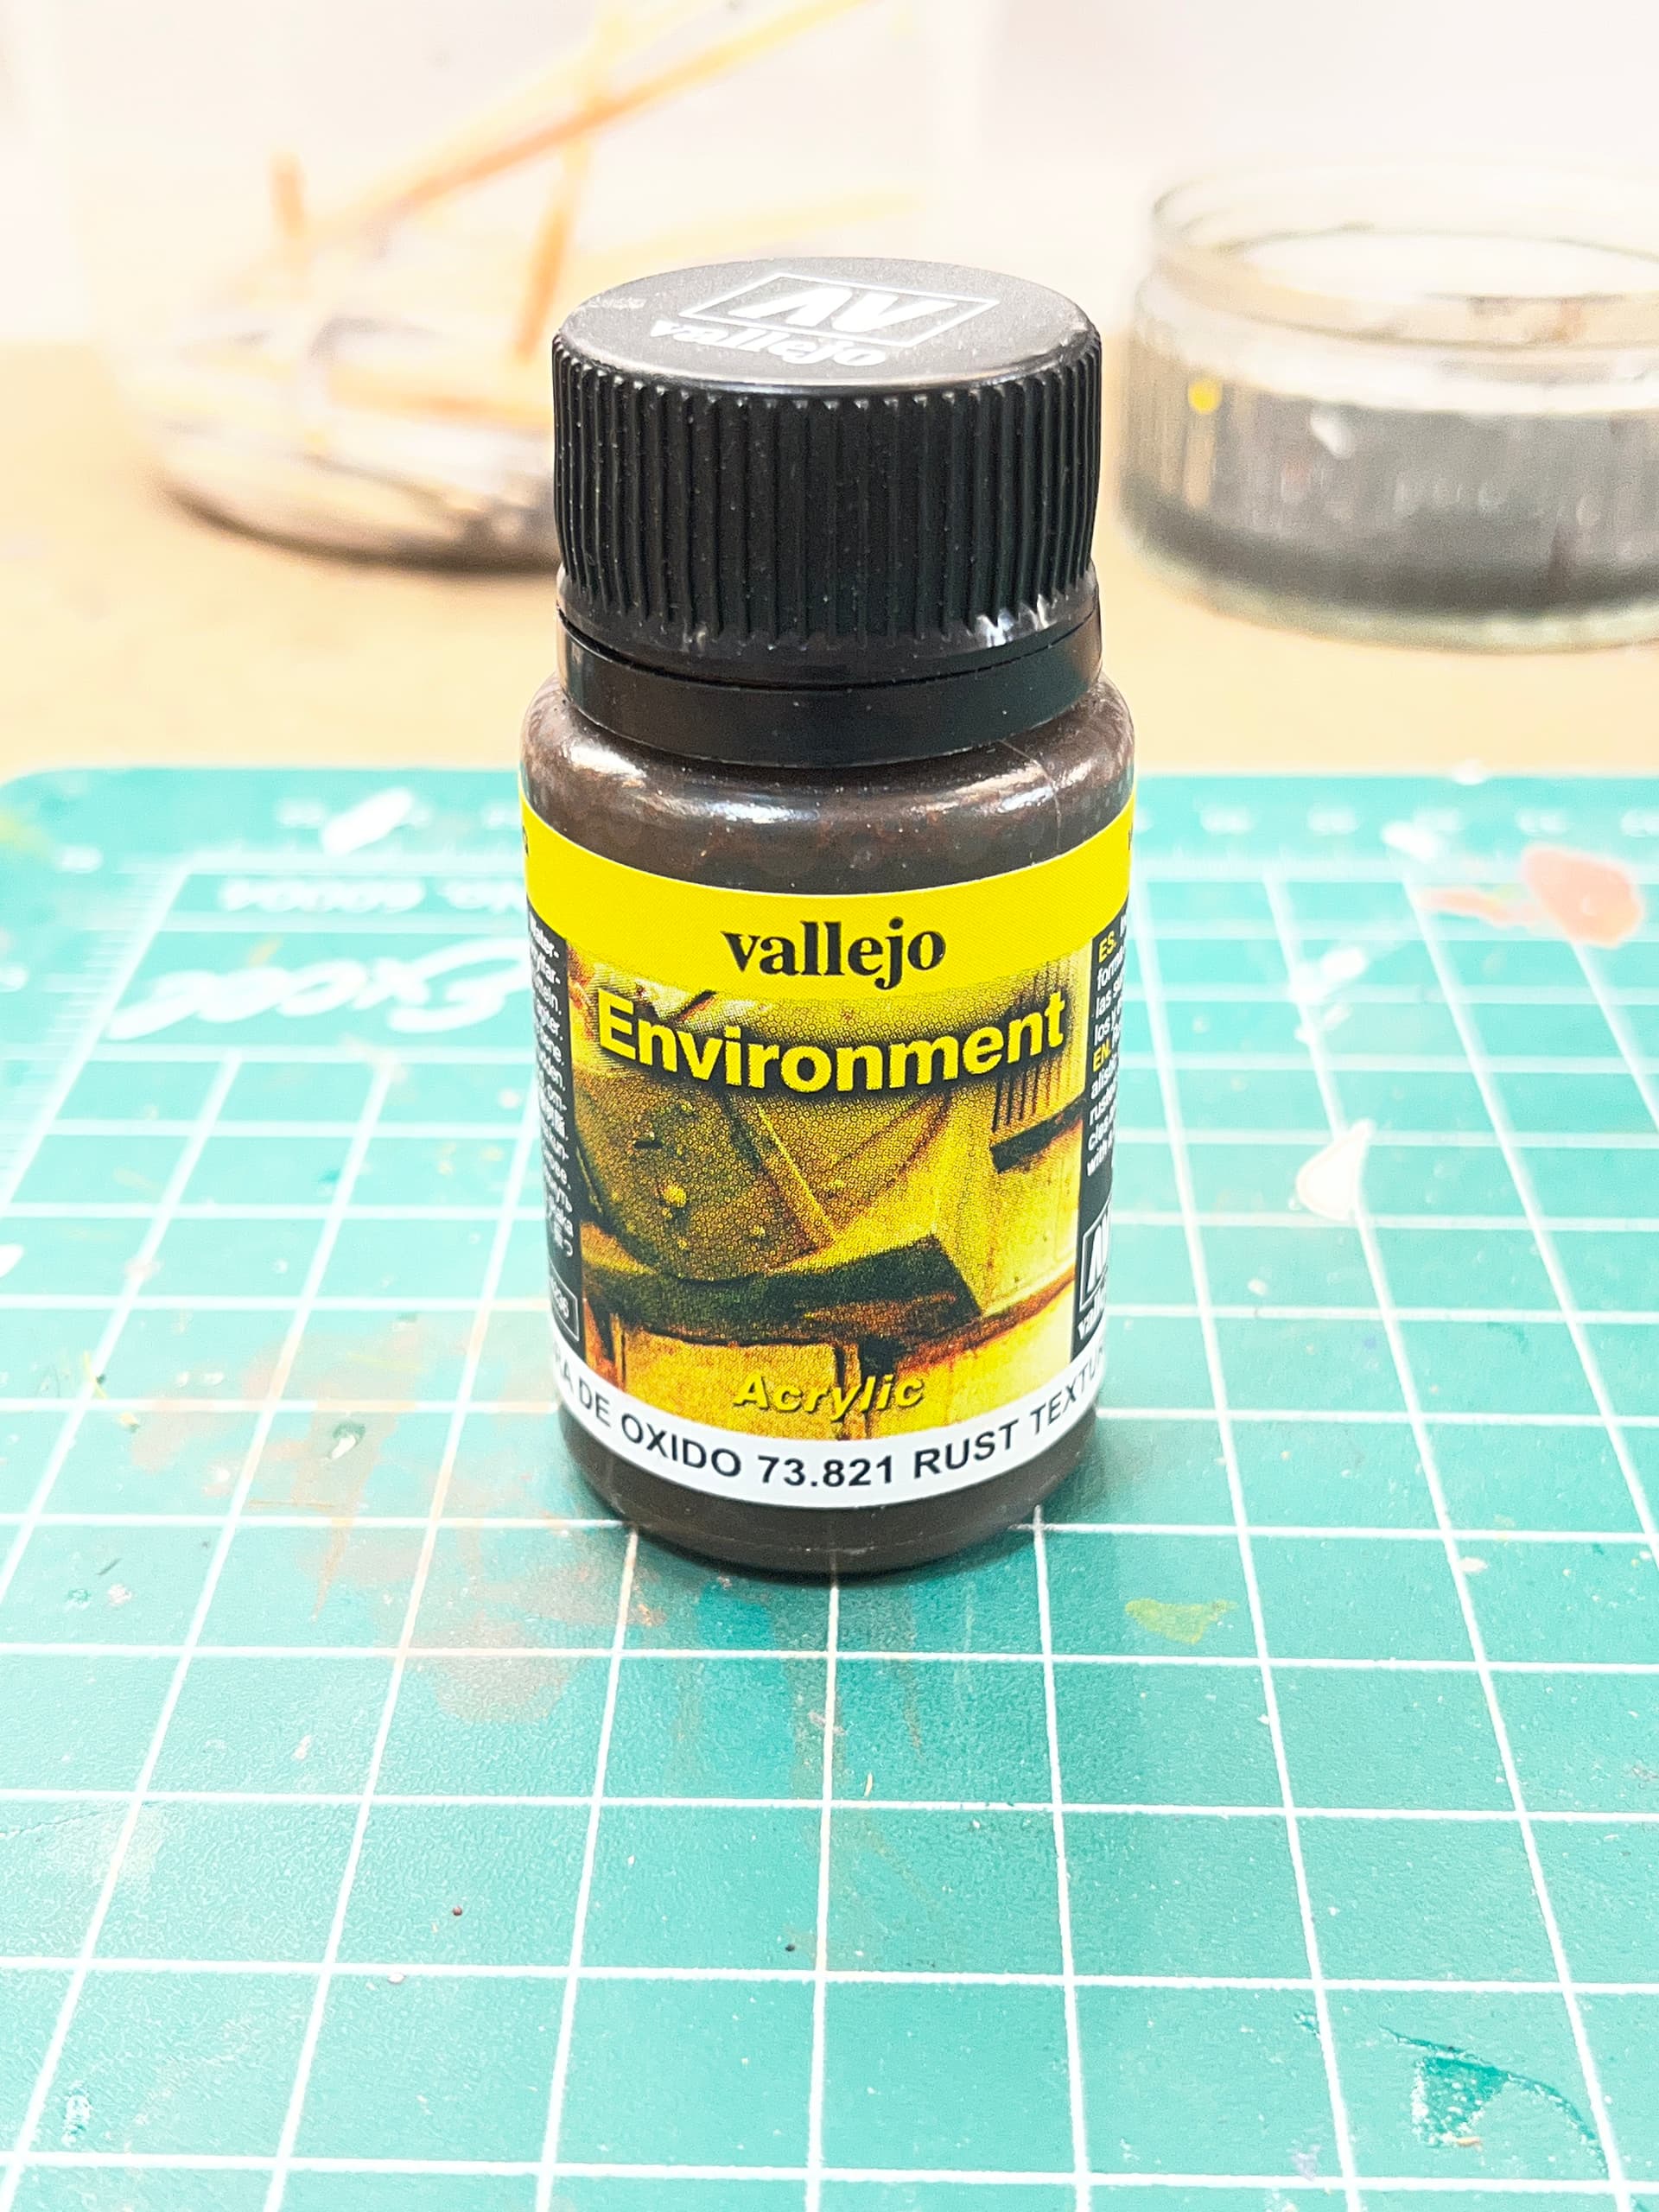
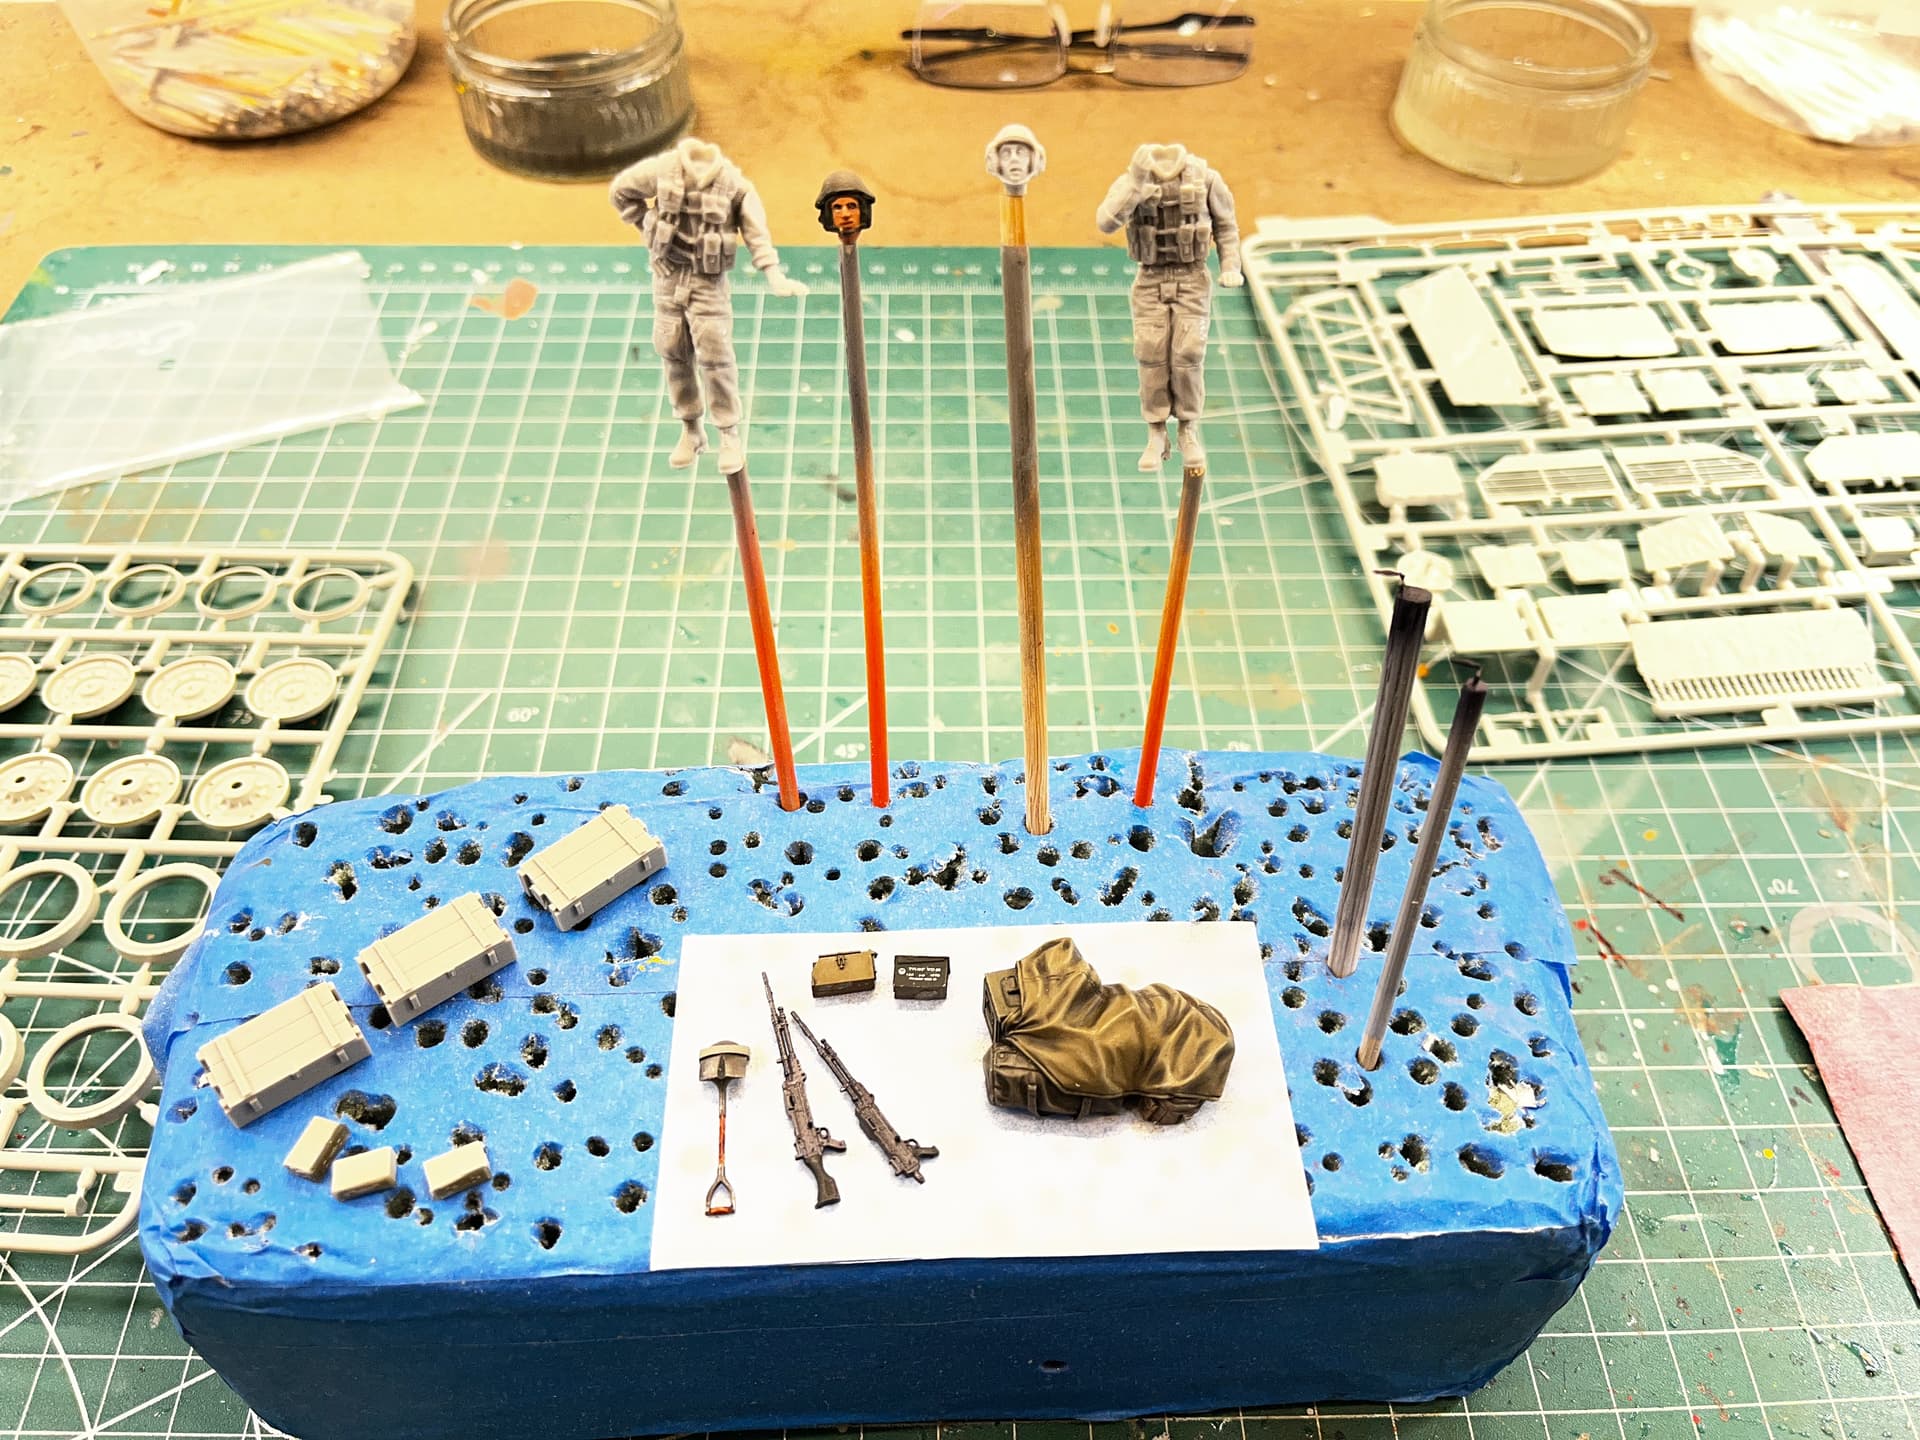
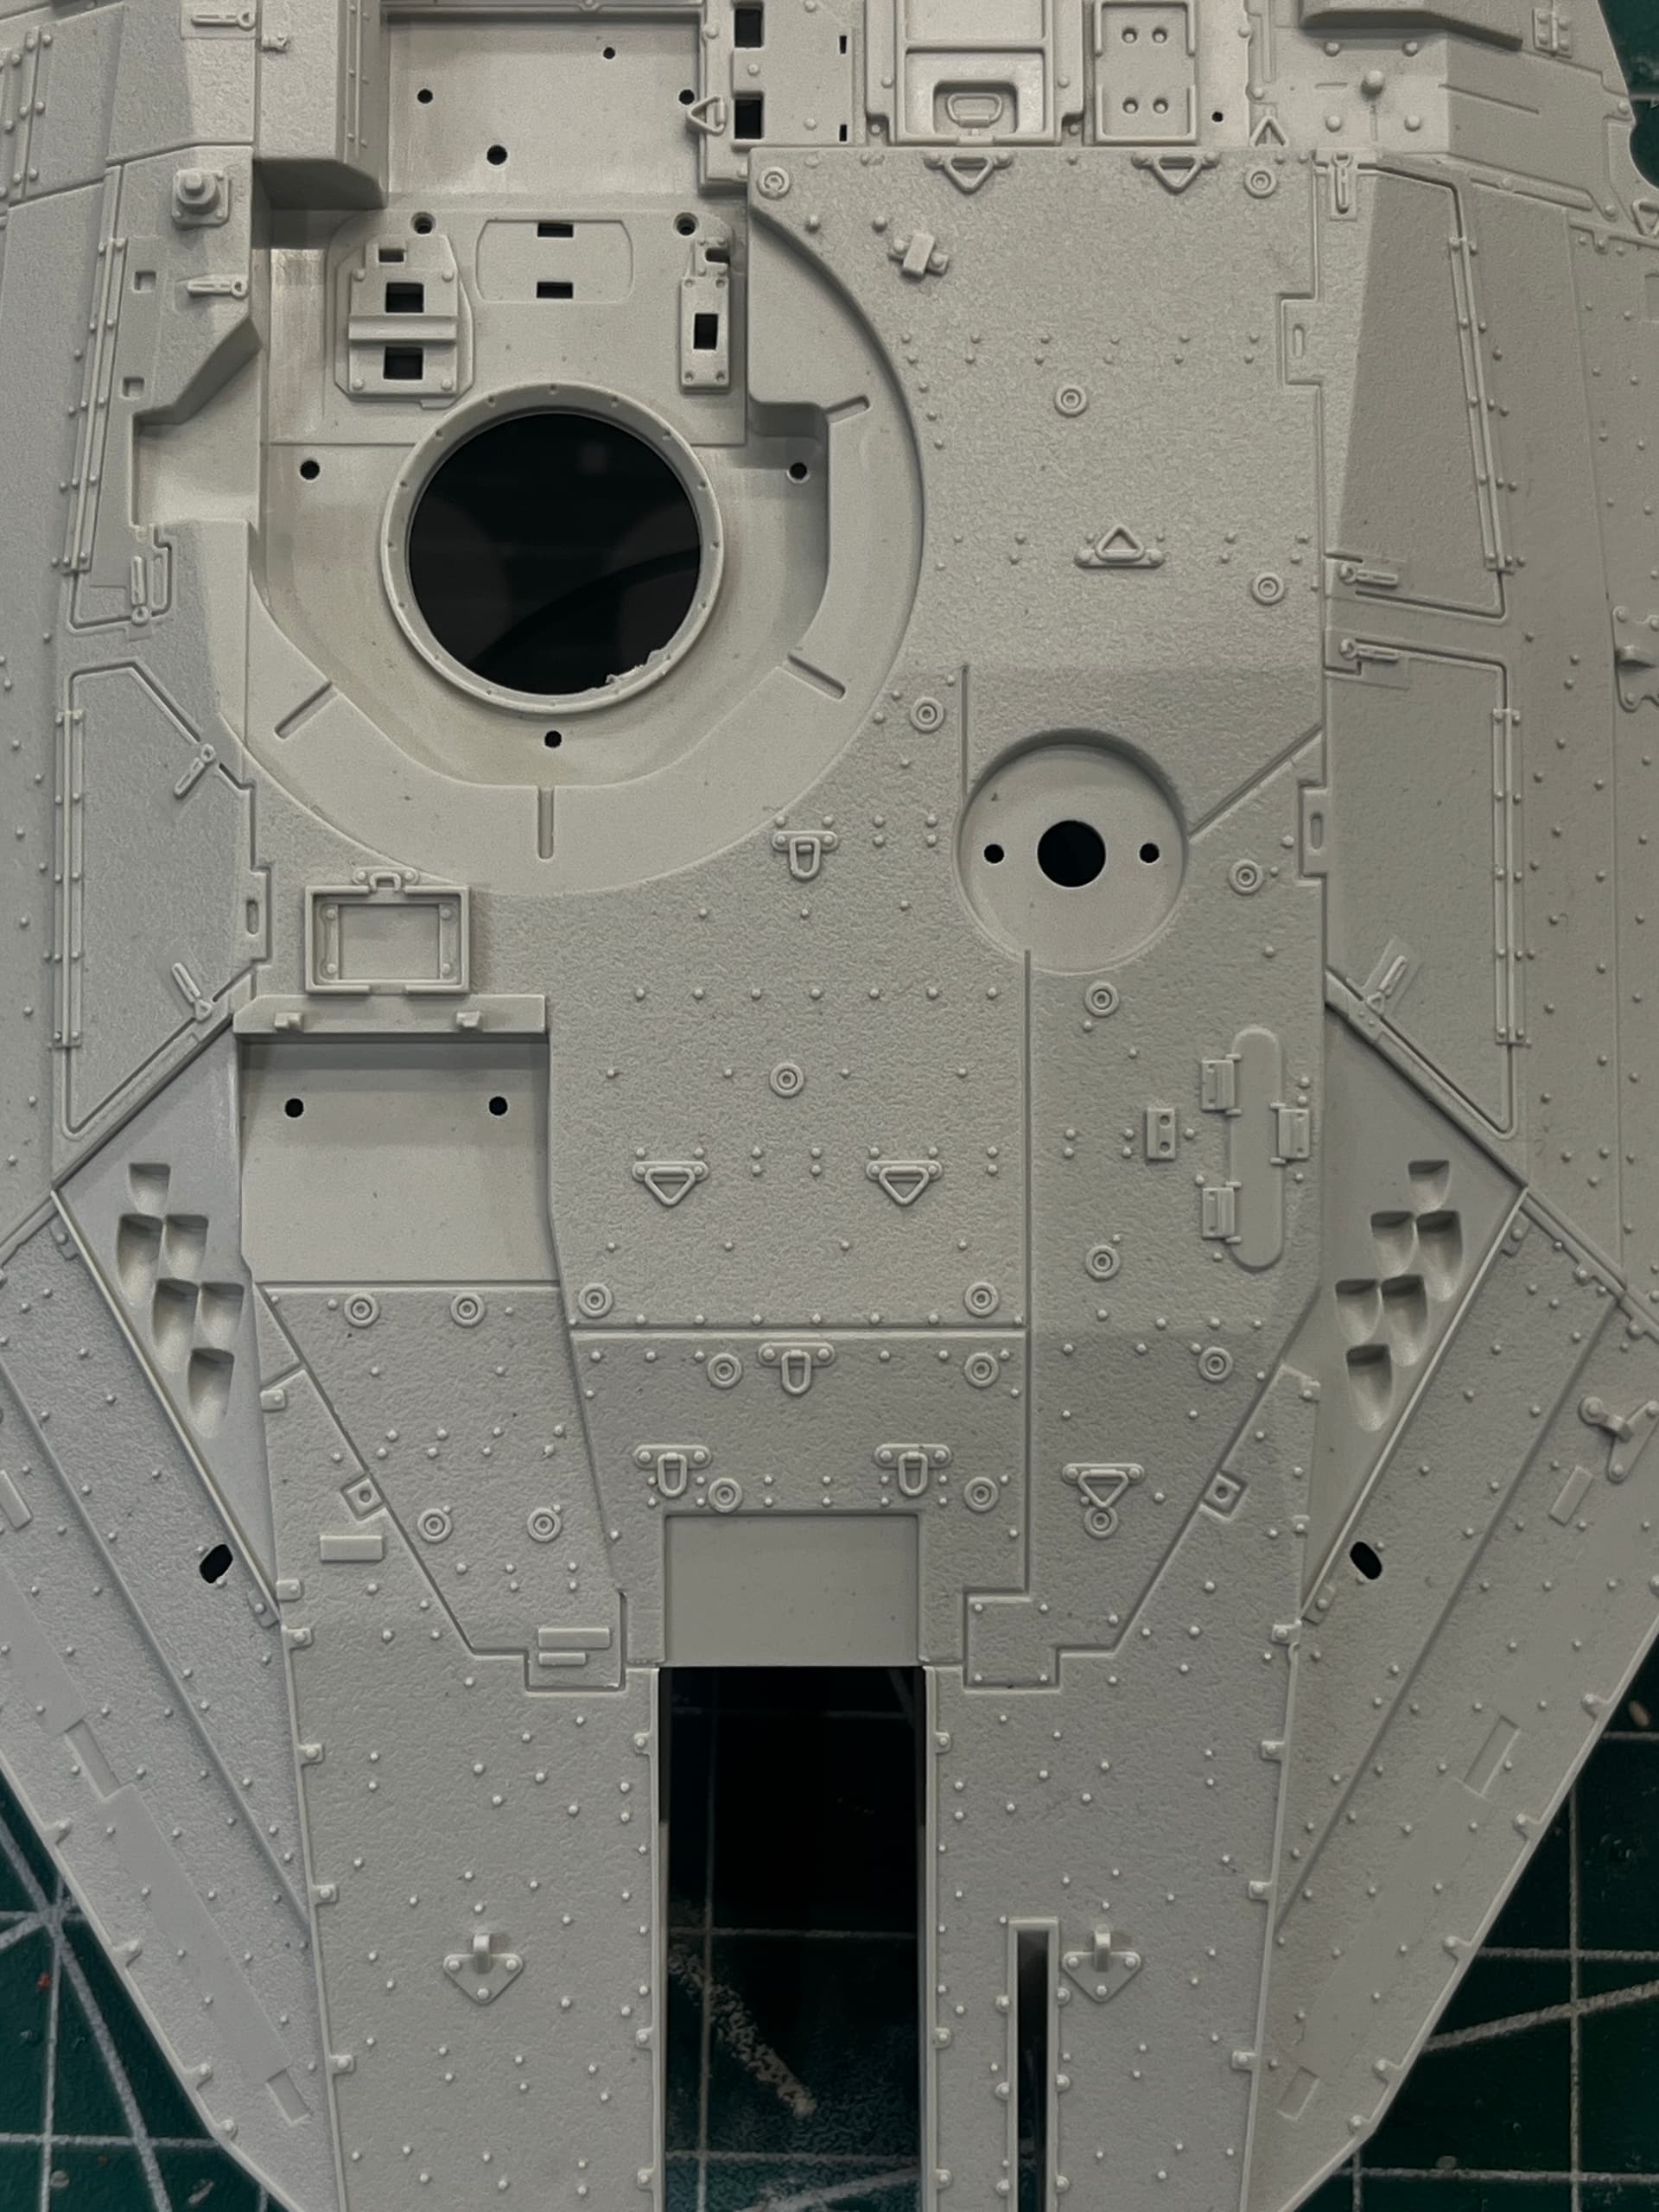
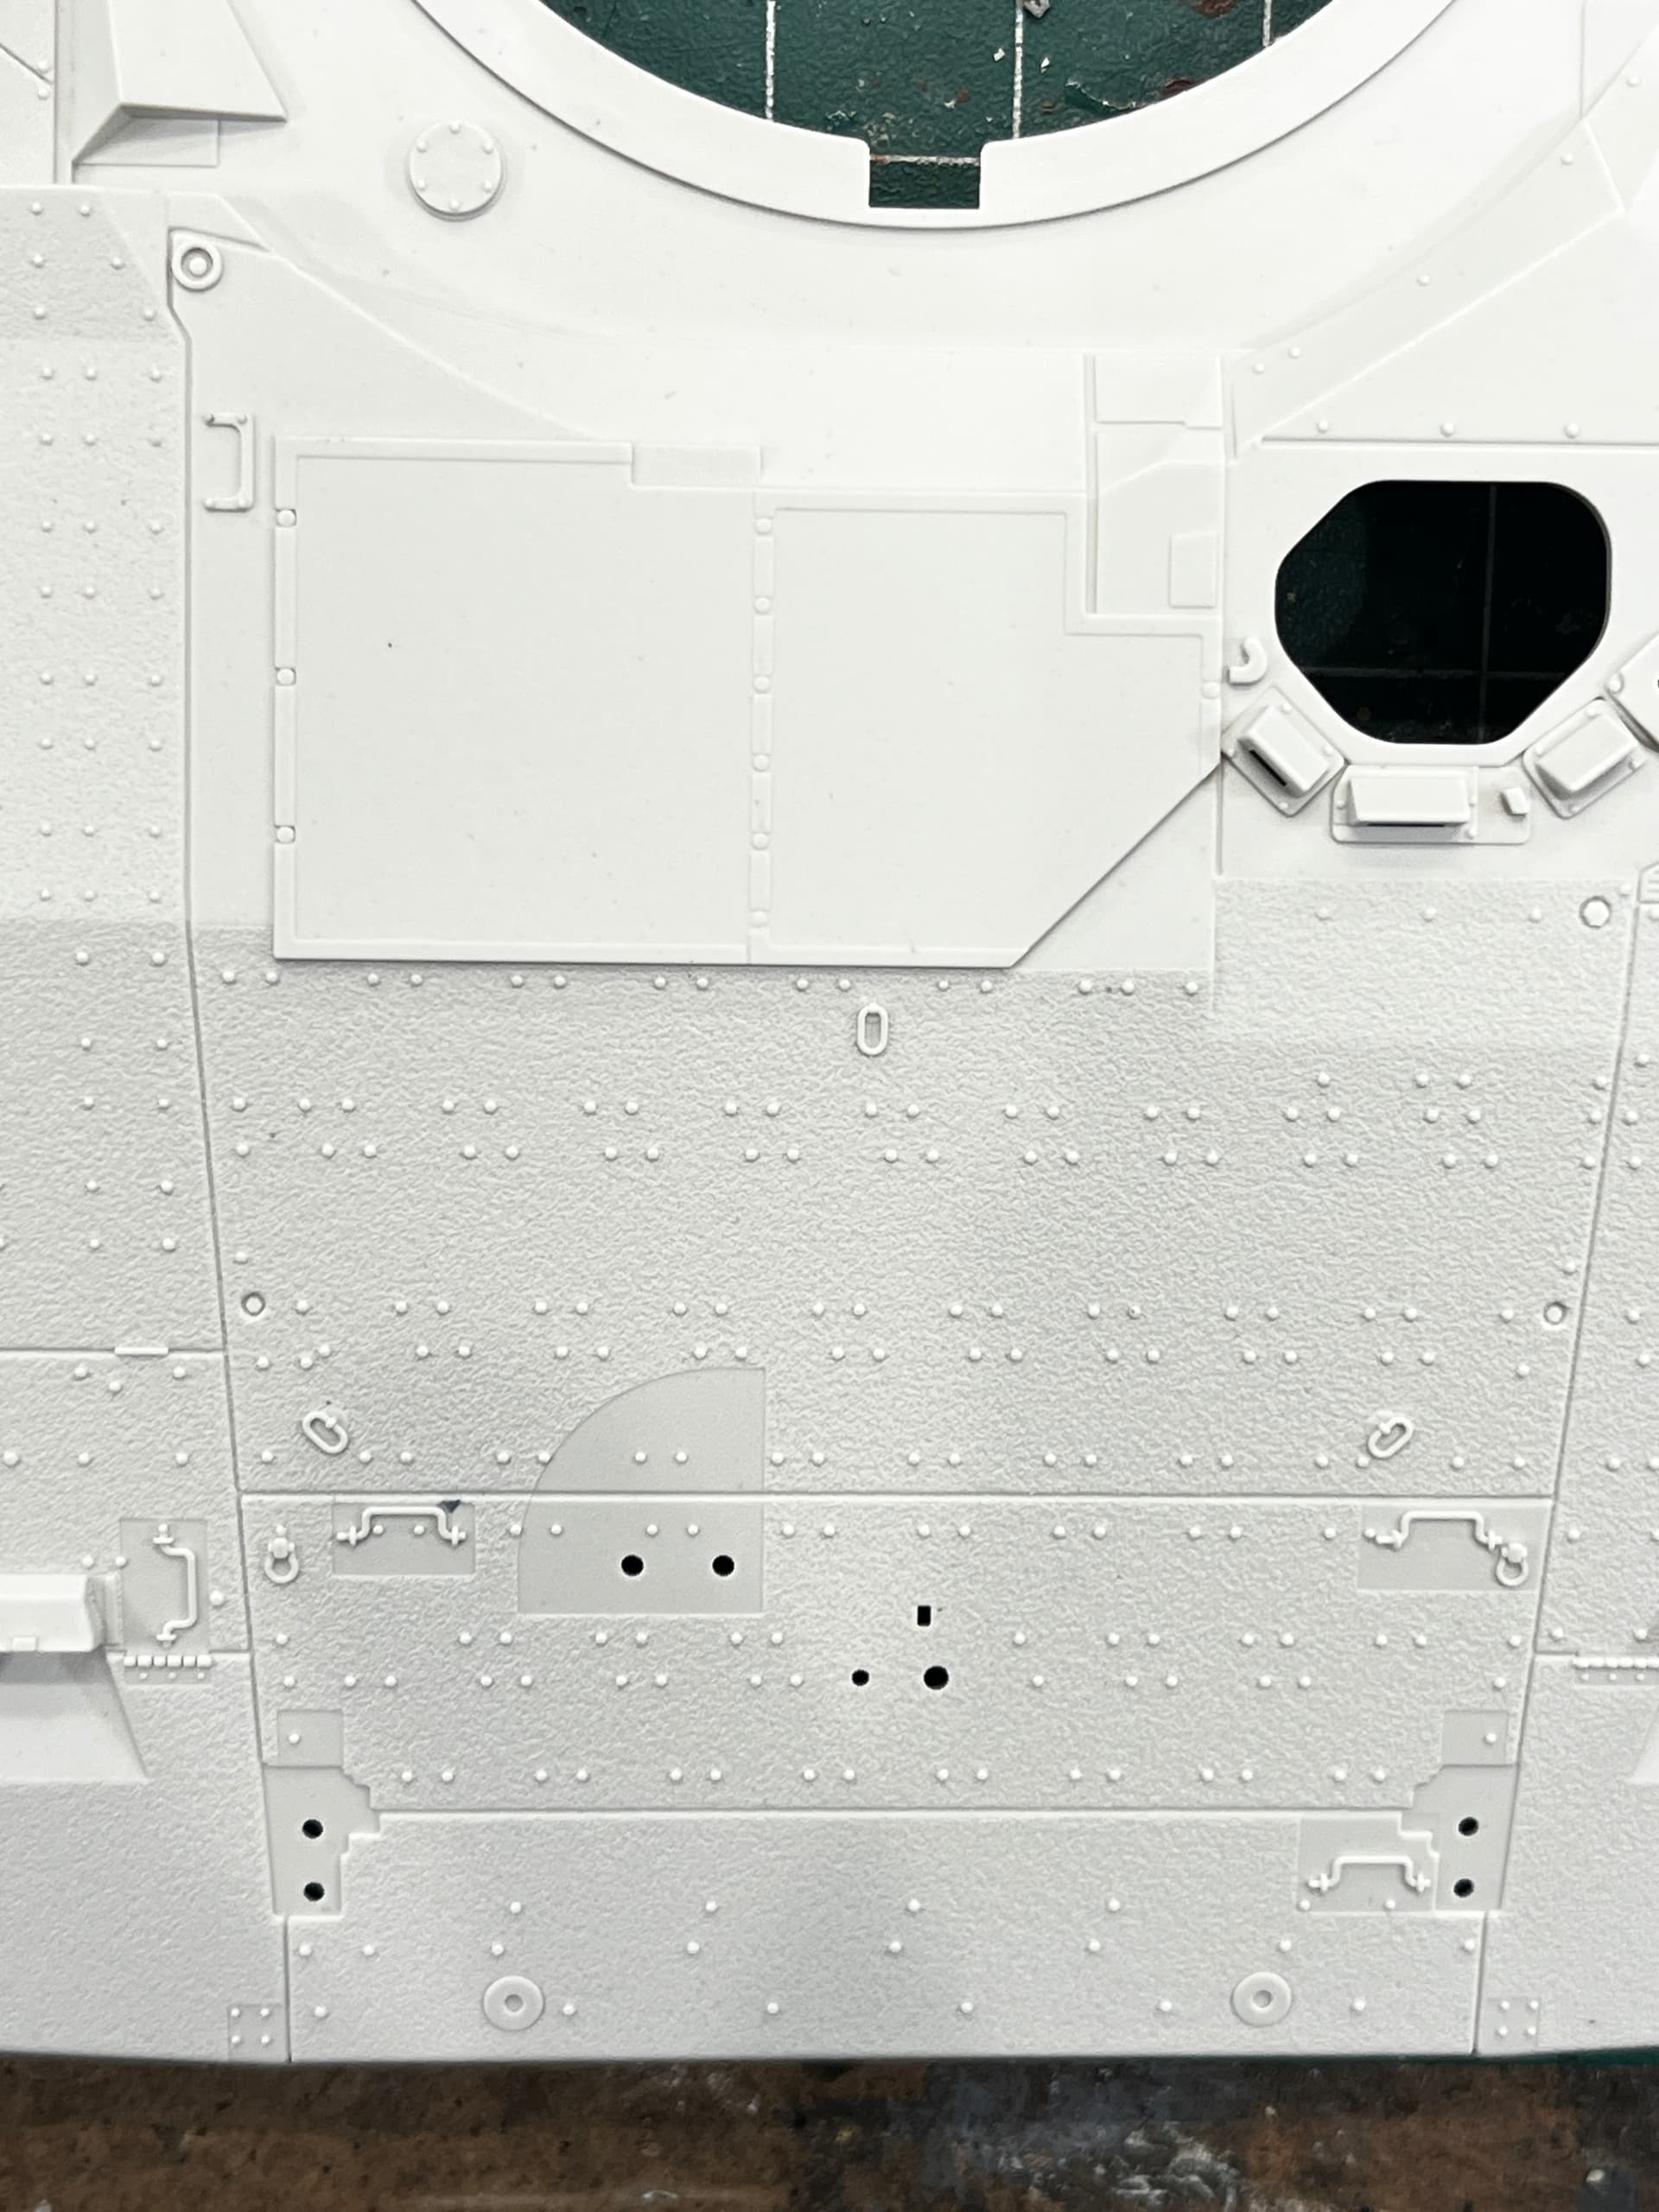
The mine roller system consist of three sprues. This particular system can actually be stowed off of the ground when not in use. They’re older systems, rode on the ground the entire time. I’m going to pose mine with the system off the ground and stowed. My plan is to have several figures on top of the tank getting it ready for lane clearing operations. The turret and hull already have a textured nonslip surface. I plan on making it more pronounced using Vallejo rust texture. It has a lot of very small particulates in the mix. It has to be stirred up periodically while using it in order to get that gritty look you’re looking for. Once it’s stirred up really good, I just paint it where the textured surface already is. Easily takes primer and paint once it’s dry.
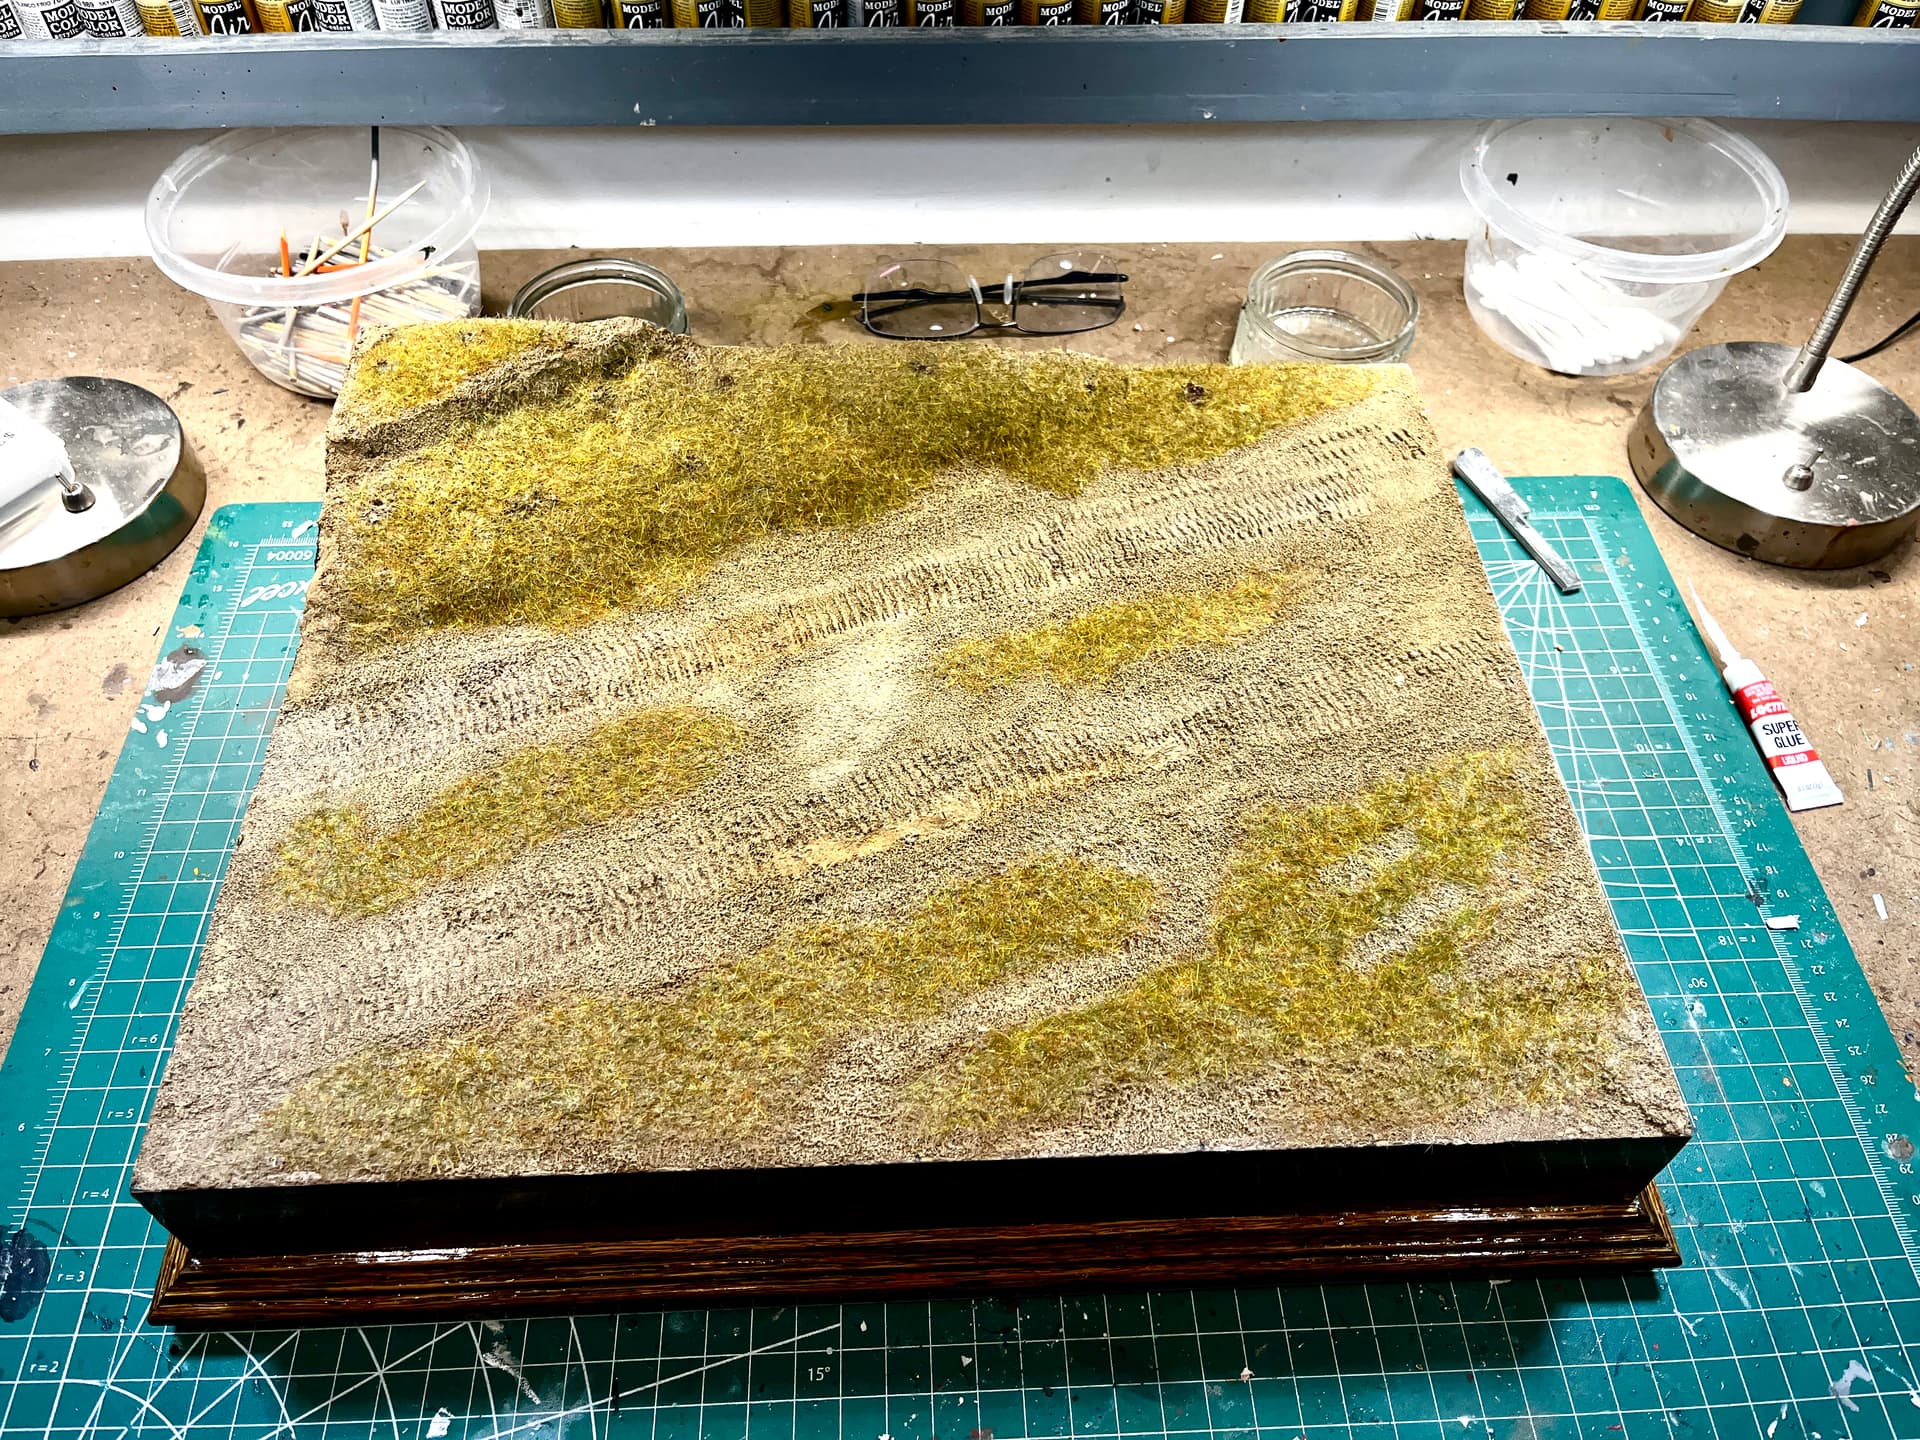
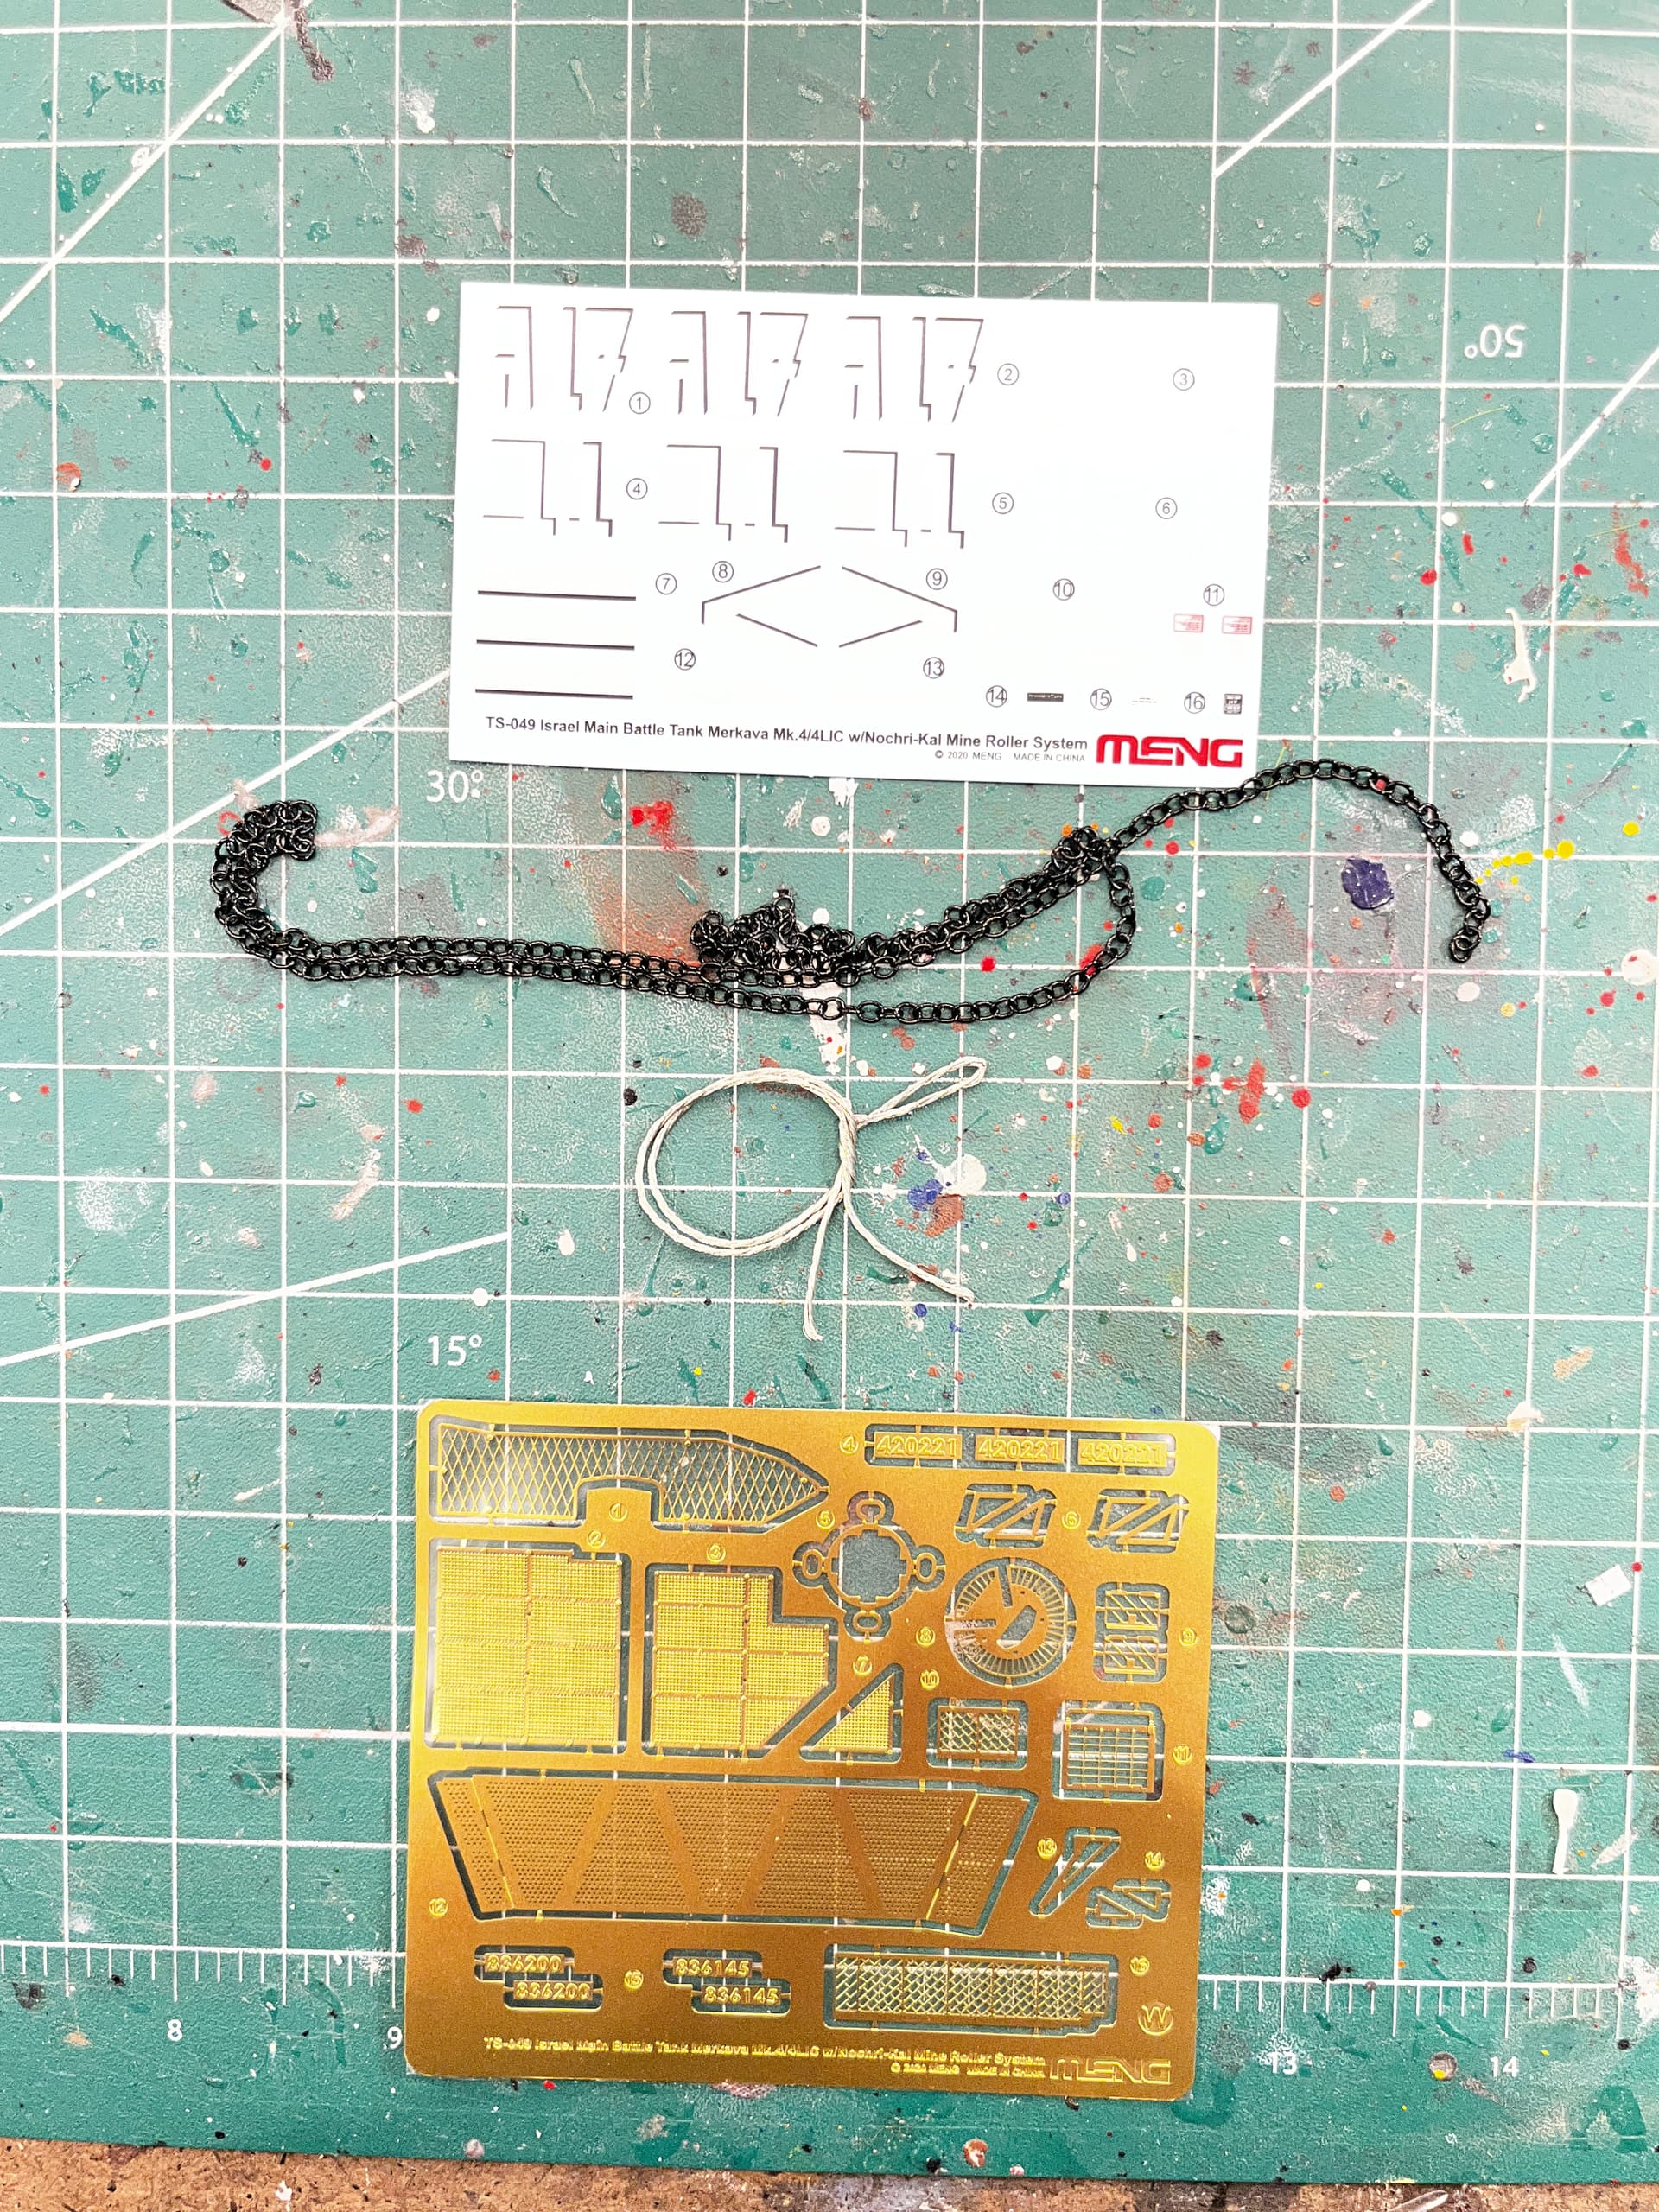
I had some other items left over from previous modern IDF builds, (supplies under a tarp, 7.62 machine guns, and ammo, crates, and cans). The base is finished. I do have to add some plants and foliage that are native to the Judea desert. If you want a really well designed armor model, you have to give Meng I try. You won’t be disappointed.
6 Likes

I’ve made up a layout of the plaque then I will attach to the front of the base. I’m hoping to have this done by the end of September. :crossed_fingers:


7 Likes

That base is amazing!

1 Like

I really like the idea of adding the figures getting it ready for lane-clearing operations. I’ve been trying to push myself to use more figures in my builds because I think they add so much life and scale to a finished model. I’ll be interested to see how you bring this all together.

1 Like

Thanks. The figures definitely help in telling a story. To be honest, I used to hate doing figures. I still struggle with ANYTHING flesh. I hope to see your next build with some figures!!!

You will! I’ve actually got a B-26K project planned where I’m going to try to recreate a specific photograph from Vietnam, complete with the aircraft, maintenance scene and crew figures. I’ve never really incorporated figures into an aircraft build like that before, so it’ll definitely be pushing me into some new territory. Your build is giving me some ideas about how much the figures can add to telling the story.
:::

2 Likes

Good afternoon! I’ve been able to make some great progress on this one. Everything is primed and ready to and ready for paint. I’ve added some trees to the small hillside. I’m going to have two smaller plates made, to go on the left and right side of the one that is already attached. The Vallejo rust turned out pretty good this time. Everything was given two coats.
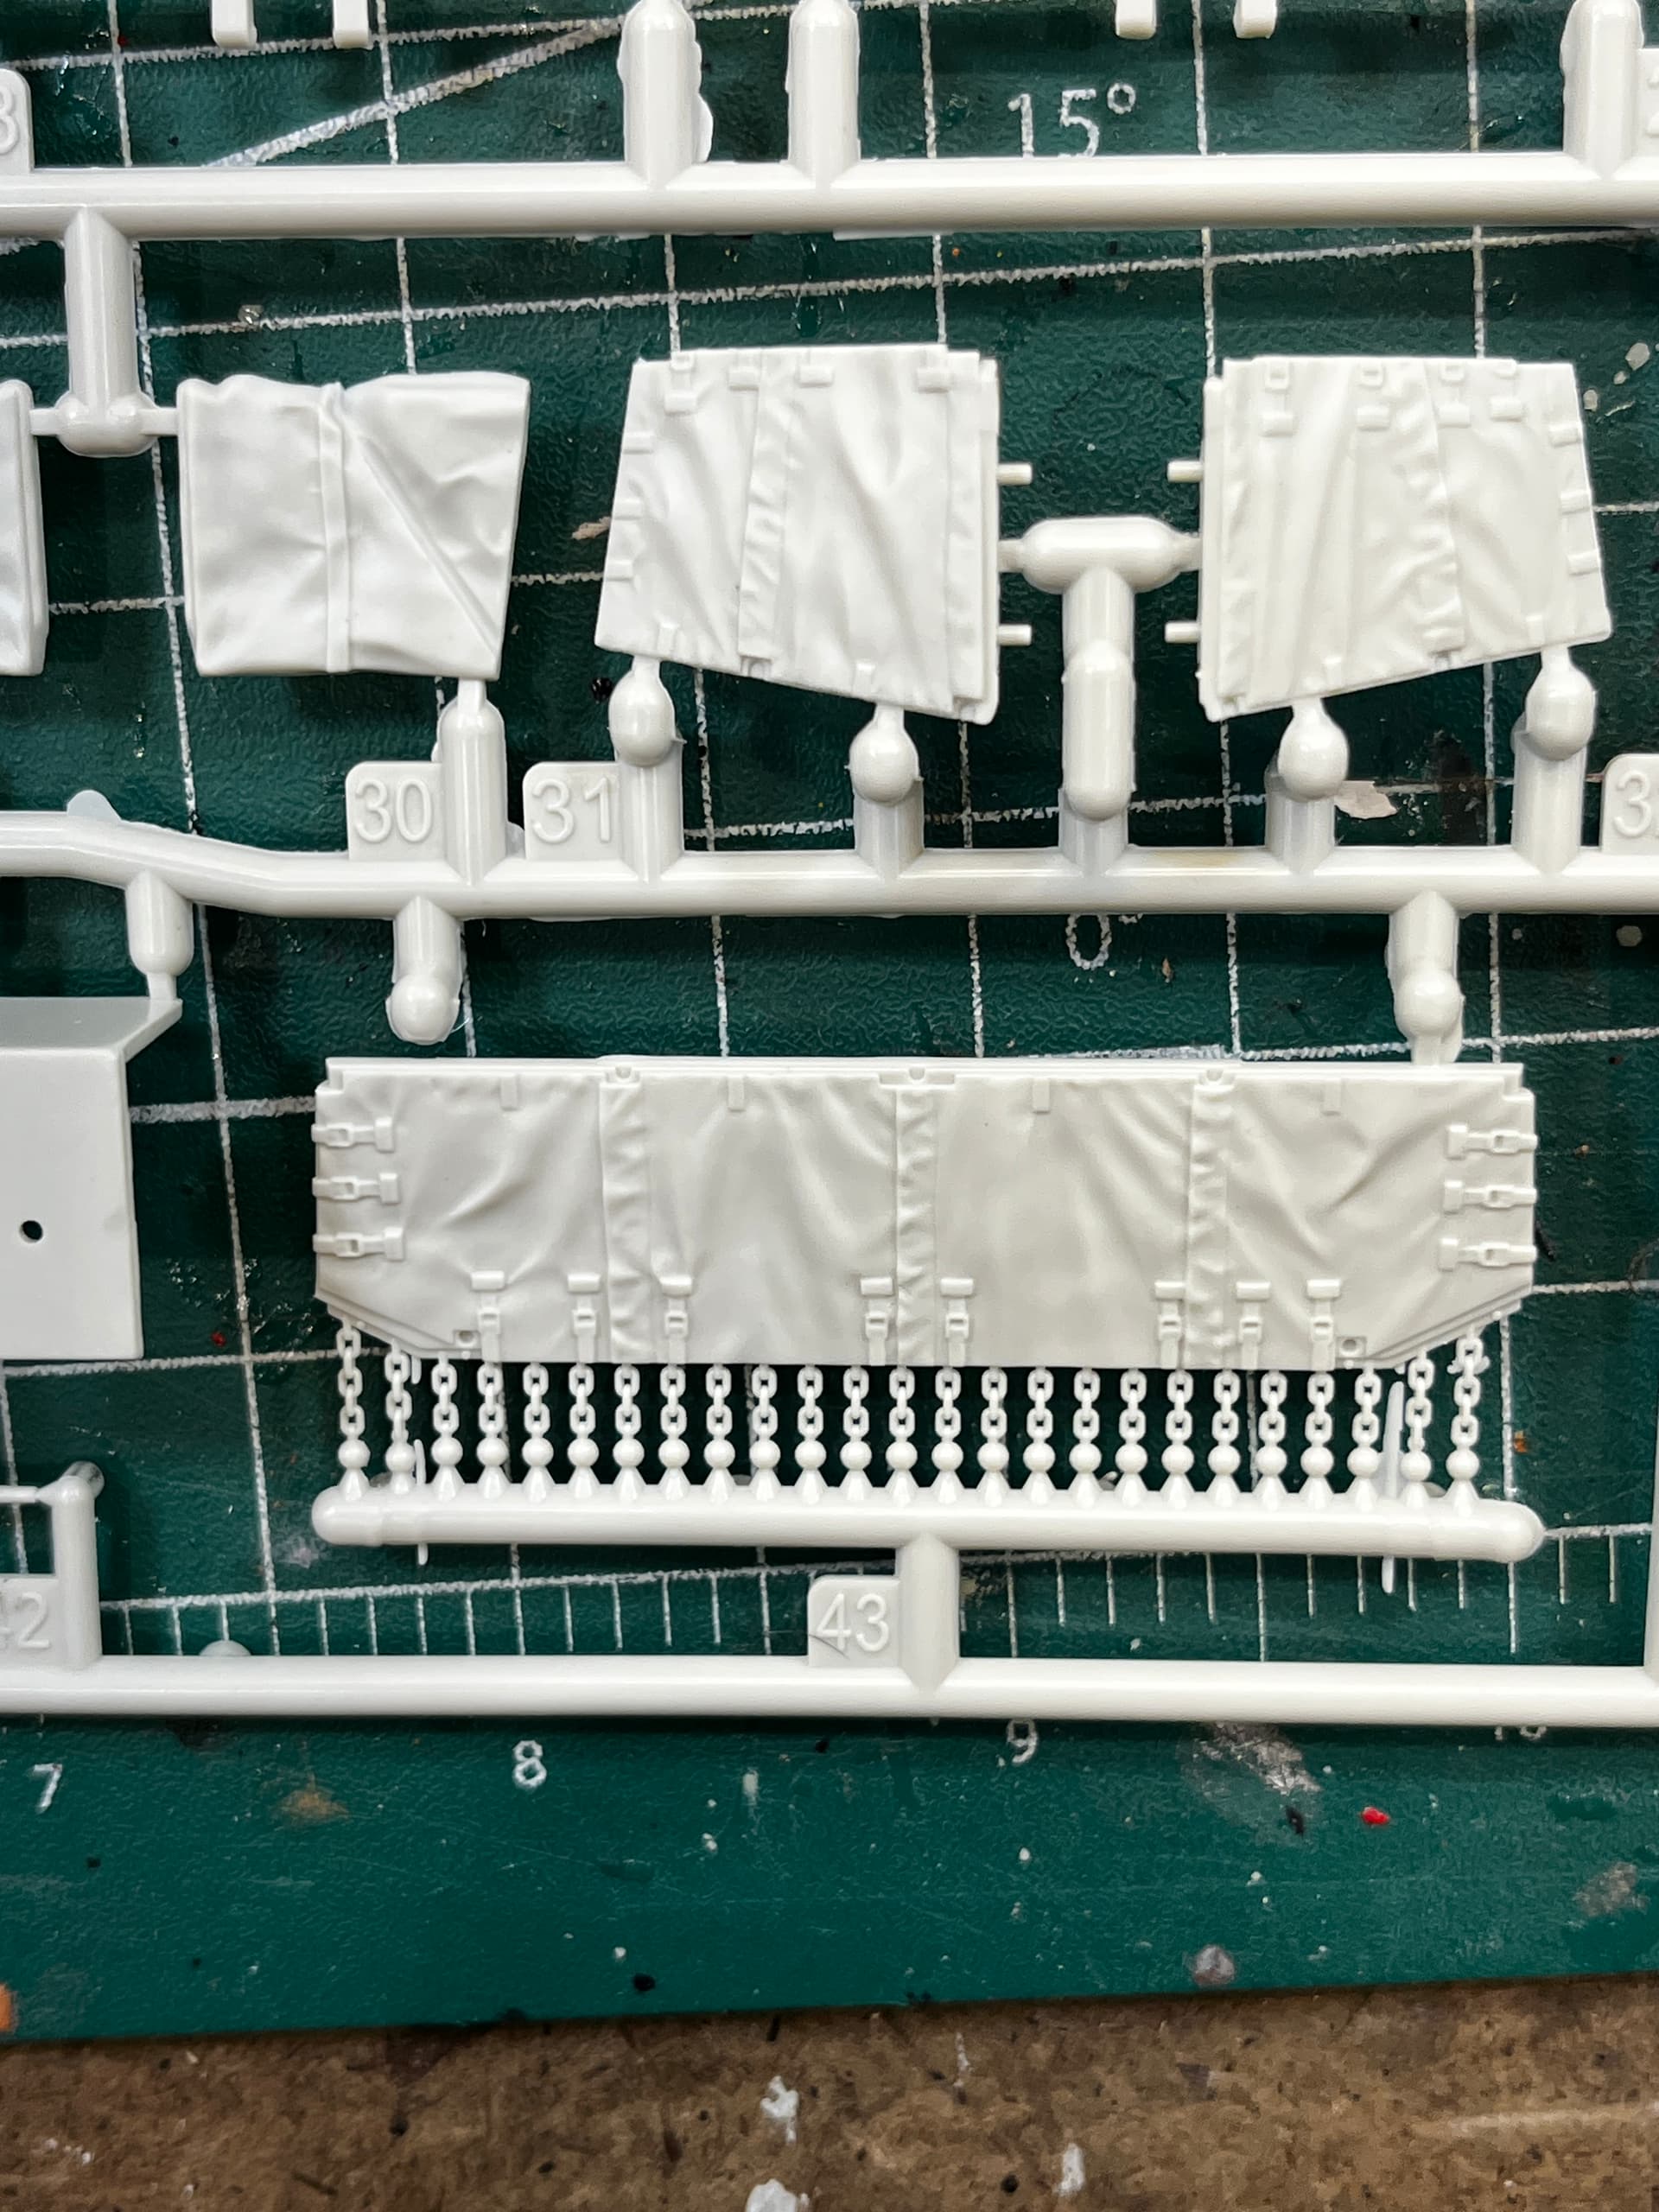
The mine plow itself is a very detailed model. All the arms can be moved, and once attached to the tank, they can both be lifted off of the ground. I plan on having mine in the stowed position. ( arms to the rear). The hull has moving road wheel arms, and springs. The road wheel arms have extensions that glues down inside the hull. (they act like real torsion bars.) The tracks were somewhat tedious, but very realistic. The last thing that I’m waiting to arrive are two additional figures.
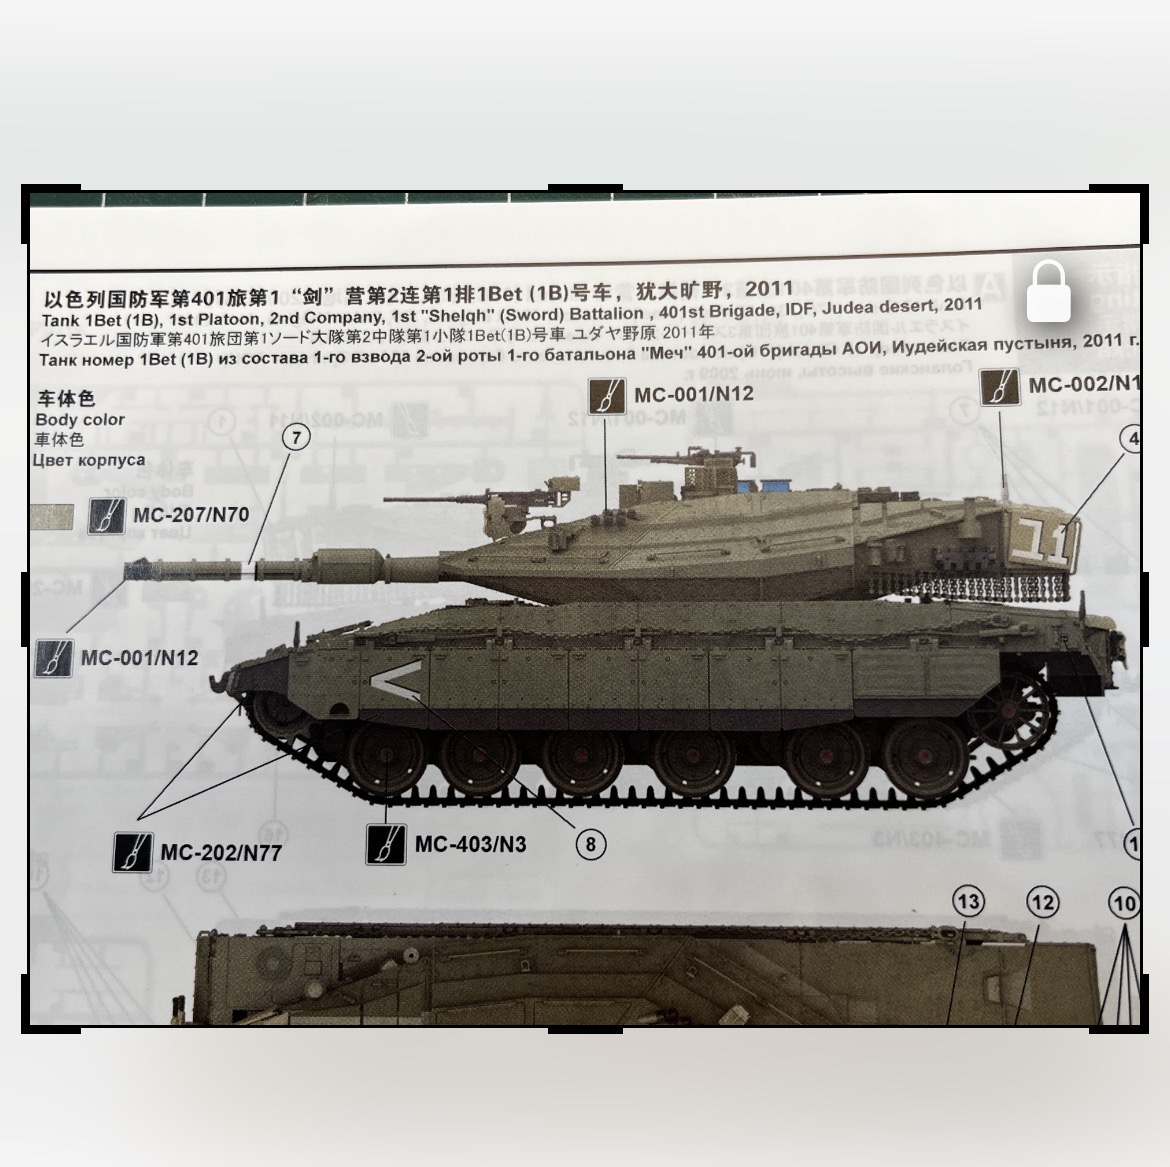
I’m using Vallejo Model Air, IDF Sinai Grey for the overall Paint job. Once everything has a wash, I will apply AK middle east soil pigments to everything. (heavy on the bottom, and the mine plow. I hope everyone has a great extended weekend to spend with your families and friends.


3 Likes

Nice progress, it’s looking great!

1 Like

That’s coming along really nicely. I’m looking forward to seeing what those additional figures do for the scene once you get everything together.

I’m also really intrigued by the working suspension. I’m still learning my way around armor kits, and I didn’t realize some of them went that far with the engineering. Having the road wheel arms actually work like torsion bars and the mine roller remain movable is pretty impressive.

Does the working suspension actually help when you’re putting the model on an uneven base like this? It seems like you could get the tracks and road wheels to conform naturally to the terrain rather than having to build the groundwork around a fixed suspension.

I only have one Meng kit in my stash, the 1/48 F/A-18F. Based on your write-up of the Merkava and its Nochri-Kal mine roller, though, I’m really looking forward to seeing what their aircraft kits are like.

I’m learning something from this one. :grin:

1 Like

Since the suspension moves just like the real thing, it sits great on uneven terrain. I highly recommend you get one of their armor kits. I’m looking forward to seeing your F/A-18 by Meng. The other figures came today.

1 Like

I’m looking forward to seeing how that working suspension handles the uneven terrain. I honestly didn’t even realize models had working suspension as an option. That’s pretty cool. I may have to take your advice and try one of Meng’s armor kits one of these days. I’ve never built armor before, so that would be completely new territory for me.

And yes, I’m looking forward to that F/A-18 too. After seeing what Meng put into this kit, I’m even more curious to see what they did with the Hornet.

Glad the rest of the figures showed up. I’m looking forward to seeing what you do with them.

1 Like

Good morning friends. I hope everyone is doing well, and enjoying some cooler weather. Today our high is going to be 83. Just like so many others, we’ve been experiencing hotter than normal temperatures. I had some time to sit down at the bench and make some progress on this beauty. I did want to explain my process, from start to finish, on painting and weathering. First off, these are the steps that I take to get results I want. I have certain products that I’ve become comfortable with. 1. Prime all parts. I like Tamiya grey, and Tamiya fine grey. 2. Paint all parts the required color. 3. Apply gloss coat. This helps the wash to easily flow into all the nooks and crannies
I use Tamiya clear, mixed about 50/50 at a relatively high pressure on my air brush (around 20psi)
4. Apply a wash. I use Tamiya panel line accent colors. I use a large sable brush to put it on. I brush it on everything. Let it dry completely. 5. Remove excess wash. I use mineral spirits to remove the excess. I’m cheap, so I use Q-tips to do this. Let dry for around an hour. 5. Apply Dull Coat. I like Testors. I’ve been using it for years. Knocks down all the gloss ALOT. 6. Dry brushing. This helps highlight edges and raised detail. I use an old worn out brush. I use oil paint to achieve this. Unbleached titanium white. 7. Apply AK pigments middle eastern dust. That’s it. If anyone has any questions, please don’t hesitate to ask.


2 Likes