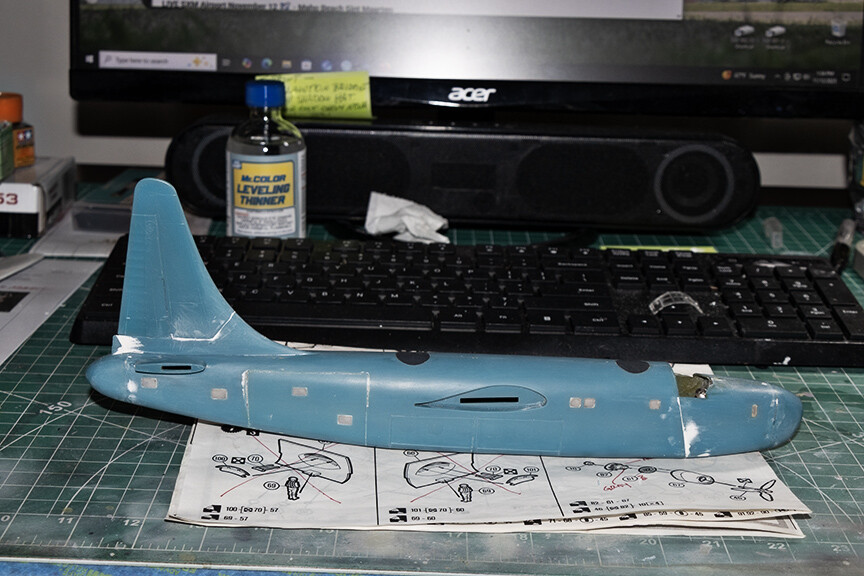
Recently, I attended Modelpalooza after a two years absence. Wow! What a show! So many models on display for judging. More vendors than ever before. While I was there trying to find as many stash adds as I could fit into a suitcase, I struck what I consider gold. One of the vendors had two Matchbox 1/72 scale PB4Y-2 Privateer kits. I’ve been looking for this kit ever since I returned to the hobby. I bought them both for $15 each. Quite a bargain. So, one of the kits in on the bench right now. The kit had been started and that’s the one I set to work on. I had to undo some of the work the previous owner had done. I took out the waist gun positions and replaced them with the supplied smooth sides. Today I attempted to install the clear glass parts. None of the clear parts fit without some work. Many of them are to small for their opening, so more CA glue filling and sanding and polishing. When the build is complete, the finished airplane will be a water bomber.

Nice! Can’t wait to see your progress.
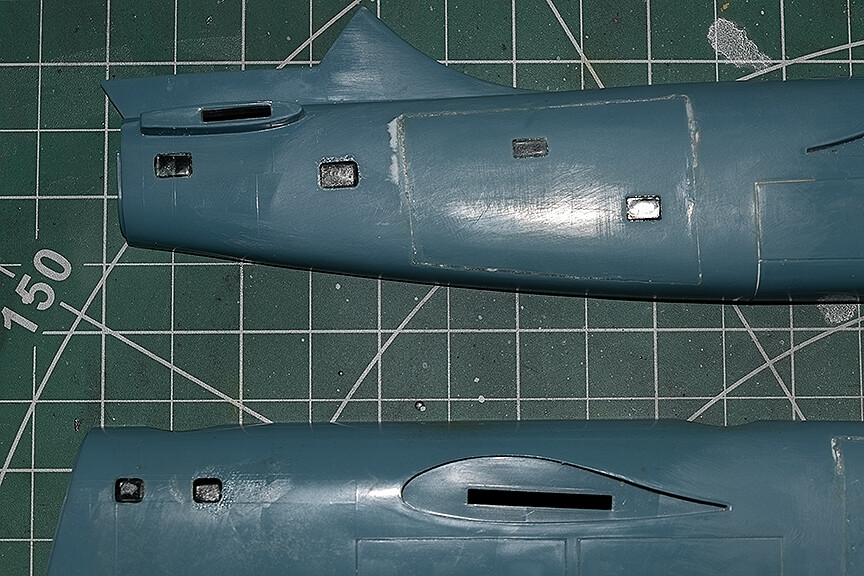
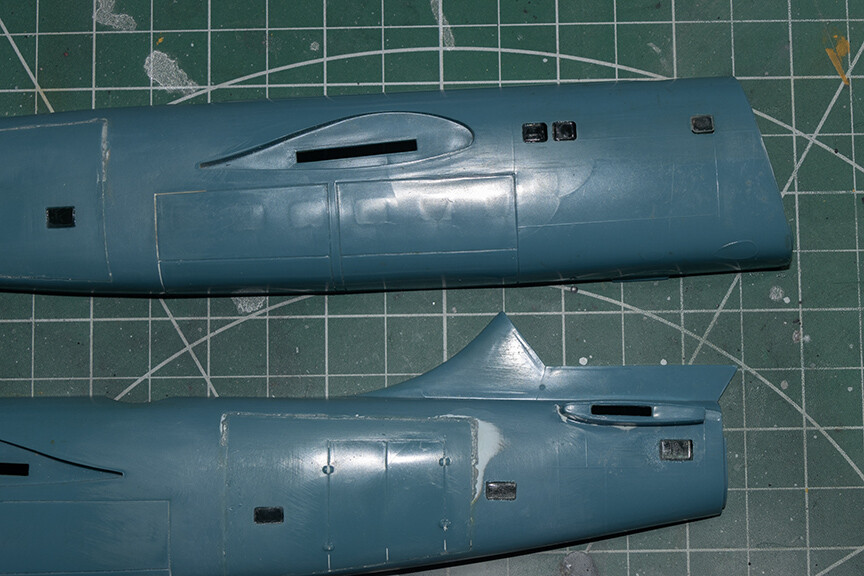
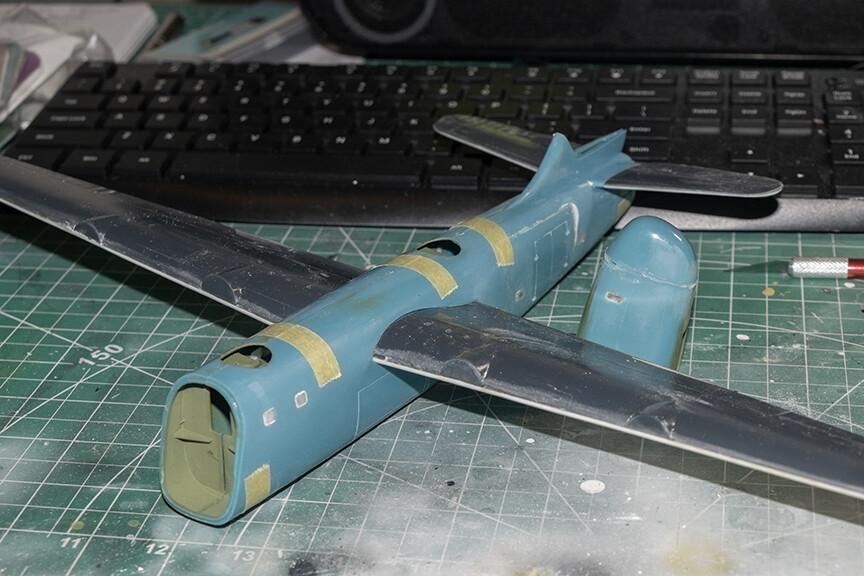
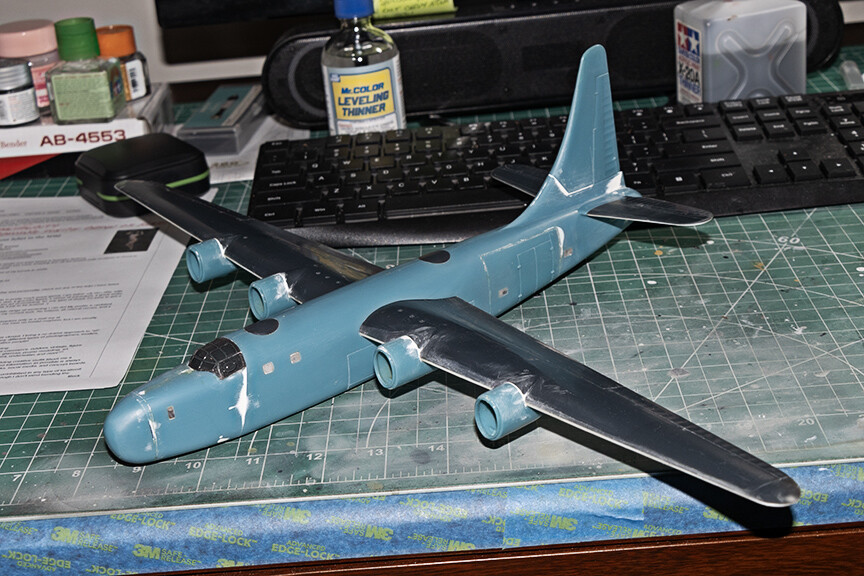
Buenos dias. I’ve been plugging away on the Matchbox PB4Y. Lots of filling and sanding. When I put the windows in, few of them fit. Almost all of the clear parts are too small so a lot of CA glue was used to fill gaps and the areas sanded smooth. When I prime the fuselage the windows will be black. This photo shows test fitting the wings and stabilizers to the fuselage. The fit is very snug. The wings and stabilizers and the nose were already assembled, so all I’ve had to do with them is clean them up. This is quite a project but I am really enjoying this build.
Well, after lots of CA glue and Tamiya White Putty, I think it’s about time to attach the wings and stabilizers. I don’t know if this a difficult build or not, just a lot of gap filling and seam smoothing. If the rain ever stops, I’ll finally go out on the patio and put some paint on this build.
Lookin’ good! When I was a little boy - in about 1990 a wave of Matchbox kits hit Poland for a first time after a years long break, so it was the firt time in my life whan I could freely buy a western model kit. I was able to extort a Gladiator and a Walrus from my parents but I remember that my wealthier friend got a Privateer - an object of envy… Ah, the memories…
Anyhow - a fire bomber - very interesting! Thanks for sharing and good luck with your build!
Have a nice day!
Paweł
Thank you, Pawel. Some Privateers made it into civilian service in the 1950s as fire bombers. When this build is finished, it will have a modern livery instead of an NMF finish, for more visual interest. Thanks again.
@fotofrank - I was aware of that, in the late nineties I got a photo album with fire bombers and some privateers were there. That made me think - would it help you if I dug that album up and posted the photos here? Would be some serious digging thou, I don’t think I’ve seen that album in the last 20 years.
Not to worry, Pawel. I’ve been able to find what I need for the build online.
Are you going to do the typical Privateer fire bomber engine change to B-25 Mitchell engines and cowlings?
I thought about doing that, but new engines and cowling/nacelles is more work than I wanted to do. So the finished build will have the original engines, etc.
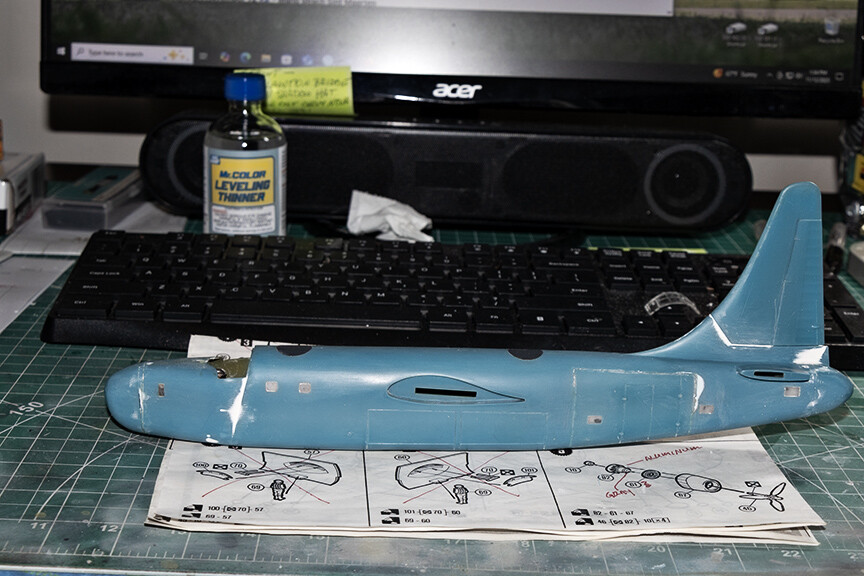
Well, the wings are attached to the fuselage of the fire bomber, and so is the canopy. Lots of CA glue and Tamiya White Putty to fill gaps and seams. The plane will be headed out to the paint bench pretty soon, I hope. I’m waiting for a delivery from Kit Masx for the canopy mask. Kit Masx is located in Kelowna BC., Canada. Since Canada is blocked from shipping directly to the U.S., my order is coming by Canada Post, directly to Panama, thereby avoiding recently imposed tariffs by the U.S. I should see my order in another week or so. In the meantime, here’s the latest photo.
Looks great, nice job filling all the seams. Looks smooth.
Really coming together now! Looking good.
Today I finally received paint masks for the PB4Y fire bomber build.
The build should begin moving ahead again.
Stay tuned . . .
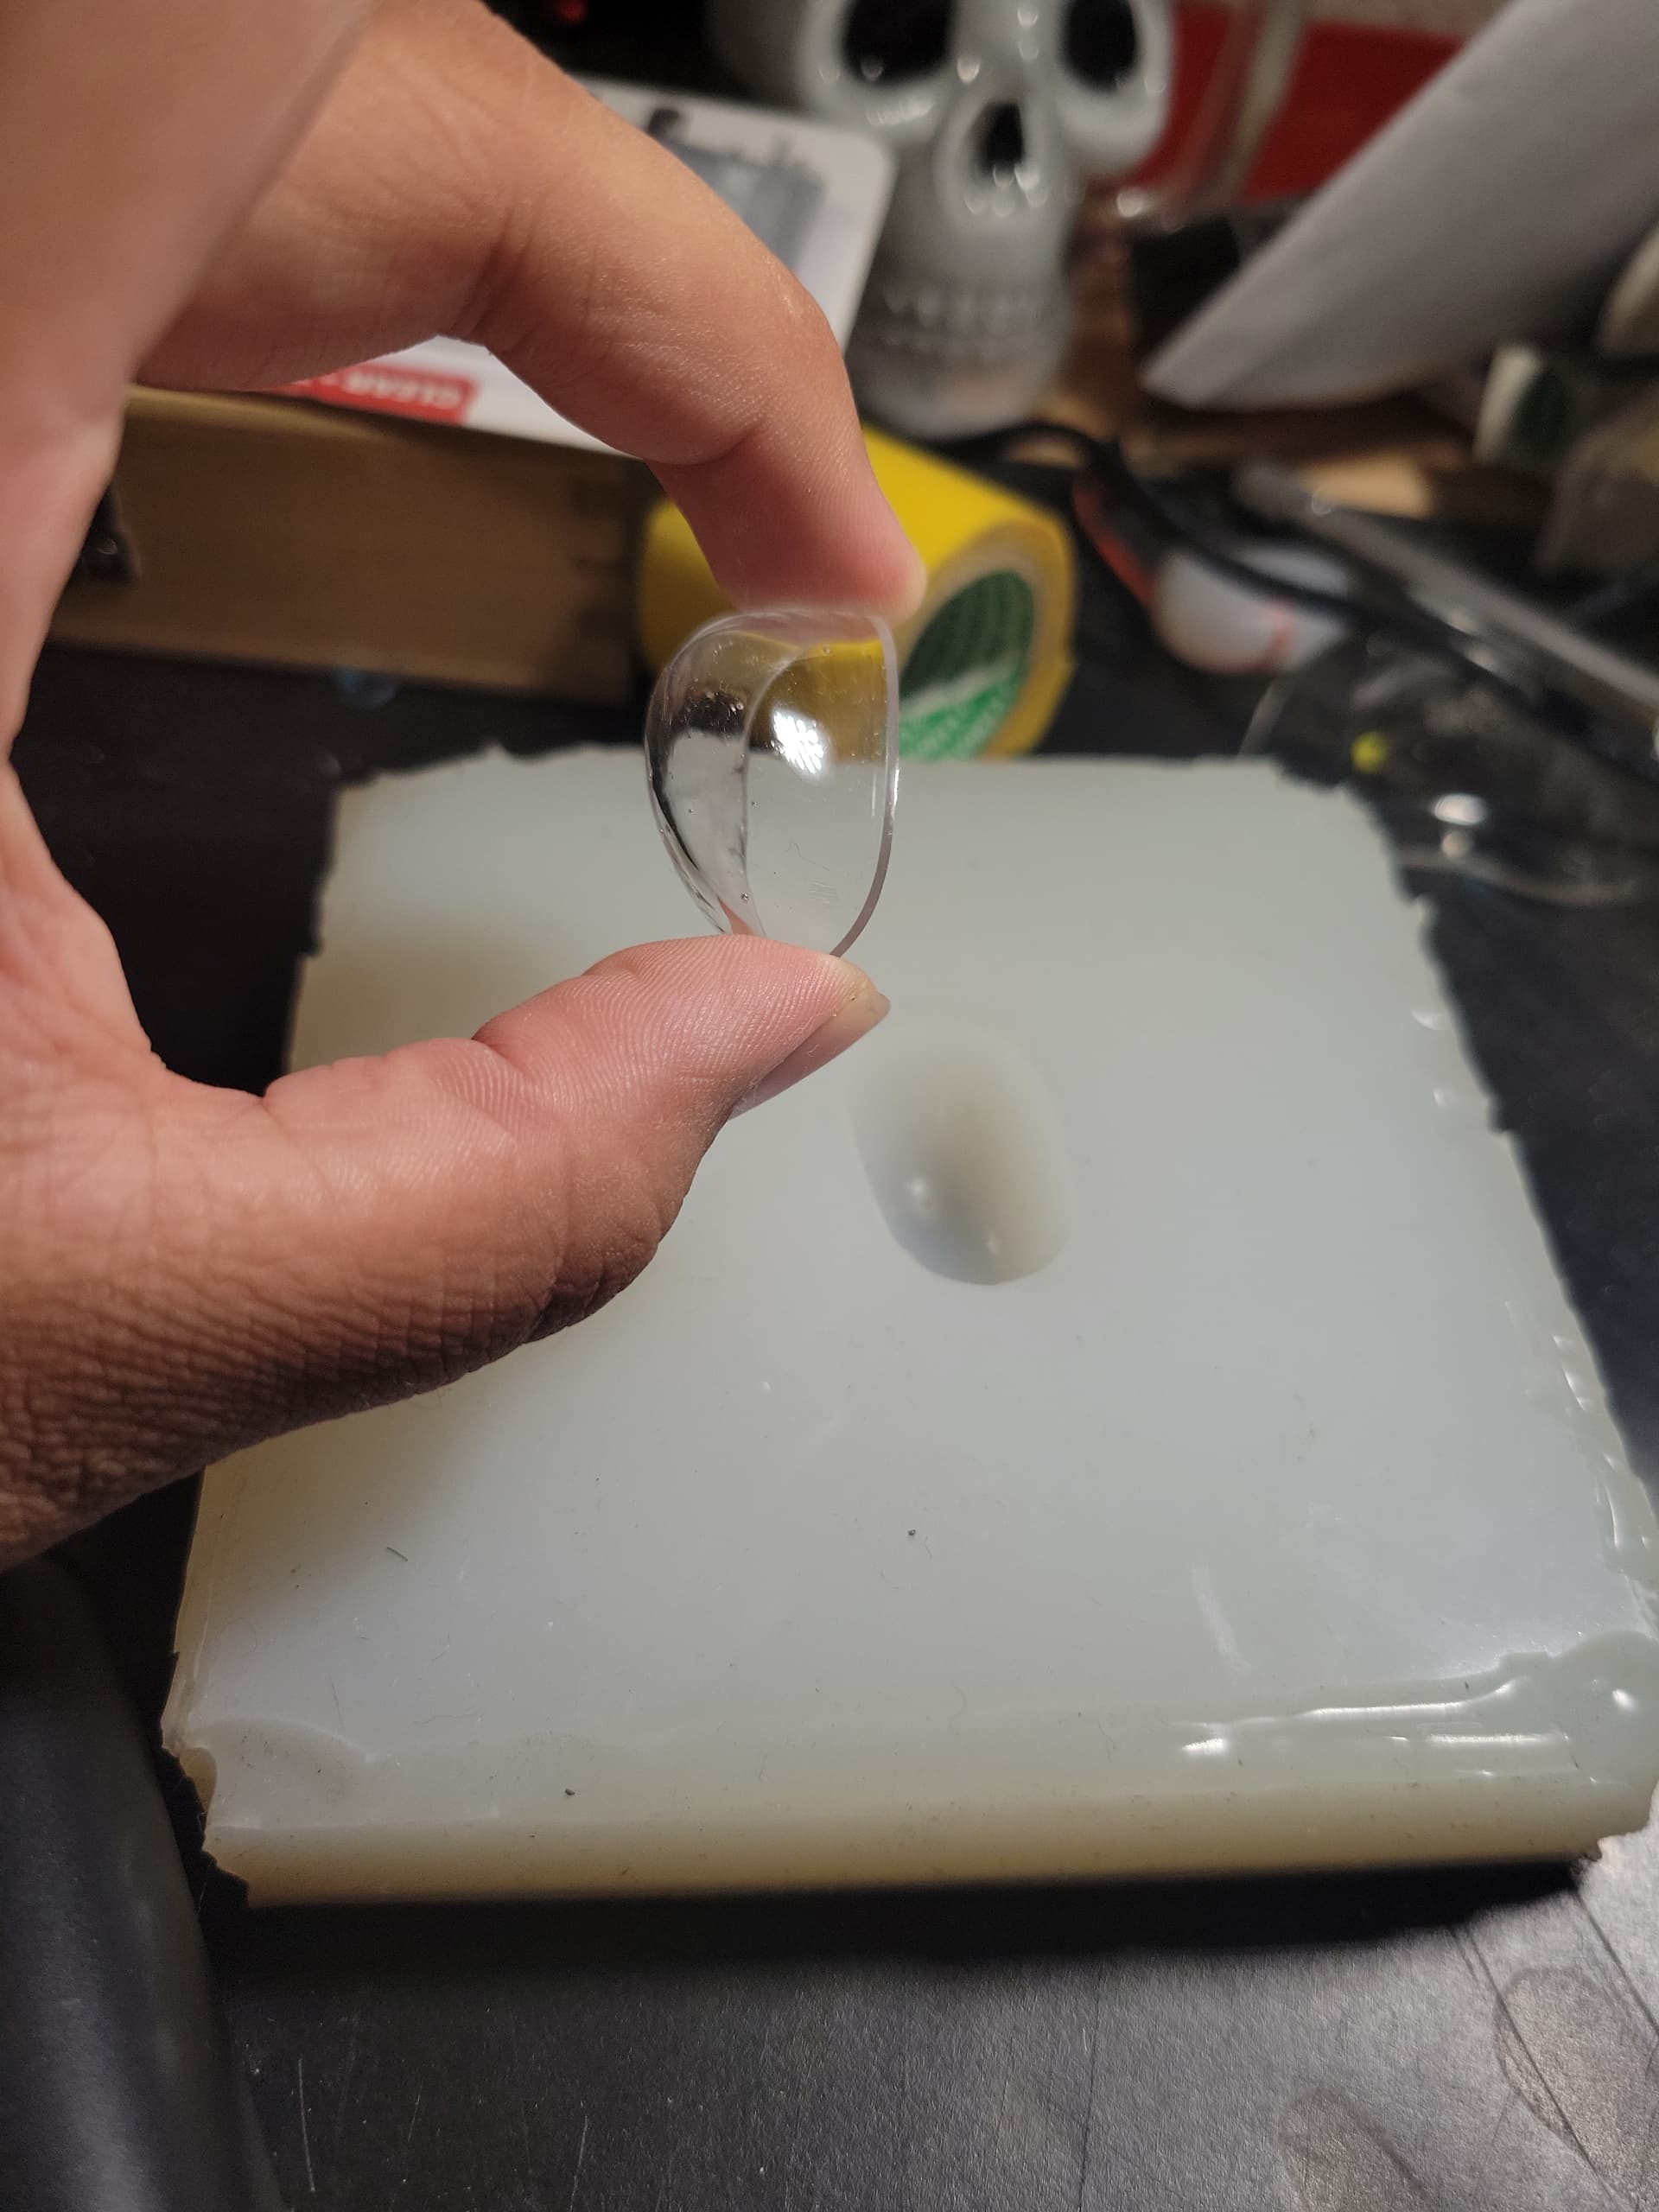
Getting closer to paint. I masked the canopy today and I’m closer to spraying primer. Very tedious, for sure. If all those mask pieces are put together, edge to edge, they’re not much larger than a thumbnail. The blisters on the side windows will get liquid mask before I shoot primer.

Hi there! Im quite intrigued by your progress so far on the build. I do want to ask, how should i go about doing a b25 conversion for the engines to get the true firebomber appearance? I havent seen another person attempt a firebomber with them and was curious as to your thoughts since i see you are pretty good at this. Im currently working on fabricating the tail and nose of my kit but im stuck on the engines… Also have you made any progress? Im curious to see! God bless.
-JT
The Privateer is still waiting for paint. I didn’t change the engines to Wright Cyclones because I just didn’t want to do that much work. That old Matchbox kit was a real chore to get built. I.m not sure if I’ll even finish the build. I do have a second Matchbox Privateer kit in the closet. Not sure I’ll build that kit either. The build is OOB though, no aftermarket stuff.
Thats awesome!! If you’d ever consider selling that second kit I’d be more than happy to do bussiness with ya! It’ll likely be another tribute plane hahaha.
Well, Yellowjacket, I’m in Panama and Panama has no postal system like the U.S.
I will be attending Modelpalooza in Orlando in October.