I very much recomend Eduard masking sets, but $15 seems extreme. Don’t think i have paid more than £10 for the most complex mask set, who’s make is the one your looking at and what TIE kit is it for.
I guess it depends on how much you value your time.
I use them sometimes on planes with complex frames I.E. most Japanese aircraft, and maybe even the TIE fighter but find them a waste of money on bubble canopies such as modern jets and the P-51, P-47, FW 190 ETC.
The Tie fighter should be easy enough to mask. It has very distinct and well defined framing. You don’t have to cut the exact shape, just cut little strips and do each straight line, then fill in the middle with more tape or liquid masking fluid. It’s time consuming, yes, but it’s exactly the same methodology used for “greenhouse” canopies (think WW2 German bombers)
SWD: masking works best using little pieces to do one side at a time.
Let’s say you want to mask an area 1" x 1". It would be too hard to cut a piece that fit right all the way around. Mostly because the area on the model isn’t a true square or rectangle.
Start on one edge. Cut a piece of 6mm Tamiya tape to have a nice square end,and about 5/8" long. Stick the square end into one corner and burnish the piece down. Do the same thing at the other end of the same edge. The two pieces will overlap in the middle. Burnish it down. Do the same thing on the opposite edge. Then do the last two edges with pieces that are a little short at each end but overlap the other tape.
You are left with an opening about 1/2" square in the middle. smack a square piece of tape a little bigger all around down over it.
See that wasn’t too hard. If you can get the corners right, the rest is easy.
Are masking sets worth it? Depends. For what you’re trying to do, since the kit has easily discernable framing, no. (You could always use the glassless option, that’s what the studio did.) As others have said, cut some Tamiya Tape (or whatever brand of tape it is that you use, Tamiya just happens to be the best IMHO) close to size, and then burnish the dickens out of it. I use whatever is handy and will get the job done, fingernail, paintbrush handle, piece of pointed sprue (make sure that you don’t put too fine a point on it), etc. Make sure you use a new blade to cut the tape and let the weight of the knife do the work. Don’t press too hard or you’ll break the tip of the blade off or possibly have the blade walk and scratch the plastic (or worse yet, break the part itself). After you’ve cut a section, gently pull off the excess and reburnish if necessary. Also, post pics in the Sci-Fi section and join us over in Bish’s Star Wars GB, we’d love to see it come together.
You put tape on and cut with a knife? I was cutting exact shapes using scissors, which is proving too difficult. Next I was going to just assemble enough rectangular pieces to cover the area. Guess I’m not understanding a good methodology for masking a small hexagon. I could try cutting after the tape is applied.
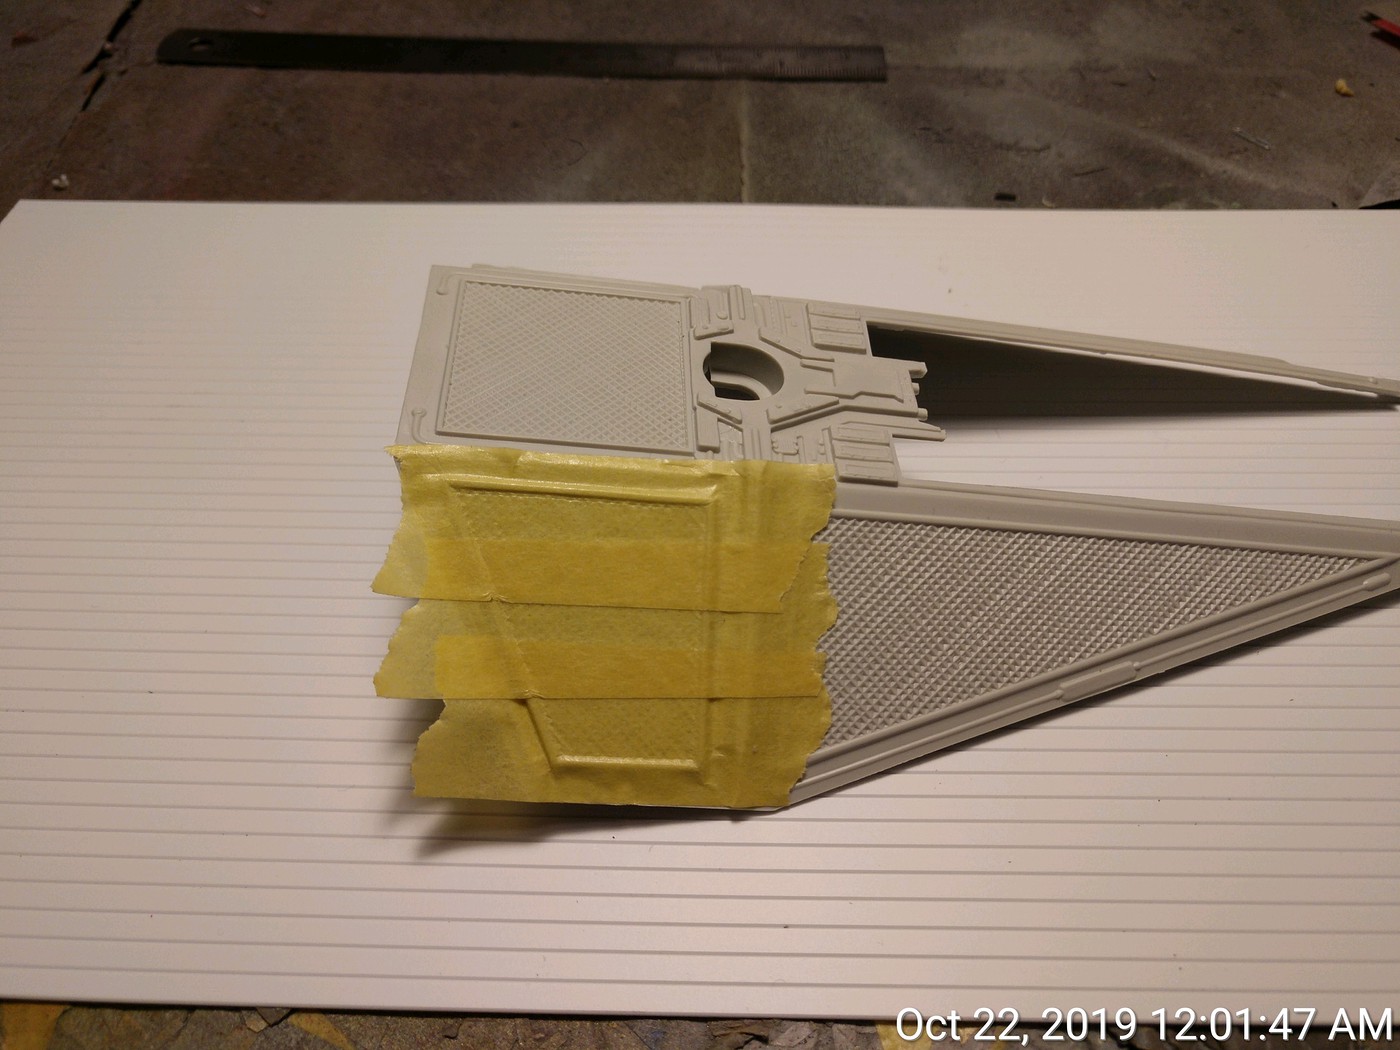
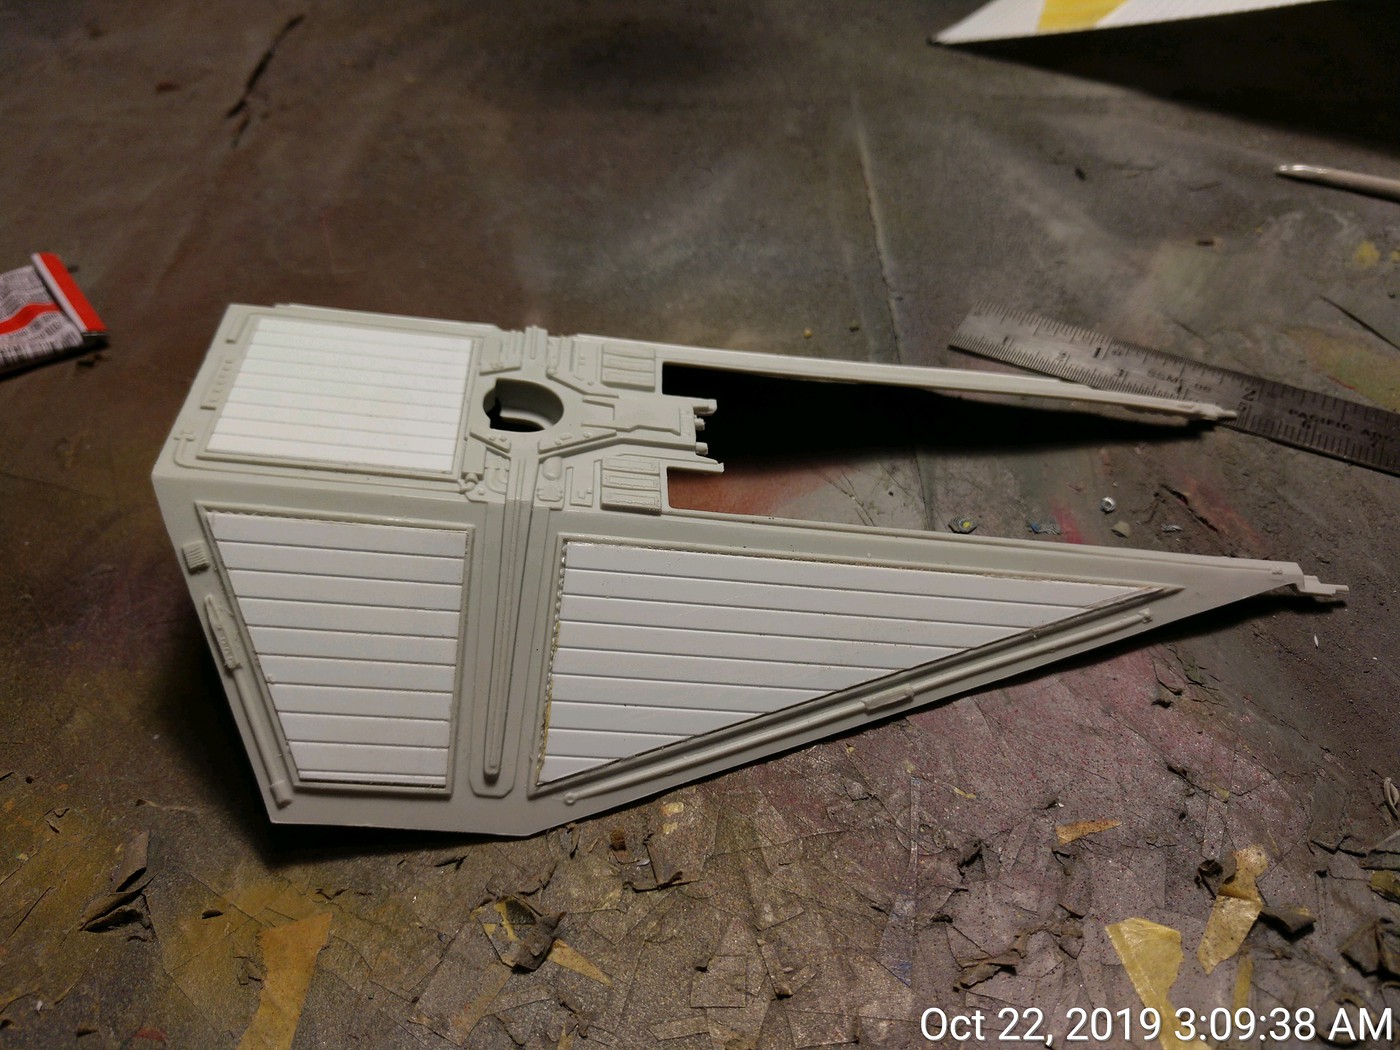
Here’s a pic from my current build, the ancient, I mean classic, MPC TIE Interceptor. What I am doing is creating a template so that I can create new solar panels for the wings. The concept is the same for masking your canopy. First lay down the tape.
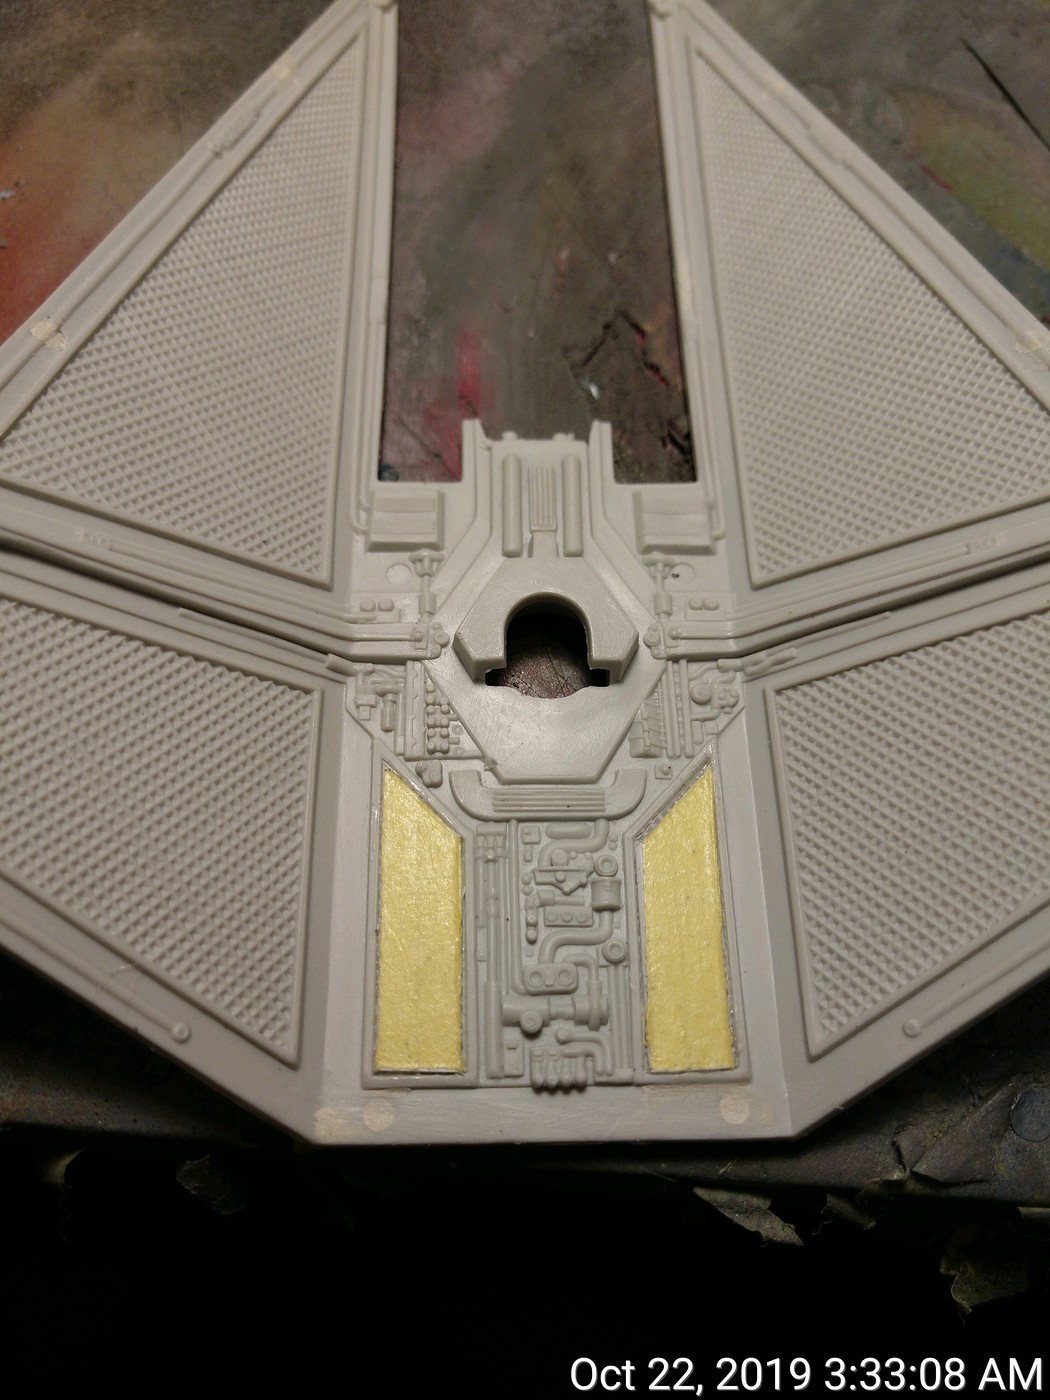
Now to create the template (mask in your case), I’m going to take a new #11 Xacto blade and cut along the inside of the framing (hold the knife gently, let the weight of the knife do the cutting). Once the excess is removed, this is what it will look like.
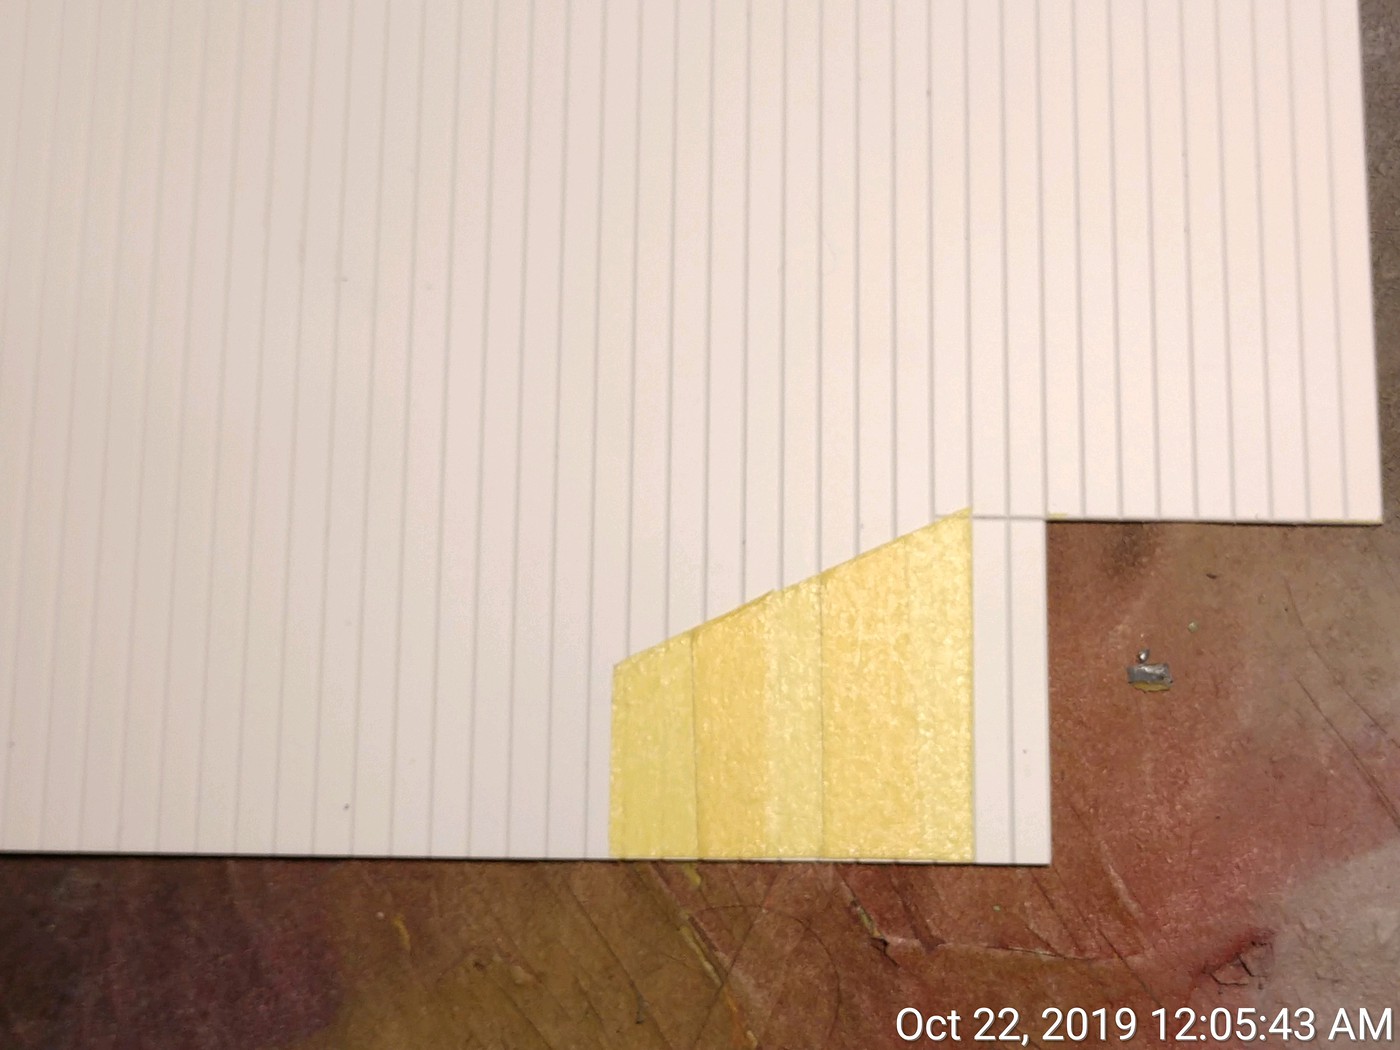
For you, your job is done. You’ve created a custom mask for your particular kit. From here, I would transfer the tape to a piece of sheet stock to create the needed solar panel and cut it out.
After I cut out the piece, I attached it to the model. Since I was using pre-scribed sheet stock, I left the tape on to prevent any chance of glue fingerprint making it’s way on to the model.
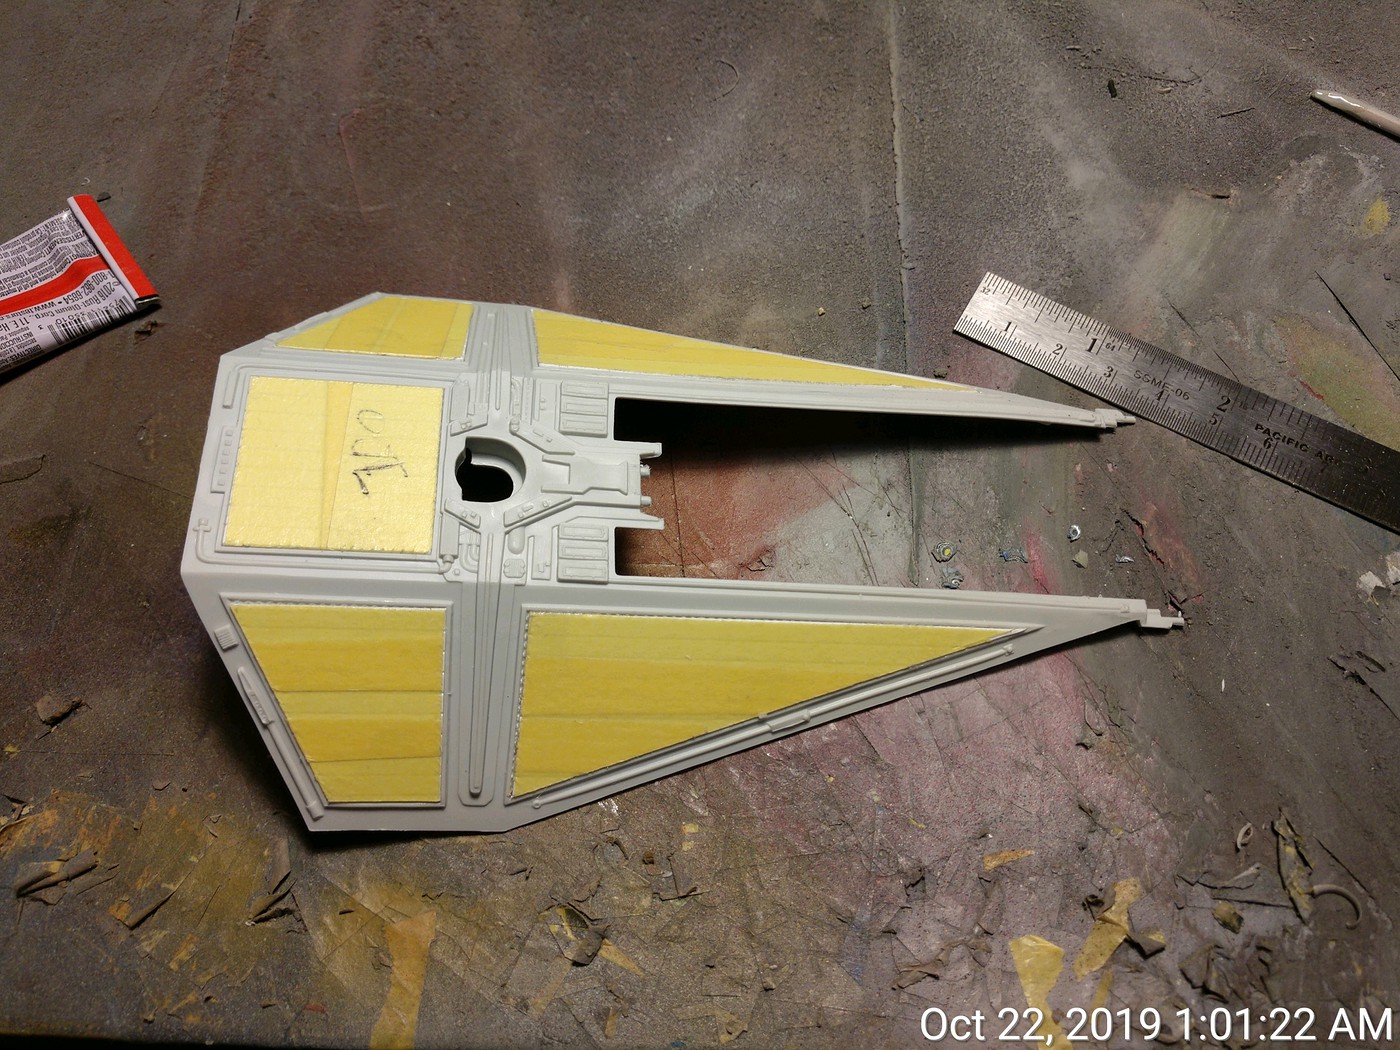
After I was done gluing everything, I removed the tape and had a wing with new solar panels.
Were I planning on taking this kit to contest, I would have cut the panels slightly oversize and sanded them until I got a perfect fit.
Since I’m using this as a first attempt at scratch building a conversion, I’m happy with my work. I hope this answers your question (and gives you more ideas). If not, let me know and I’ll break out my TIE Stryker canopy and do a better pictorial.
EDIT: Make sure you burnish everything back down before you paint. If you find that your mask didn’t go all the way up to the framing, take a pointed toothpick or a piece of sprue and gently scrape away the paint. The wood or plastic shouldn’t mar the clear.
Here is a pic of my masked canopy in place. I’ve already given it a coat of Tamiya Primer Gray out of the rattle can (like Tamiya’s tape, their primer is the best out there. Once again, my humble opinion.). I forgot I had this pic or I would have included it in my previous post.
If you look closely, one of the corners has curled up a bit on one of the panes. I’ll reburnish that before I apply the final color coat. If it won’t go back down, I’ll replace it. Hope this helps.
Did you already paint the cockpit insert or are you going to paint the body, unsnap it, and put the cockpit in later? I have been painting each part individually too avoid the difficulty of disassembly. Feels like I will break it and once put together, tough to undo.