Choctaw,
I have had very good success using Parafilm M. I’ve put this article together for those having trouble masking aircraft canopies with their current method, or may be concidering tying a new techinique. Hope this helps some of my fellow modelers out there!
Masking and Painting Aircraft Canopies
using Parafilm “M”
By: Greg Williams IPMS #44084
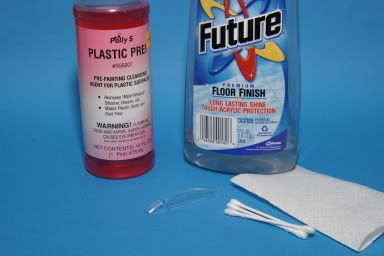
When building model aircraft, one aspect that I would fear the most was finishing the canopy or “cockpit glass” parts of the model. Of course like any modeler the goal is to make the canopy look realistic, but I didn’t have a technique that would help produce a well finished canopy that looked realistic or “like the real thing”. I prefer to use Parafilm “M” for masking canopies for painting. Parafilm “M” is a thin, waxy, stretchable material that conforms to nearly any surface, great for model canopies, weather you build 1/48th or 1/72nd scale aircraft. Parafilm is available through the Testors Corp., Rockford IL. 61104. Also shown is another material, Bare Metal Foil (BMF), but I’ll focus on Parafilm for this article.

*Canopy preparation "On with the Future "
To achieve the clearest possible canopy (out of the box) without having to sand and polish is to use the tried and true Future floor polish, found in any super market which sells for about $3.00 for a 27 oz. bottle. I simply use a soft, wide tip, Red Sable paint brush and paint on the future on the top and inside of the canopy. Set the wet canopy aside on a lint free surface, I set mine on a piece of glass until dry. After letting the future dry for at least 30 minutes to an hour, you will have a realistically clear canopy. Lets go through the steps for using Parafilm “M”.
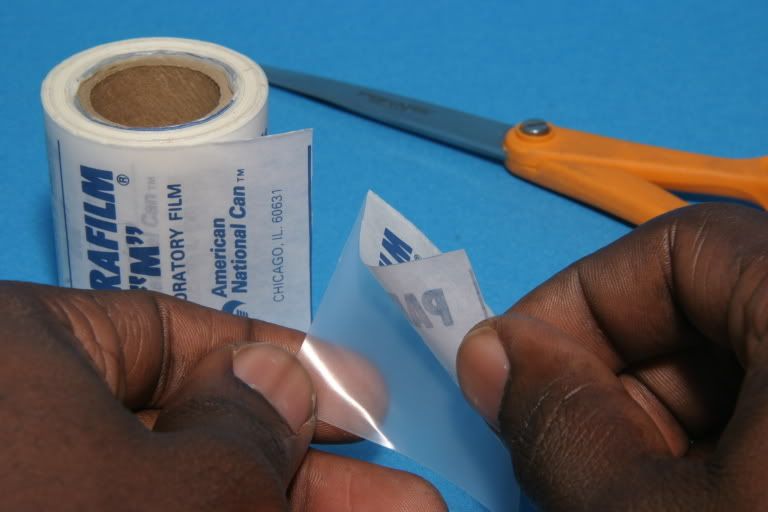
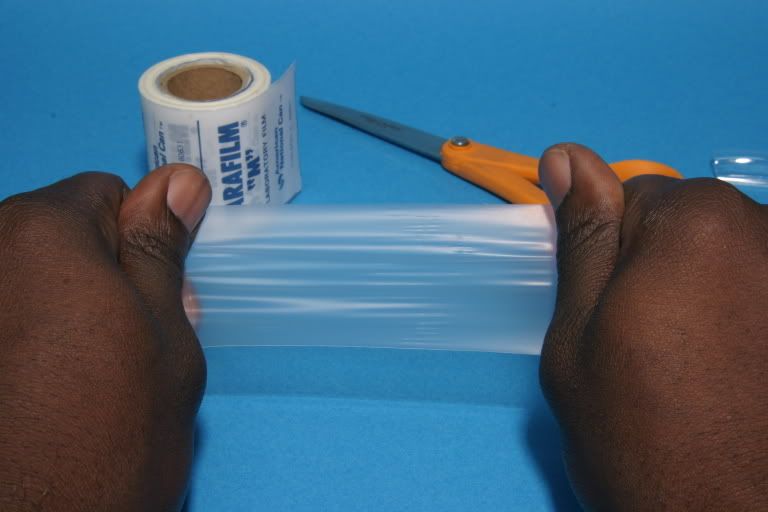
Step#1: Stretching the Parafilm
First and foremost, read the instructions. Parafilm “M” is easy to use and very user-friendly. Cut a 2" square of the film from the roll and remove the paper backing. Stretch the film until taught, being careful not to over stretch, as you may snap the film. Lay the film aside for a minute and your ready to go; stretching the film activates the adhesive allowing it to stick to the clear plastic.
Step #2: Canopy open or closed?
At this point decide weather you will modeling the canopy open or closed. For closed canopies, attach the windscreen first to the fuselage. Use Testors Clear parts cement to attach clear parts. This cement won’t fog your canopy and adheres with a strong bond. Wipe the excess glue with a Q-tip moistened with water. For open canopies, we’ll work with the canopy off the model and apply the Parafilm M below.
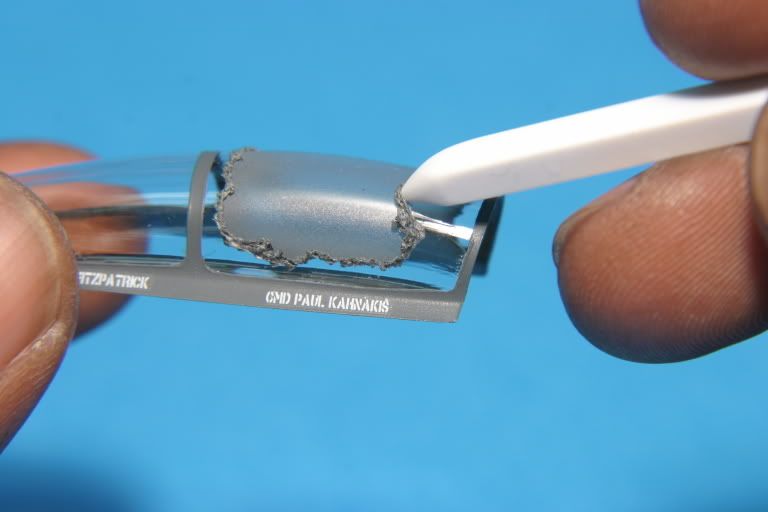
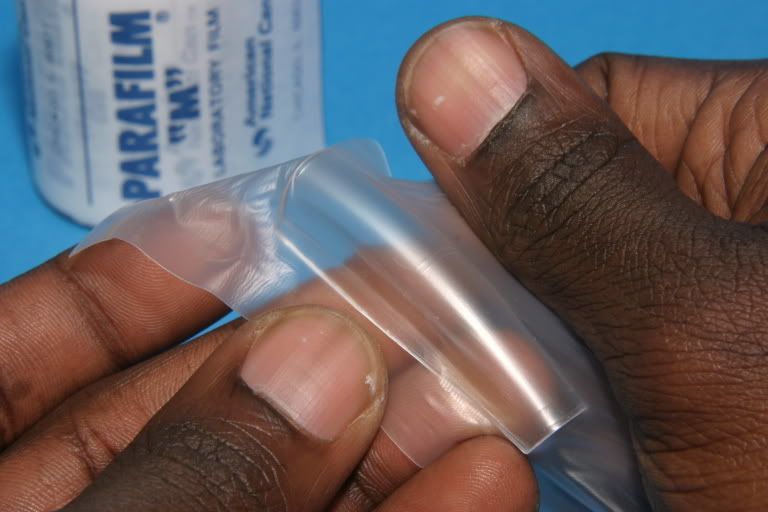
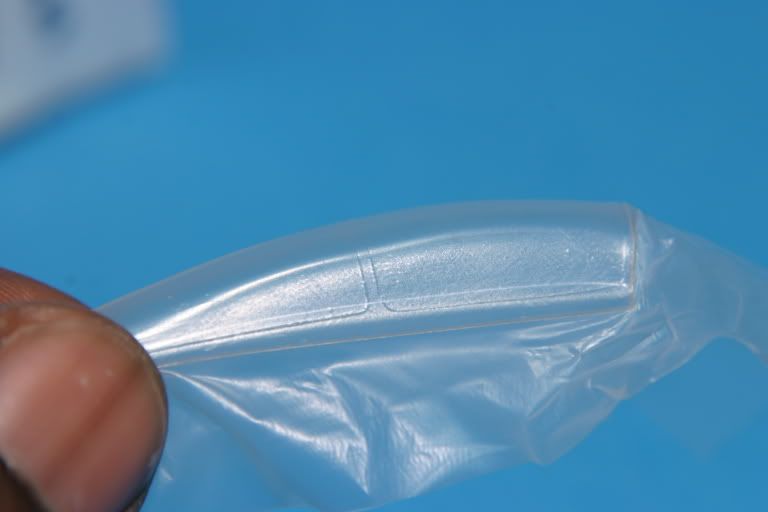
Step#3: Applying the Parafilm “M”
Place the stretched Parafilm over the canopy glass and press firmly yet gently with finger-tips. The warmth of your finger tips assists the film in adhering to the canopy. Don’t burnish down with tools, as you may tear the film. Check for air pockets, if applied correctly you shouldn’t have any, but occasionally some do appear. In that case, use your finger tip once more to persuade the bubble down.
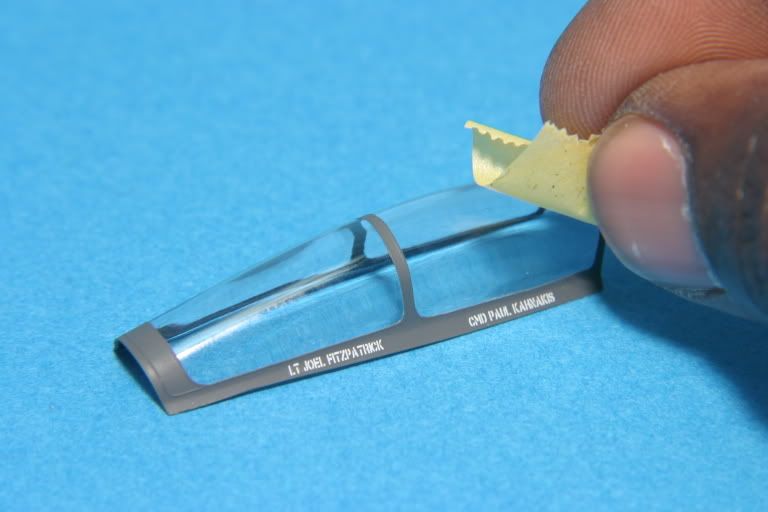
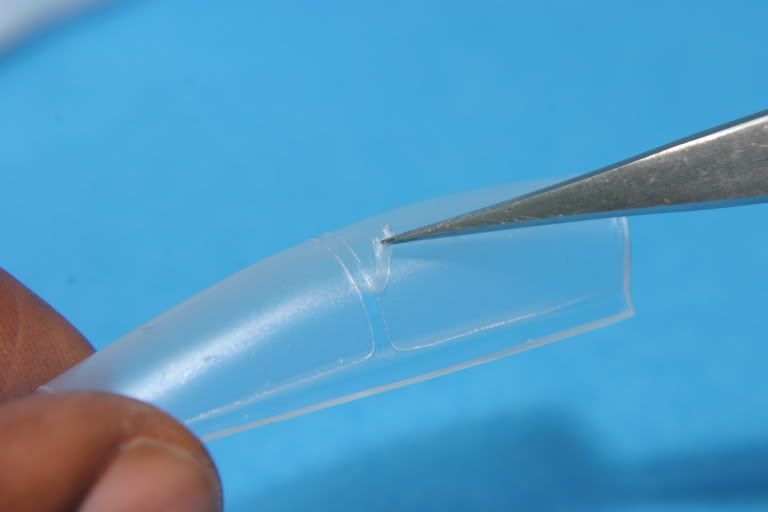
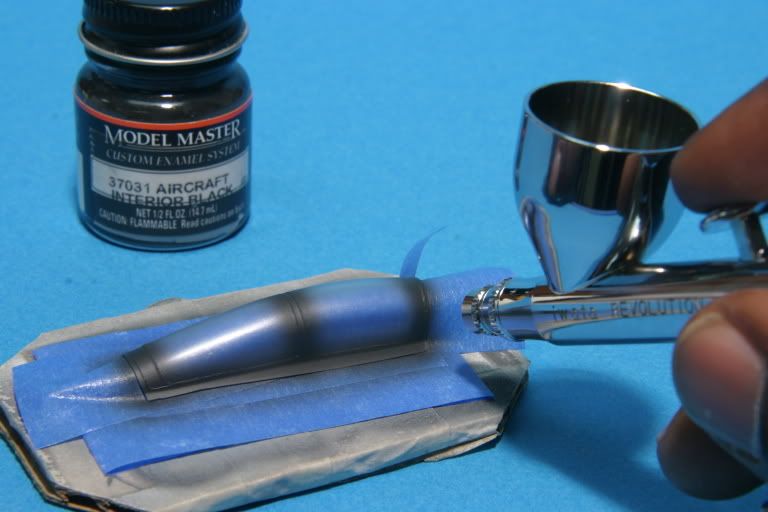
Step#4: Trimming and painting
At this stage you should be able to see the “ribs” or framing of the canopy very well for trimming. Get a new, sharp No#11 hobby blade and carefully cut around the glass areas to expose the framing, being careful not to score down into the canopy glass. One of the nice things about Parafilm “M” that I like is that it’s thin and yields sharp, straight lines. Once the framing is exposed, your ready for painting; you can use any type of model paint with Parafilm “M”; I’ve used everything from acrylics to lacquers with good consistent results.
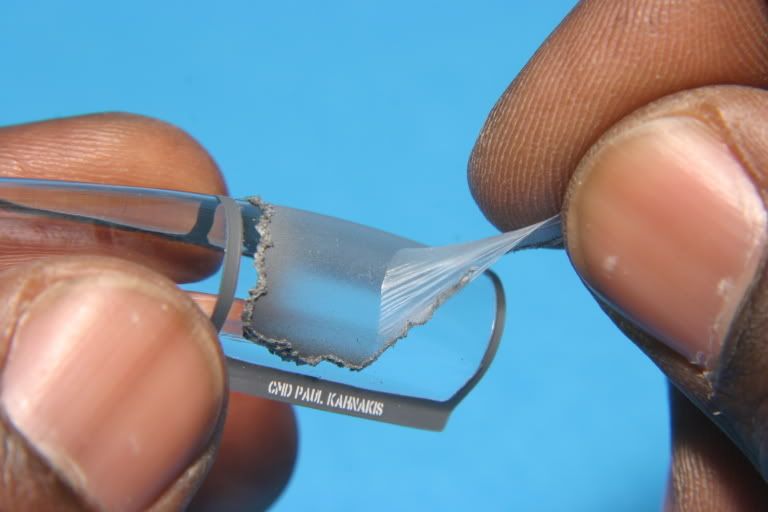
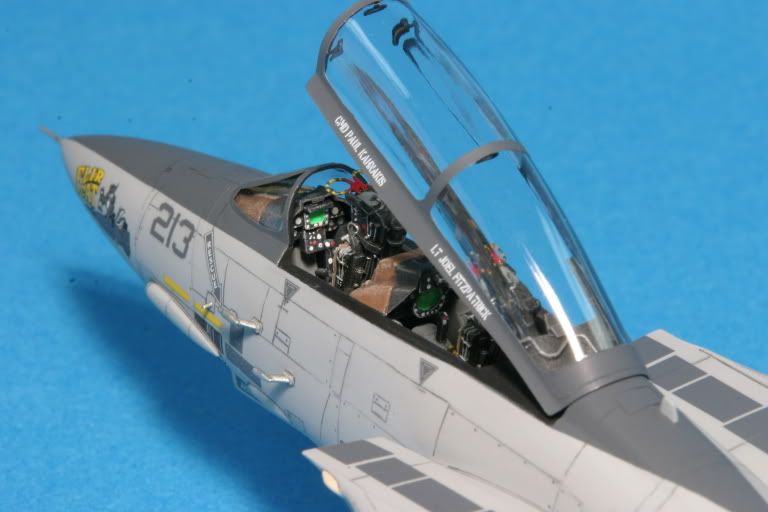
Step#5: Removing the film from the canopy
The next step is to remove the Parafilm. I’ll usually wait until after applying the decals and the final clear coat before I remove the Parafilm. It doesn’t matter how long you leave Parafilm on the canopy glass because it removes easily leaving no adhesive residue. The layers of paint and finish on top of the film will make the Parafilm slightly stubborn when trying to remove, but all you have to do is start at a corner of the mask with a toothpick, then use a pair of tweezers to grab on to the film. I fashioned a tool out of square styrene stock for this purpose. The film will now peel off, leaving a beautifully finished canopy and a professional appearance! Remove any specks of dried paint with a small rolled piece of low-tack masking tape like Tamiya.