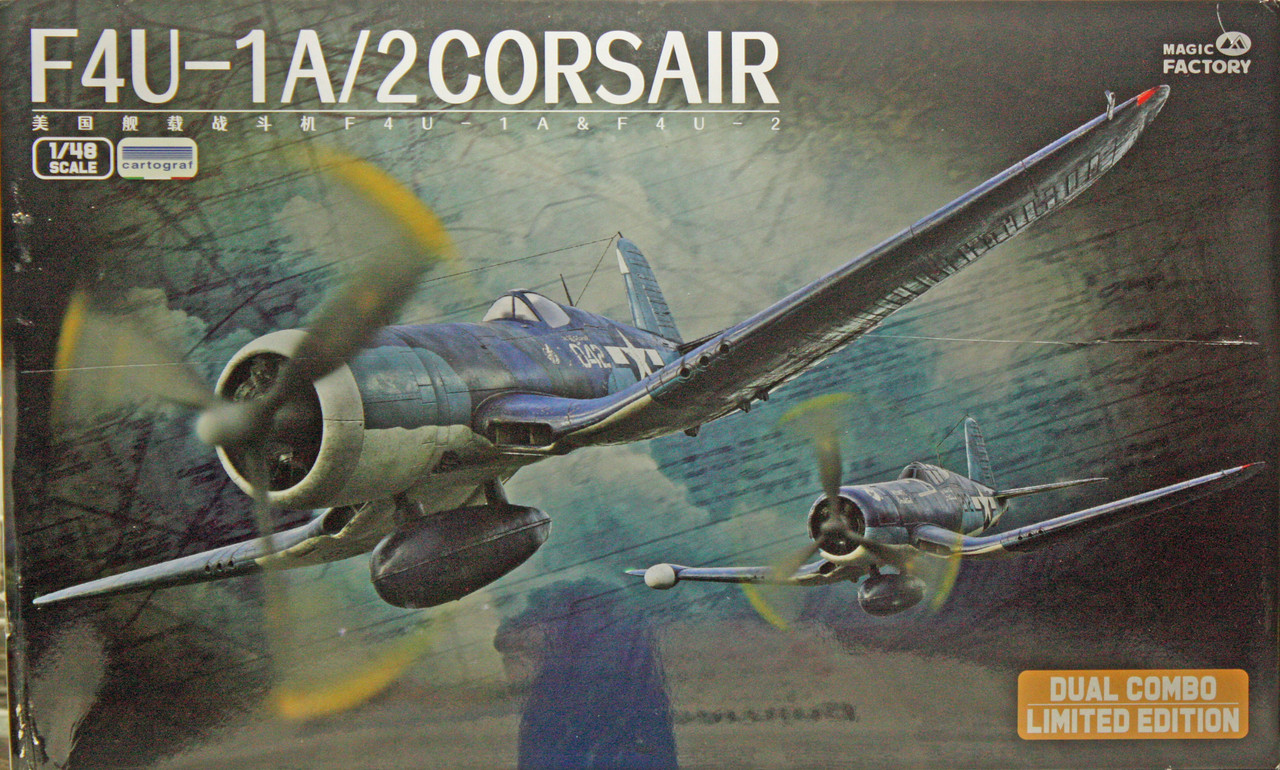
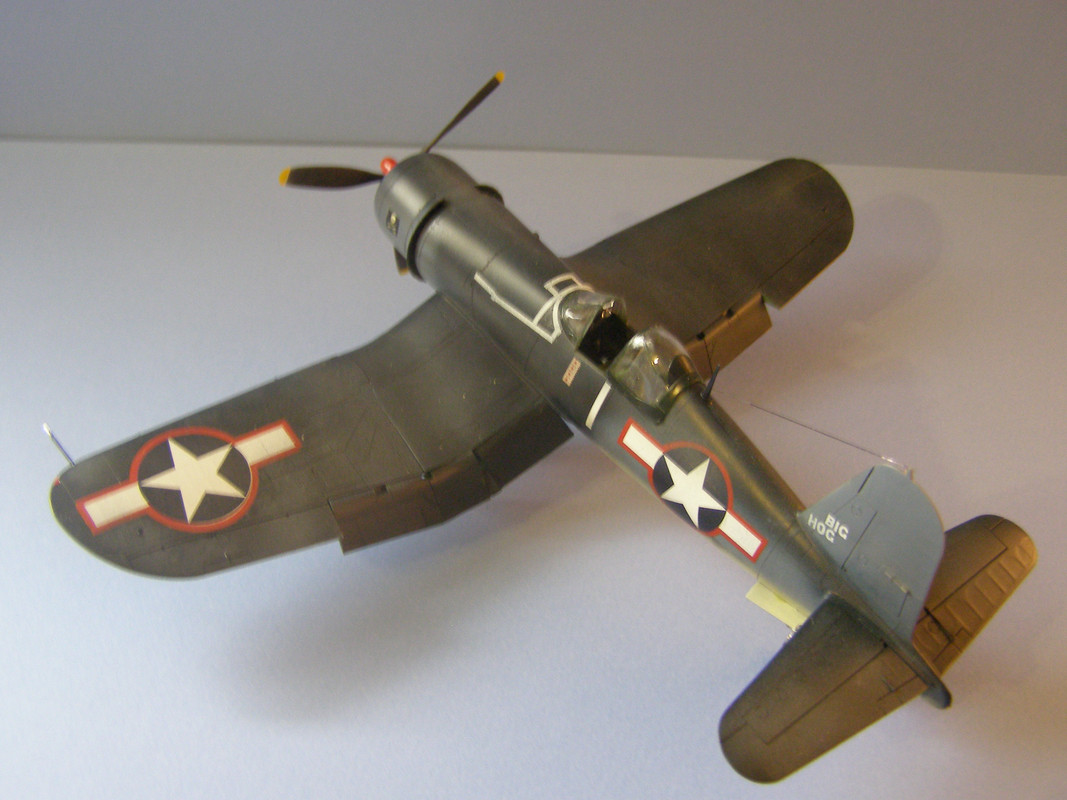
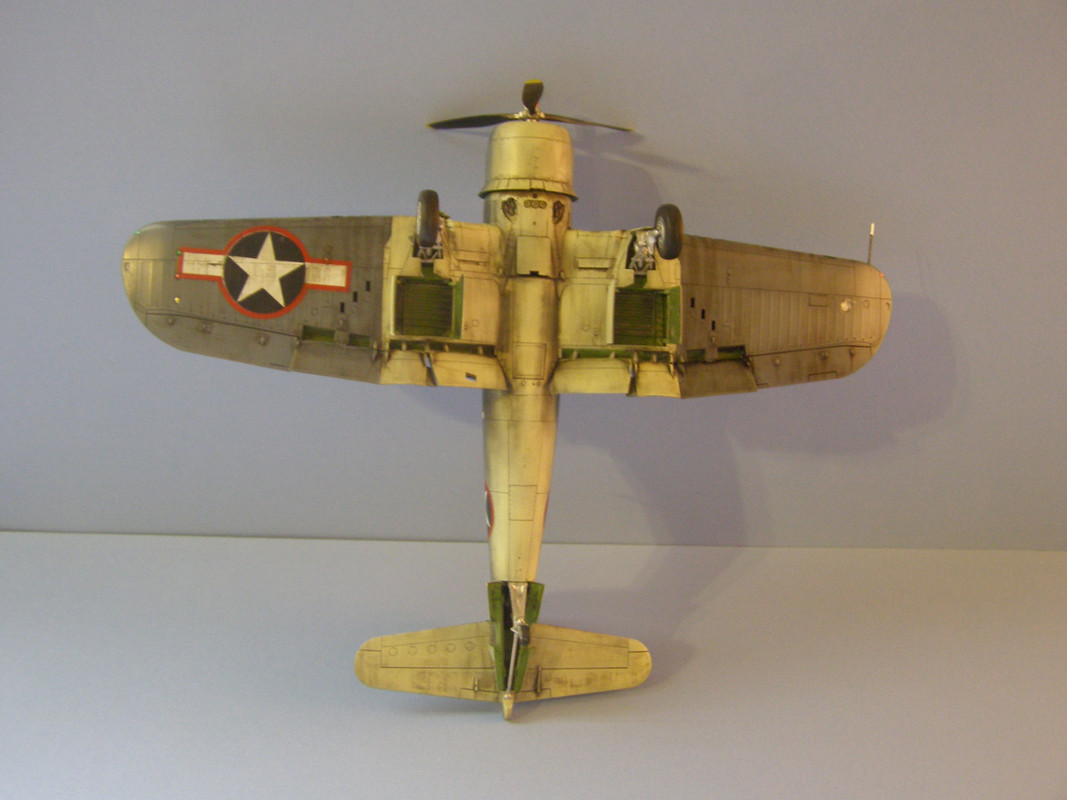
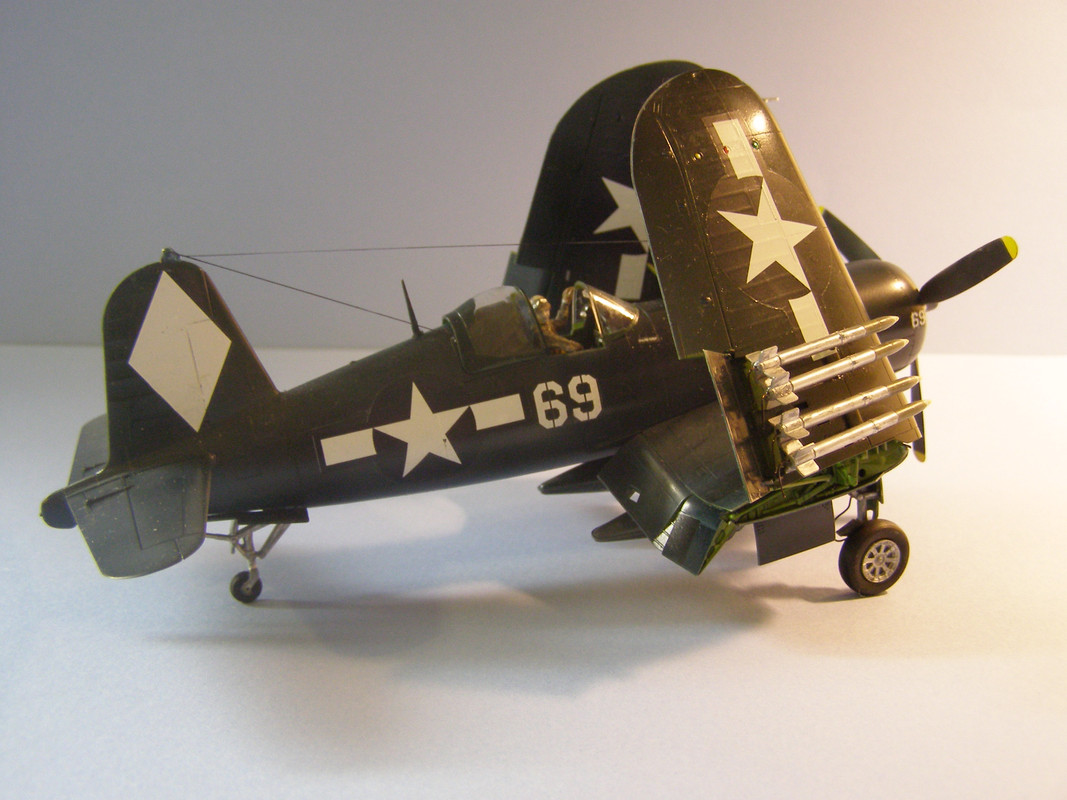
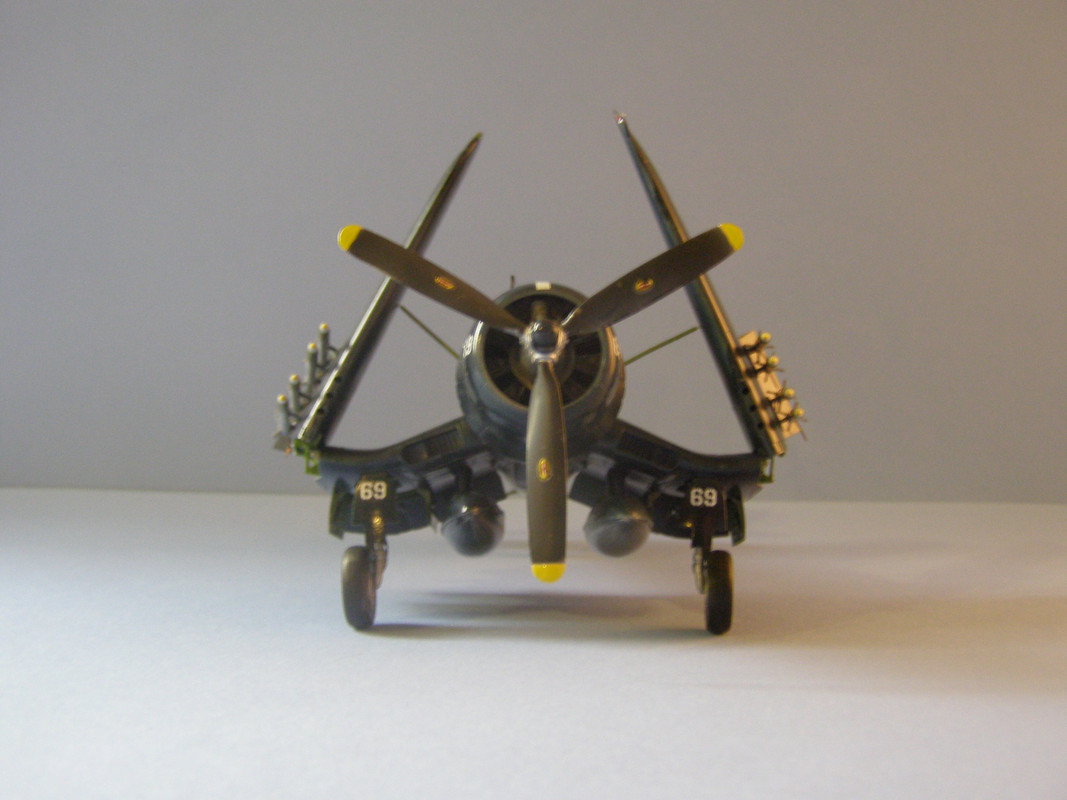
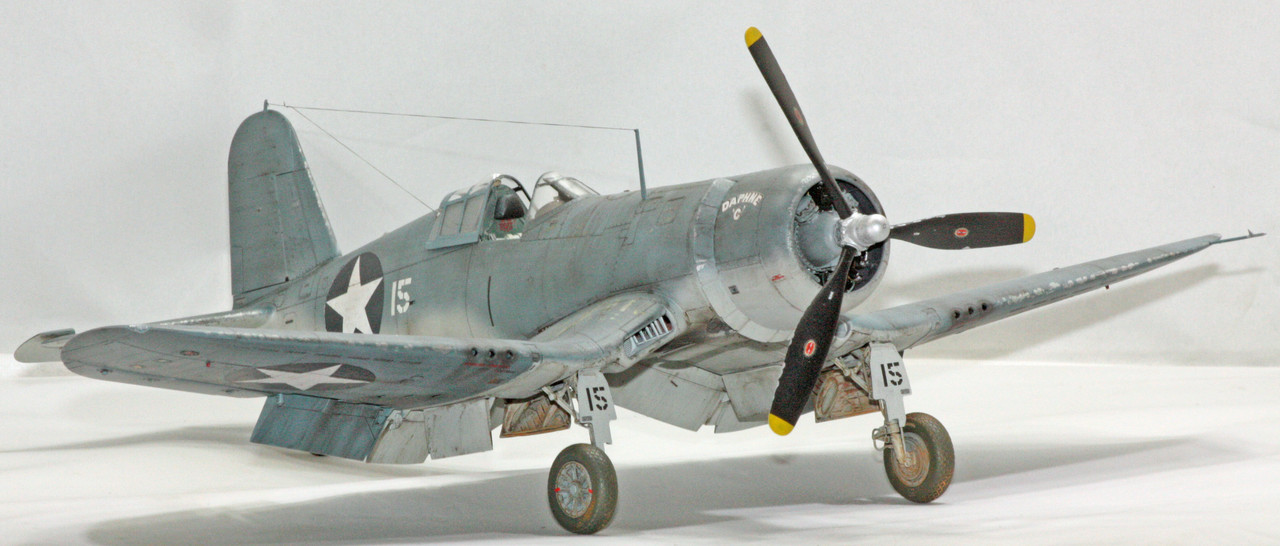
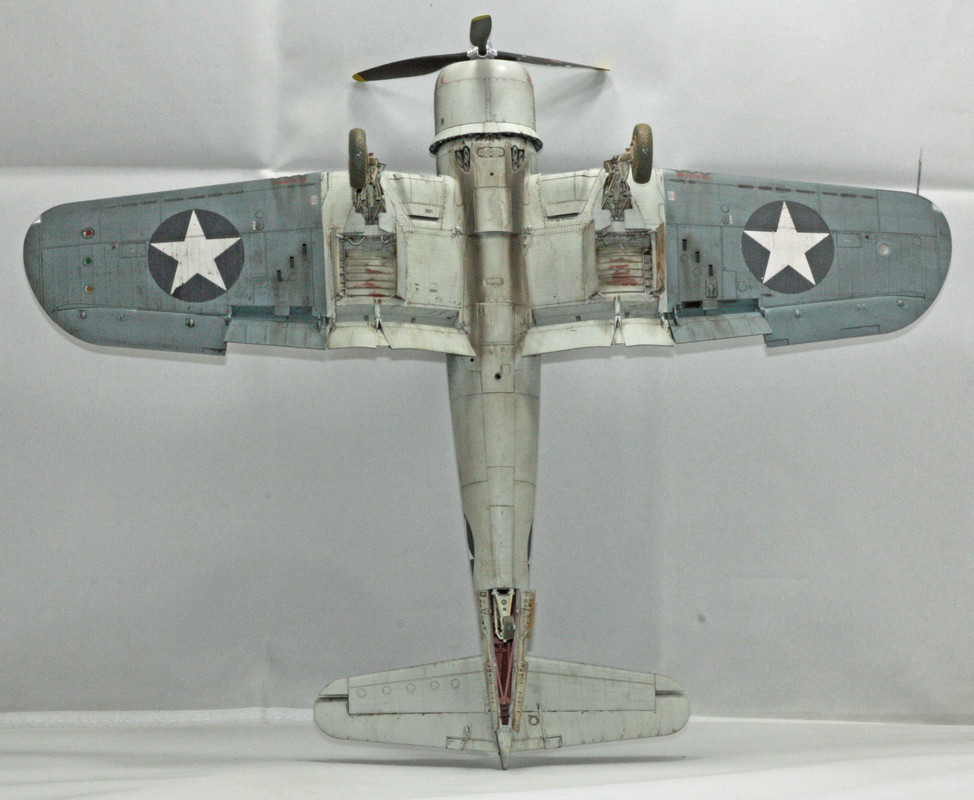
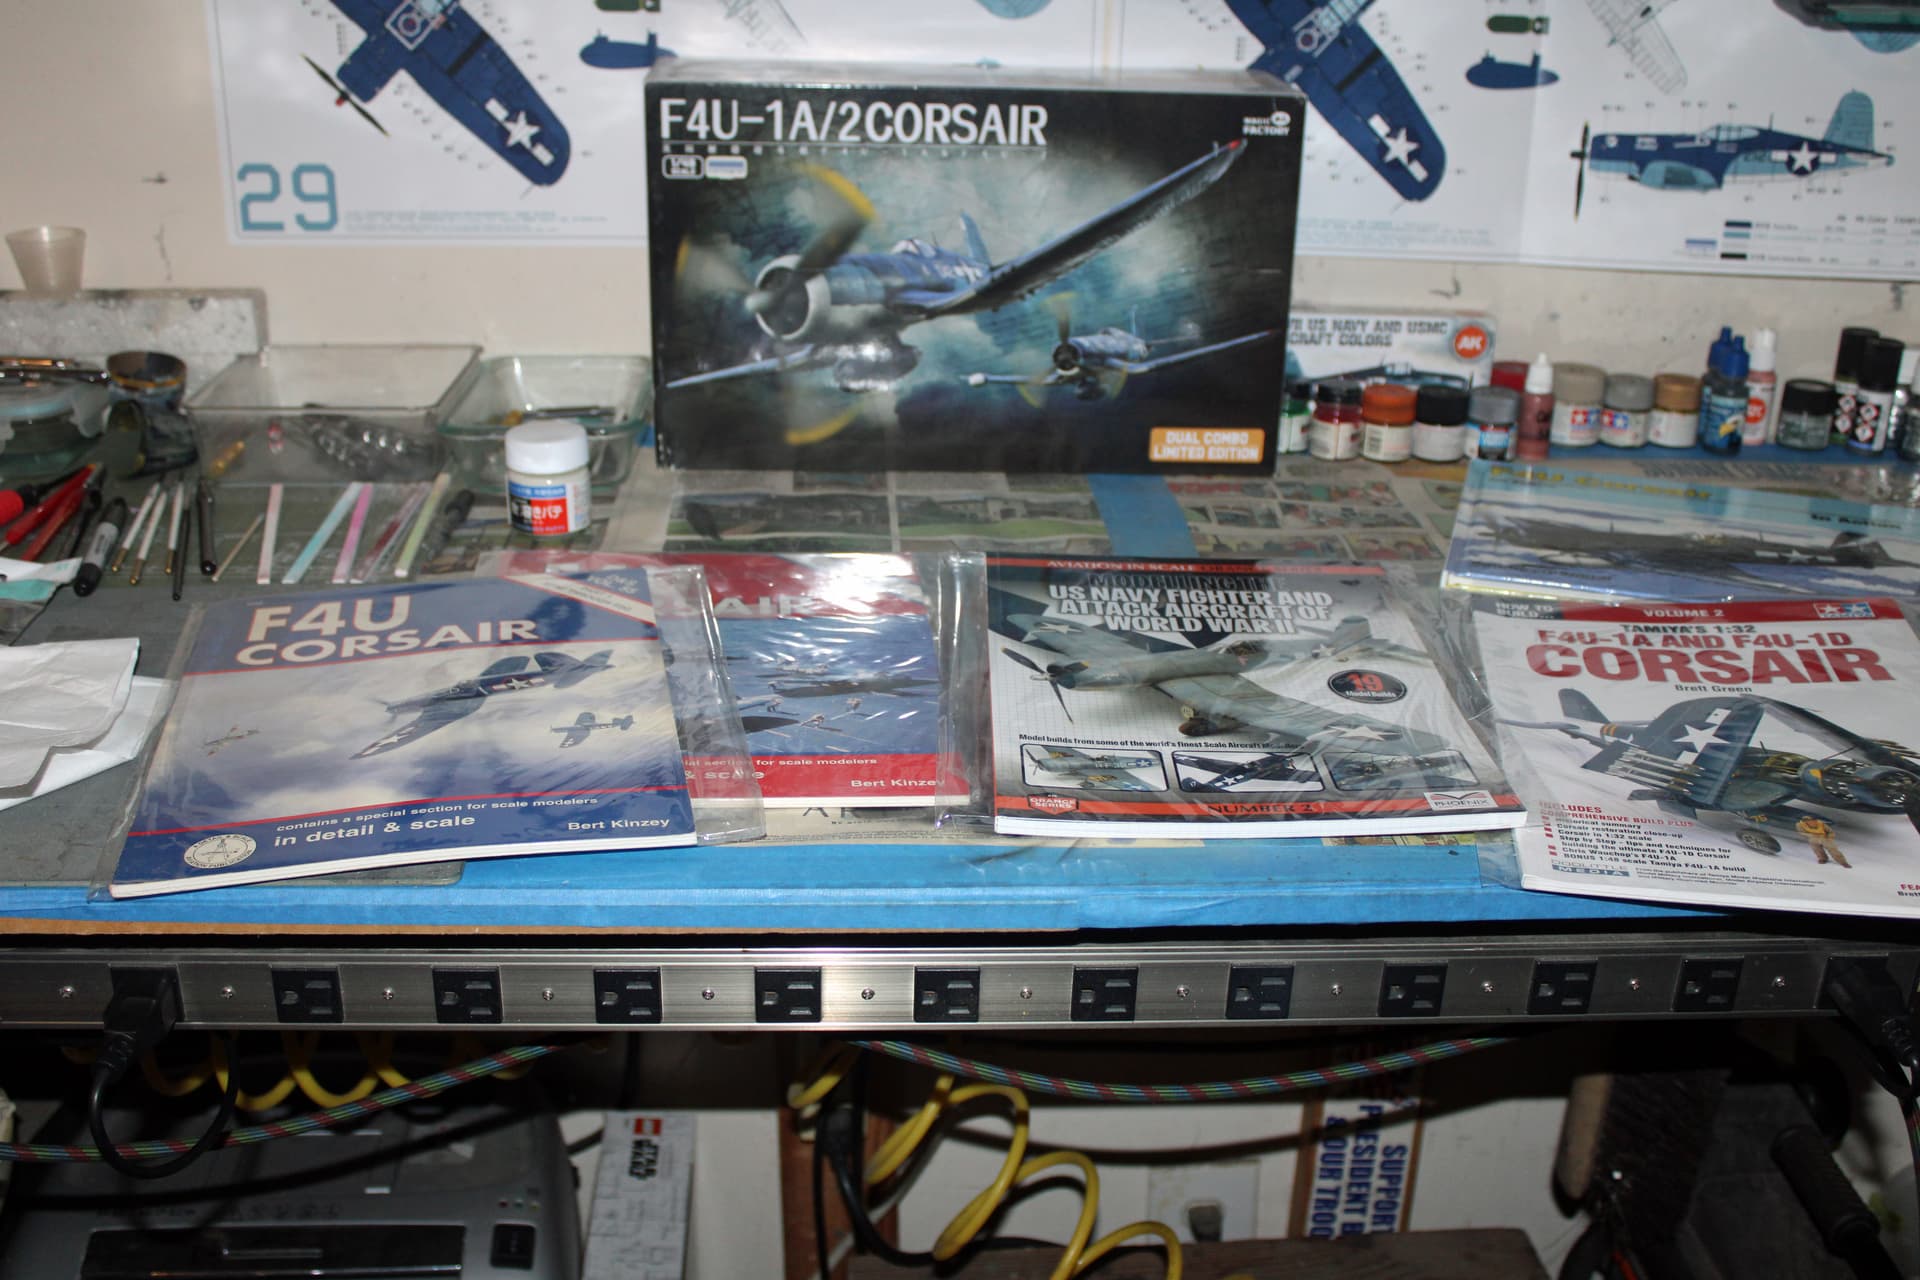
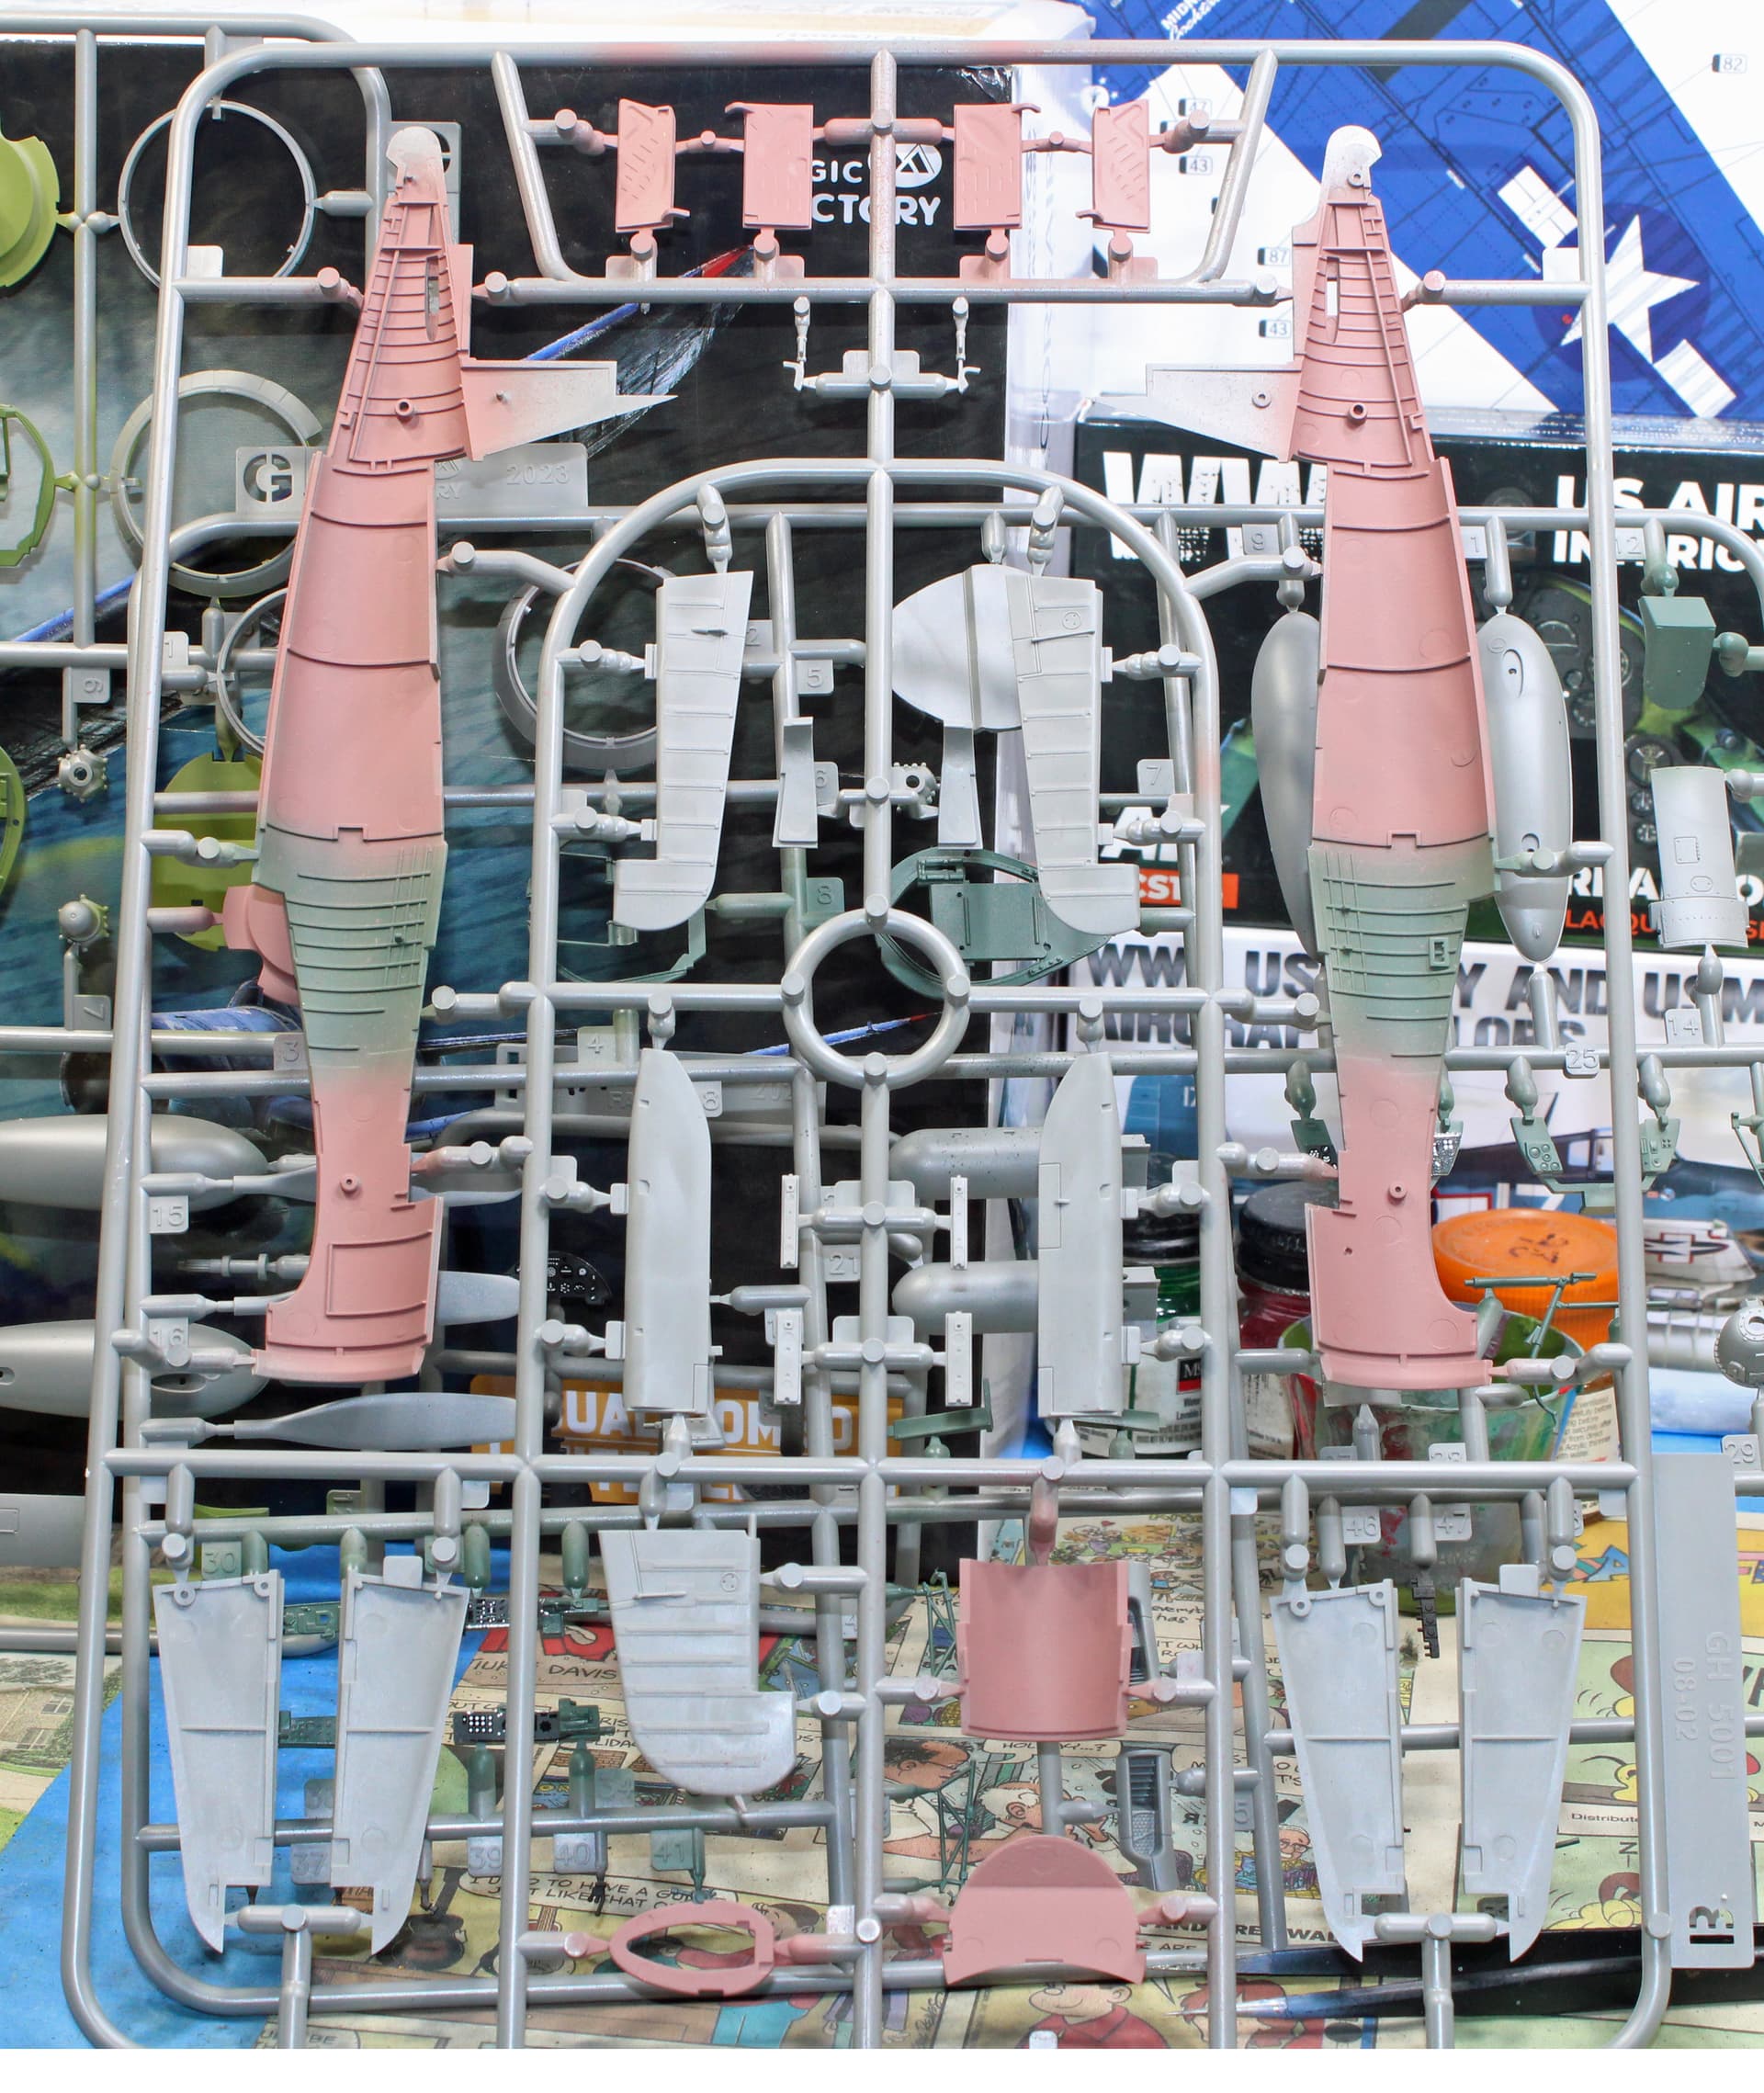
My next build will be a pair of Corsairs from Magic Factory.
This kit looks to be incredibly detailed right out of the box. I’ve read that the Magic Factory kit gives Tamiya’s 48th scale Corsairs a run for the money, so that’s what I’m here to determine for myself. Speaking of Tamiya’s Corsairs …
F4U-1A:
F4U-1D:
F4U-1 (1/32):
This is what I’ll be evaluating against. Not so much the 32nd Tamiya kit as that is not a fair comparison, but those 48th kits are among Tamiya’s best in my opinion. They basically build themselves as I recall - it has been almost two decades since I built those Corsairs - and the details out of the box are top notch.
But, this Magic Factory release is chock full of details. Individual parts for cockpit controls such as levers on the side panels. PE seat belts (Tamiya’s are a 2D decal). Clear part masks. The kit comes with parts sufficient for both Corsairs, but OOB only one can be built with extended wings; the other will be folded.* Full gun bays with parts to allow for display of those gun bays.
I could easily enough do some plastisurgery to allow for both to be extended, but haven’t decided if I will do that or not.
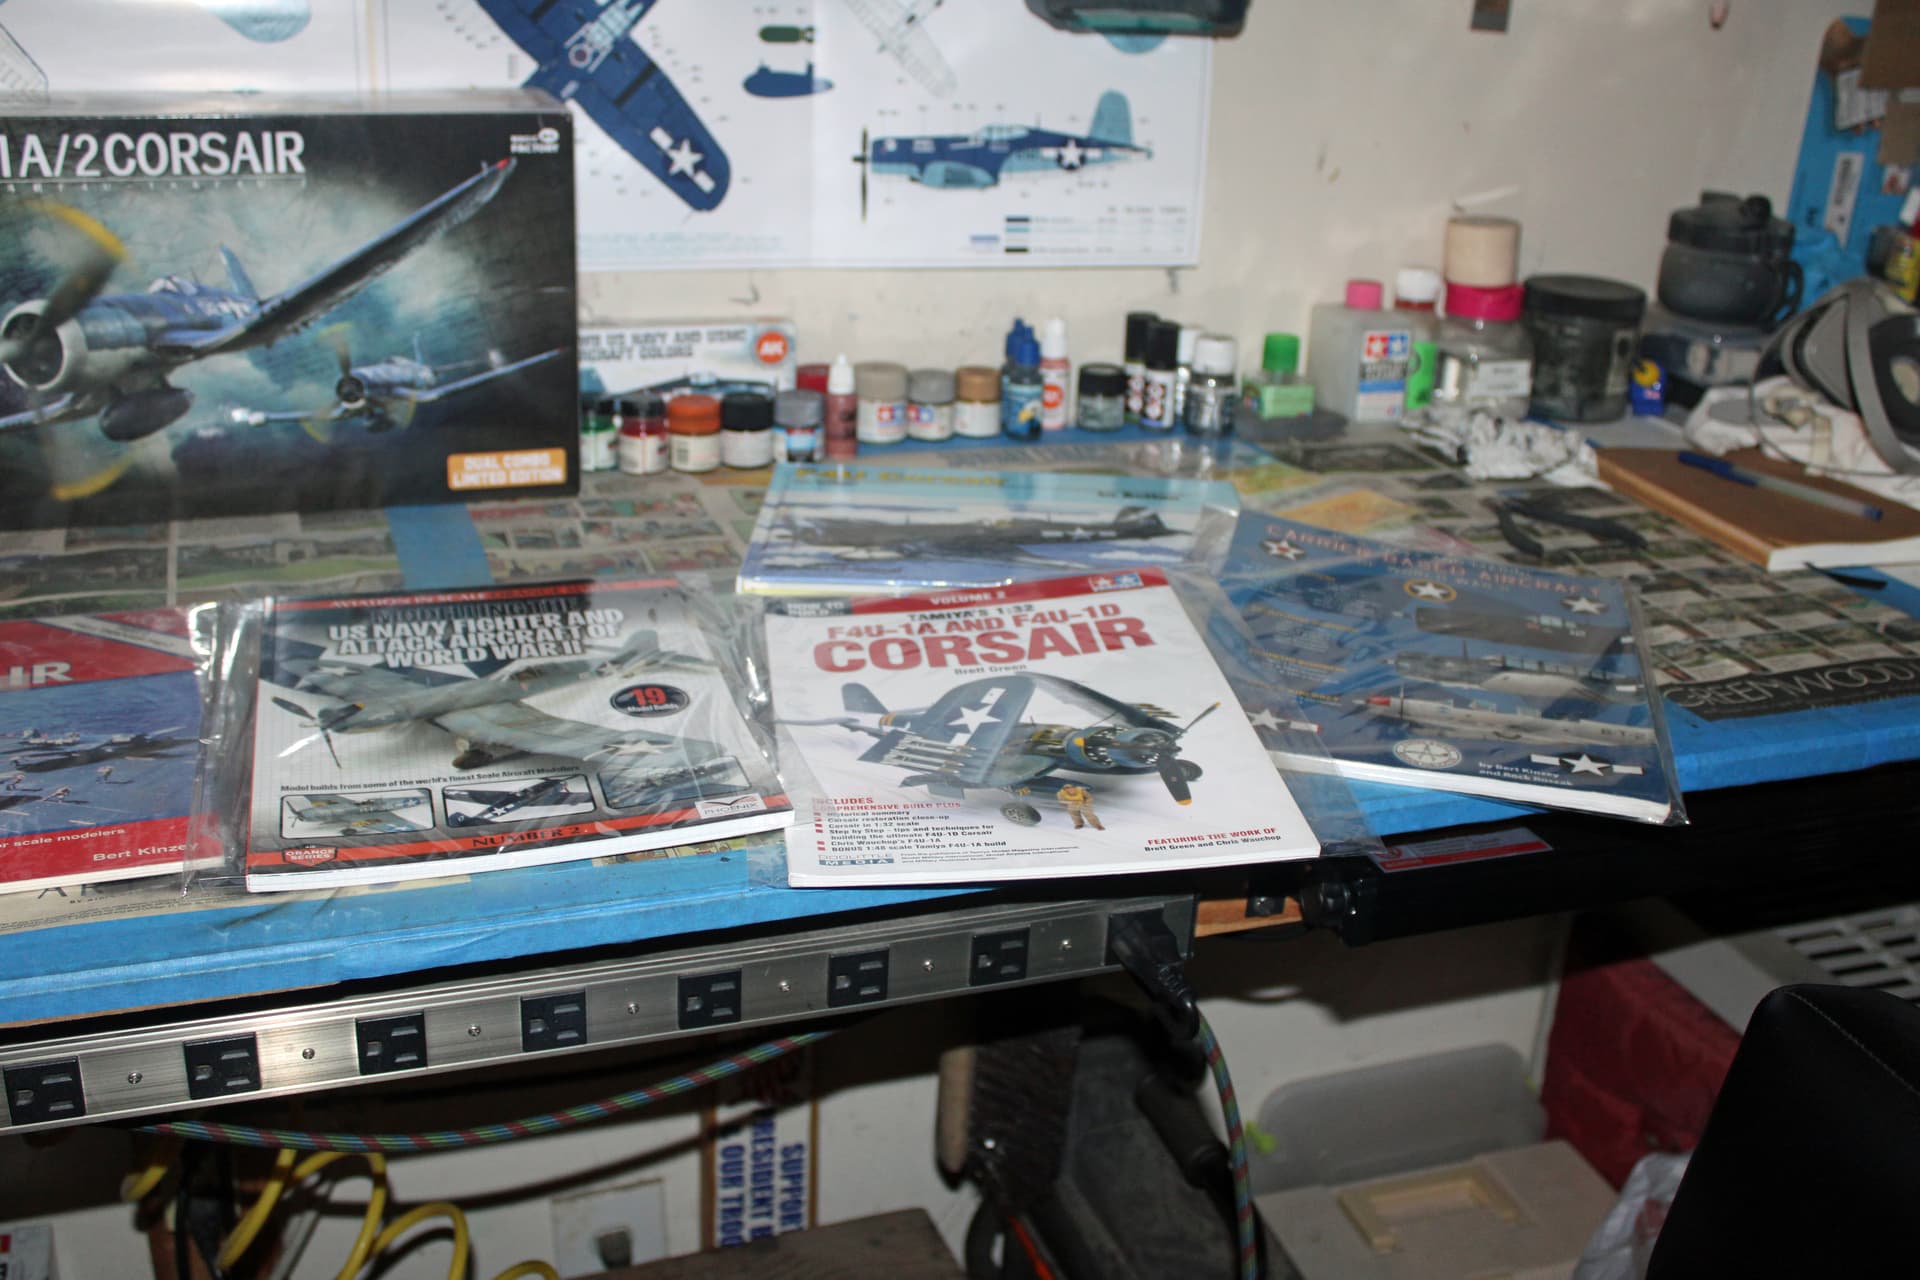
Off to the left of my bench is a set of shelves where I keep all of my modeling reference books. I was surprised to see how many I have relating directly to the Corsair, as well as a couple with Corsair references. I knew I love the Corsair, but gee I had no idea I had accumulated this many volumes on that bird. And I still have a couple of old Monogram Corsairs, Tamiya’s 1/48 Birdcage Corsair, and Tamiya’s 1/32 F4U-A1 in the stash.
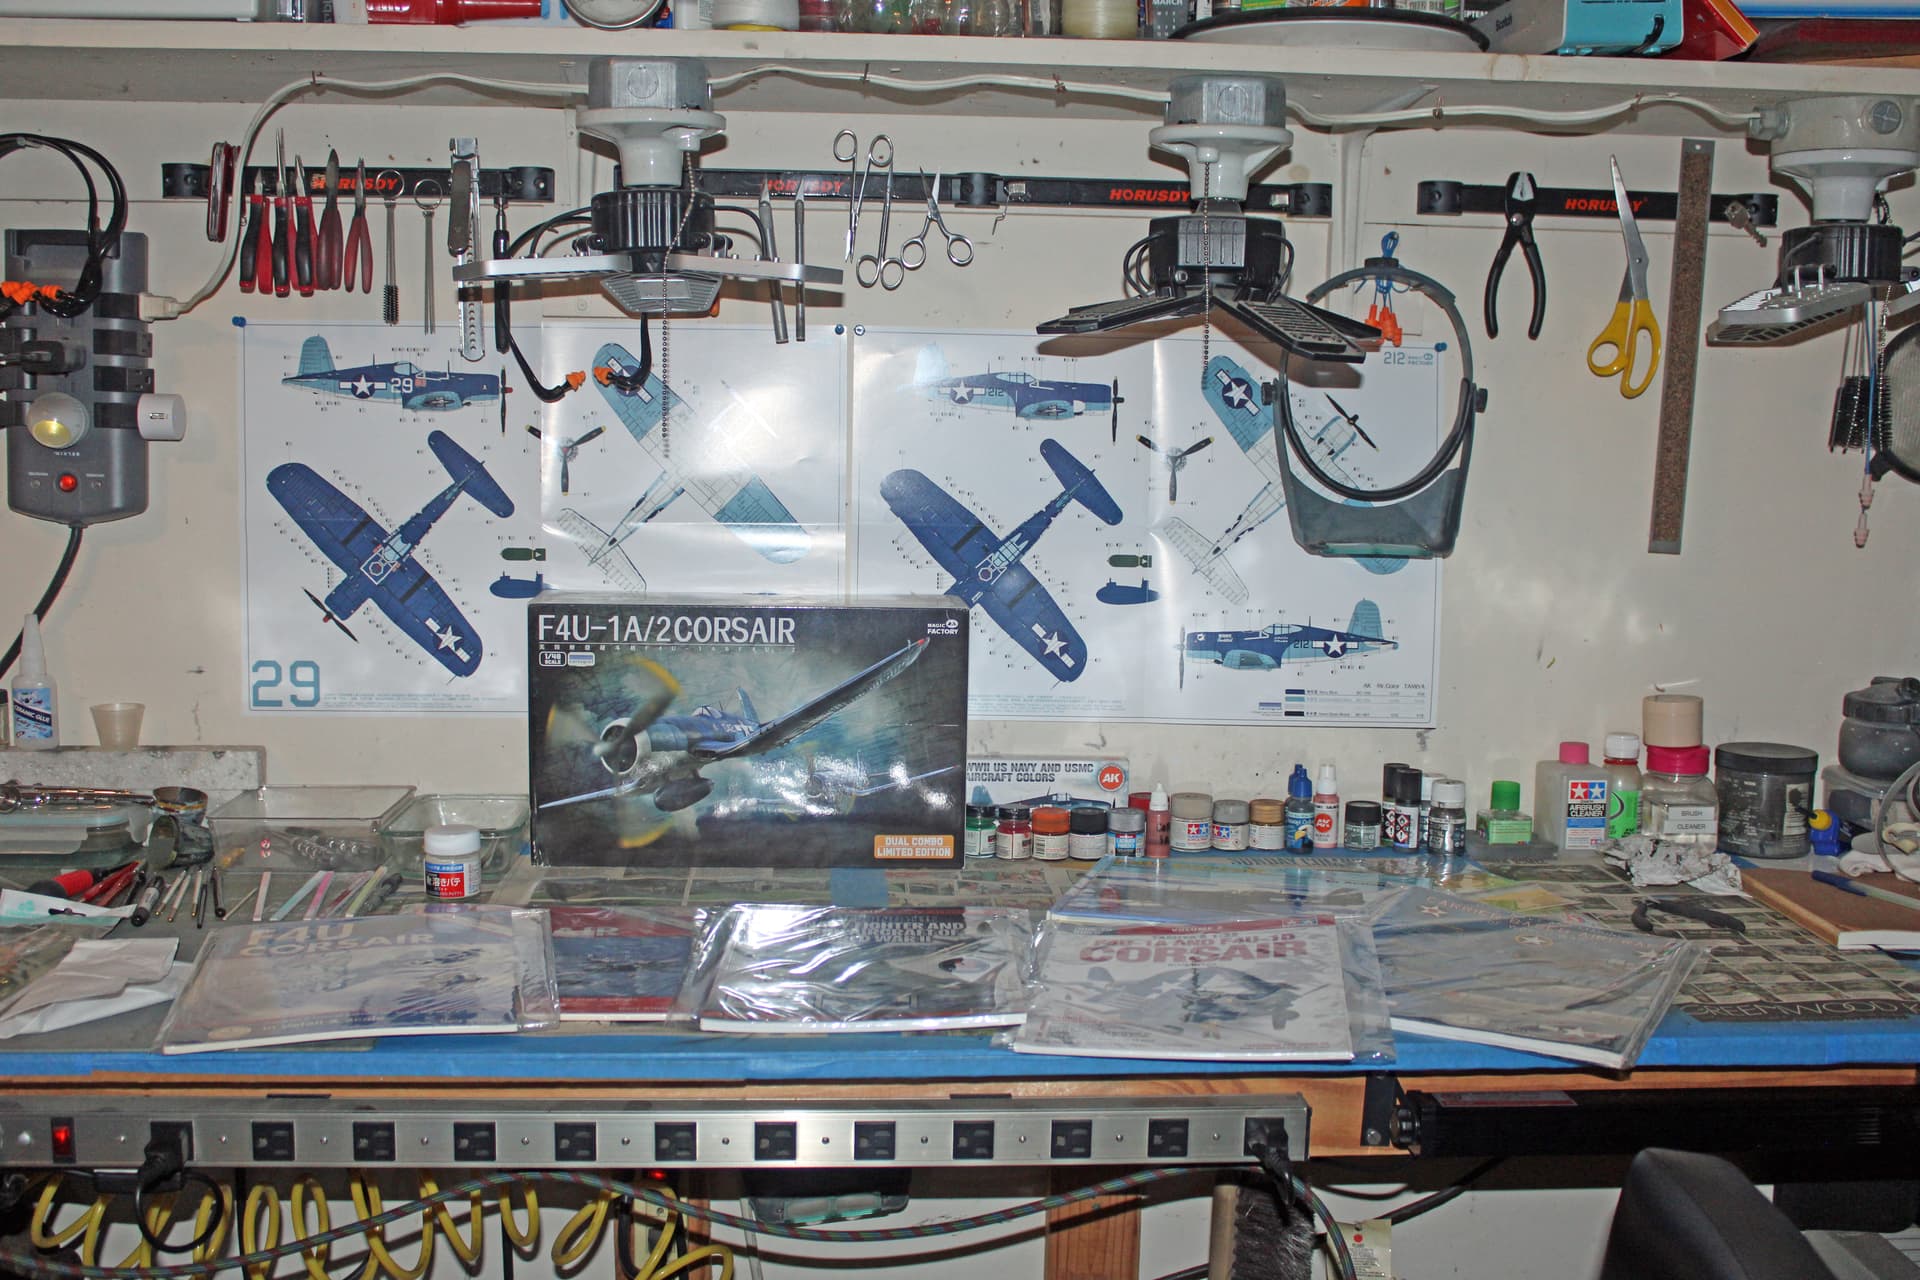
Here is a shot of my bench with the painting sheets on the wall. These are the paint schemes I’m going with.
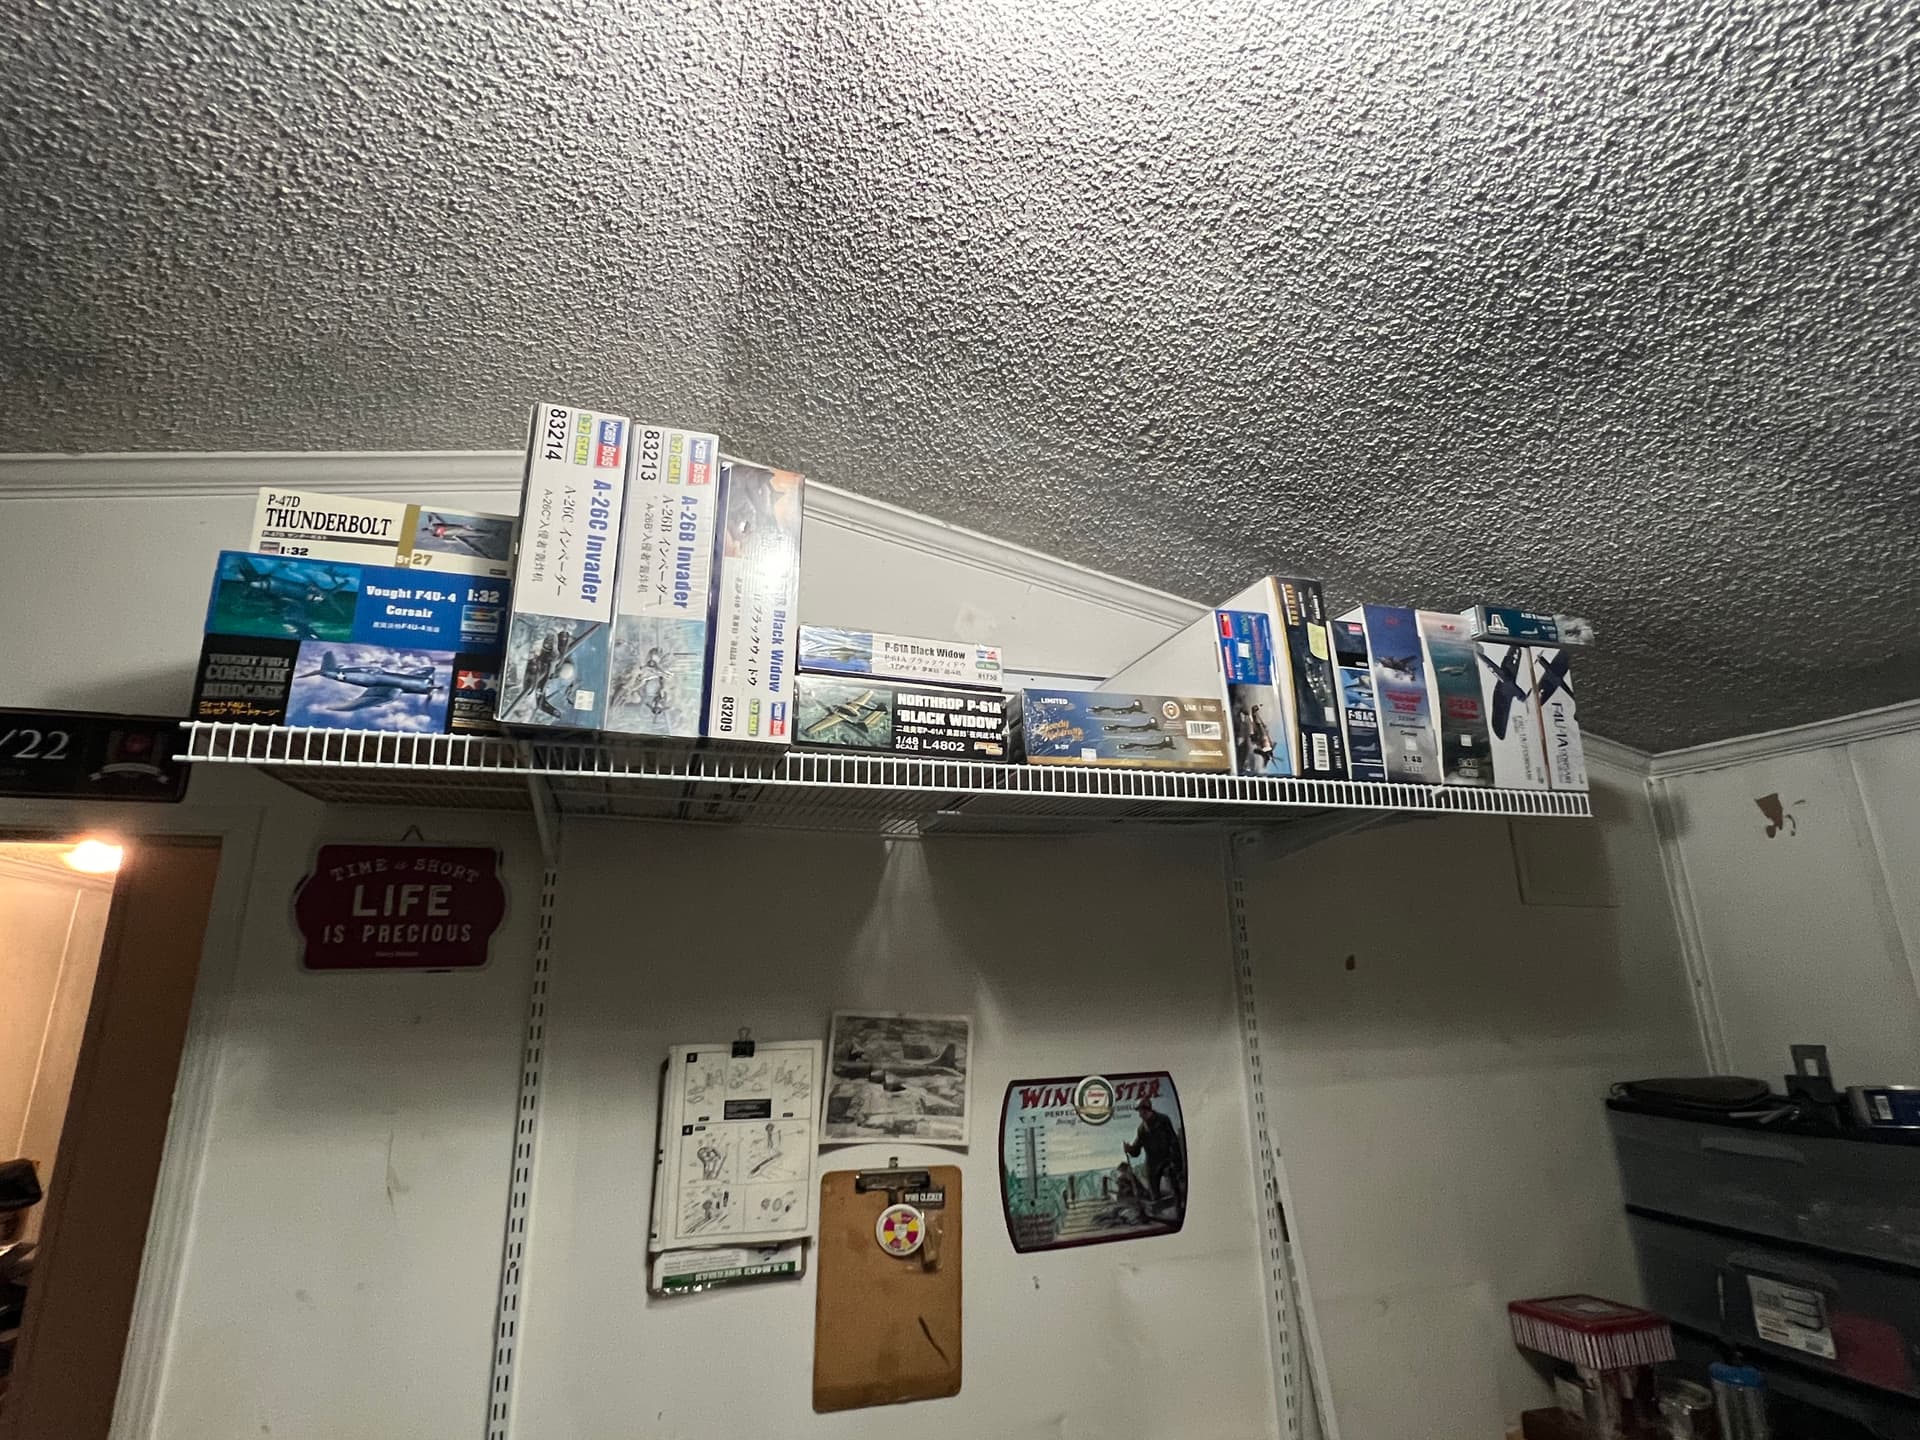
My two MF kits are up there some where. I just put up my first set of shelves in my hobby room. Need to finish my bench and shelves before I start my next (first kit) in many years.
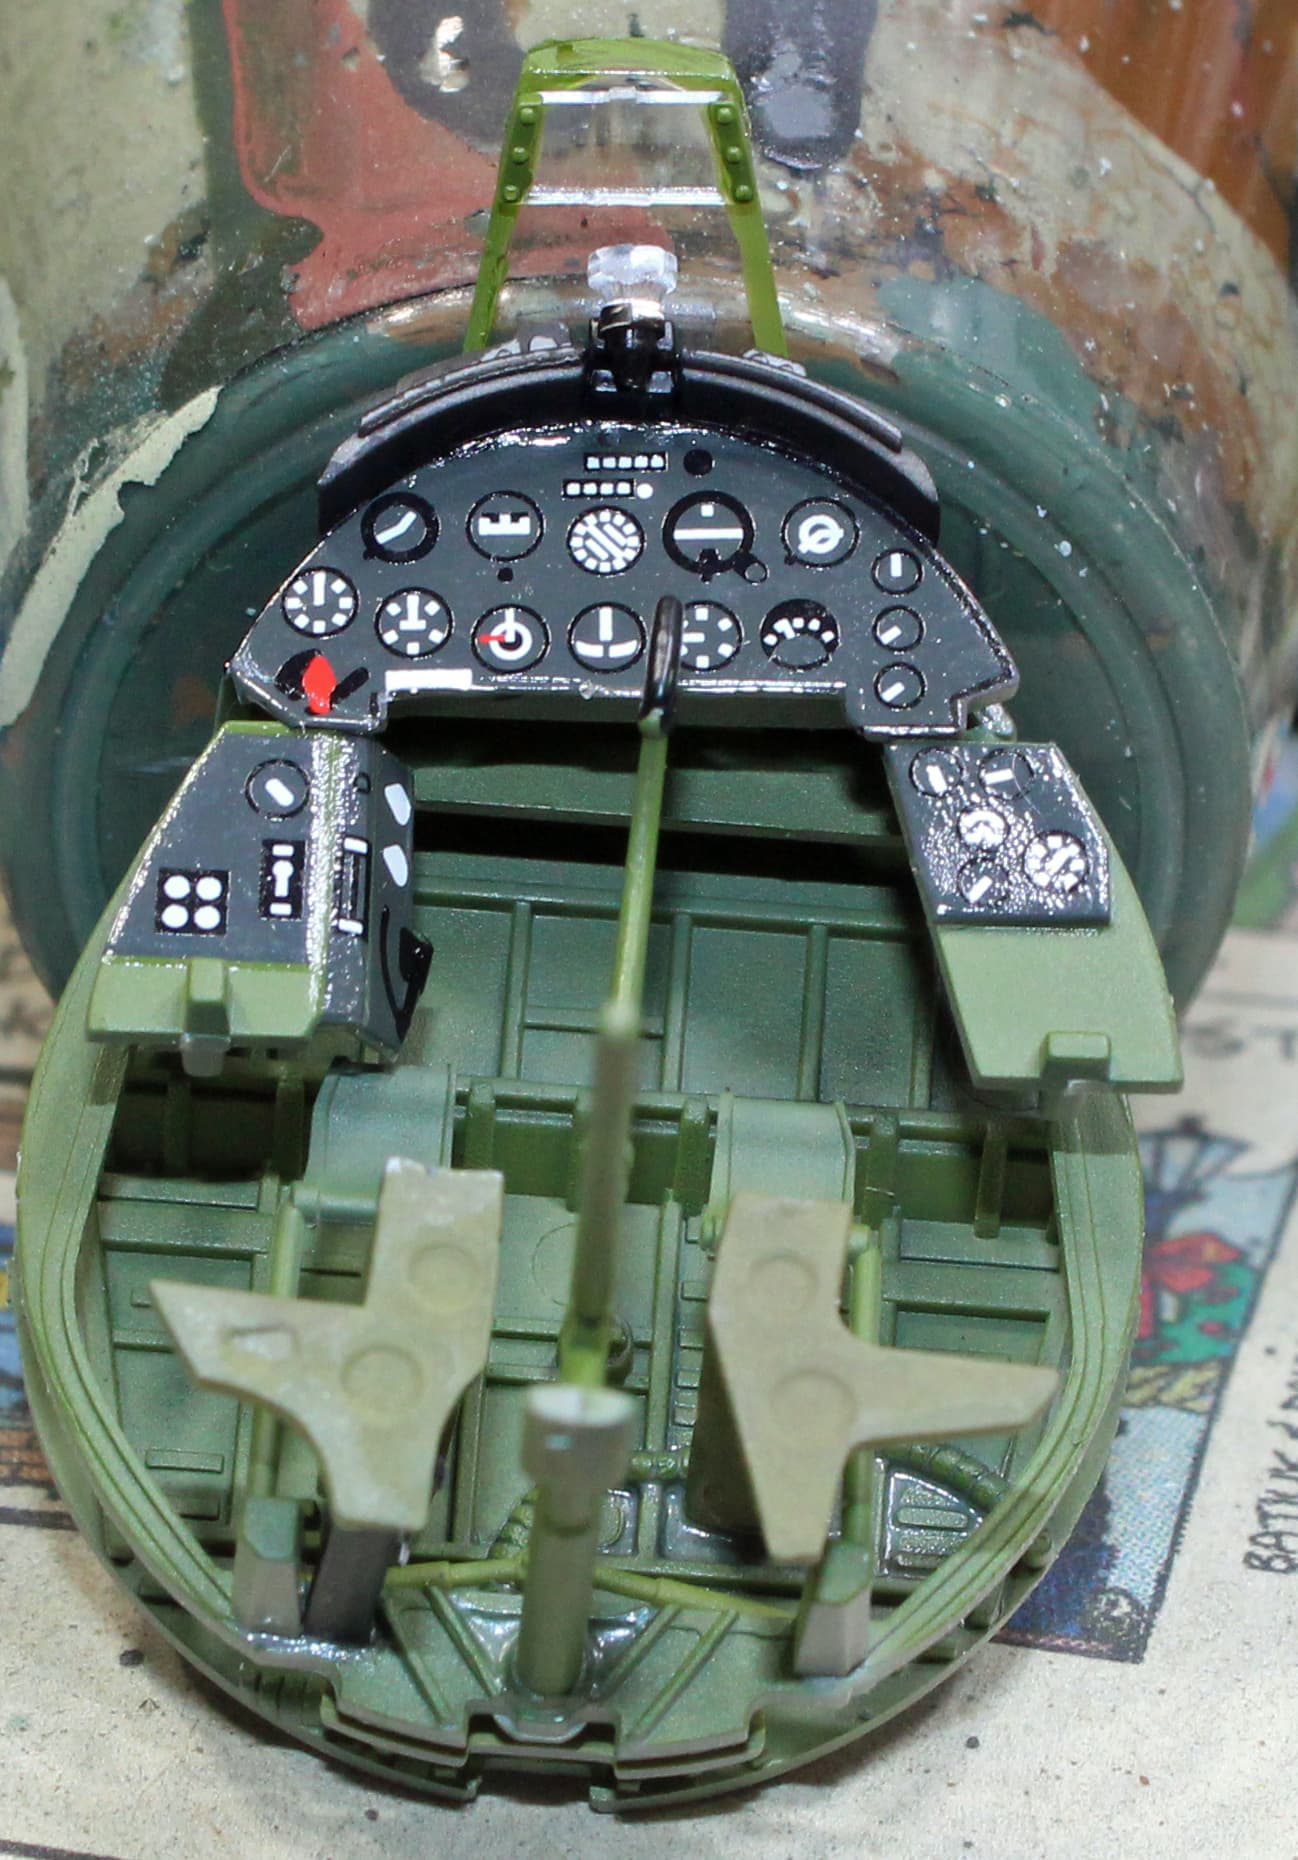
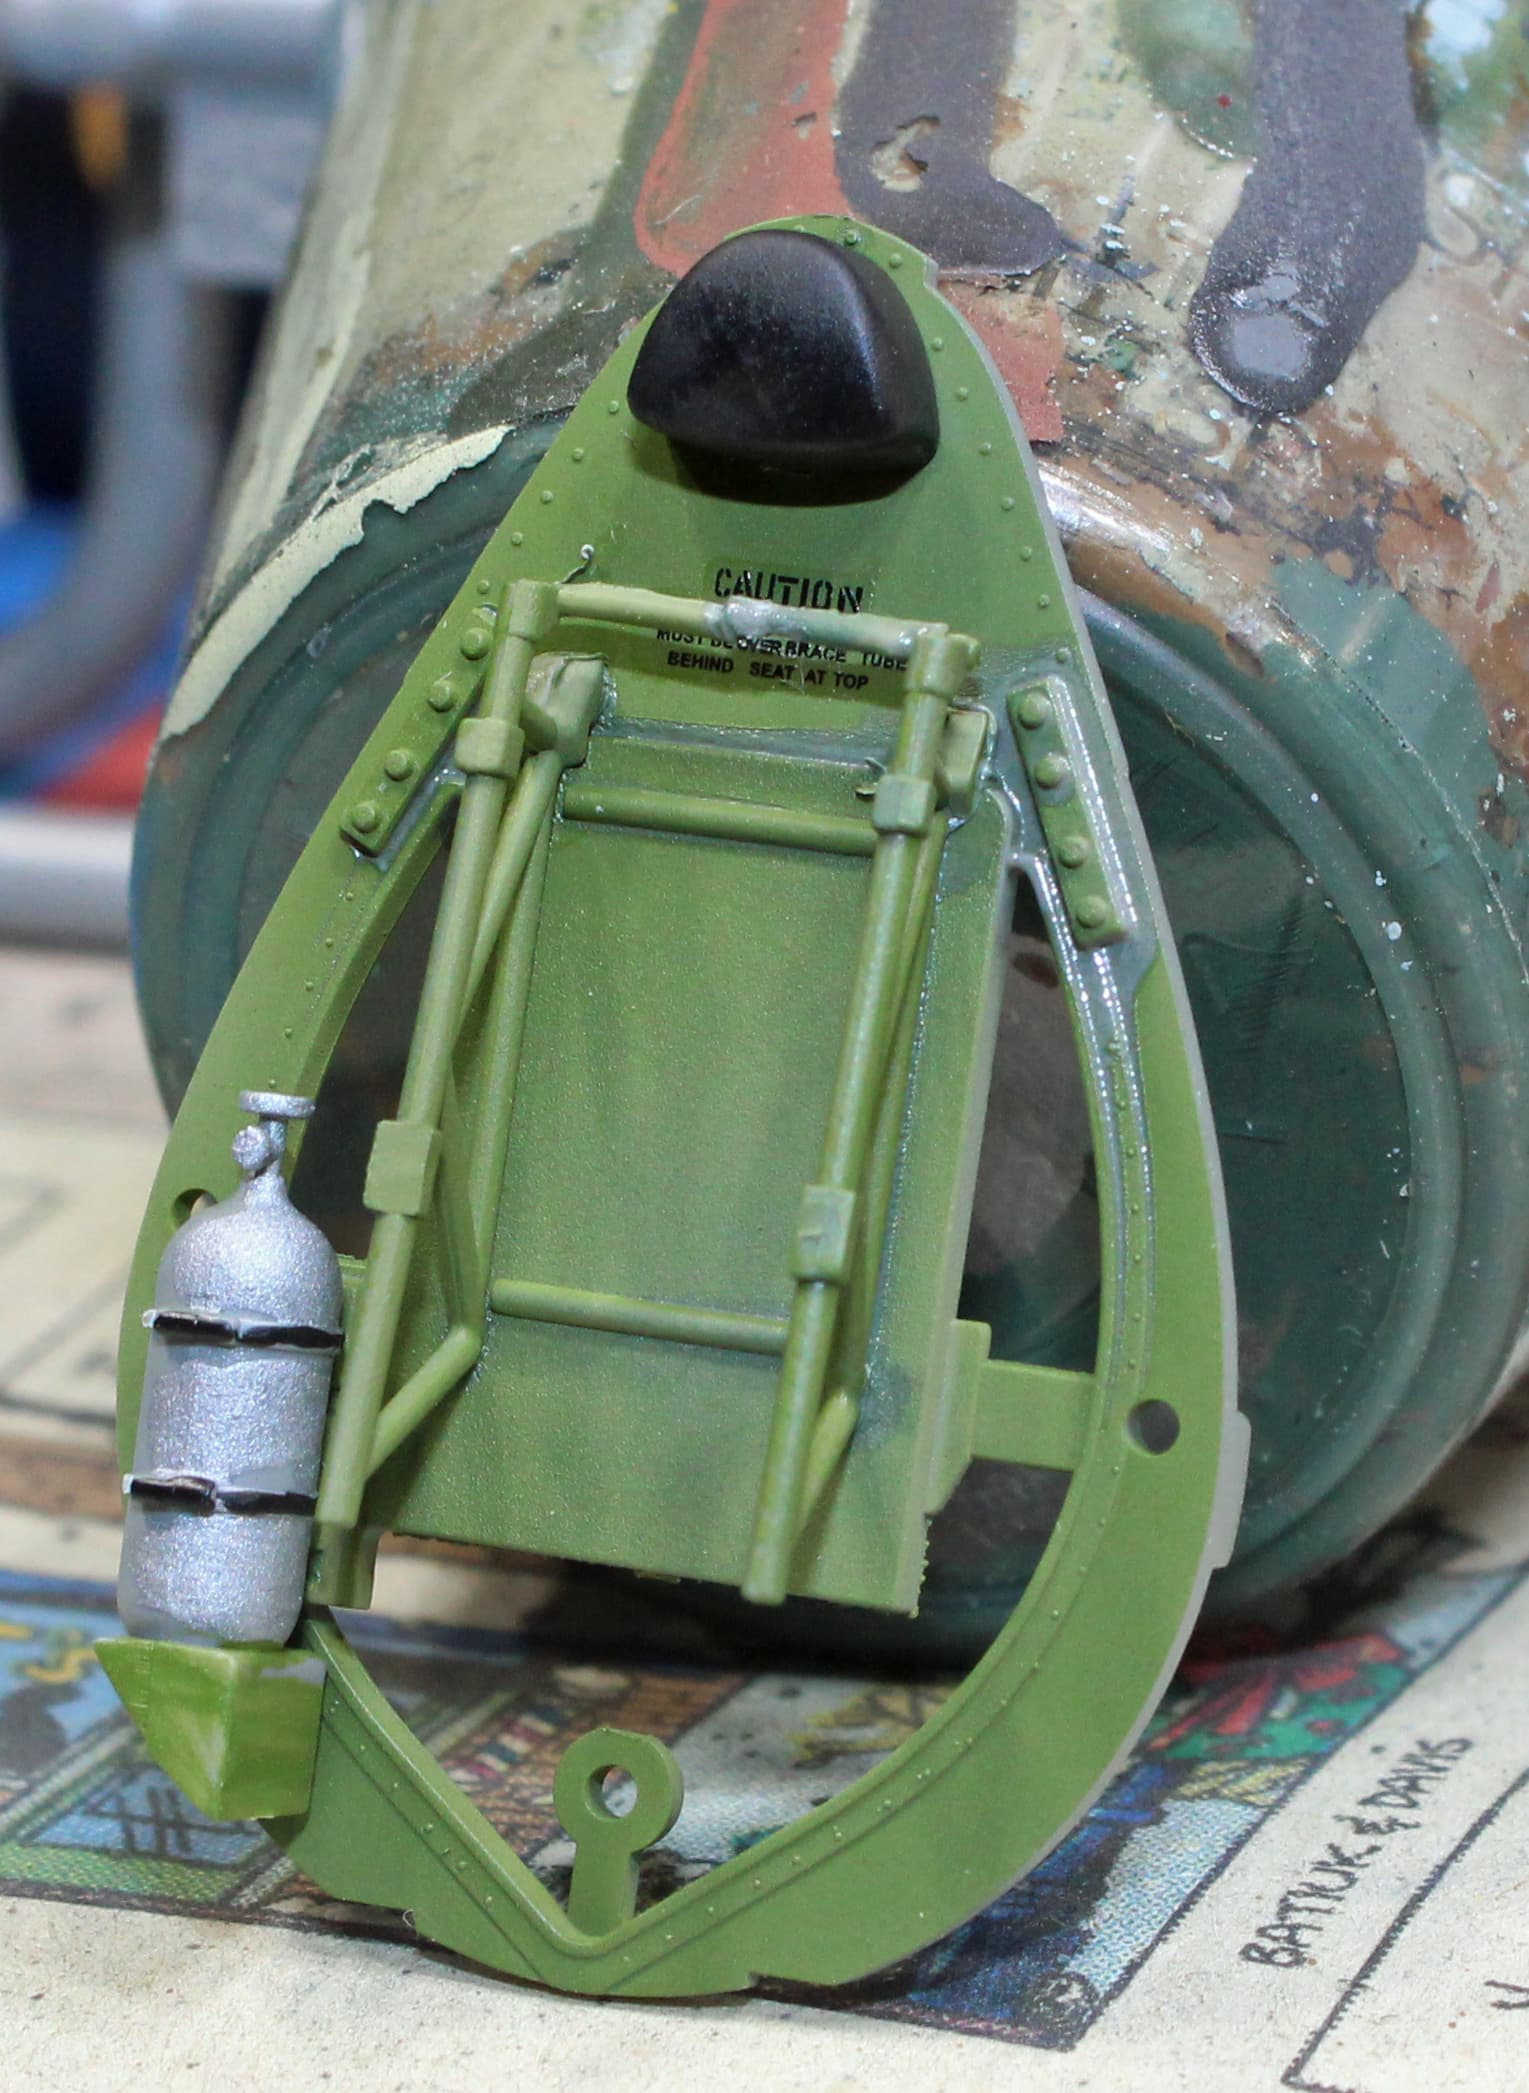
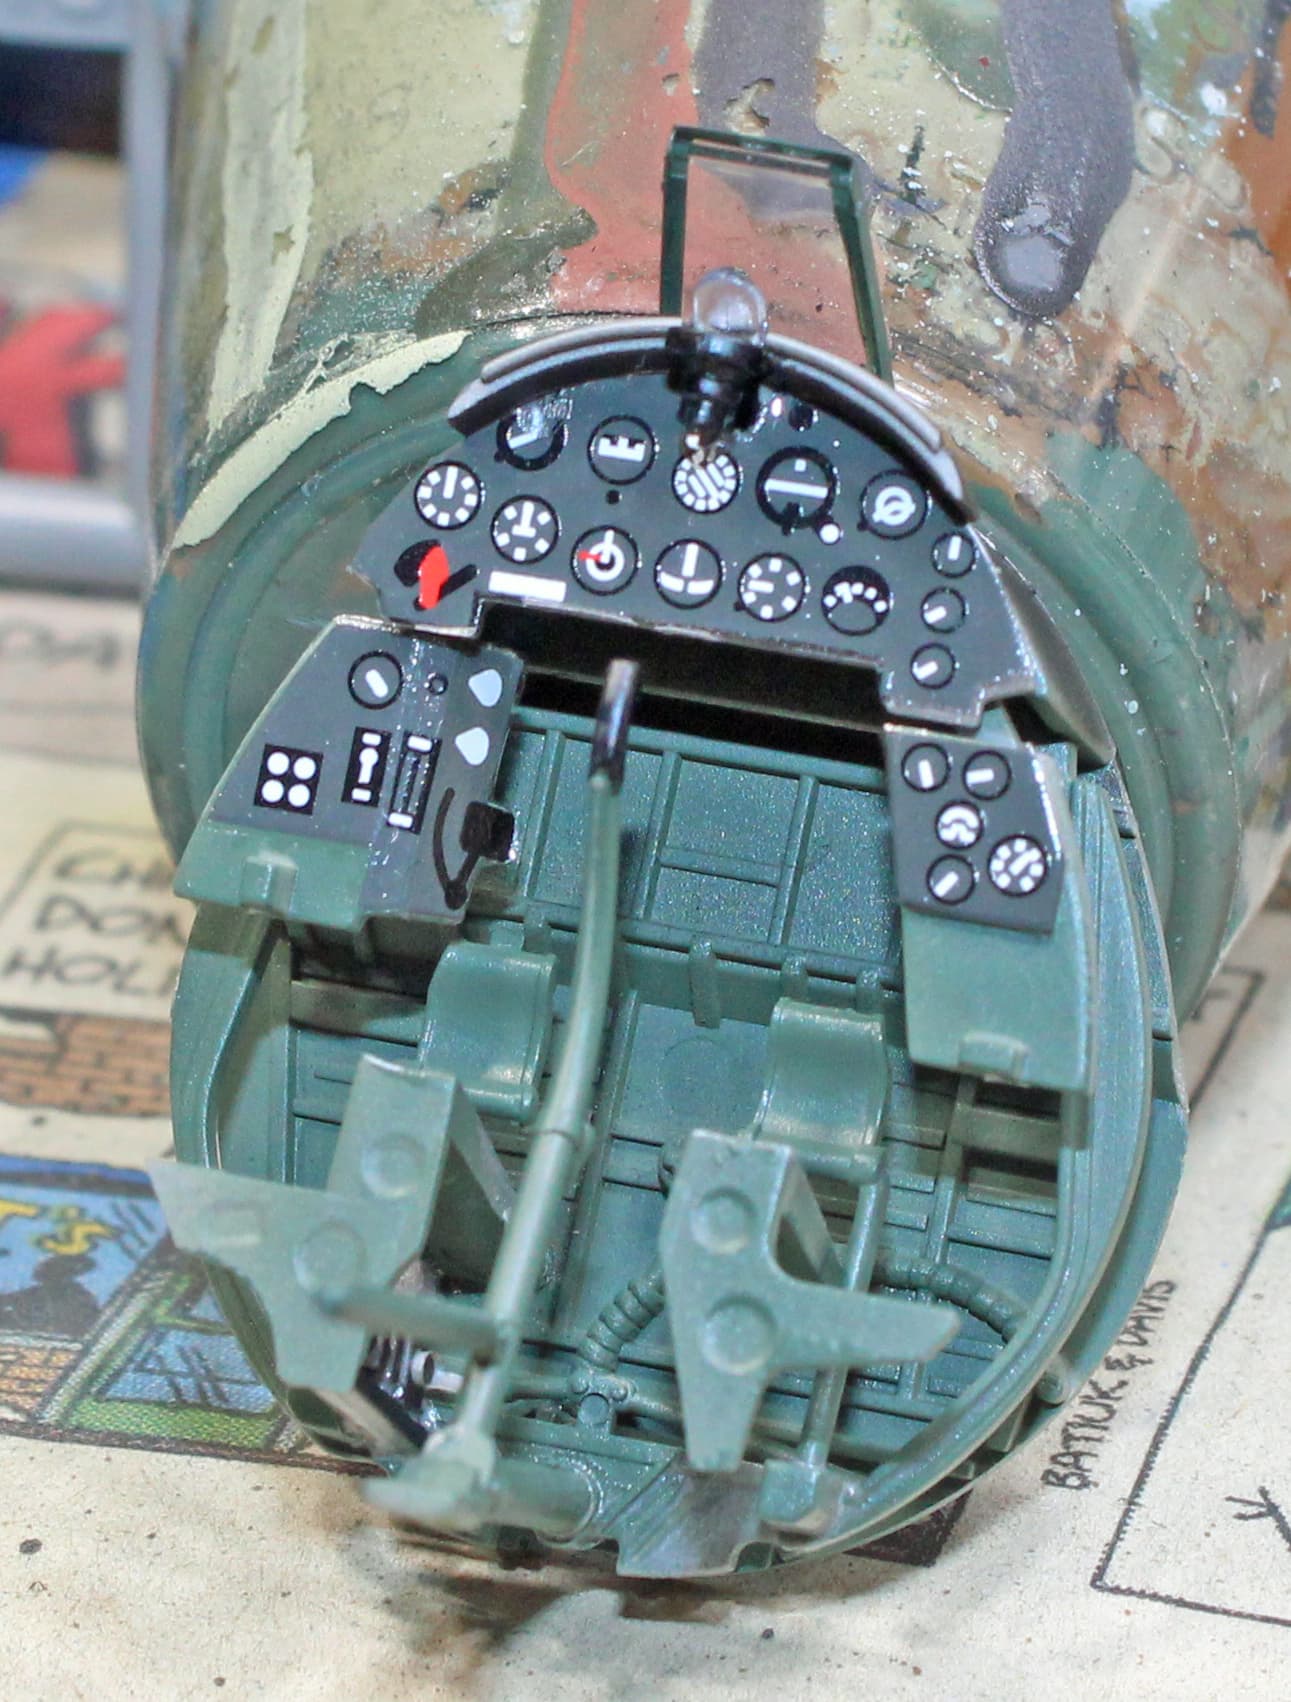
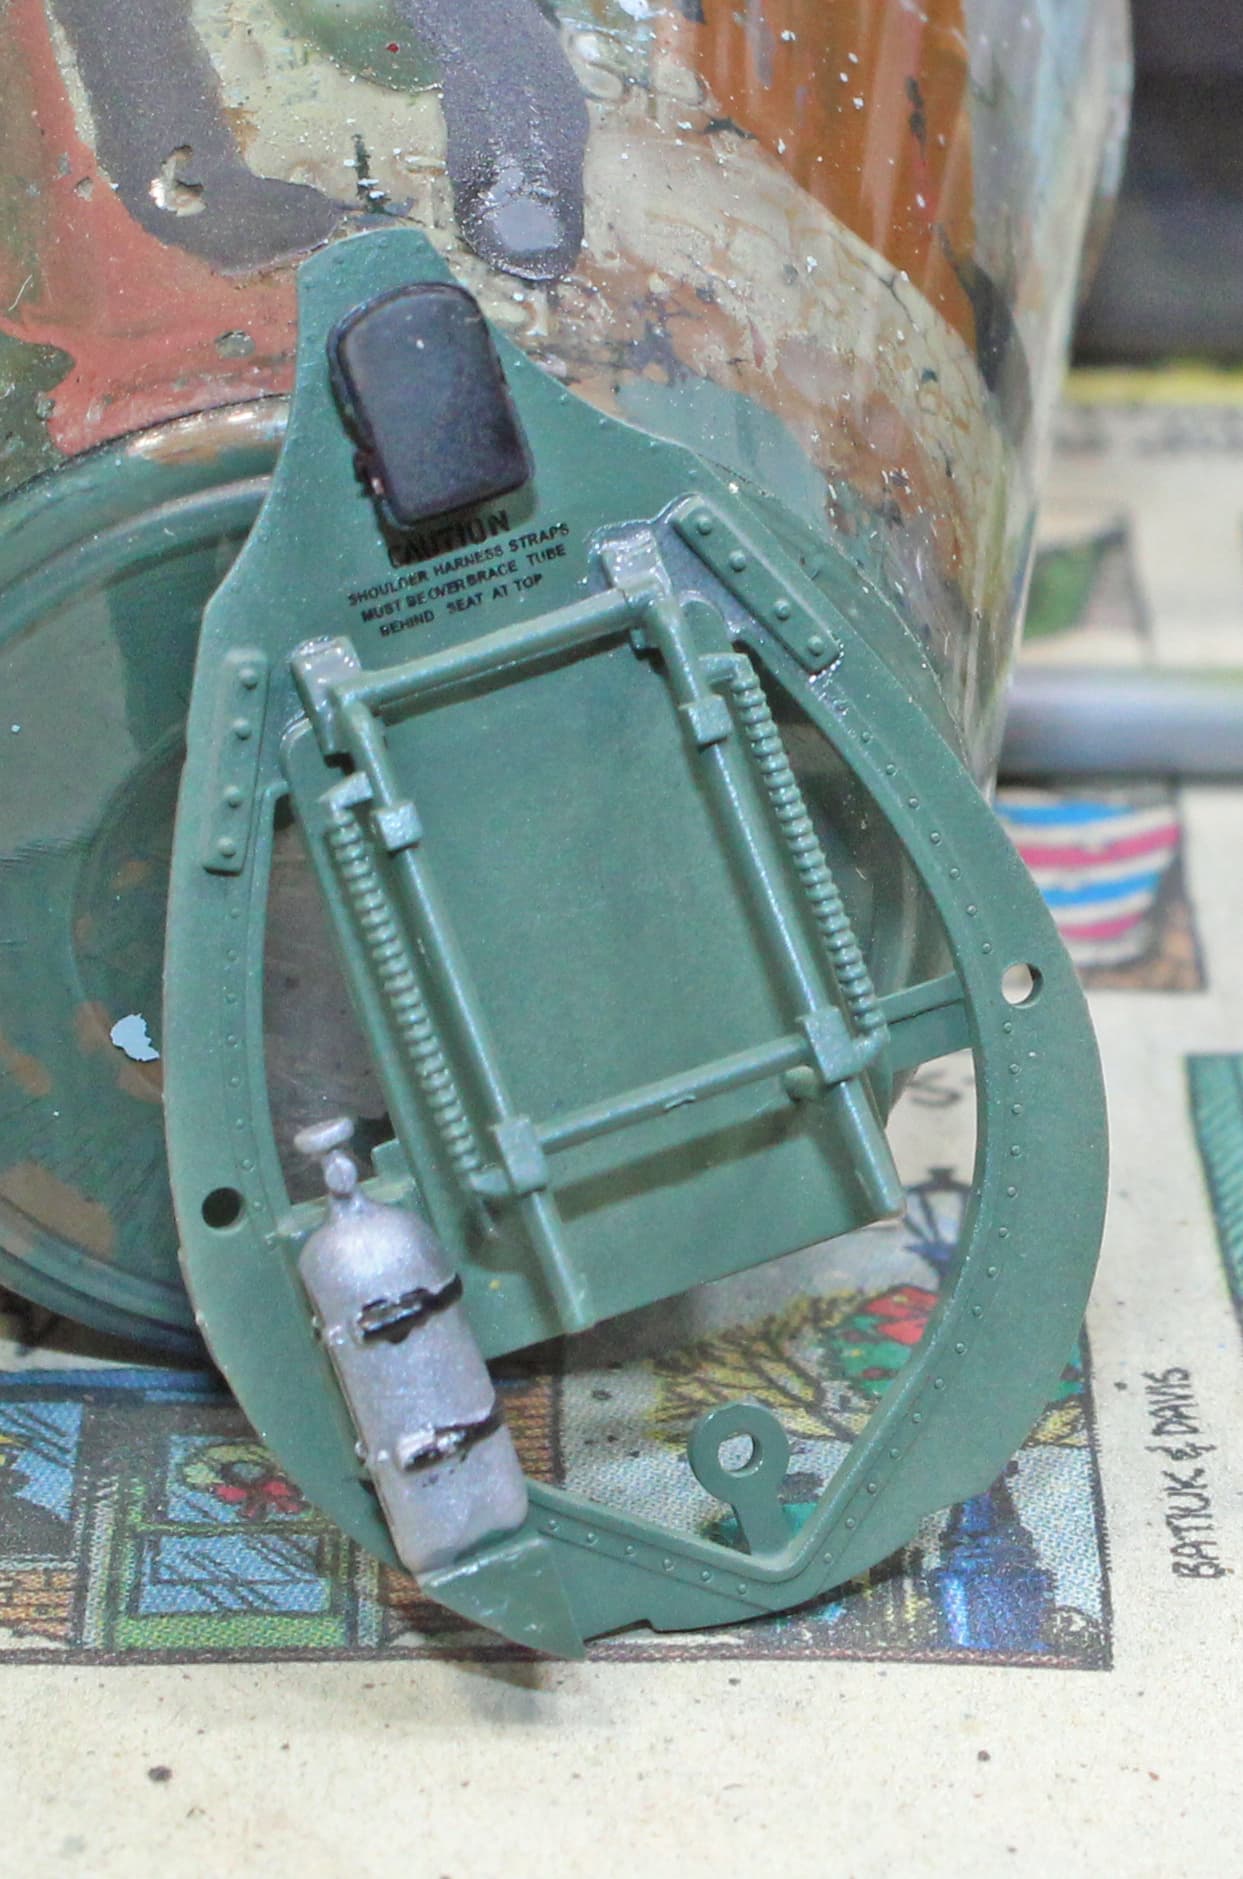
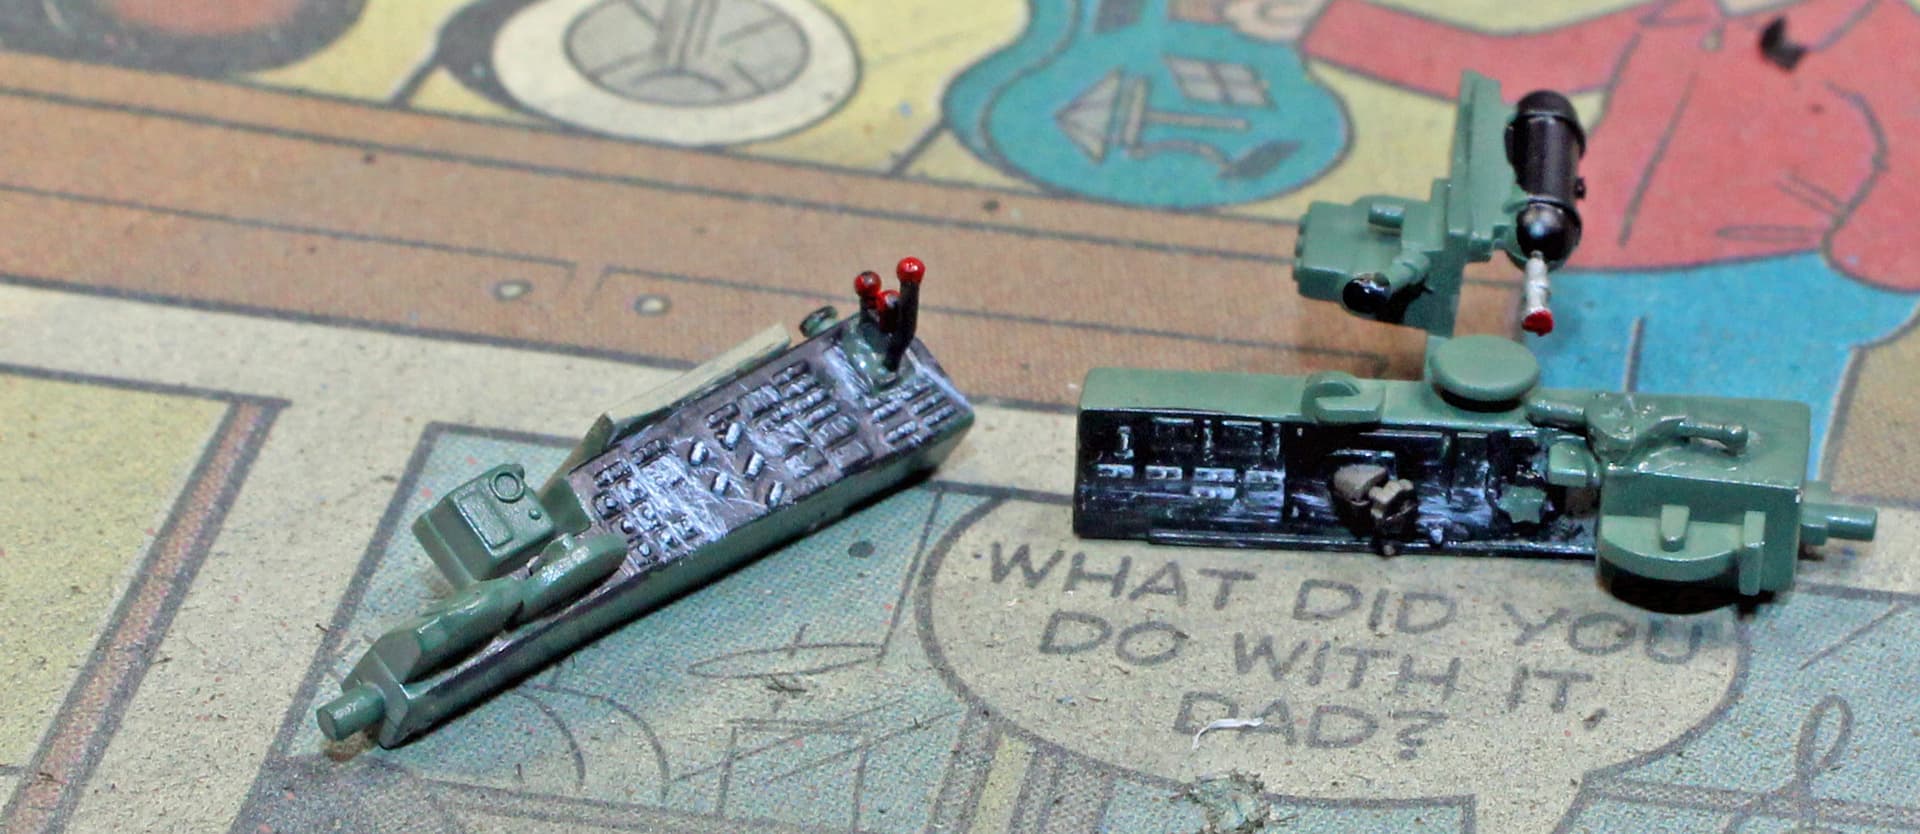
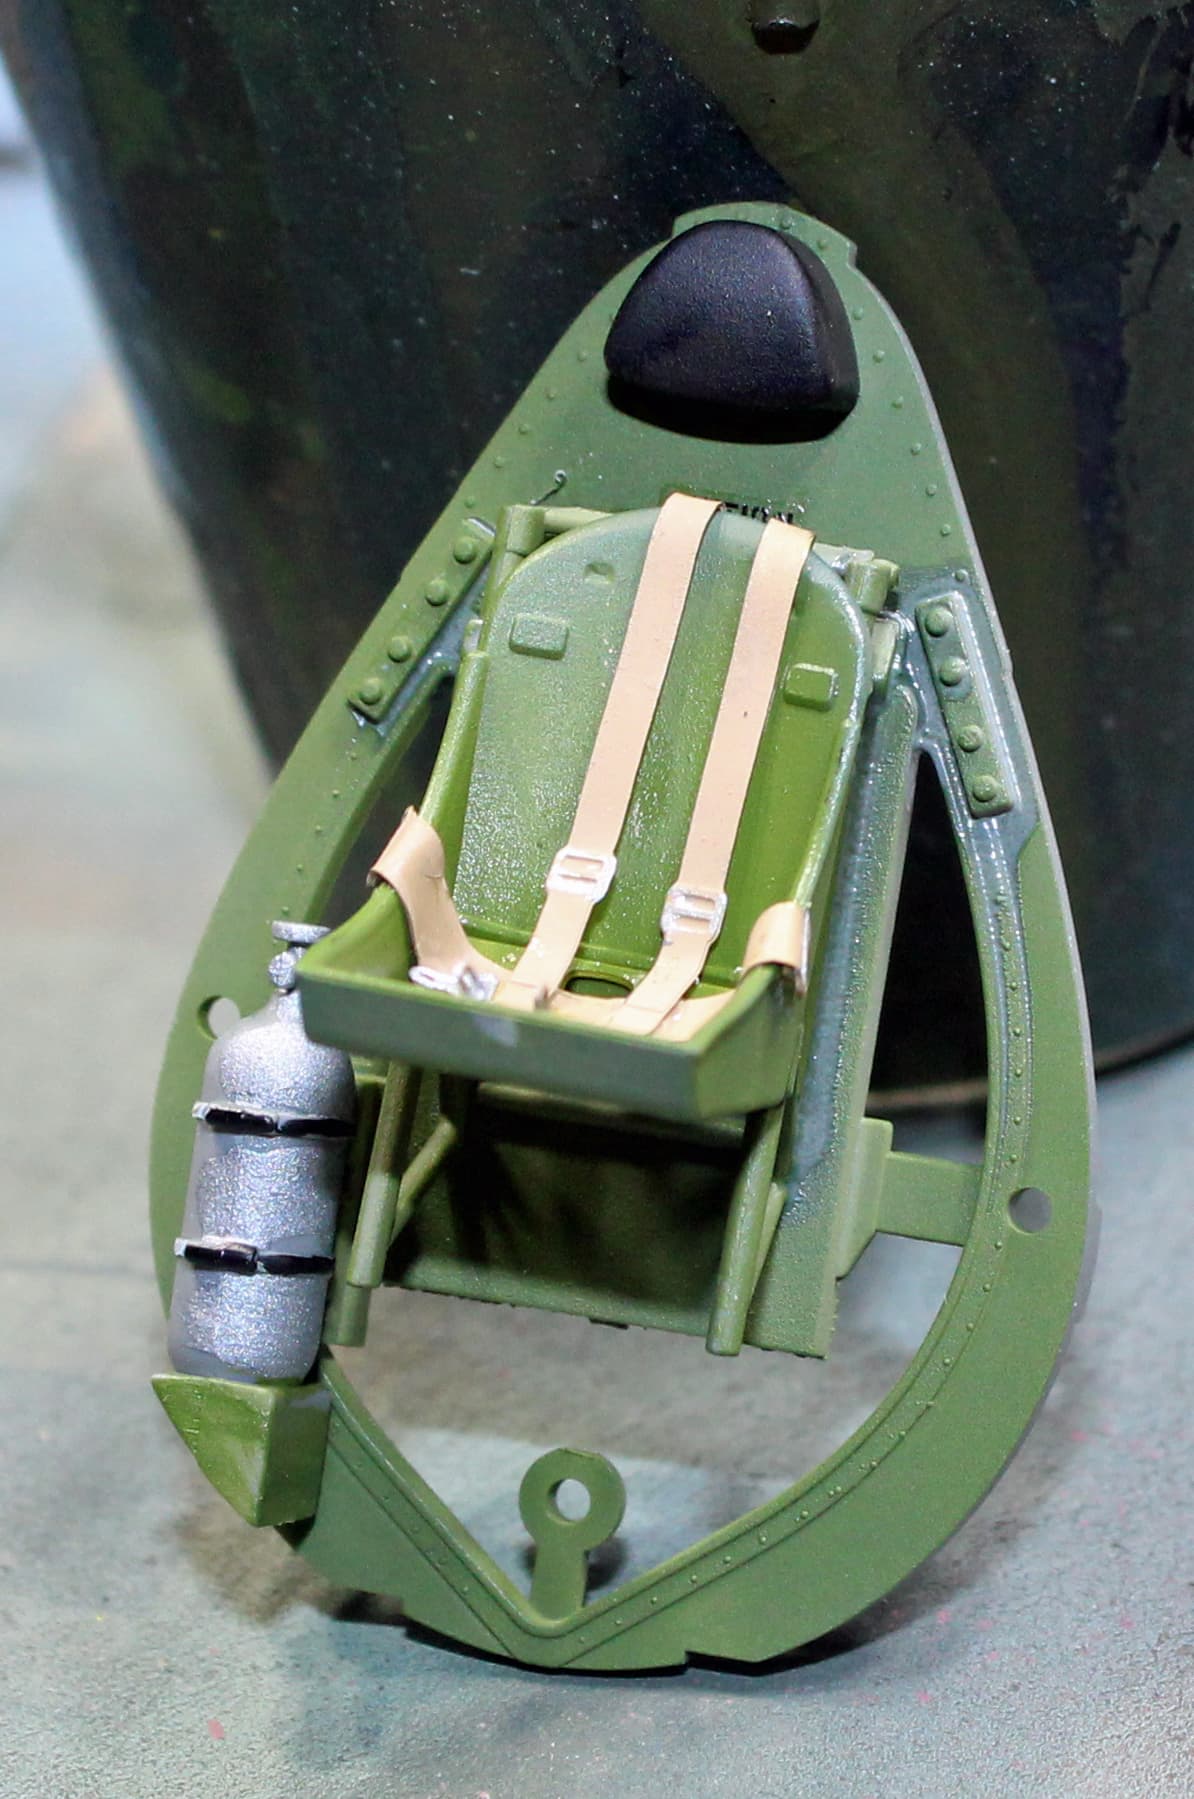
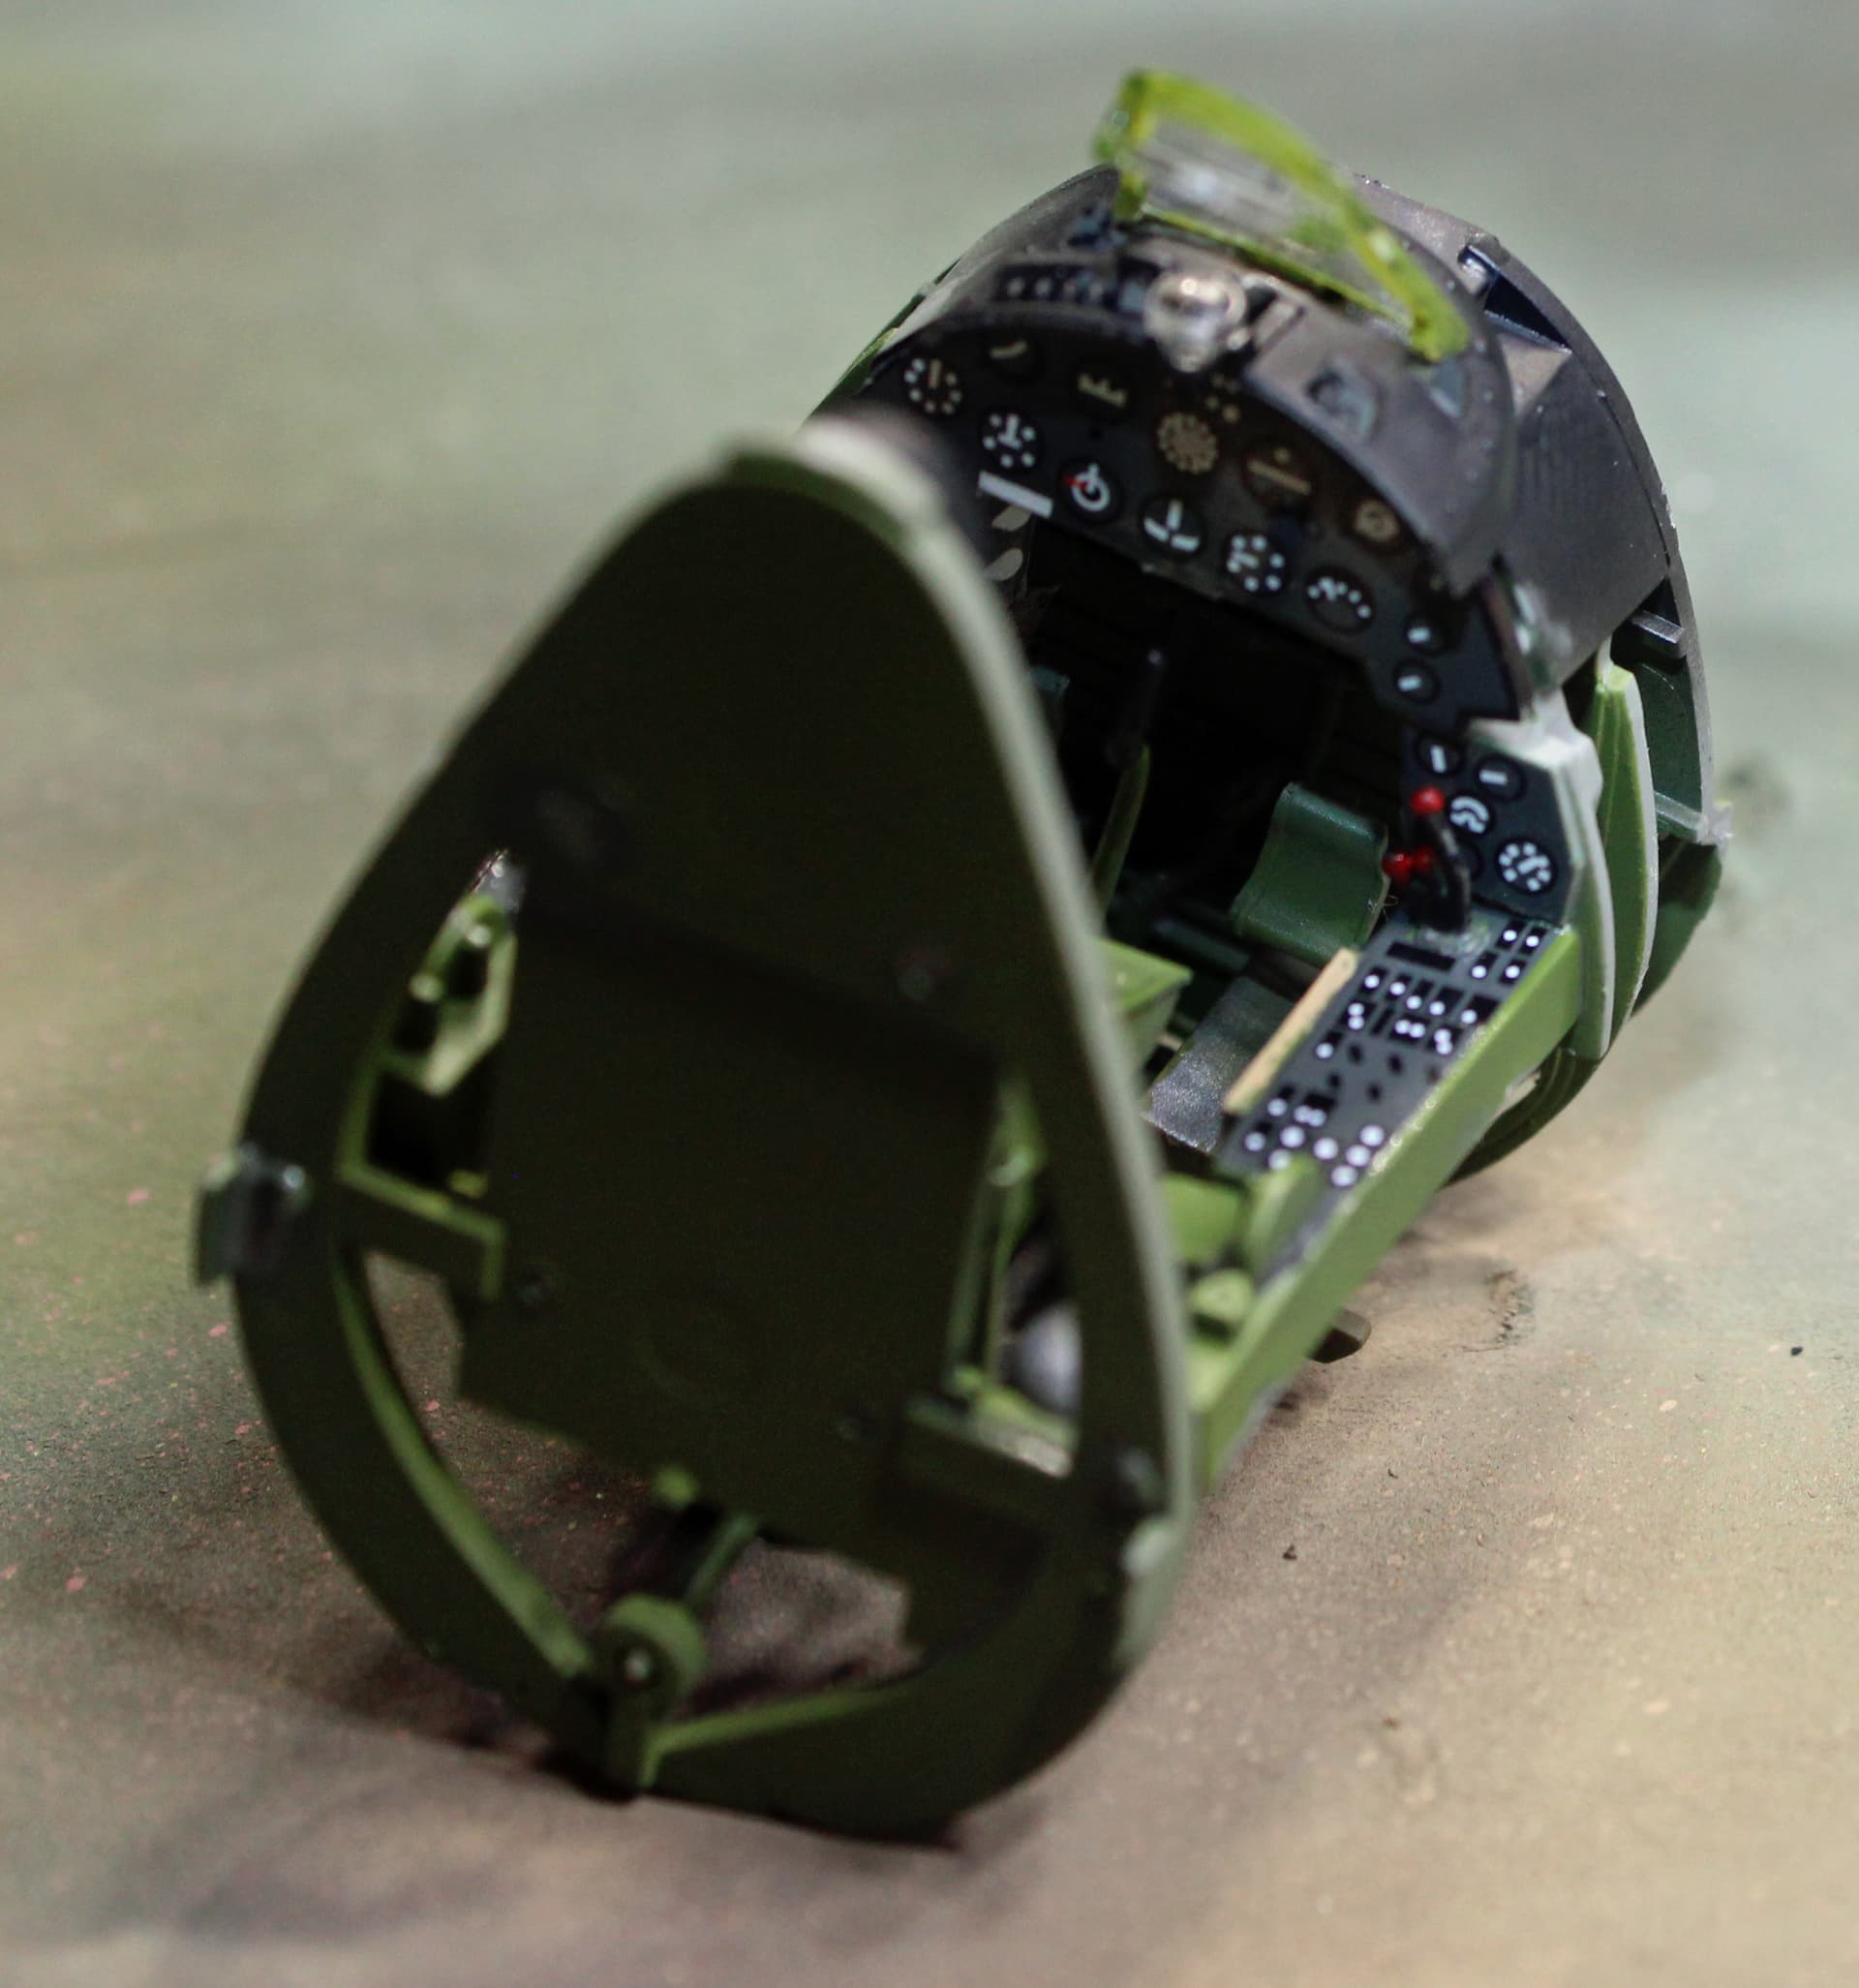
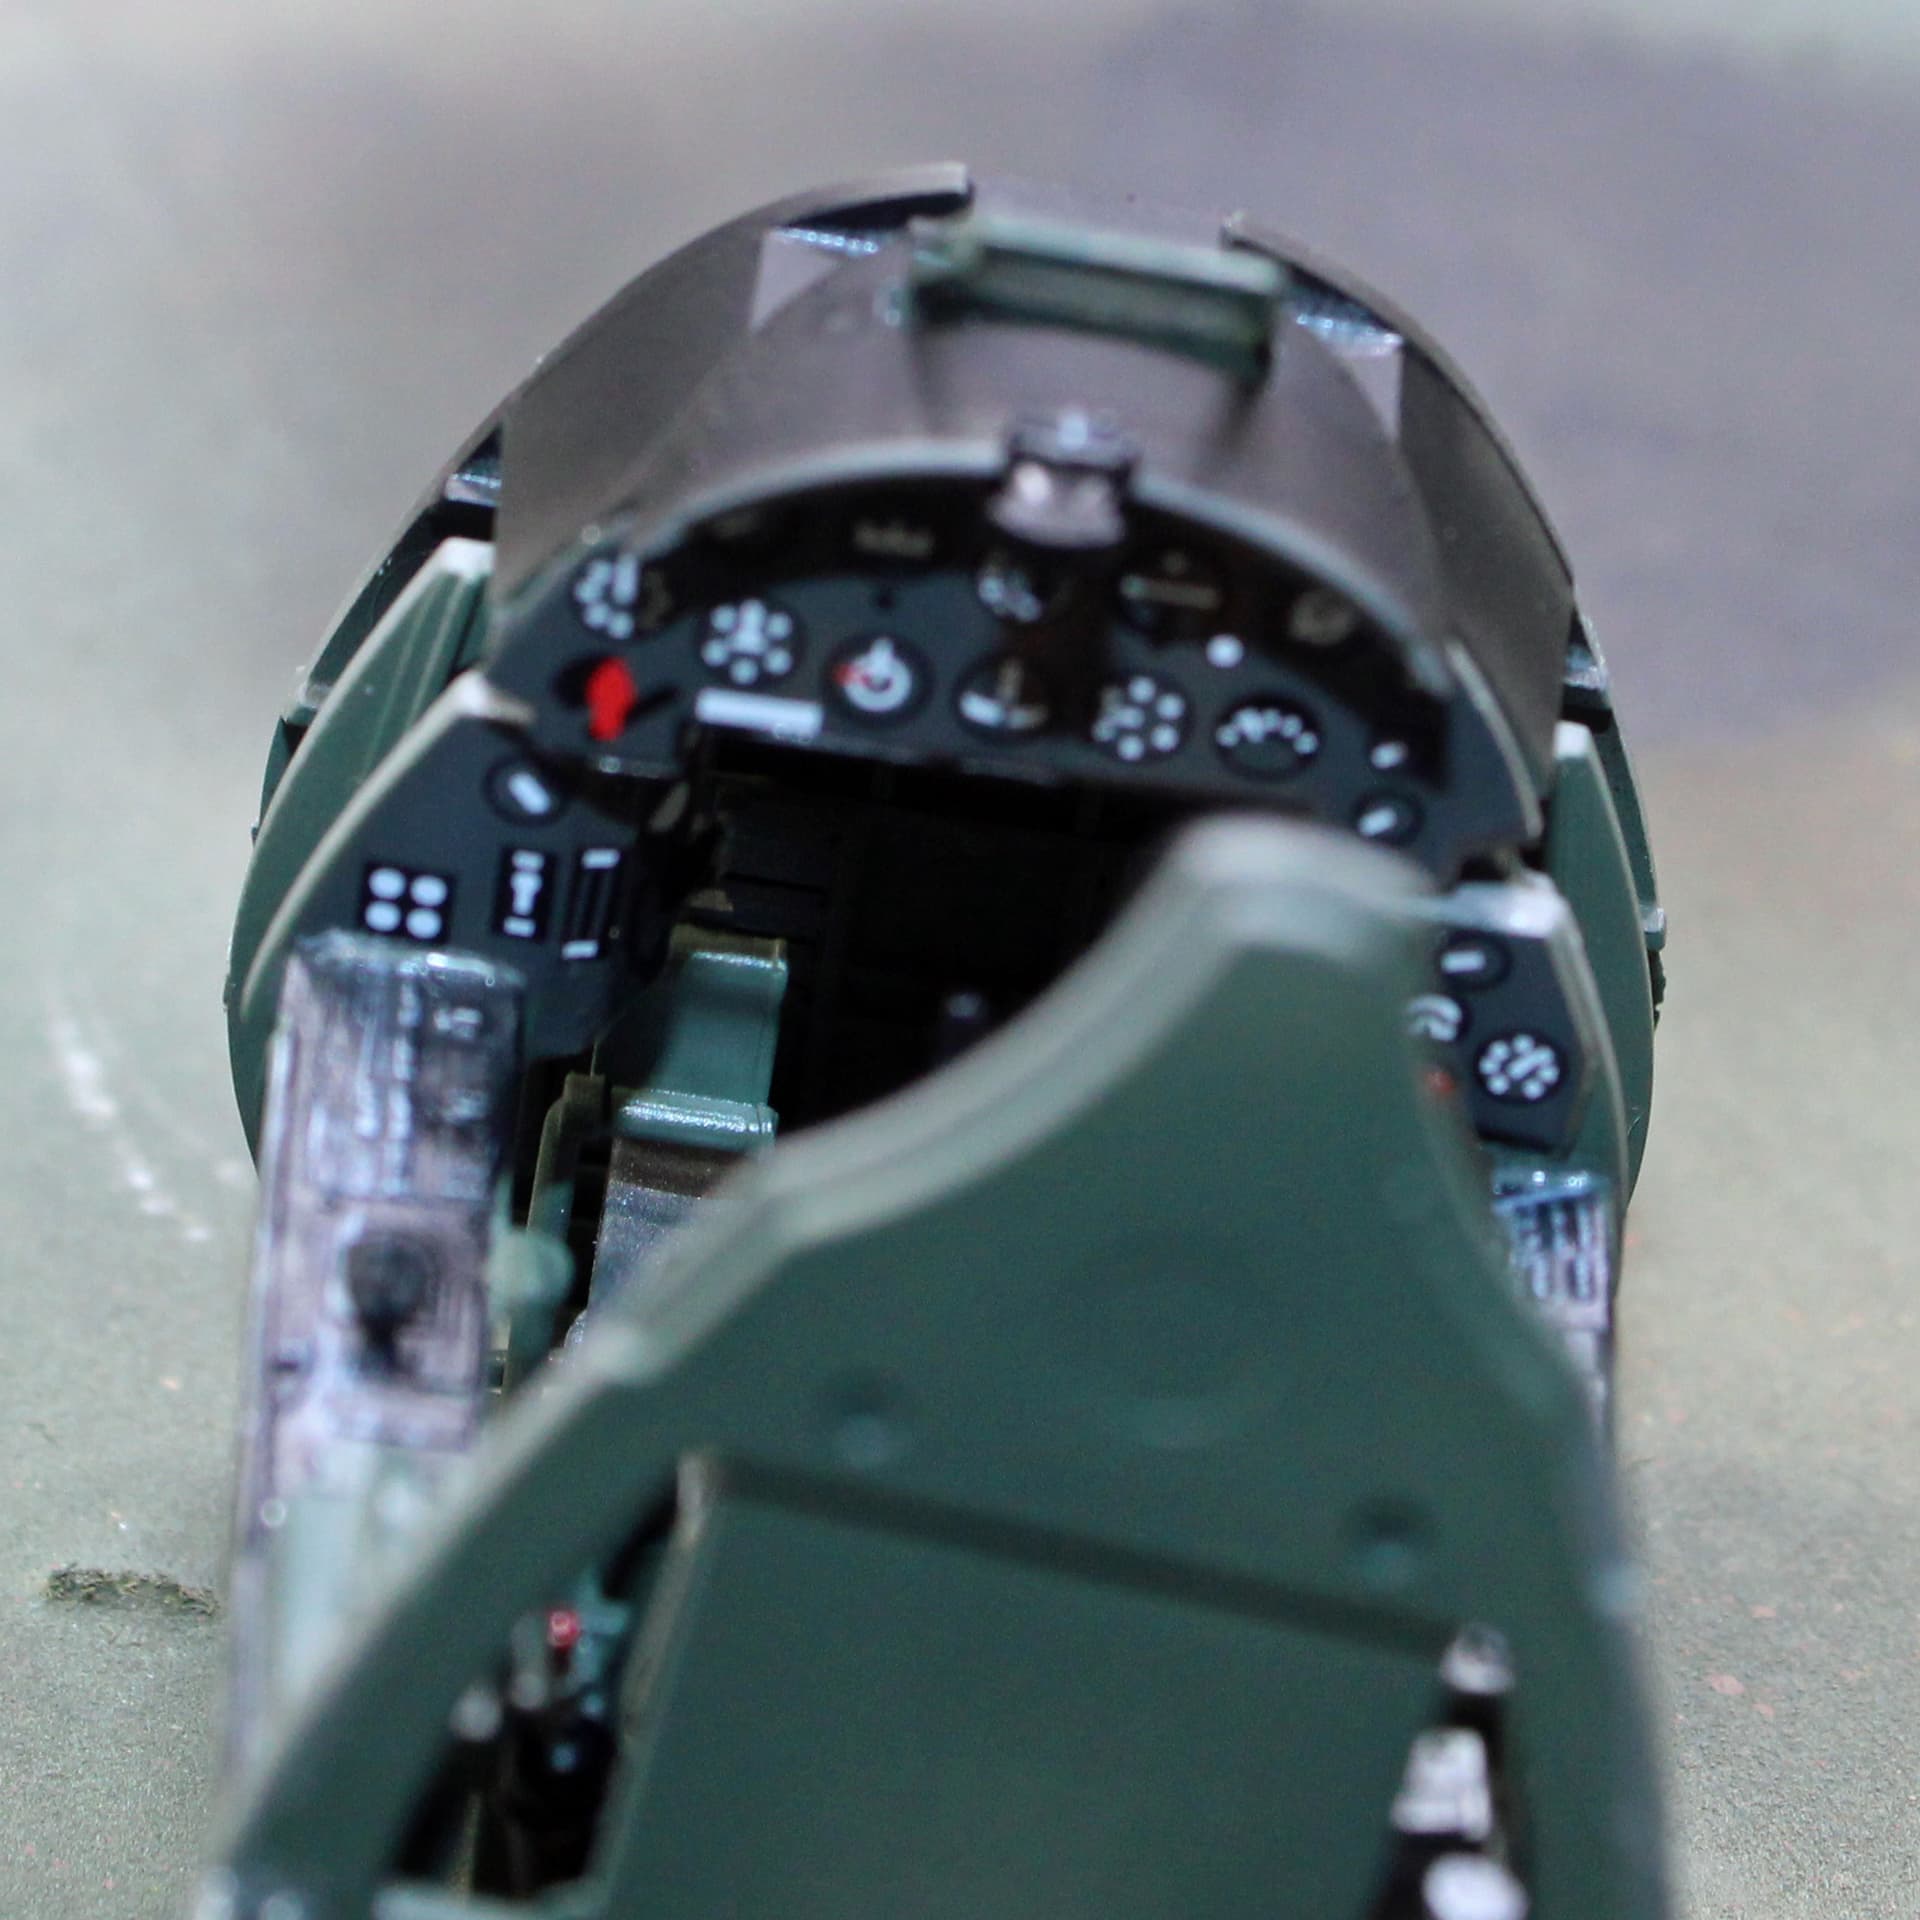
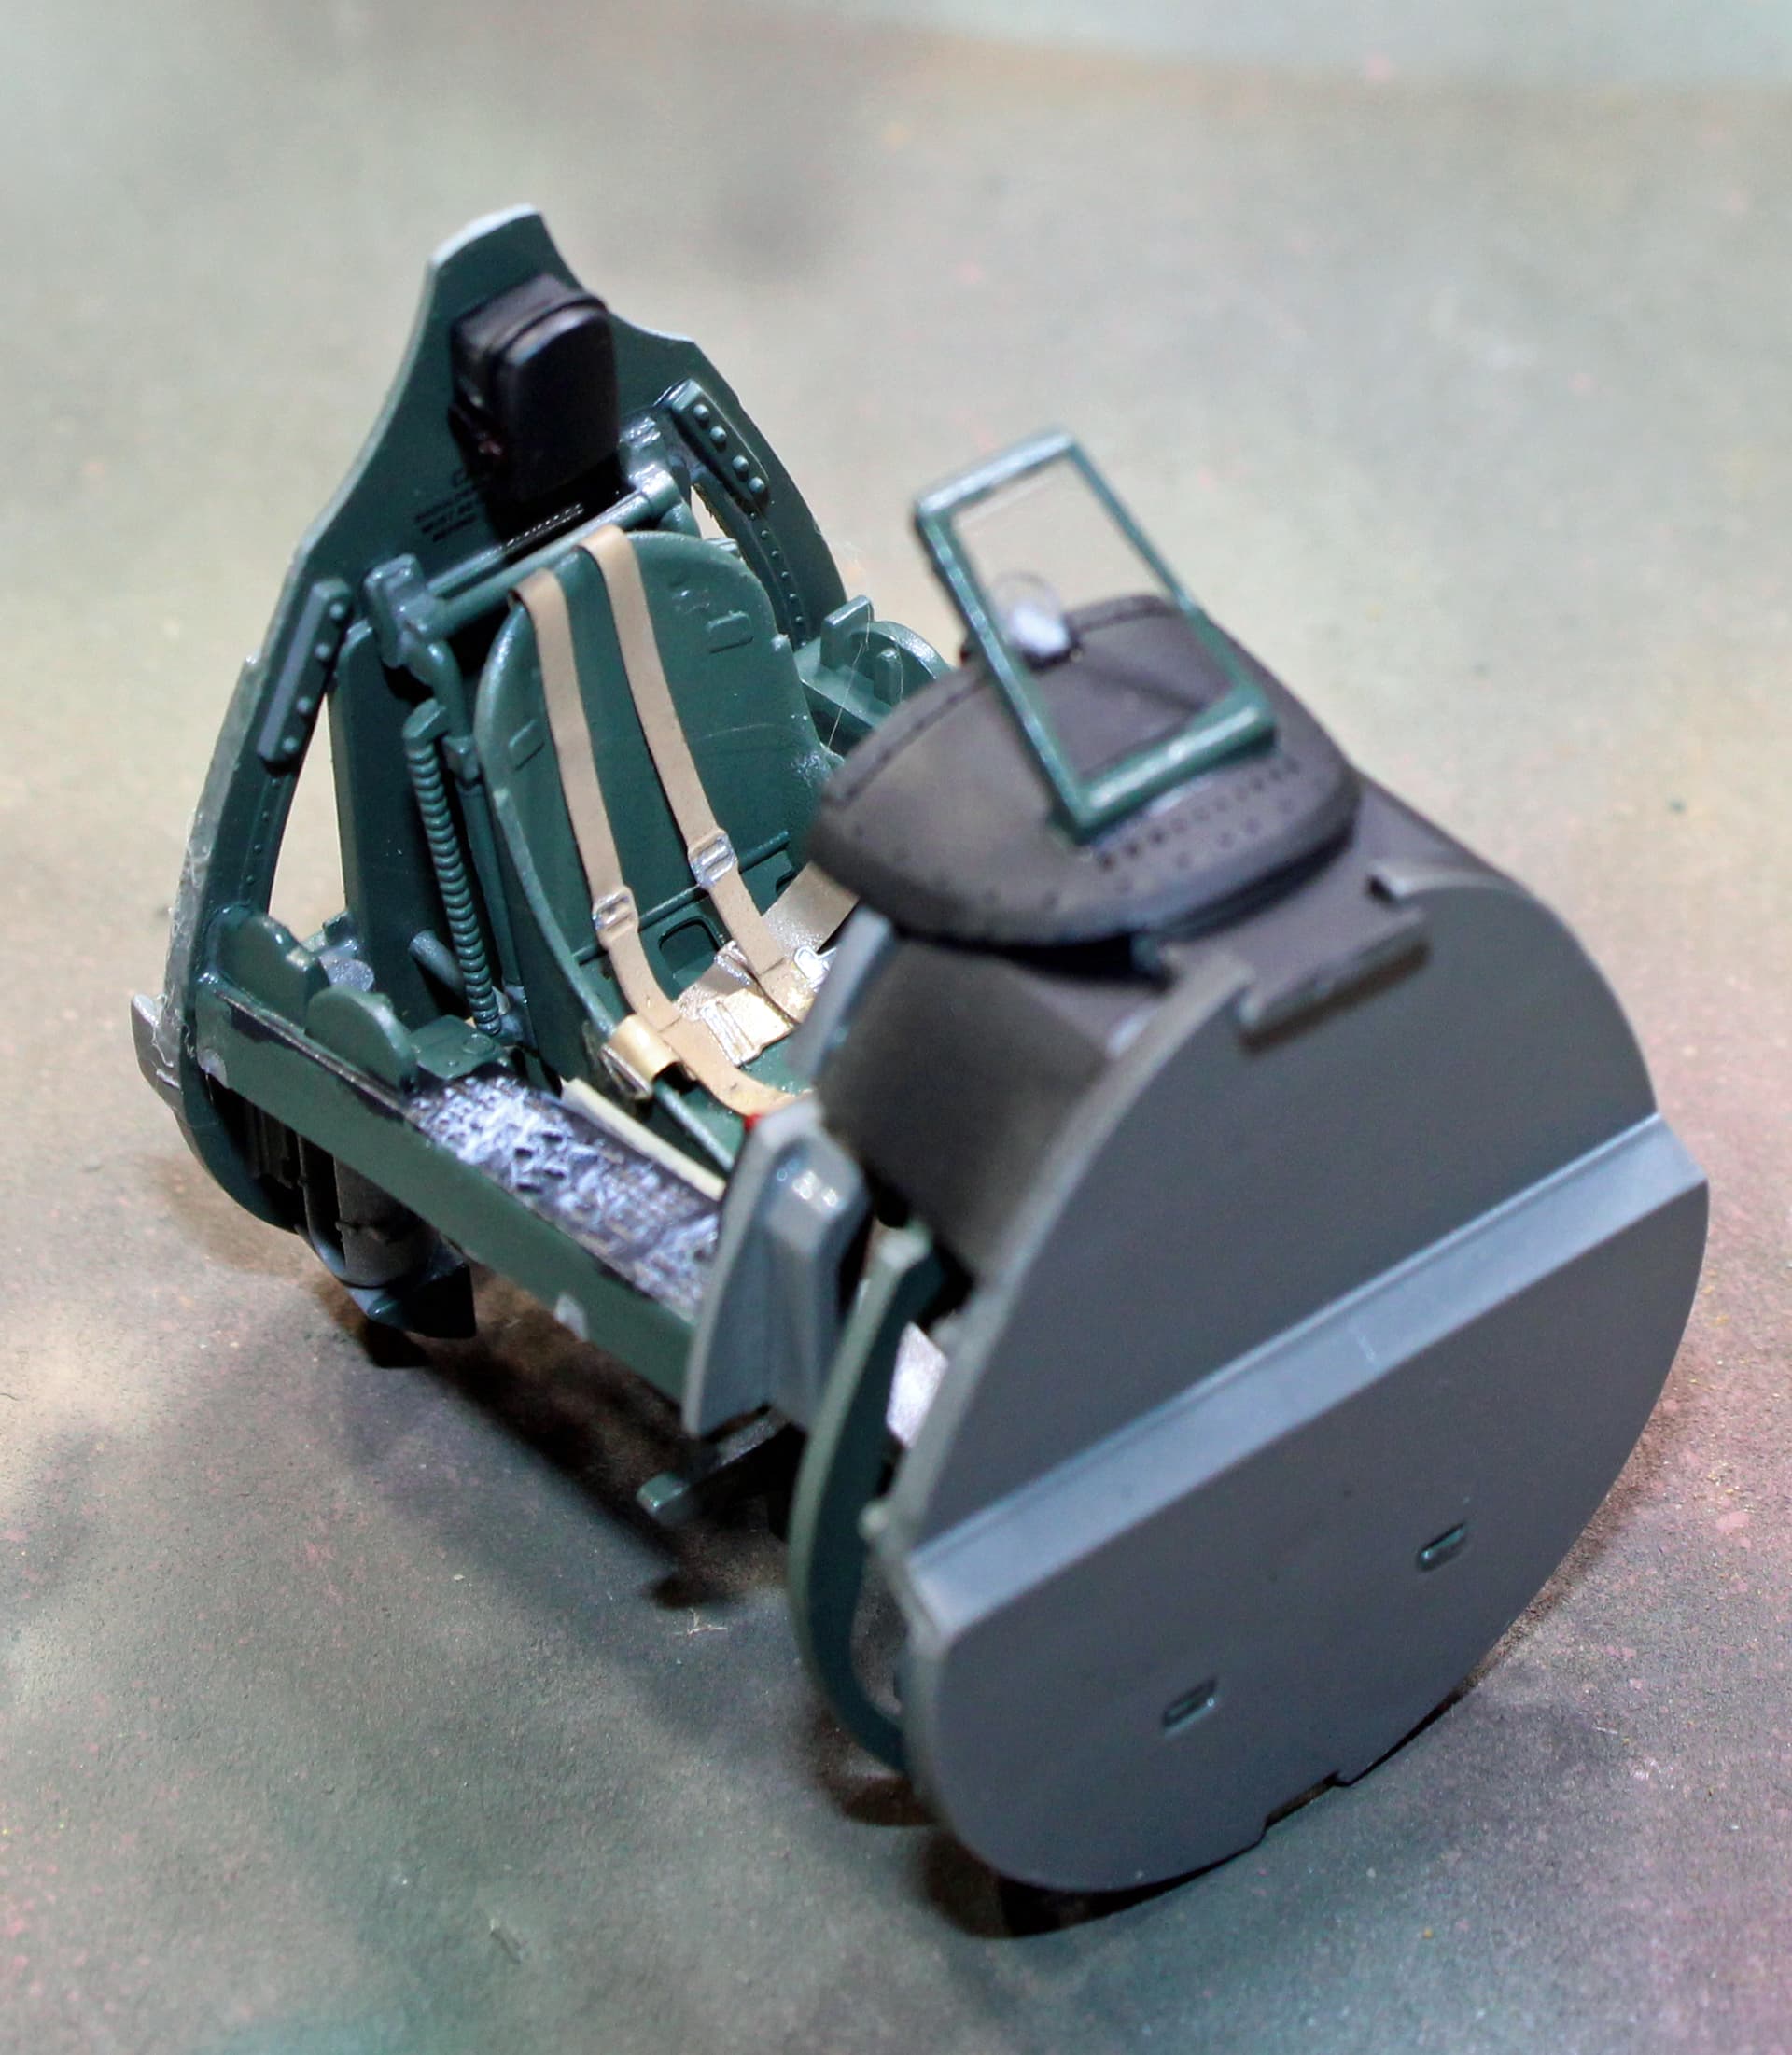
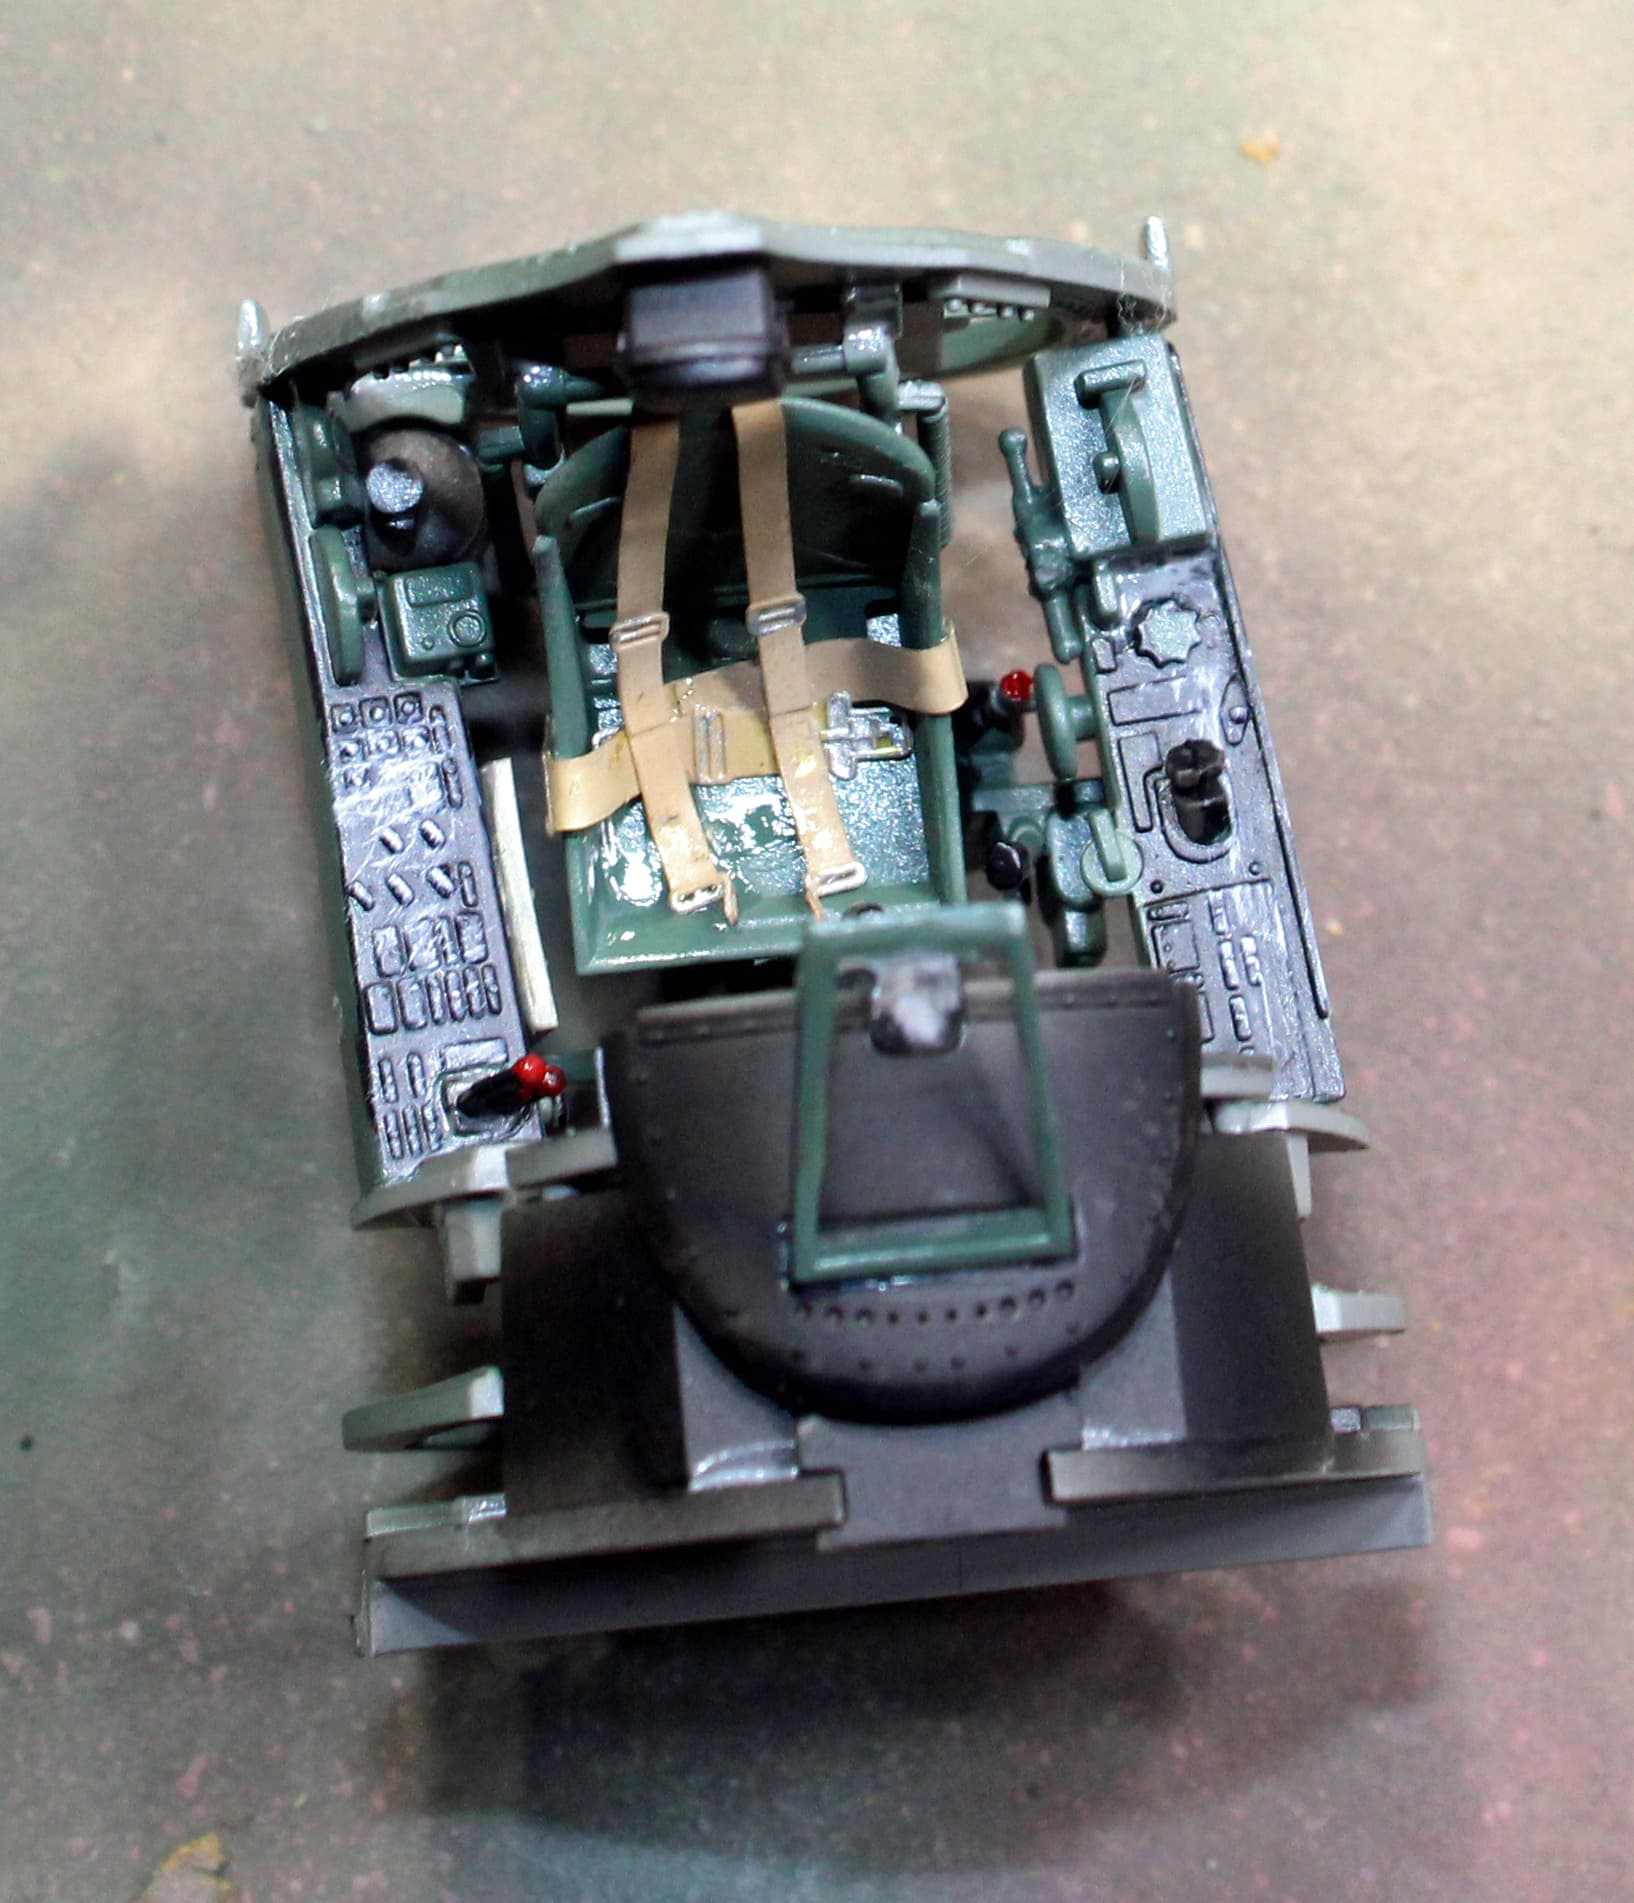
I have a couple of days’ worth of progress to show off for this dual build, as I spent a few hours each of the last two days painting and constructing the cockpits for each. They are not complete as yet, but are taking shape nicely.
I must say that the Magic Factory kit is at least the same quality as the 48th scale Tamiya Corsairs. Parts fit thus far has been perfect, although the instructions overly complicate construction steps by mixing the -1A with the -2 ***** If you choose to build this boxing, take your time and ensure that you follow the correct construction step for the particular variant you’re building ******* I already made this mistake, which thankfully was easy enough to correct.
I opted to use the kit decals for the instrument panels, but then didn’t pay close enough attention to the correct parts callout for the -2 and put the decals on the second set of parts for the -1A. Yes, you can opt to build two -1A Corsairs from this boxing. The decals had already set, so I ended up painting the side panel consoles.
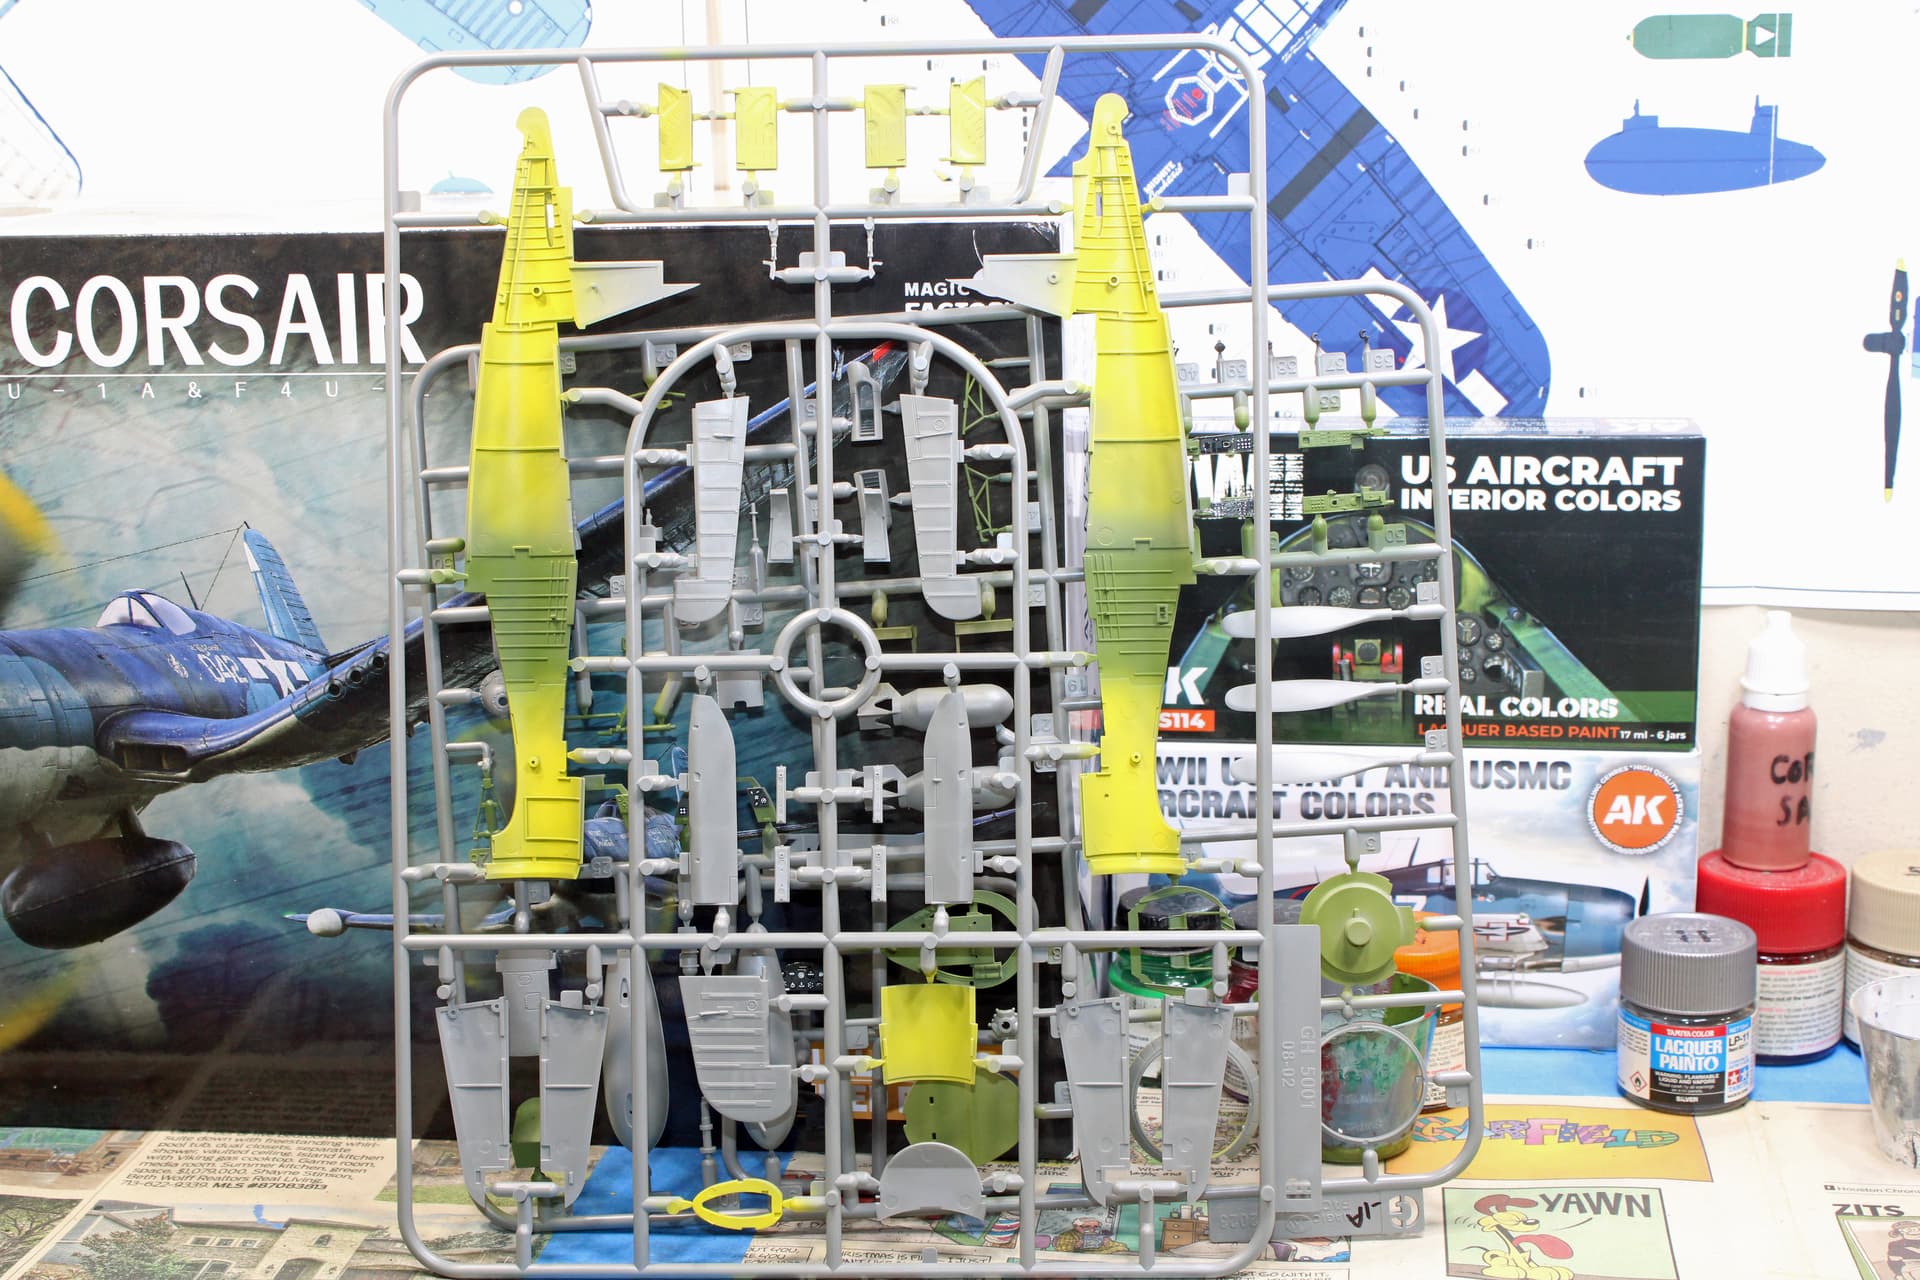
Painting is another headache for the Corsair. Interior primer and colors depend on which variant you are building. I put together a paint table for these builds:
Area F4U-1A F4U-2
Cockpit Interior Green Dull Dark Green
Primer Yellow Zinc Chromate Salmon
Cowling interior Yellow Zinc Chromate Salmon
Main wheel wells White over Yellow ZC Light grey over salmon
Gear door interior White Light grey
Tail wheel well Yellow Zinc Chromate Salmon
The F4U-1A was not an offshoot of the F4U-1 (the Birdcage Corsair); it was a new variant. But the F4U-2 was a Birdcage Corsair with some alterations and typically the wingtip Radar pod.
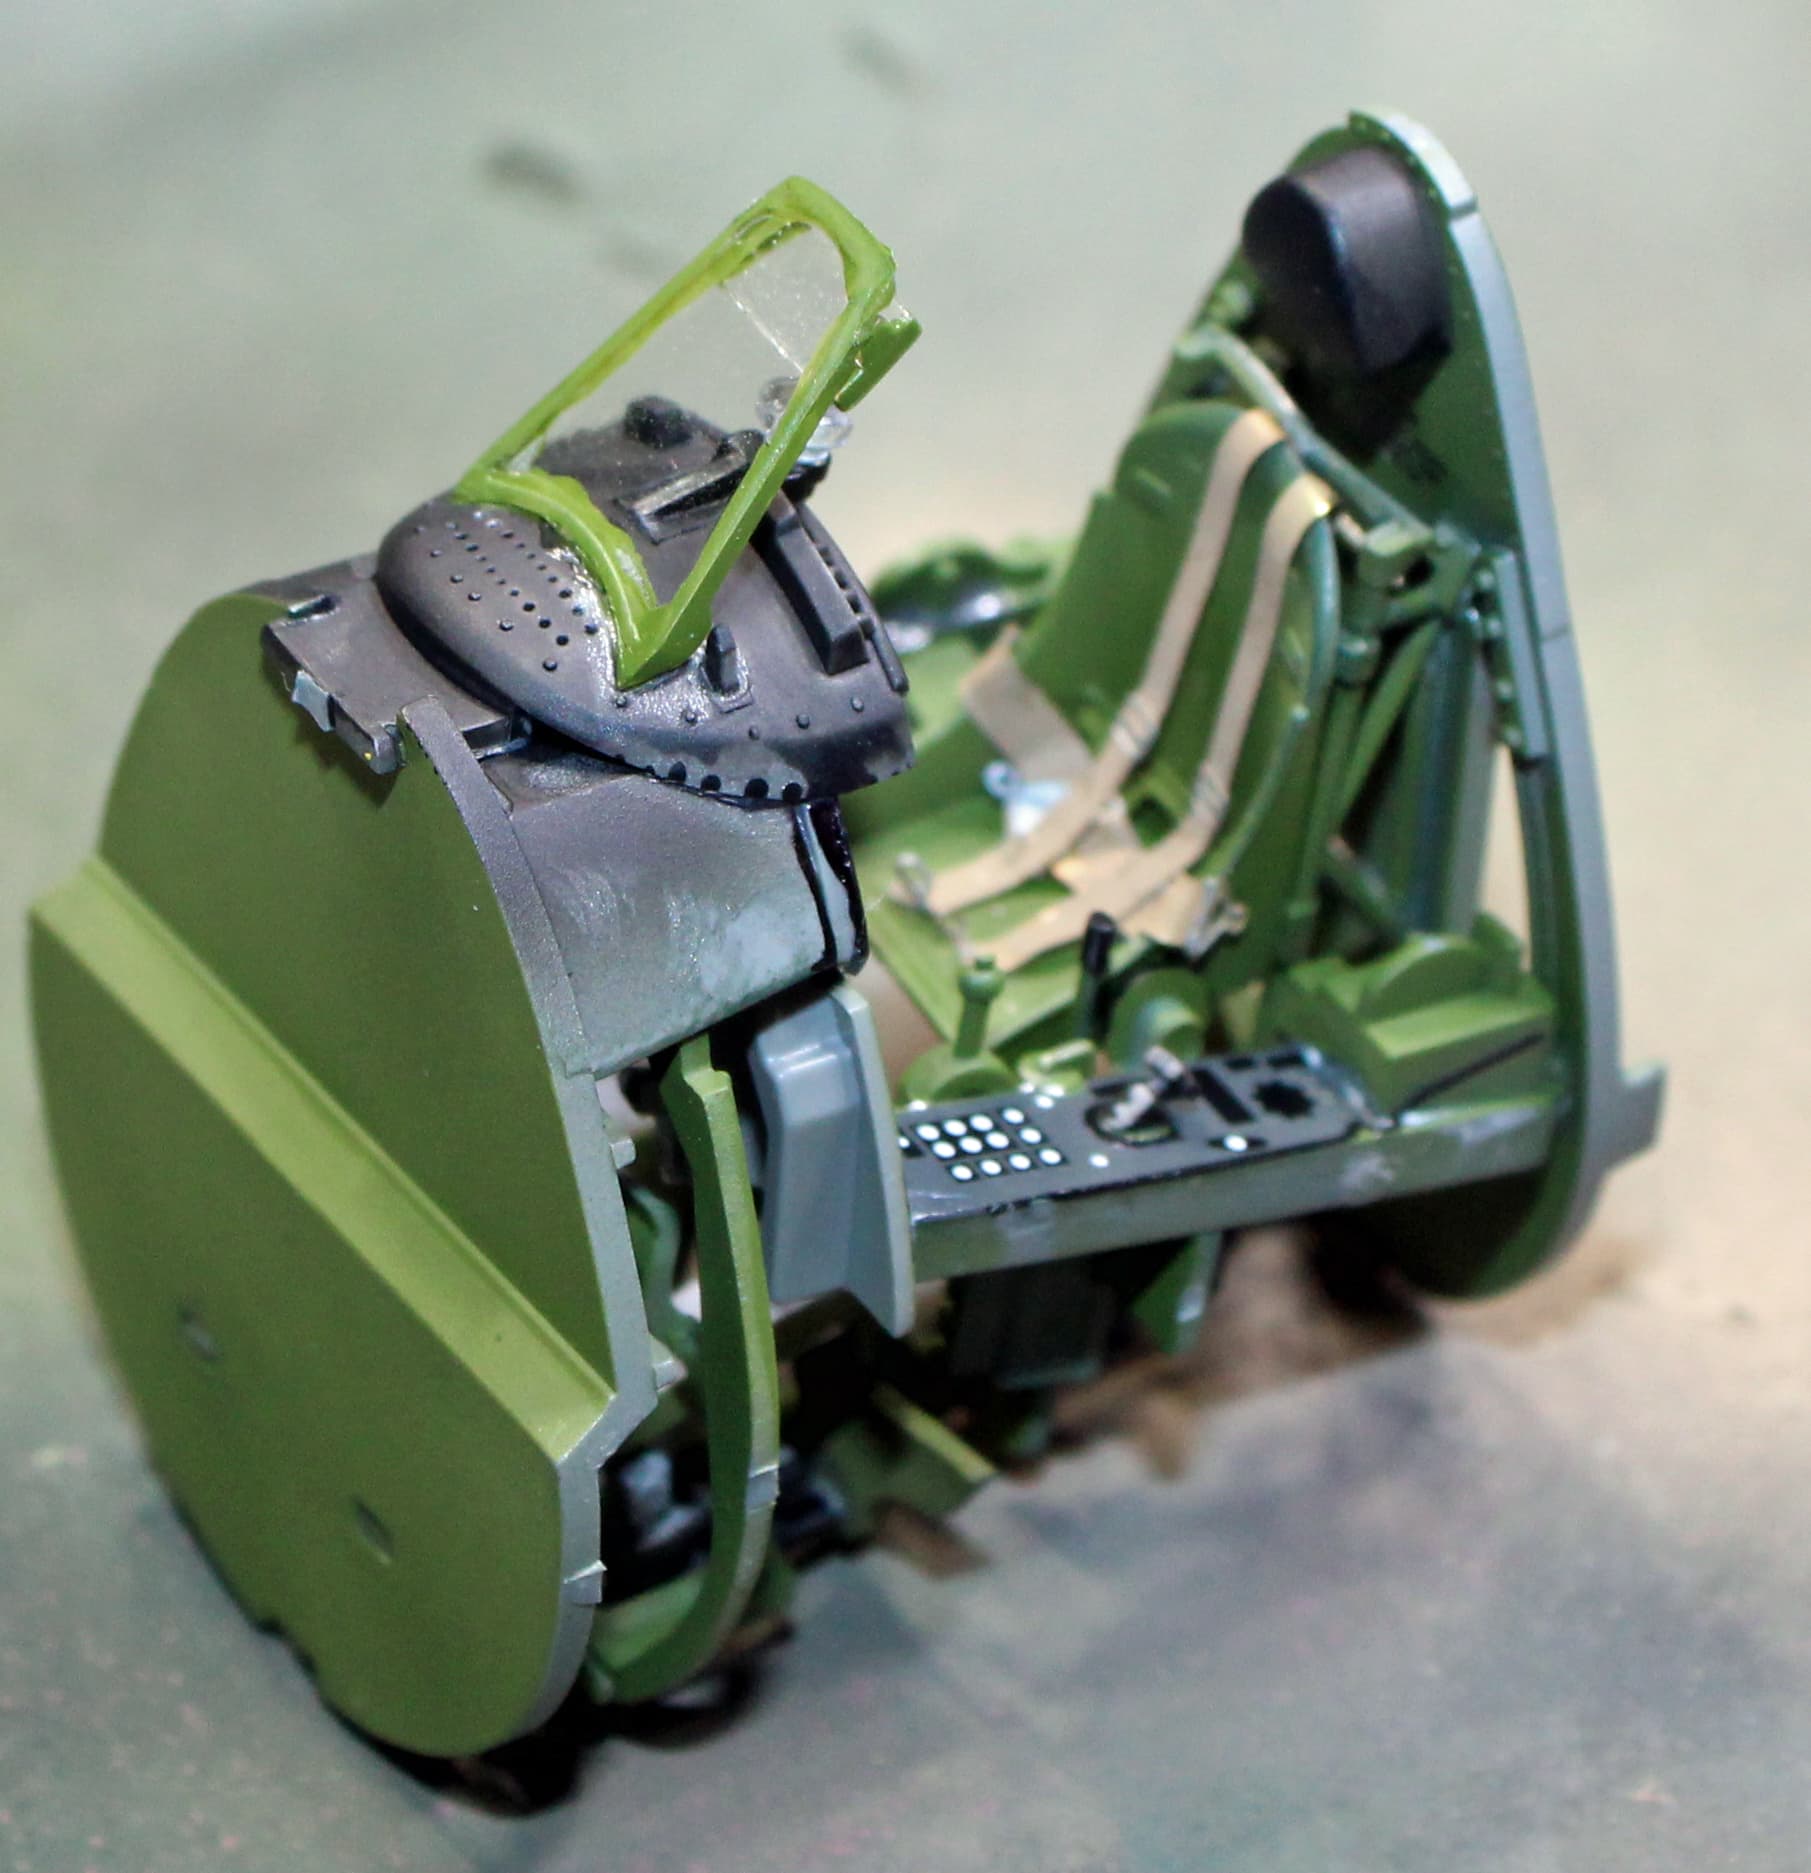
Did a little work this morning before work to complete the cockpits for both. They feel a bit wobbly, but Magic Factory provides clear connection points - with a prong on one end of the side panels and a square insert on the other so that it is not possible to install them incorrectly. The panels were not level along a plane, so you have to ensure you angle them correctly.
I typically don’t like working with PE seatbelts, and that remains the case with this kit. But I did come across a method of working with PE that I had never before thought of, to anneal the parts under fire to make them more pliable. To that end, I bought a most appropriate lighter with a Flying Tiger case. Mission accomplished. The PE certainly was more pliable, making them easier to get into a more realistic pose rather than with my previous work with PE belts, where the belt ends would mysteriously be pointing upward despite my efforts to force them down onto the seat.
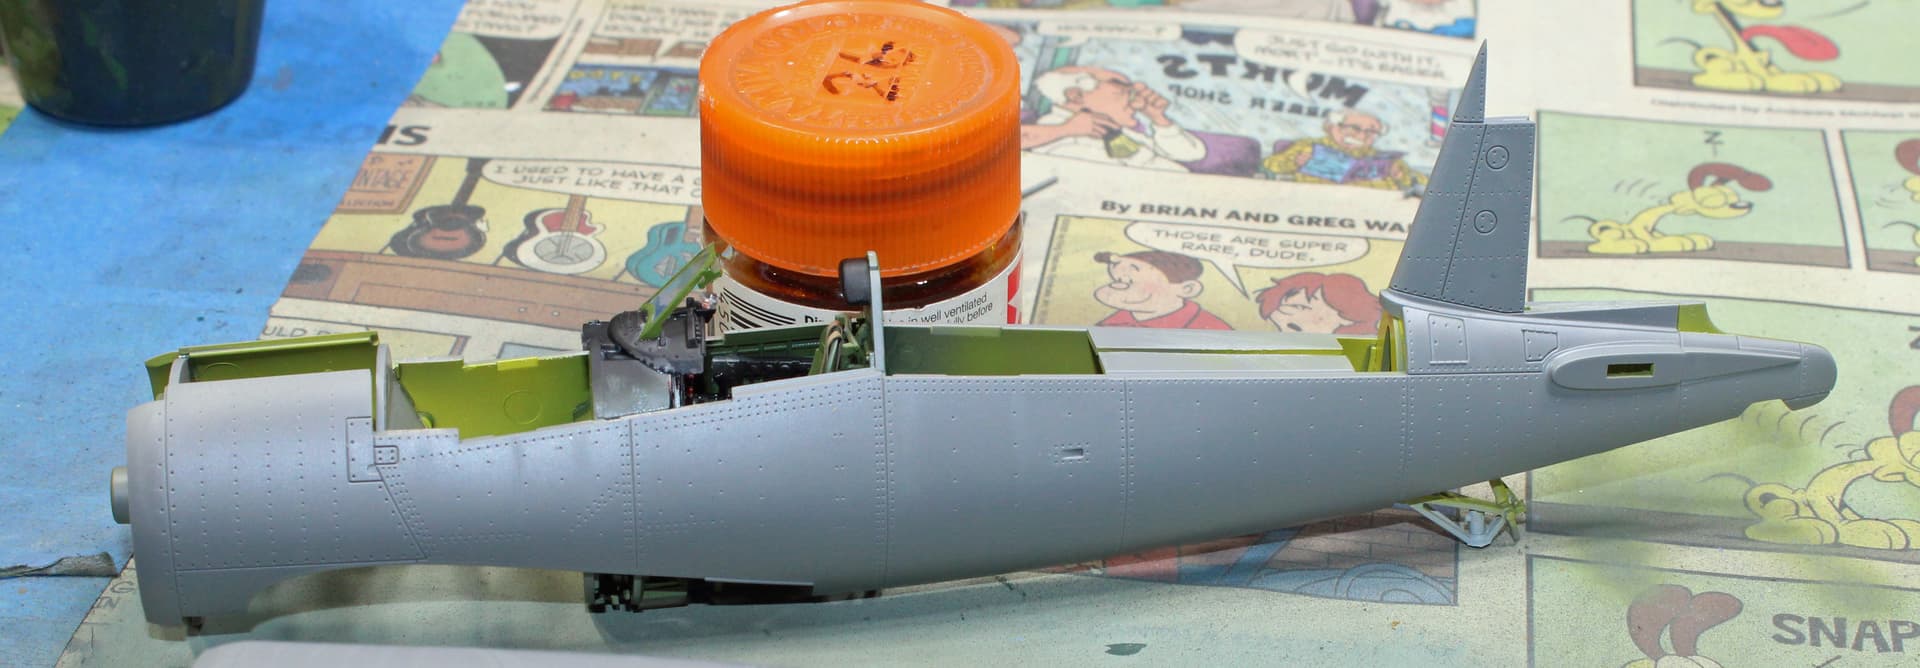
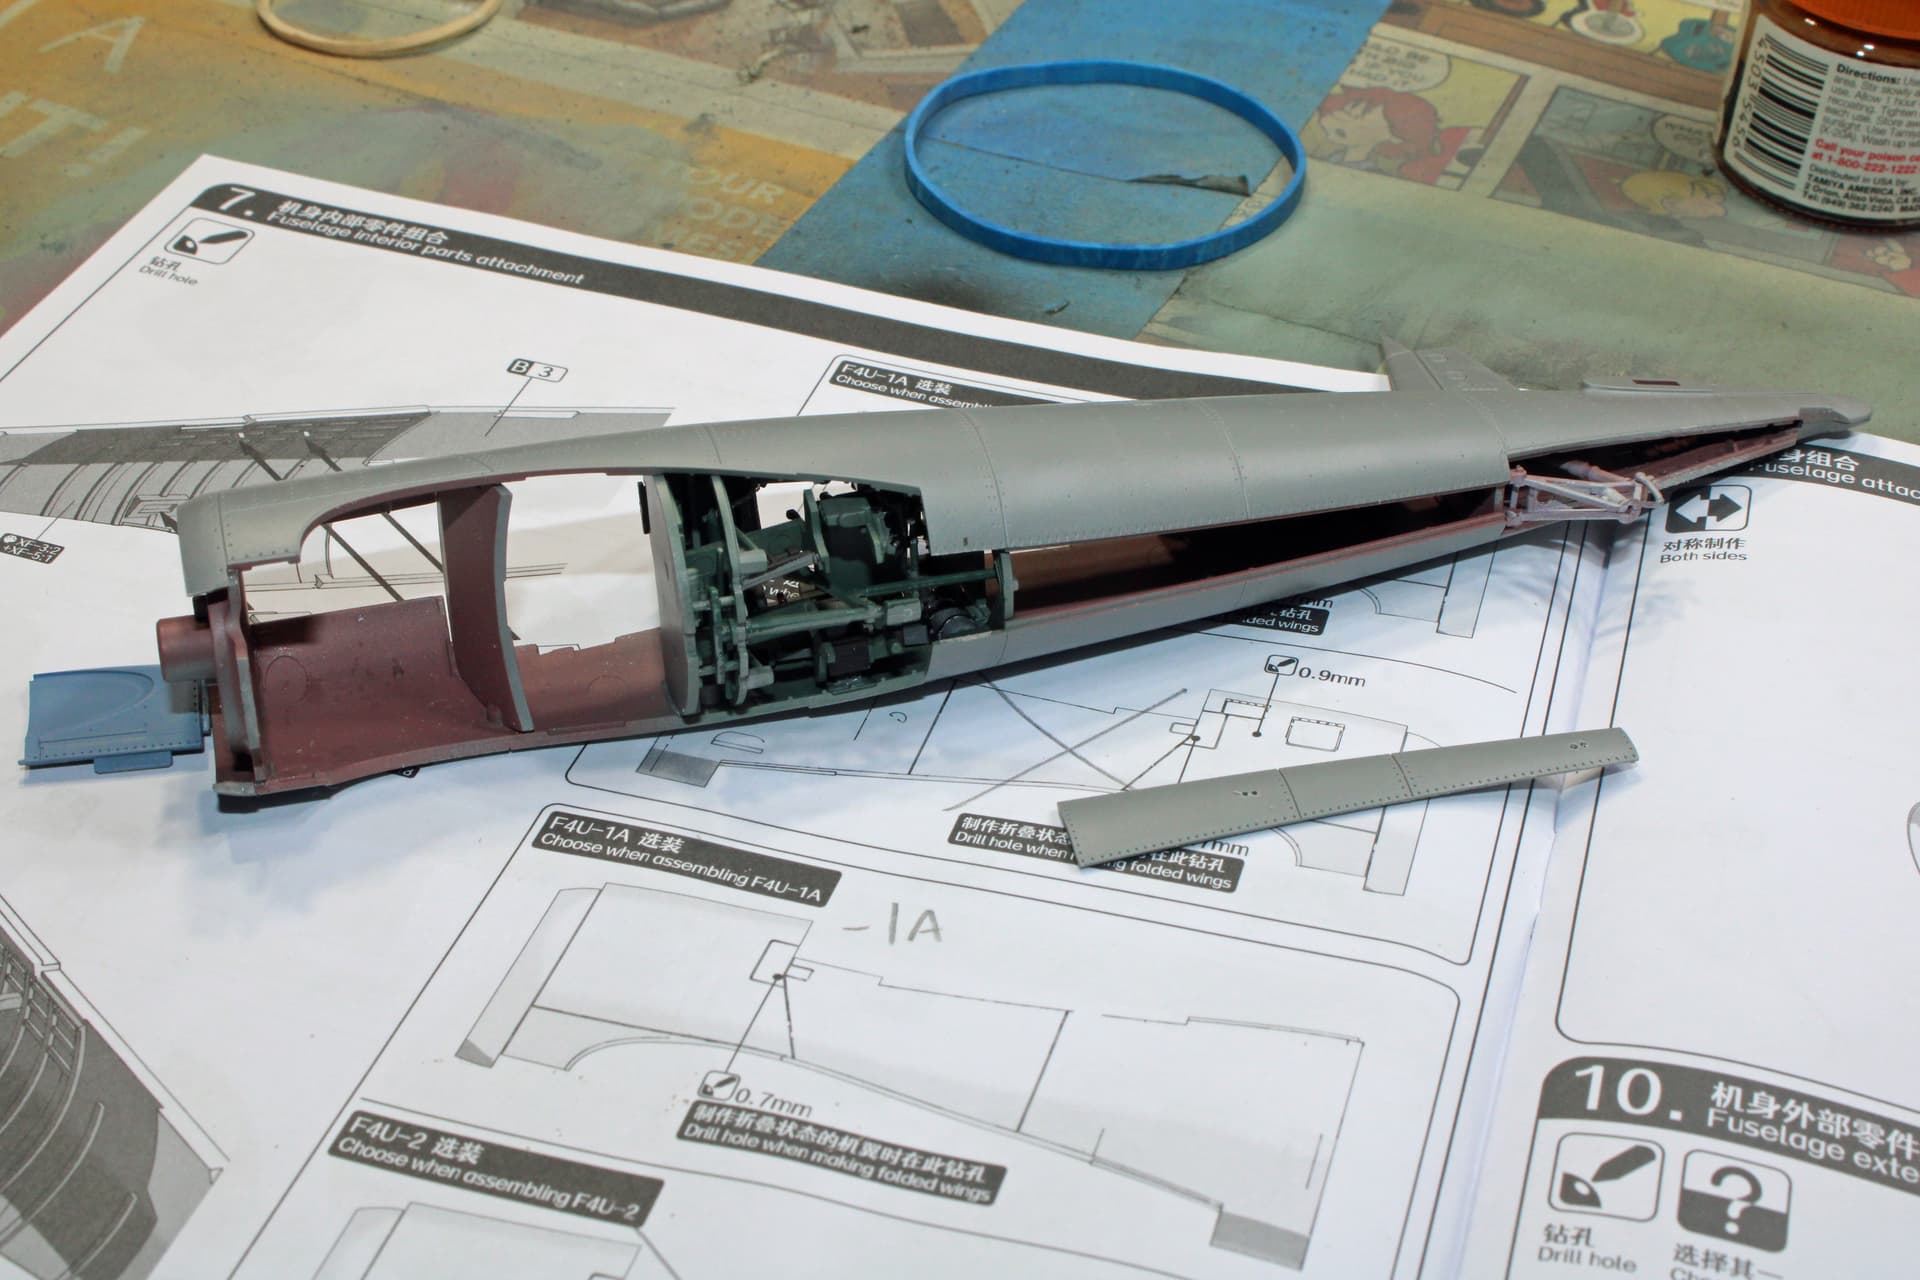
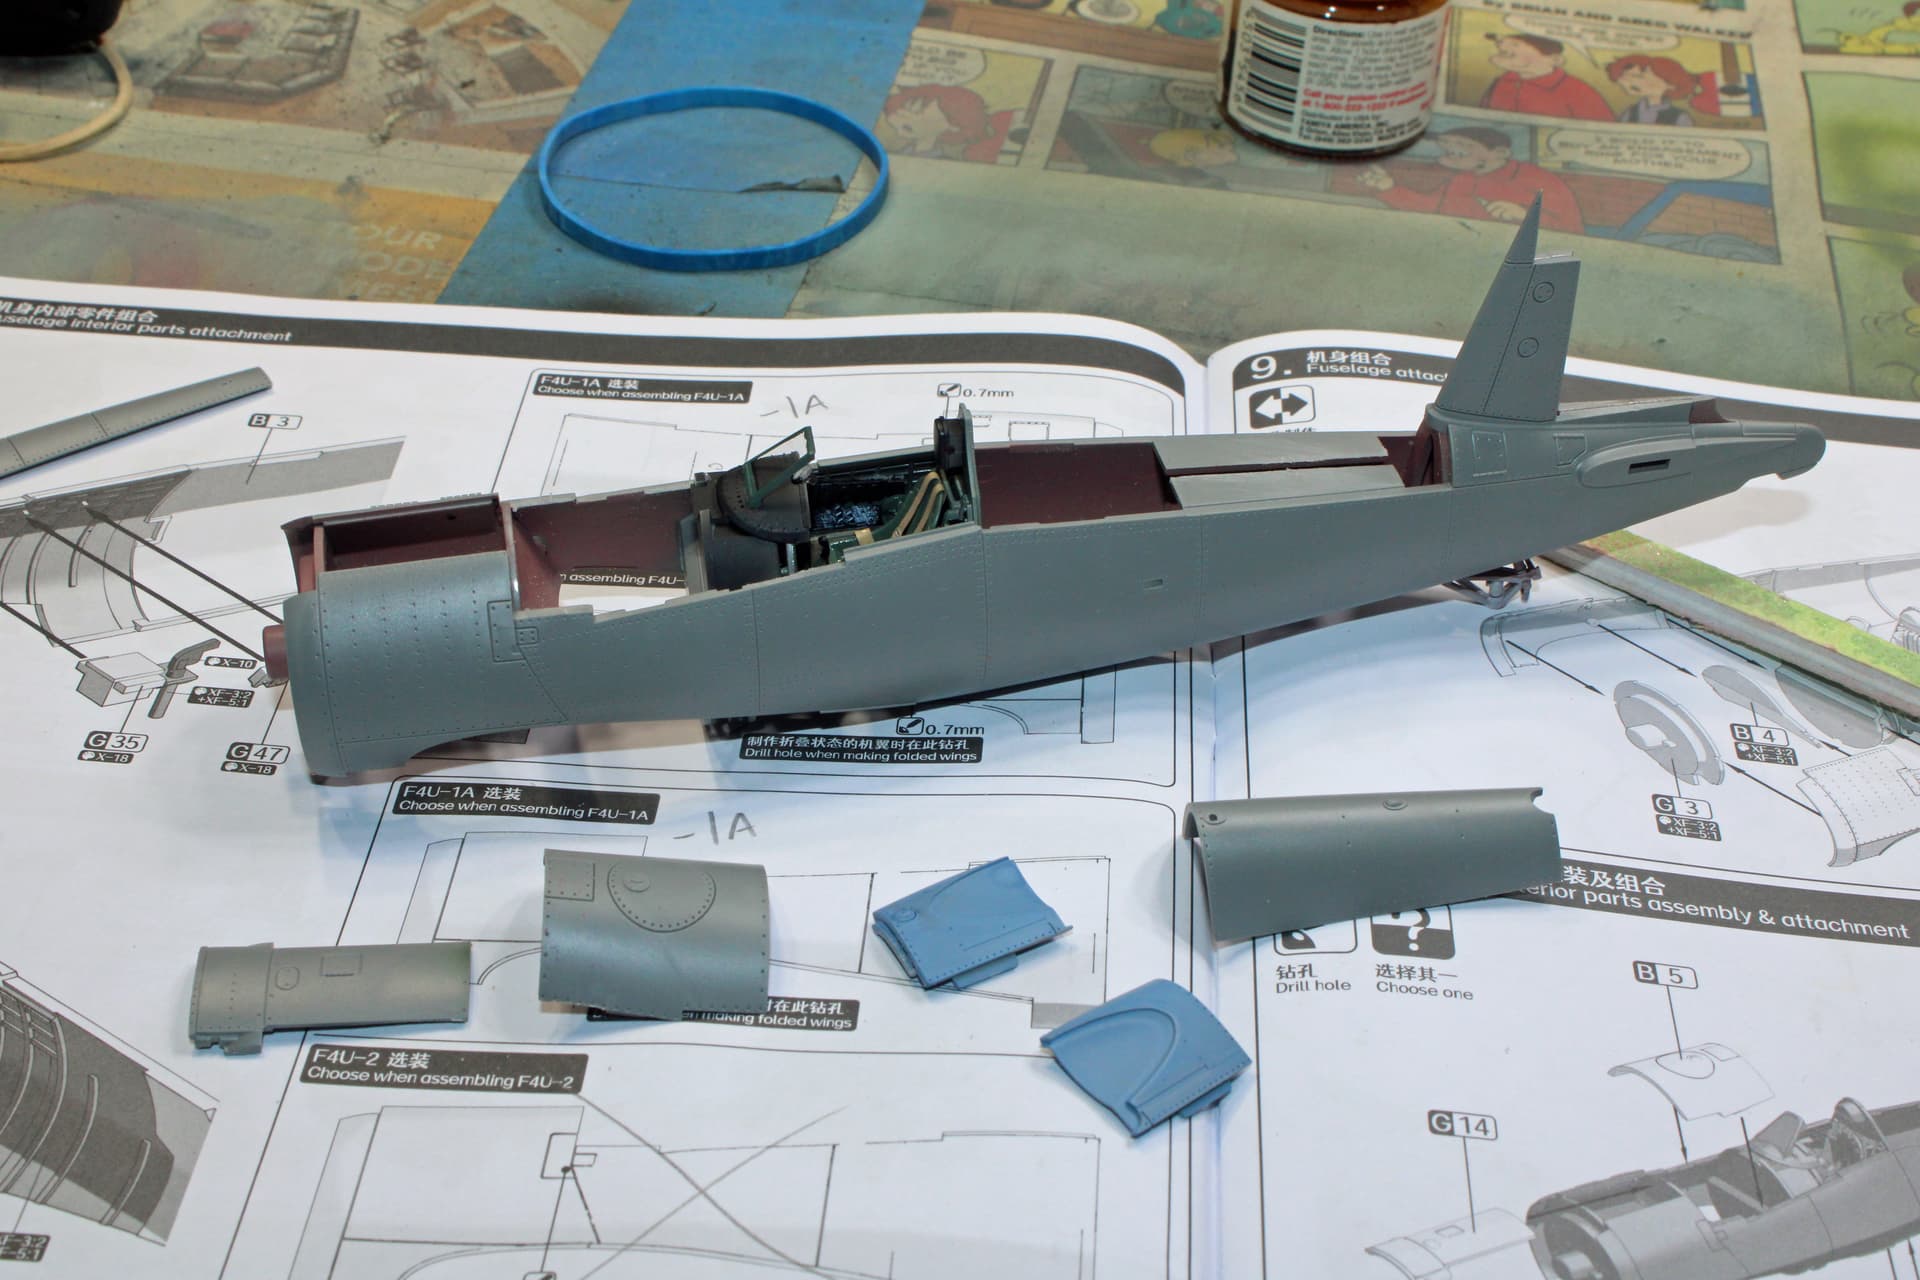
It feels like I’m picking up steam on these builds. Today I got both fuselage halves buttoned up. Magic Factory’s molds allow for a fuselage that is 95% seam-free; the only portion with a seam will be the two-piece structure right behind the canopy. On the -1A, it is simply fuselage, but on the -2, it is a rear viewing window. I suppose they could have molded that as one part as they did with the spine of the fuselage, but there doesn’t appear to be much of a seam along that ridge right behind the canopy as it is, so win win.
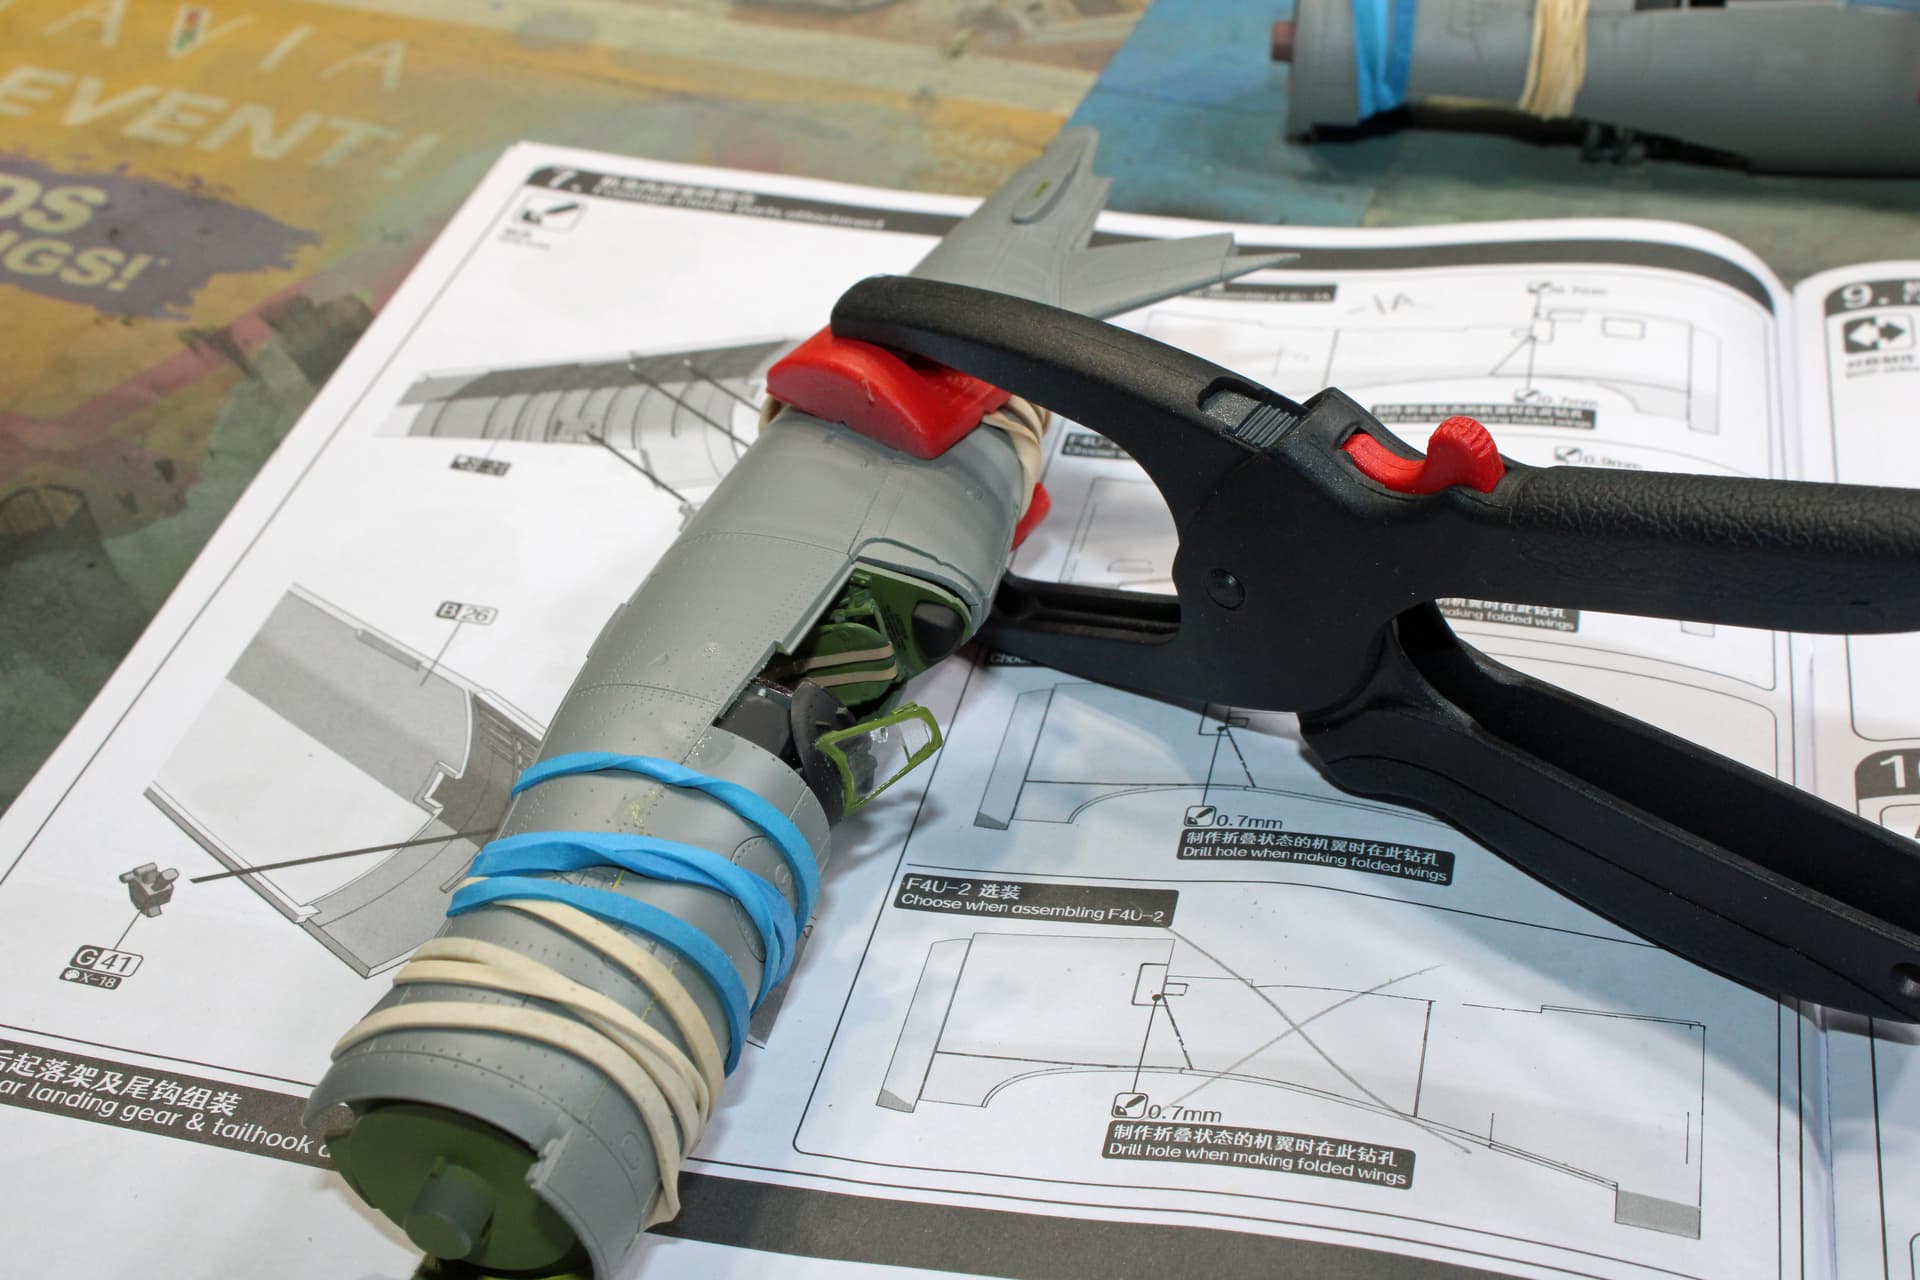
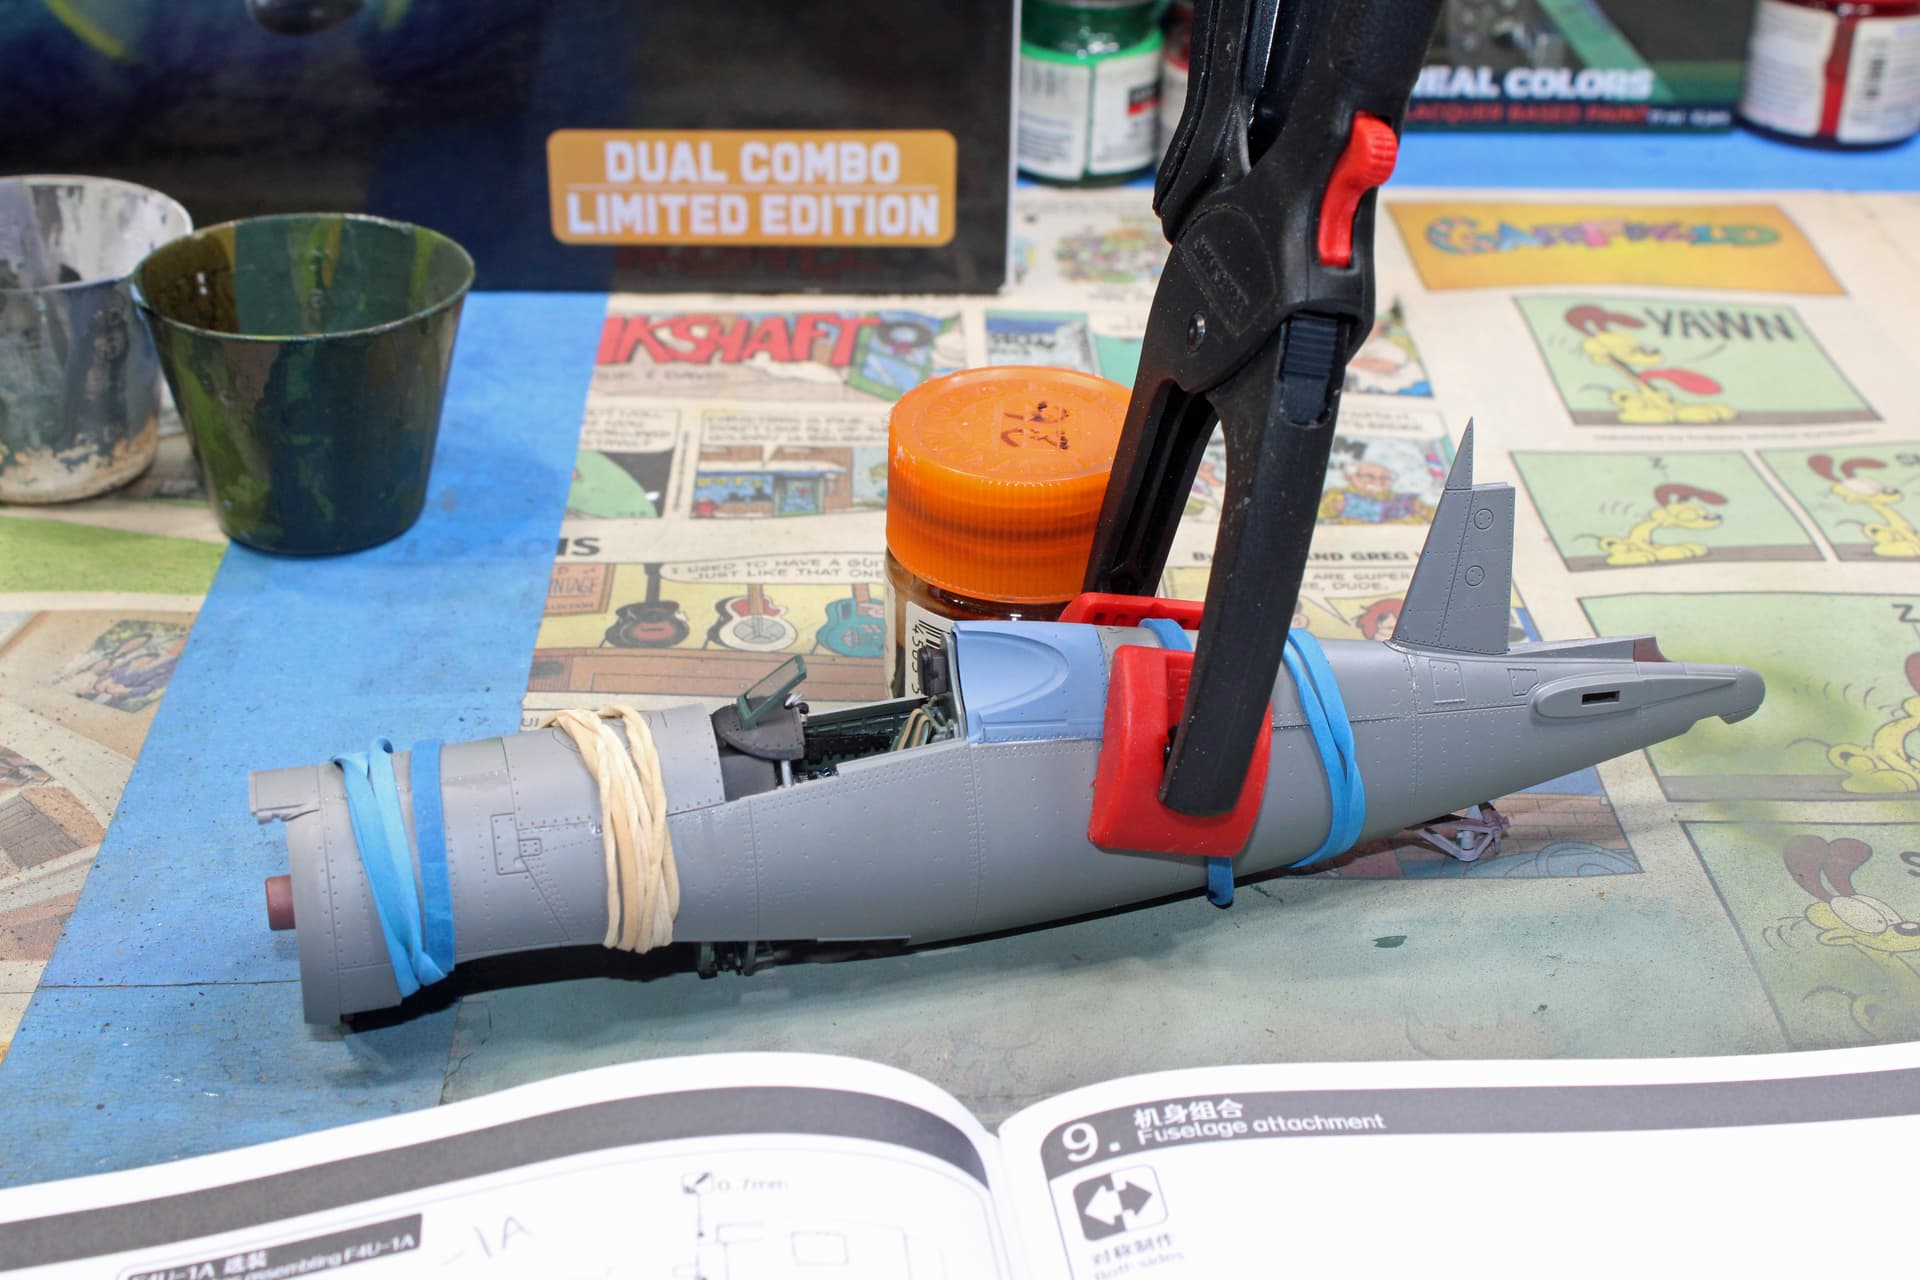
But the spine piece looks like it didn’t fit flush, so I put it under clamps in the hope that I won’t have to do any additional work there, which will result in losing some very fine rivet details. And I’ll suggest that anyone wanting to build this kit, when you attach the fuselage halves, don’t lock down the very front around the engine firewall - the top piece of the fuselage there is difficult to get into position otherwise.
Next up is to mask all the glass and get those parts into position. I plan to build these with the canopies open, so I’ll tack those parts into position with Silly Putty. Then it’s on to the engines.
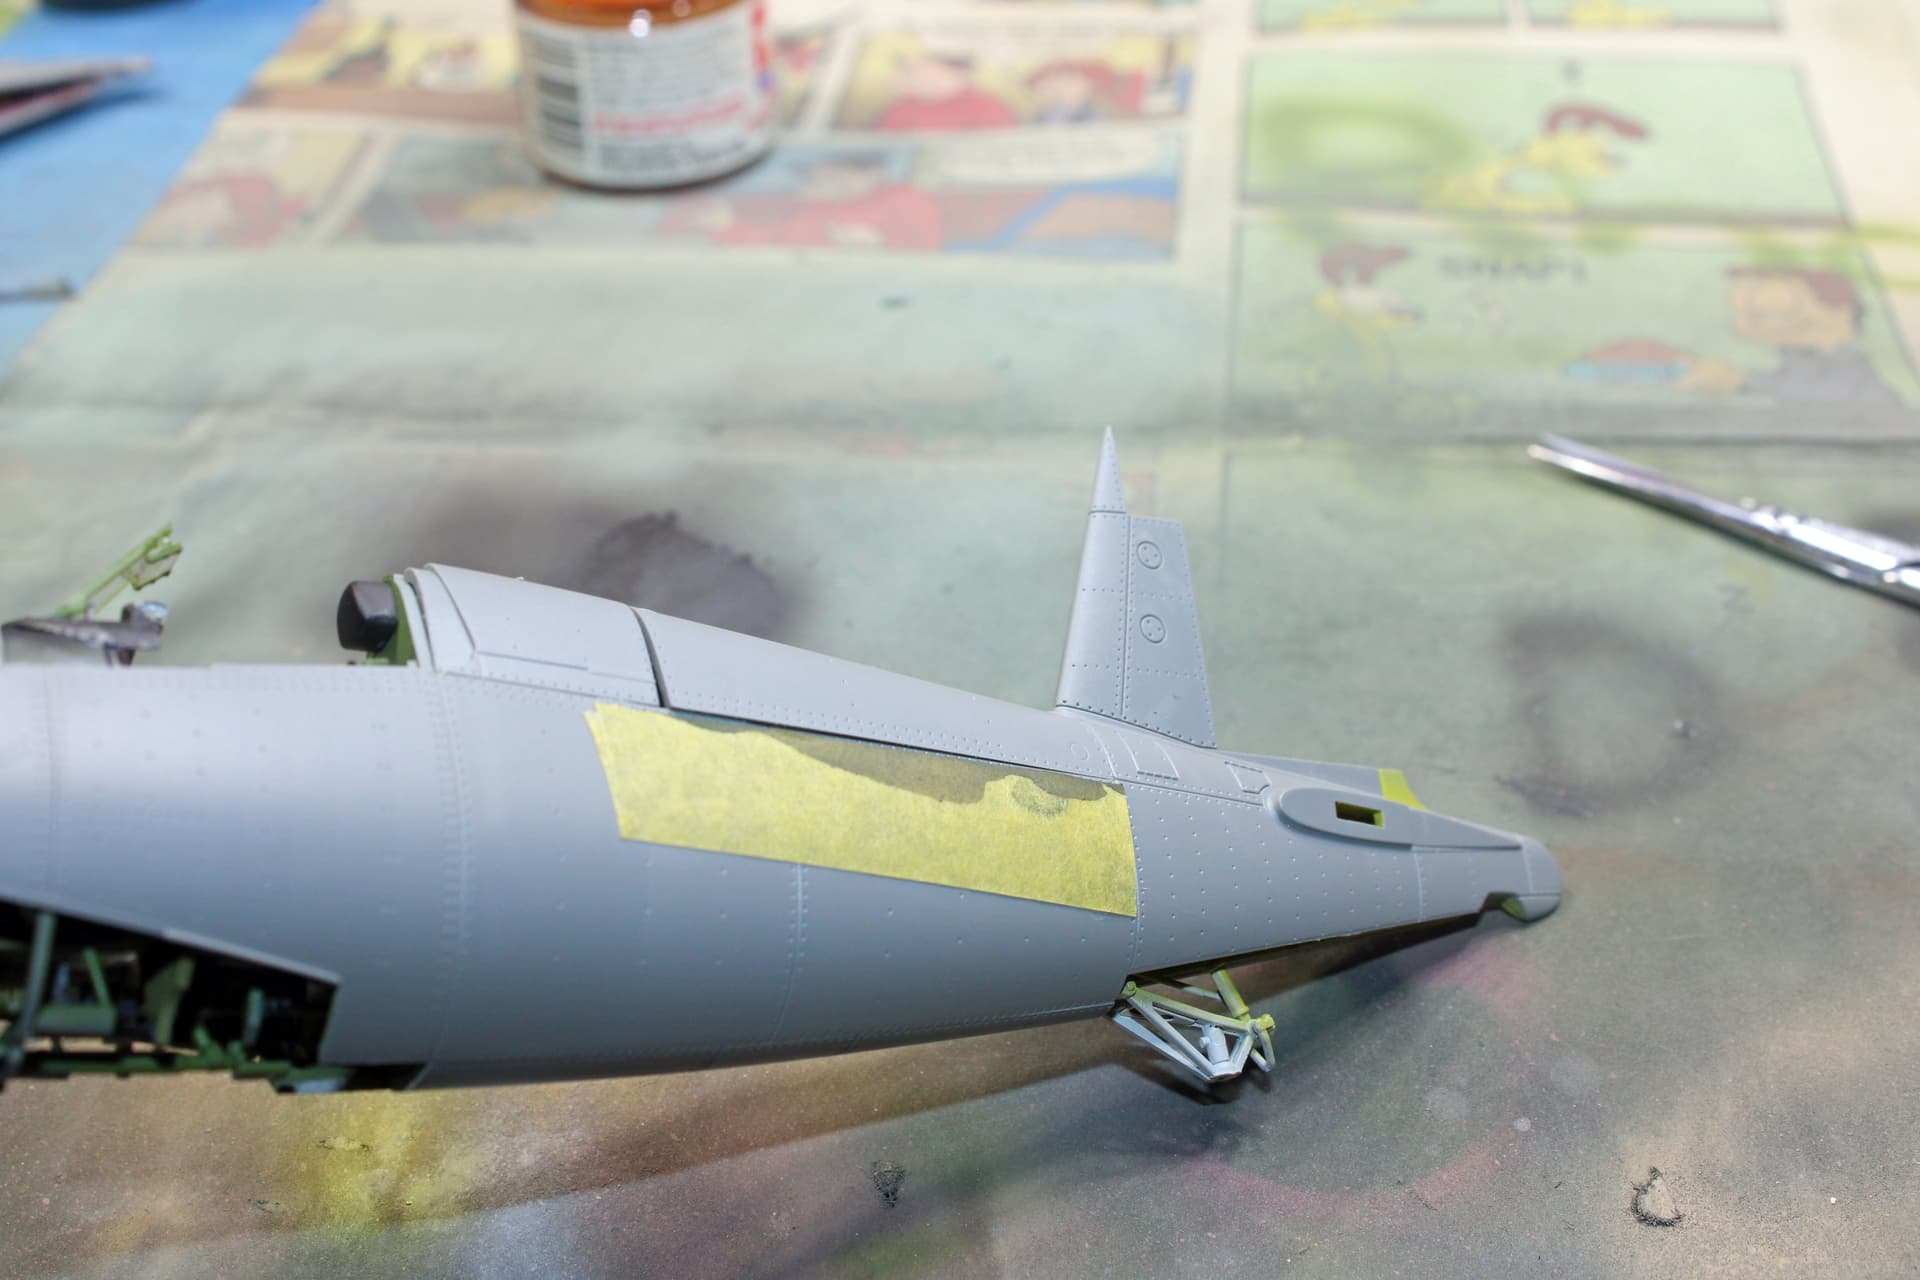
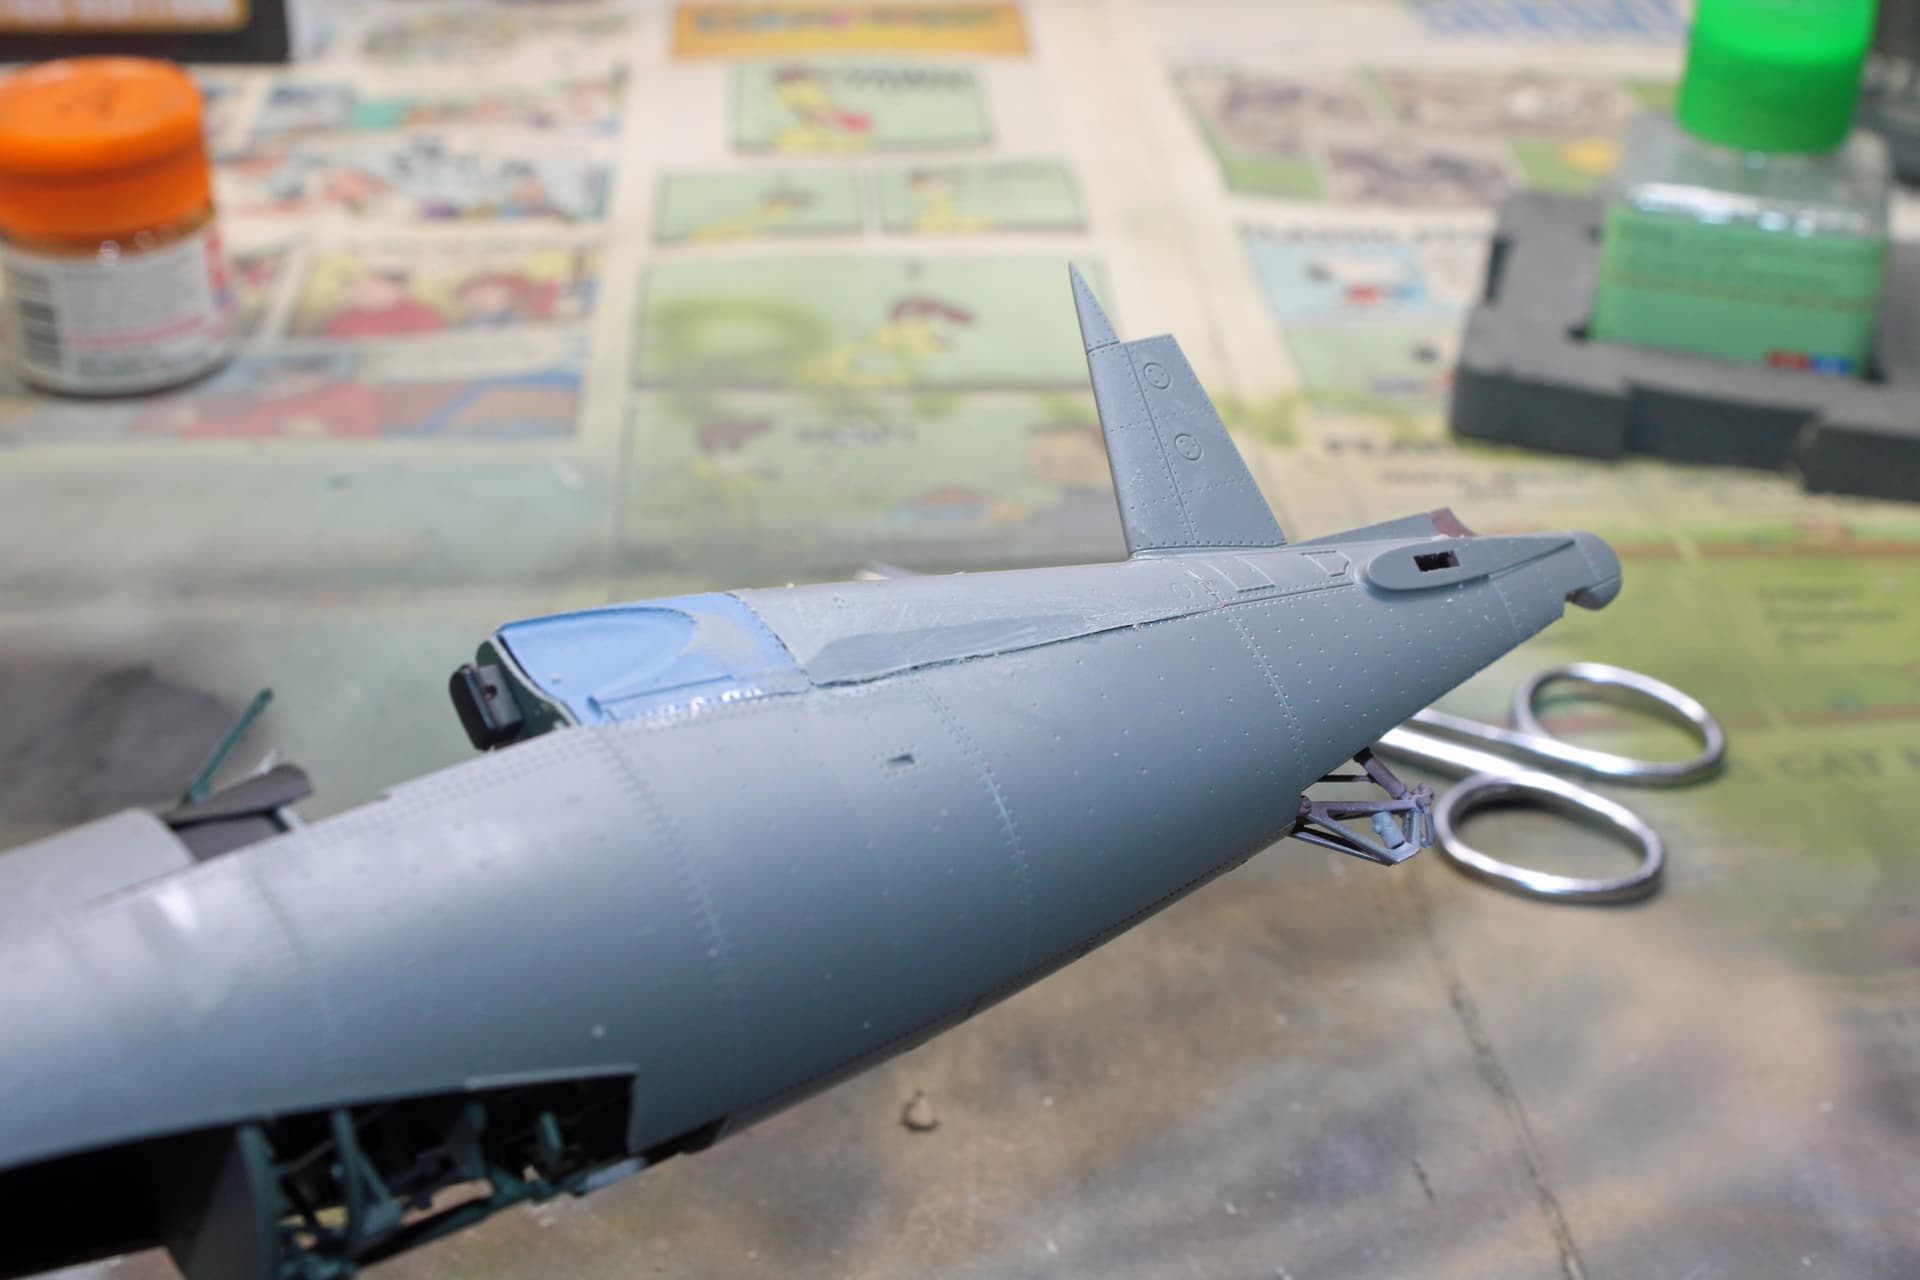
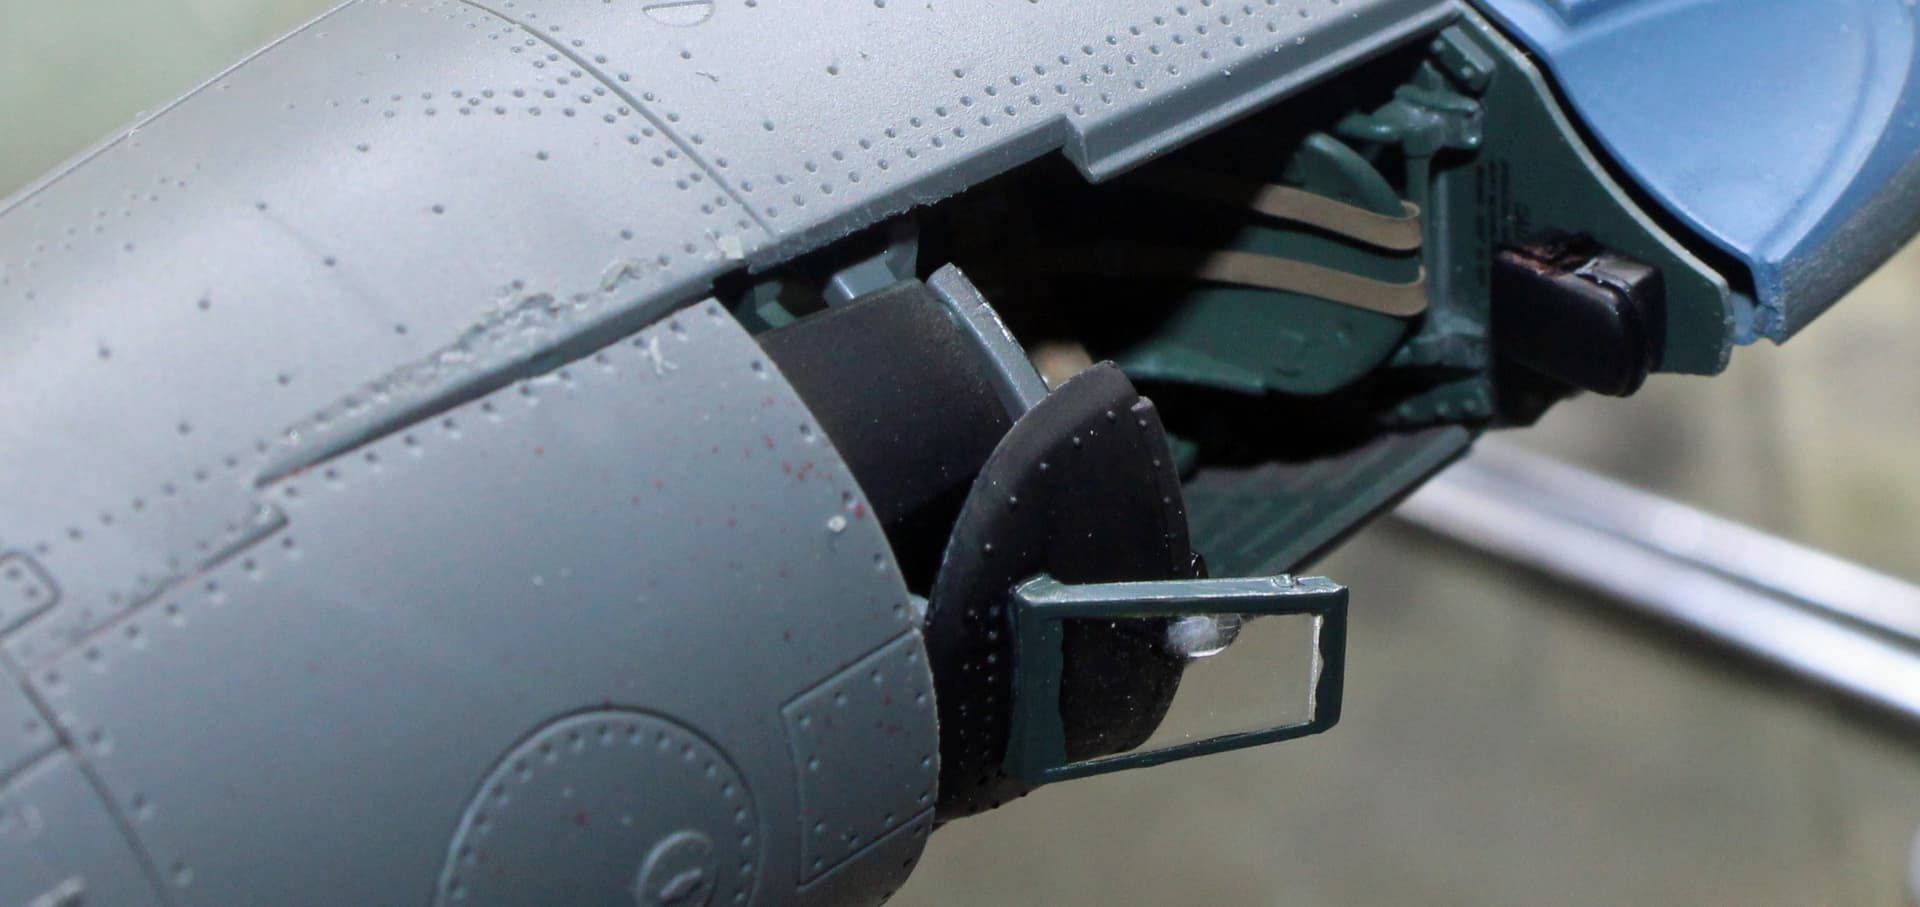
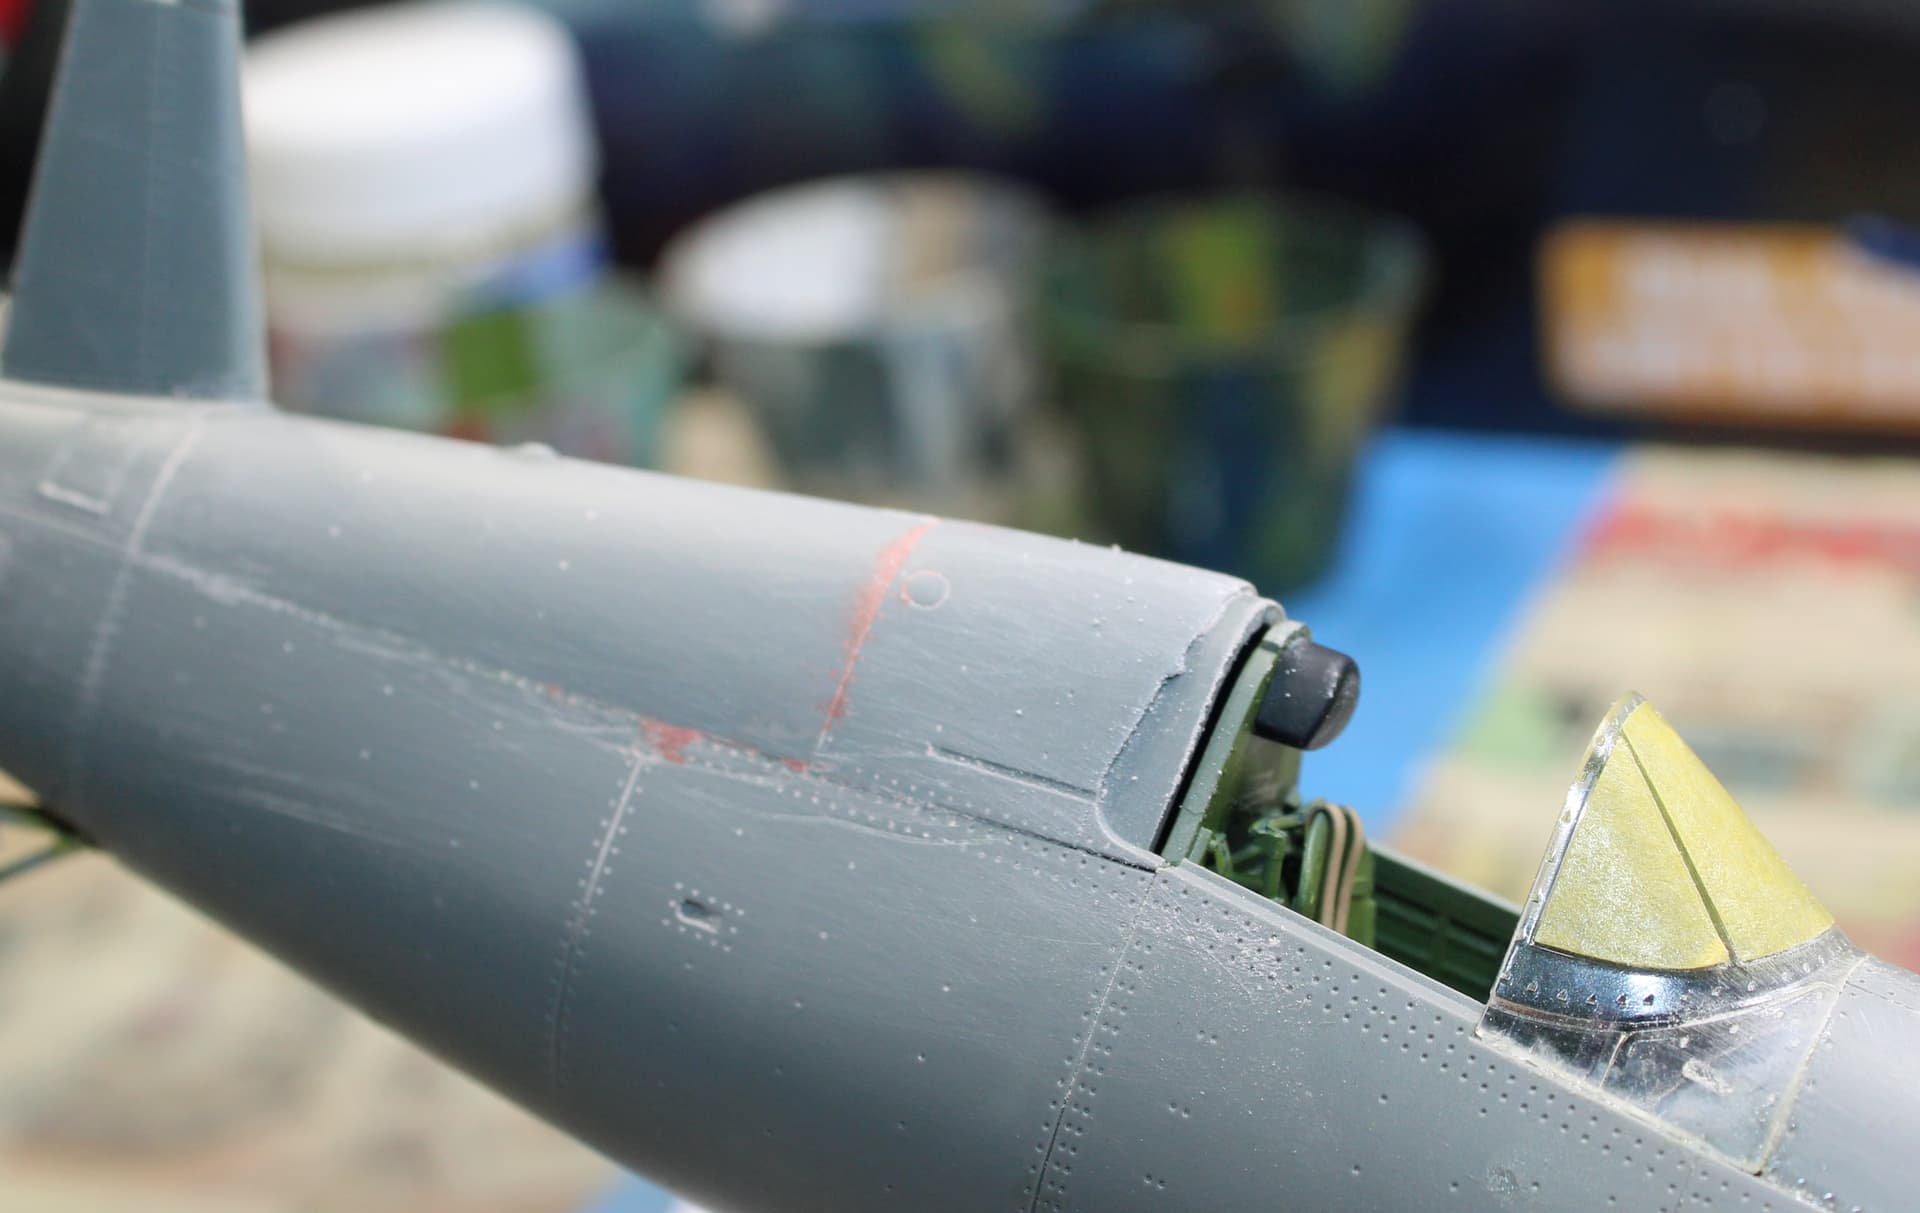
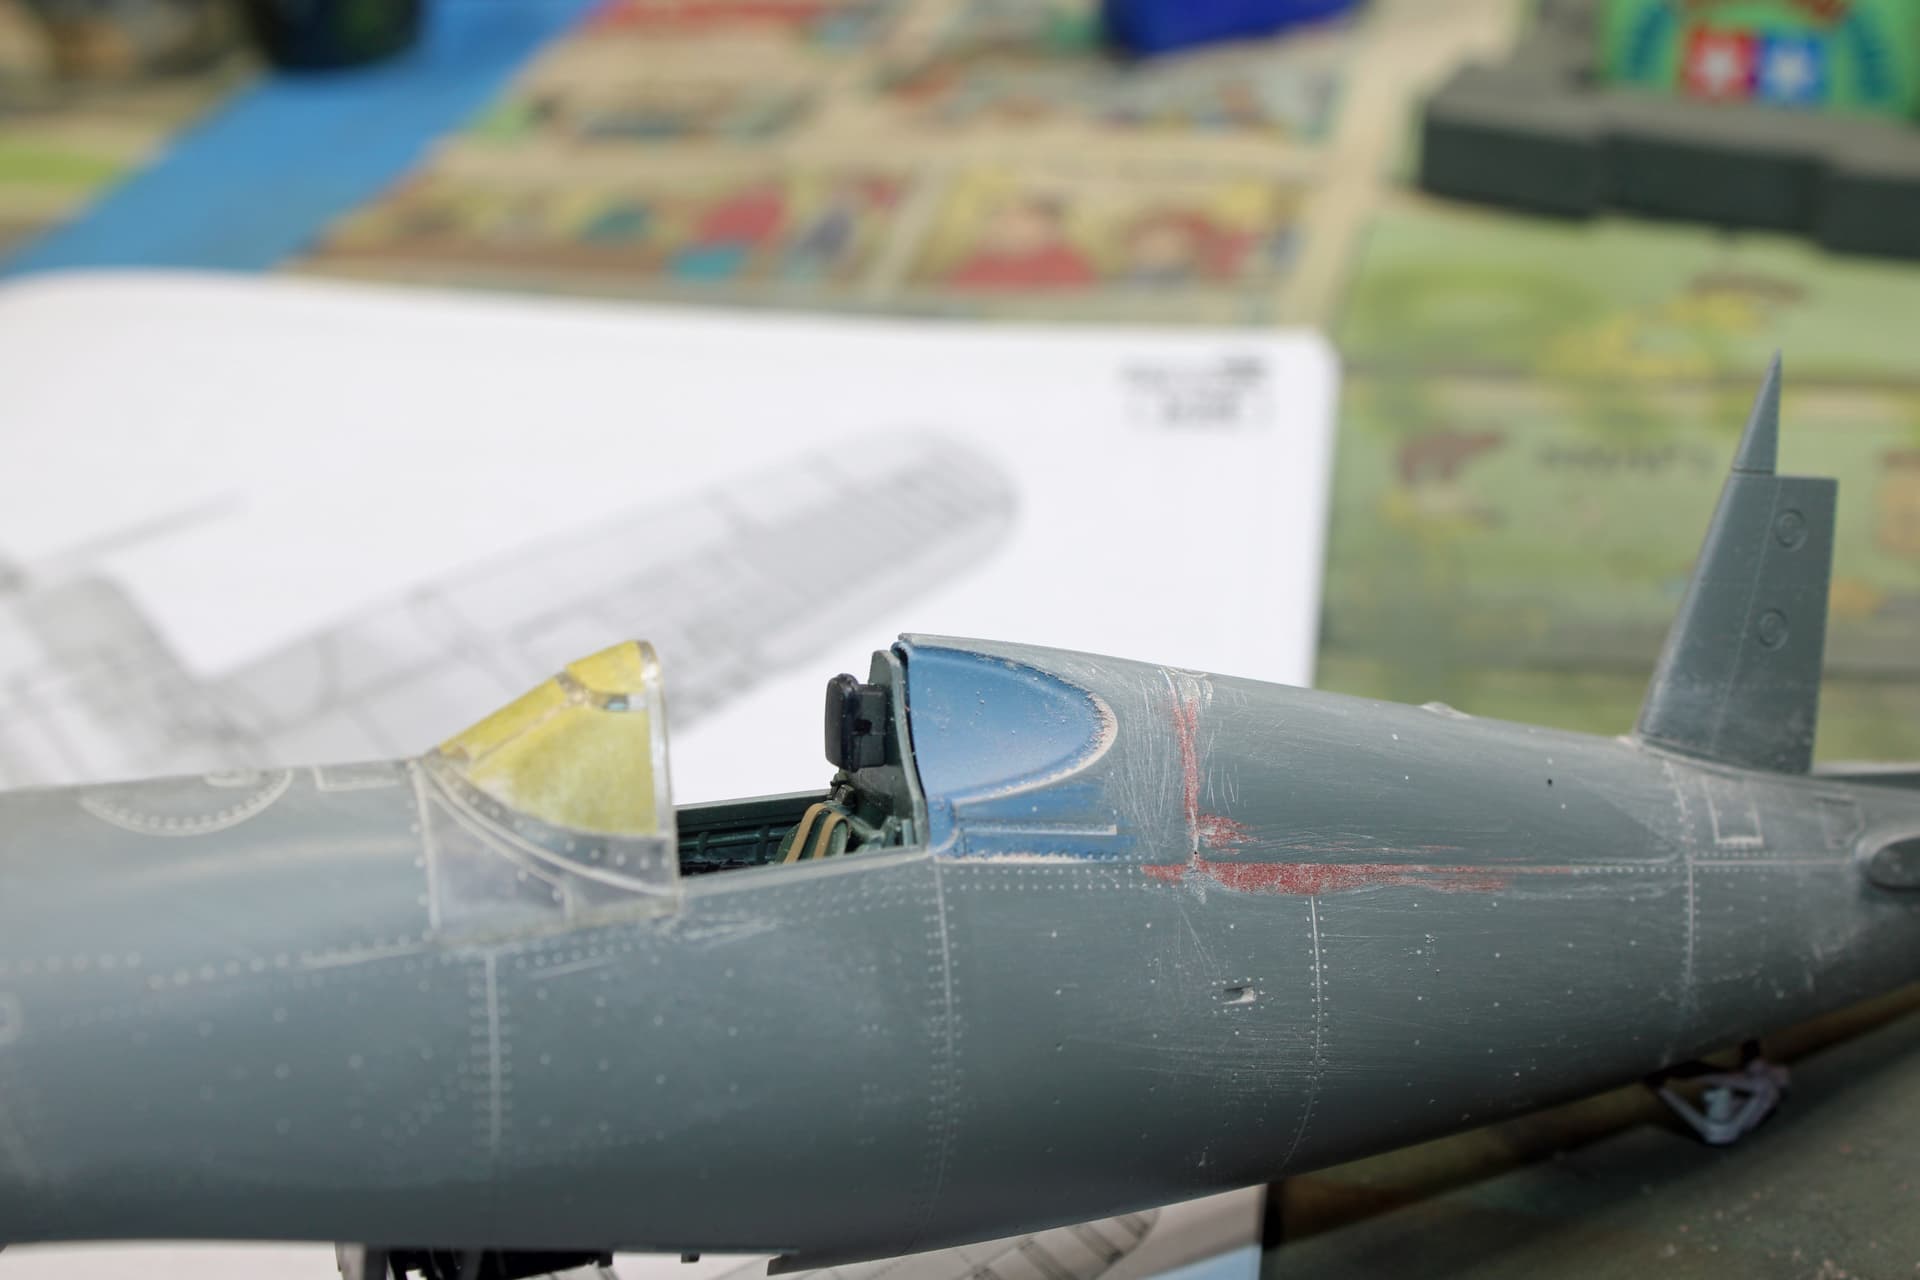
A little bit of work this morning, and now I am fairly aggravated at these kits. There is a very noticeable step on one side of the fuselage where the upper spine piece “fits” in. The part itself is too wide to ever fit flush and will require a lot of work to remove that step. Which of course costs you some fine rivet detailing. And just for poops and giggles, I decided to check the fit of the windscreen piece. Yep, more of the same.
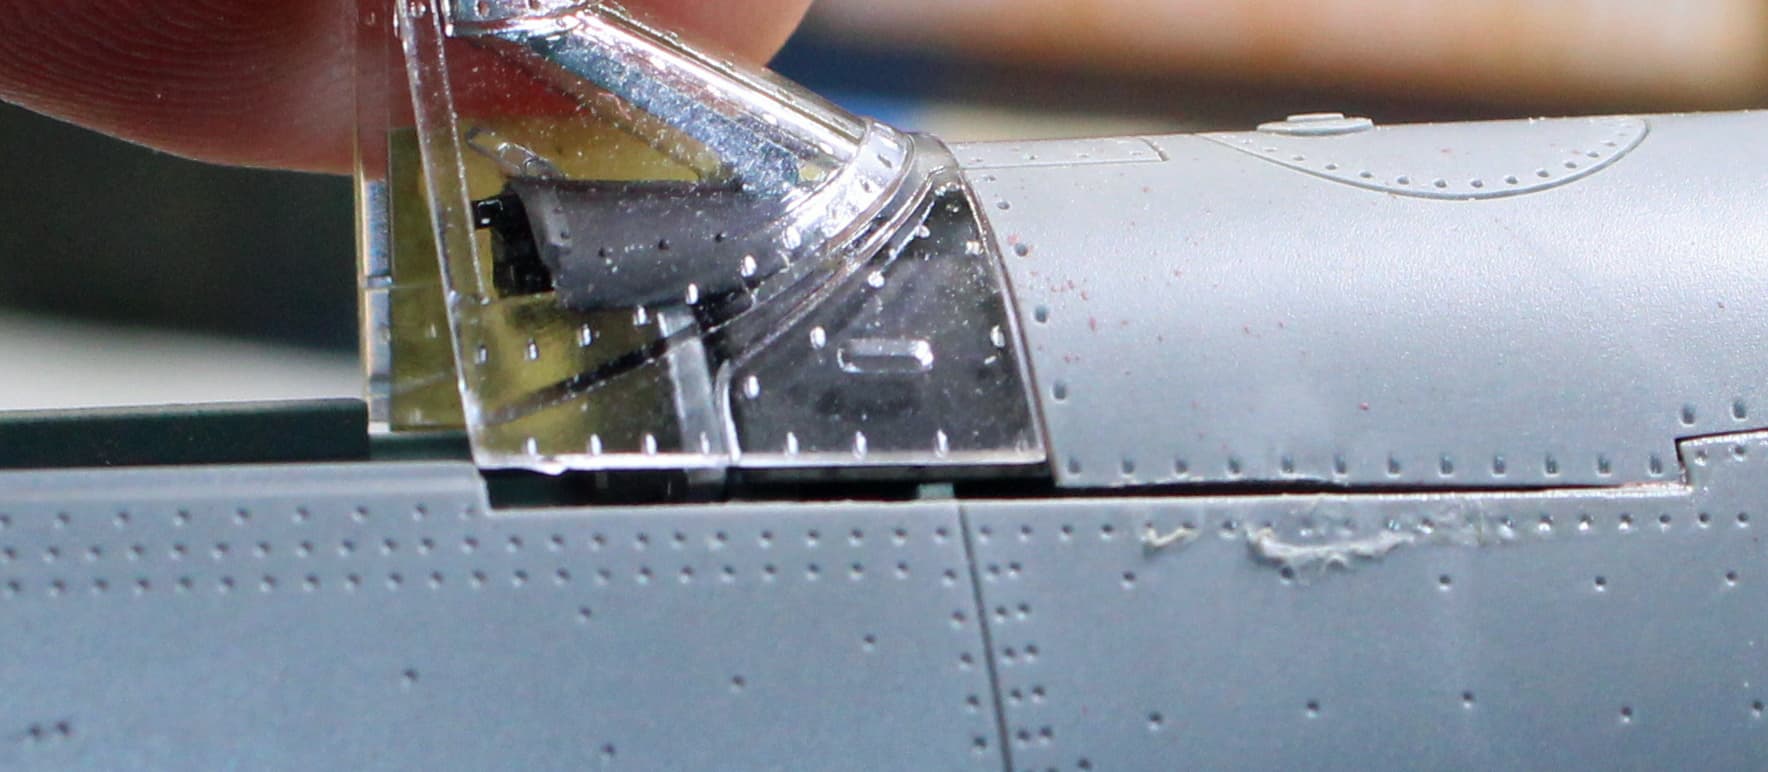
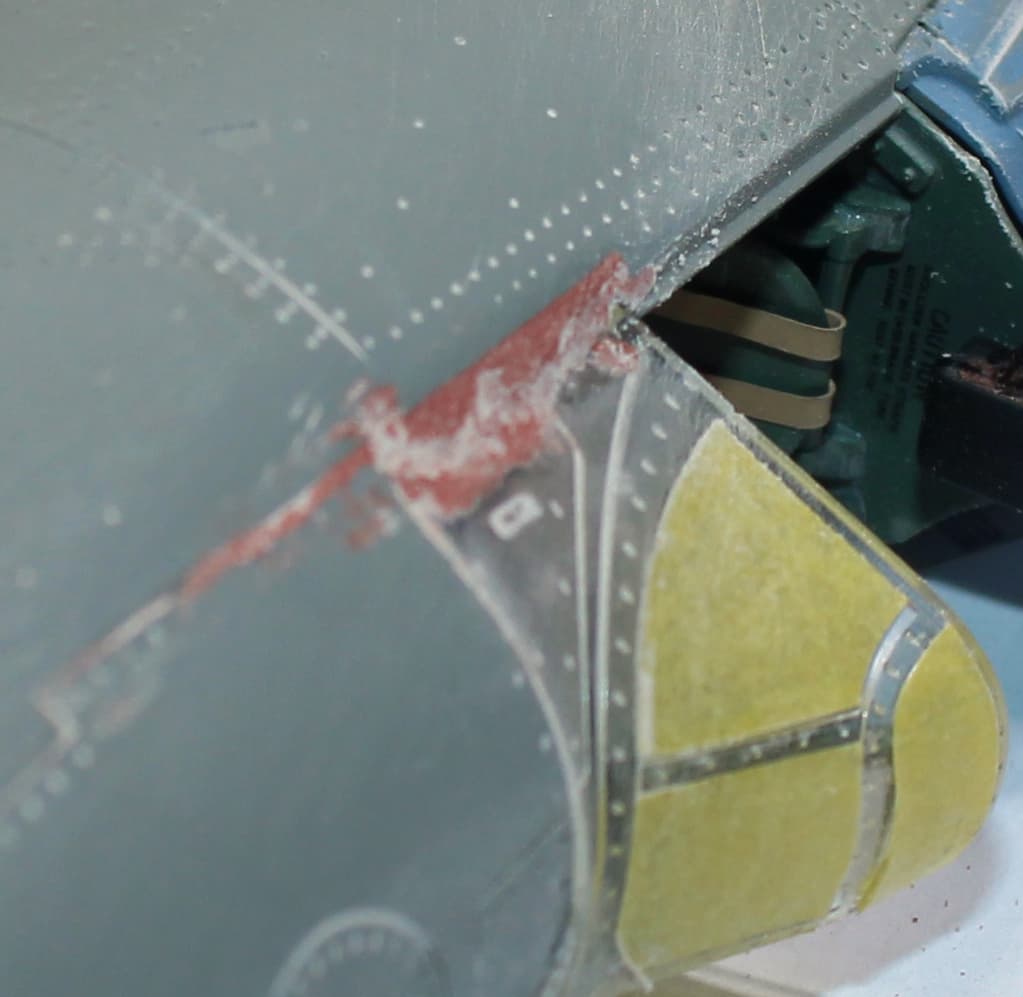
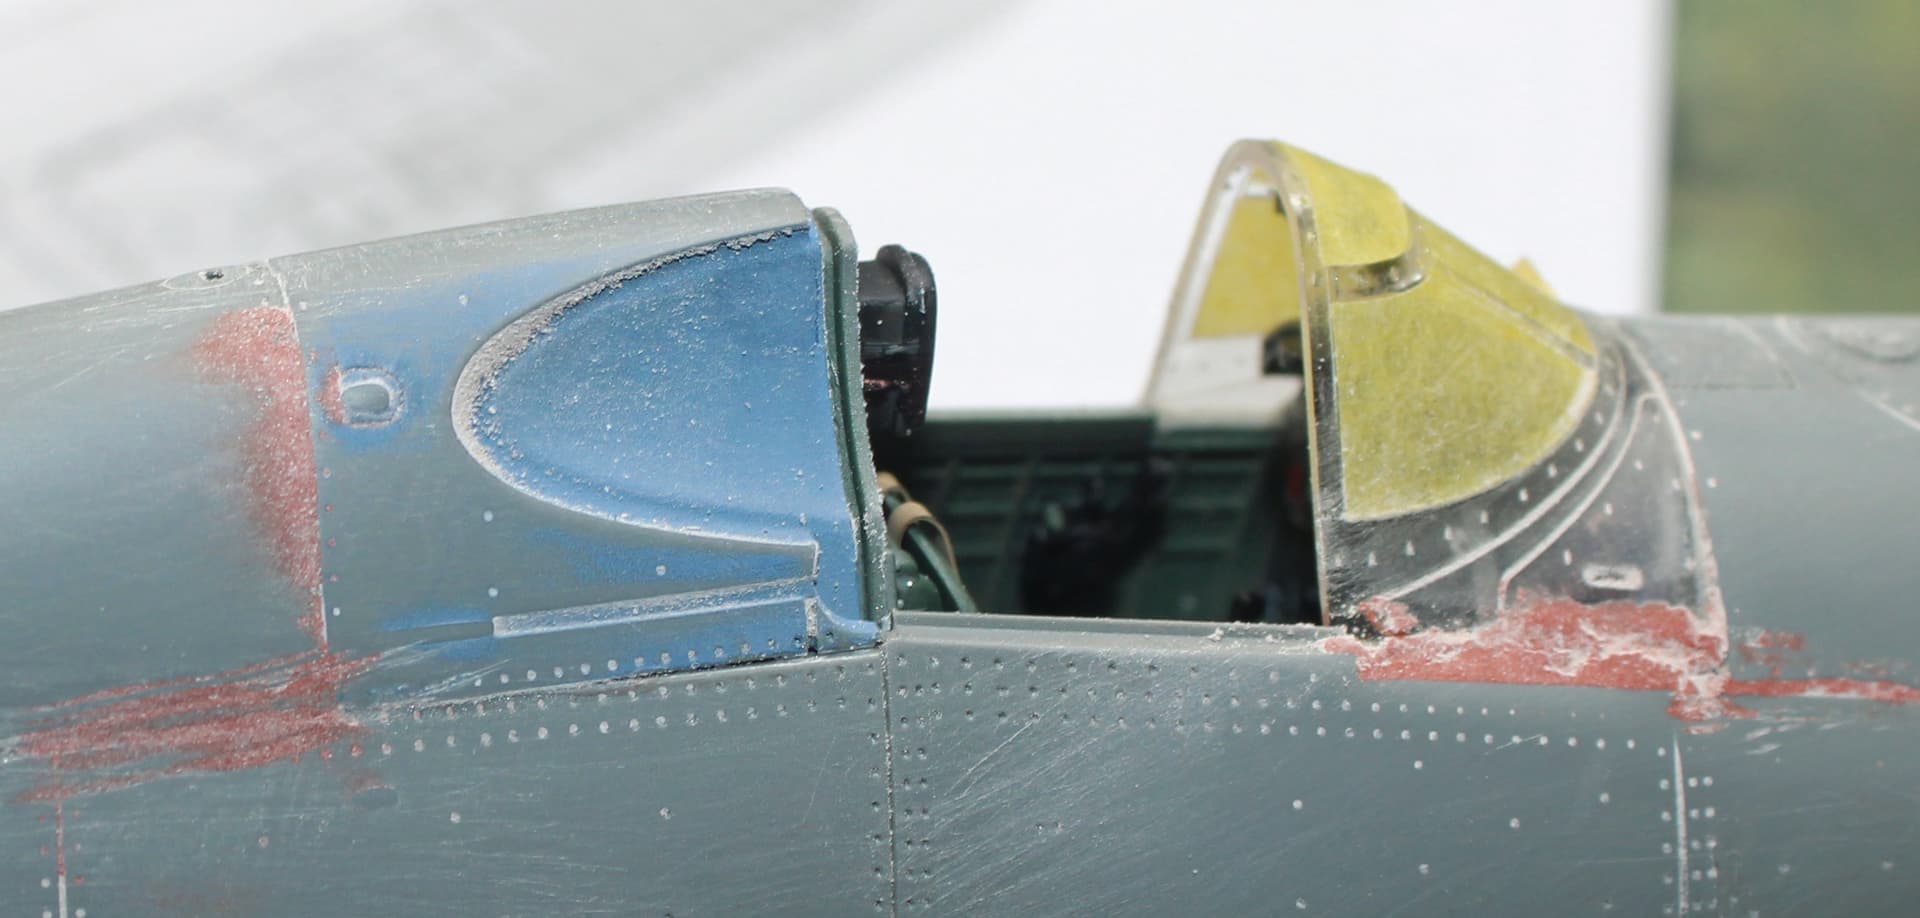
The -1A is marginally better than the -2, but that’s not saying much. I know that injected molded kits tend to have fit issues around canopies and windscreens, but what I see with the -2 is ridiculous. I’m not sure if that is a result of the bulletproof glass piece since I know that part is installed correctly, but the windscreen part simply does not have enough space to connect properly.
Did the kit designers even bother to build their kit? How in the heck do parts this badly fitting pass any form of QC? I’m going to continue with these builds, but I’d suggest that anyone wanting a 48th Corsair to just get the Tamiya kits. While this Magic Factory kit is more detailed in the cockpit, the Tamiya kits are, well, Tamiya kits. They don’t have fit problems such as these.
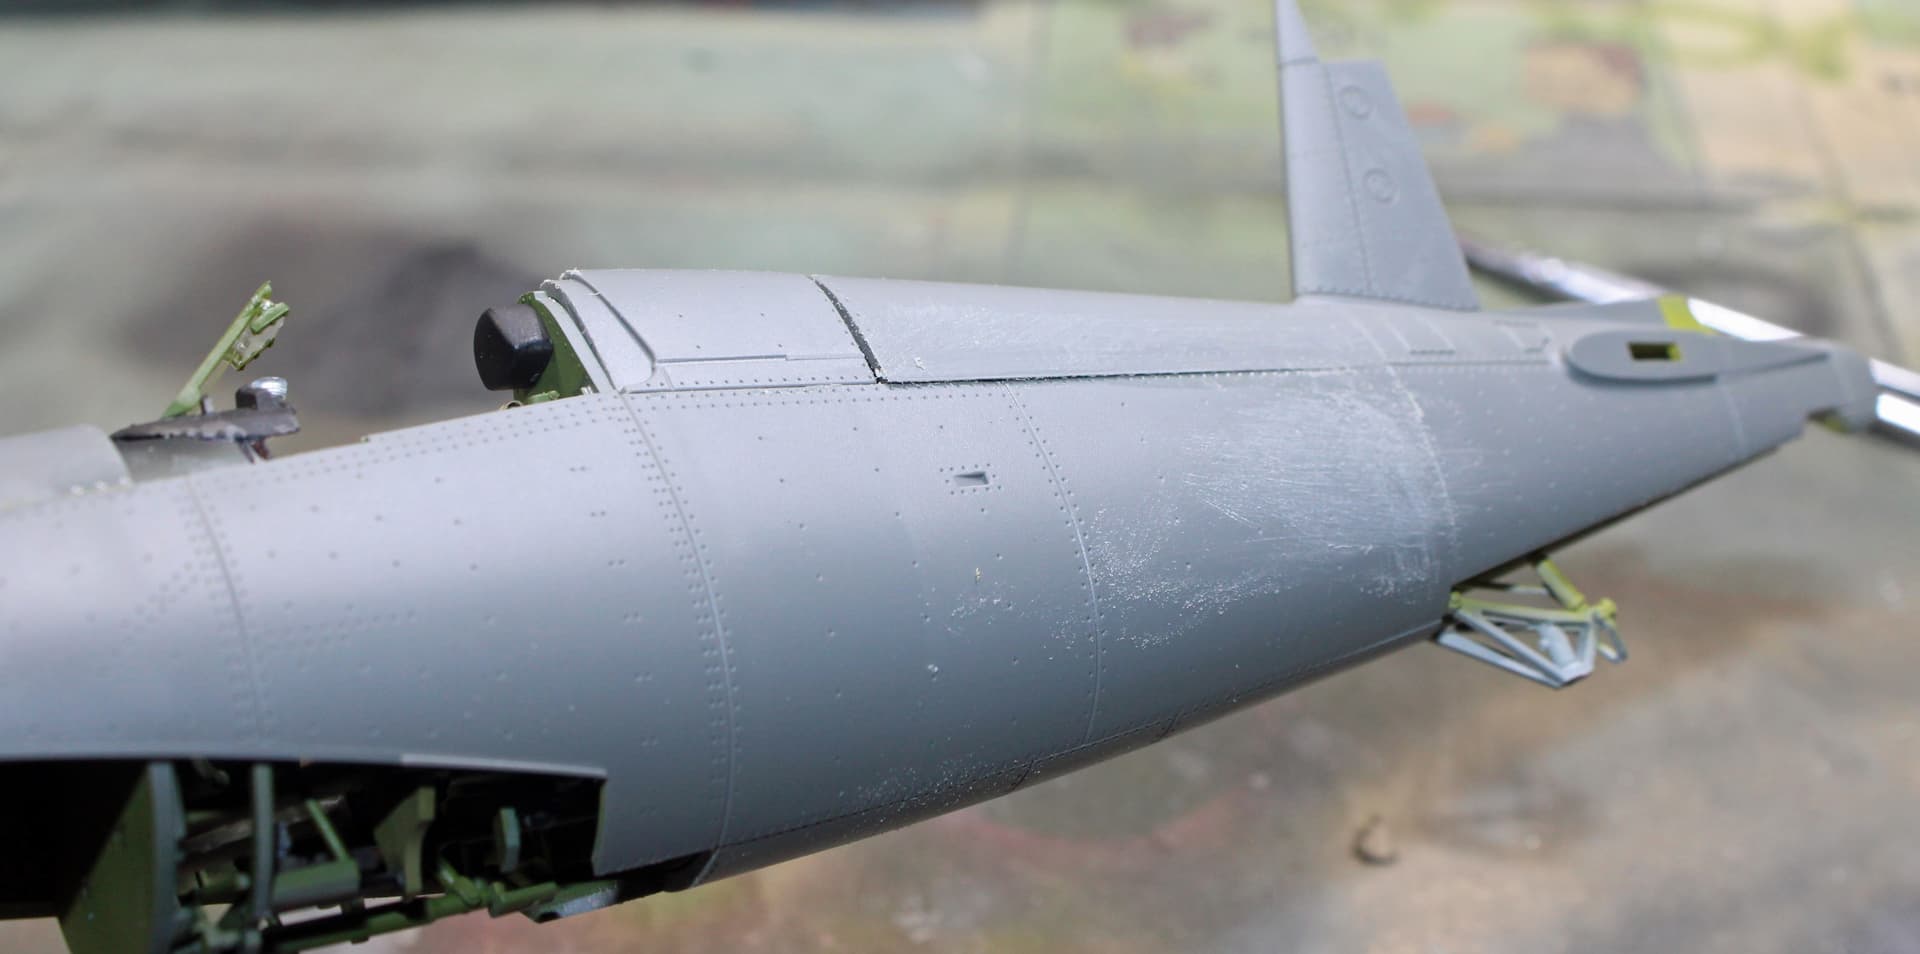
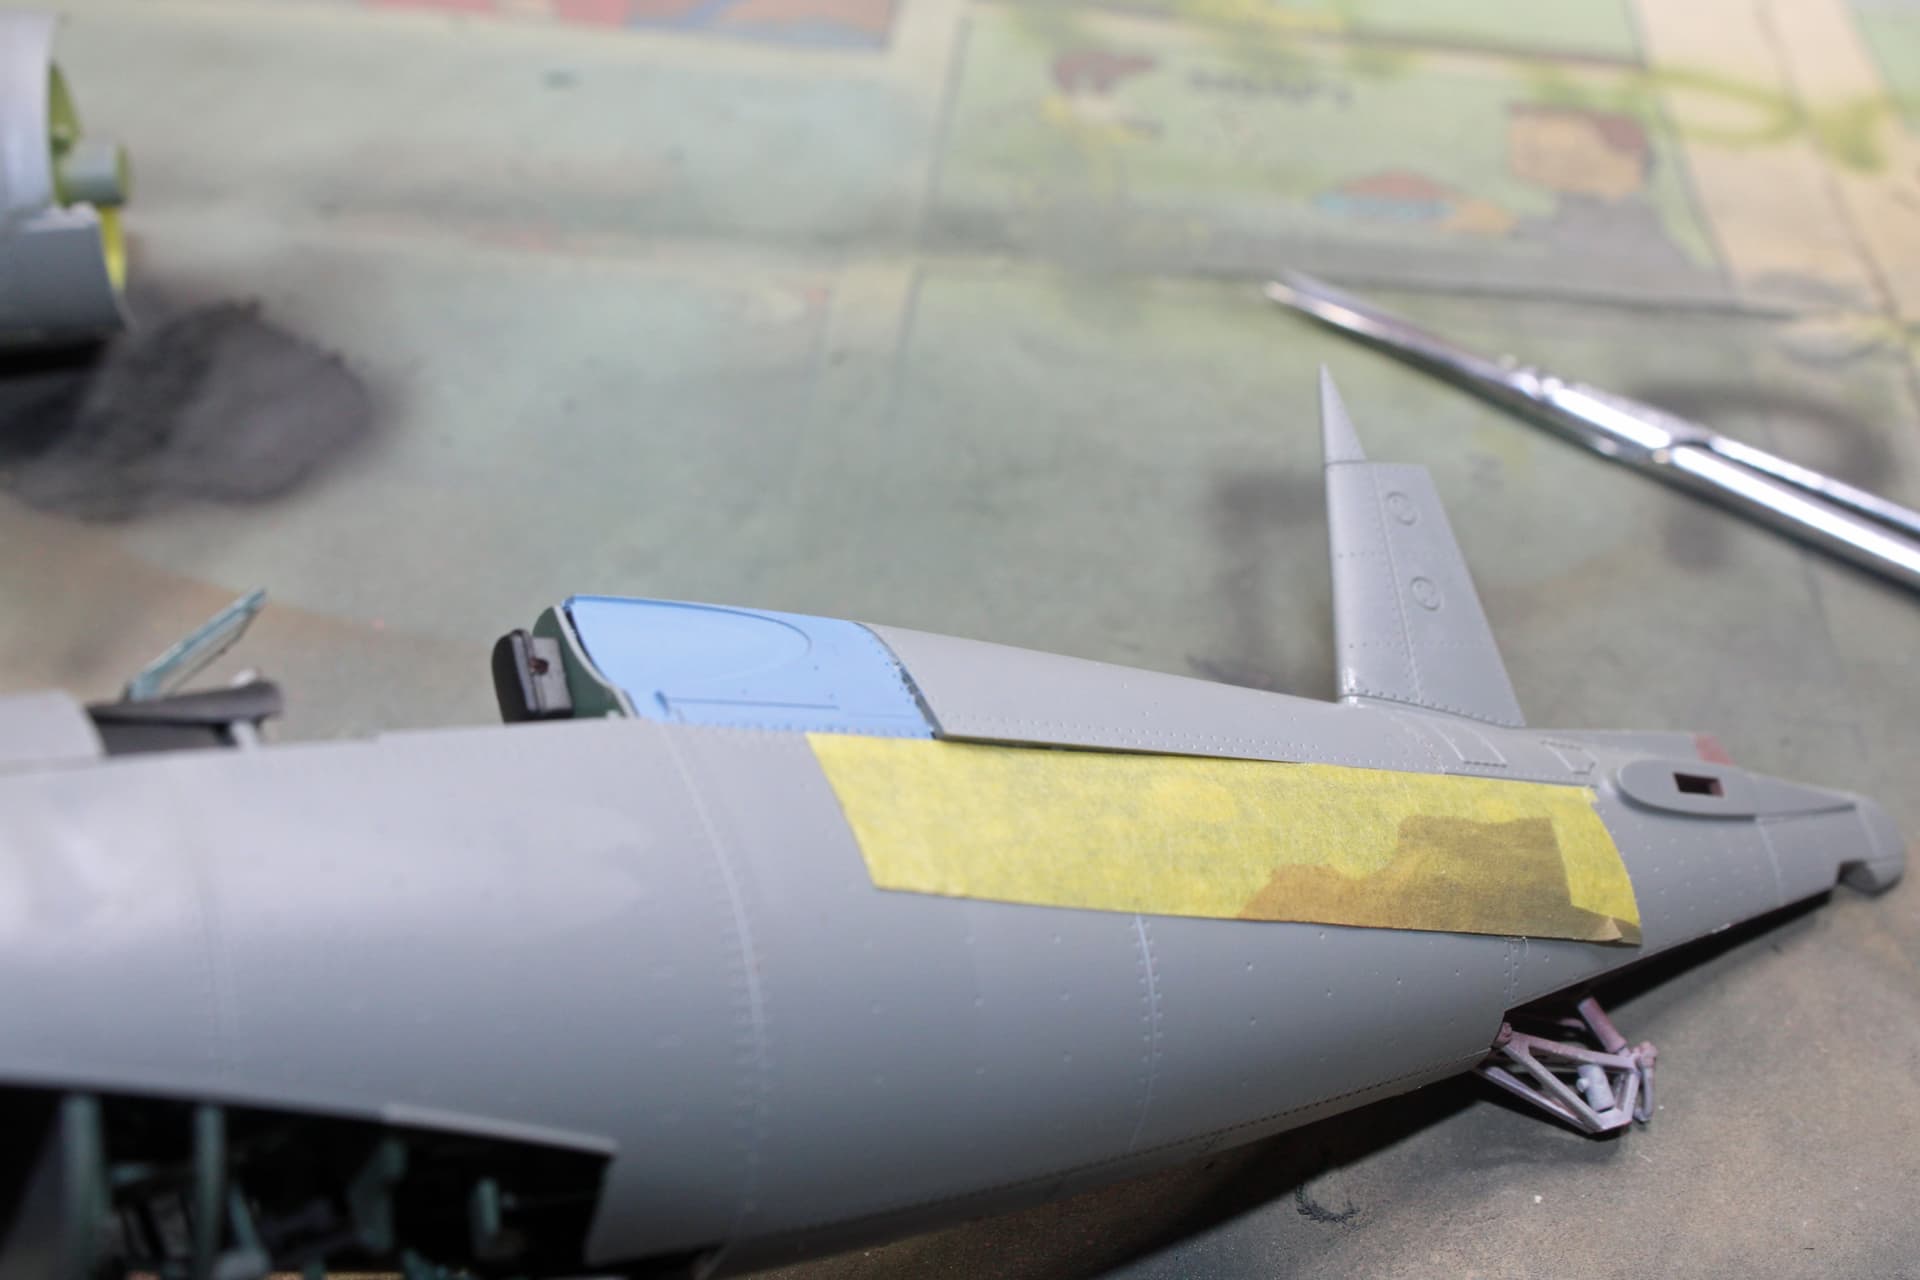
Progressing slowly. The upper spine piece and the windscreen that integrates a portion of the fuselage are terrible parts. For the -1A the windscreen fit pretty well and didn’t need much attention, but the -2 is horrible as evidenced by the previous photo.
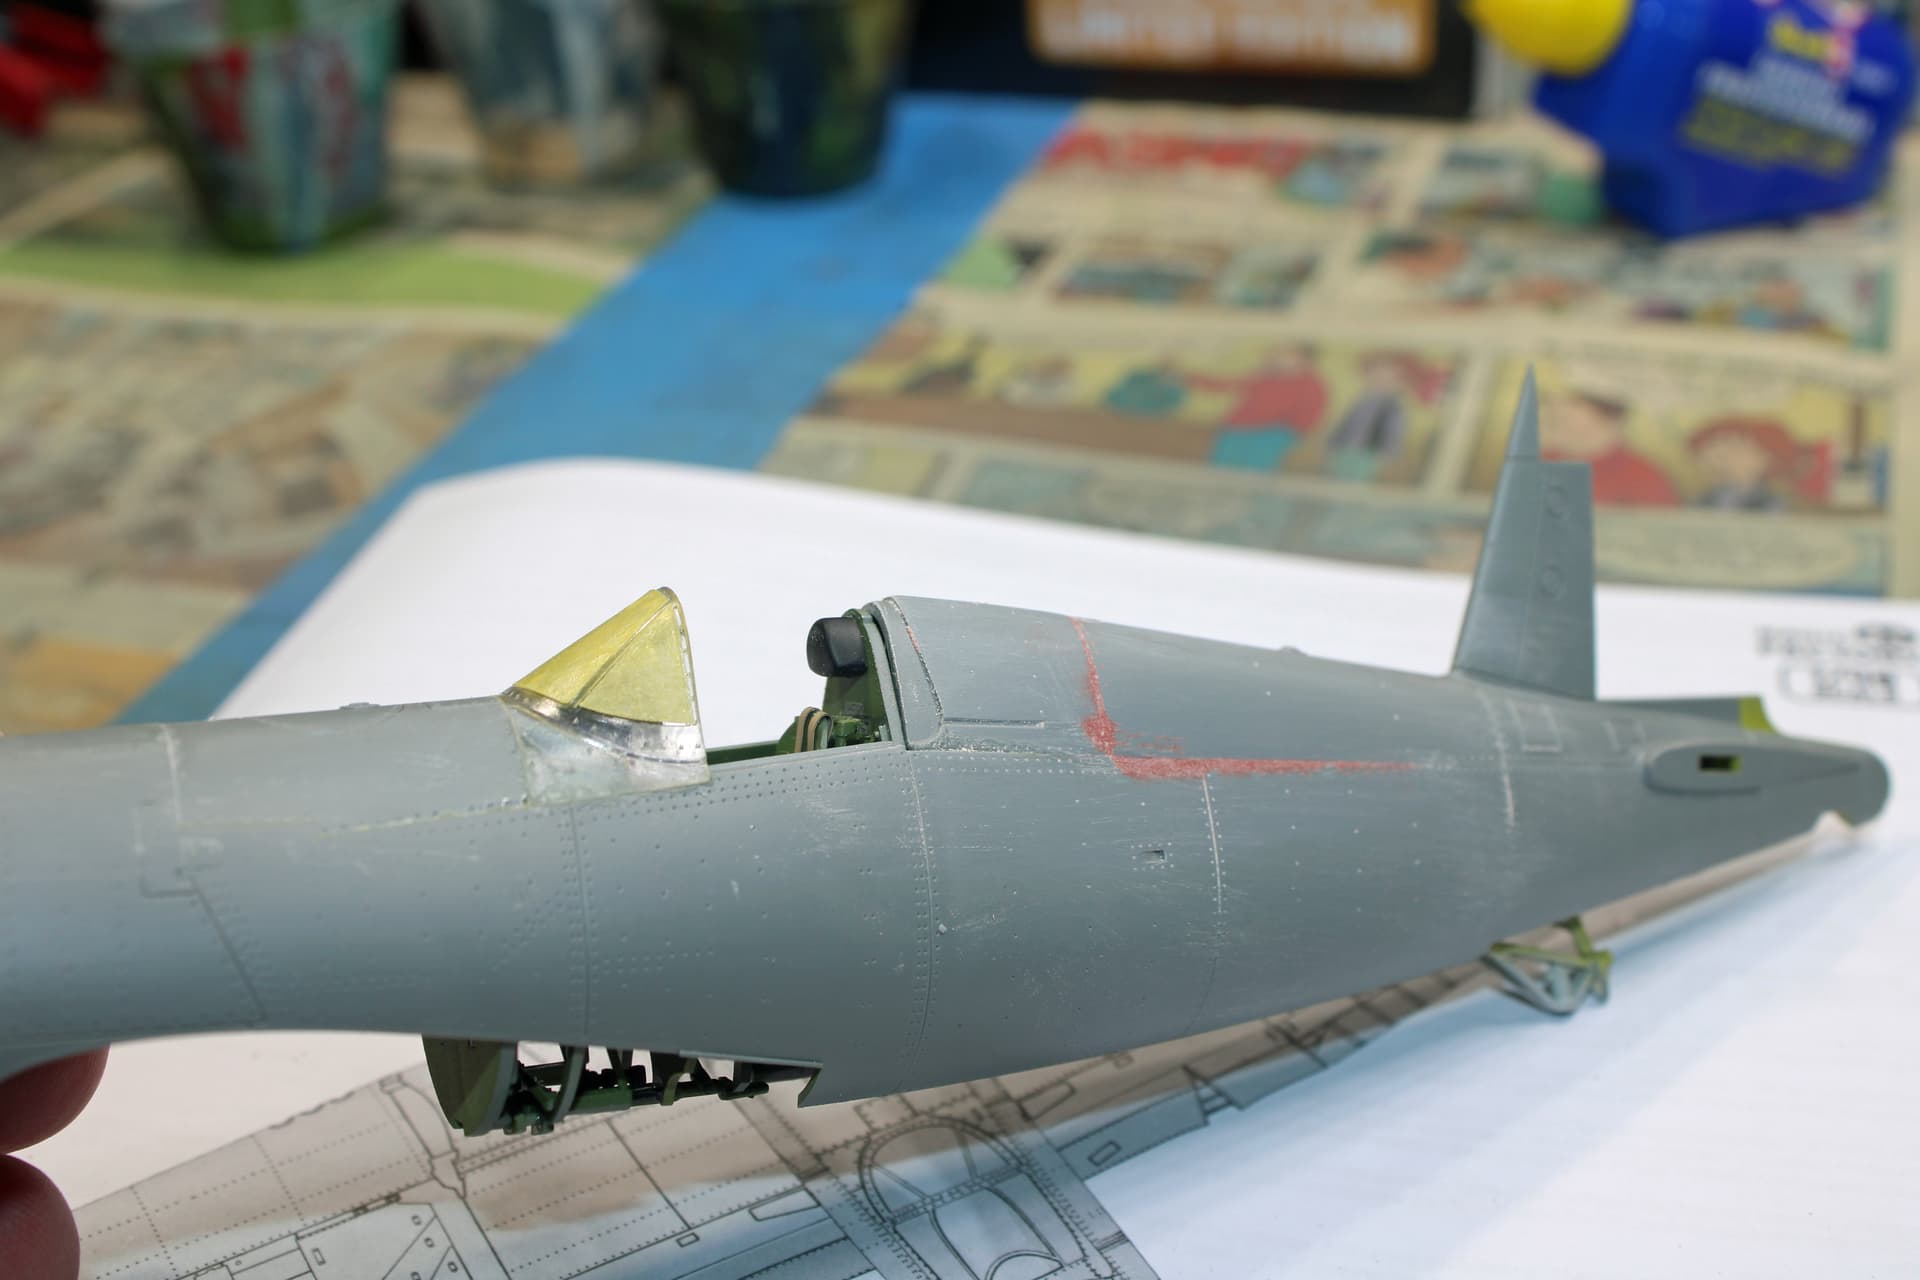
I have added some putty to these areas after a lot of sanding and even some grinding with my Dremel. I’ve lost a lot of fine rivet detail that I’ll eventually add back in with a rivet wheel tool. While I’ve managed to effectively eliminate the problem around both kits’ upper spine piece, -2’s windscreen connection to the fuselage remains problematic. I puttied the gap, but it is clearly not flush with the fuselage.
I’m thinking I’ll use more putty (red auto putty) and sand it as smooth as I can. I do have some Milliput putty that I could use, but I’m concerned about its age of around 8 years now.
I also started work on the engines. Which is to say, I painted and assembled the cylinders. I still have the crankbox and rods to paint, and add some wiring. Hopefully I’ll get both of these parts completed over the weekend.
And I started looking at the wings. I wasn’t sure that I wanted to build them OOB, which means one with extended wings and one with folded wings. As I already have a folded wing F4U-1D in my completed collection, I decided I’d rather build both with extended wings. I’ve done some test fitting for how to get around the fact that one of the wing spars is set to the folded option.
I’ll use the extended wings spar on the set of wings intended to be folded. That will solve the folded wings kit parts problem. I’ll then use the folded wings spar with the set of wings intended to be extended. The bottom part of the wing is one piece, so there is no worry about not having the full spar (after I chop off the extended portions of the spar). I’ll take plenty of photos to document how this is done. Hopefully I won’t see any more fit problems.
I also have yet to decide if I want to display the gun bay panels open. For one, it’s additional work. Conversely, the guns and belts for these kits are very nicely detailed. But it ruins the beautiful lines of the Corsair with all those panels open. Still, I have a -1A (Tamiya) that fits that bill - I could build this -1A with the gun panels open. The -2 is likely to be closed up fully.