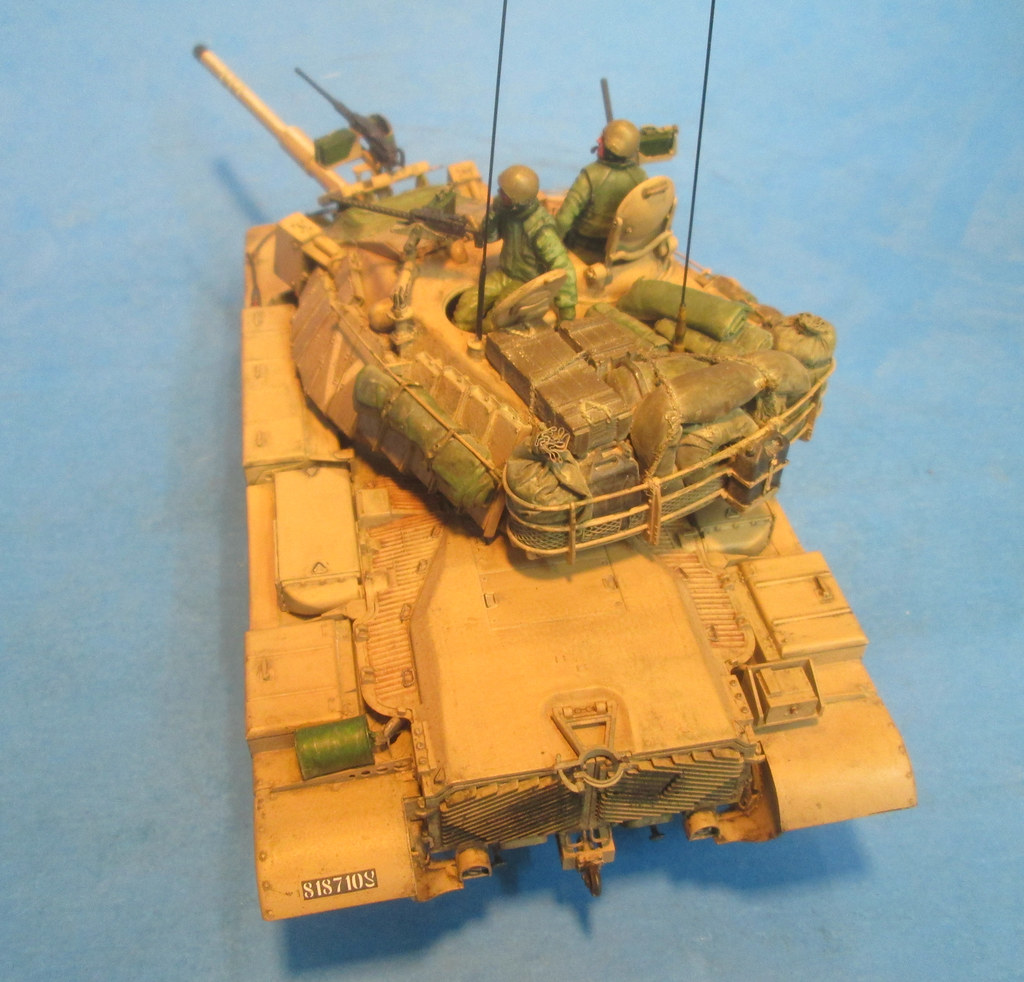
A slight variation on a model I built a couple of years ago, mainly because I found some very nice 3D printed tracks that I wanted to try. I used a Takom M60A1 as the base, adding era and IDF-specific add-ons from Academy, Dragon and Italeri kits. Stowage involved something new for me: to make the large bagged and rolled camo net so often seen carried on IDF tanks I used 2-part putty and a latex glove. I put putty into a finger, formed it and tied off the top, put it in its place while still soft and formed it to its surroundings. For the big bag the net’s in, I rolled out a tube of the putty, same as I normally do, but instead of just placing it on the tank I cut a rectangle from the palm area of the glove, rolled the tube of putty in the latex, tied it and then formed and placed it. The latex materiel makes very convincing natural wrinkles and has a little texture too. It also takes acrylic paint very well.
 IMG_5145 by Russel Baer, on Flickr
 IMG_5144 by Russel Baer, on Flickr
Wow, cool technique for the stowage bags! Latex gloves - I’d never have thought of that. Nice work. Are you planning to paint the tank?
Oh yeah. It’s in primer now.
 IMG_5151 by Russel Baer, on Flickr
Good thing I’m not in a hurry… color went on yesterday, Tamiya “wood deck tan”, to give a nice base color for the heavy weathering to come.
 IMG_5267 by Russel Baer, on Flickr
I’m going to be following this one. I’m starting to learn more about building dioramas, and some of the techniques you’re using here are really interesting to me. The latex glove idea for making the bags and rolled stowage is especially clever. I never would have thought of doing that.
I’m planning to build some dioramas around aircraft, so I’ve started jumping over to see what the tank guys are doing because you guys build the dioramas the best. 
I’m looking forward to seeing what you do with the weathering from here.
Thanks.
I’ve gotten to where I try and do at least a simple base for my completed models, even if it’s just a simple road surface, to give context if nothing else. I used a map of the area of operation, mounted on a simple plaque a couple of times, also effective.
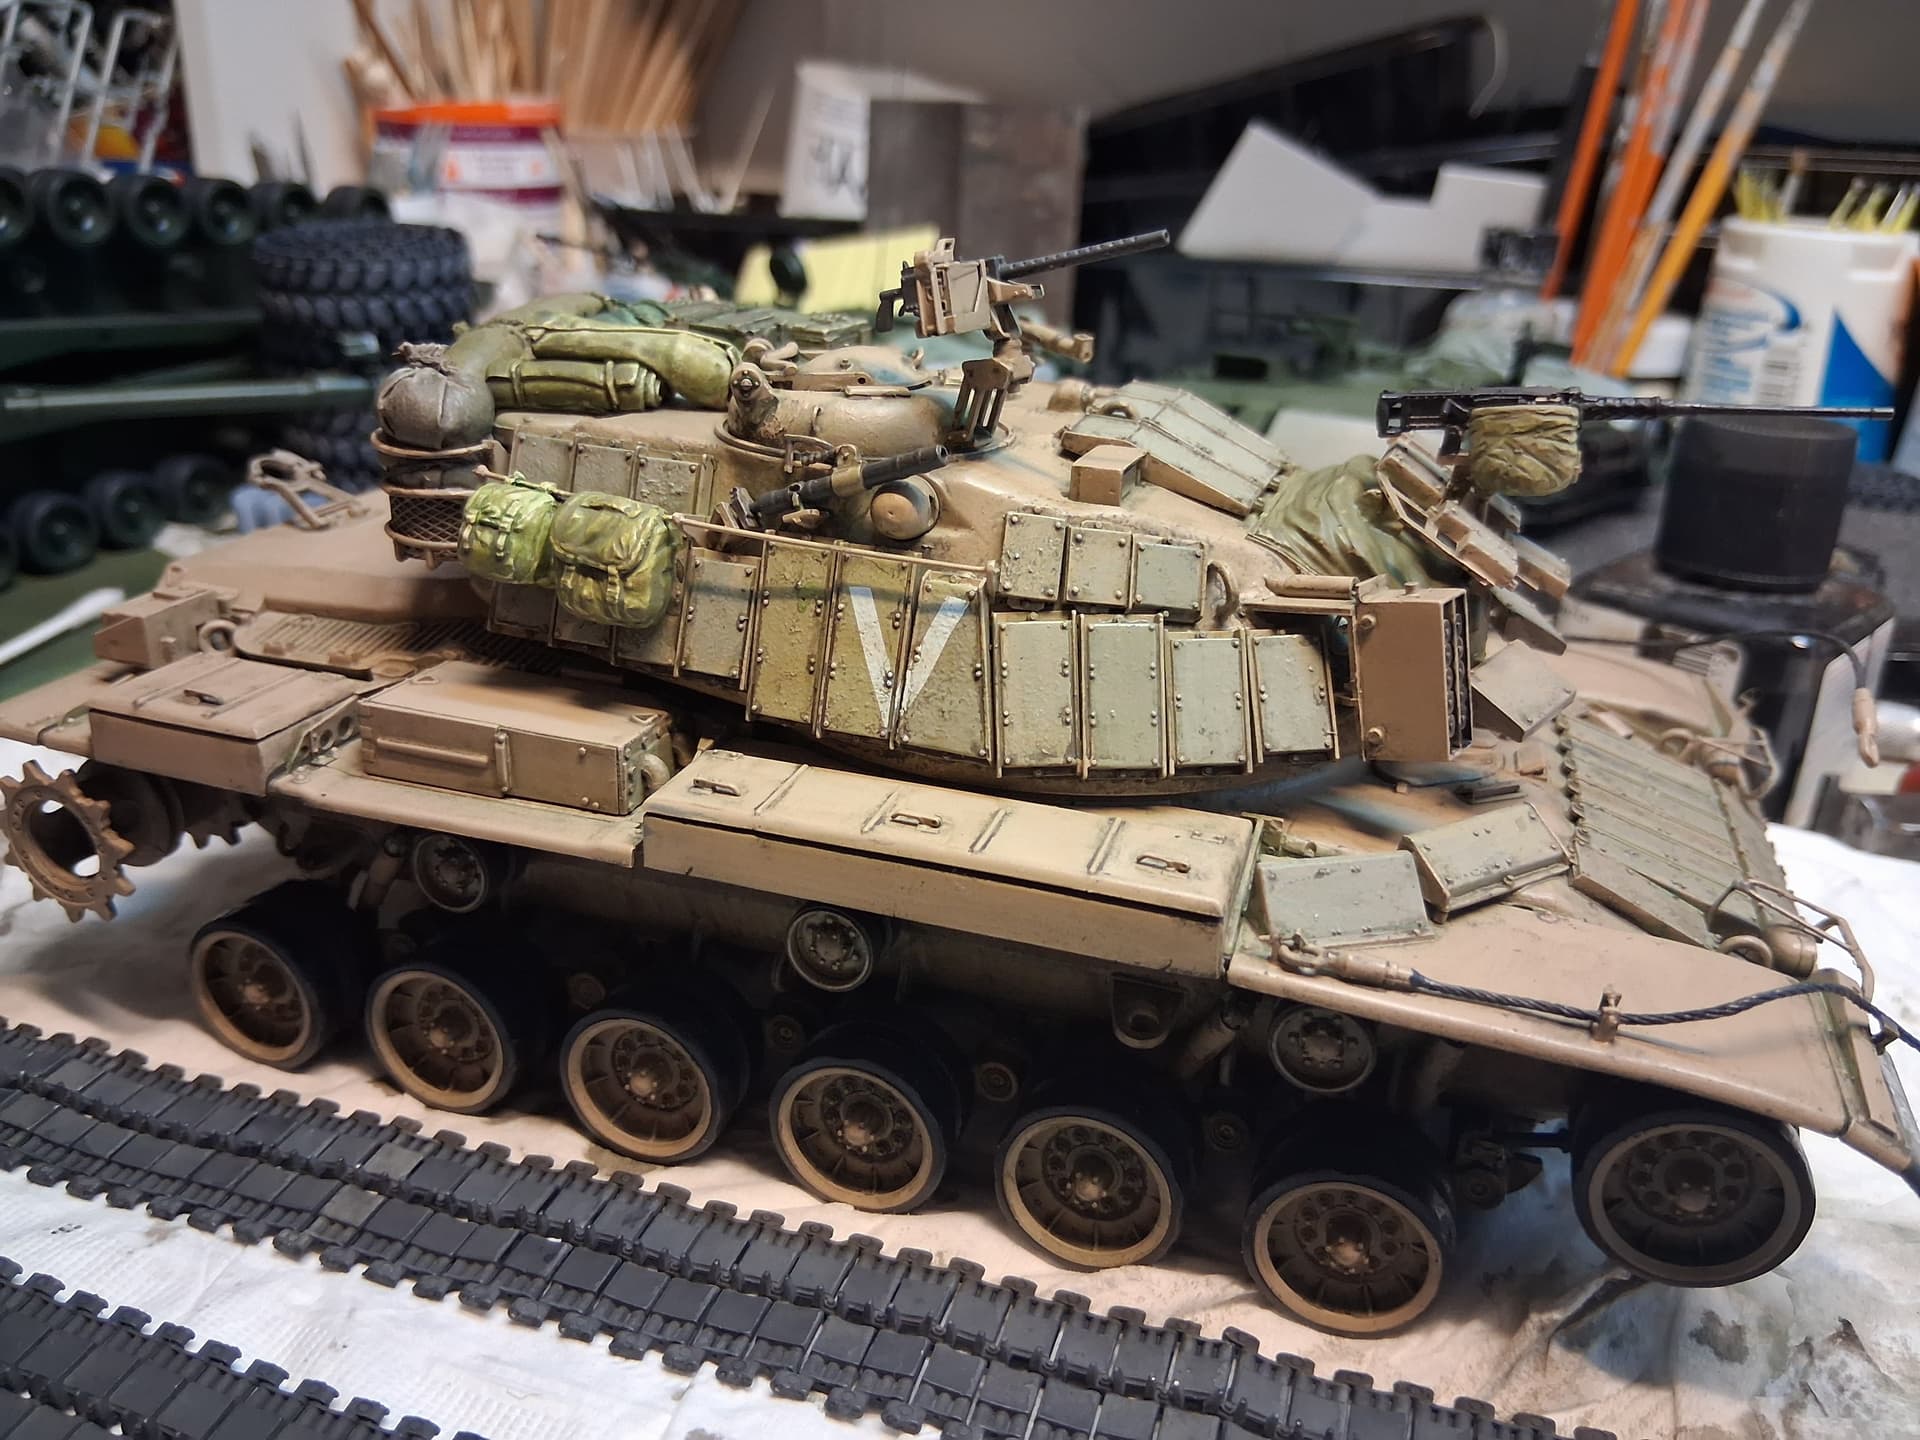
Another one I decided to finish this month. I’m actually showing some self discipline here by not starting anything else, difficult at the moment as I have lots of ideas…
Anyway, as of last night:
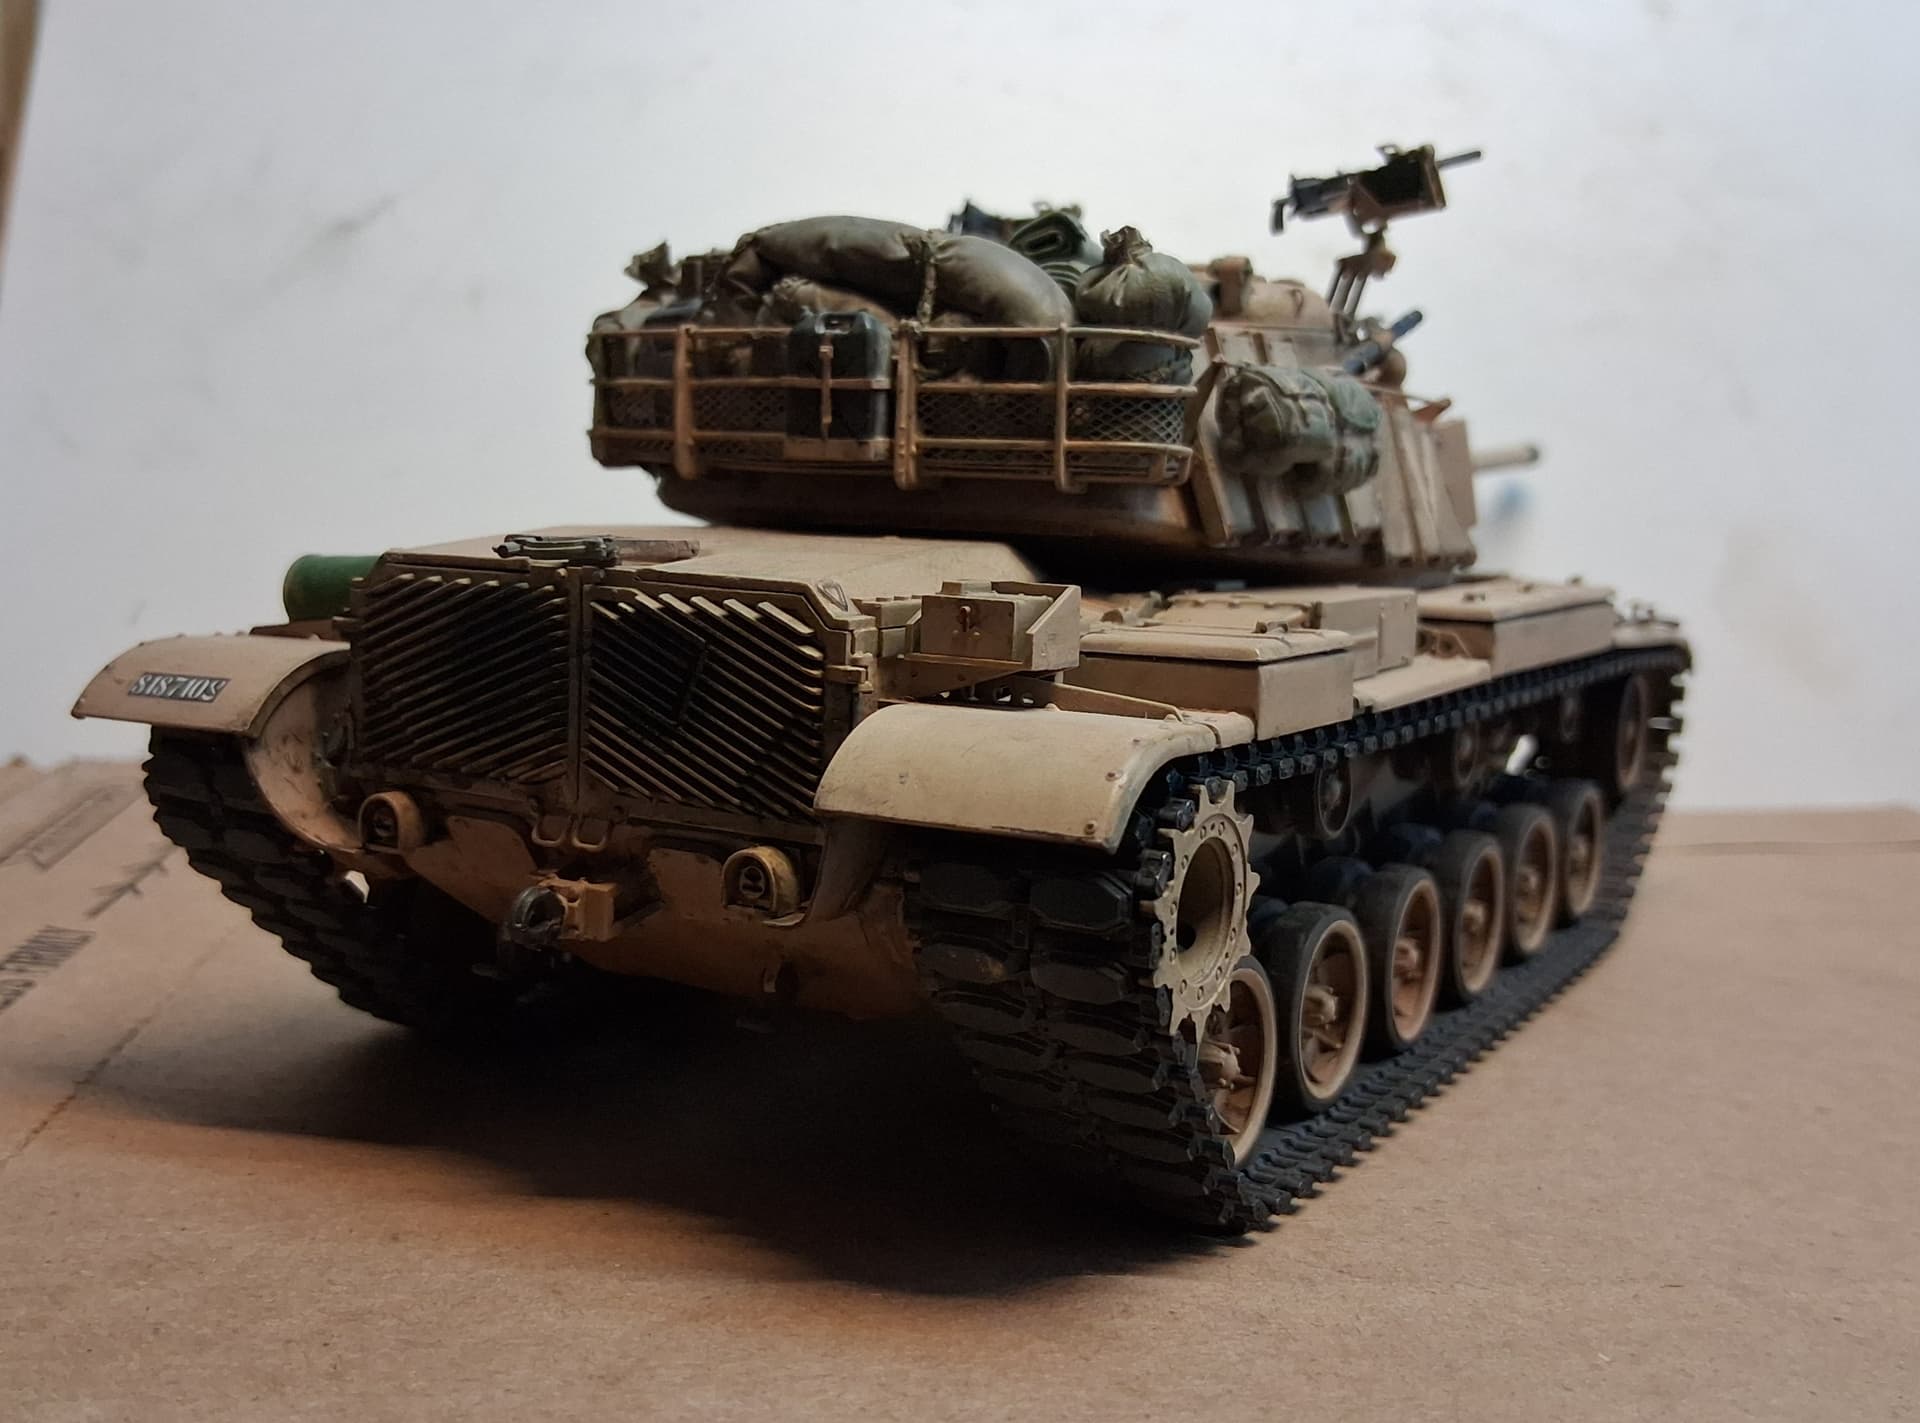
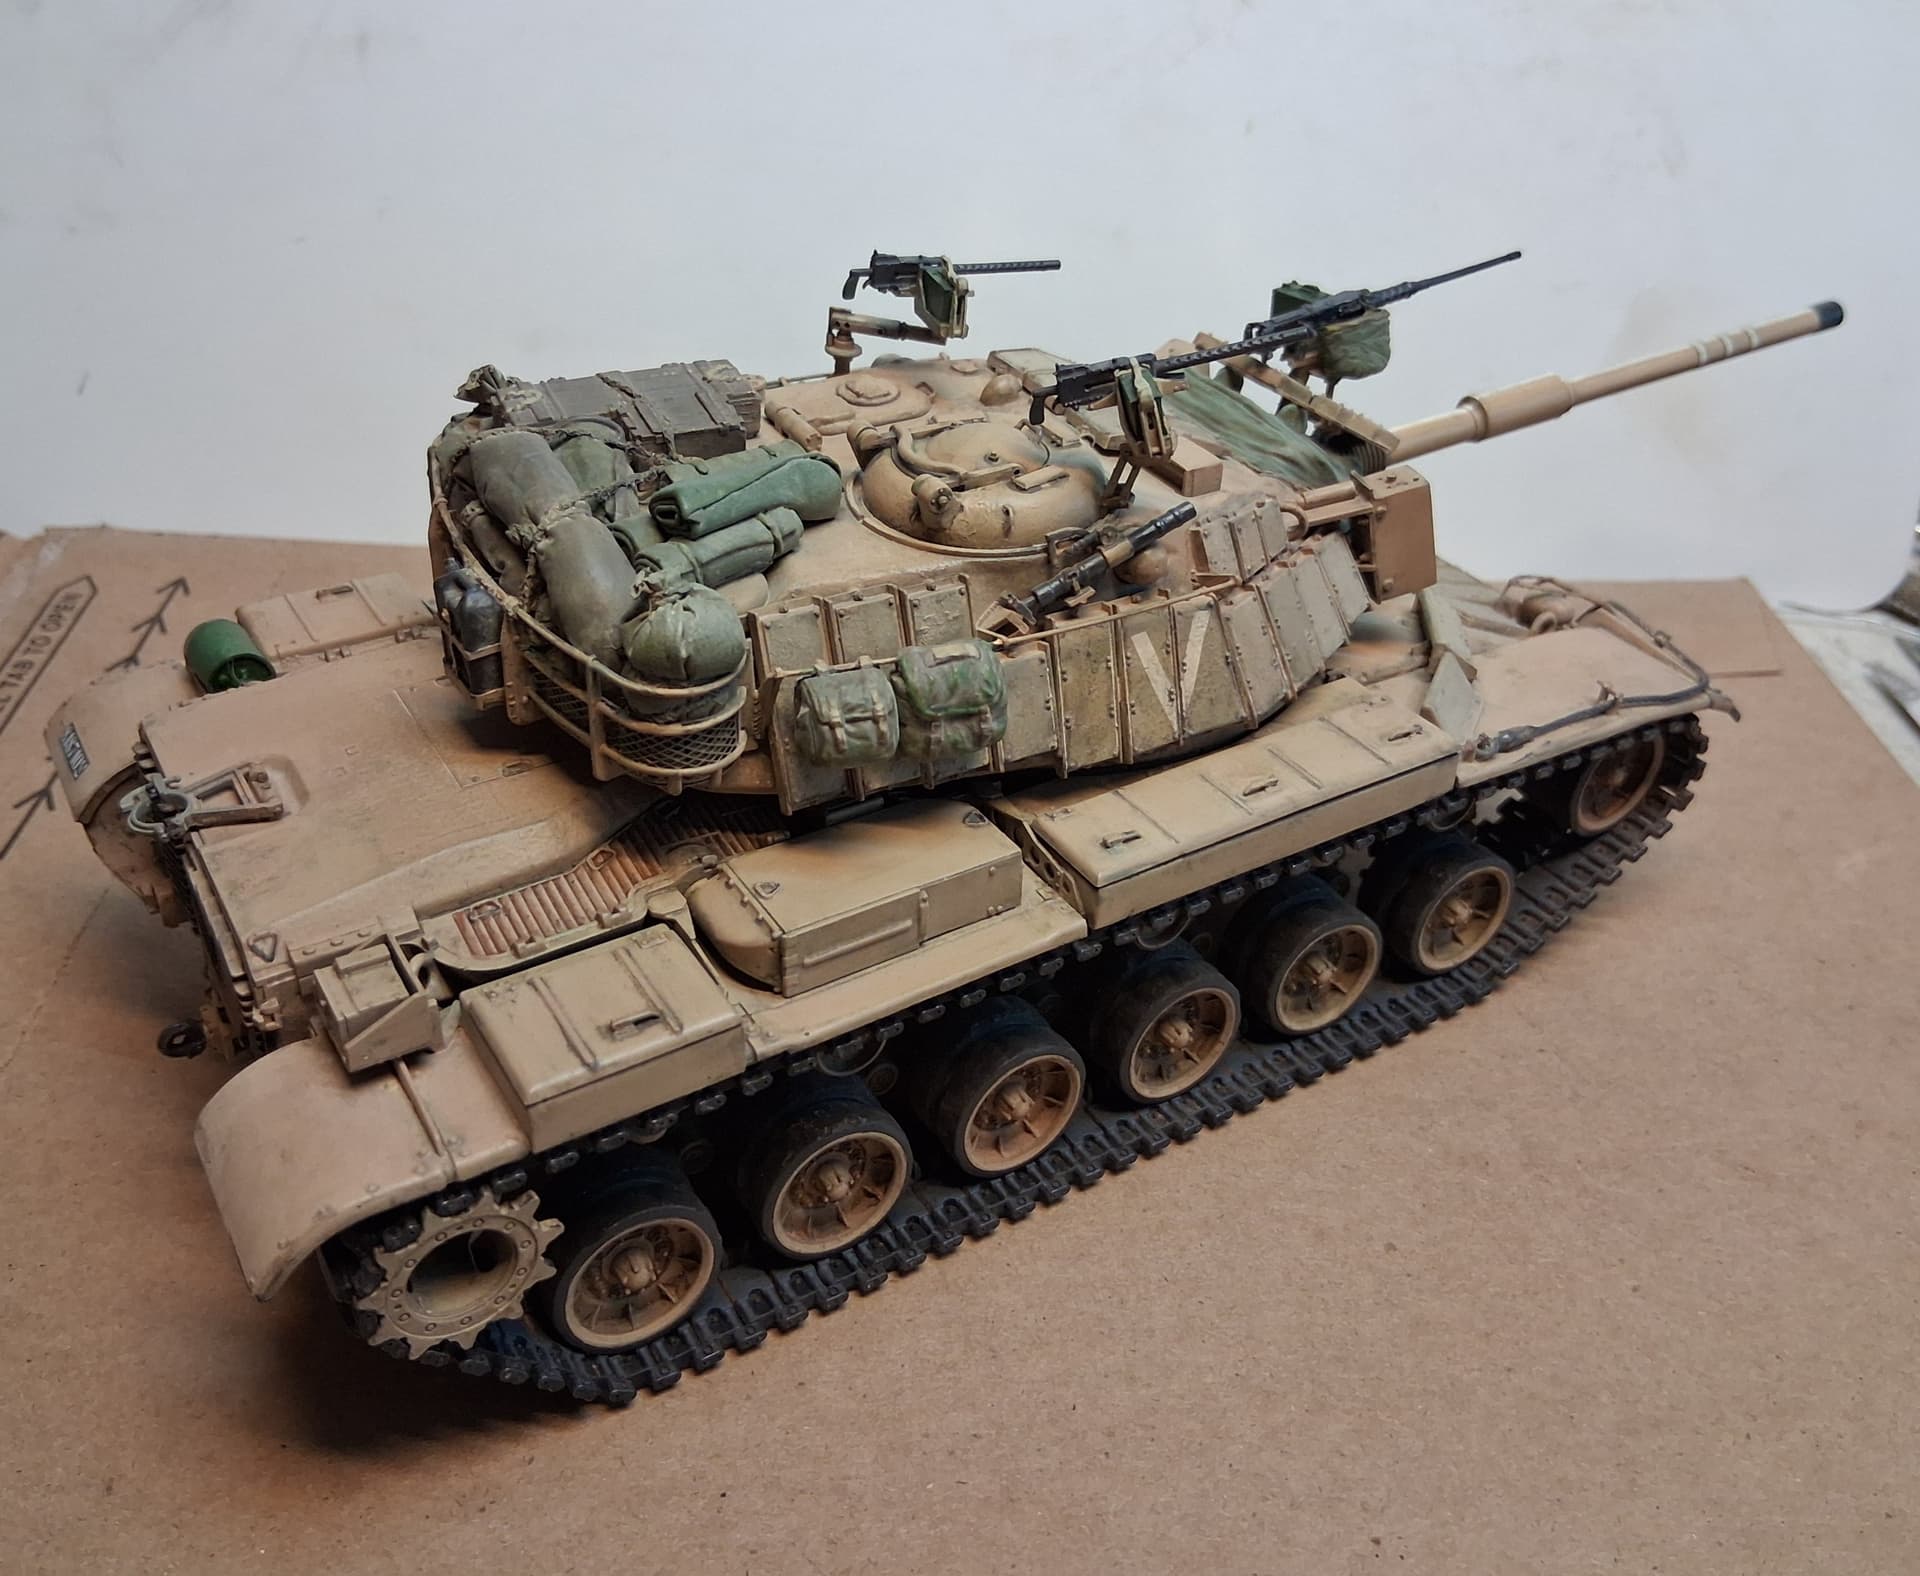
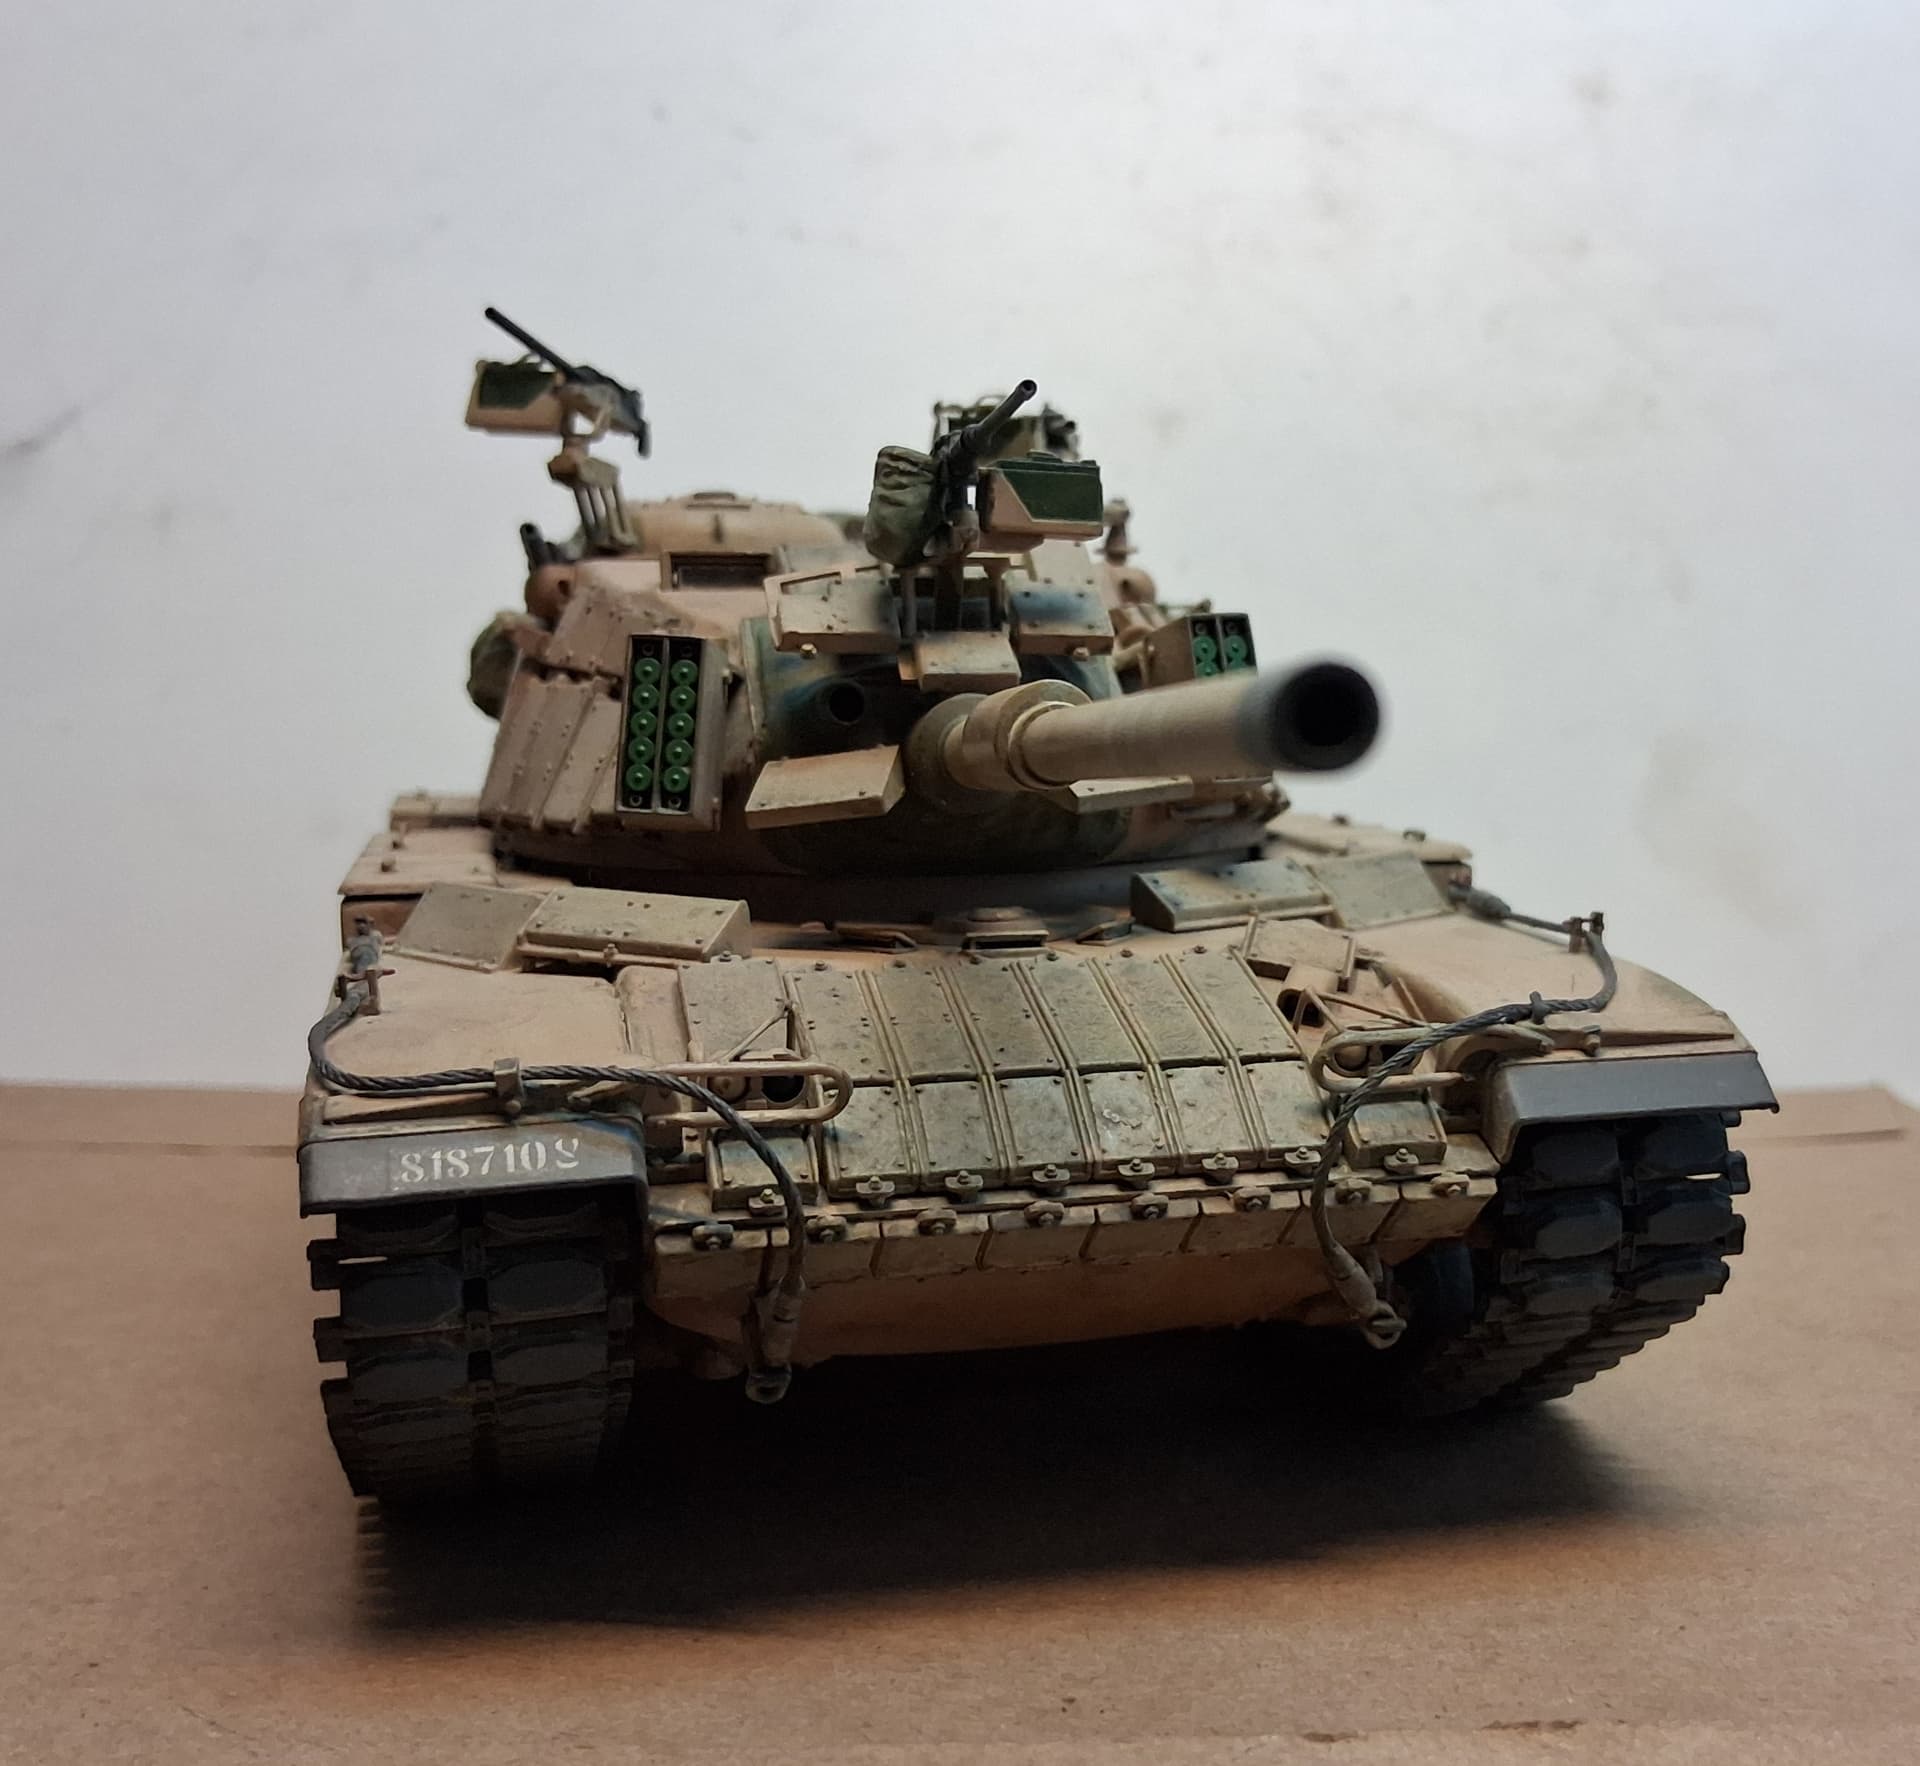
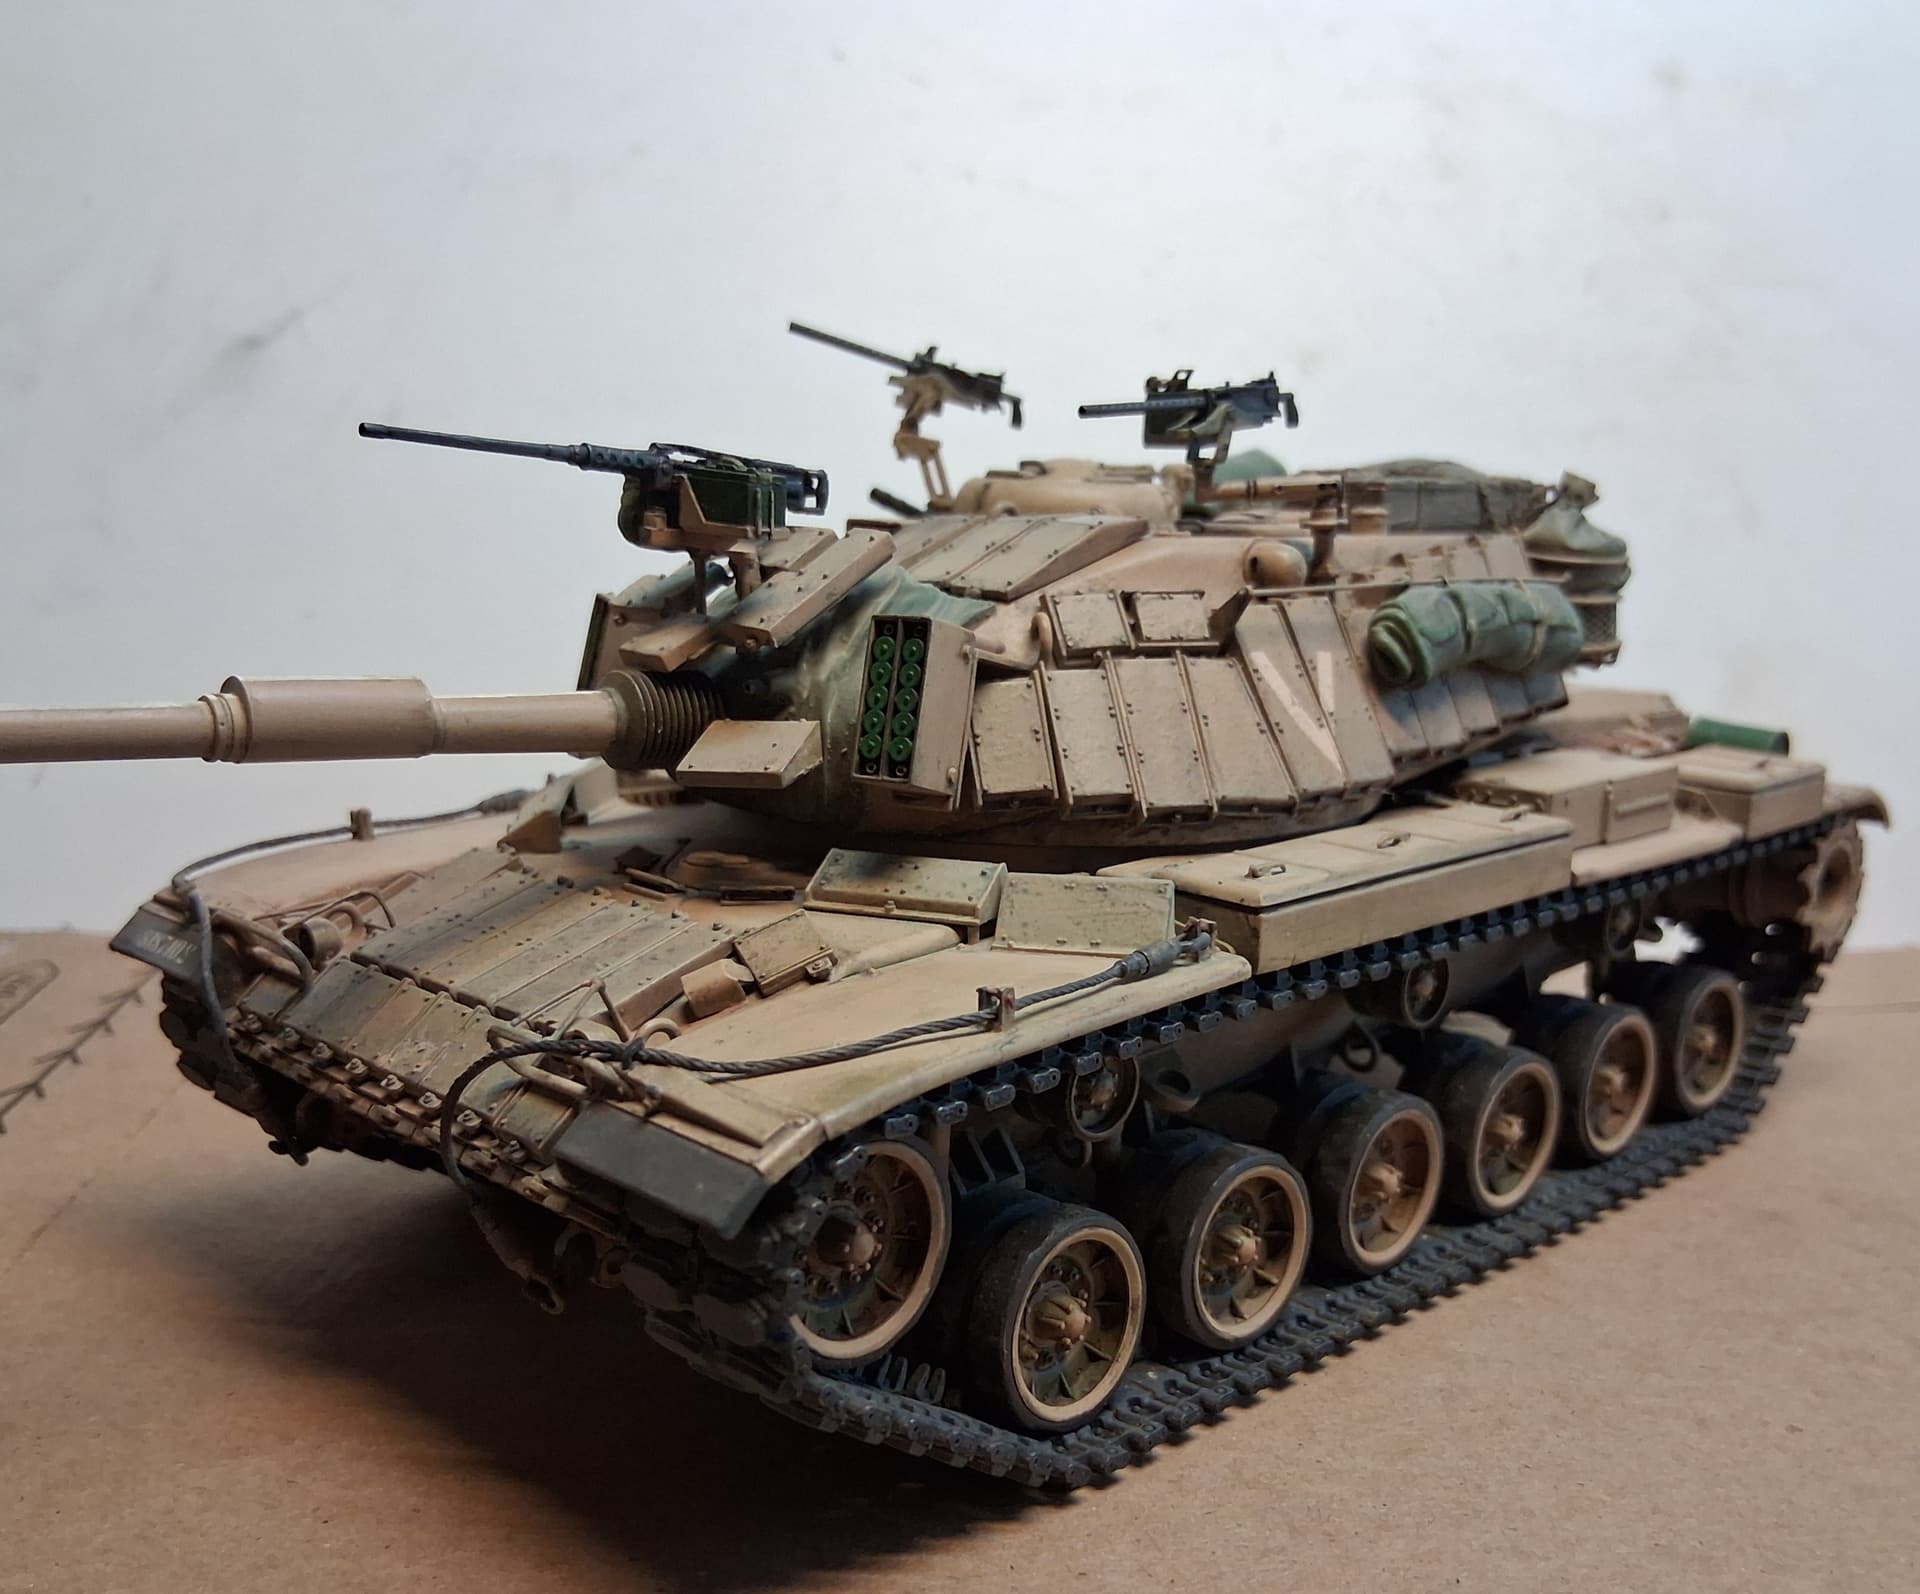
Excellent work, Russel! The weathering looks great.
That is some excellent work! The overall paint job looks terrific, but what really caught my eye was all the gear strapped to the back. The bags, packs, and other equipment look incredibly realistic.
I’m curious, did you scratch-build any of that gear, or did it come with the kit?
I’m getting ready to build a 1/48 WWII Jeep, and I’d like to add some gear to it to give it that lived-in look. Your build is a great example of just how much those little details can add to the realism.
Thanks. The two big bags and the camo net bag in the turret basket are scratched, the rest of the items are Value Gear and spares box.
Thanks! Those scratch-built bags are particularly impressive. They look so natural hanging there, and the whole collection of gear really brings the vehicle to life.
I’m getting ready to build a 1/48 Jeep and would love to achieve something similar with the stowage. I’ll have to look into Value Gear and see what I can find in that scale.
Beautiful work!
Thanks again. To be clear, the bags hanging from the turret rail are plastic, probably old Academy stuff. The bags I made are all IN the basket. Scroll up and look for the blue items. Those are the ones I scratched.
I’m pretty sure Steve does some 1/48 items that would work for you.
That’s really nice work, I like all the different subtle shades you’ve achieved in the overall sand colour.
Thank you.
I keep yacking about doing figs, and I really am. Lots of them…
 IMG_5284 by Russel Baer, on Flickr
I never really liked painting figs but this time I’m kind of enjoying it, no idea why.
I’m calling this done. Figs helped a lot, nothing like a sense of scale…
 IMG_5294 by Russel Baer, on Flickr
 IMG_5293 by Russel Baer, on Flickr
 IMG_5291 by Russel Baer, on Flickr
 IMG_5290 by Russel Baer, on Flickr
 IMG_5288 by Russel Baer, on Flickr