Afternoon everyone. So I decided for my next build to try another Macross model. This time the VF-11B. The version I have is from the Marcoss The Ride, so I decided I will go ahead and make this one with a custom paint scheme. So far the plan is to paint it Faded Blue Gray over silver or aluminum. With Gunmetal Gray and Gunmetal Blue accents and then weather it a bit. Thus far, the plan is to also do a VF-1S in the same paint scheme.
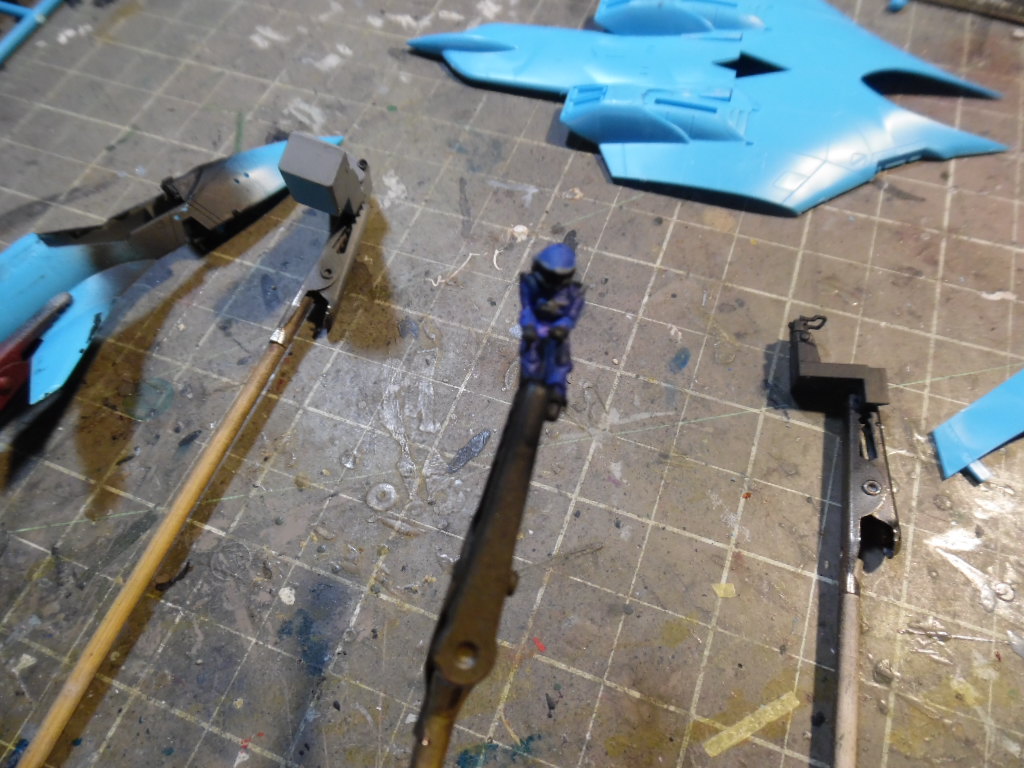
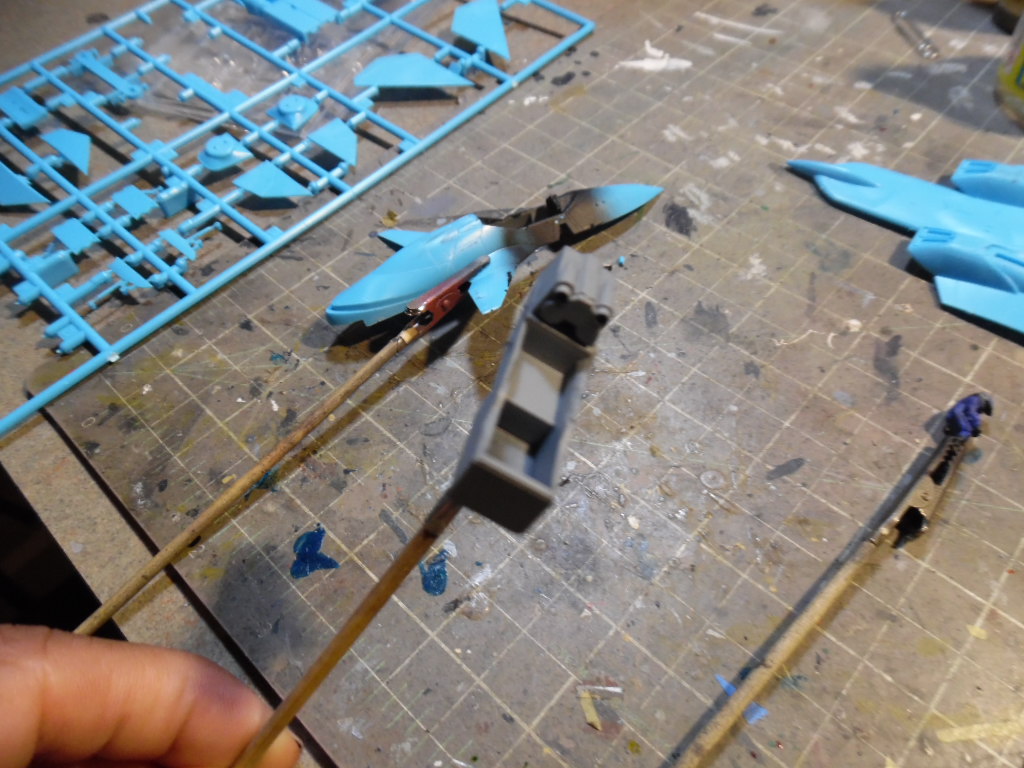
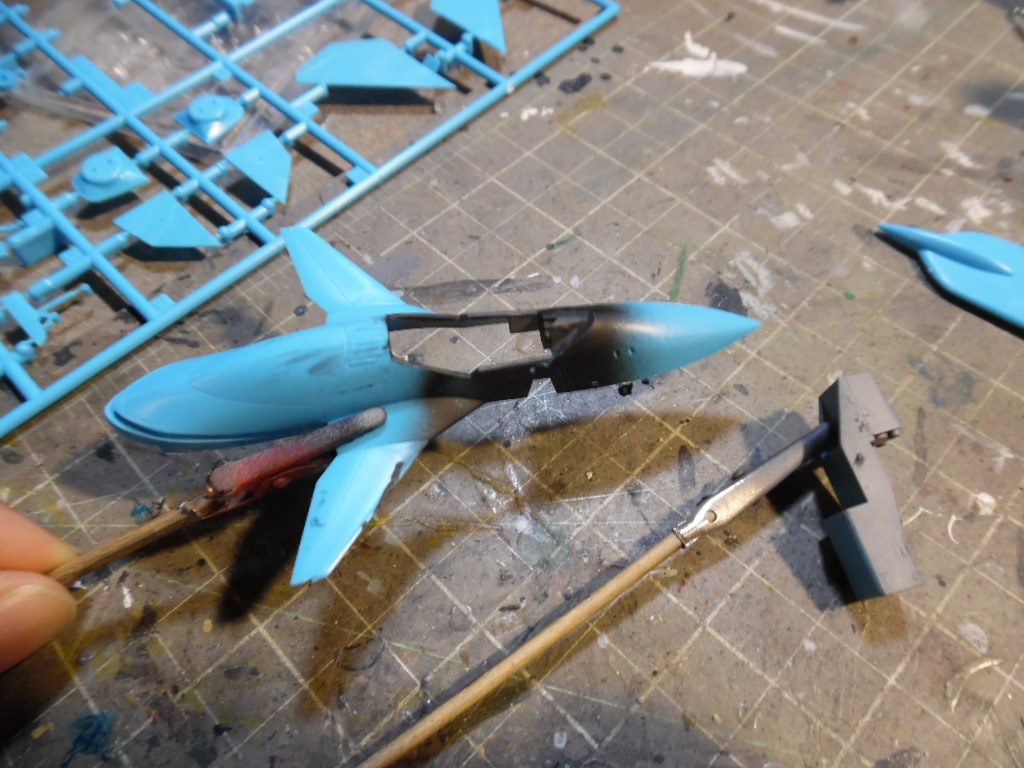
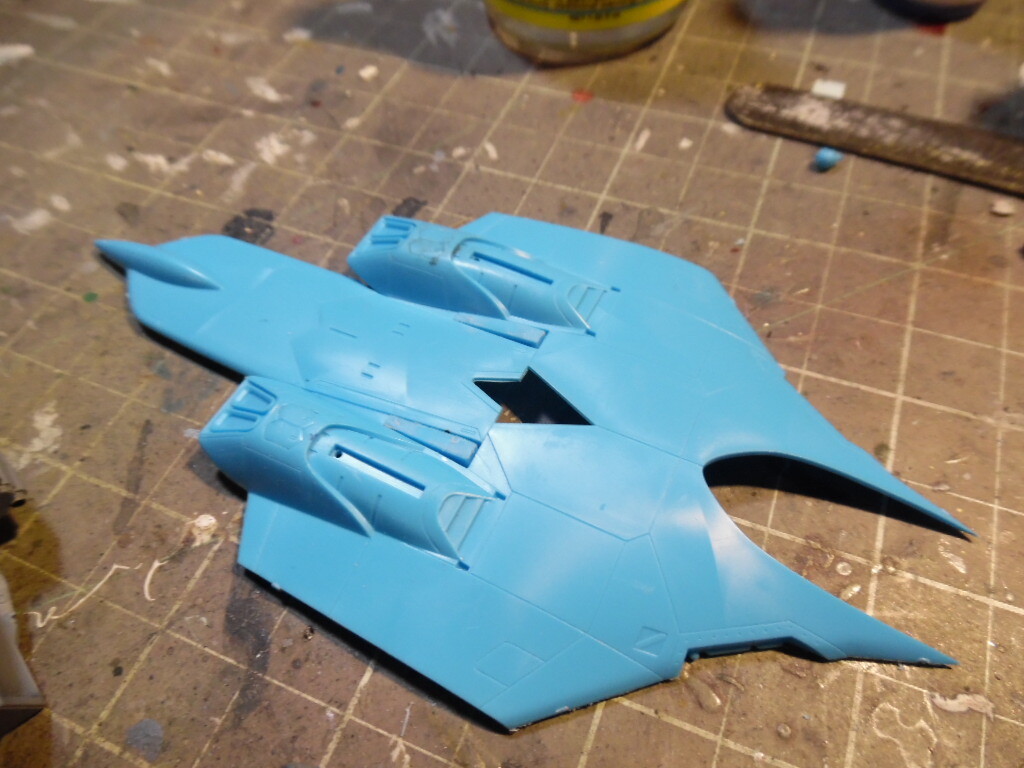
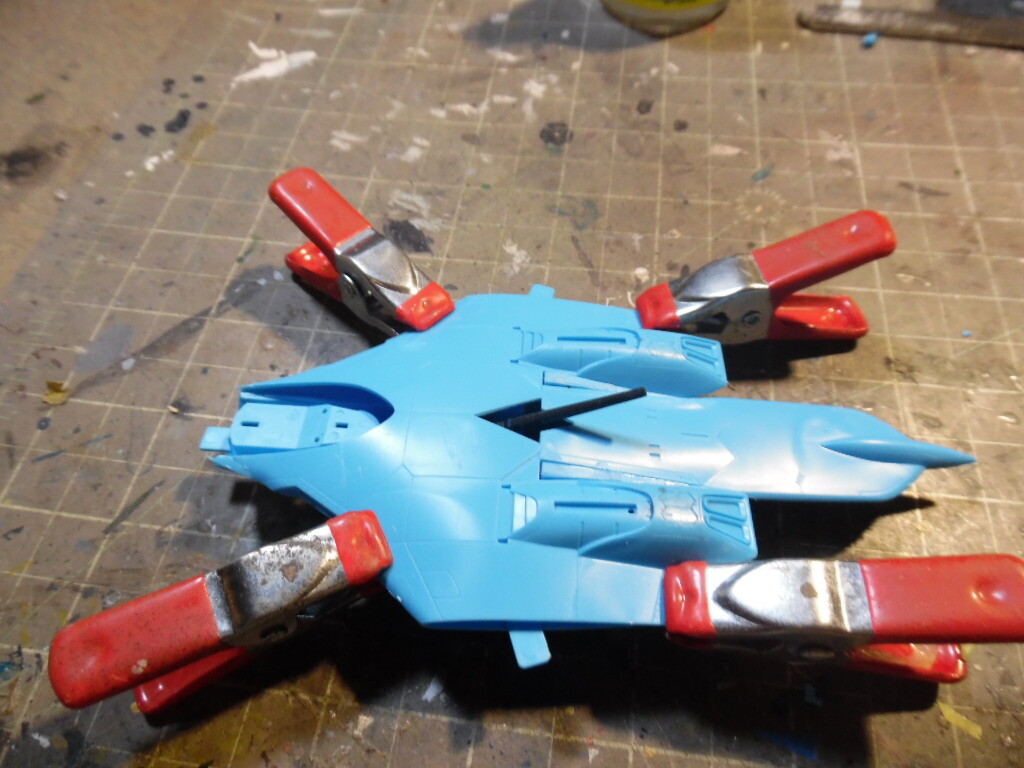
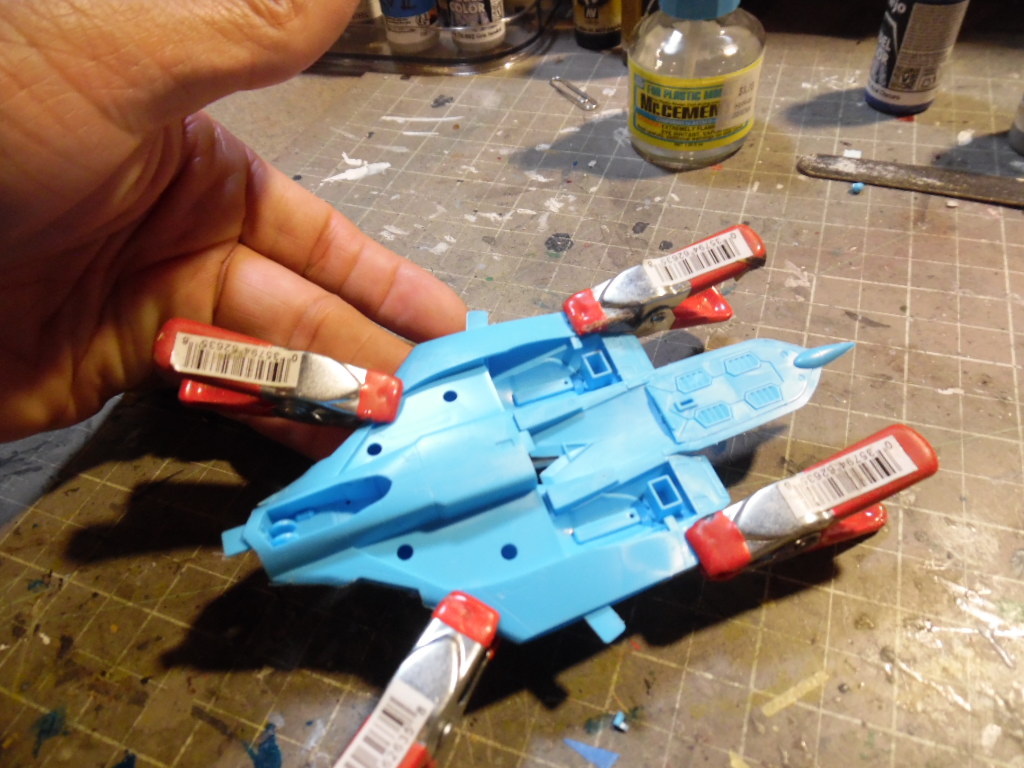
So here is where I am at so far. I have to conceded, that painting figures in 1/72 scale is not my strongest skill set. 

4 Likes
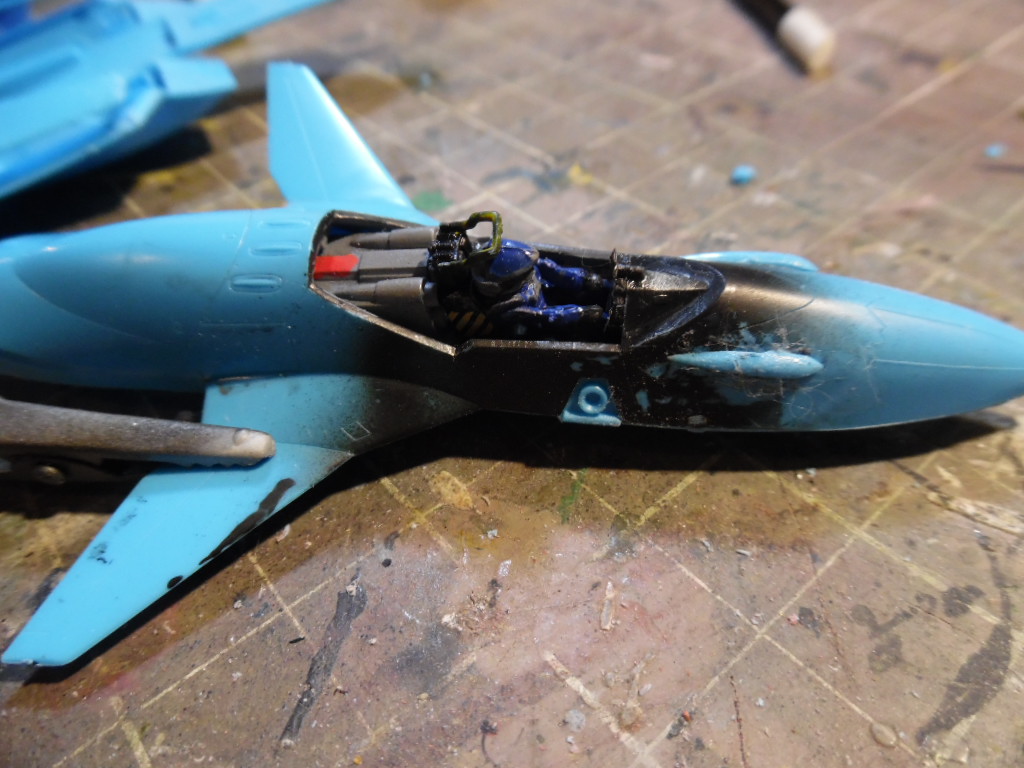
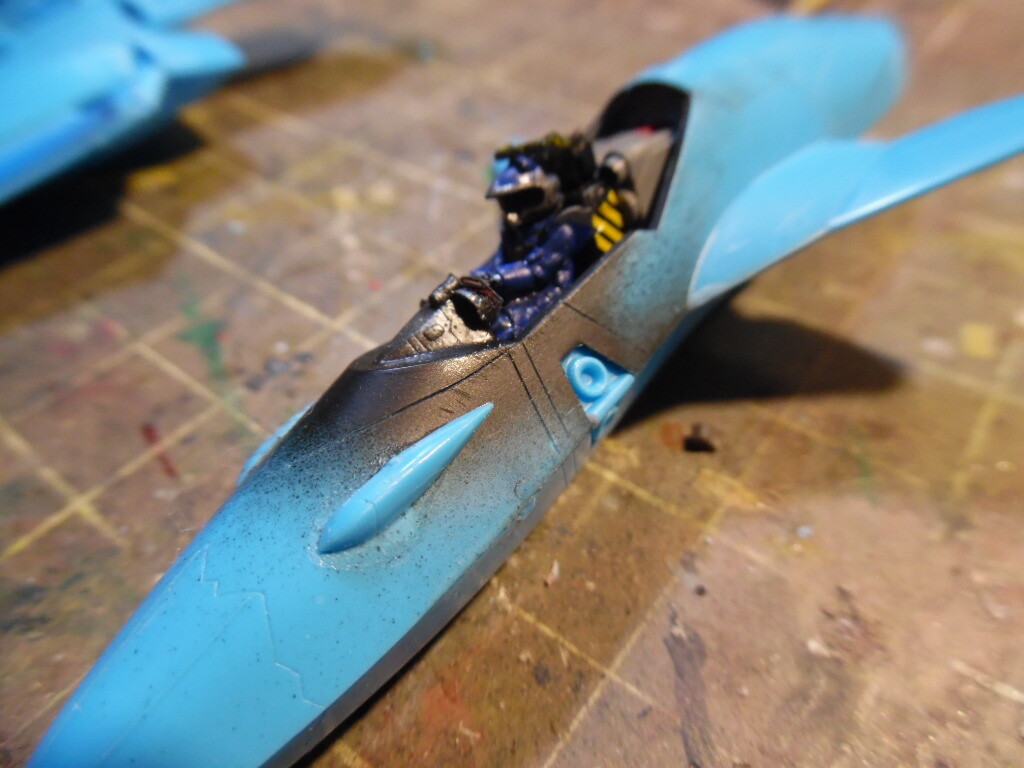
Had the chance to do some more work on this build. A good bit of the major components are done, just need to see where I will be adding the post to make this an inflight display and then off to painting.
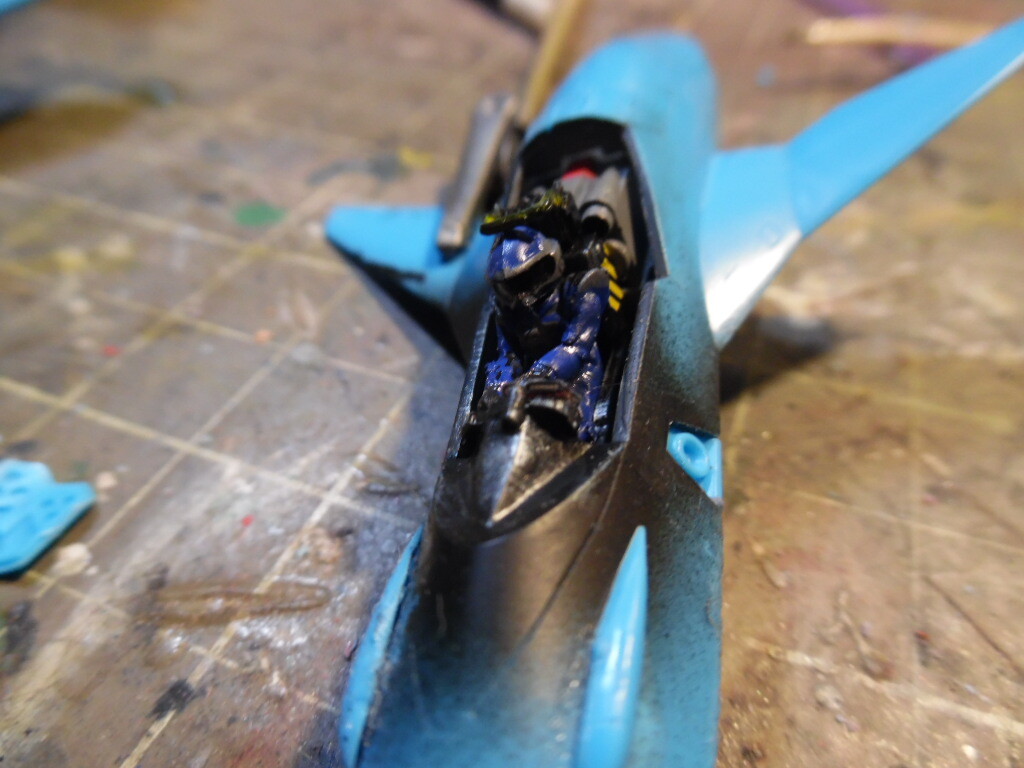
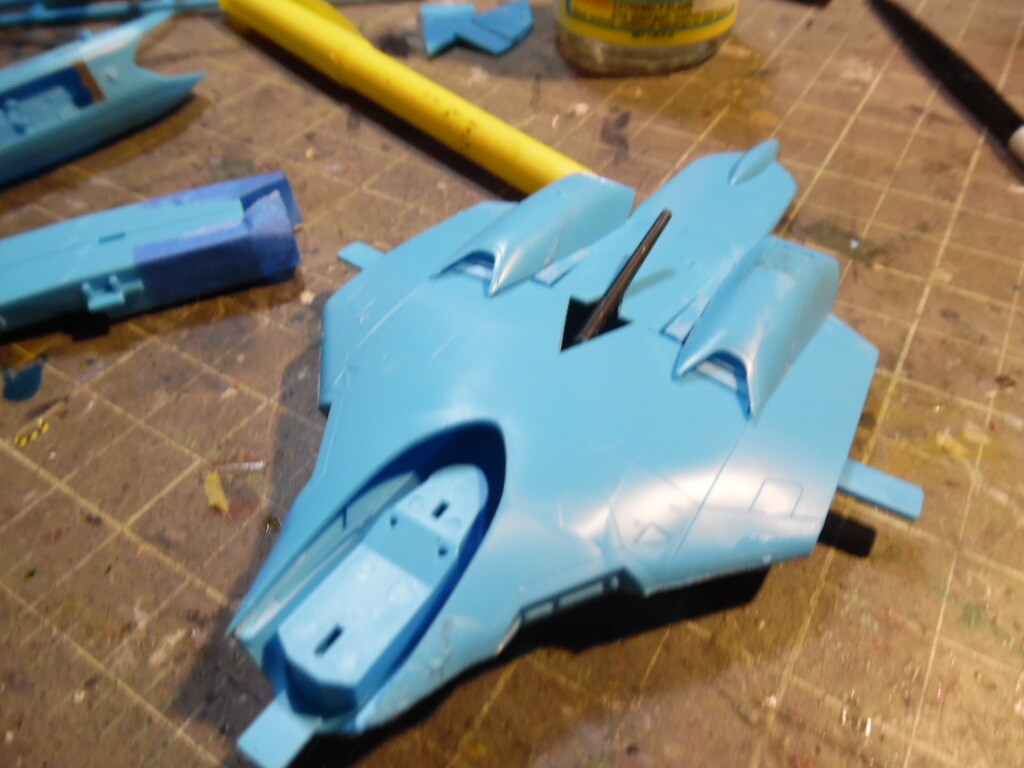
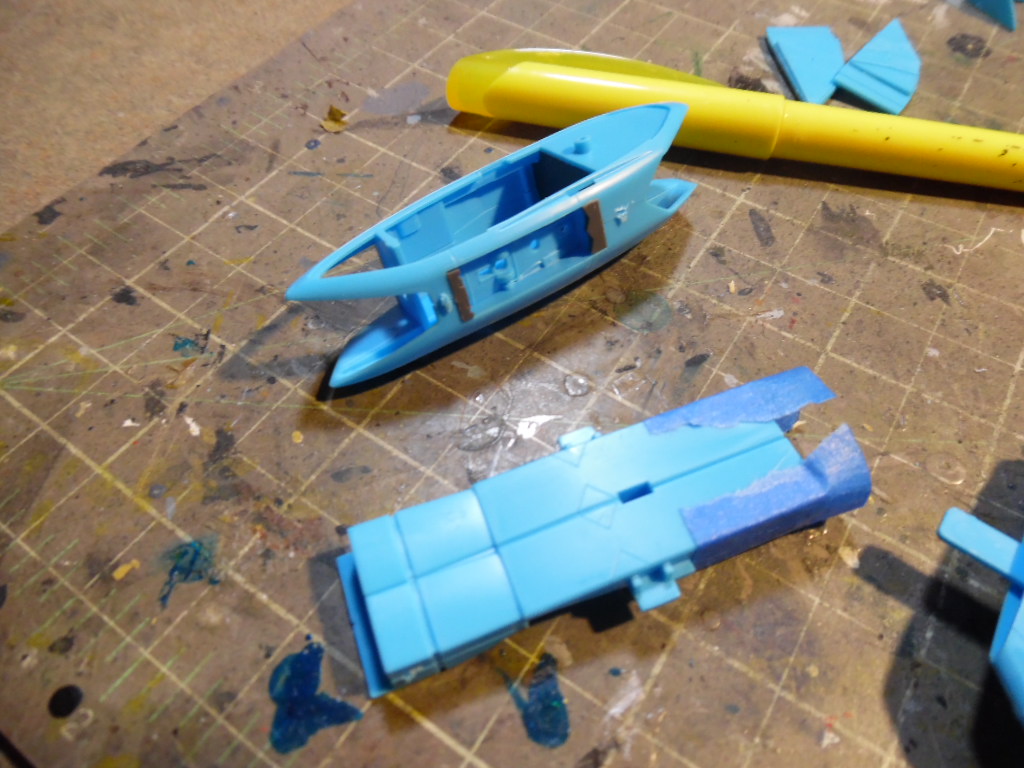
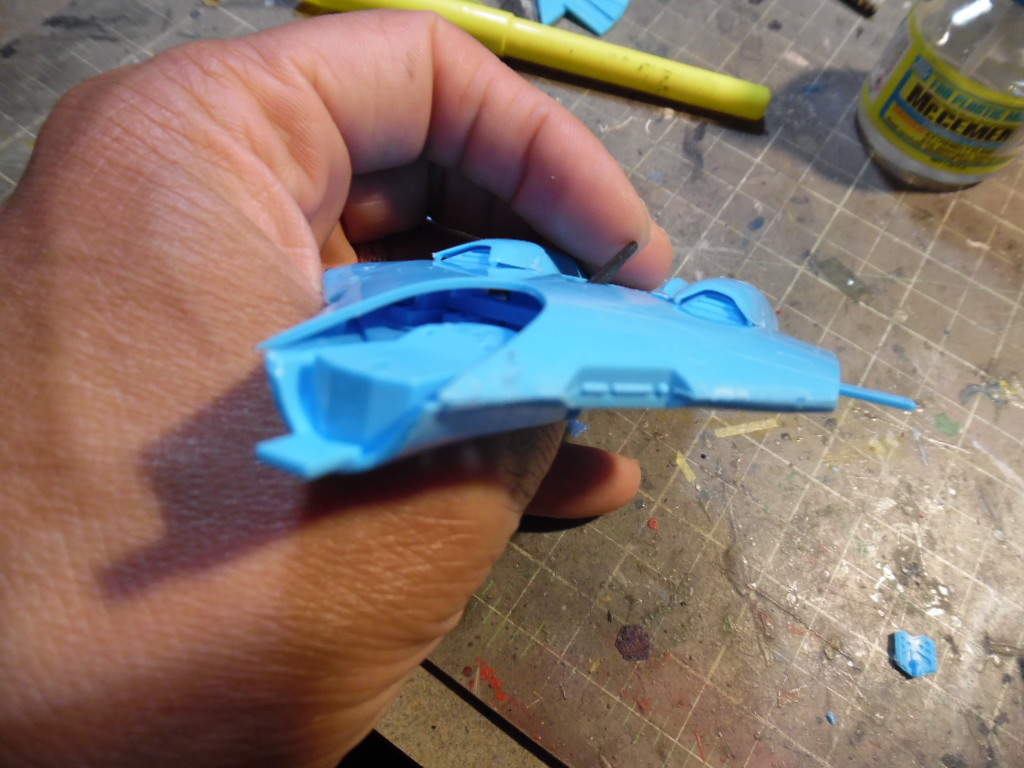
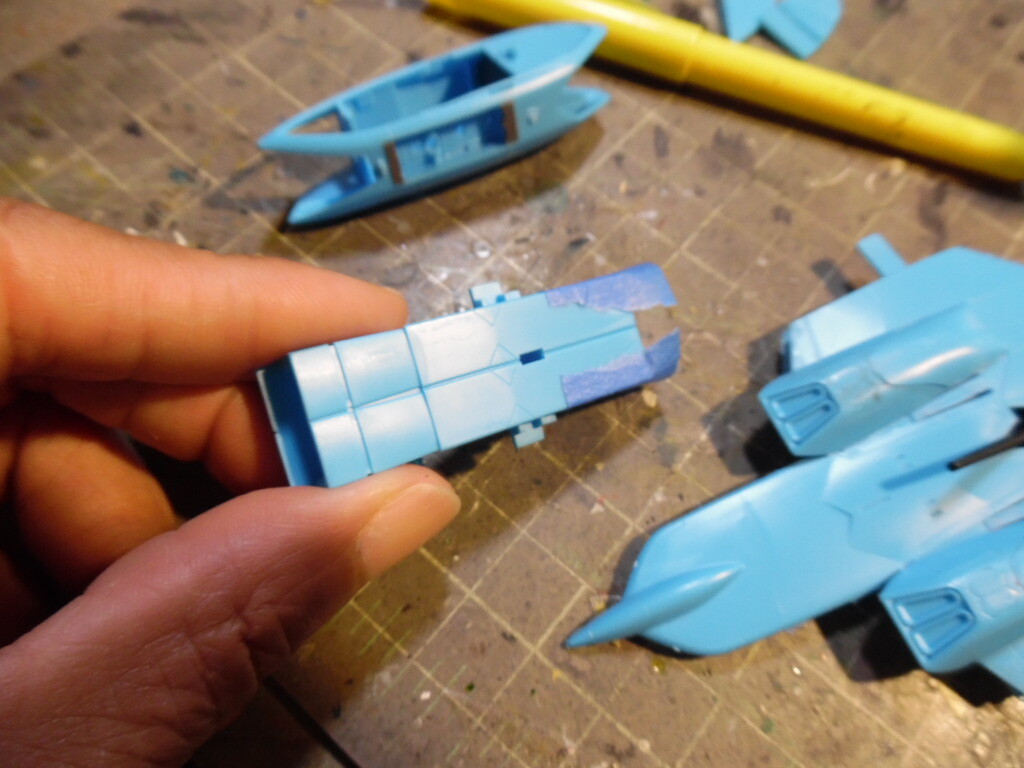
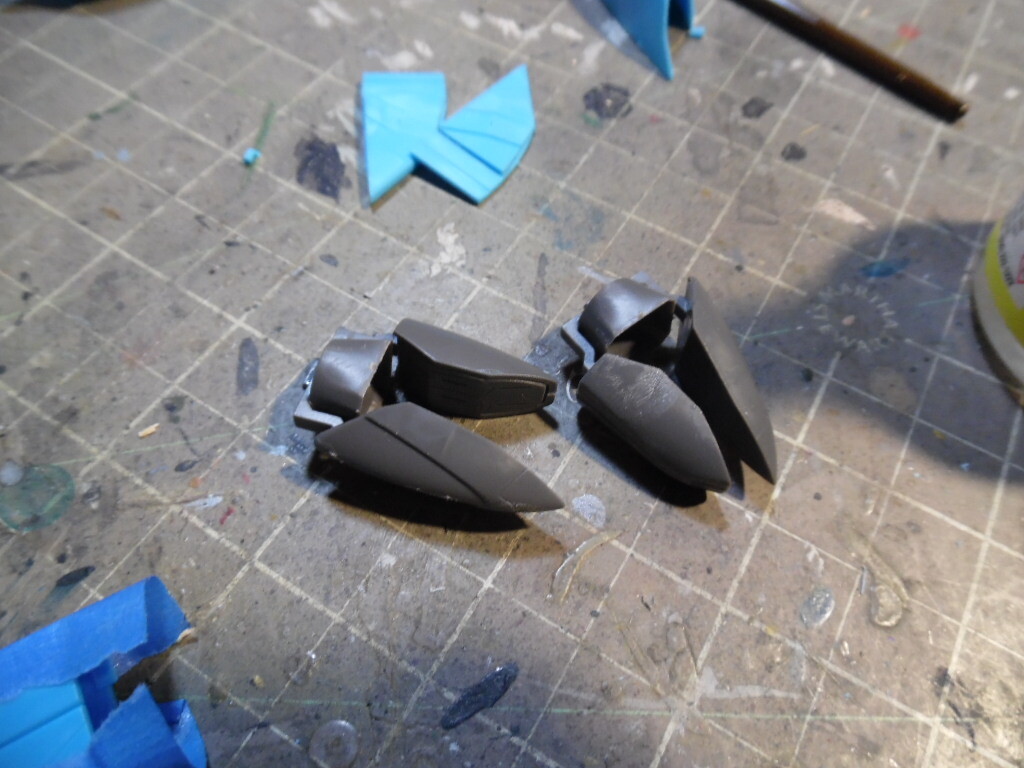
4 Likes
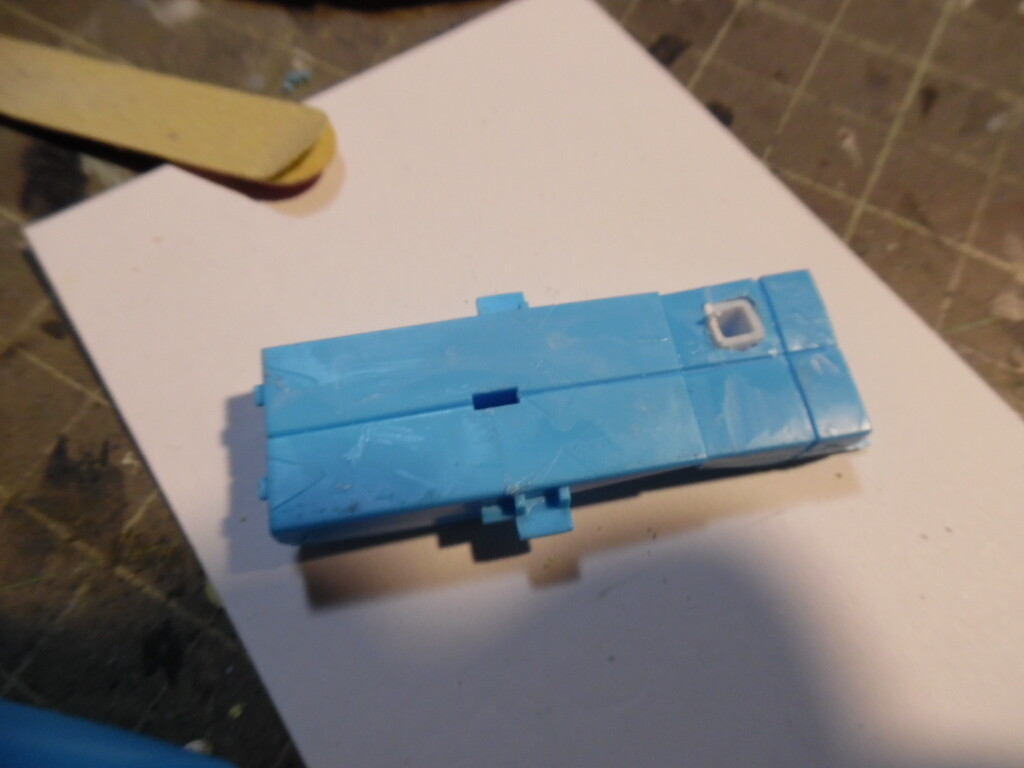
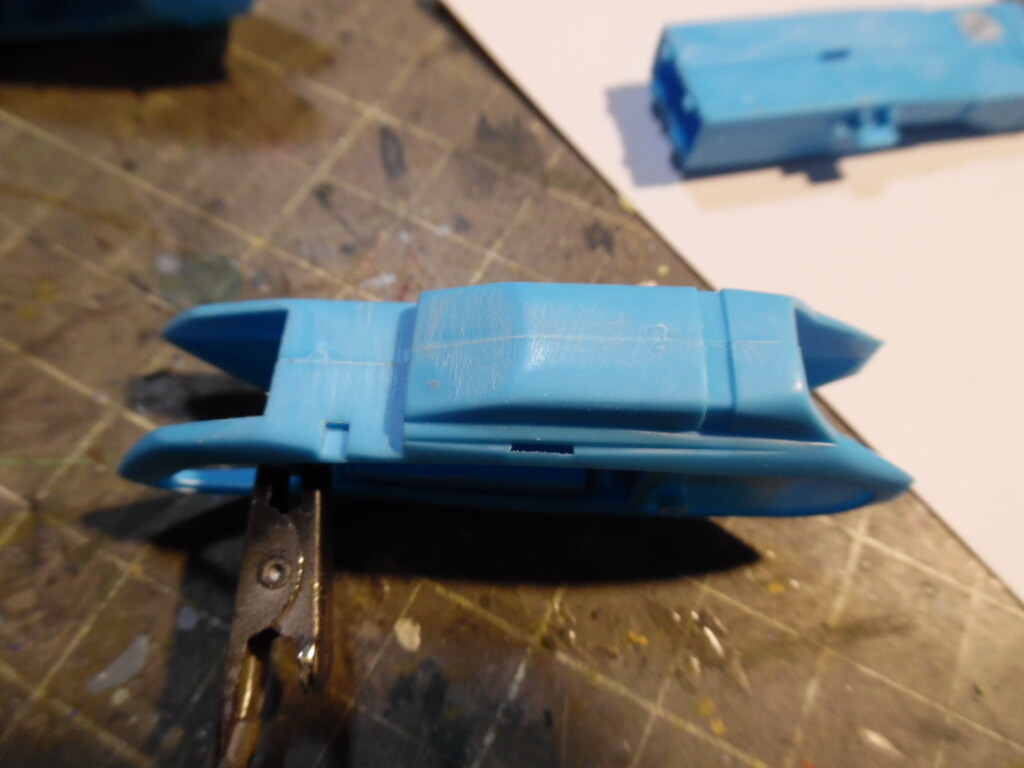
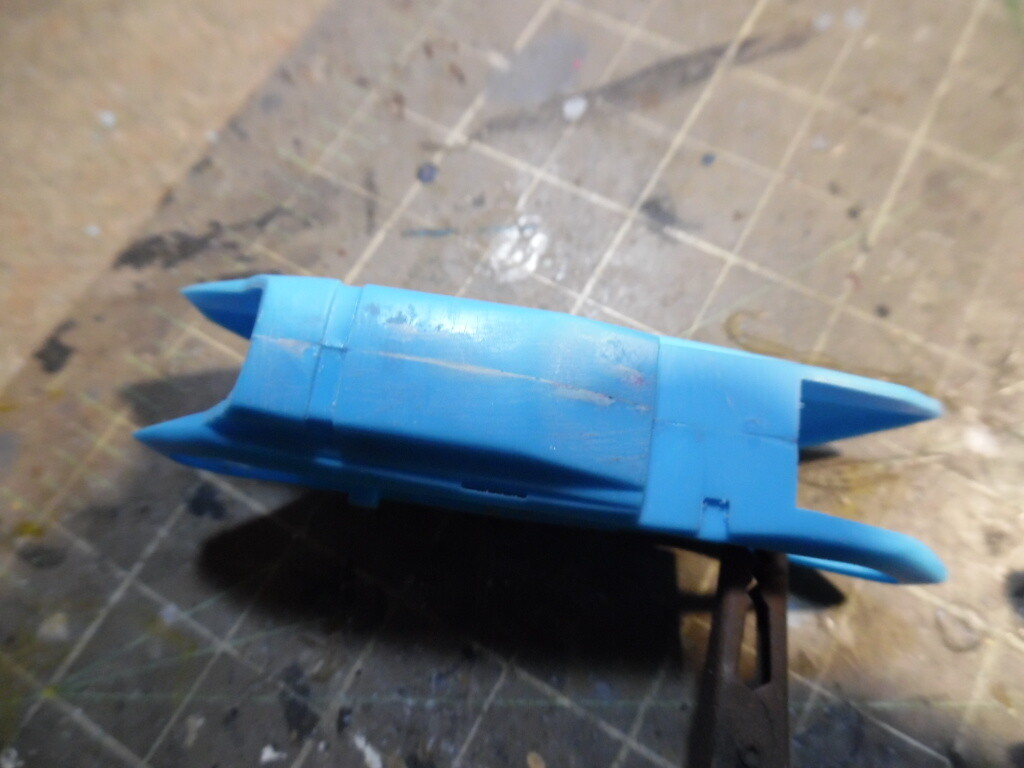
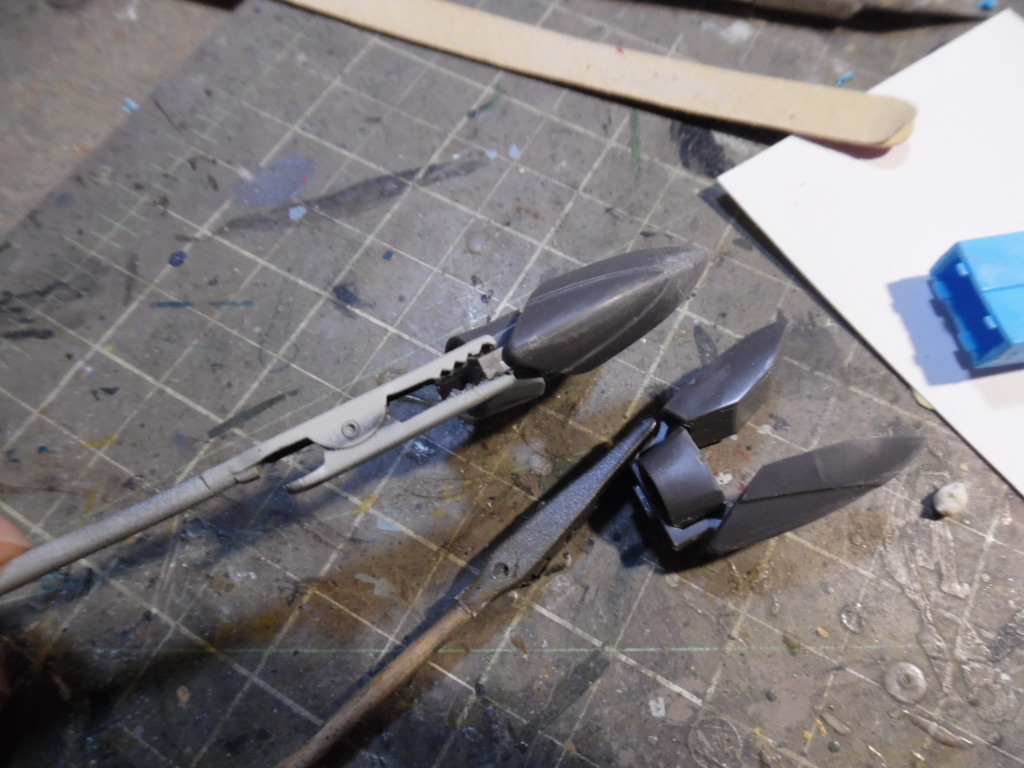
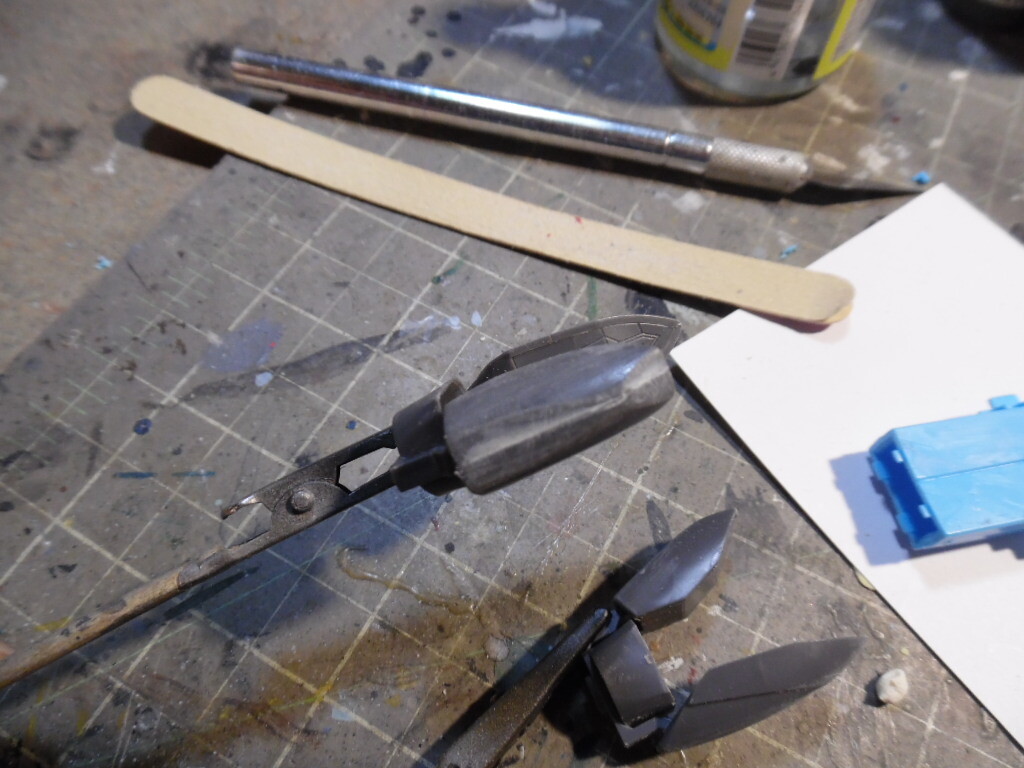
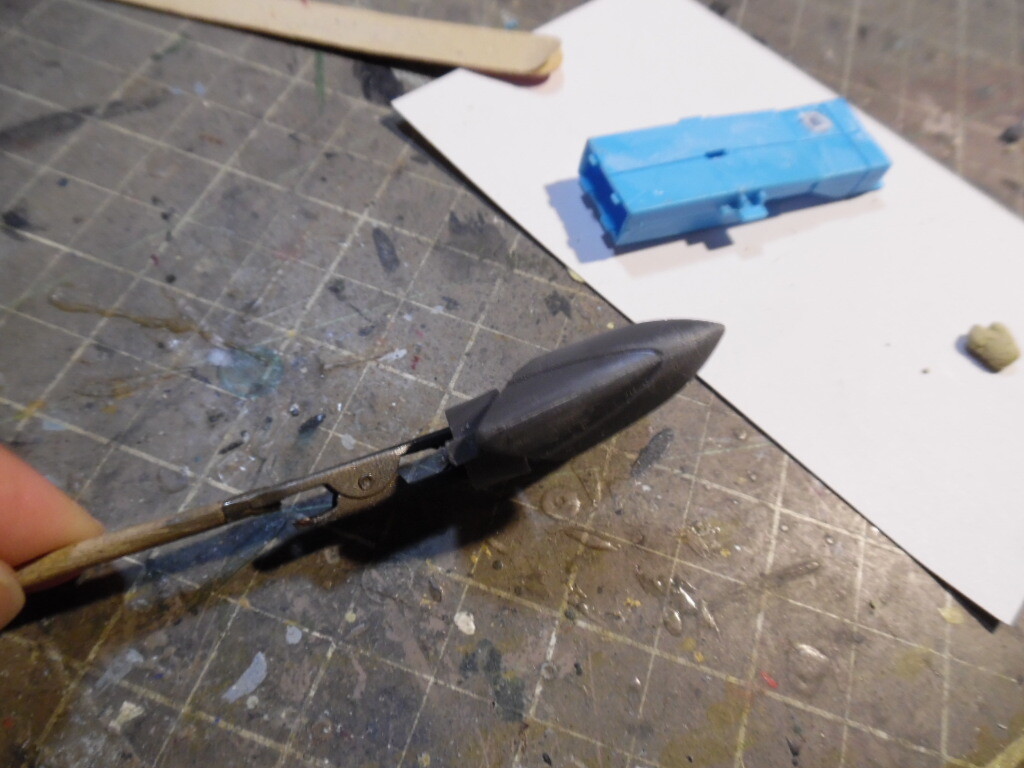
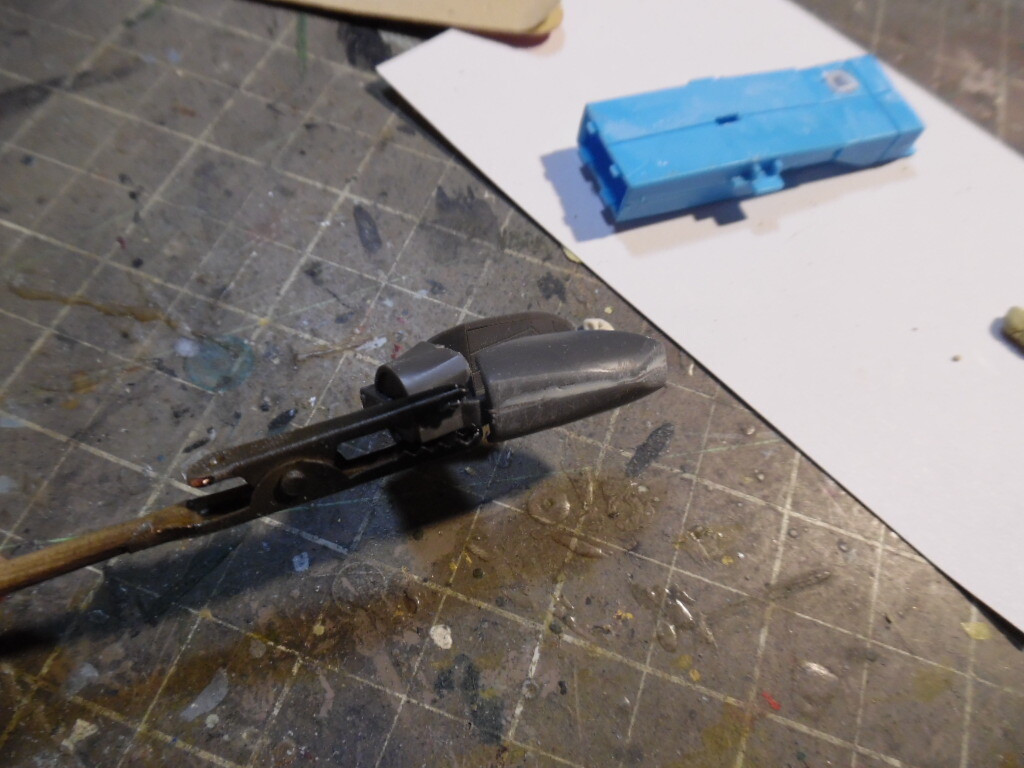
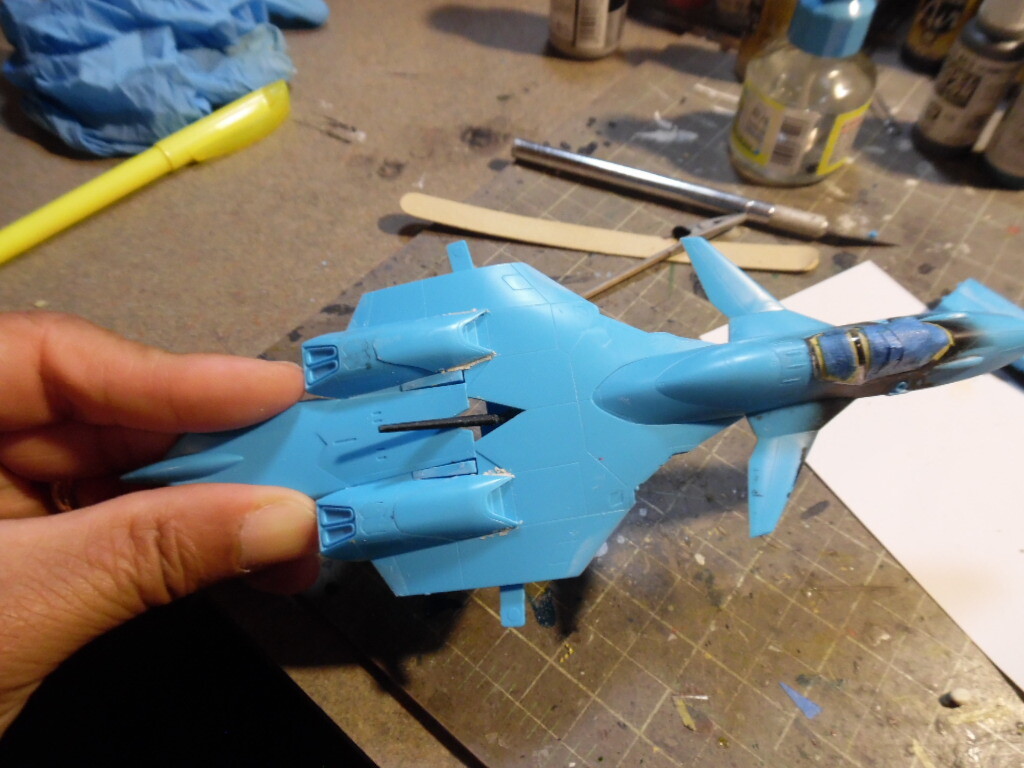
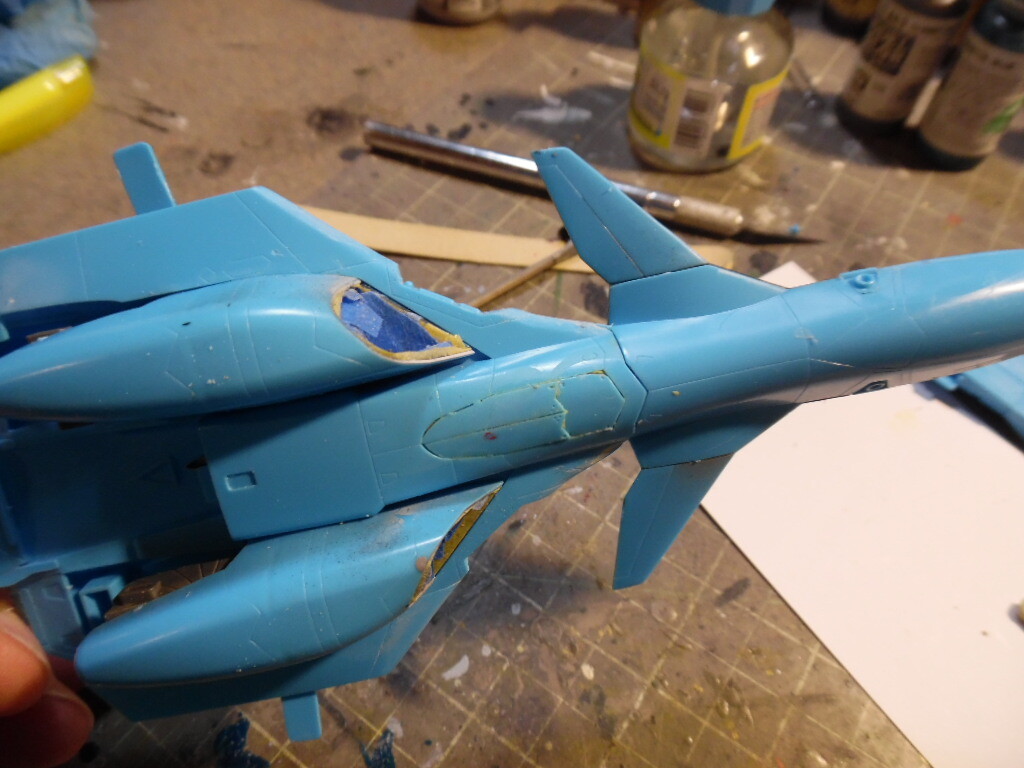
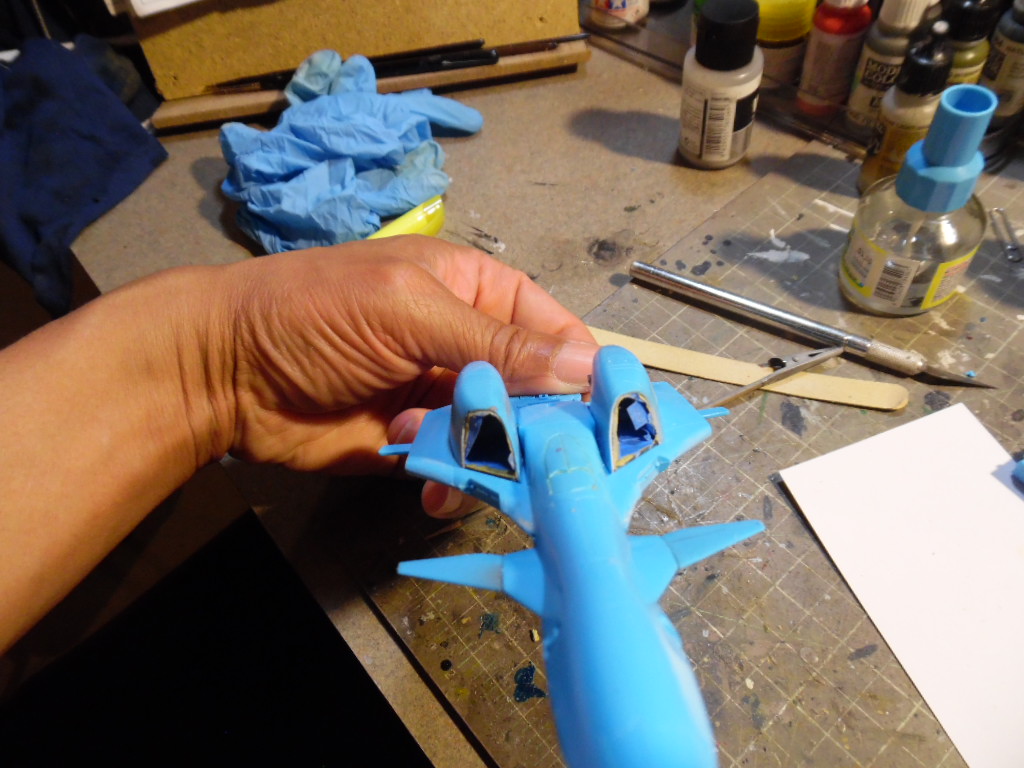
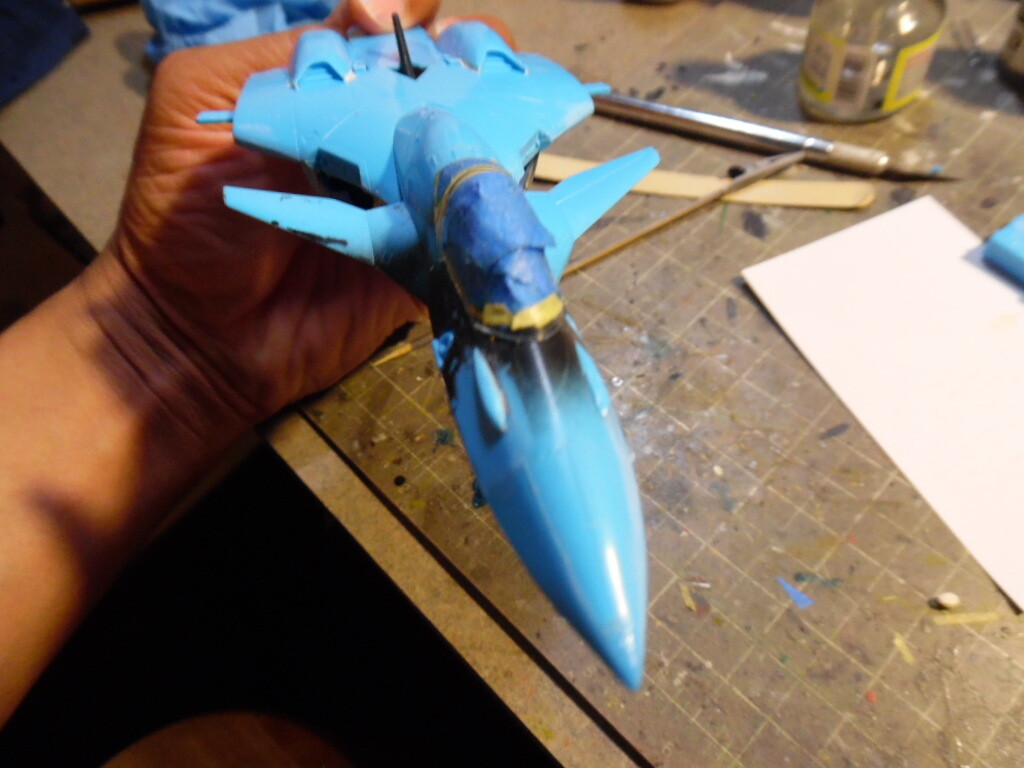
Here is some more work done on my current build. Everything is more or less built and in sub-assemblies in preparation for priming and checking on any seams and tackling those. Pretty happy with how the gear doors came out. I tried using Milliput for the first time to brace the doors and I am happy with the results. So enjoy and let me know what you think
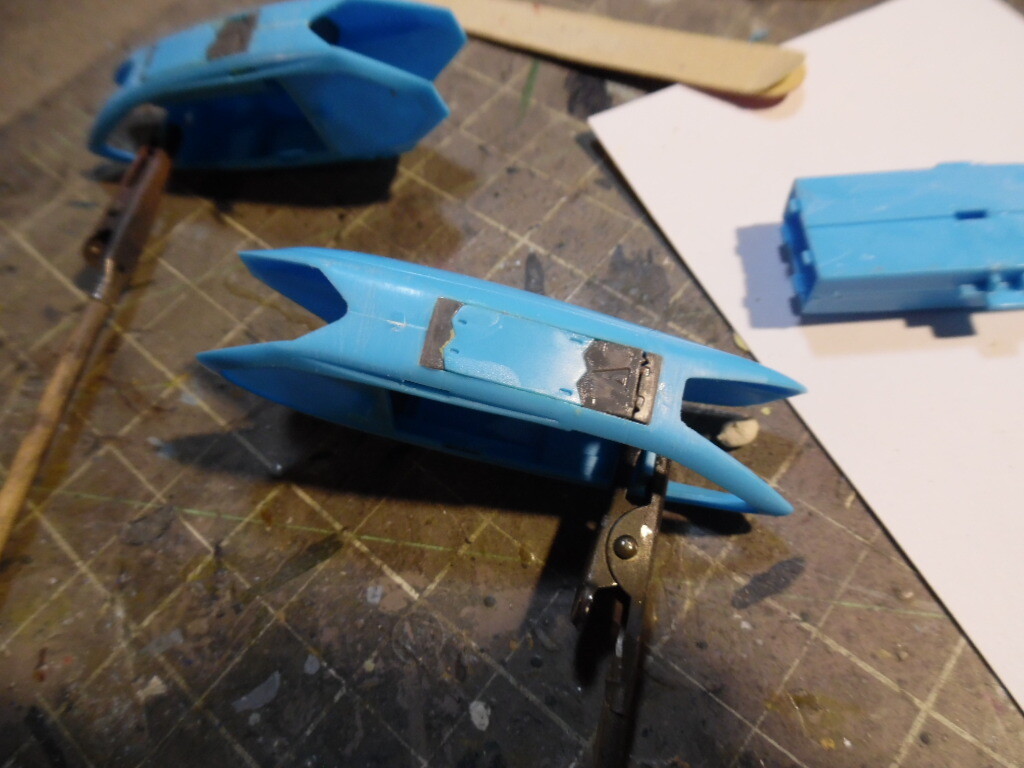
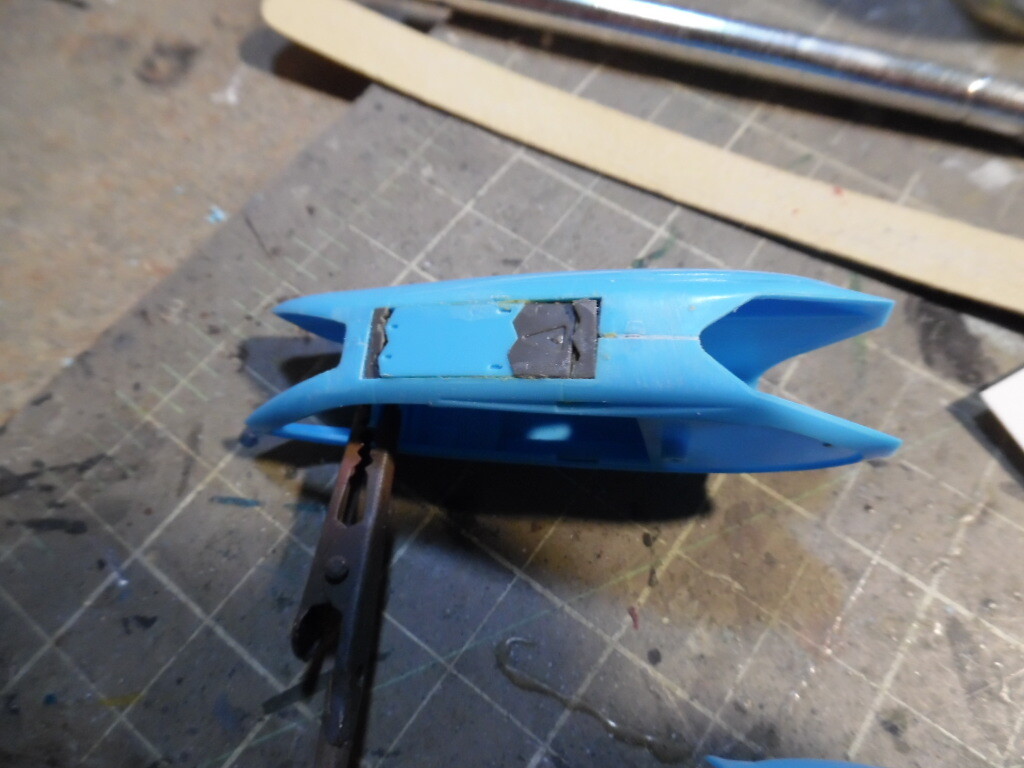
6 Likes
Is this a Hasegawa kit? Did you use the Milliput to fill in the joints? If so, note that you can remove the excess while it is still ‘fresh’ or un-cured. This will allow you to skip the sanding (or most of it in any case) stage. Milliput being much harder than plastic, one often ends up damaging the plastic and raised or engraved details while sanding..
Yes, this is the Hasegawa kit. Oddly enough I didn’t have any issues with sanding the milliput that were on top of the plane. The milliput in the wheel wells loo9ks more obvious in the pictures than in person. I was able to prime everything in black on Saturday so it is getting there.
2 Likes
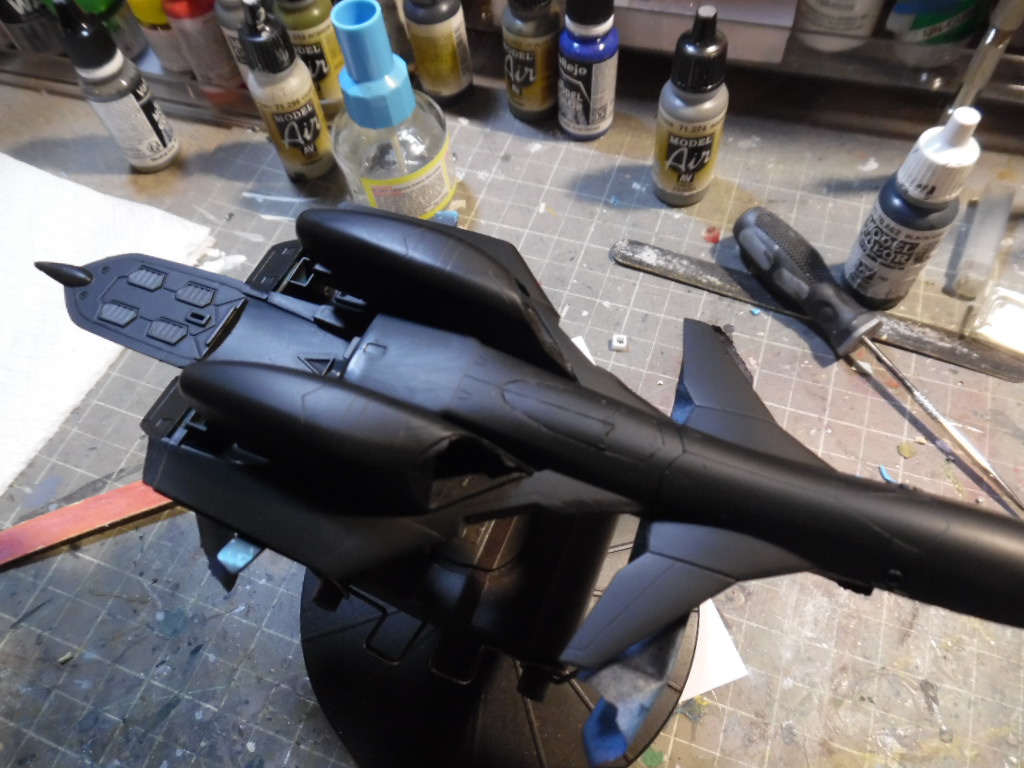
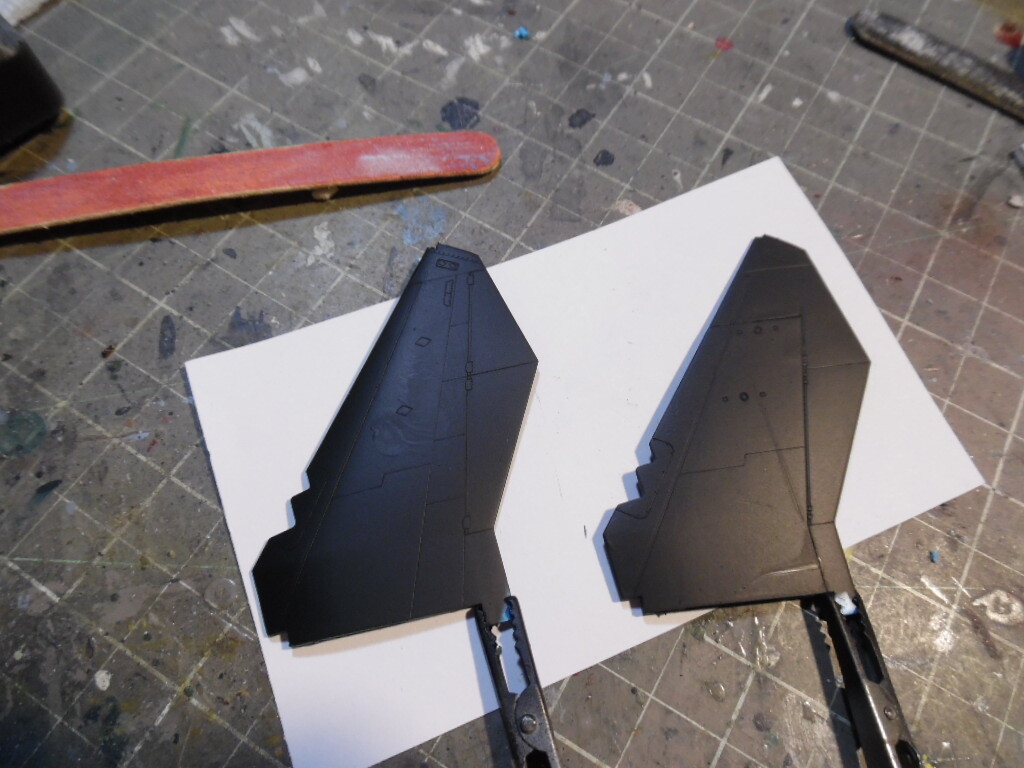
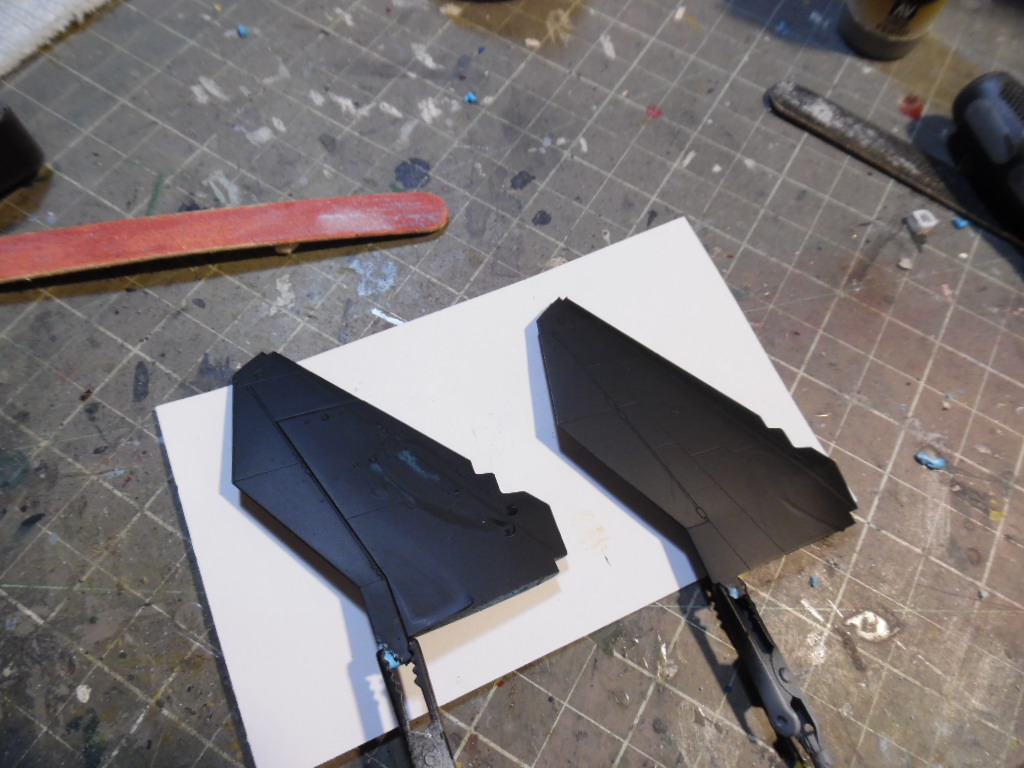
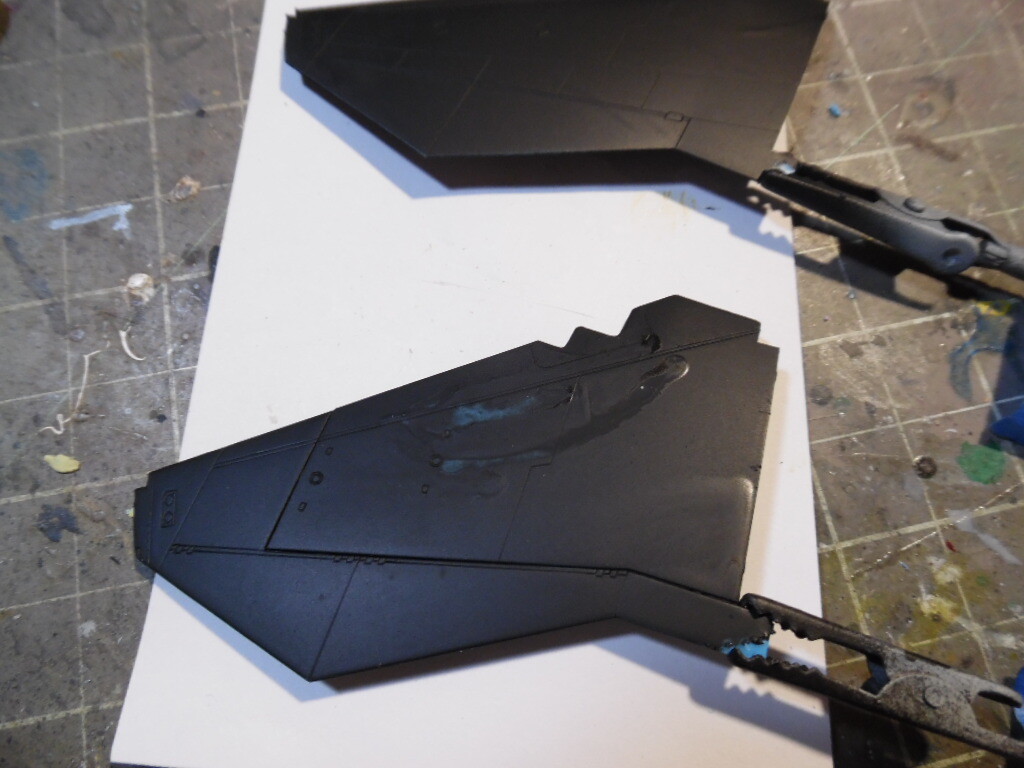
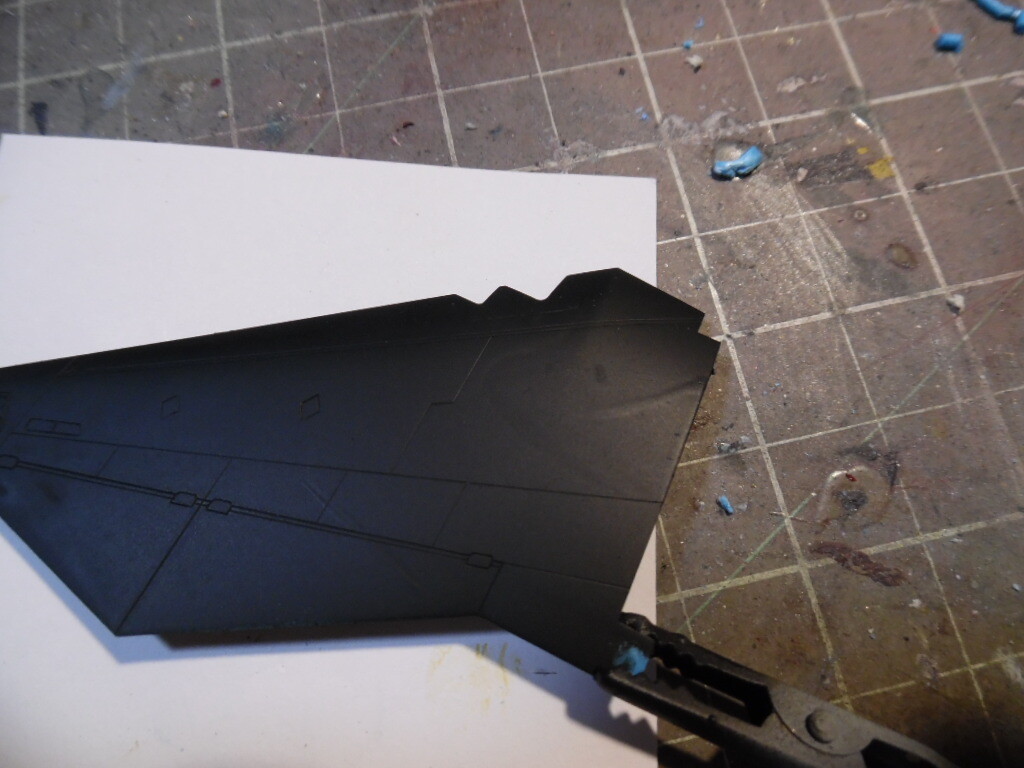
Model is now primed. Going to look into correcting an issue where the wings touched each other while drying so that needs to be fixed. Oddly enough, the primer leveled out enough where it almost self-corrected. I’ll take the win on that.


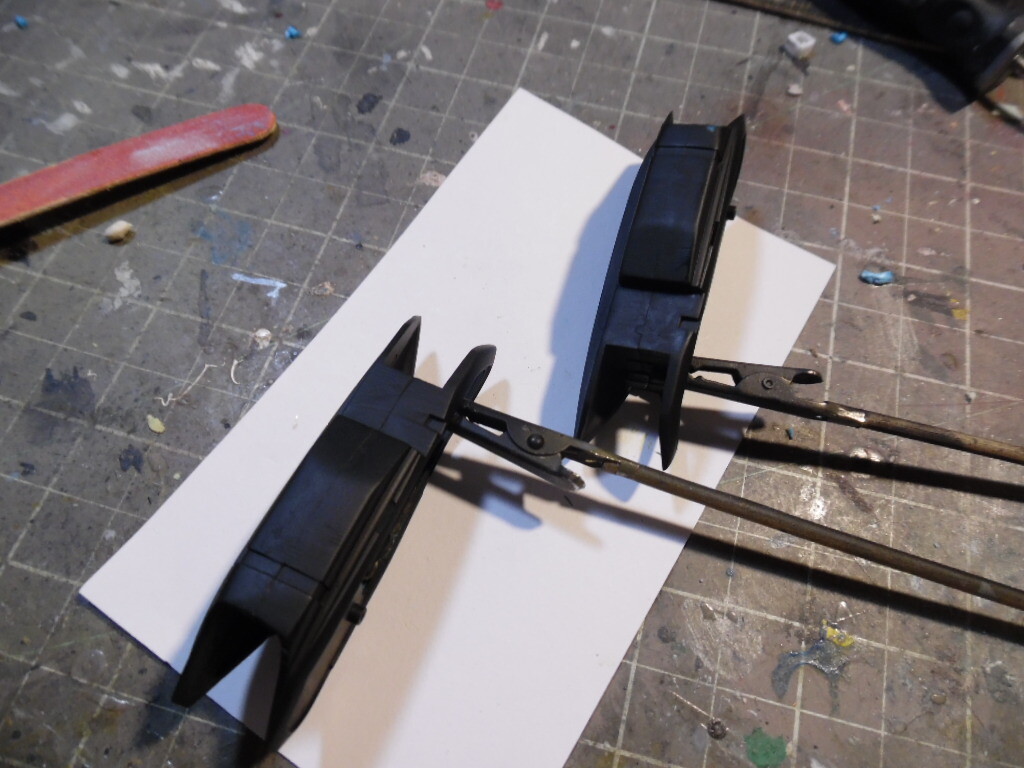
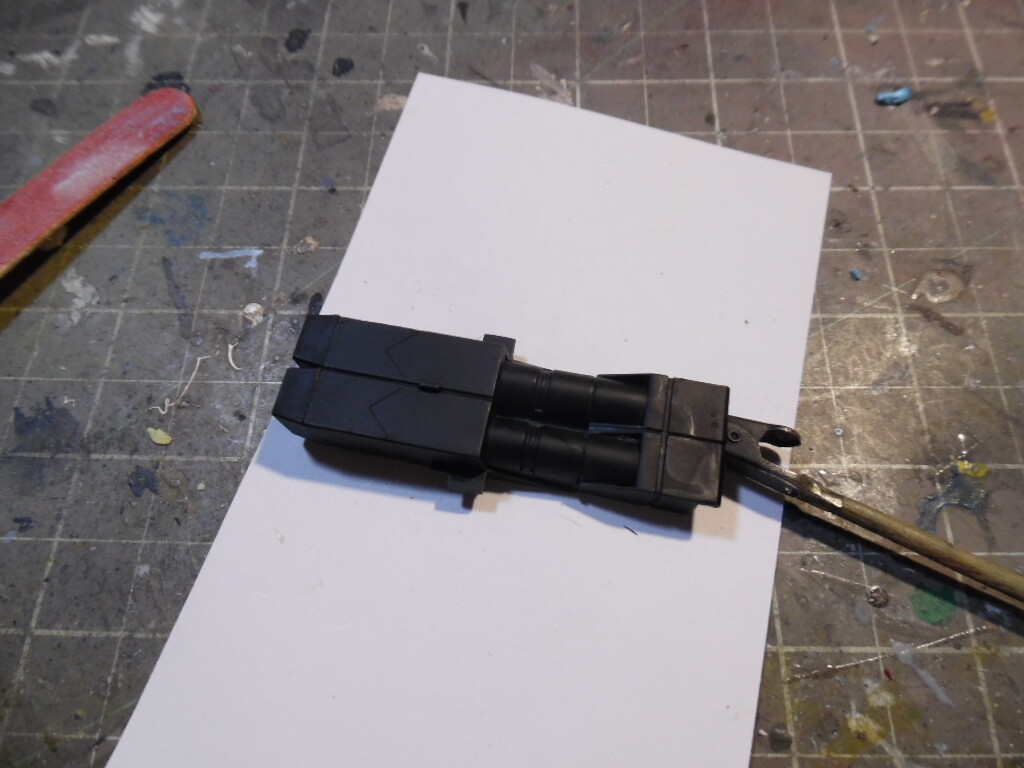
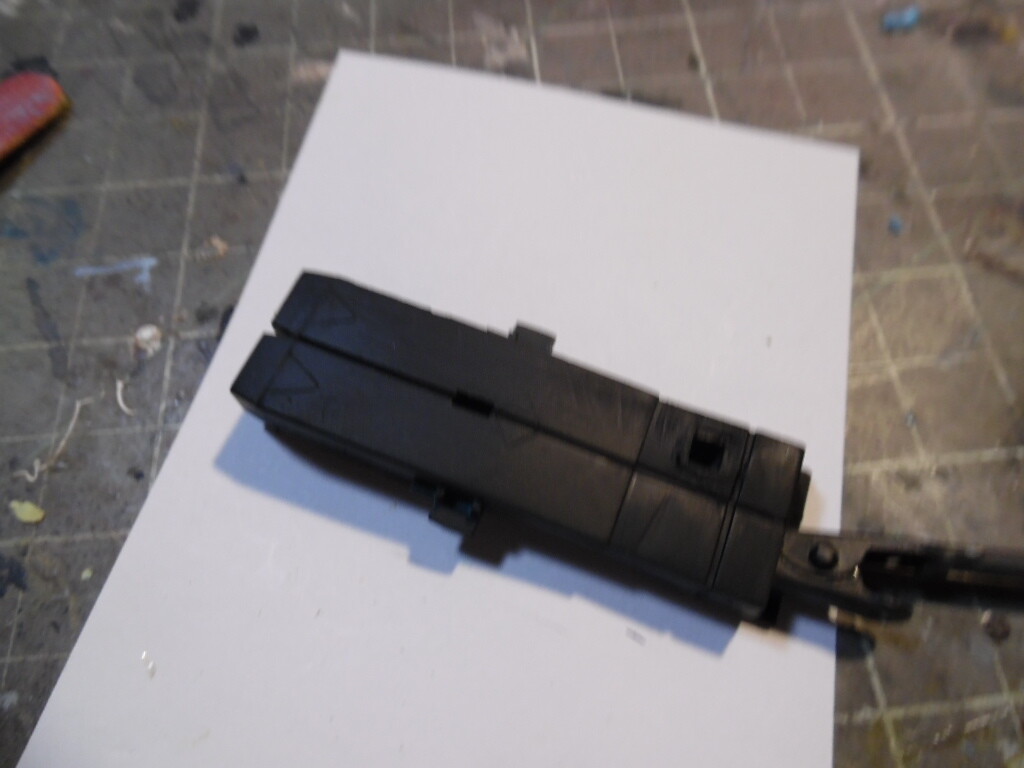
1 Like
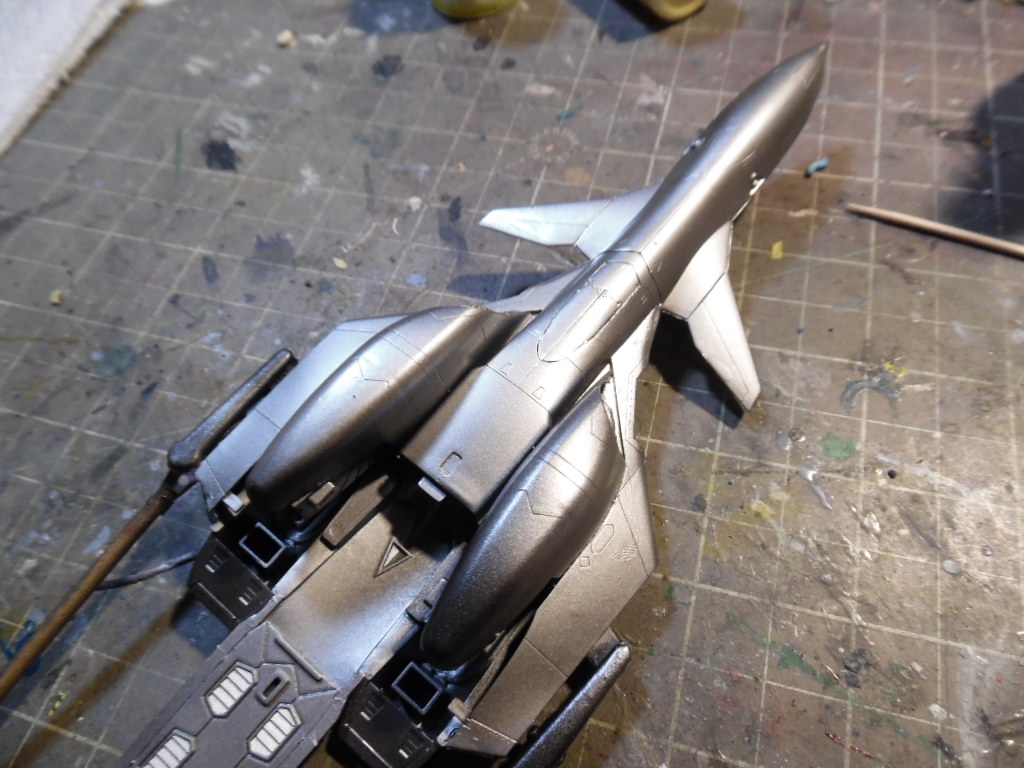
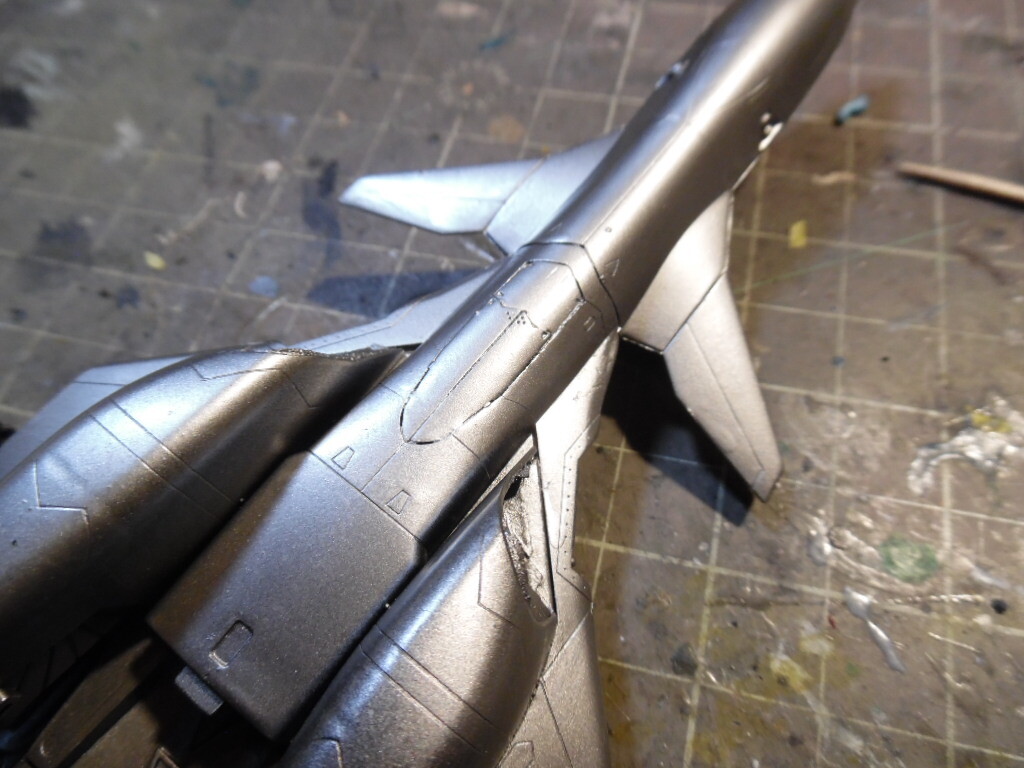
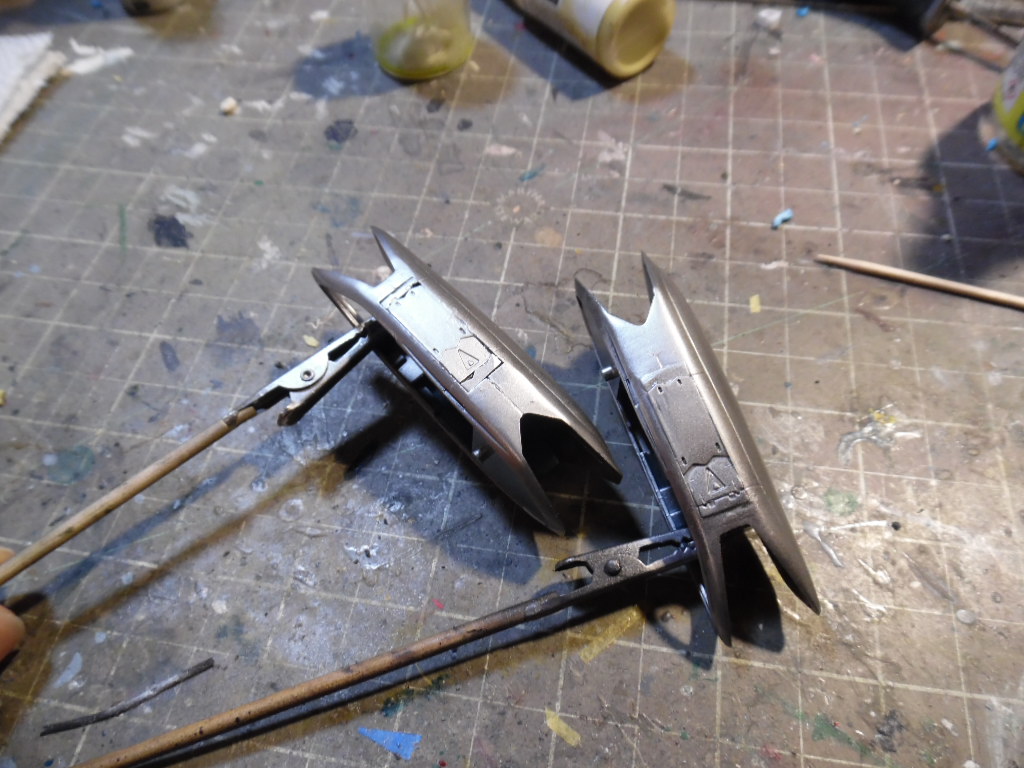
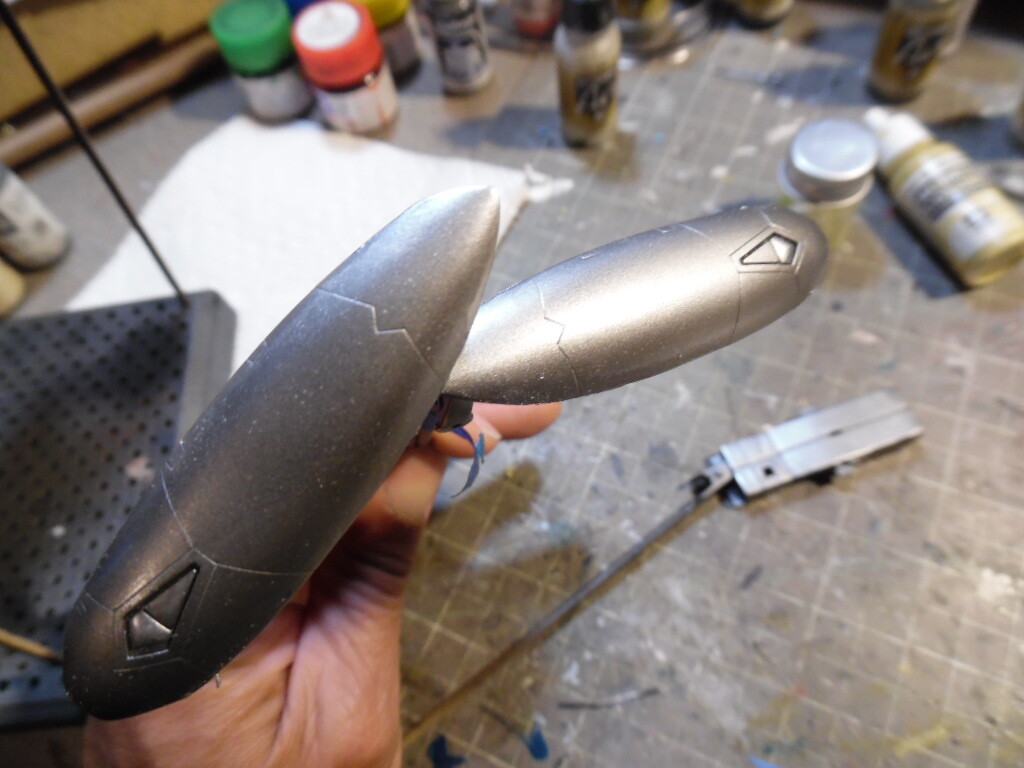
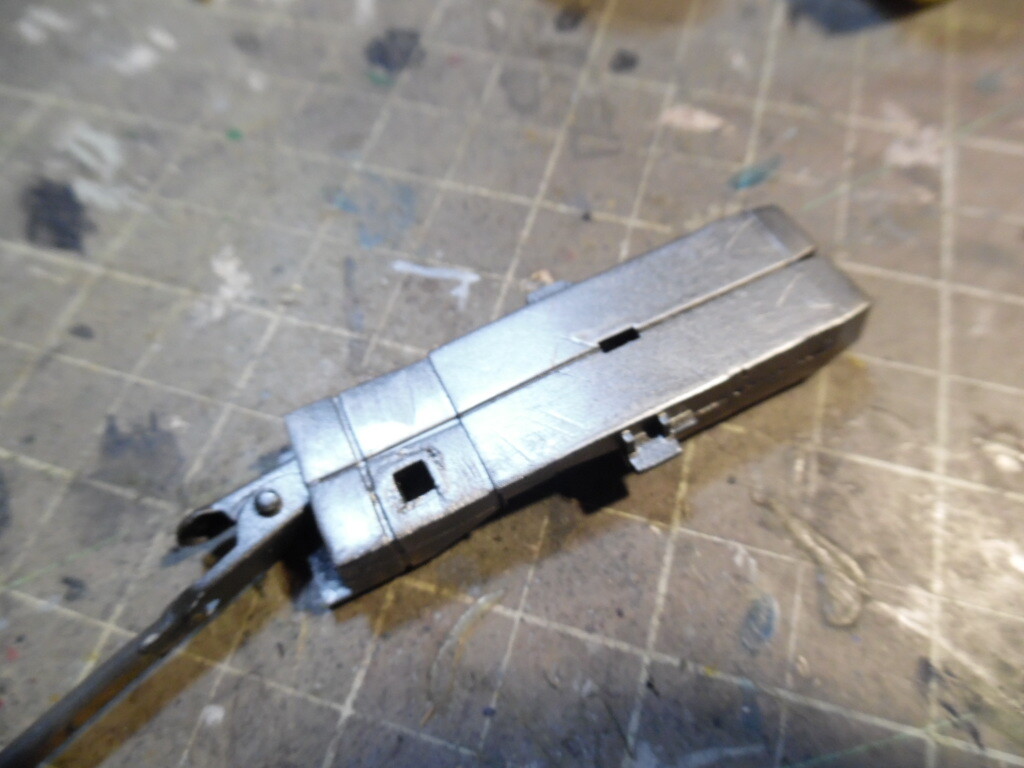
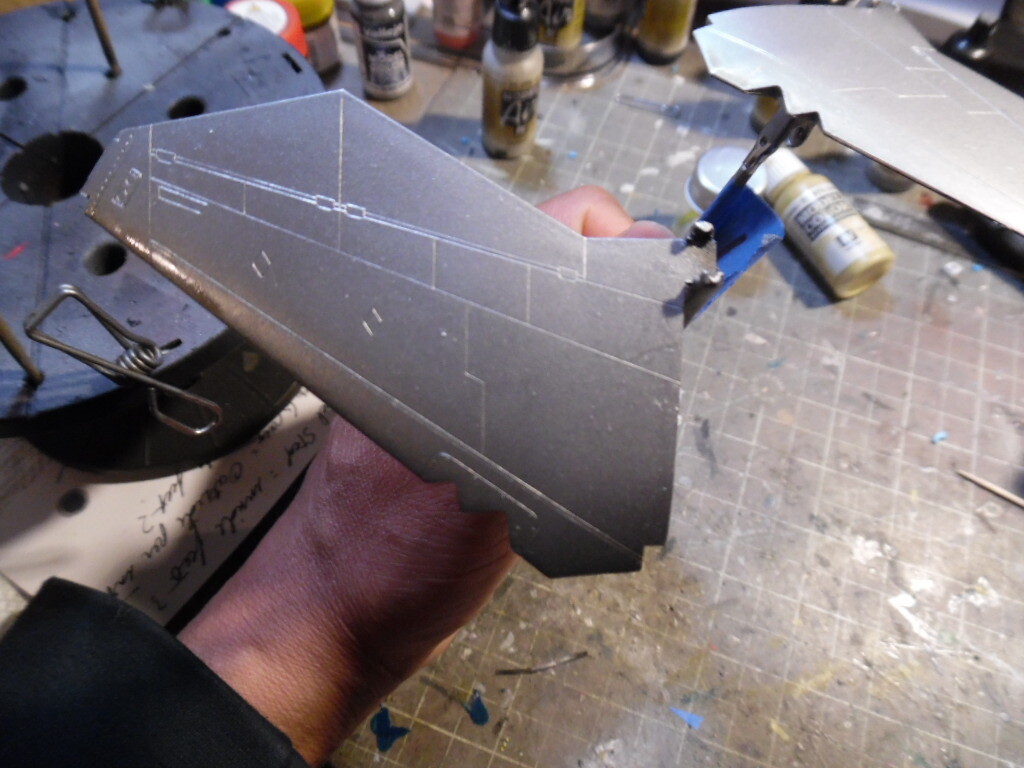
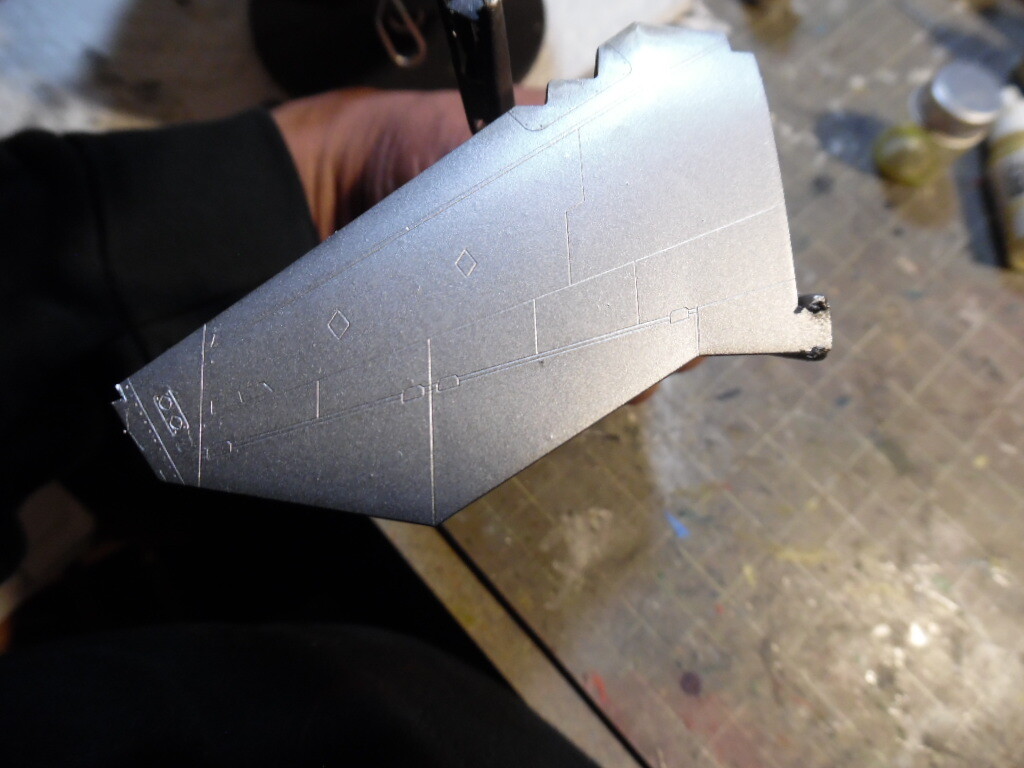
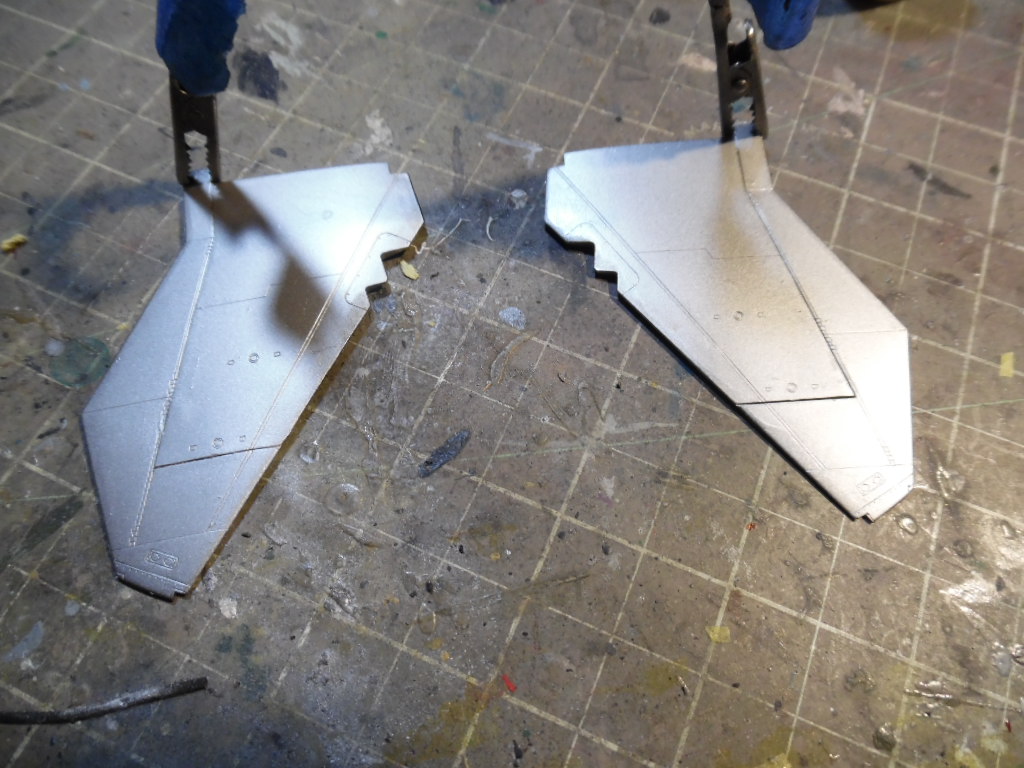
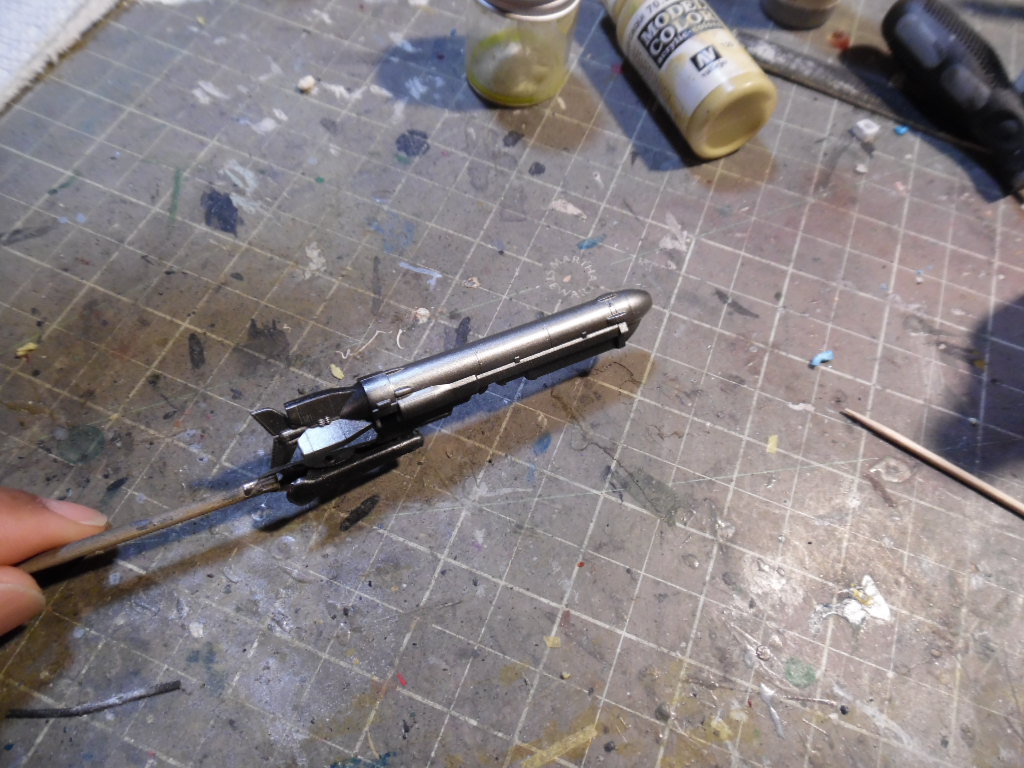
First coat of paint and Future applied. Next step is to spray a mixture of silver and the base color and then some chipping medium to give it a faded look. Then on to the accent colors.
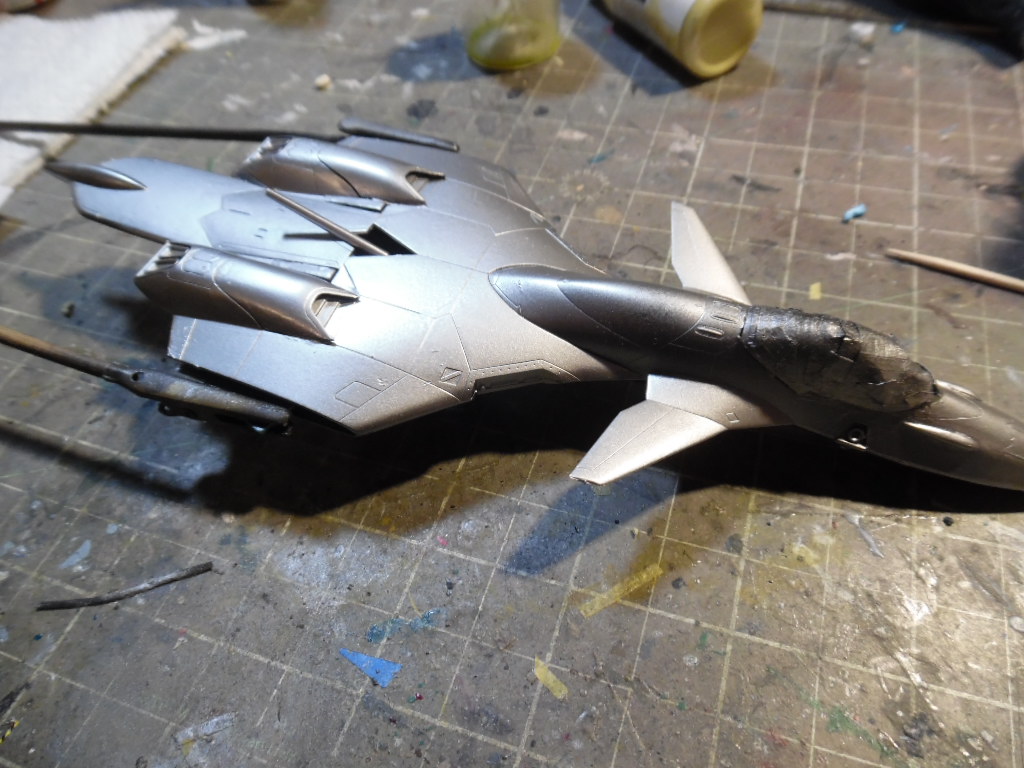
3 Likes
This is progressing quite well !
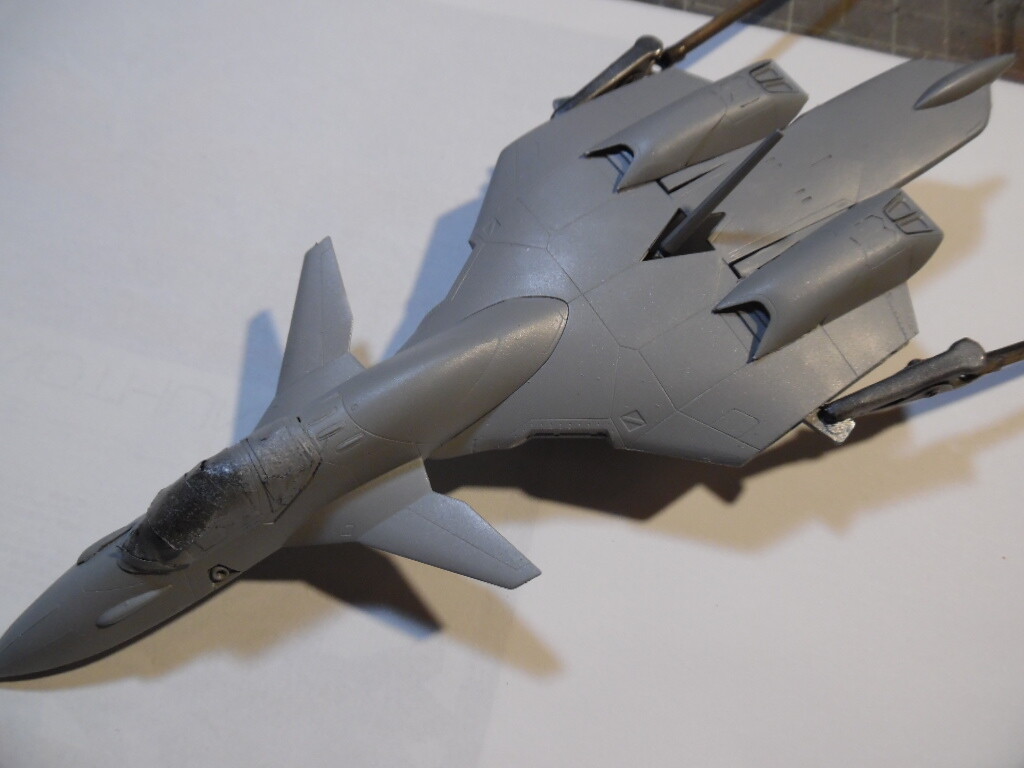
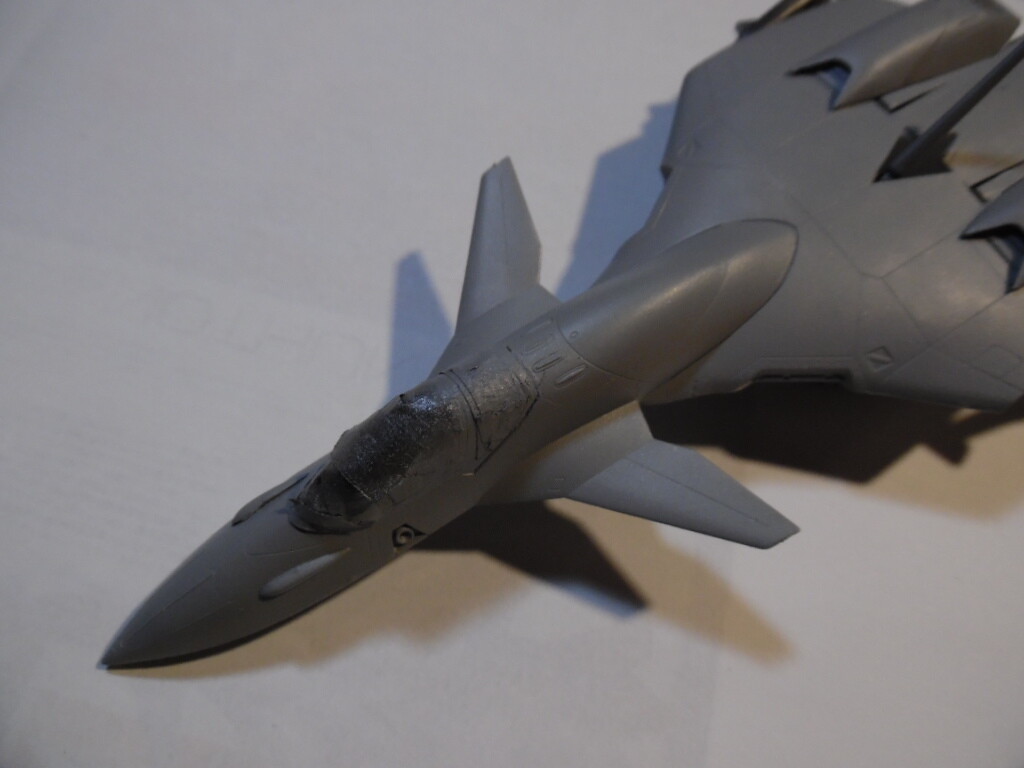
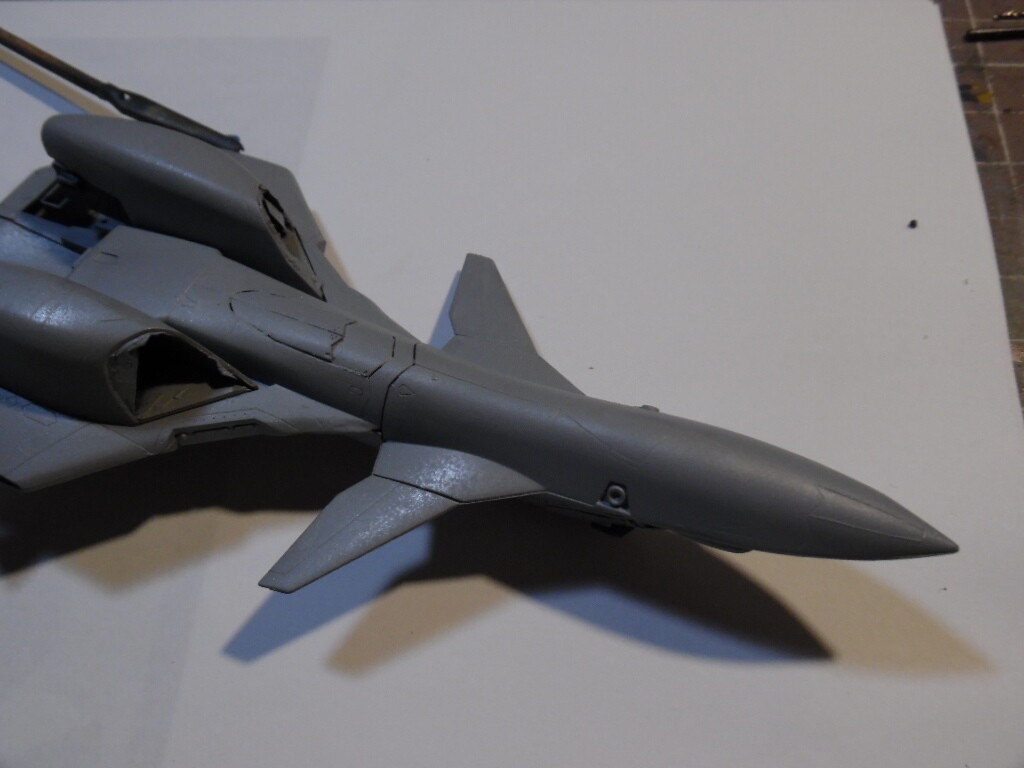
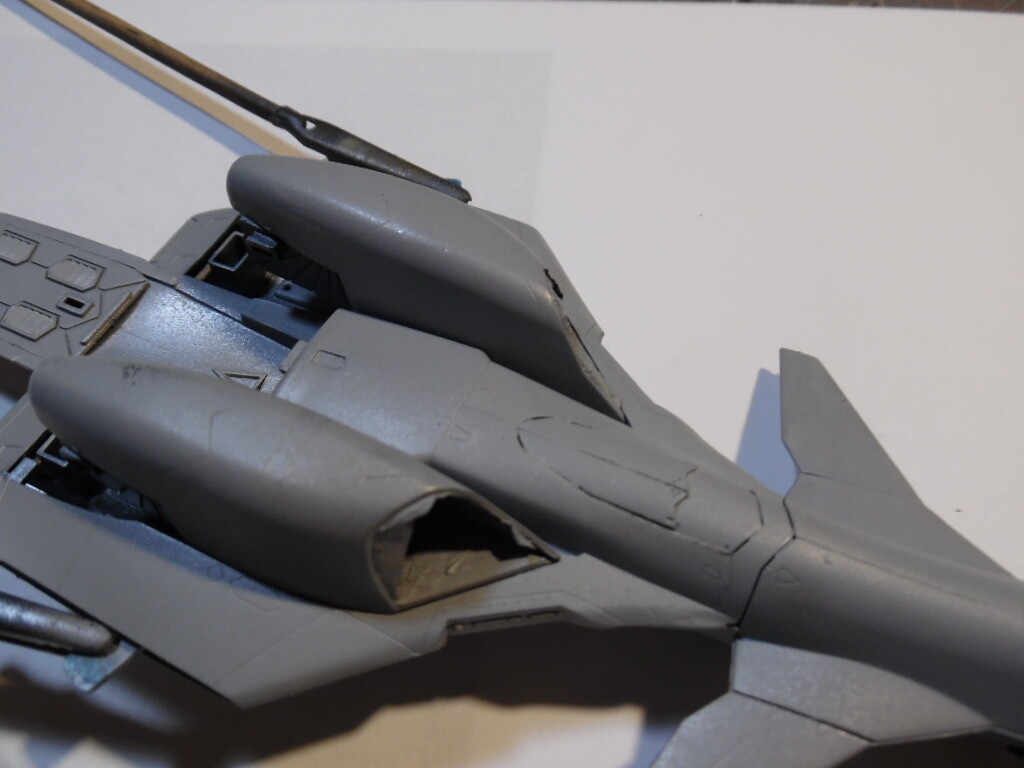
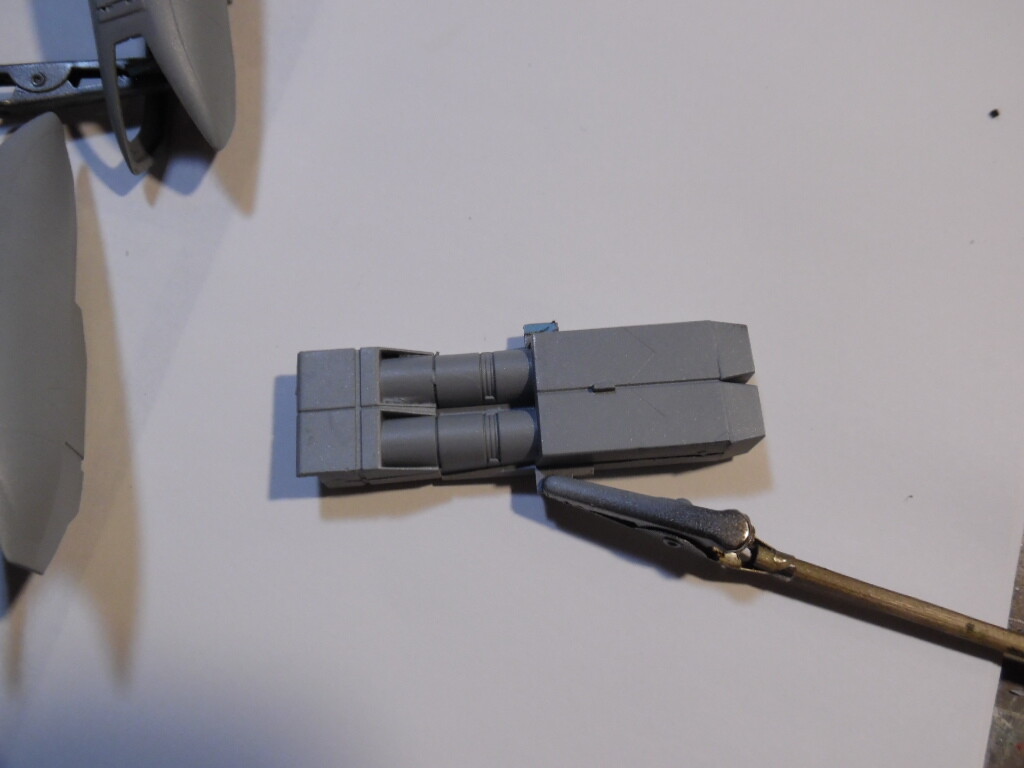
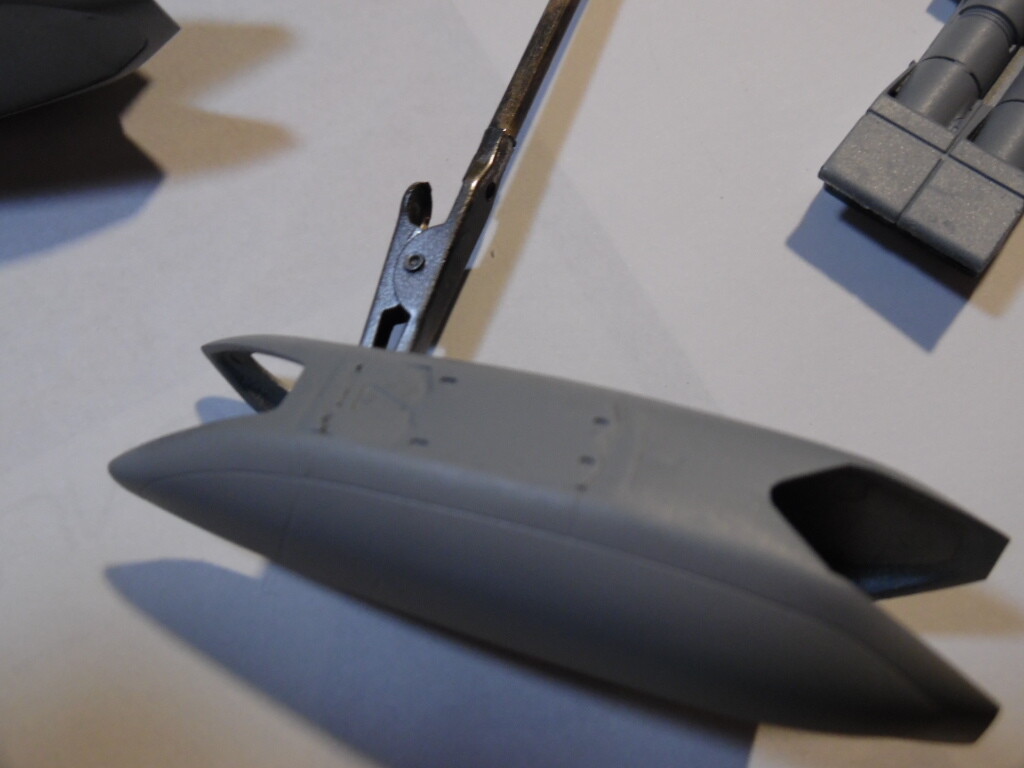
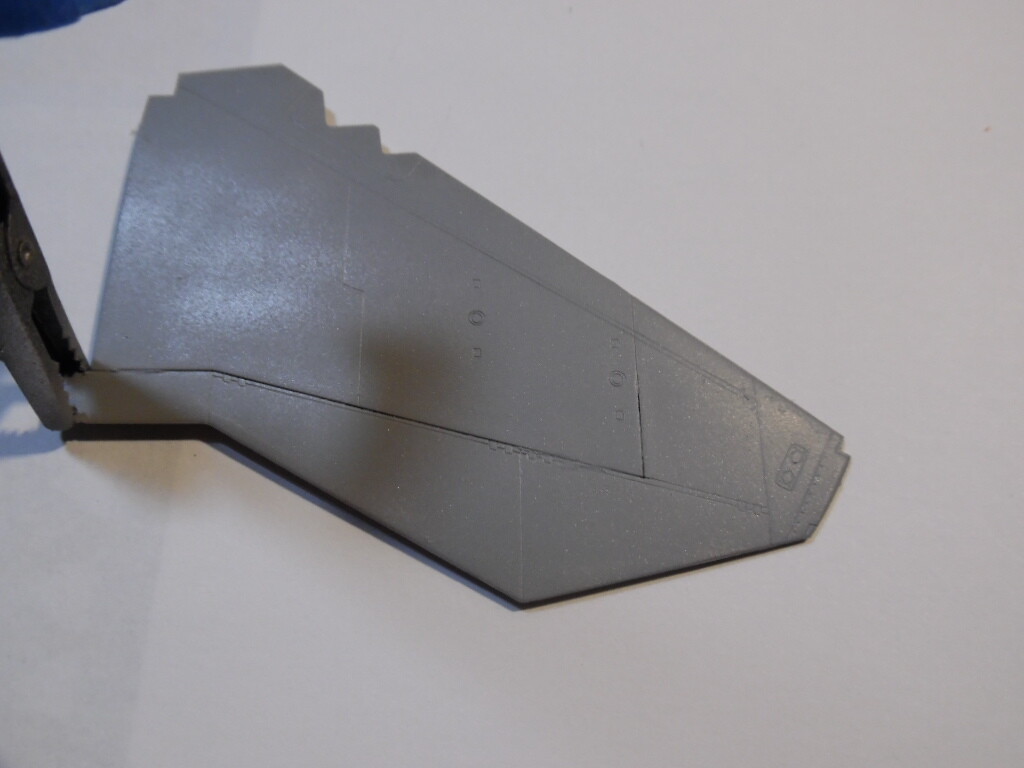
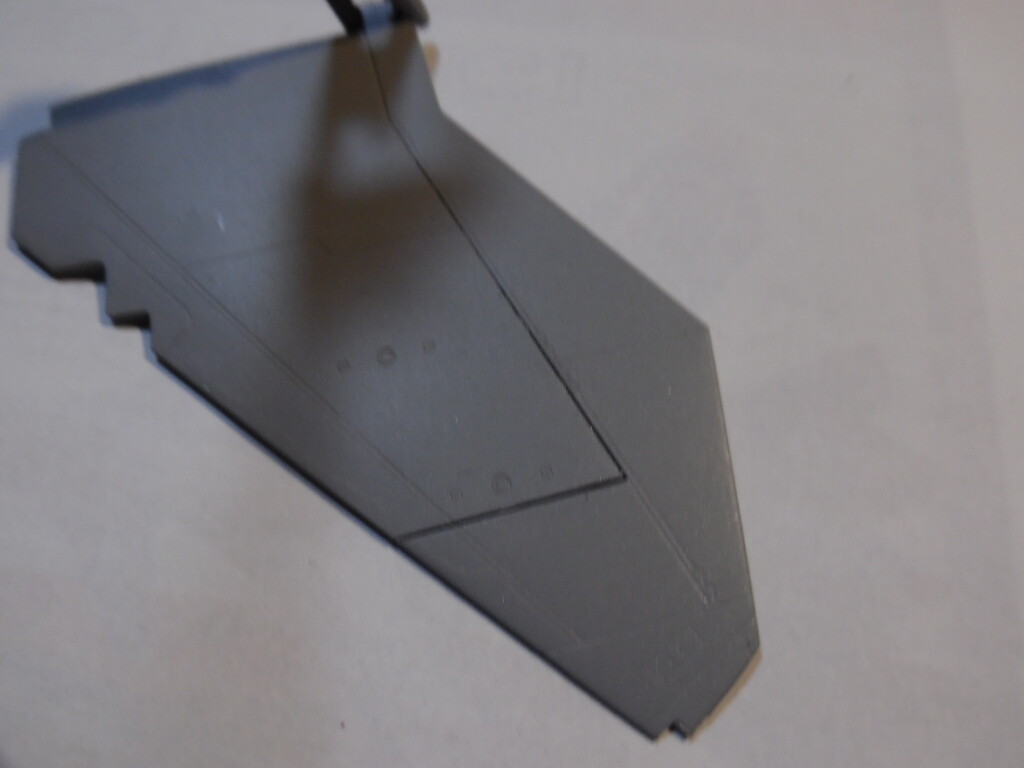
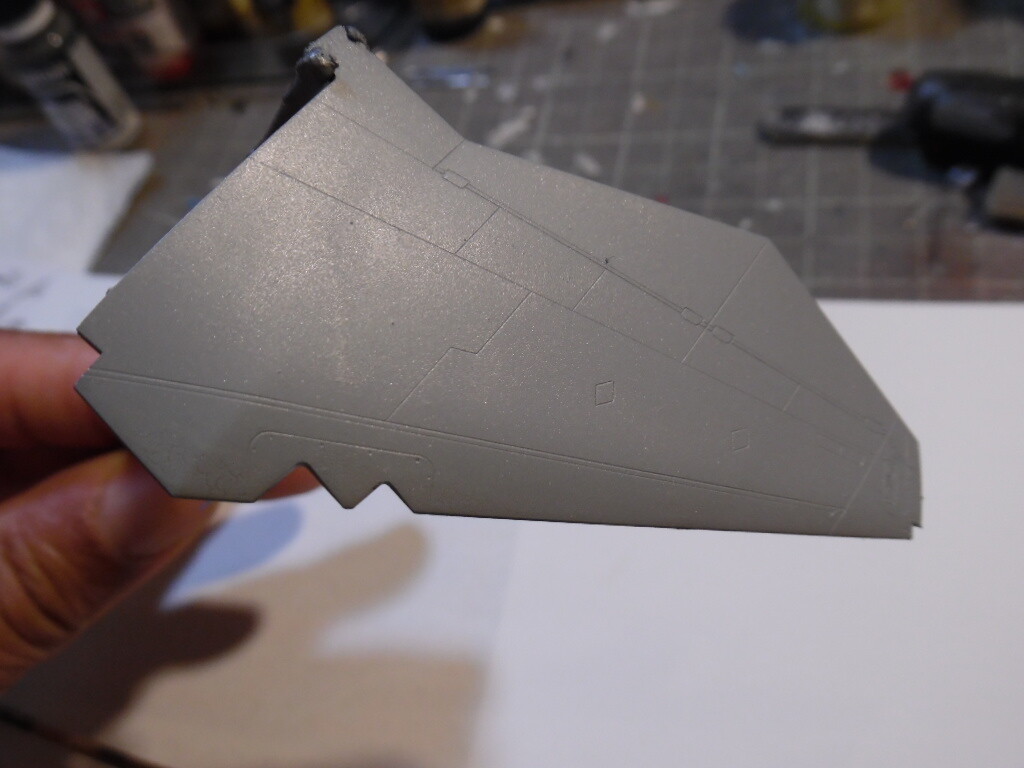
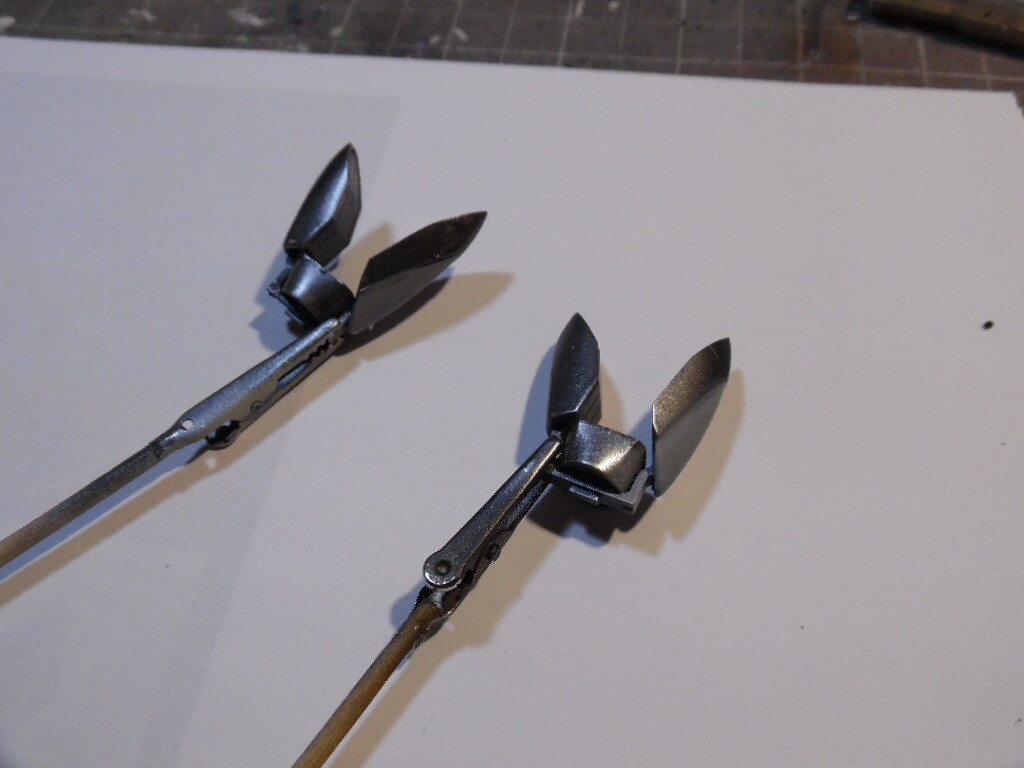
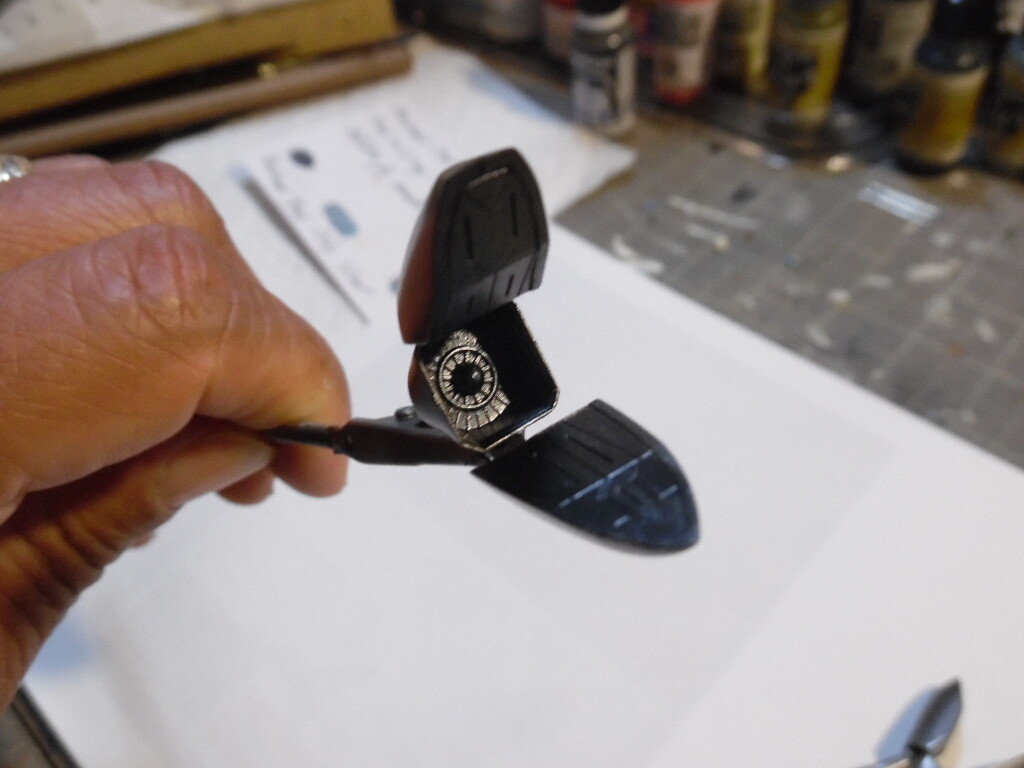
Base color added with a metallic sheen. Found a YT video on how to do the metallic sheen and I figured this was good time to experiment. So far pretty happy with it and I can’t wait to see how it looks with the Gunmetal Gray and Gunmetal Blue accents.
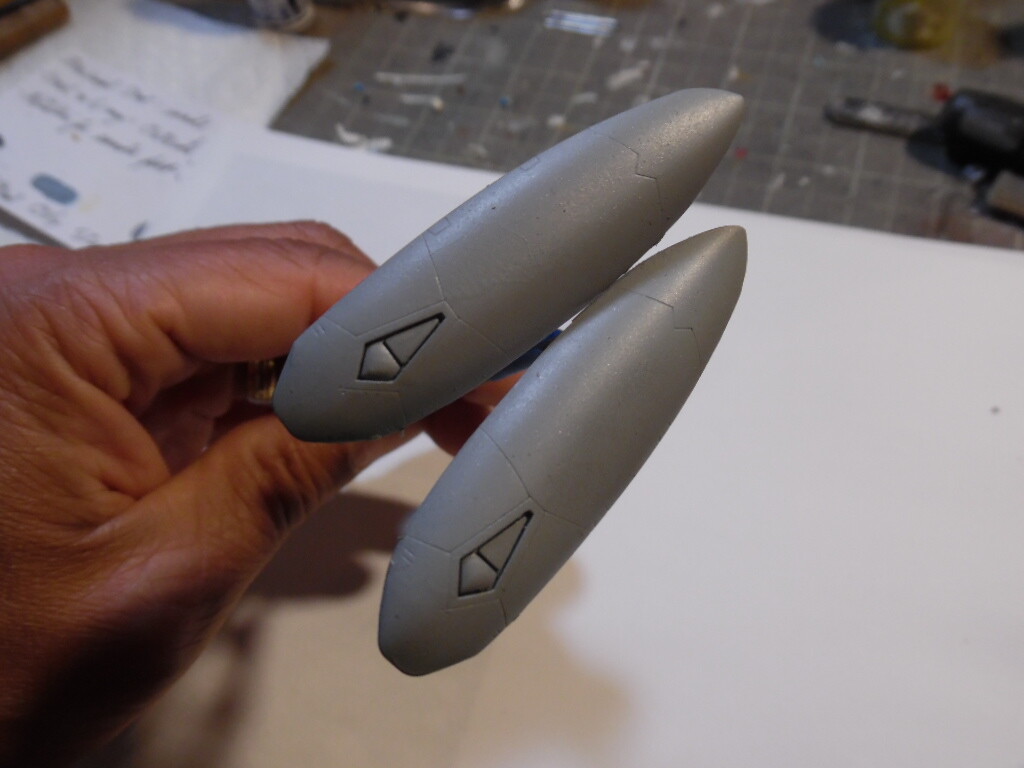
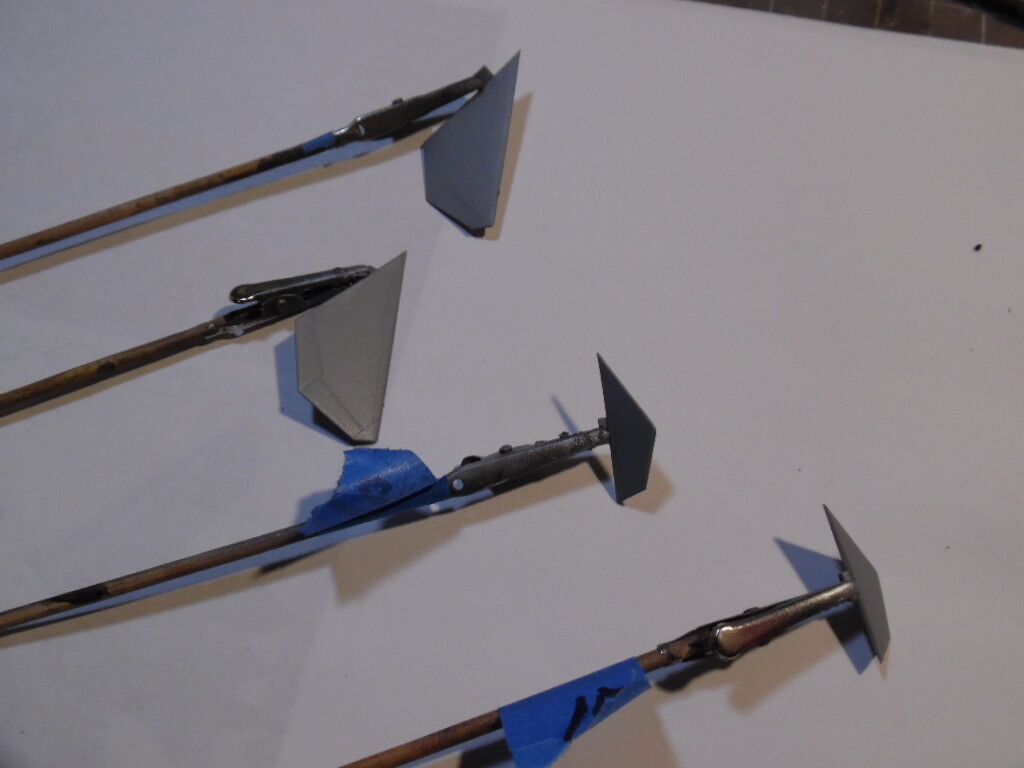
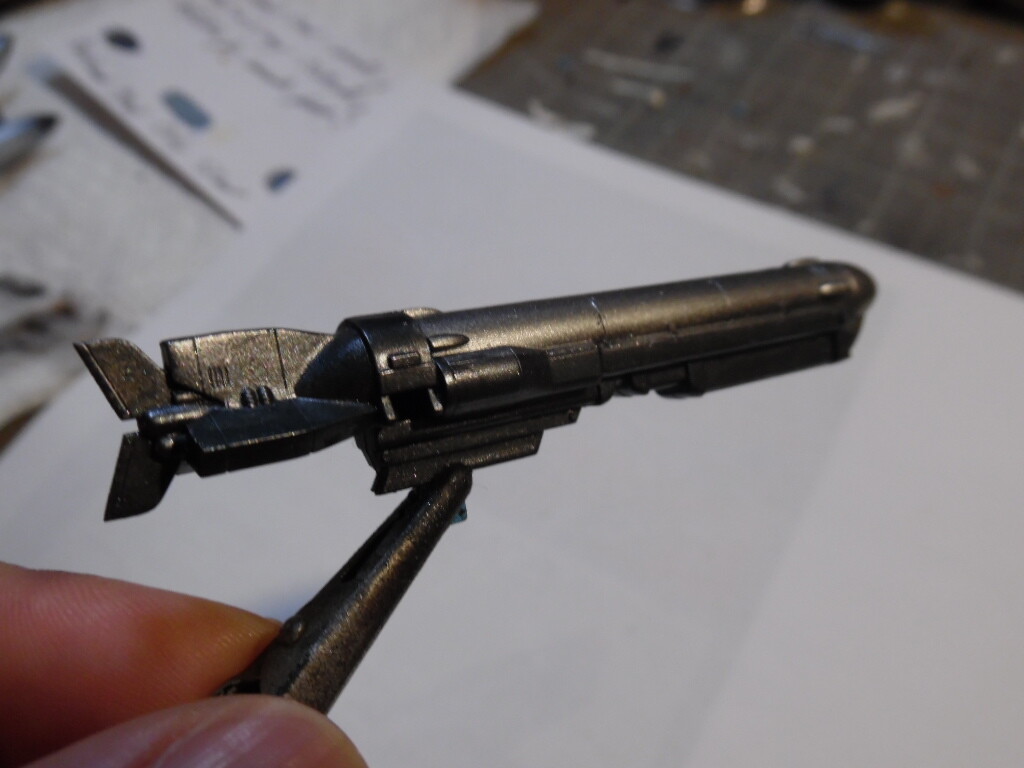
3 Likes
That is such a cool looking ship!
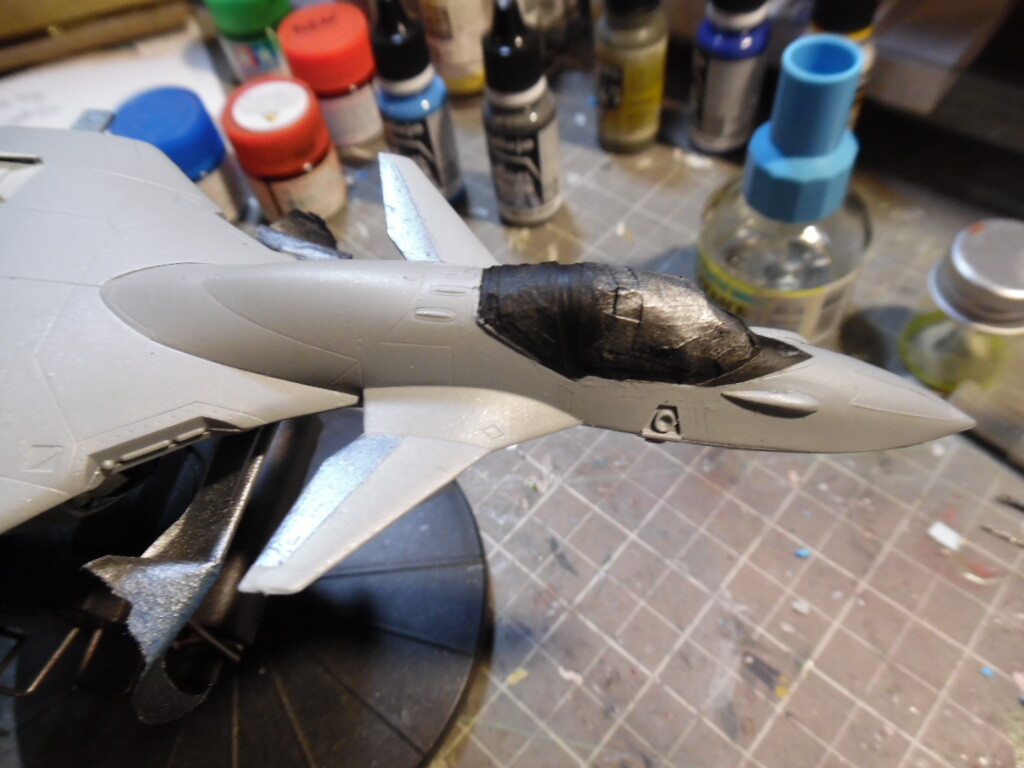
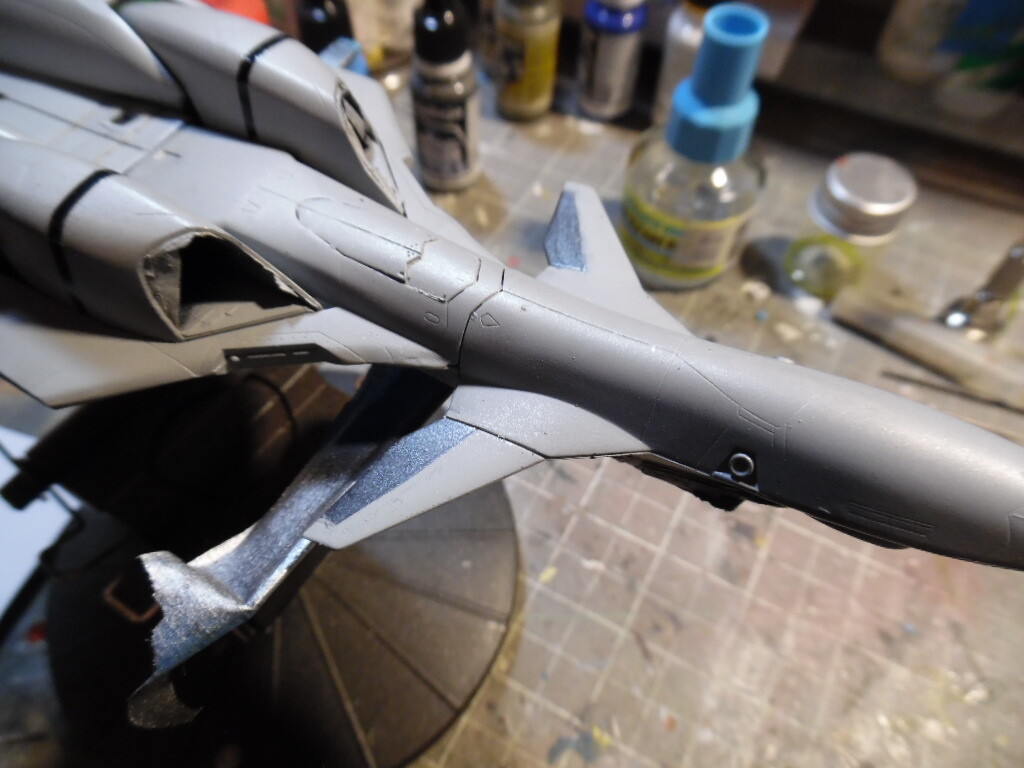
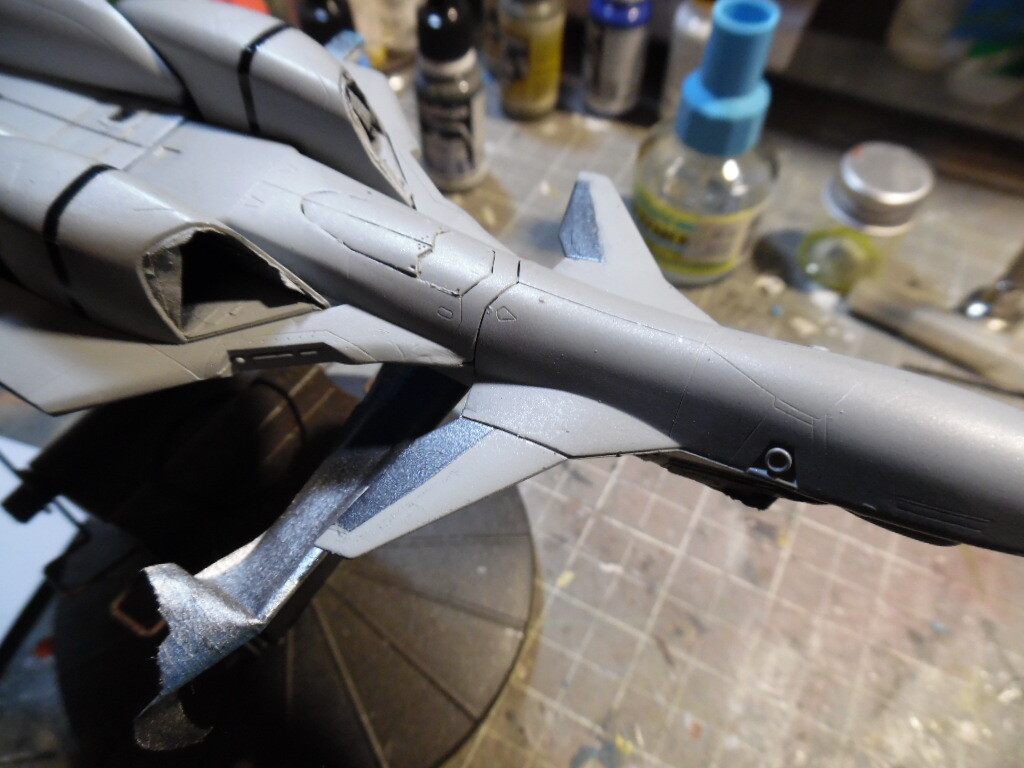
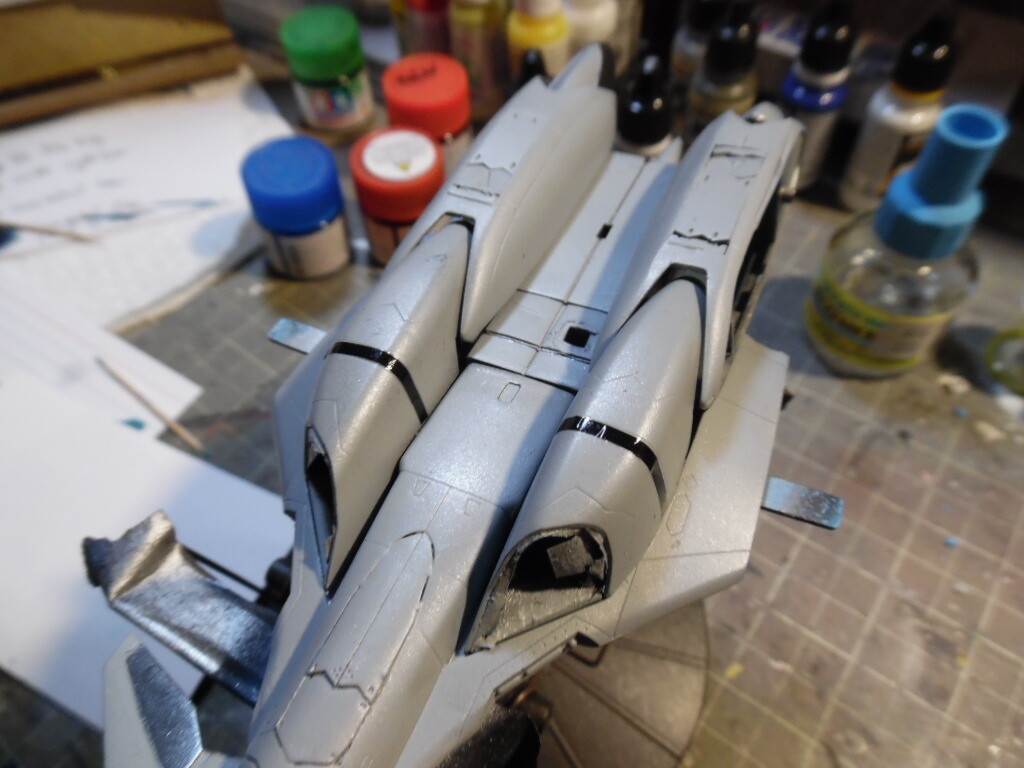
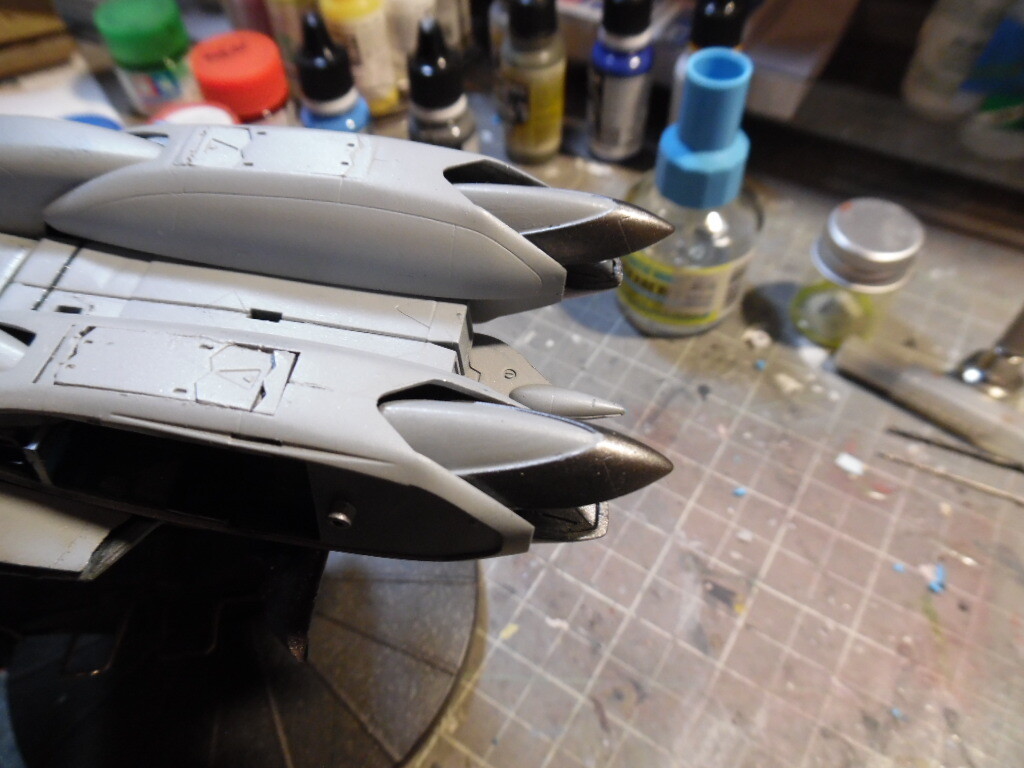
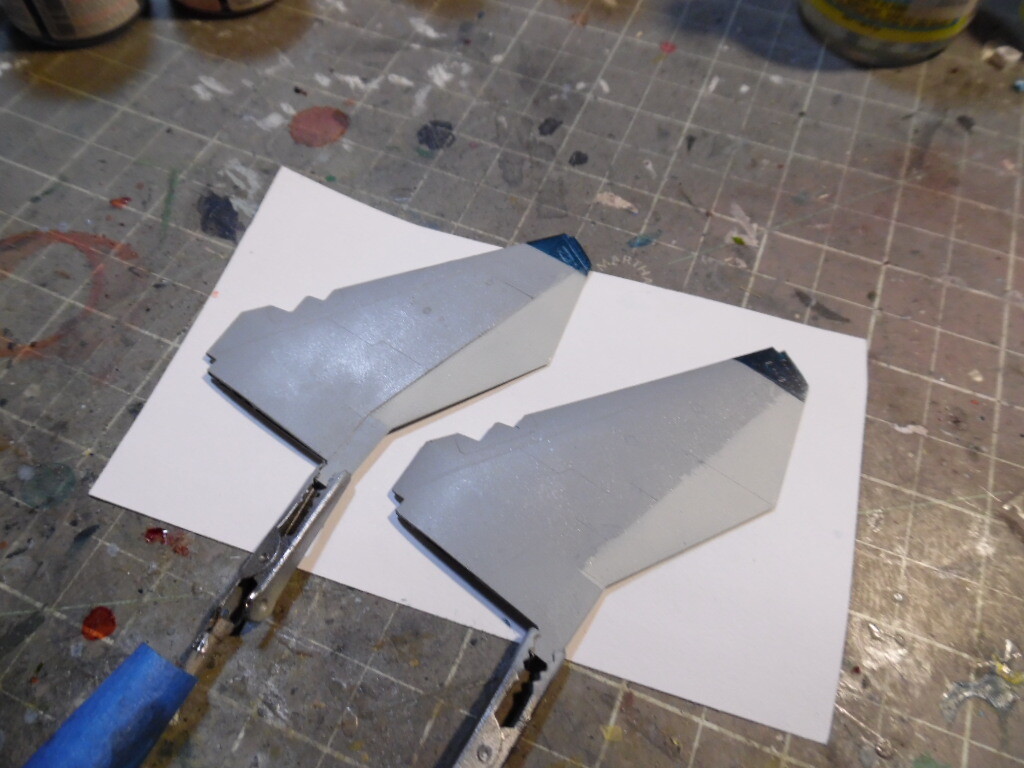
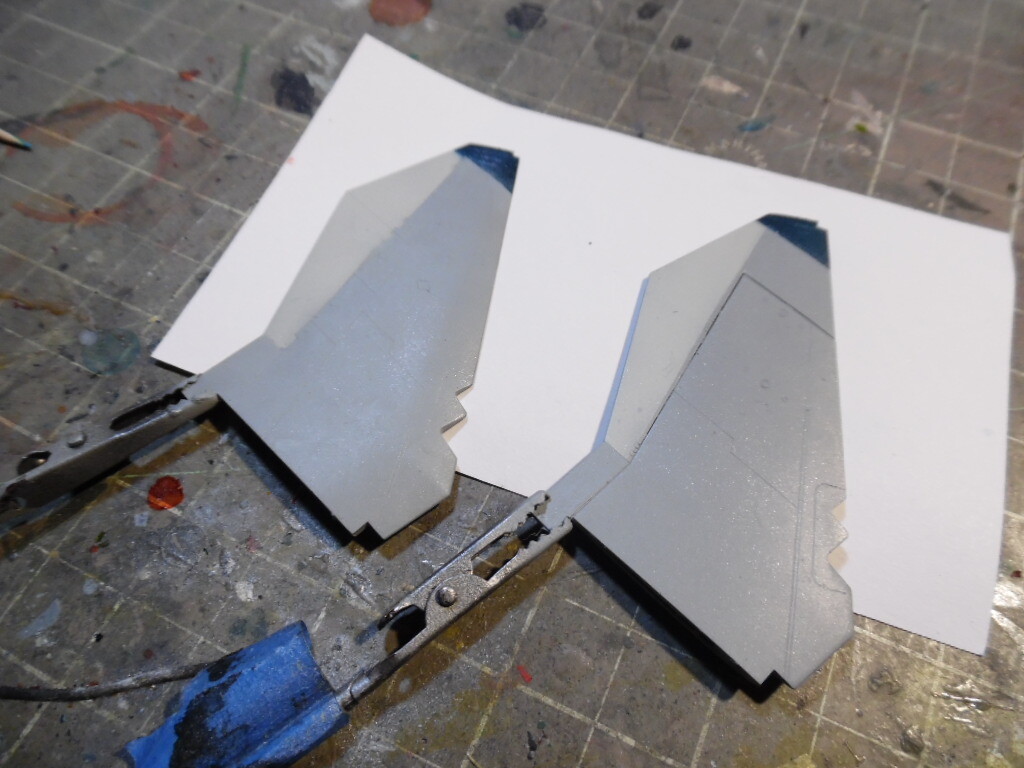
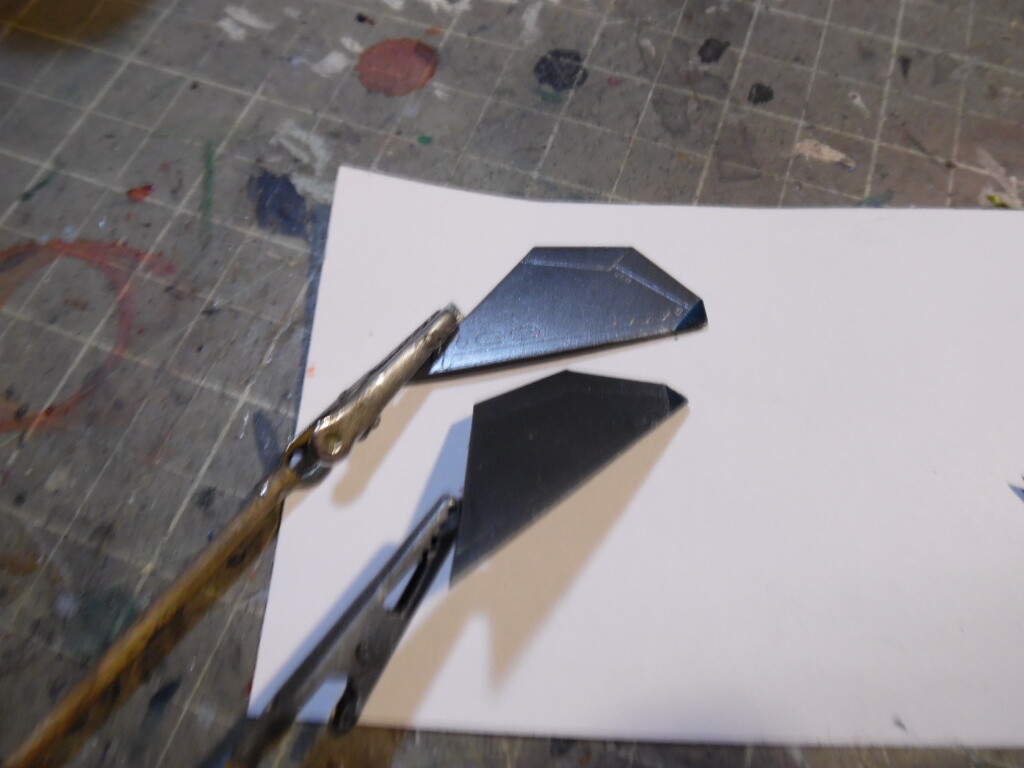
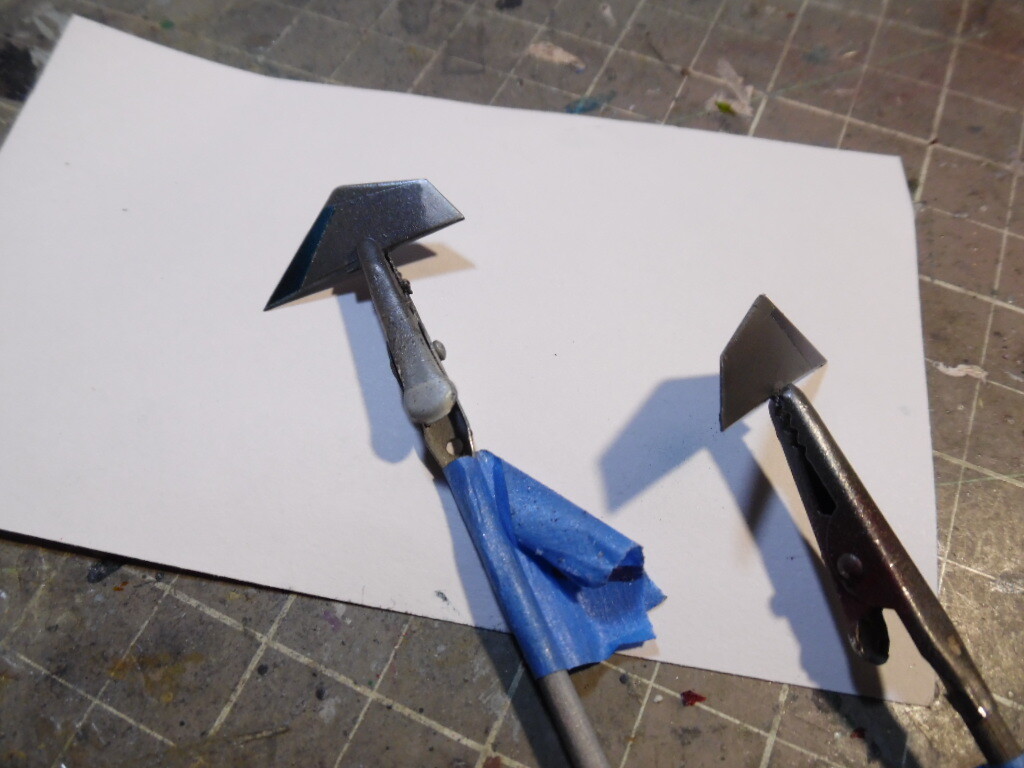
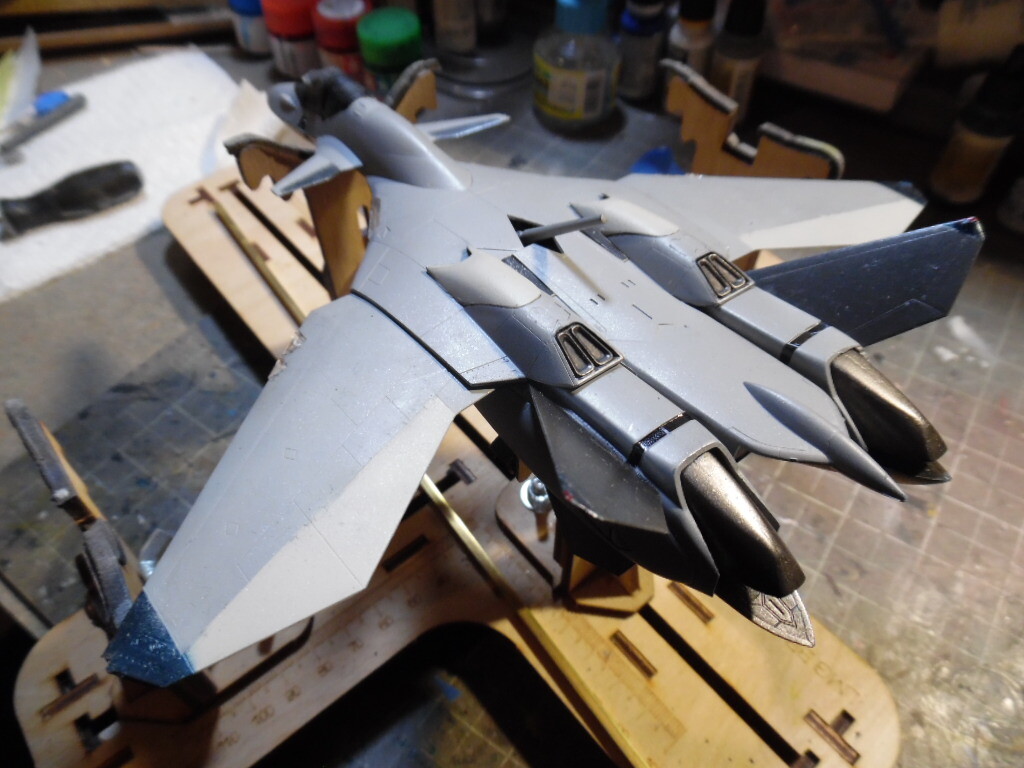
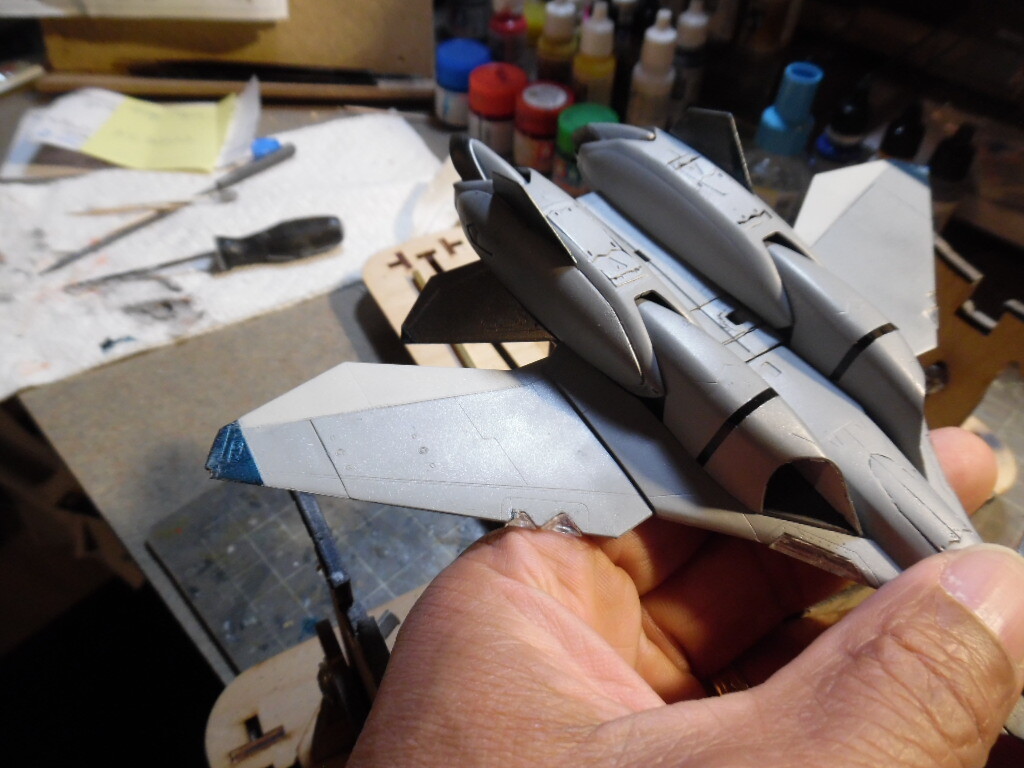
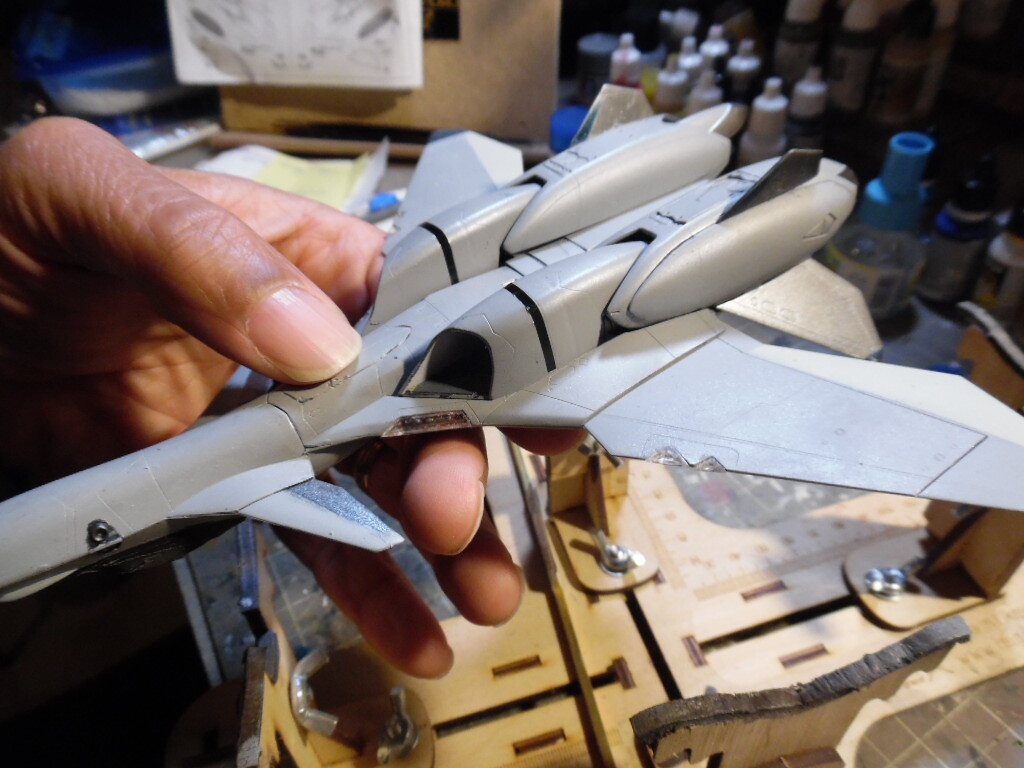
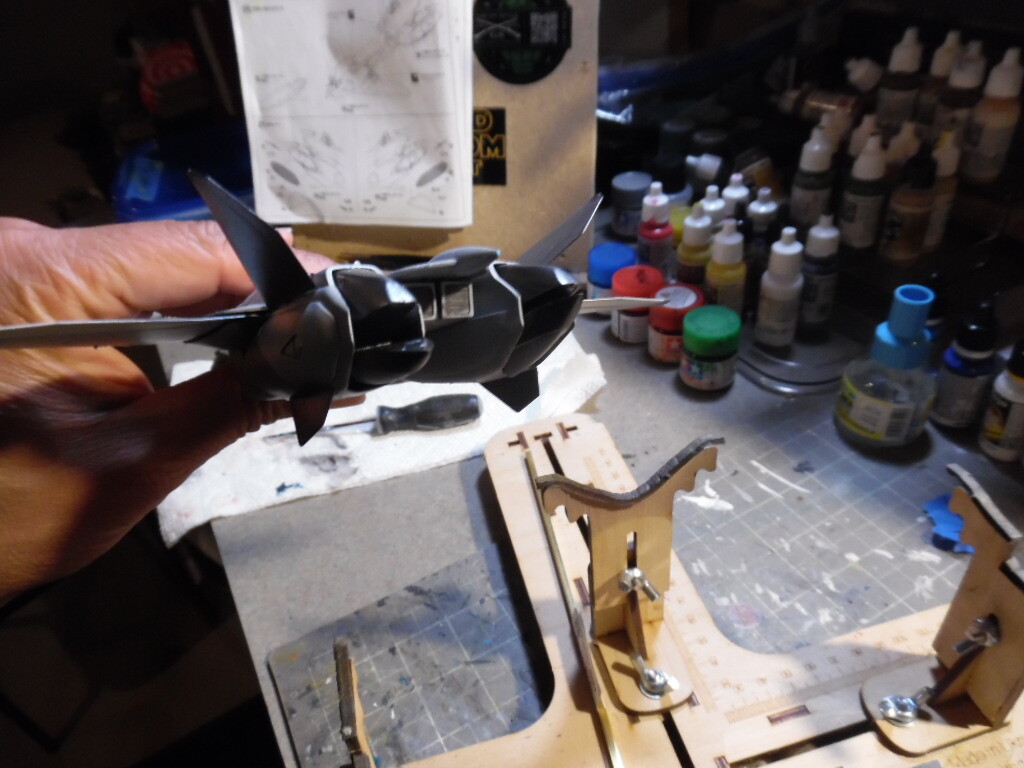
Just about done with the painting, only need to do some touch ups and then it is off to the decaling phase. Actually happy with how the accent colors came out, even though the Gunmetal Blue can get dark really quick with too many layers. So here we are as of last night, so enjoy everyone.
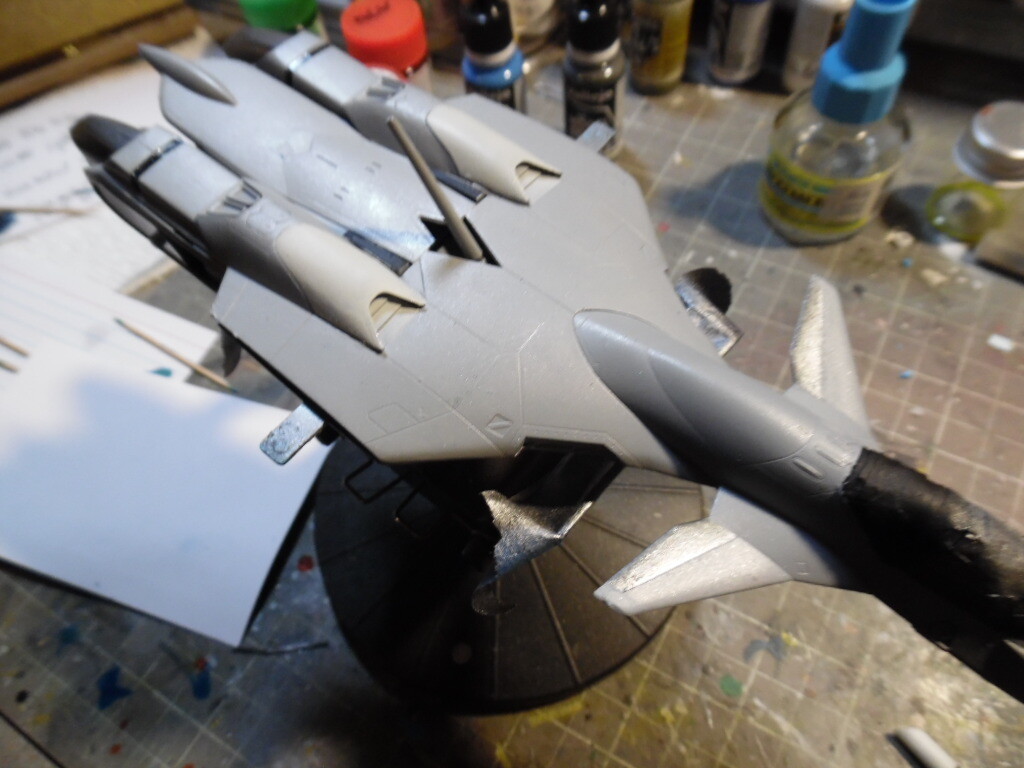

3 Likes
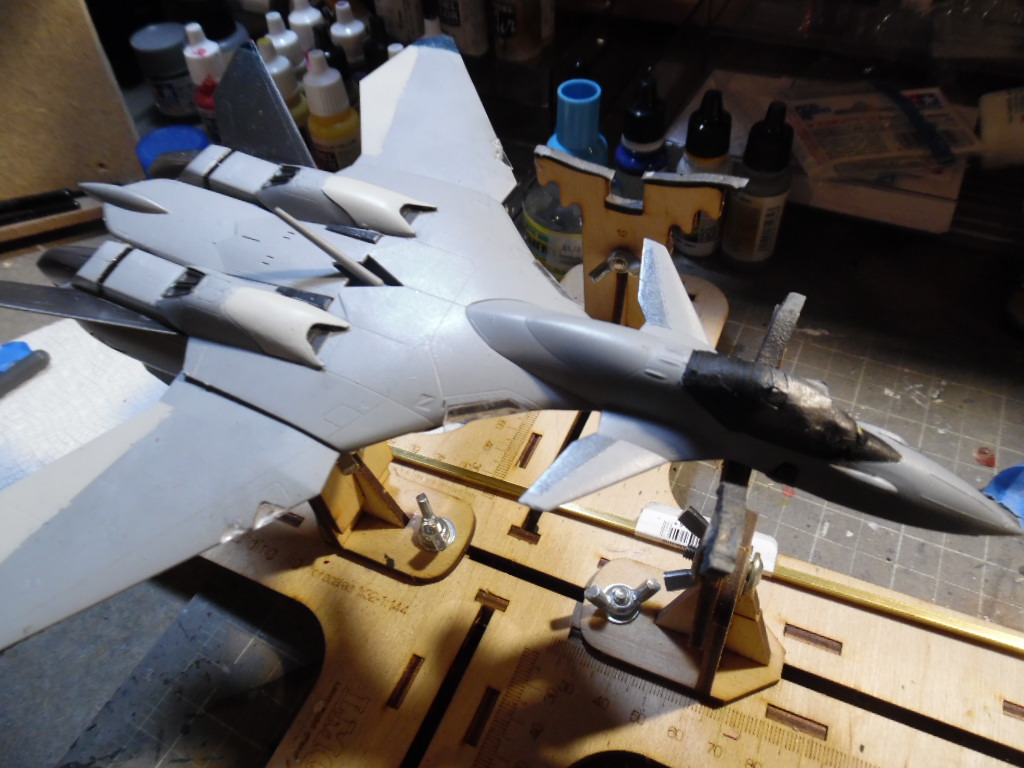
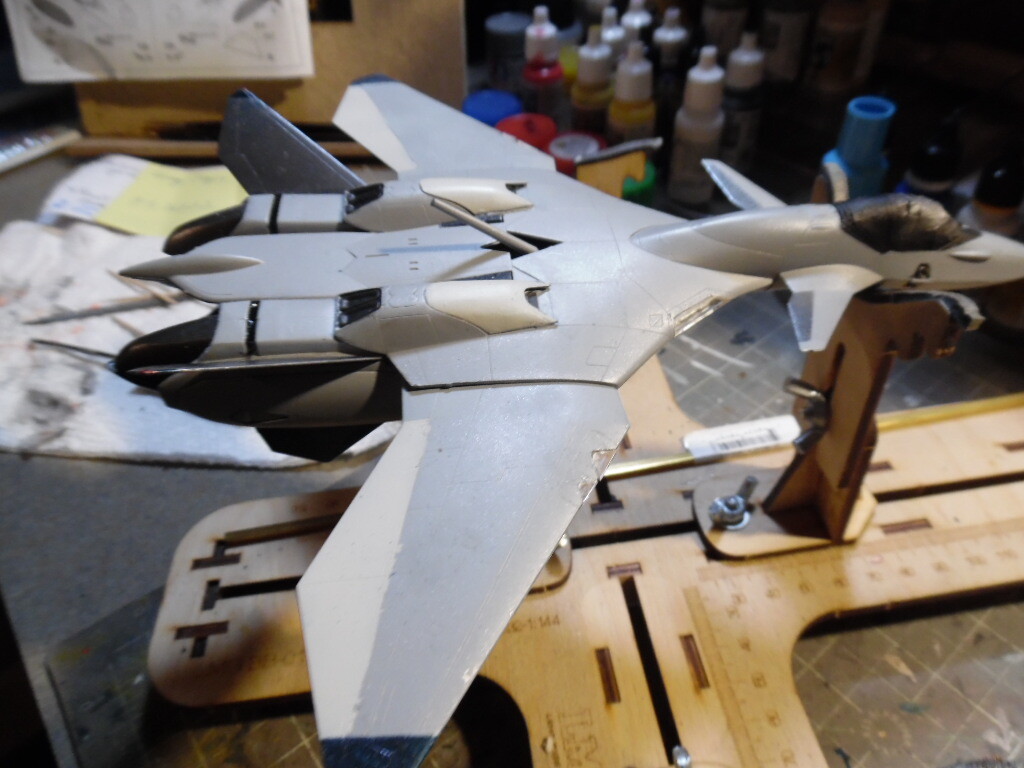
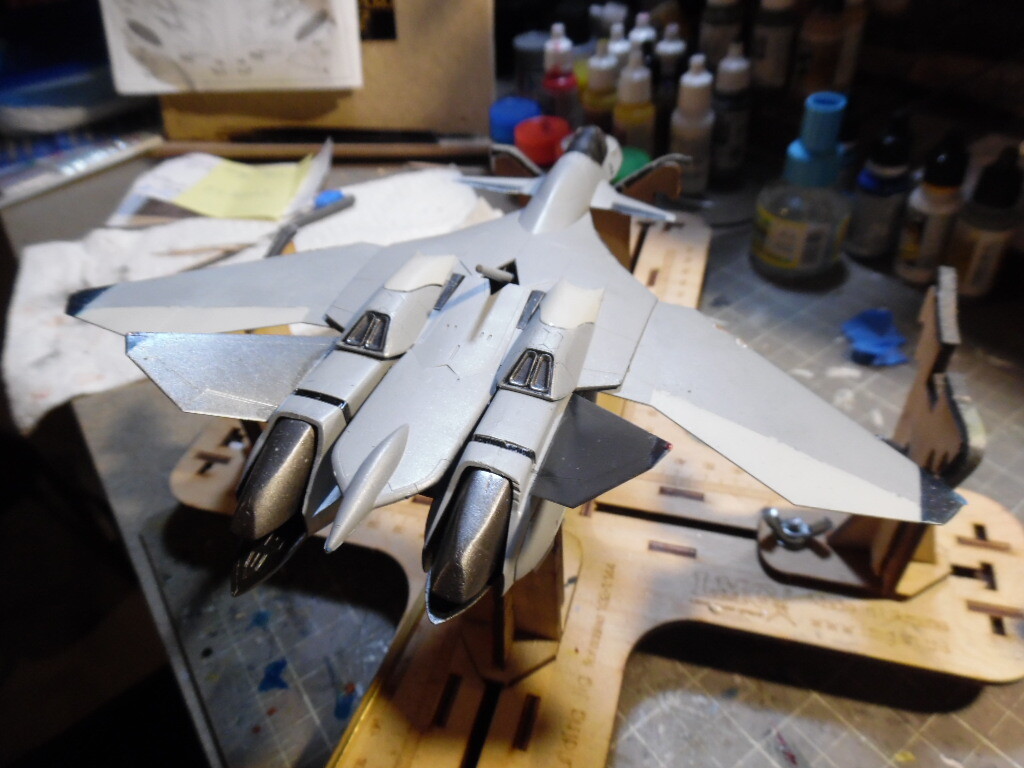
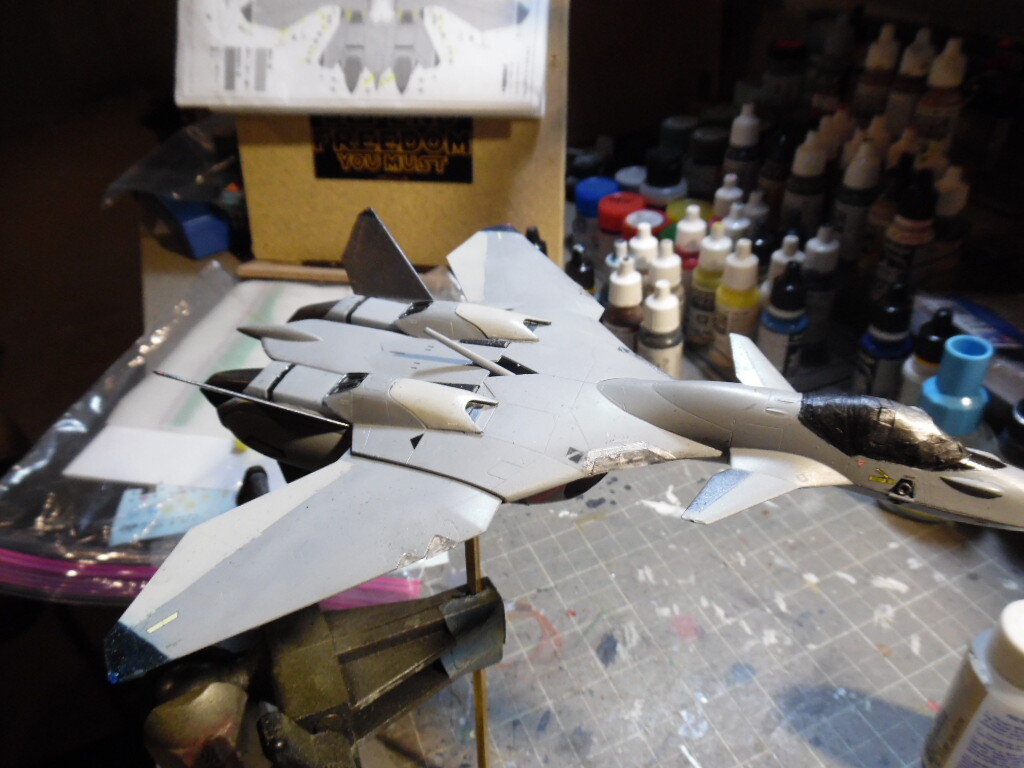
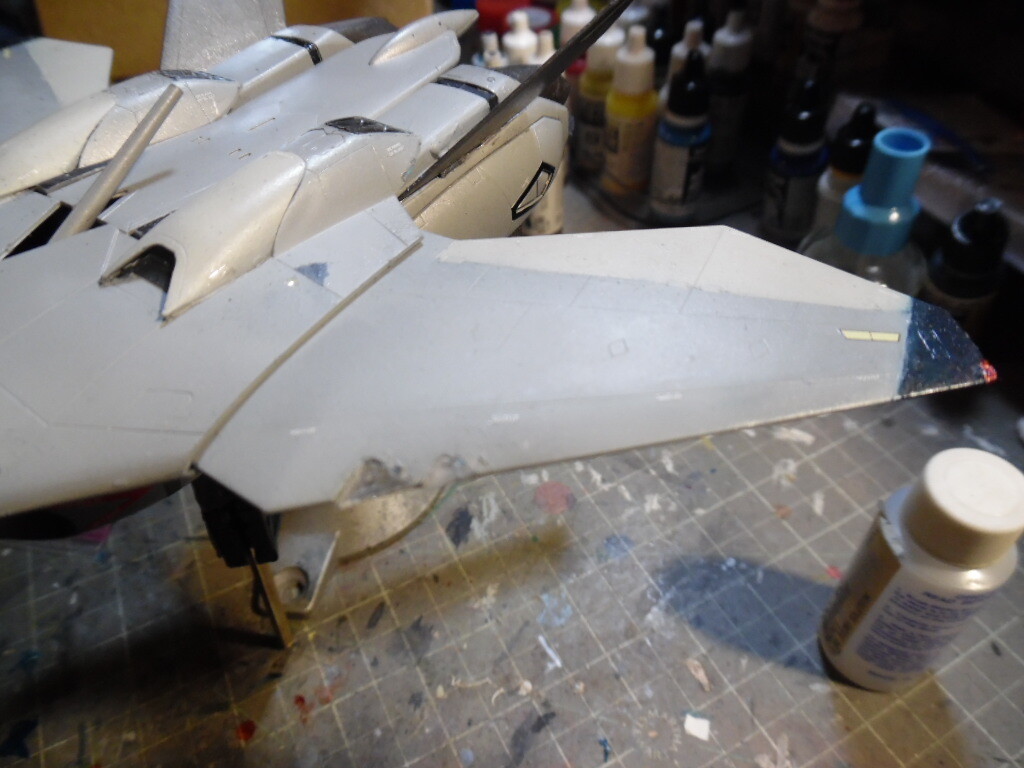
Just about done with the painting phase of this build. Ran into an issue where the wingtip light broke off and got lost in the ether. So I am fashioning a replacement with and will touch up the paint on the wingtips in a bit. Overall I am happy with the look, and after a final look over, I will address any gaps with the clear plastic with white glue and prepare for decals.
3 Likes
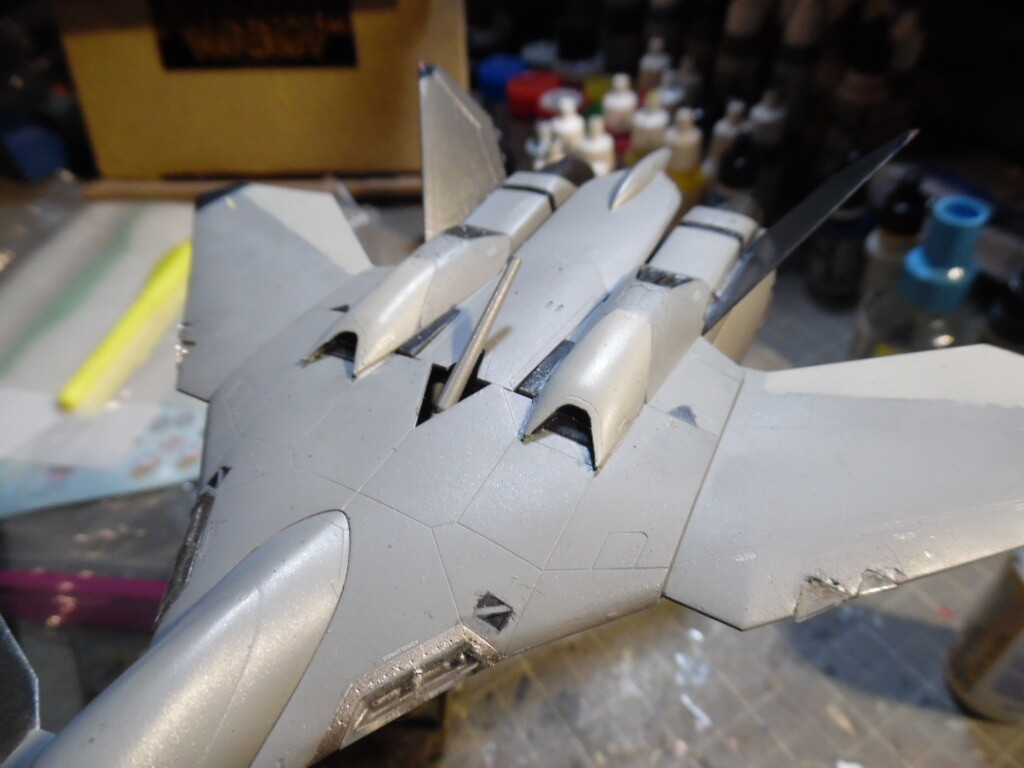
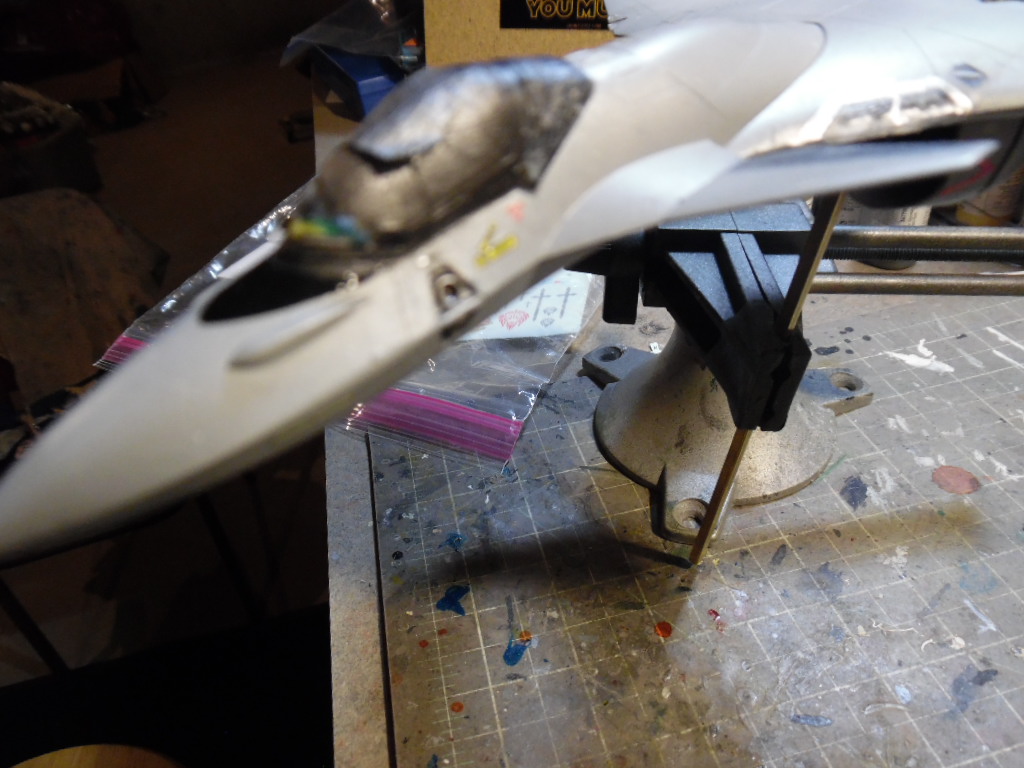
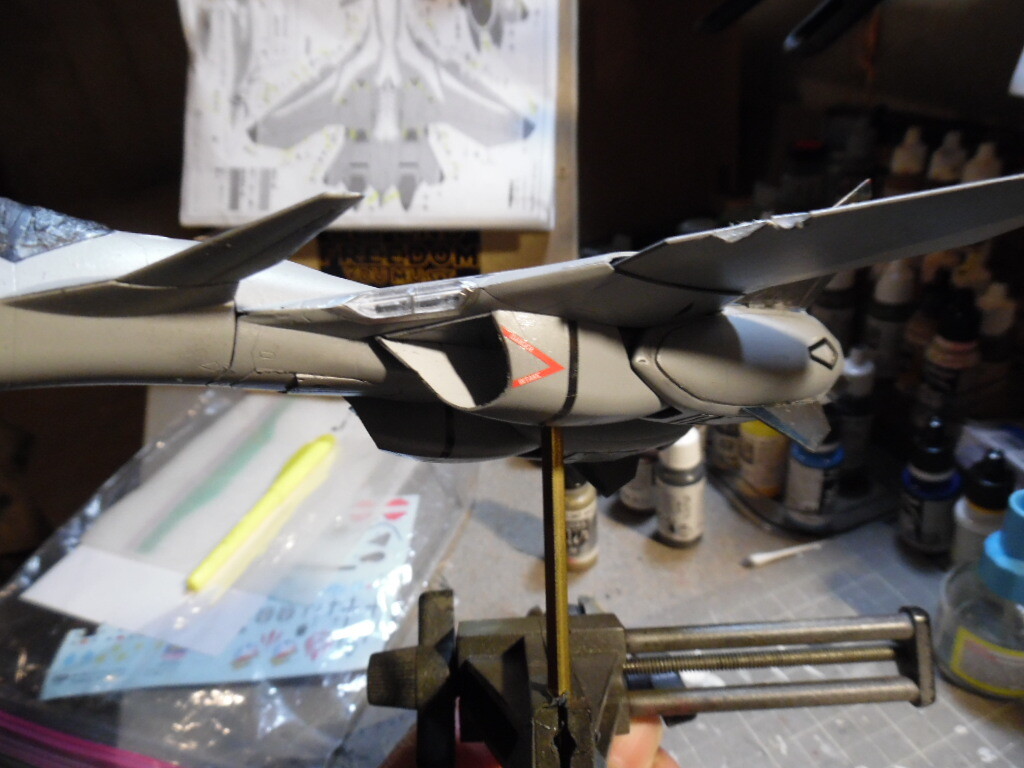
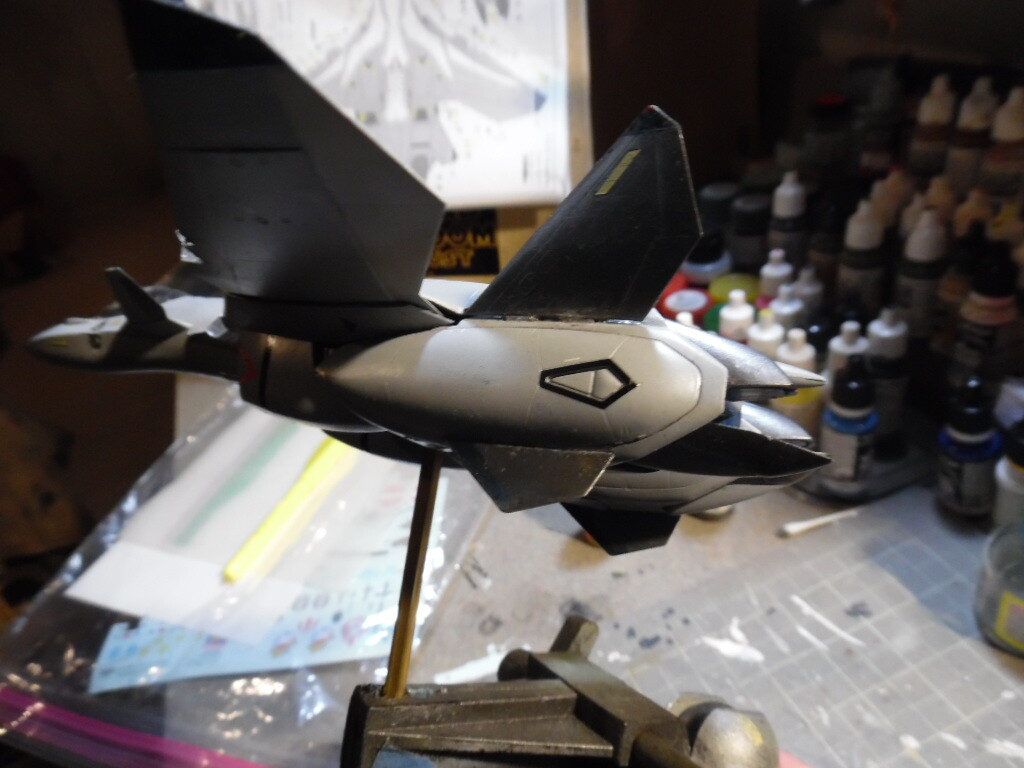
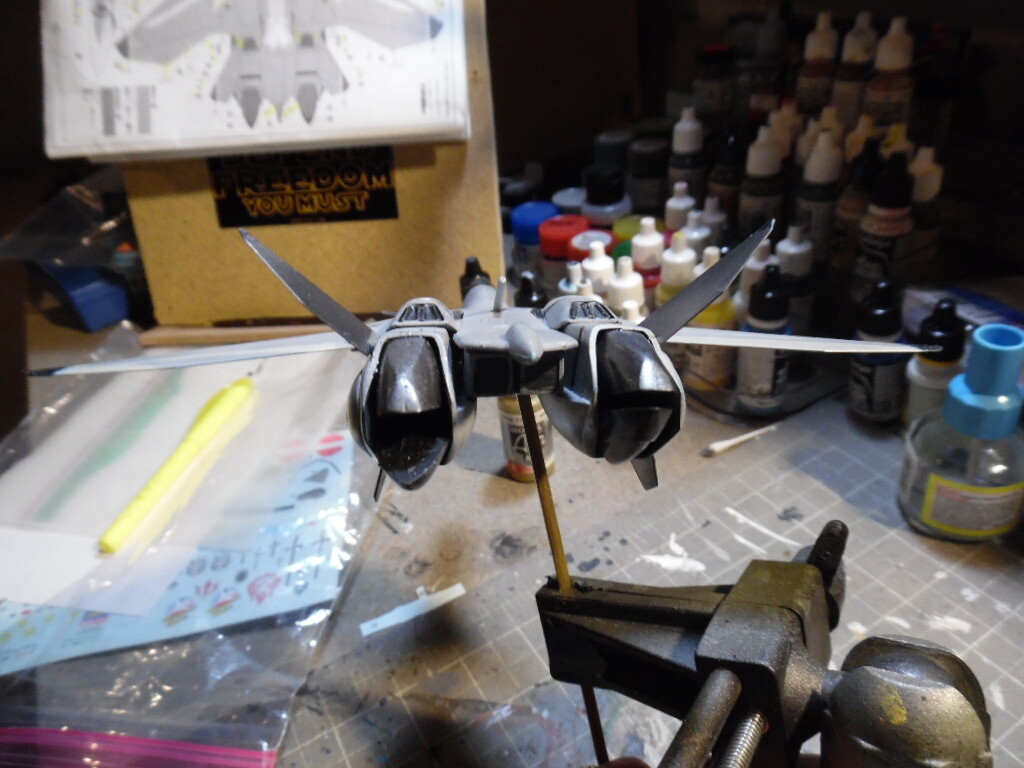
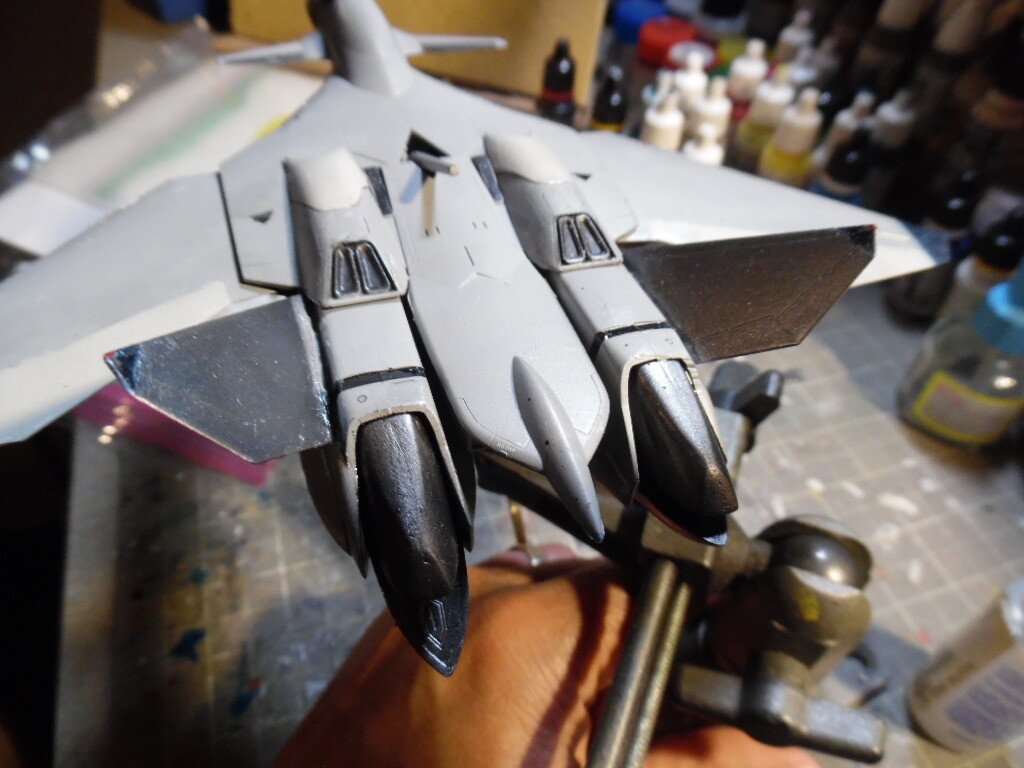
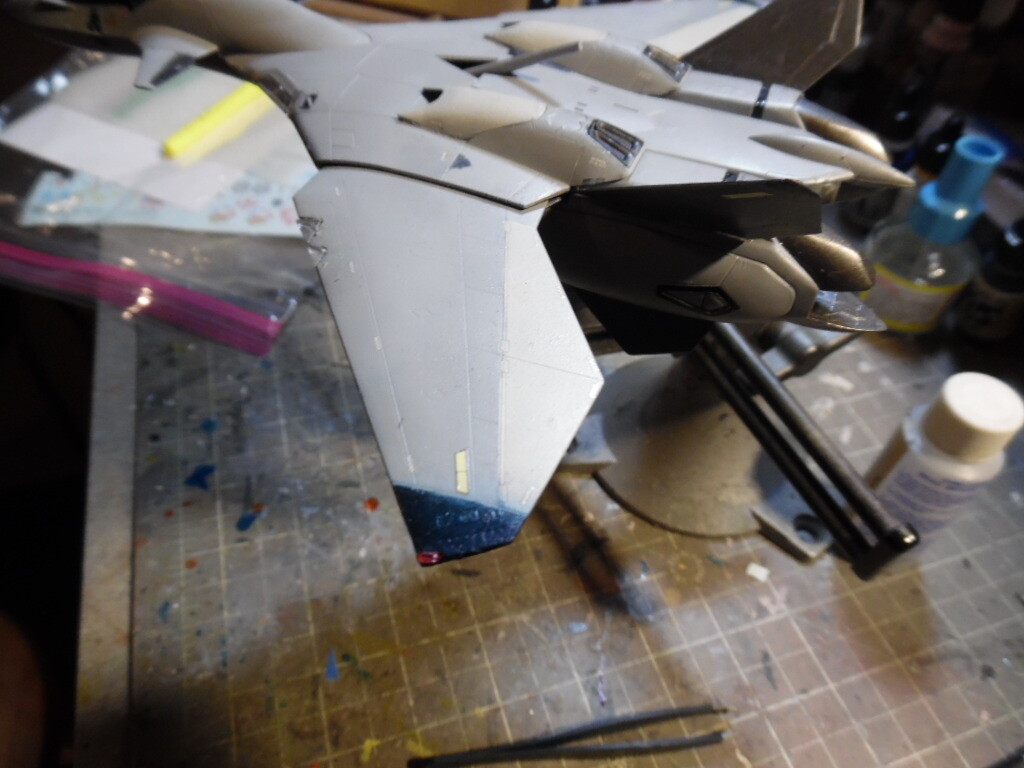
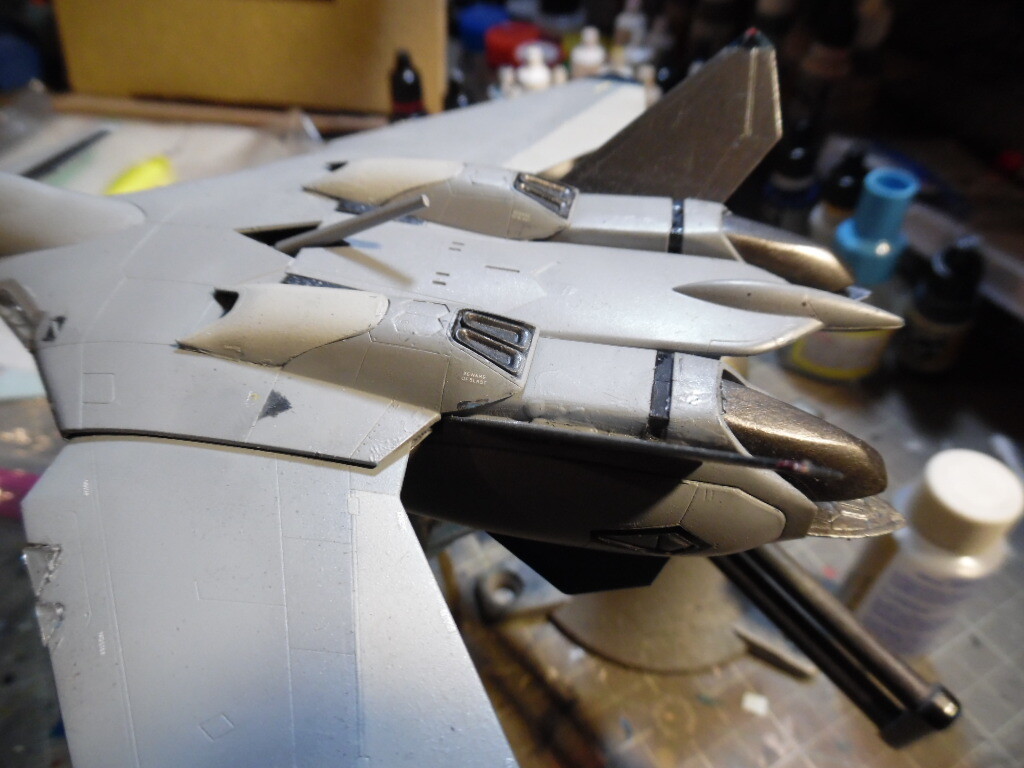
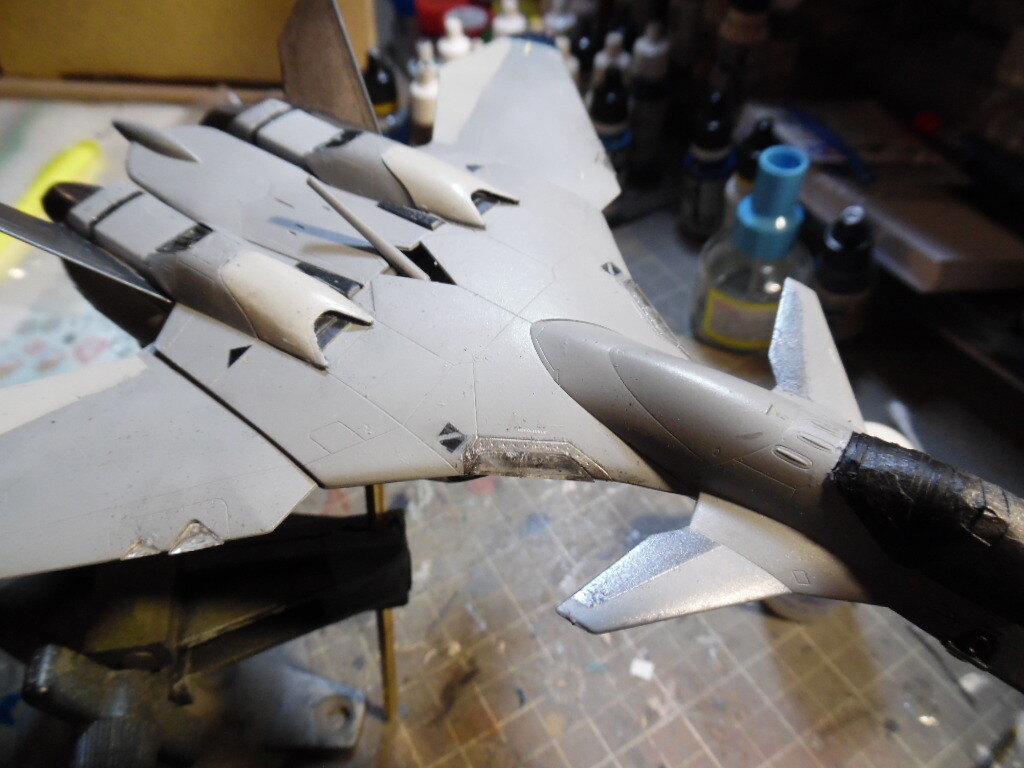
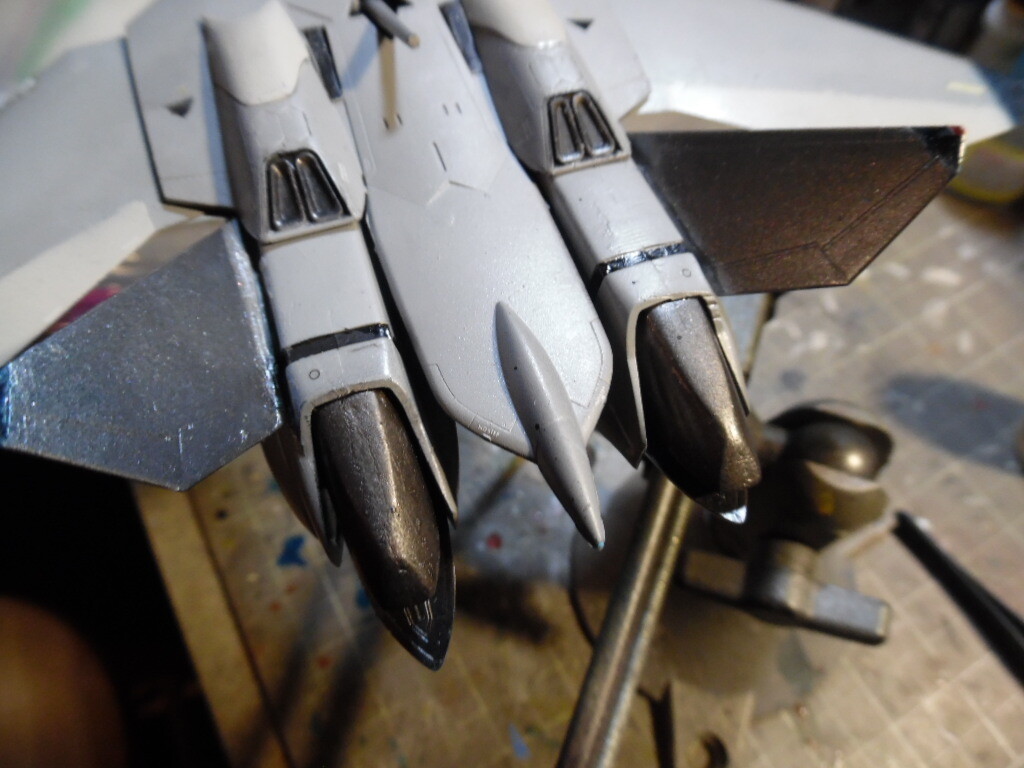
Applying the decals almost completed. The right wing needs to be completed and then on to weathering. In the process of doing final paint touch ups, I ran into a couple of issues. The clear parts came loose and didn’t respond to the glue that was used. So stronger glue needed to eb used and it fogged up the parts. Also, for some reason an issue with the vertical wings in which they came loose, as if the plastic became soft. it meant I had to use stronger glues and it caused some issues with how it looked.
1 Like
I’m starting to feel like everything in modelling with the word “clear” in it is a potential problem. Clear plastic, clear glue, clear coat - they all tend to cause larger problems than the relative size of the job. A badly painted (my usual issue) or marred canopy can make an otherwise good looking finished kit look toylike. A small piece of clear plastic to simulate tiny light or detail can cause far greater application issues than just having the part molded in and painted. A clearcoat can affect paint, decals, and weathering after all the hard work is done.
I guess what I’m saying is that dealing with “clear” in modelling is clearly not simple. I think you’ve managed to pull this one together fairly well so far despite the issues encountered and believe that you’ll be able to fix these ones also. It’s a great looking design overall and I’m excited to see it fully finished.