nice to hear from you. Thanks for your remarks. Looks like the LZ West is pretty well documented and their quad even had a nickname “Boss” and nice markings to go with it. So maybe if I knew it all before… How about those fotos you were writing me about, of the “alamo” of A102? Do you still have them?
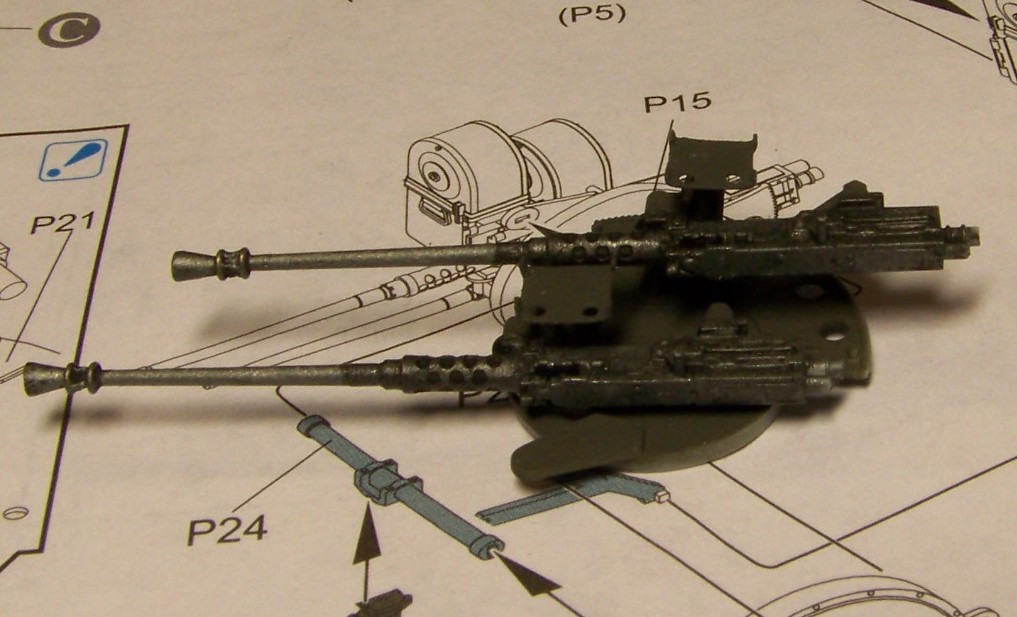
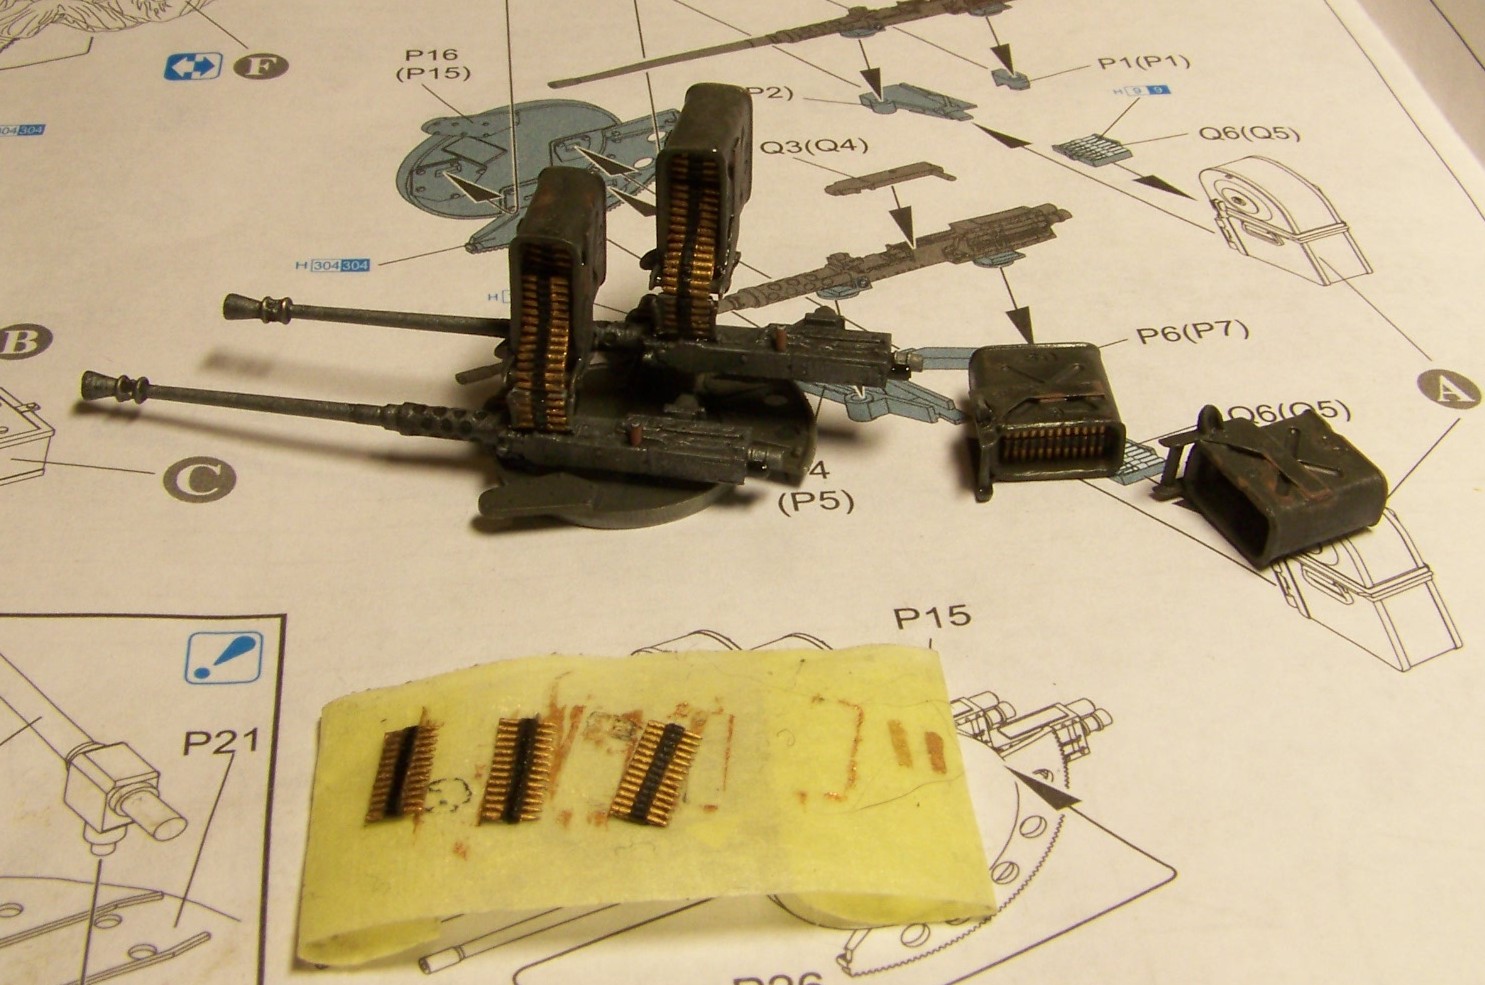
In the meantime I went on to do the ammo cans at last. First thing was to temporarily fix the guns to the trunnion, to prepare it for the fitting and reduce the number of loose parts to handle. Thus I got this:
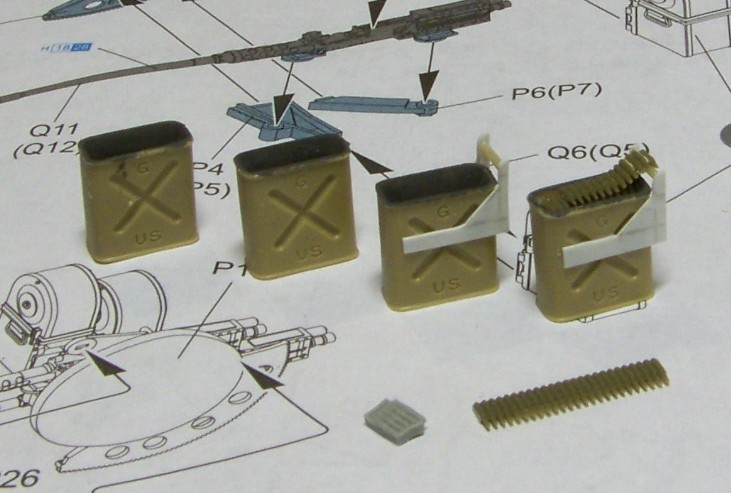
Then I took four jerry cans from the Academy old M151A2 with trailer kit. By the way, this kit was a real bargain - for something like 6$ I got a jeep (just a little crude) with driver, a reasonable M416 trailer, a 4.2 inch mortar with crew, a piece of thin cardboard with printed C-Ration boxes and a lot of jerry cans. Ain’t that cool? So I took four of those jerry cans which have nice sides, but crappy fillers and sawed the tops offa 'em. Then I took measurements of the .50s ammo box tray and fabricated corresponding parts of sheet styrene. I also added the feed ramp made out of stretched sprue that was later longitudally cut in half. The feed chute will be a modified kit part. The ammo belt comes from the AFV Club Ammo boxes set. For now I have something like this:
Looking forward to hear your comments on this, happy modelling and have a nice day
nice to hear from you. Thanks for your remarks. Looks like the LZ West is pretty well documented and their quad even had a nickname “Boss” and nice markings to go with it. So maybe if I knew it all before… How about those fotos you were writing me about, of the “alamo” of A102? Do you still have them?
Your gonna have to wait a little longer! I lost the PC I had them stored on, and we are still trying to get them off the old hard drive. They did retrive about 1/3rd of them thinking they had them all (about 3000 photos) But to make matters even worse the new PC will not read my backup discs, and there are about 2000 photos on them alone. But fear not I have a plan that will probably take forever. As for the photo of A102 with the Alamo in it; remember it’s an aerial photo, and even then not the best. I do know where another copy of that one is.
Grimmo - I can’t wait to see it finished neither[:D]. It’s still going to take some time, but hopefully not so much anymore
Gary - I sent you a PM, could you take a look?
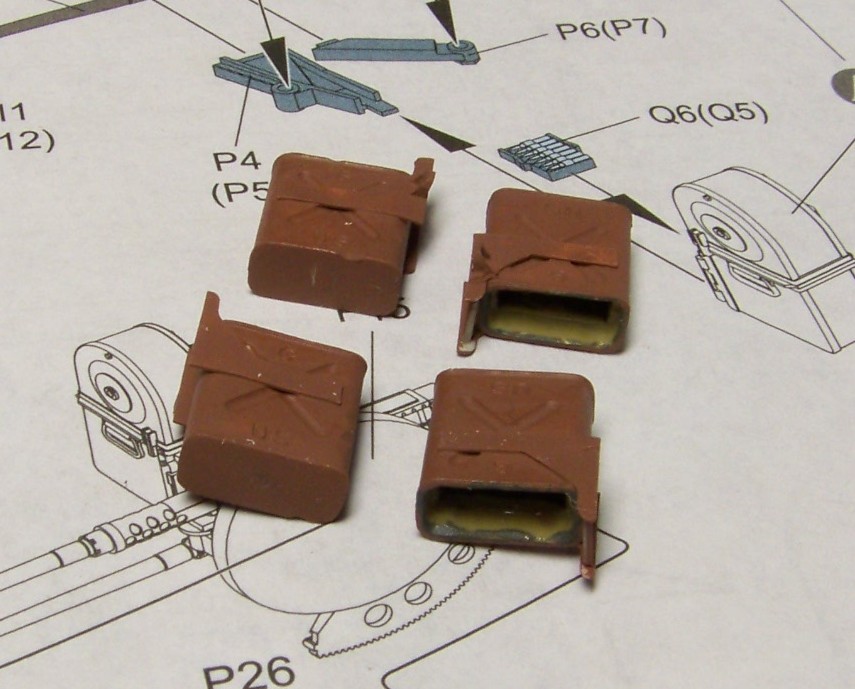
Well now, I decided to go with the current forum’s fashion and try a new technique, hair spray chipping to be precise. I think those old, beaten up gas cans with their field-welded brackets make for perfect parts where the chipping could be feasible. So what I did was to paint the cans rusty brown:
Then dry-brush them gun-metal:
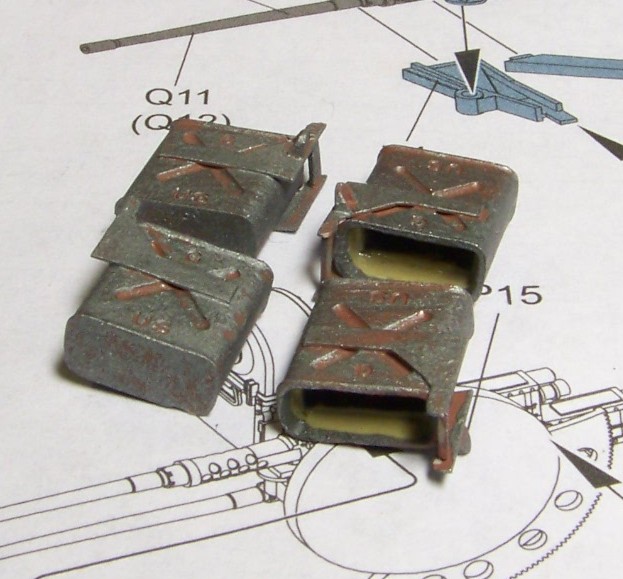
then cover with hair spray and finally spray OD. We are talking Humbrol paints here, so that’s different from what the masters of chipping (INDY and Schnobs) do, as far as I know. But let’s see what we shall see. After the OD dried really good I begun to bother it with a glass fibre pen (bought in an electronics store) but it was pretty resistant. So I helped myself with a little amount of lacquer thinner (but you have to be careful, this thing really has a strong “bite”). After I thought it’ll do, I sealed everything with a mixture of future and water with a little water soluable black paint addition. You can see the results below:
I had my problems too, like scrubbing a bit too deep once or twice, but in the end I thing the effect is something I like.
I also started working on the ammo belts, you can see them here painted with Humbrol 12. My source for the belt is the AFV Club ammo boxes set, where you can get exactly 200 belted .50 cartridges in four runs. I’ll write more about the belts next time.
I saw one of these mounts very briefly on TV last night. HBO is showing Band of Brothers episodes and in the 6th episode, during the German night bombing raid on Bastogne they show a trailer-mounted, quad-50 shooting up at the bombers! It’s a very brief glimpse but it reminded me of this thread.
Thanks for the comment Ken, nice to hear from you again! You seem to like watching movies, don’t you?
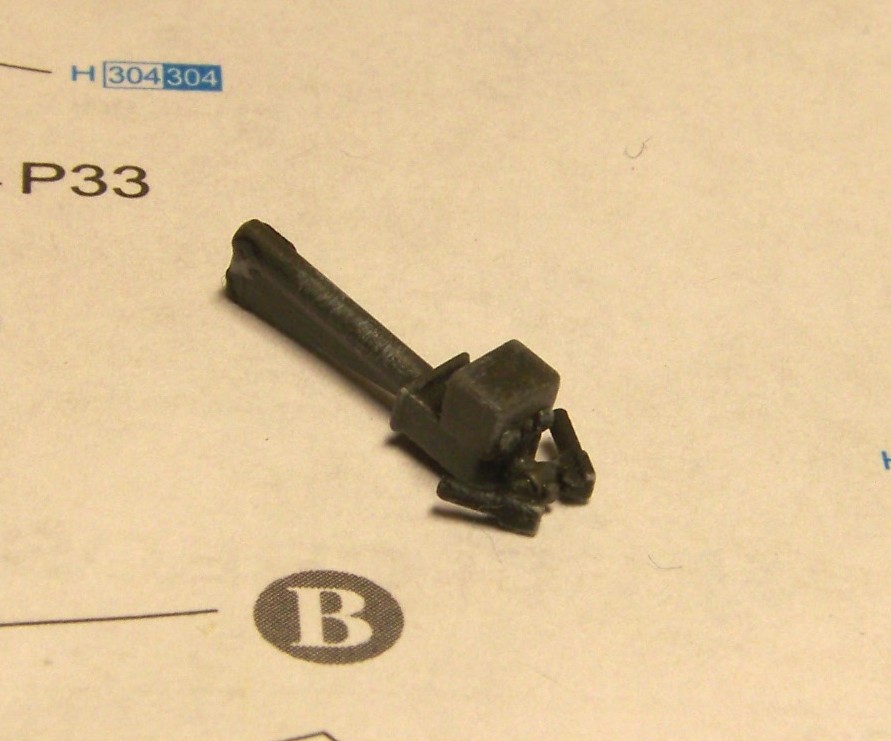
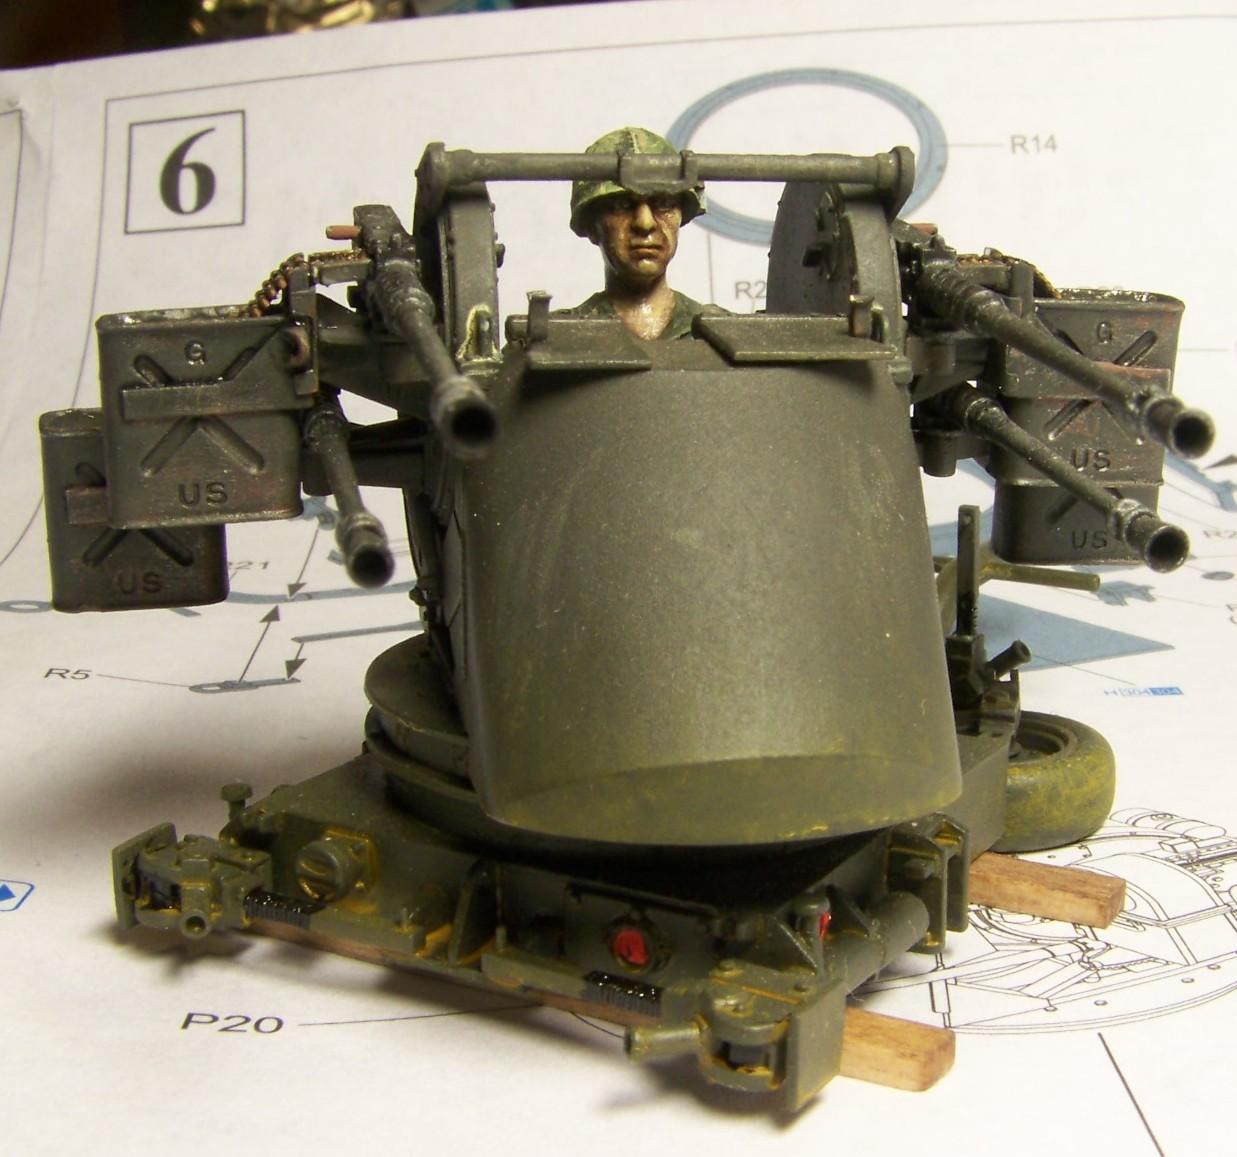
I finally fitted the gunner this time. First I had to tackle the steering yoke.Here’s what it looks like finished:
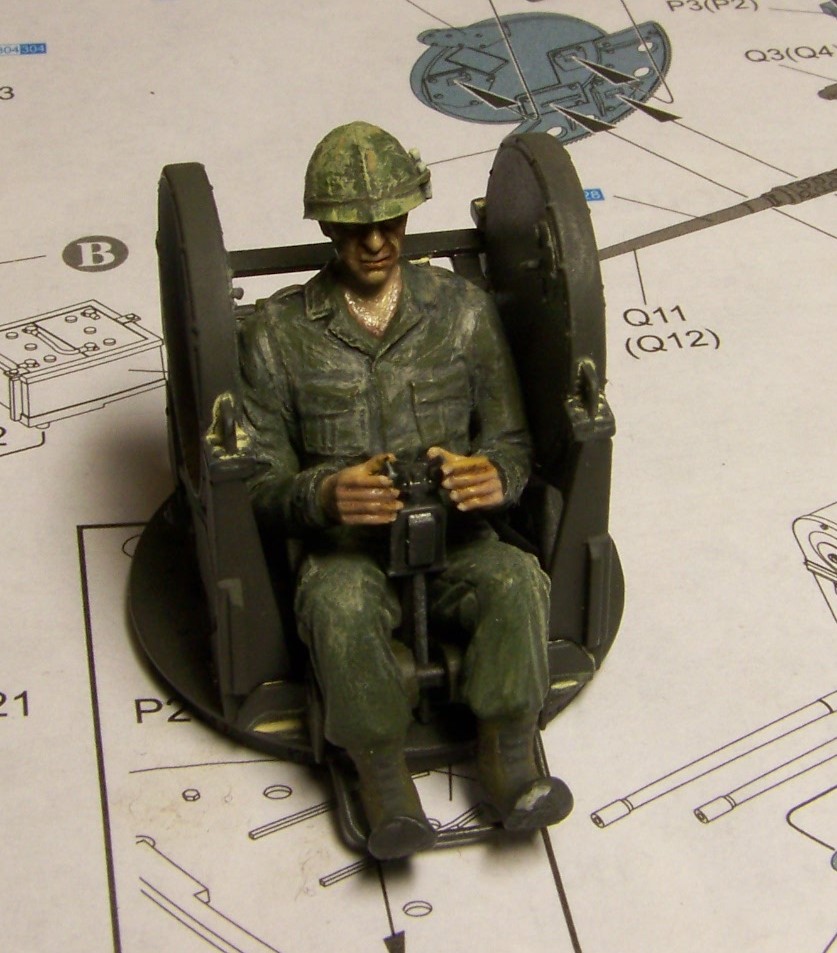
Then I attached the yoke to the gunner, and then the gunner to the mount. Then it looked like below:
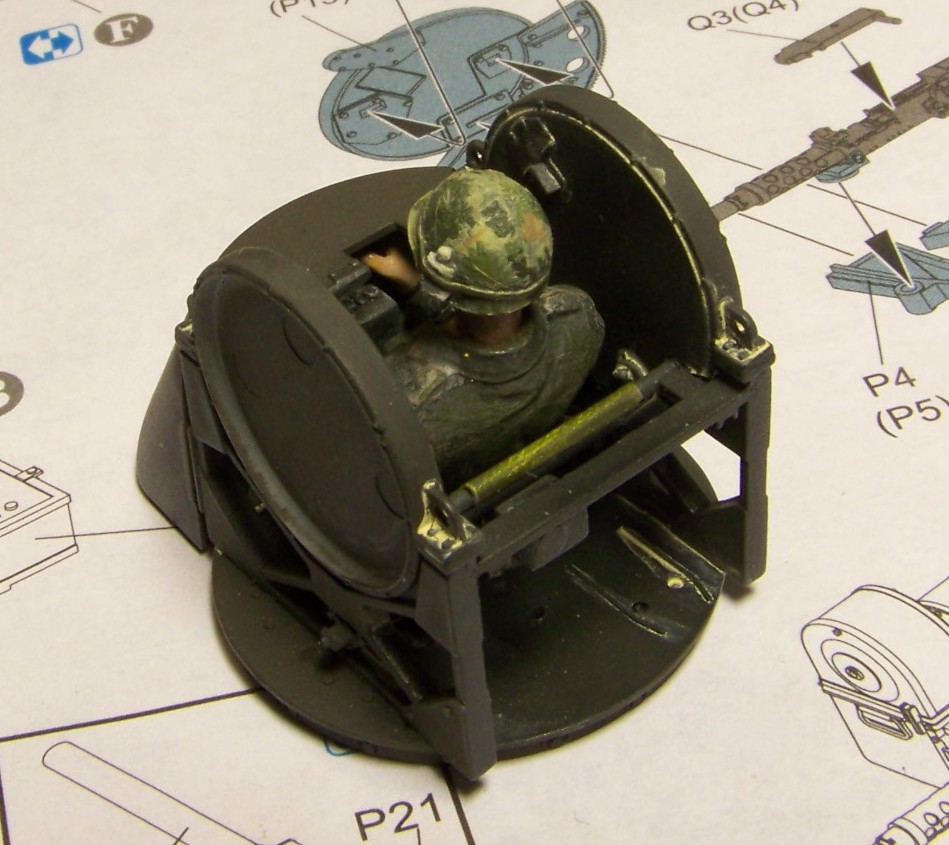
And then I faced the fitting of the shield. I knew from previous test-fitting, that the gunner’s feet (that I modified with jungle boots - read more about it here) are going to get in the way of the shield. I used a piece of paper put inside the shield and covered with pencil dust to sand just the right place of the boots and finally got the shield to fit. The nice thing is the modification is not visible from outside, even though the shield has an open underside. Here are some fotos:
Before putting the shield on I cut off the little armored “flaps” and I’m going to pose them in “open” position. This is often seen in fotos from Vietnam, probably to allow the gunner a better view. As the ammo cans are almost done I’ll assemble the complete trunnion groups next, so please stay tuned. I’m looking forward to your comments, have a nice day
Guney - thanks a lot for the comment. It motivates me to try even harder.
Redleg - glad you like it, I have some more to do here, if you’d like to take a look. While painting the helmet it was important to take a really close look at the foto of the real thing.
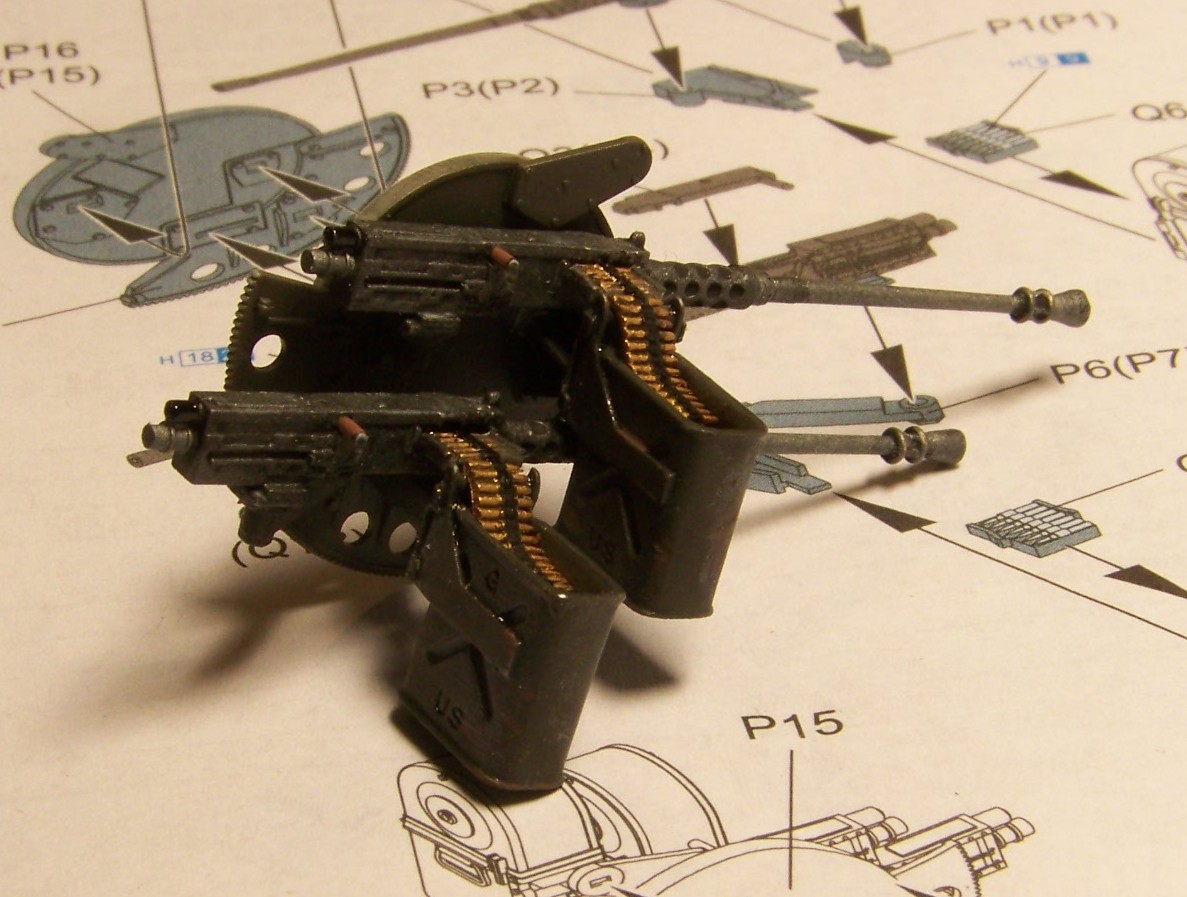
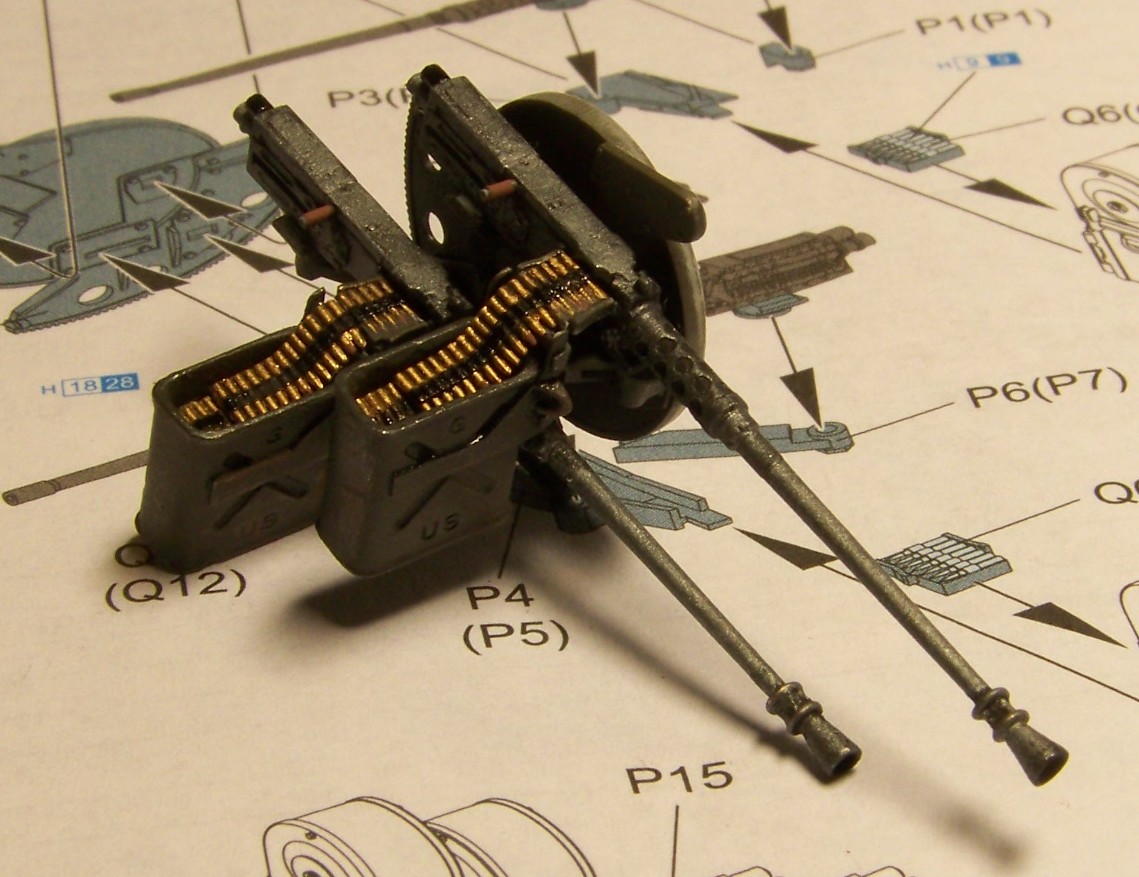
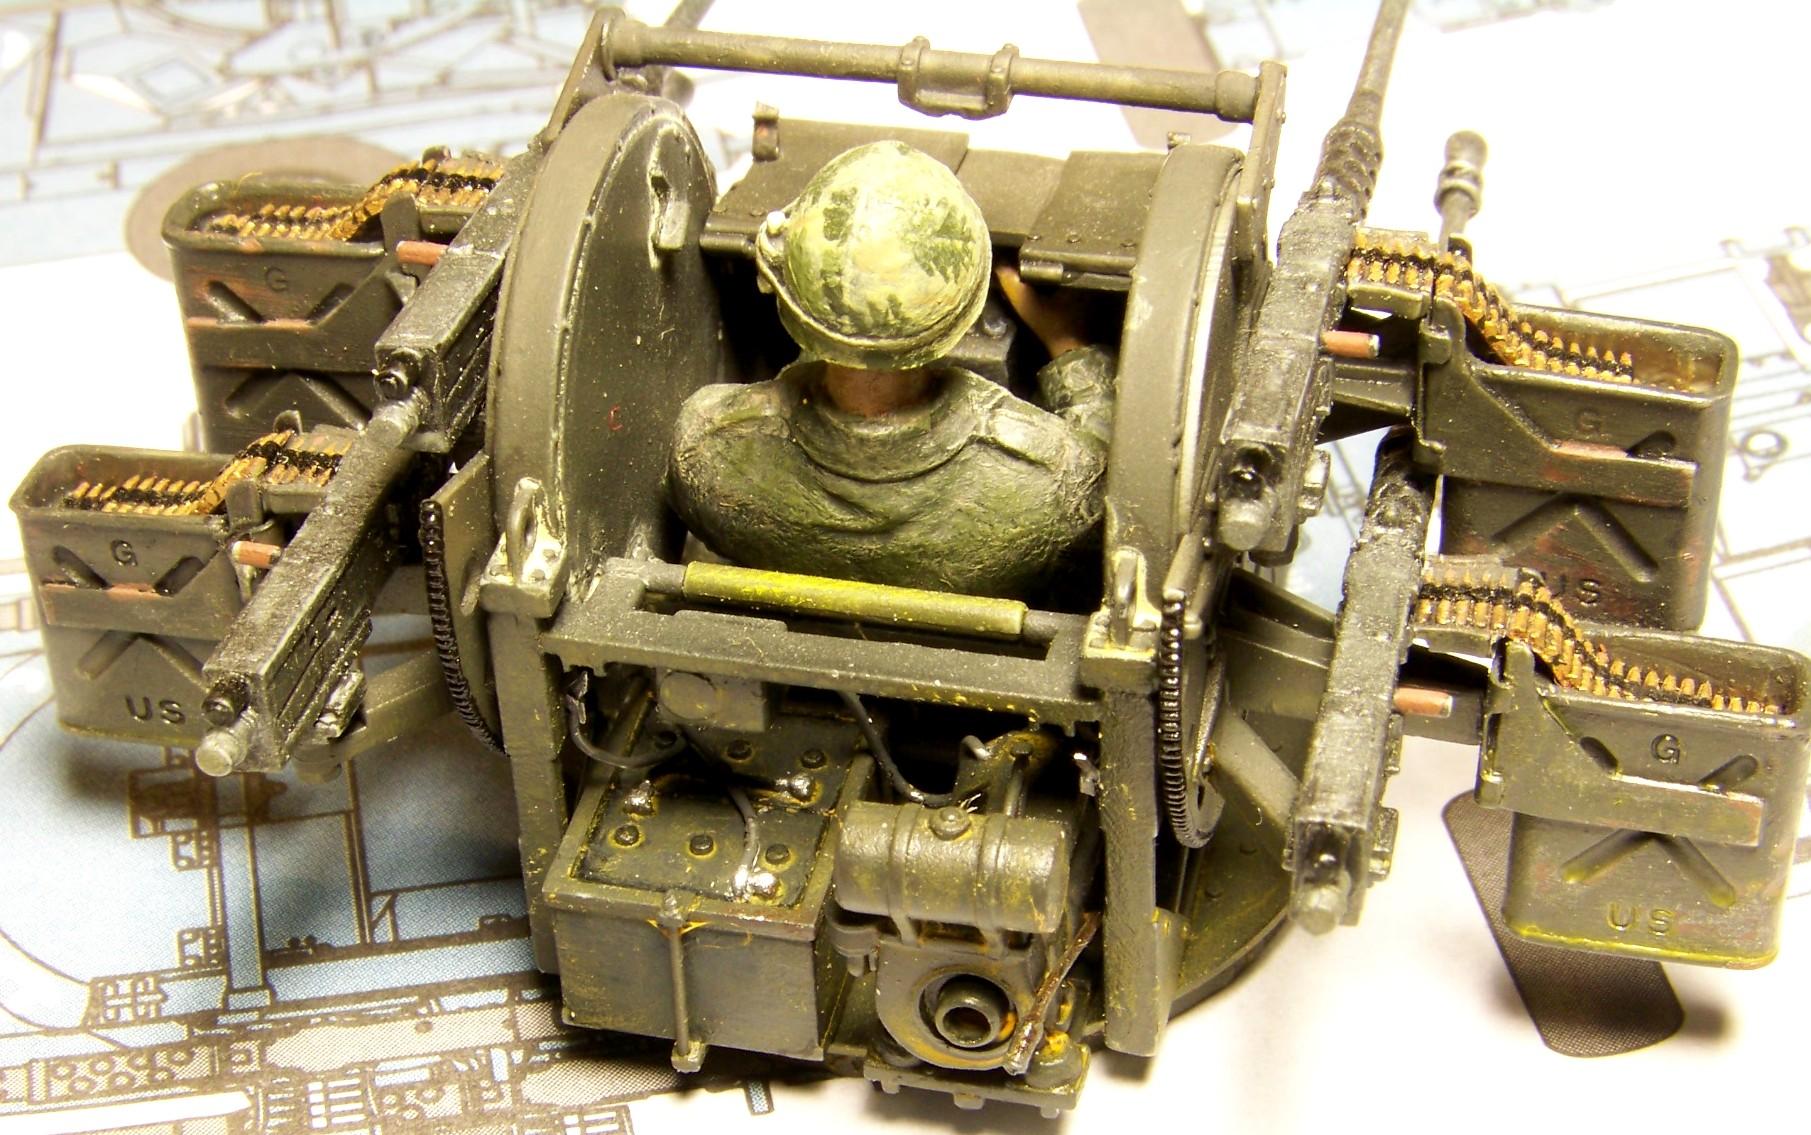
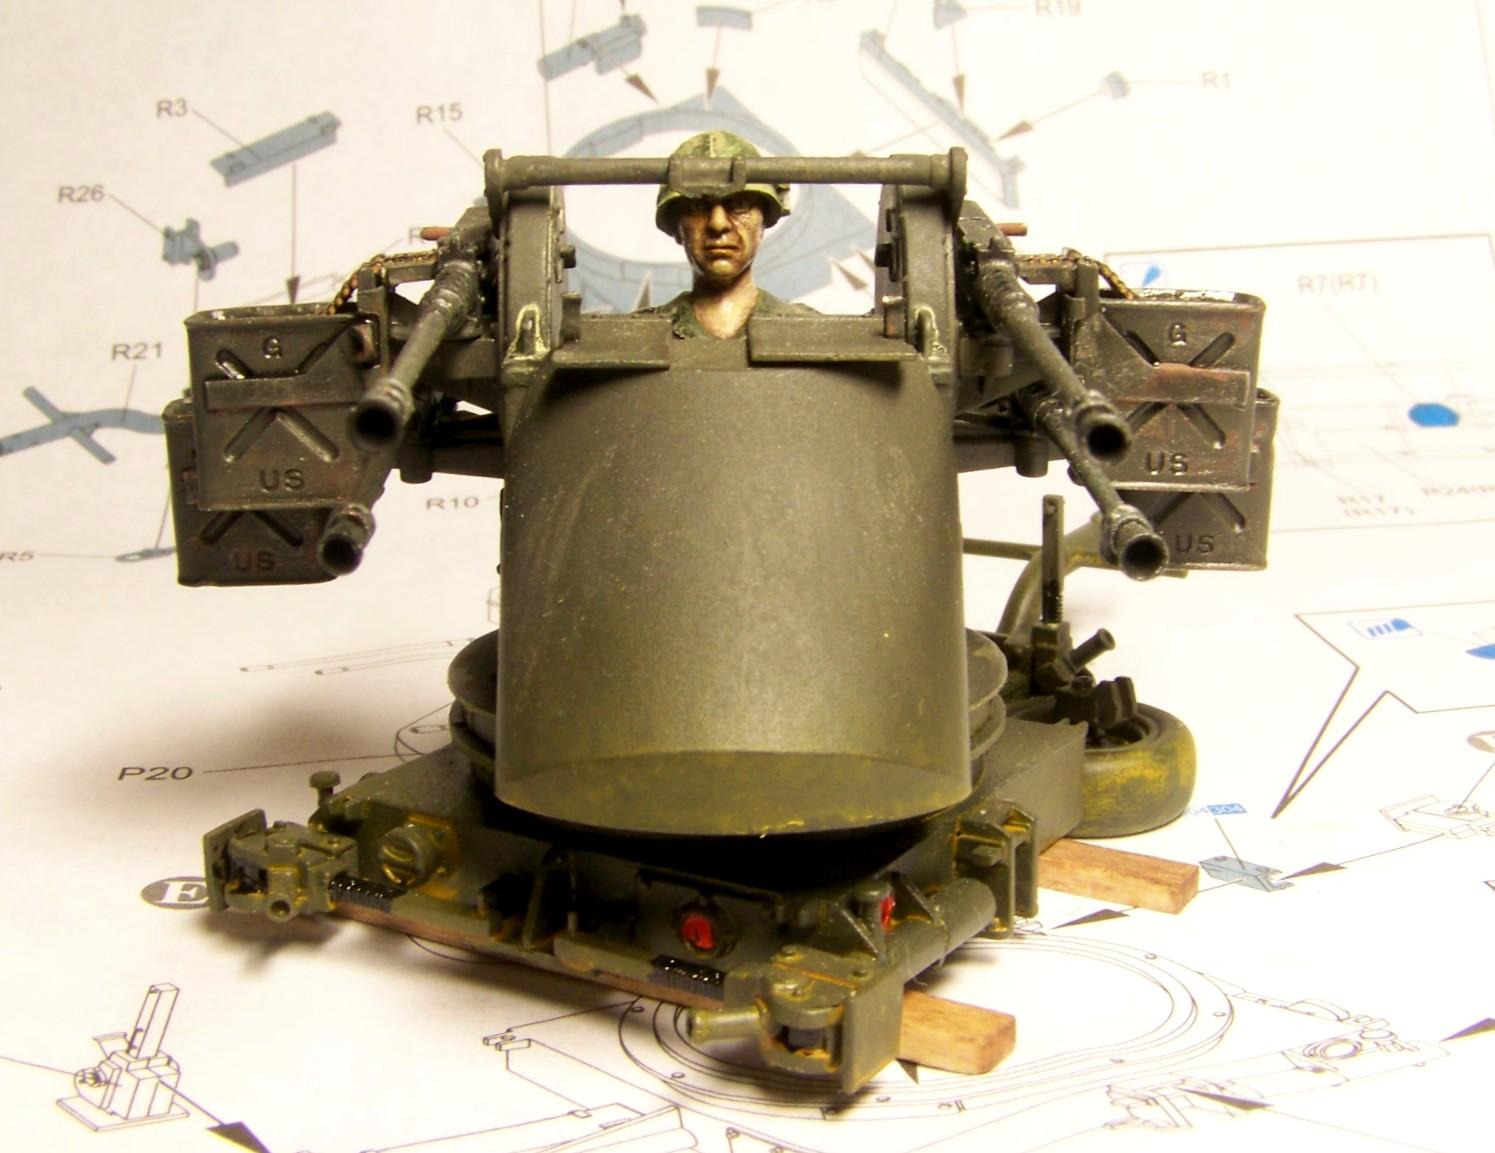
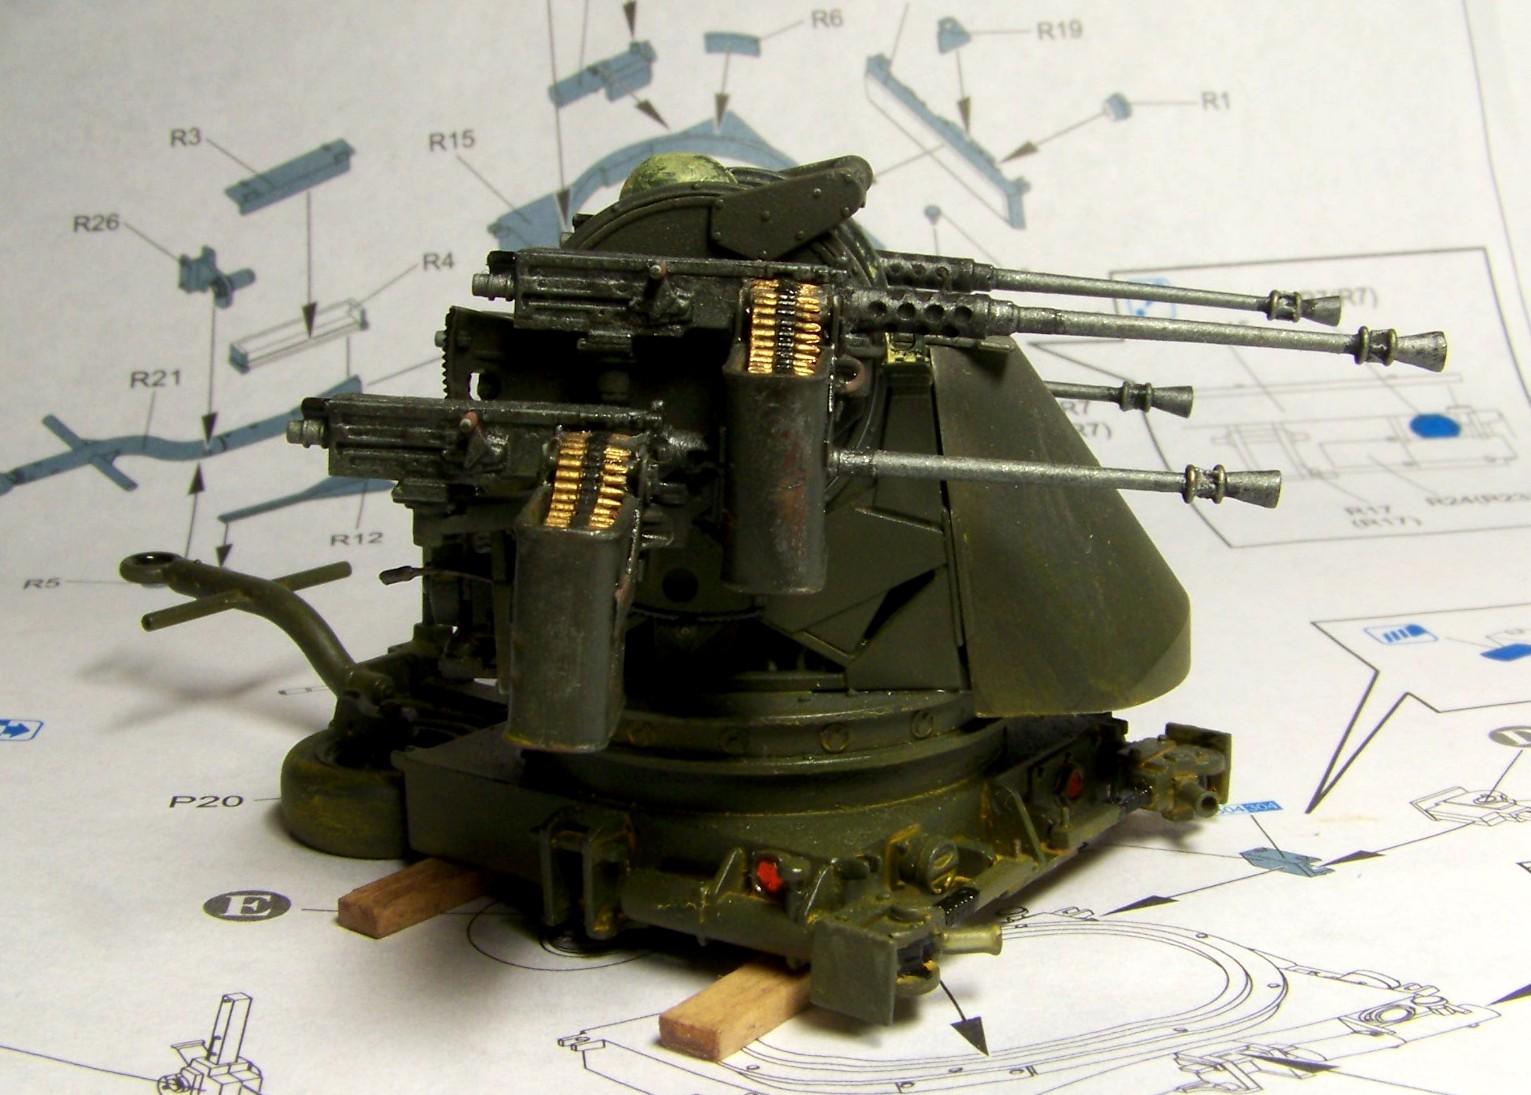
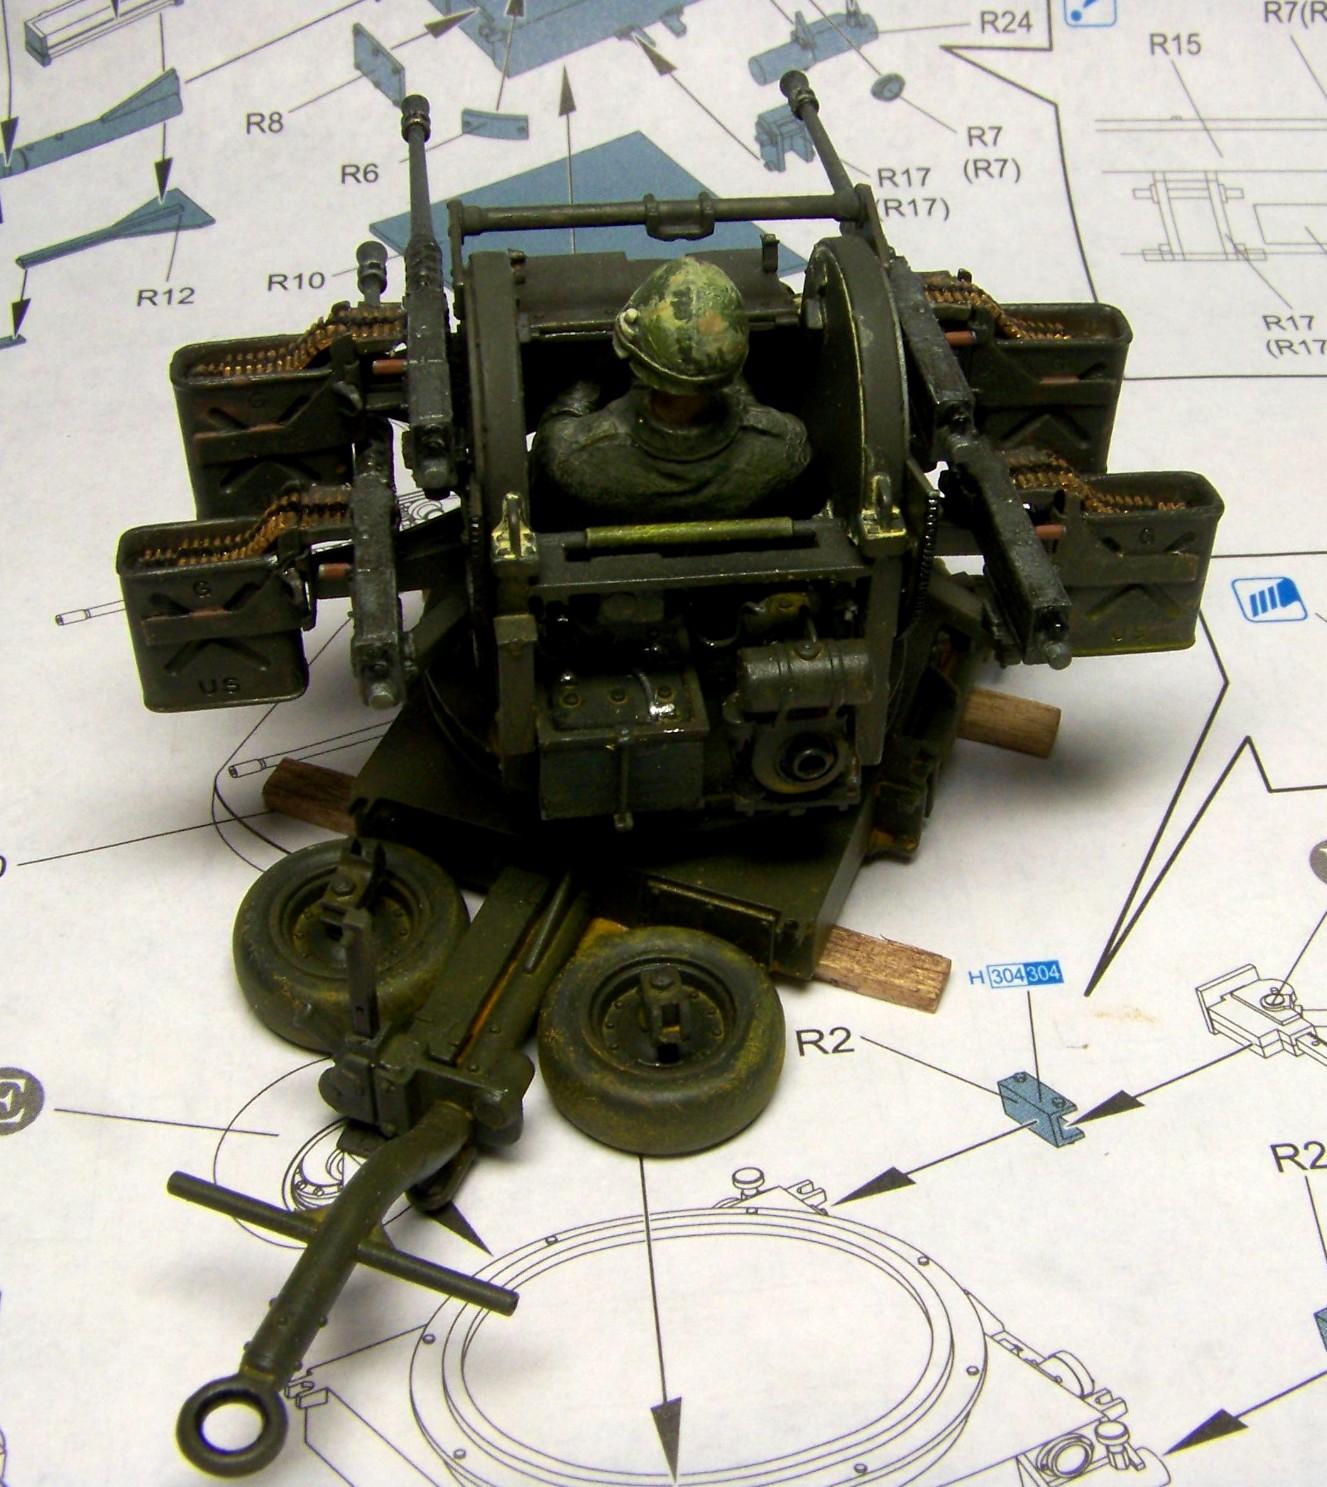
In the meantime I got back from a business trip to Germany (that’s why I didn’t reply fot so long) and got back to work. I fitted the ammo cans to the trunnions and added the ammo belts. So here’s what it looks like:
Looks just like it won’t be long now, hopefully. Then I’d like to invite you to this diorama thread, where this quad 50 will be looking for a place to call home[8-|]. Looking forward to your comments, please stay tuned and have a nice day
I eventually DID take long - oh well… Did you miss me? I guess not[:D] Anyhow here’s a small, long overdue update.
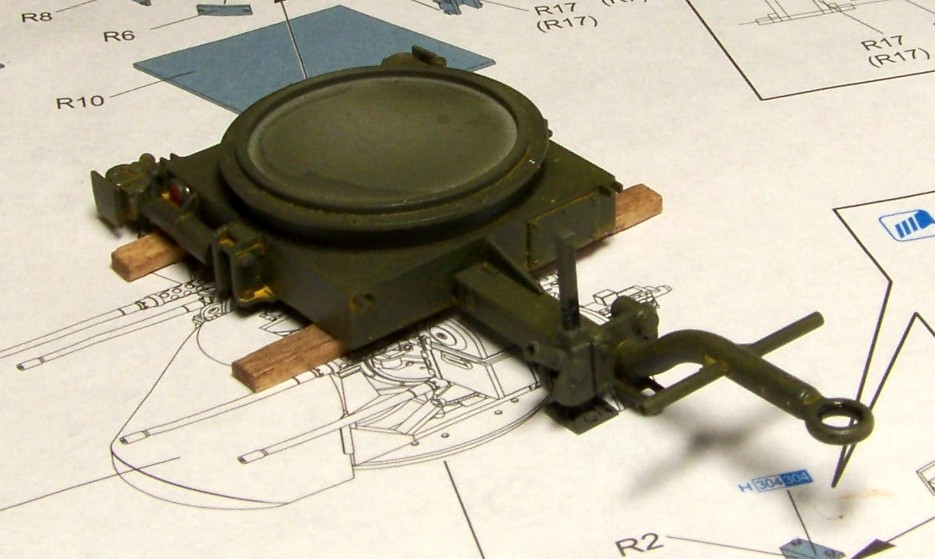
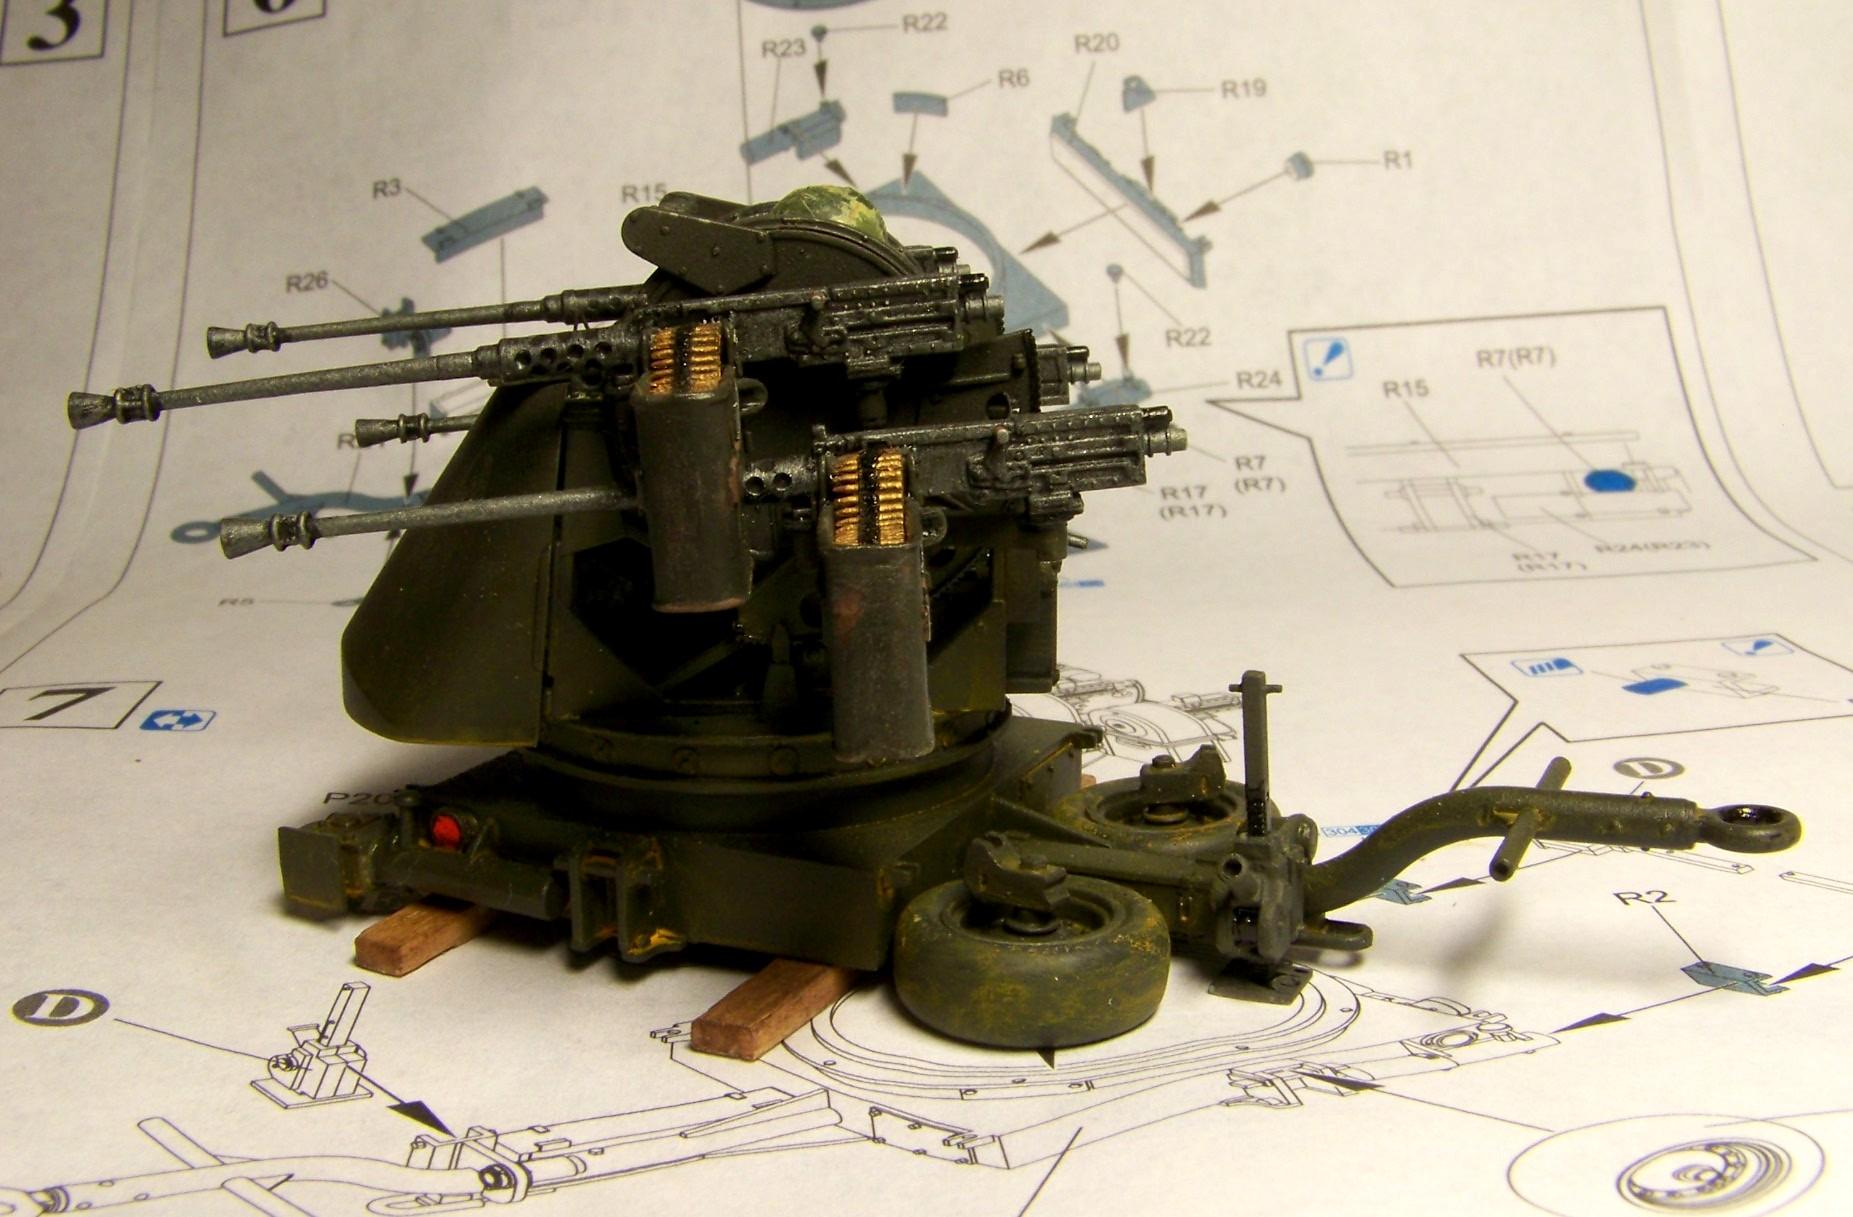
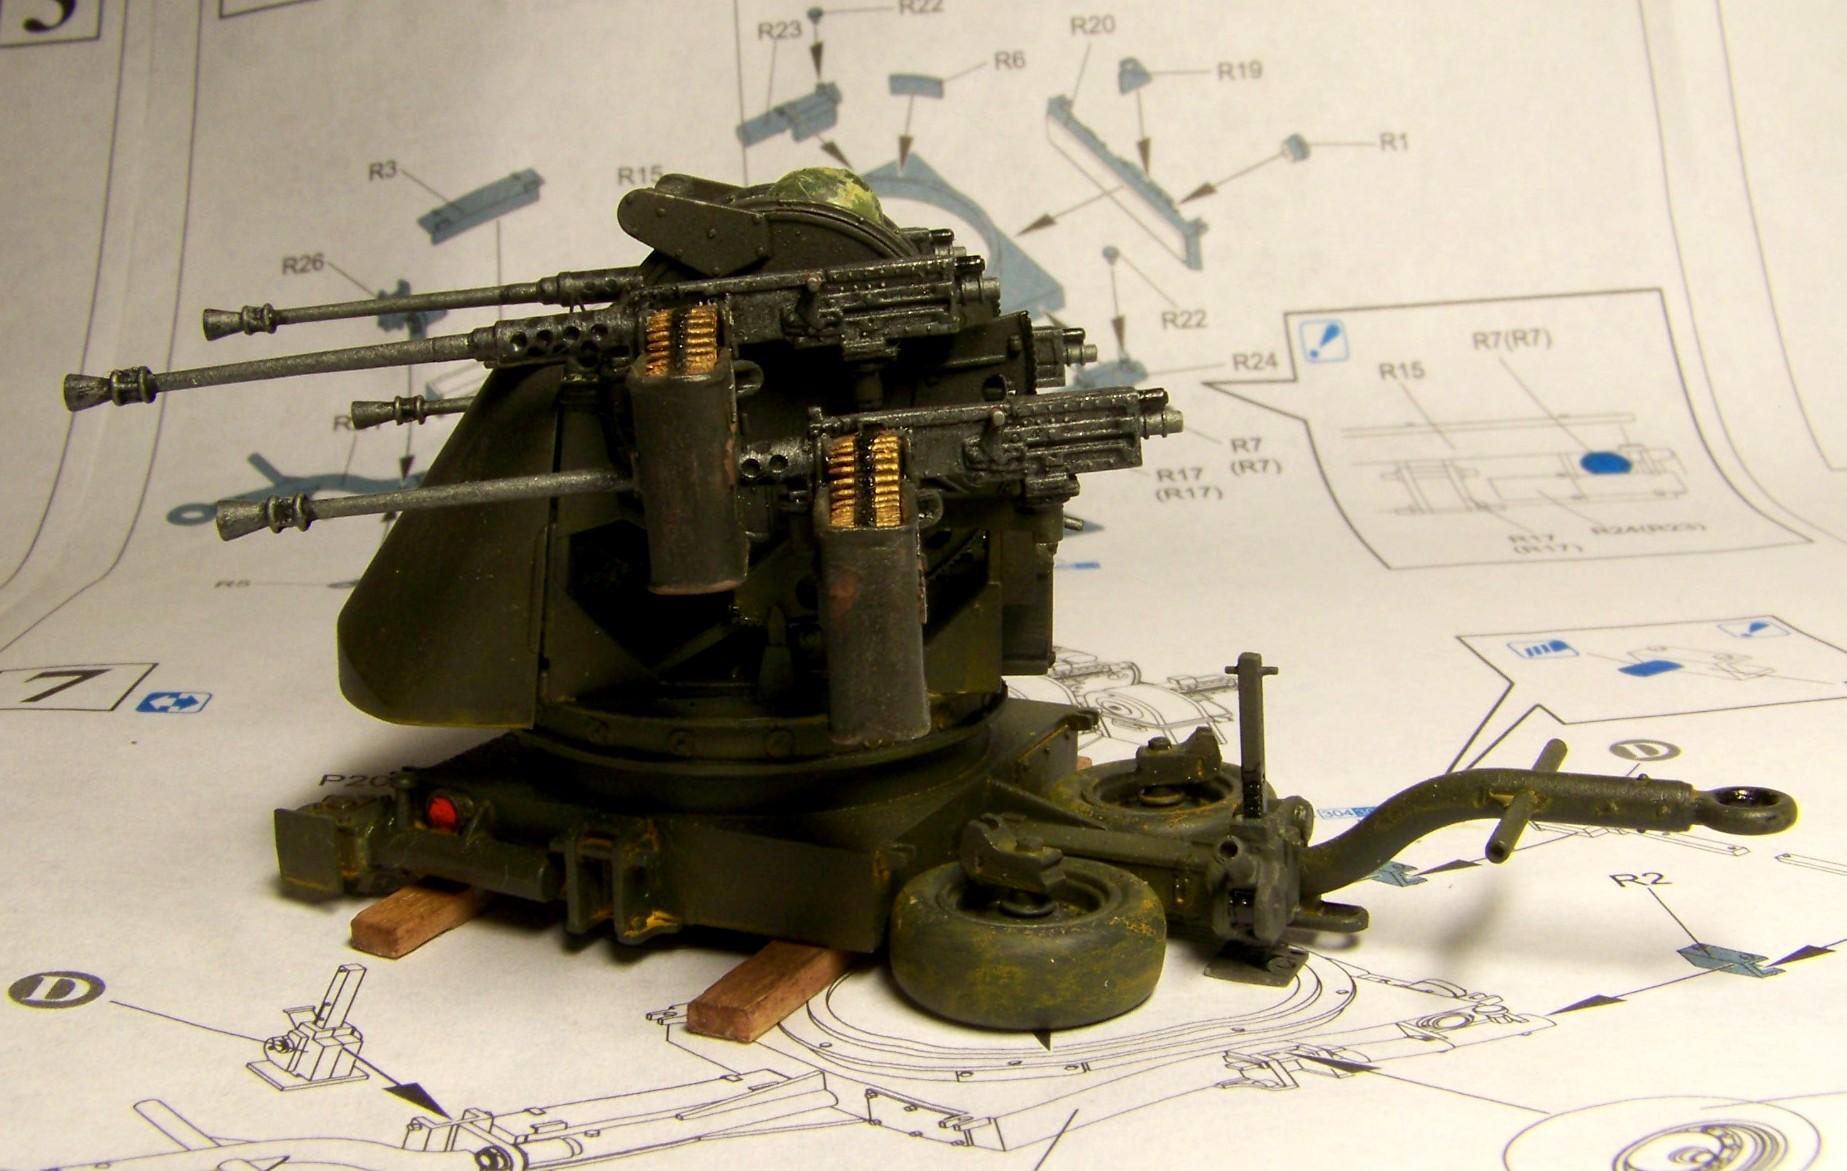
After test fitting the top to the base it turns out the jacks of the base seem to be a major nuisance for everybody working around the guns. I thought: what would I do if I was there? I’d lower the base on top of a pair of two by fours and fold the jacks so they don’t get in the way. On more permanent emplacement it was common to remove the jacks and the towing bar altogether. Sometimes the base was put in a kind of armoured box too. Tha two by fours would also help to get a stable emplacement on an uneven surface and keep the base out of mud or water.
I also added some “grease” to the jacks - mixture of humbol gloss black and gun metal paints and weathered the whole trailer with sand-coloured acrylic wash. Here’s what it looks now:
I’d say that would be it for the base/trailer, I’ll concentrate on finishing the mount now. As always I’m waiting for your opinions, don’t be shy[;)]. Have a nice day
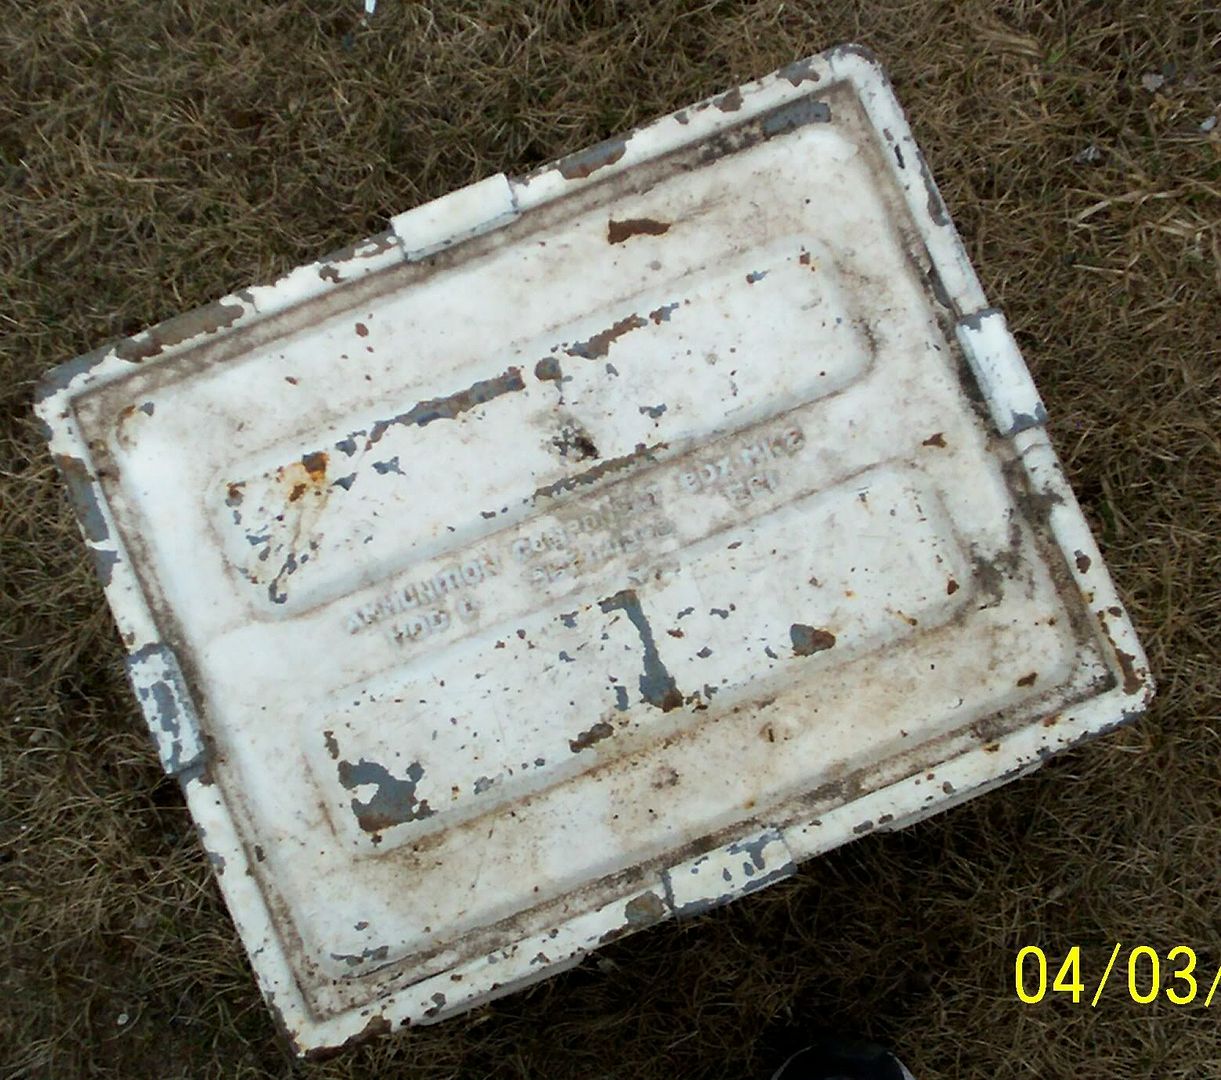
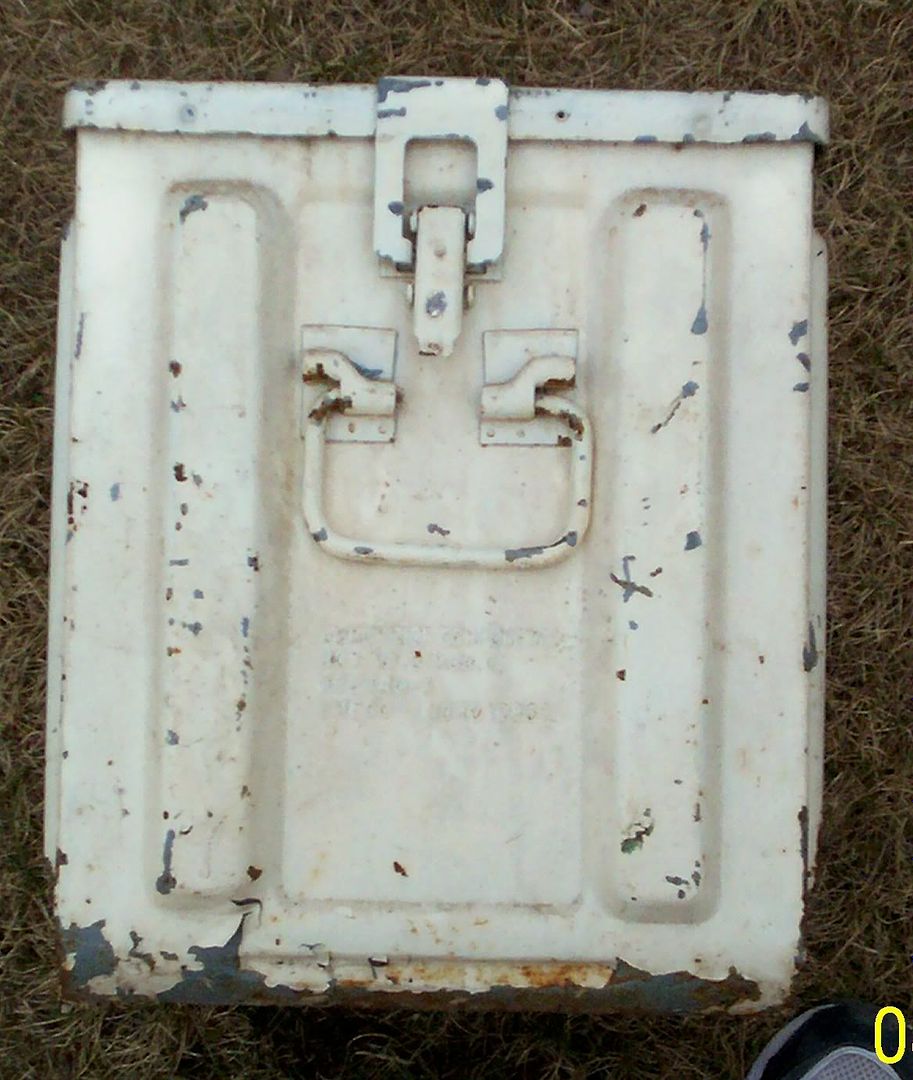
mikeym_us - of course I remember. Thanks a lot for the fotos, they just might come handy for a certain 40mm AA subject (kinda obvious what it might be, isn’t it?). What made me think - the inscription on the top of the box, saying MK something, MOD something - isn’t this NAVY nomenclature? That would make sense, as 40 mm is used by the navy a lot. My question would be could such a box be seen in the jungle of South Vietnam, end of the sixties?
Brian - that’s exactly what I thought meself some time ago[:D]
The 40mm was also used by the army in the 1960’s the M42 Duster comes to mind. As for all the words on the can they are US military wording as the military in total have their own vocabulary of words and terms. And each service has their own colors for their ammo cans Navy/gray, Airforce/OD Green, Army/OD Green,Marines/ Marine corps green.
Mikeym_us - that would confirm my assumption, that your box is an ex-navy item, wouldn’t it? But would it be possible fo find such box in the jungles of Vietnam (was it available at that time)?
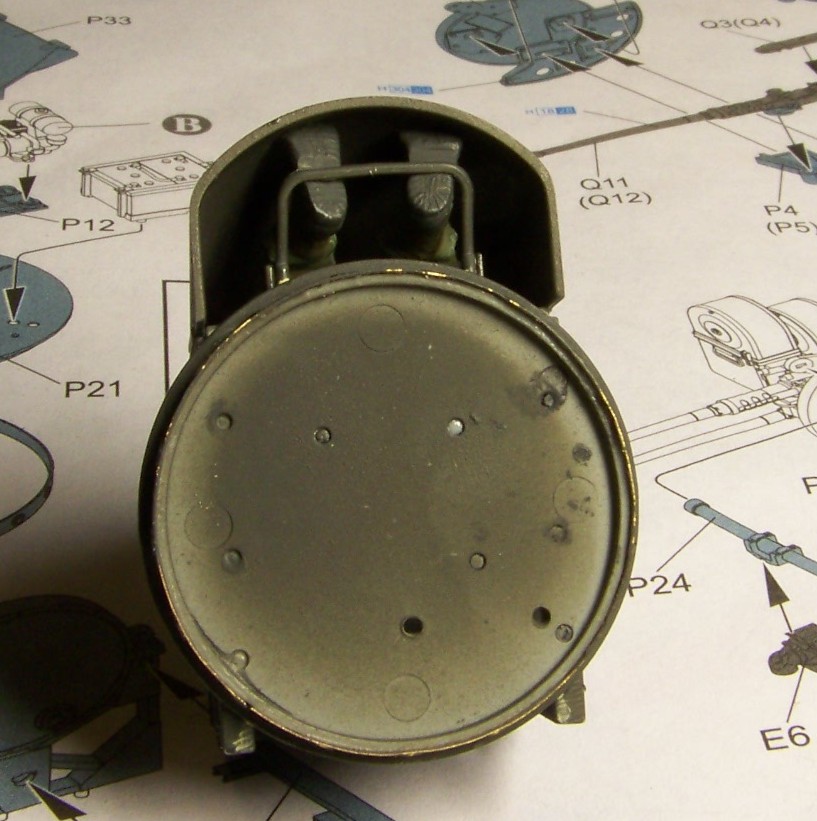
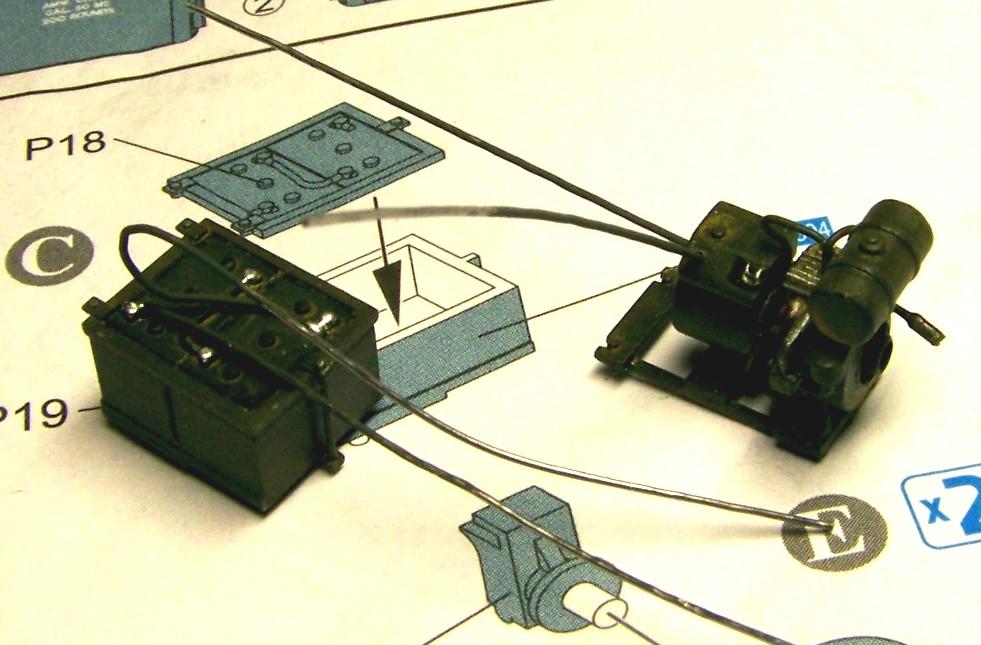
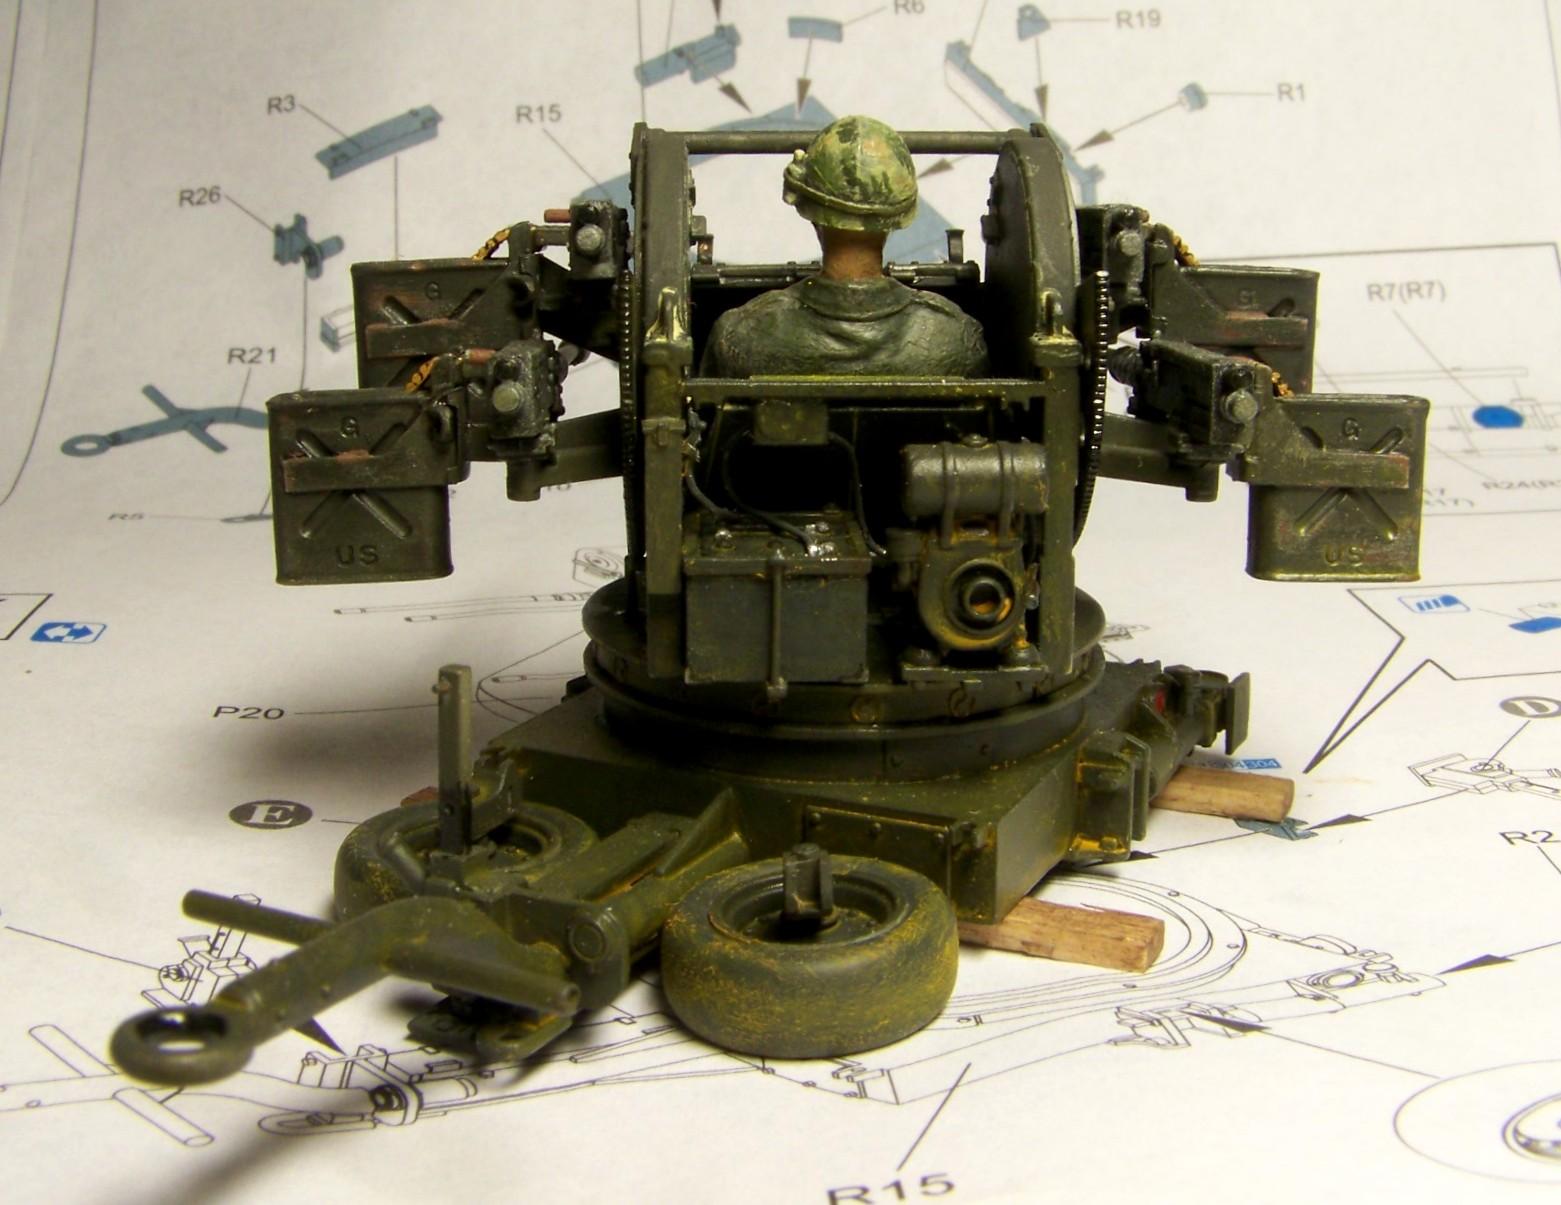
I have another update for you, I finally installed the batteries and the power charger. First I added the cables made out of thin slodering wire:
And the I fabricated two tiny wingnuts that attach the ground cables to the frame and finally installed the stuff. As you can see there’s not much left to complete the whole quad:
I only plan to add the hydrometer box and that would be it. In later Quad 50’s the voltimeter in the junction box was deleted and the hydrometer box was added. Probably because measuring the voltage on the batteries doesn’t tell you exactly in what condition the batteries are, and measuring the electrolyte parameters does (that’s what the hydrometer does).
As always I’m waiting for your remarks, have a nice weekend and 'till the next time
It’s been a long time, I’m glad to know you’re still tuned in! Thanks for your comment and I’m glad you like the Quad. Hopefully it won’t be long now - the quad is almost done and for the dio I need to finish painting the figs. Thanks again and have a nice day