The trouble with chipped paint is that is is almost invariably overdone in 1/35 scale. As a technique, it has taken on a life of its own where modeler 1 does a little and it looks good, modeler 2 uses 1 as a reference, and adds more, modeller 3 uses 2 as a reference and adds more, etc. Before you know it, people are producing models that look like abandoned heaps that have been sitting out in the elements for 50 years.
Uses original photos as reference. You’ll find very little chipping, partly because these things didn’t last very long.
Avoid using earth moving equipment as a reference. That stuff is typically a lot older than any WW II tank during the war and has been intentionally rammed into the ground repeatedly.
The best technique I have used is the popular packing foam/scotchbrite method, where you use the foam as an applicator for your chipping color. It takes some experimentation to get right, and you need to be careful in the color of paint you use - don’t use silver at all. A dark brown with just a touch of gunmetal mixed in is about right, unless you’re chipping an aluminum vehicle (M113, Jagdpanzer IV A-0) then you’d use a barely-metallic medium gray.
As ajlafleche said, it’s usually overdone. A little goes a long way - and it’s very easy to get carried away. Be careful not to chip areas that wouldn’t recive any wear in real life, and don’t overdo the parts that would take some abuse.
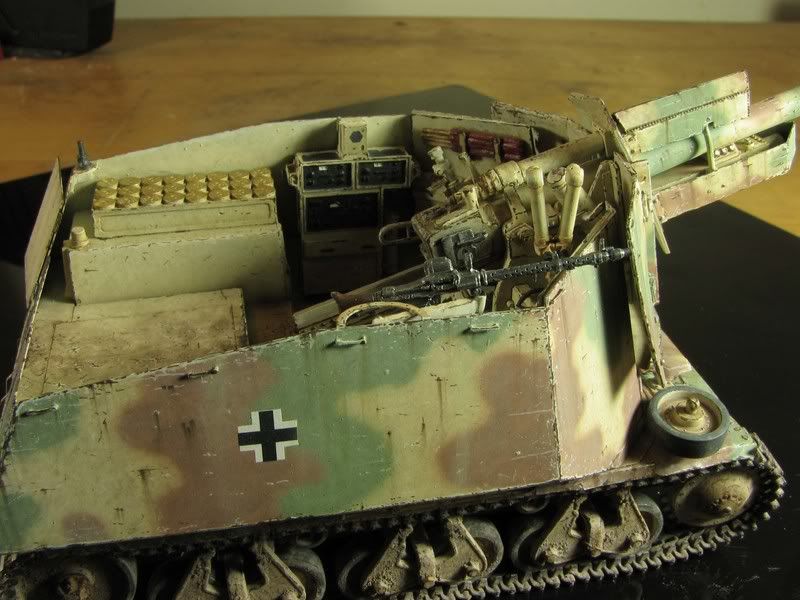
I used chipping on my recently-completed Ferdinand, but even modeled as a vehicle that saw non-stop combat for four months, the chipping is kept to a realistic minimum.
I’m gonna weigh in firmly in the other camp from ajfleche here–that of “artistic expression/license” (no disrespect, aj! [;)])
I think that when I’m modelling a tank, I’m trying to impute the feeling of what the vehicle has been through, as well as an intangible, amorphous characterization of what the vehicle represents–power, destruction, invincibility, fear, horror, etc,…–and I think that while it cetainly is possible (and not advisable) to “go overboard”, it’s also simply a matter of personal style and desire as to how rusty/dusty/dirty/chipped you want your tank; besides, it’s near impossible to get the kind of resolution in old wartime photos that would allow anyone to see the amount of paint degradation and actual chipping that any given tank could potentially bear.
I’m gonna be a “yes man” with "the doog"on this one; and although I don’t know what the heck “amorphous characterization” means, Webster please… (sounds too cool too question anyway), I think we need to exaggerate the scale in order for the viewer to capture what we’re trying to portray, unless of course you like to work with those 1:8 scale tanks.
Go to my “Winter Camo’ Tutorial”, I go over this step in long-winded detail.
The fundamental problem with the question you’ve asked is the inclusion of the word “realistic”.
I agree with aj in regards to the “realism” of chipping and also agree with doog on the “artistic” element of the hobby. The question is really whether or not you want to impart the artistic or stick to the realistic…from the sound of your post, you’re looking for a good artistic method to employ. Many of those have been pointed out by the others and you can achieve a very good artistic effect with any of those methods with enough time, patience, and practice. Those are the keys to making any technique work IMHO. [;)]
I did the same technique on my Hetzer, and it’s in the tutorial “Weathering Tutorial: The Doog’s DML Hetzer” in the search engine. I used a finer grey packing foam; Ron just uses a slightly coarser sponge, like a scotchbrite pad.
Also, you can even experiment with finer/coarser weaves of foam/sponge. Packing foam, Scotchbrite, other sponge material, and other style soft foam can all be tried if you can’t find one specific type.
You also need to know there is no “one color” to always use–try different mixes of metallic gray, and rust shades; darker and lighter, mixed even with metallic grey as well. All it really takes is the wilingness to experiment a bit; it’s really quite a simple technique. Just dip the sponge into a bit of paint color, dab it off on a paper, and just like drybrushing either dab it or drag it along the places you want the effect. I do both–dabbing and dragging depending on the part and the look I want. As I said–experiment!!!
Thanks Phil! I can’t do that with my computer program–cut-n-paste is not available on this site and I don’t want to risk going into the method it tells you to do in order to enable it!
I tend to agree with the Doog in that this hobby is an art and with that artistic expression. But just as there are different styles in art, there are different styles in modeling. From the Doog with artistic expression, I try to stay somewhat to “scale” but have some expression or someone like Heavy Arty who builds “super scale” models. They are all great and can all be apprecieated.
Hell, I like rock, Jazz and Classical (sorry guys no country and no German tanks) [swg]. It is not what is correct it is what do you want your model to express. In this respect all opinions are correct.
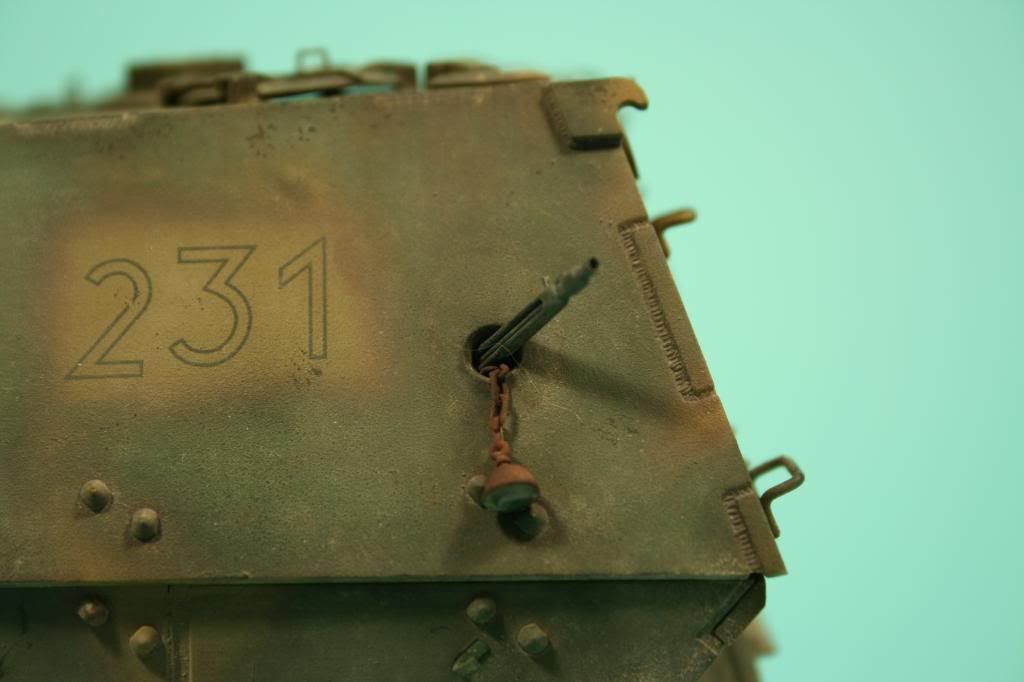
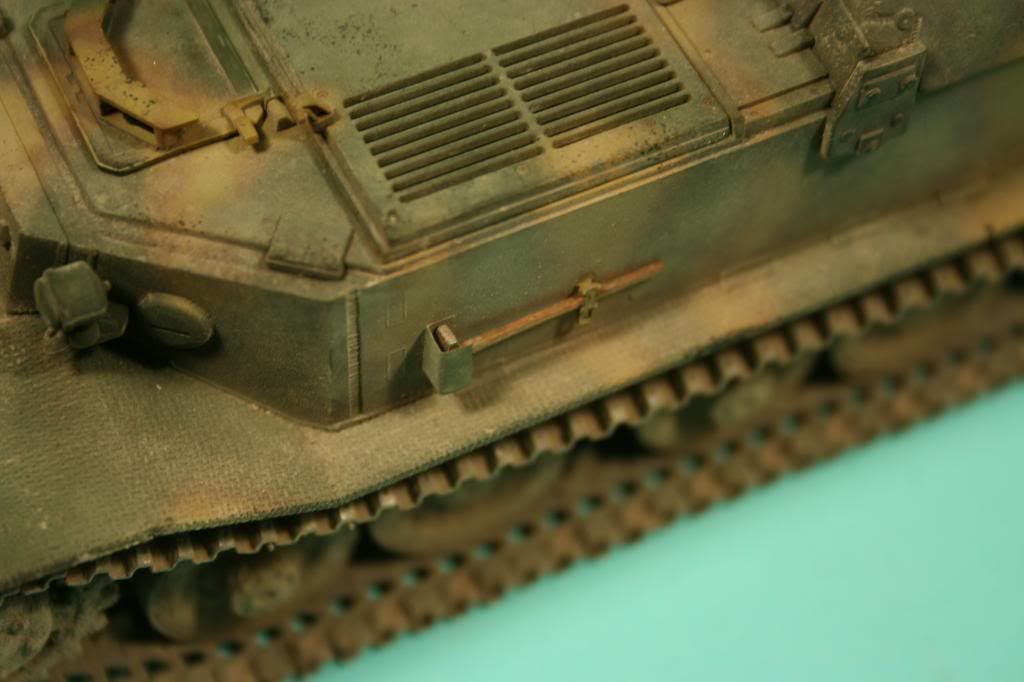
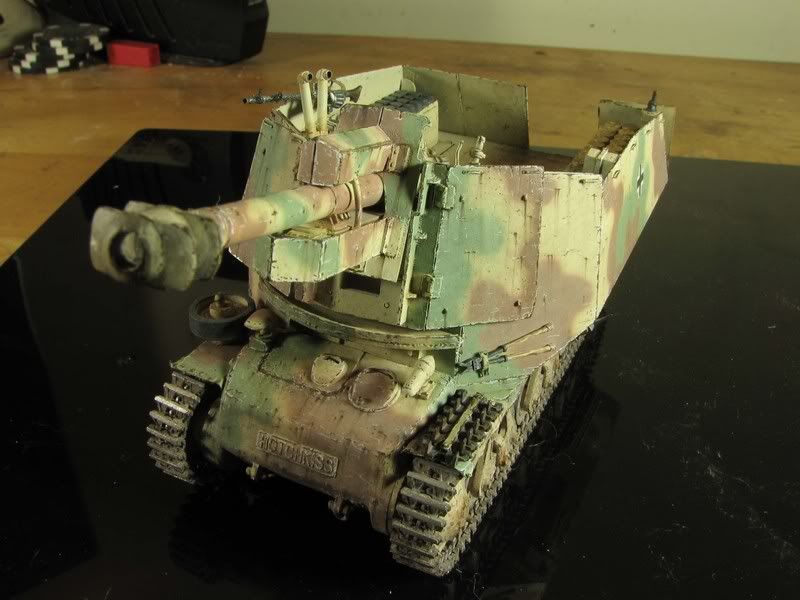
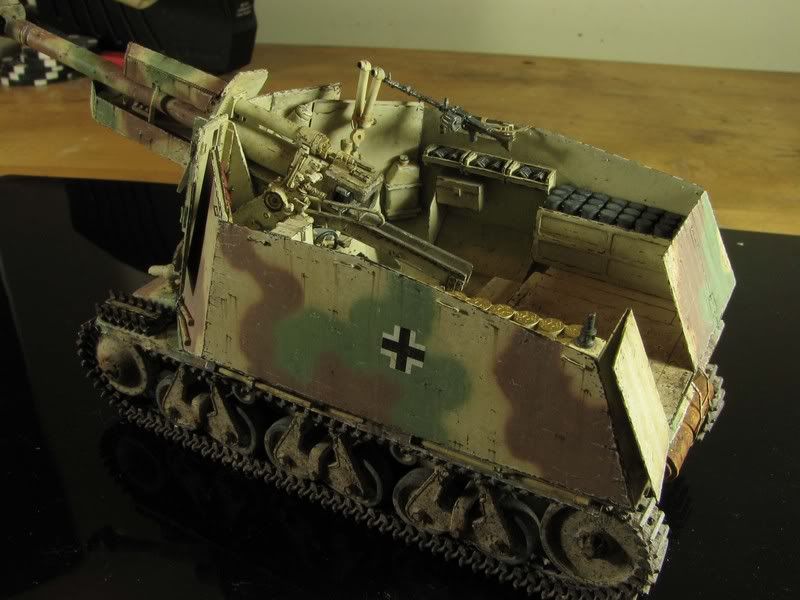
Chips on the H39 were painted with vallejo model color, using size 18 or 0000 brushes. The filters were done with the same paint, just alot thinner of course. With these acrylic colors, tip of the brush would stay thin, making it easier to paint thin lines. The trade off - you have a very small window to correct mistakes. Few seconds at most, then you can’t wipe the paint off without damaging undercoats.
I used to use artist’s oil. It’s too sticky, and difficult to thin the paint right. Artist’s oil is hard to do filter with also, as it would leave edge marks all over the place you’ll need to deal with. Perhaps I’ve not used the right thinner. Turpentine eats away plastic, so I used lighter fluid, which runs too much.
In the past few months, I’ve tried the foam method (think it was doog’s tutorial), wipe method (lacquer base coat, acrylic on top, then wiped off with rubbing alcohol), and stripping with ducktape. All of them seemed too difficult to control to paint the whole thing with.
The foam method can produce extremely small dots that I can’t paint with brushes. I guess using small enough chunks of the right foam could allow better control, I just haven’t figured out how to mix them with the painted shapes so it doesn’t look odd.
IMO, these methods, using foam, q-tip or ducktape, are all cheats. If you can paint small enough with paint brushes, you can produce everything, it’ll just take more time. Isn’t that the point of making models though?
People can engrave 100s of letters on a grain of rice, nothing in 1/35 scale is too small to paint. The right tool definitely helps, and sooner or later you’ll figure out some techniques.