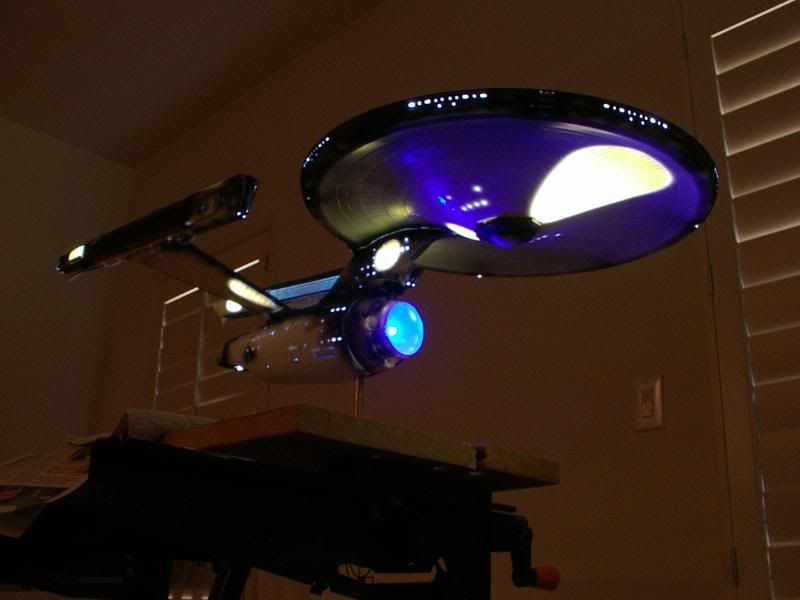
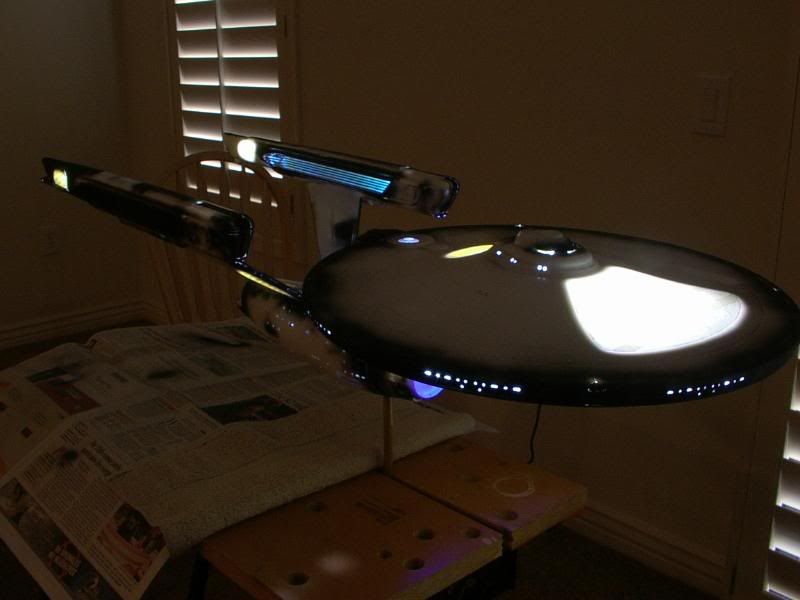
I’ve been tinkering with the Polar Lights 1/350 Enterprise kit for a while now and I’ve read a lot of different approaches that others have taken with the spotlighting issue. In the end, I’ve elected to go with a technique which is being called the “Raytheon lighting method”. Hmmm…how do I explain this without sounding like a rambling madman?
The idea behind this method is to thin the plastic and illuminate the spotlights from inside of the model rather than trying to focus a spotlight from another source shining down on the exterior.
Let’s take the registration lighting on the top of the saucer as an example. In essence, what I have done to this point is to remove all of the items on the underside of the saucer which lie beneath the area I want to spotlight. With this particular kit, it meant using the Dremel to remove a couple of locating posts and pins which would have been right under the decals marking this ship as “NCC-1701 Enterprise”, right under the area I wanted the spotlights to shine. Anything which might cast a shadow has to be removed! There were also a couple of ejector pin marks which I did not fill, electing instead to sand the interior of the saucer until the pin marks and all artifacts from the surgery to remove the locating pegs and posts. I went a little overboard, because in this case, the thinner I could make the plastic, the better.
Once the underside of the saucer half was prepped, I cut out masks which represented the pattern the “spotlights” would throw on the top side once they were lit. I placed the masks on the underside of the saucer and then sprayed the interior with a coat of black primer (for light blocking) and then a coat of white to help reflect the light around inside the saucer. From there, I removed the masks to leave bare plastic where the “spotlight” will fall. Now, it will be a matter of using a larger, brighter LED lamp to illuminate the “spotlighted” areas, but the light will be secured inside the saucer rather than from the B/C deck areas under the bridge.
When I have all of my electronic components in place, the plan is to mask the same “spotlight” pattern on the outside of the saucer and then prime the completed assembly so I can sand out the areas I know that I have probably goofed up. Again, I will be leaving bare plastic in those areas illuminated by my spotlights. Once I am ready for spraying the color coats, I will remove the spotlight masks and paint as usual.
Despite my rambling explanation, the idea is pretty simple…the thinner, bare plastic will allow the spotlights to show through the model and its paint job to give the illusion that there is a spotlight illuminating the registry numbers like the studio model. The same technique is being used for the spotlighted areas on the engineering hull, the engines, and the “Enterprise” name on the fantail of the hangar area. I’ve also used it in my hangar to give the illusion of lights which aren’t really there.
I’ve elected to go with this approach because, somehow, it just seemed easier to me than cutting telescoping lengths of brass tube to make spotlights which have to be aimed and focused. It is effective, fairly easy (in theory!), and inexpensive to do. So, yeah…I’m just as lazy as I am cheap, I guess!
Google “Raytheon lighting” and you’ll be given links to a lot of WIP blogs which give a little clearer description, as well as a few videos which clearly show how effective and convincing the effect can be.

