in the same spirit as my UM BT-7 build is my latest: Roden’s LaGG-3. (which will probably be followed by another kit in the same vein in my crappy eastern european kit collection, the SU-76M, but that’s later).
here’s the kit at greatmodels.com if you want to see some review:
http://greatmodels.com/~smartcart/cgi/display.cgi?item_num=rod037
(although i don’t know if it’s been built in either of those).

ain’t it pretty? the box art is wrong btw (afaik), that’s an early model lagg before they started putting missiles on them and think the intake’s not right either, doesn’t matter. here’s the painting instructions:
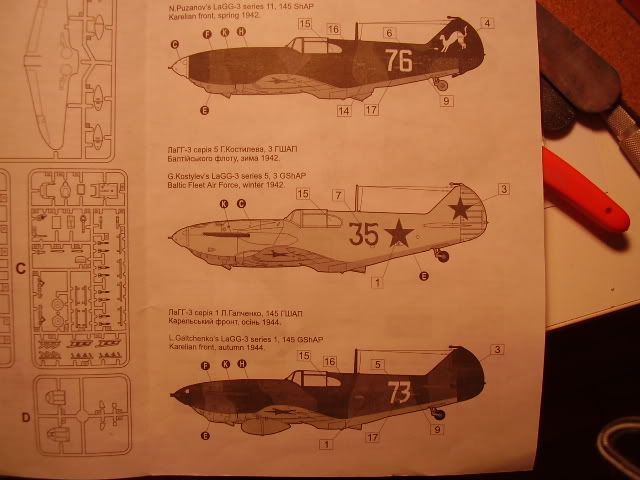
they mixed up the 11 and 1 series images, there’s a good start. details are incorrect as well.
I will admit that the casting does have some very nice, if not subtle, panel detail. unfortunately…
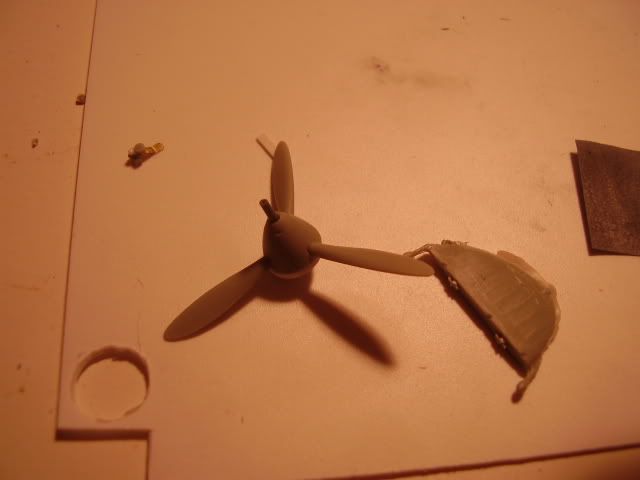
mostly all the large parts have flash on them. that rudder has actually been trimmed somewhat. the nosecone you are told to use in the instructions is incorrect. fortunately, the other nosecone is included along with a multitude of parts for all the models. later model rudder, wing parts, tail parts. again unfortunately the correct nose cone has the opening at the front for the cannon. the cannon’s not in the kit so i had to make my own.
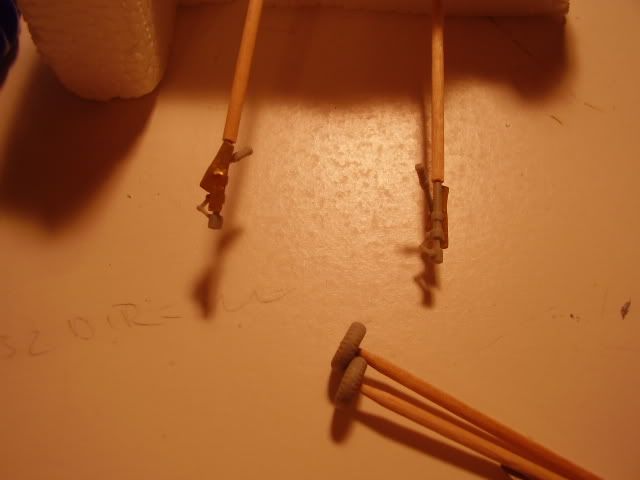
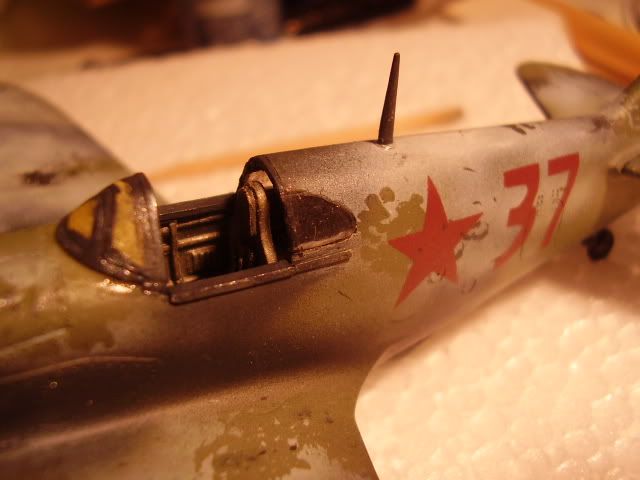
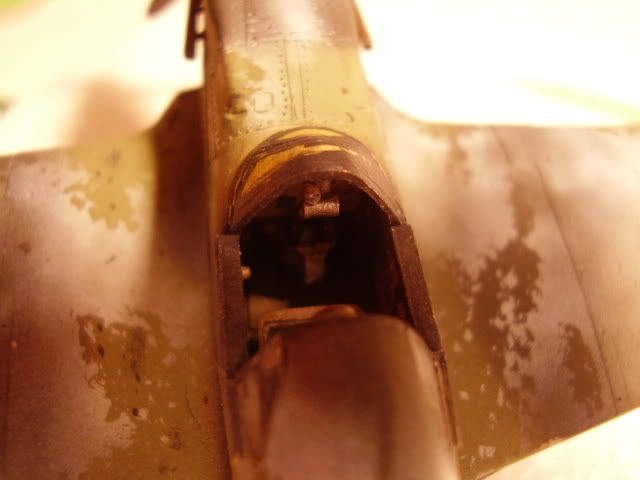
the cockpit is fairly simple but reasonable for 1/72 scale stuff: there’s decals for the dash but i made a simple bevel panel instead of the flat option and scratched some parts to make the stick.
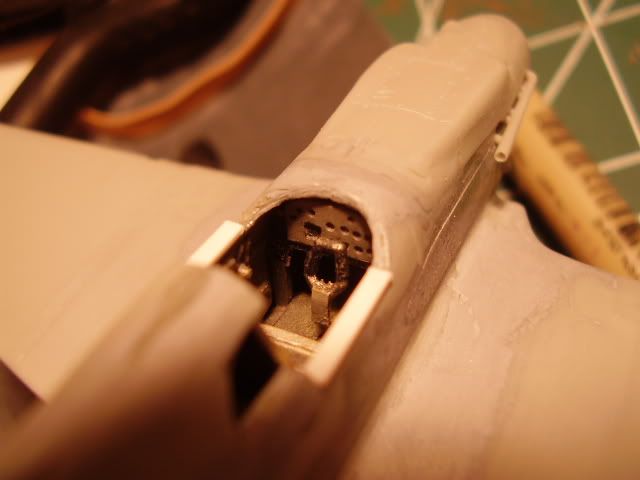
the seat looked alright but i decided to scratch build some seatbelts.

note that i screwed up and painted the inside of the cockpit a metallic flat grey like the instructions said. guess what, the plane was made almost entirely of wood. i guess the interior might’ve been painted silver but i have my doubts. the interior took some hammering and cutting to fit into the fuselage…
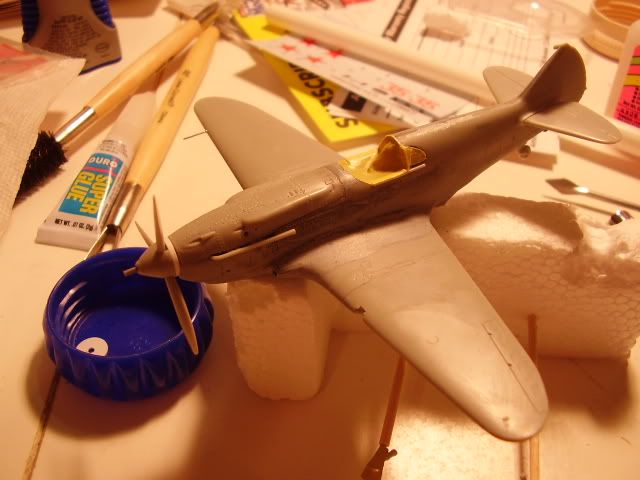
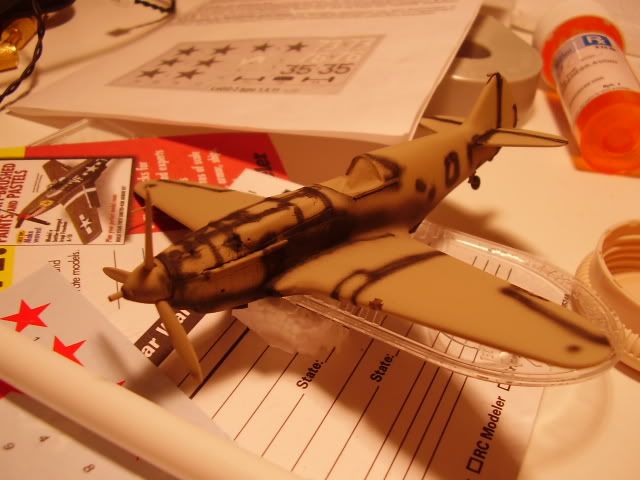
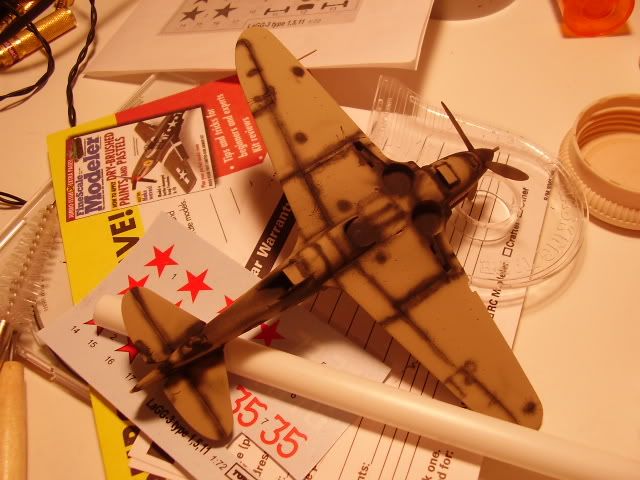
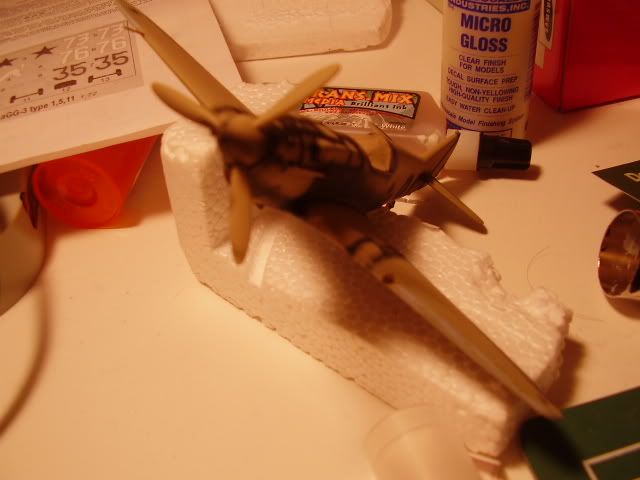
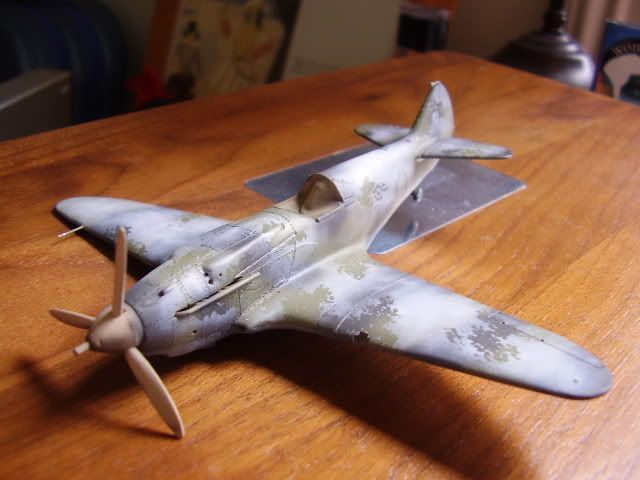
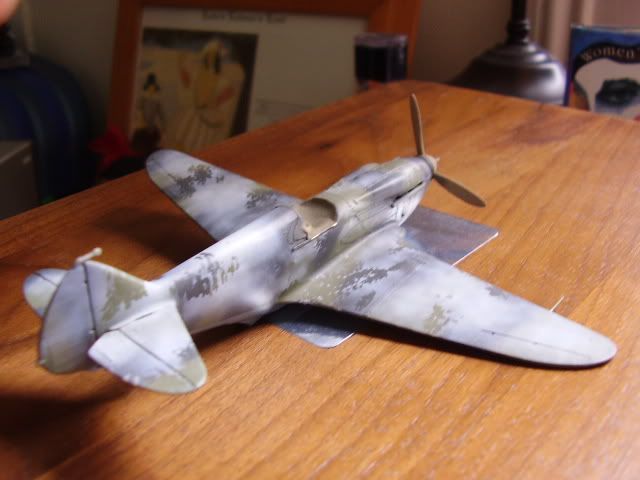
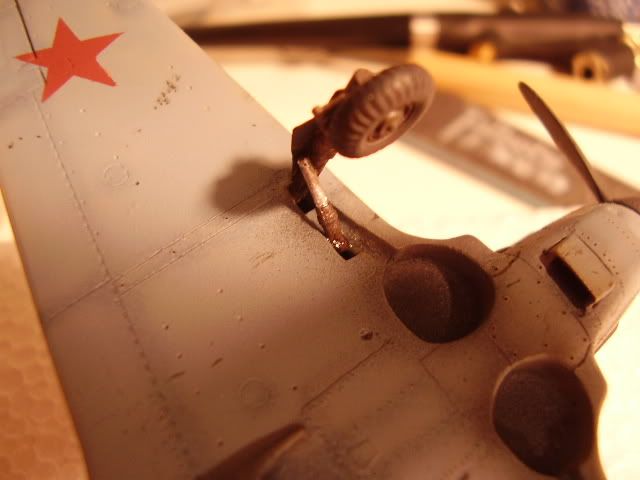
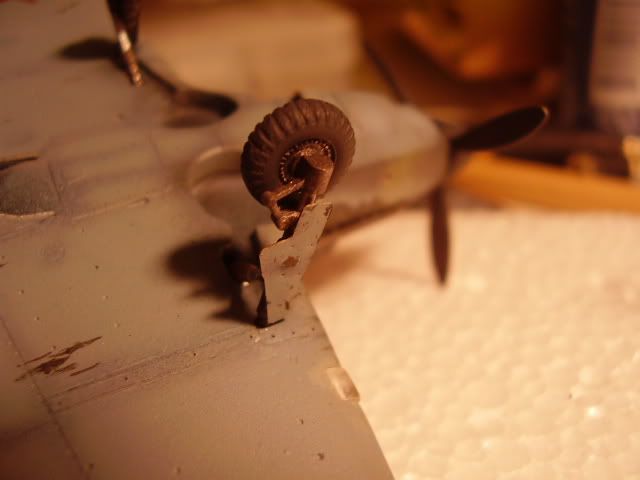
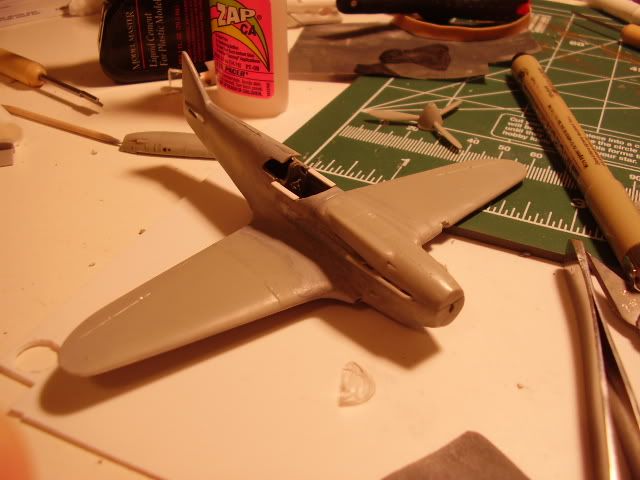
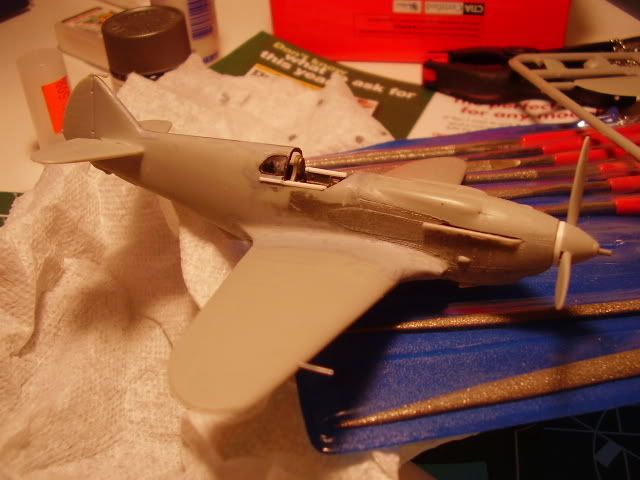
the white strips on either side are there to replicate the canopy rails. i’m going for a loose representation of a generic leningrad defense winter lagg which means chopped landing gear panels, a nasty looking whitewash job and a removed canopy (to allow the pilot to bail out when the plane decided that whole staying in the air thing is highly over-rated…)
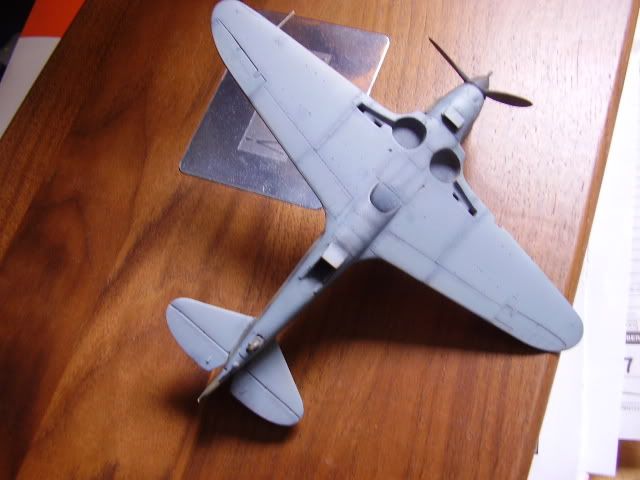
the fuselage… well it’s kinda like a plane but it’s also kinda like a warped jigsaw puzzle with some pieces missing. you like filling gaps? 1/32" spaces between should-be-flush panels turn you on? well this is the kit for you!
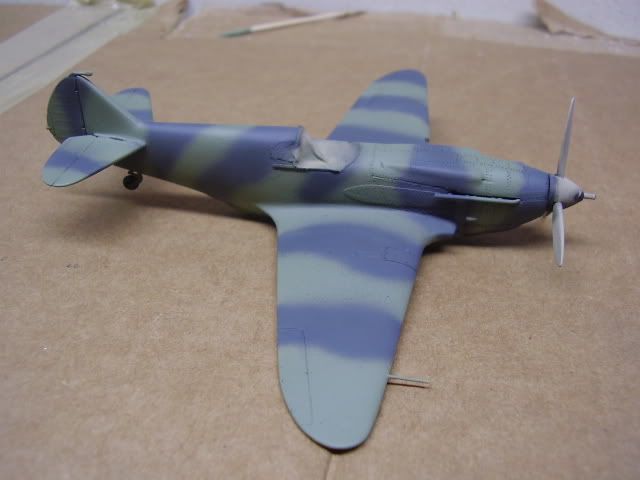
see all that gray silvery stuff on the plane? yeh, i know the styrene is gray, it’s hard to see, i’m sorry. if you look carefully you can see the 2/3" wide strip of putty on each wing seam, all the way down the back spine of the place and right behind the hood.
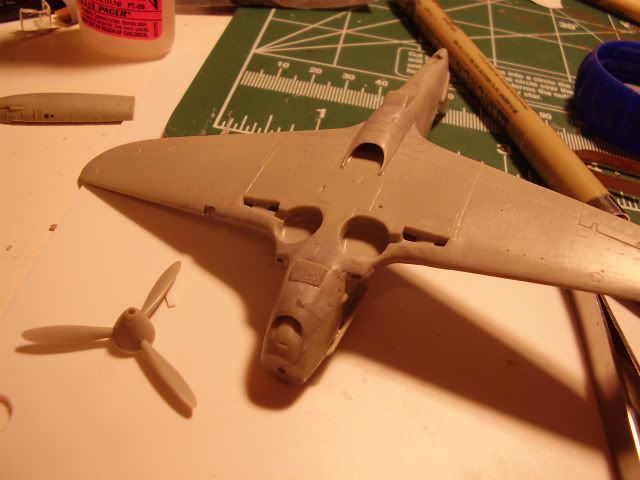
and look at that, all the cowles had to be pretty much sculpted out of the putty. it’s very therapeutic actually, kinda like trimming the little trees… oh yeh, the general shape of the bottom of the fuselage in the back was wrong, needed to trim that…
remember that nice surface detail i mentioned? now remember all that filing and sculpting putty. yup, all the lovely detail gone. good thing i like rescribing panel lines. wait, no i dont…
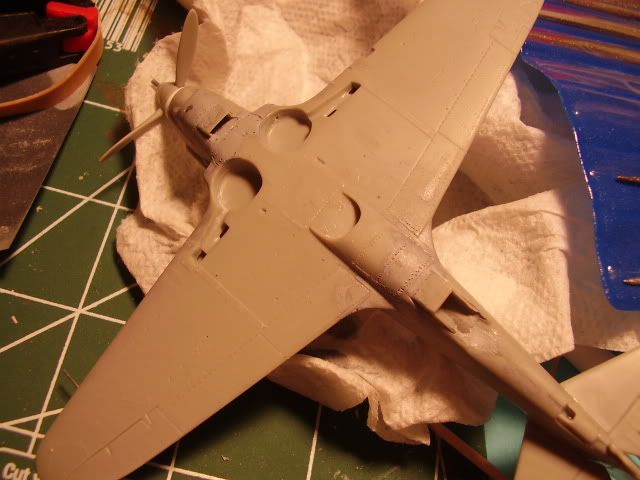
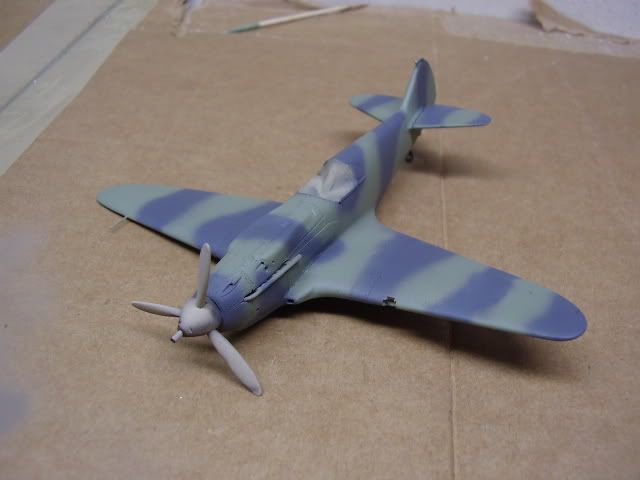
and that’s just the bottom. the sides were much more of a pain in the ass.

oh yeh, and i put the rear windows too (scratch built the “glass” too because the original pieces they give you aren’t curved and look scewed up and then i fogged one of the windows up with glue…) and added the tail. the tail went on alright but i did need to cut off the tabs for the slots on the fuselage to line things up correctly.
gotta have all those bolts too. yeh, it looks like crap… poke poke poke poke poke poke… mmmmmmm, mind numbing…
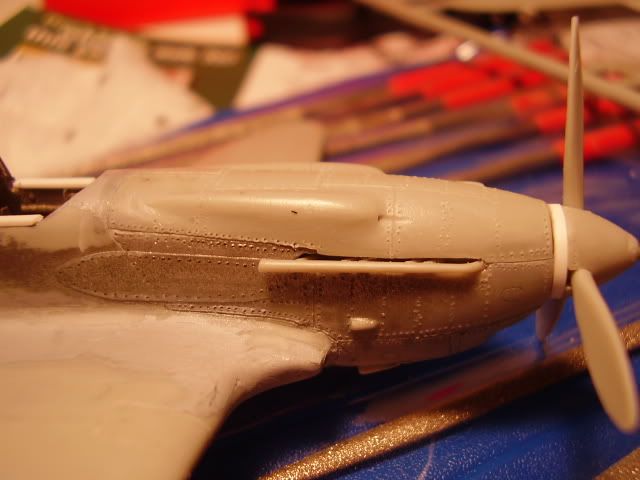
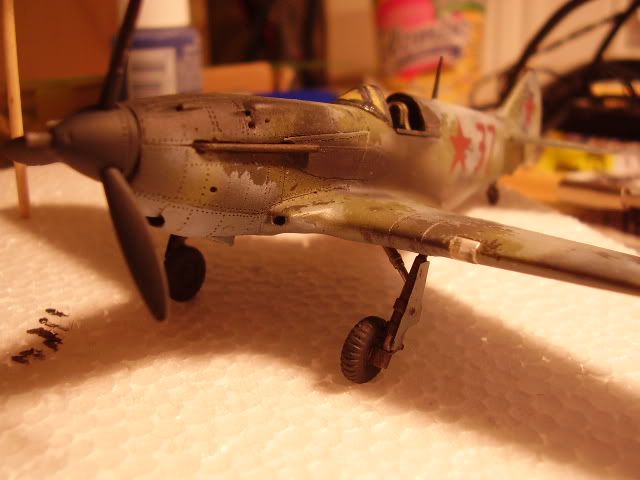
the white ring at the prop is a correction to the nosecone.
looking close up i can see plenty of blemishes now. guess i’ll just have to blame it on the shoddy workmanship of the original (it’s VERY authentic [:D]). when they first started making the LaGGs they might as well had been made with stone tools.