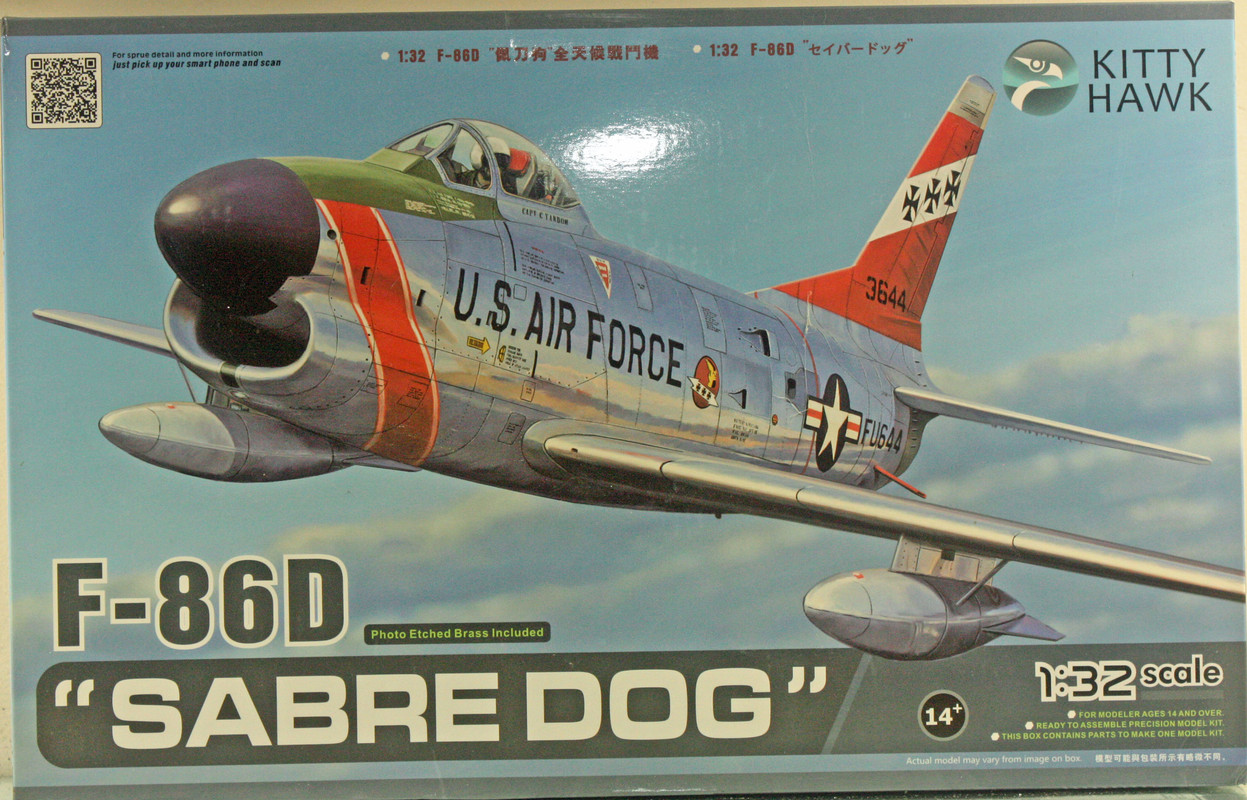
One of my latest two builds is a variant that I had never built but was nonetheless fairly familiar with. I remember some excitement over the kits that were coming from a new manufacturer called Kitty Hawk. They had that F9F Cougar that I grabbed (still in my stash), and despite having picked up a 48th scale F-86D, I could not resist picking up this 32nd scale kit to go along with that smaller one.
Let me just say right up front that I did not have any fun building this thing. This was not my first Kitty Hawk build; that was their goofy XF5U Flying Pancake. I had no issues with that Pancake kit. Which is why this Dog Sabre caught me off guard.
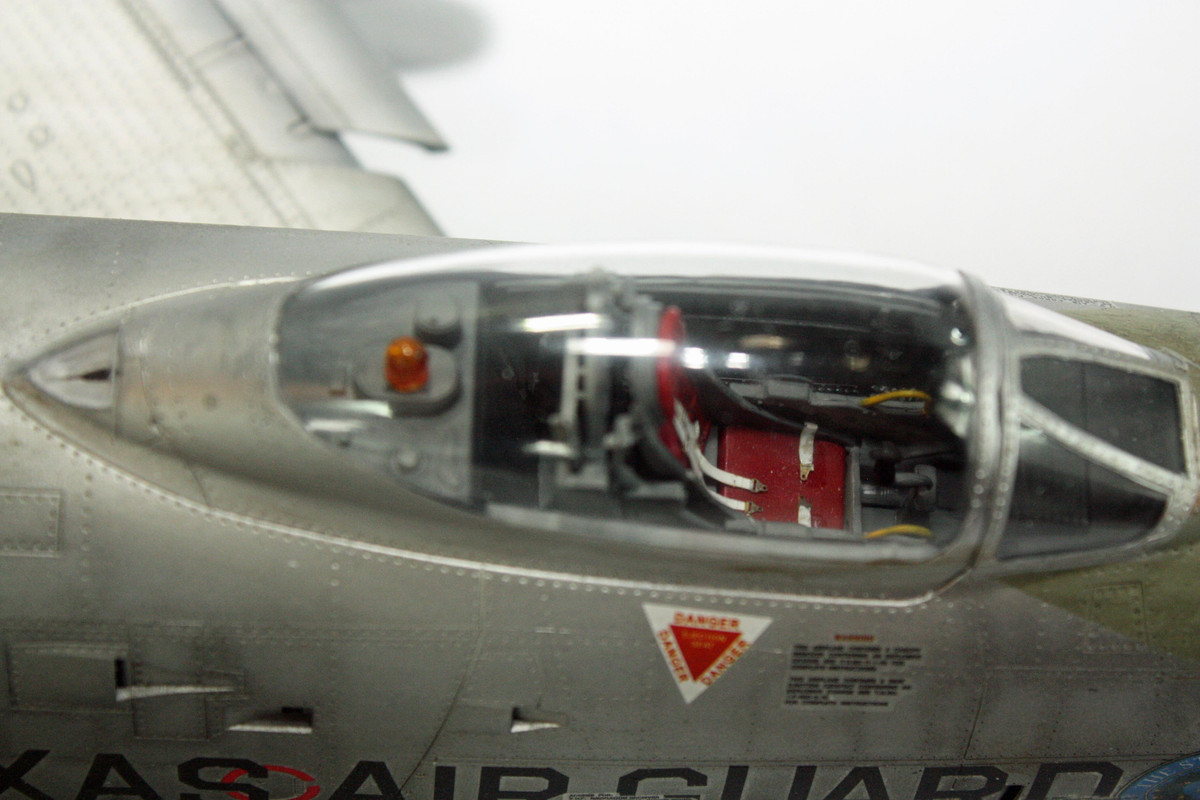
For starters, the kit is chock full of details that will never be seen. There is a complete engine inside the fuselage, along with the associated intake trunk and exhaust cone. The cockpit is fully outfitted. Early on, I ran across a photo from a build review of this kit, where the fella doing the building was apparently as frustrated as I would become, and took a picture of one of the sprues with his free hand giving that sprue the finger.
Kitty Hawk engineered this thing to very exacting fit tolerances. If anything is not exactly set as intended, you’re going to find lots of downstream issues. It’s possible this is what plagued my build, but I really don’t think so, as I dry-fitted everything many times over and never saw the fit issues that I’d see once the glue was out. The fuselage is a multi-part construction. You put the engine into the forward section right behind the cockpit. The exhaust nozzle extends out of that front section, and you are to mount the rear section around the exhaust nozzle. My problem was that the rear section would never mount flush with the forward section with all the various parts in both those sections. I ended up cutting off a quarter inch of the nozzle from its connection point to the engine. (There is nothing provided that would allow you to build with the rear section pulled off; I was not interested in scratch building the cart that ground crews used when servicing the exhaust nozzle portion of the engine).
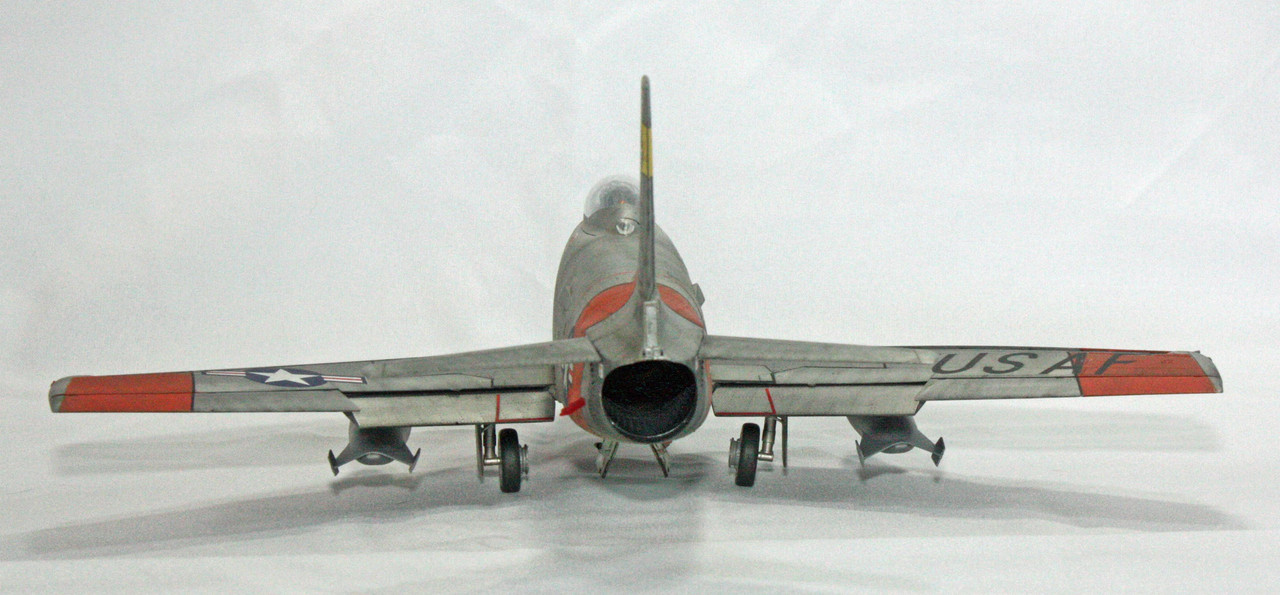
But that was not the end of my difficulties. The forward section of the fuselage contains the intake trunking that ended up being too long to fit inside. Again, I had to remove some of the plastic to get the trunking to fit correctly. Still, that was not enough. That modification did allow for the bottom portion of the nose cone to fit flush against the intake trunking, but the nose cone itself (which concealed a radar unit that I left off) did not fit flush against the forward fuselage. There was no amount of pushing it into place that would eliminate a huge gap between cone and fuselage. I ended up cutting two discs of .015mm sheet styrene that allowed for a much better fit, and after holding the cone against the fuselage for a good 10 minutes to allow for the glue to set sufficiently, I had a good fit.
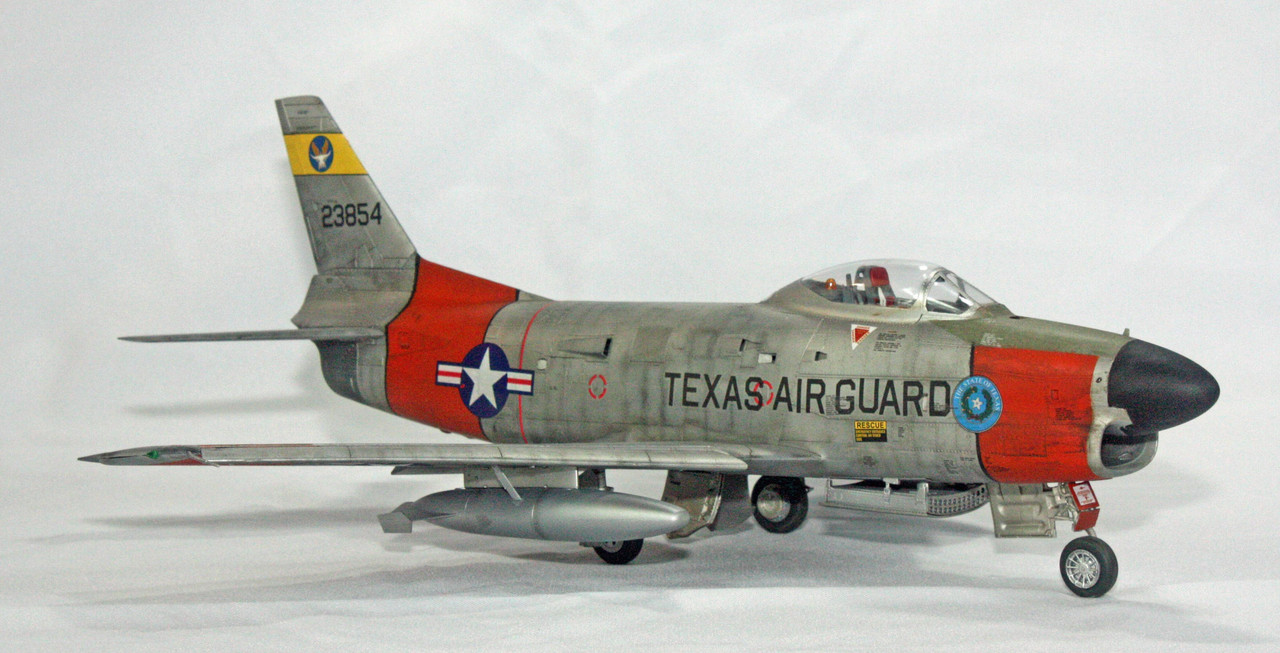
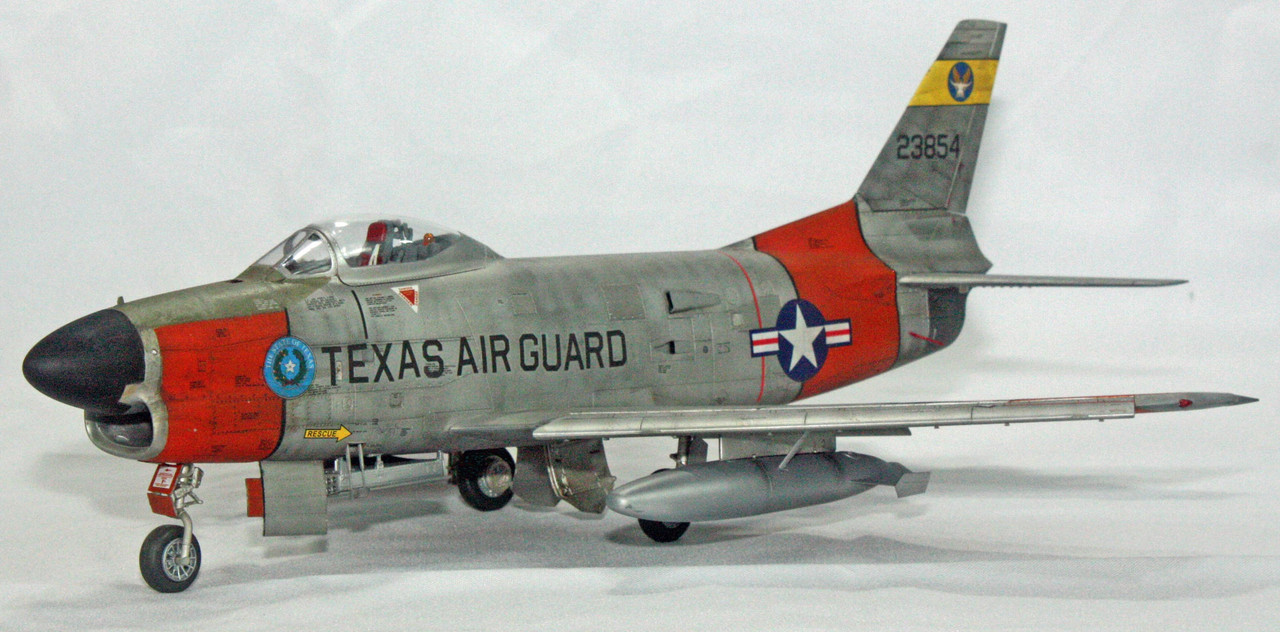
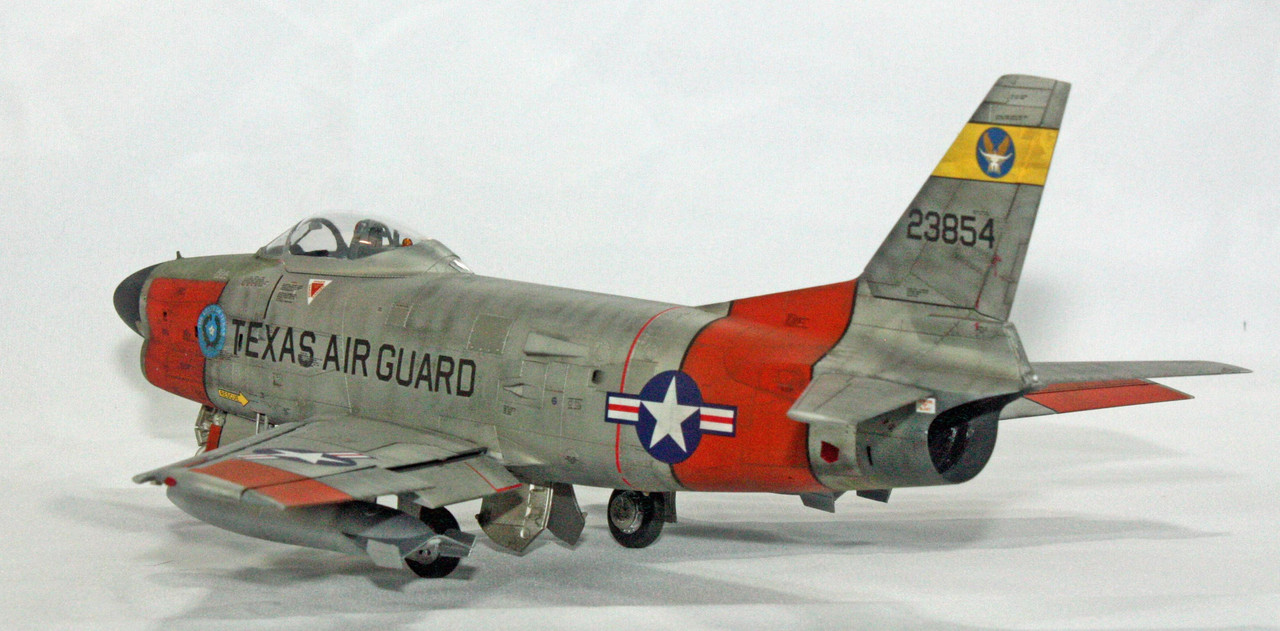
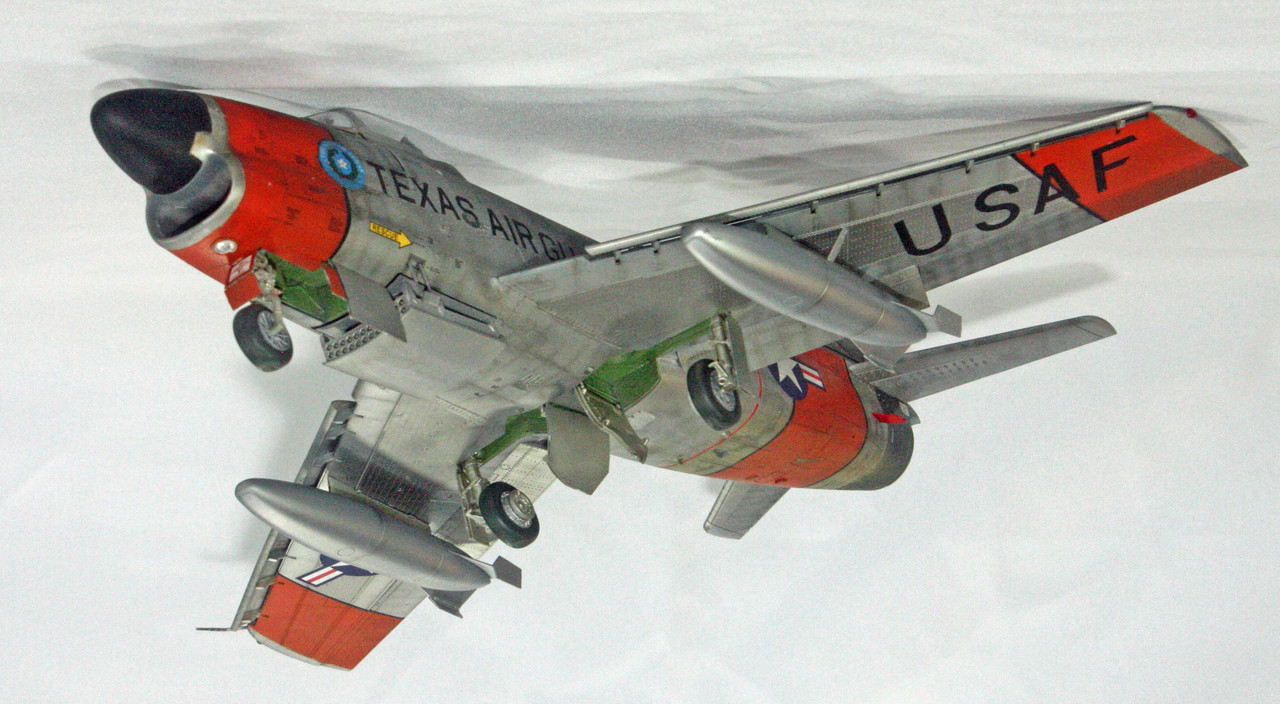
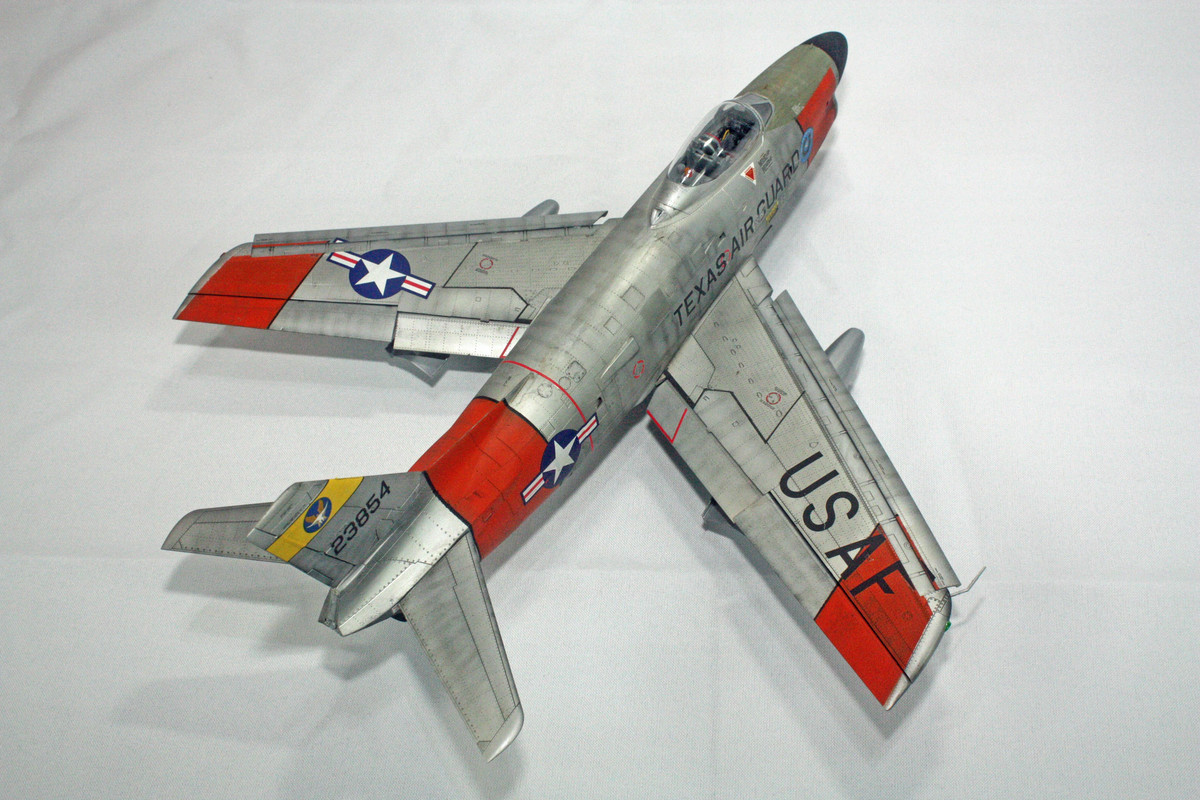
Paints are AK Interactive XTreme Metallics - aluminum, dark aluminum, white aluminum, and jet exhaust. Black and green zinc chromate from Mission Models. As with the 1/48th Dog Sabre, I originally planned to build the boxart kit, but decided that the Texas Air Guard aircraft was more a natural fit for this native Texan. Problem was, that build required orange (Aggies don’t like orange due to the school in Austin), but as it so happened, I’d needed some orange on a Star Wars B-Wing build I did a couple of years ago, so I was good to go. I added the black borders around the orange stripes as well.
Decals were of good quality, although I wish I’d trimmed the yellow stripe on the rudder better than I did, as you can see some overlap (it’s a two-part decal for the rudder and the control surface). Or better yet, I should have just painted the thing, but had already placed the logo atop the yellow stripe when I noticed how bad the yellow stripe looked.
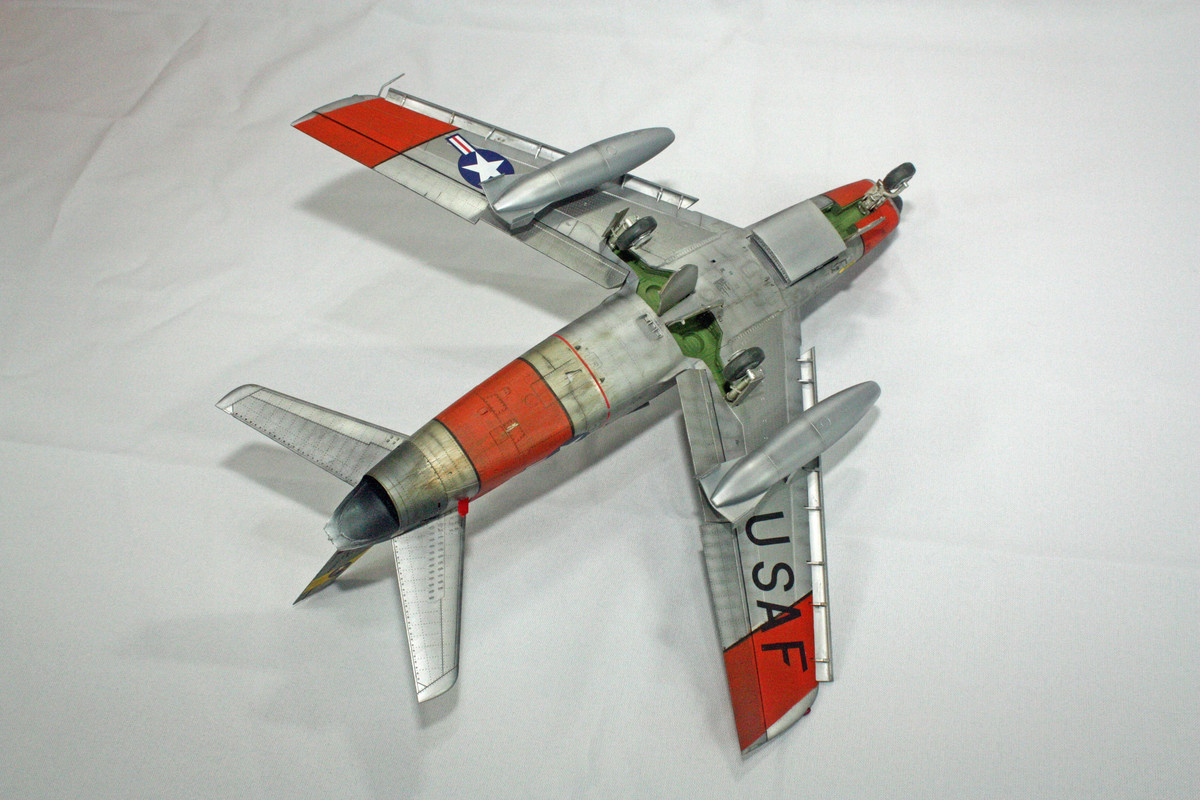
So one might think that by this time in my story, all was well. But no, my problems were not done. This morning I was doing some touch-up painting (wing tip lights), when I lifted it for a bit of a closer look and managed to clip the rear part of the model against one of the light fixtures that I mounted above my workbench. This managed to dislodge my grip on the model, and down it went. It crashed onto the workbench surface and all I saw were several parts come off the model. I mean, with all the trouble I had with this thing, it’s not surprising the blind rage that built up in me at that moment. I saw myself HULK SMASHing this turkey … but I stepped back long enough to see just what the damage was. One of the stabilizers and one of the drop tanks had popped off, the front gear was gone, and one of the main gear was askew. That was it. I finally located the front gear half way across the work room, and then was able to effect the necessary repairs.
Photos indicate that the main gear is still askew, so I’ll need to do some more work on it.

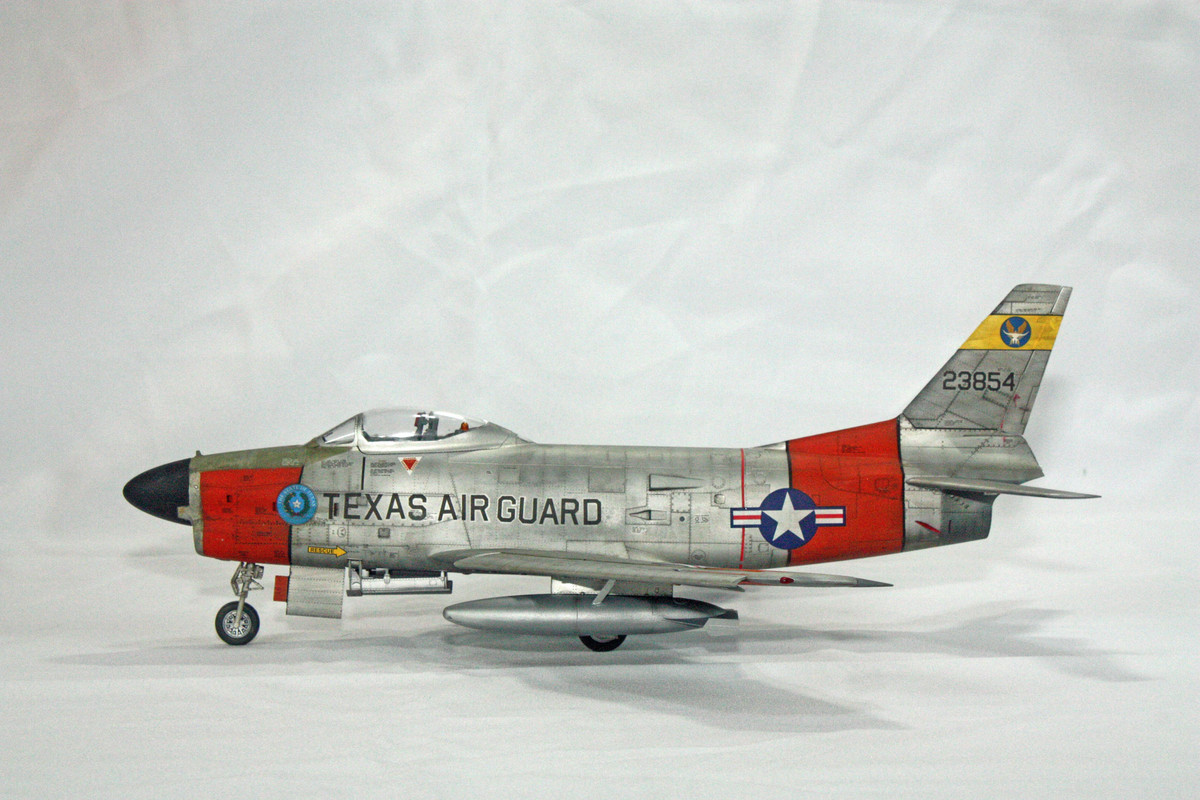

Now, after all the trouble I had with this one, I actually think I did a good job overcoming all of that.