I returned to model building during COVID. I built many military planes (plastic), balsa wood planes, and car models in junior high and high school. I enjoyed models of all kinds. I did a few car models when my kids were young in the late 90s. Now I focus on car models. I am a subscriber to HPIguys YouTube channel and like his style and techniques. I often buy kits from 90’s and I’m not partial to any brand, I like all brands each with their unique approaches. I’m not a perfectionist (but I try to do nice work) and don’t compete at model shows. I don’t let perfect get in the way of good enough for me (for my talent level and patience). I just build models because I enjoy the hobby. I have an airbrush, but I really don’t have a good place to set it up in my house, so I prefer to use rattle cans and paint in my unheated attached garage. It can be tricky painting out there on cold winter days here in Minnesota. I like to use aftermarket wheels, usually Pegasus and Jays Resin Wheels from eBay. I’ve had some fun customizing some kits, with new motors, rusty/weathered paint or custom colors, fabric interiors etc. I have had some failures along the way, but problem solving is part of the fun for me.
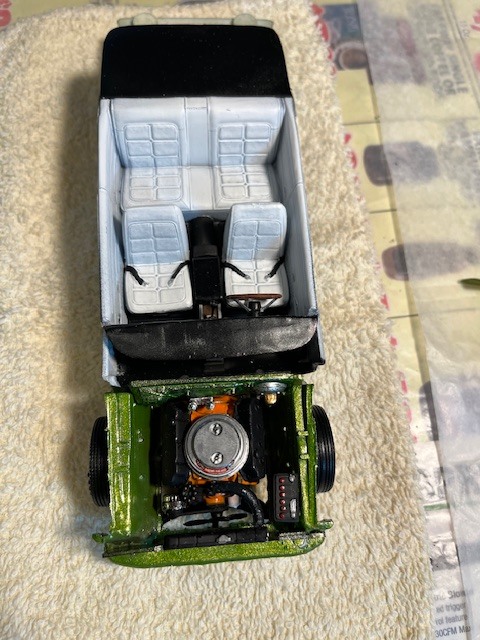
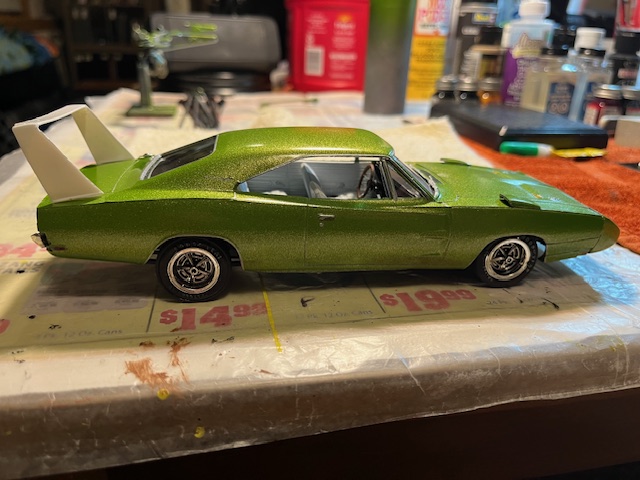
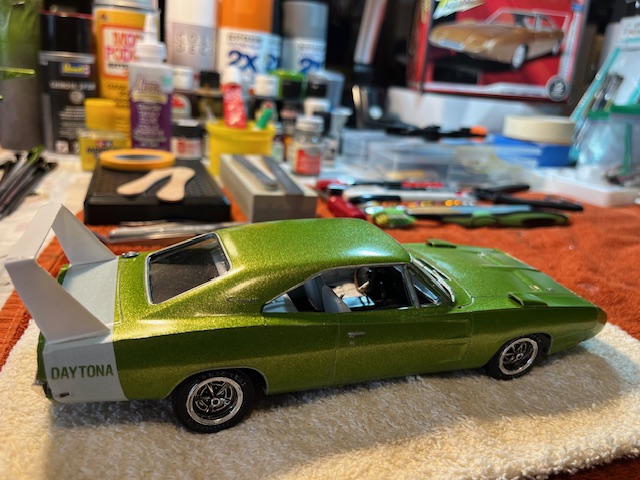
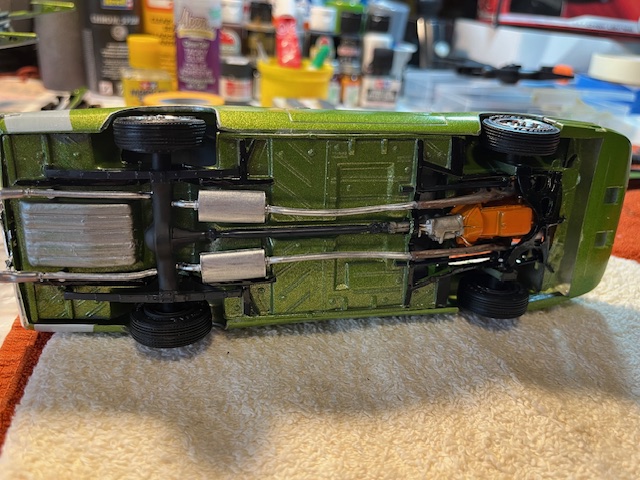
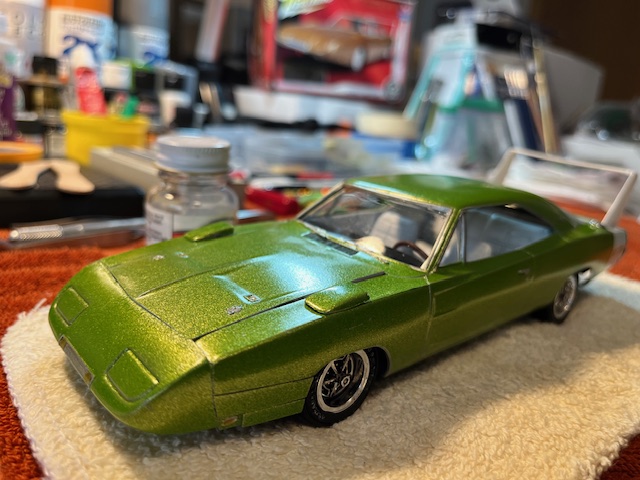
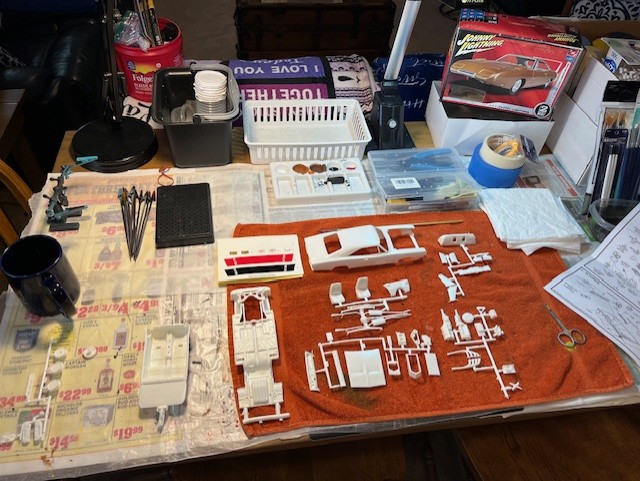
With that background, I wanted to share my current project. It’s a 69 Charger Daytona, Johnny Lighting version from AMT/Ertl. It doesn’t have many parts and some details are absent (like no radiator hoses, no shocks, no gas/brake/clutch peddles). It was released in 2006 during the Ertl era, so it has lots of flash and injection molding issues. At the end of the build I noticed that the windshield glass didn’t fit well. Turns out the roof is warped (pushed) to the driver’s side creating a challenge with fitment and appearance. Also, this kit is based on the original MPC version I think, so some details are a little light or not thought through when it was engineered, but I enjoy problem solving.
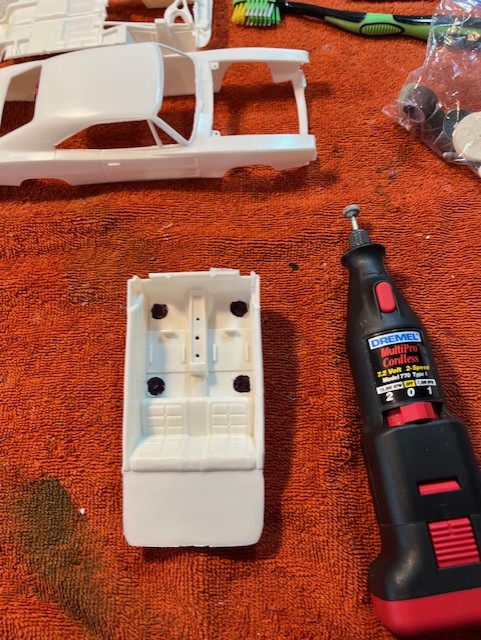
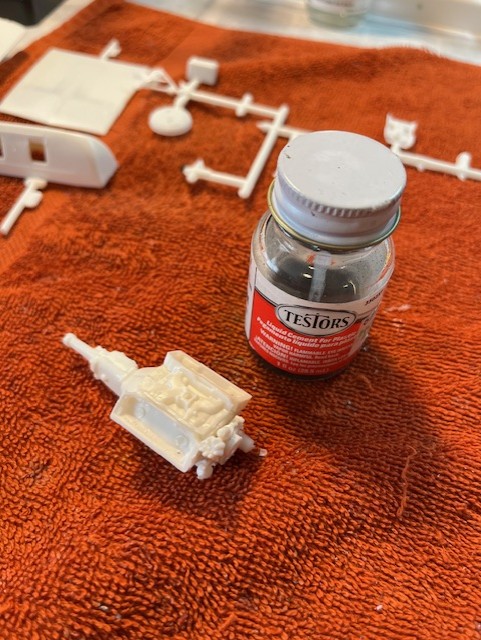
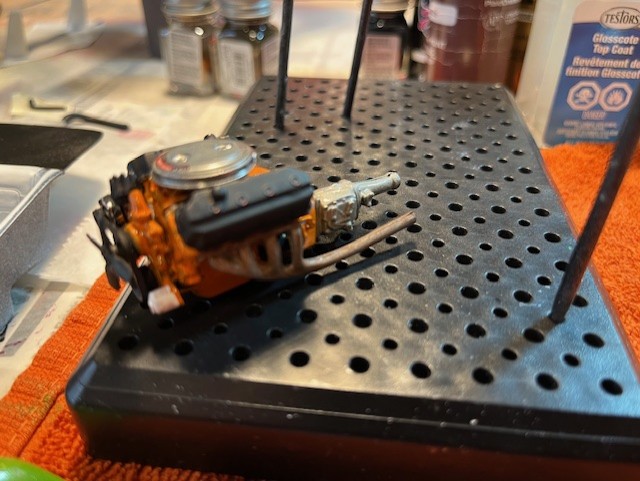
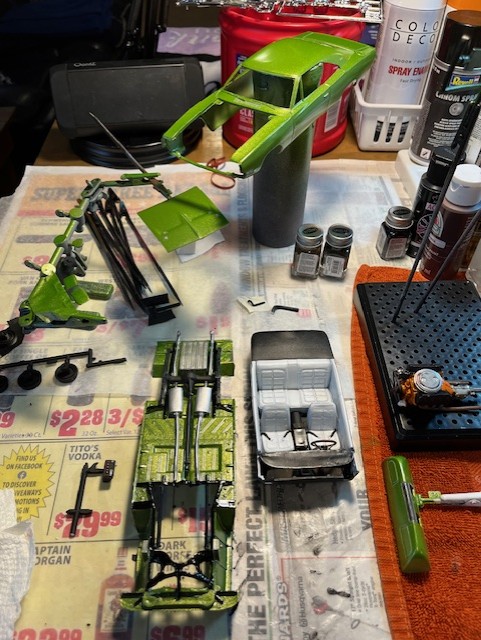
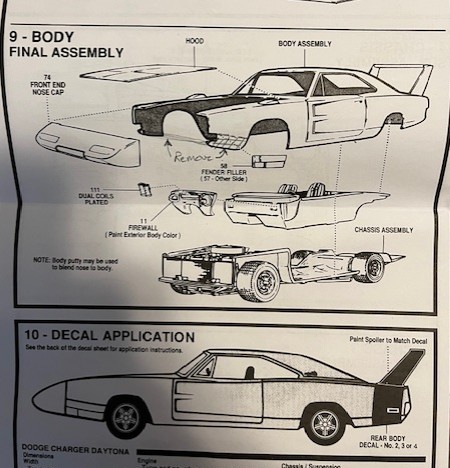
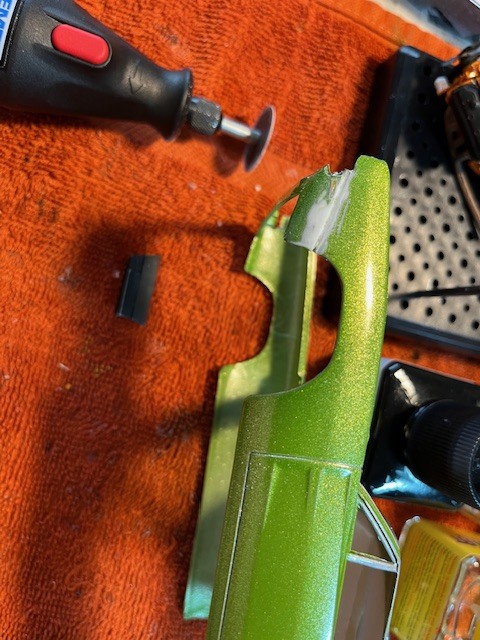
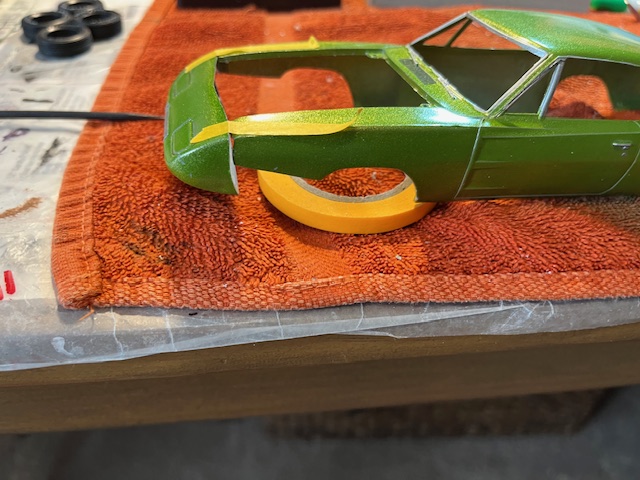
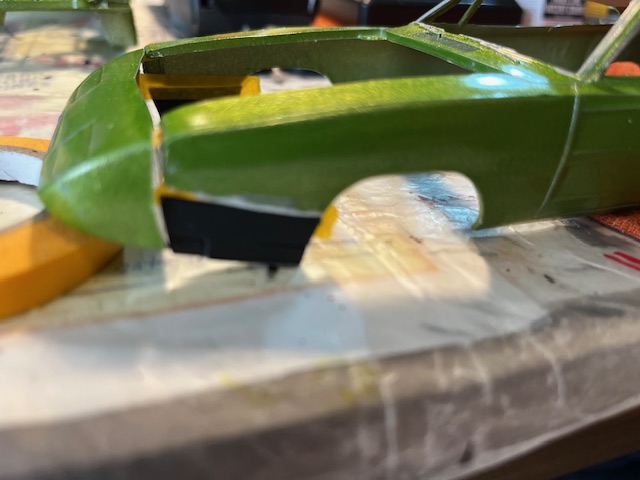
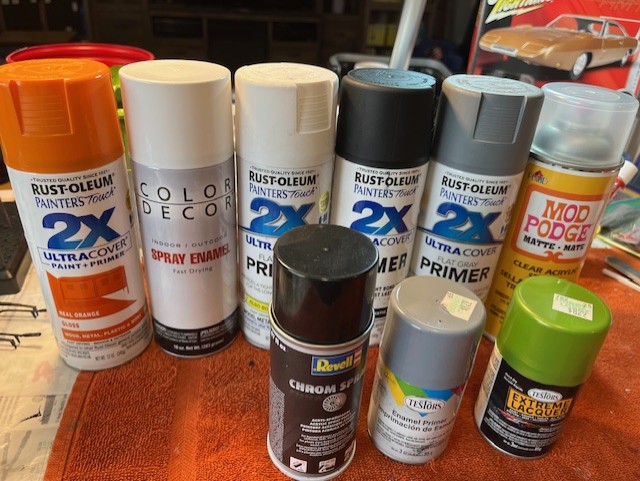
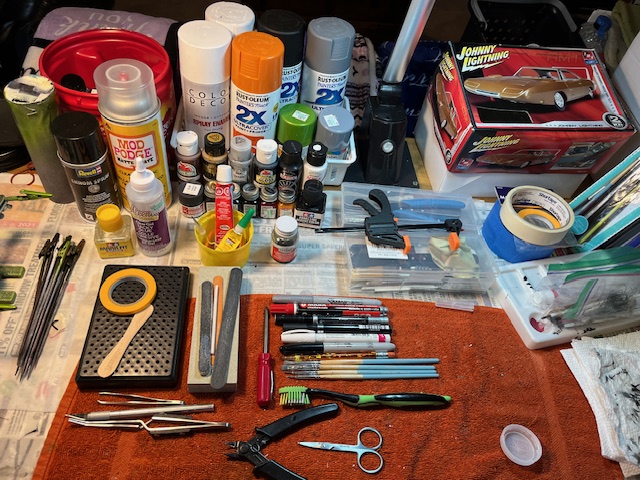
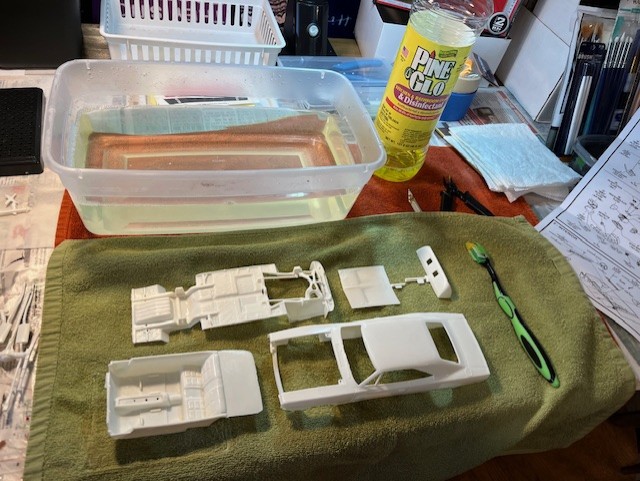
Many mistakes were made during this build, so don’t do as I did on this one, but it turned out okay in my view. I got way ahead of myself and painted the car body before attaching the nose cone and front fender extensions. It was a bad choice (I knew better), but I made it work with some light touch up painting after the body work was done. This kit is engineered with the front end of the 69 Charger R/T bumper/grill opening to be covered by the Daytona’s aero nose cone and fender extensions, which is kind of a bad design. Revell did not do it that way on their version of this car, so their kit requires a lot less body work and could turn out better with less work in my opinion. Here are some pics of my process and experiences with this kit. I have included a picture of tools I used and the paints used for this kit. Let me know what you think.
![a0b00fb3-6c40-4bfc-af51-4158b4fa78e4|375x500]