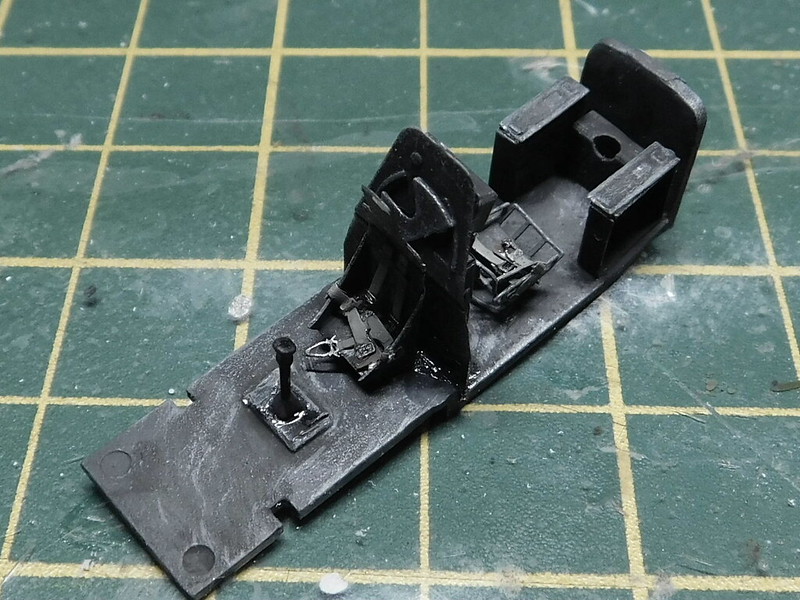
That does look nice PJ. the cockpits in this scale are getting better and better. Bish, I’ve ordered a Revell 1/72 Junkers F.13, as I couldn’t get my paws on a civilian Ju 86. I’ll have to cook up some decals on my own to build an Australian civil aircraft. It should be here in a week or so, but I’ll partipicate here in the meantime.
Nice work PJ. that pit is well stocked with detail. I compared mine to a hase kit when i got it and could not believe how nice the revell kit is. That pilots seat always looks odd to me with the crocked head rest.
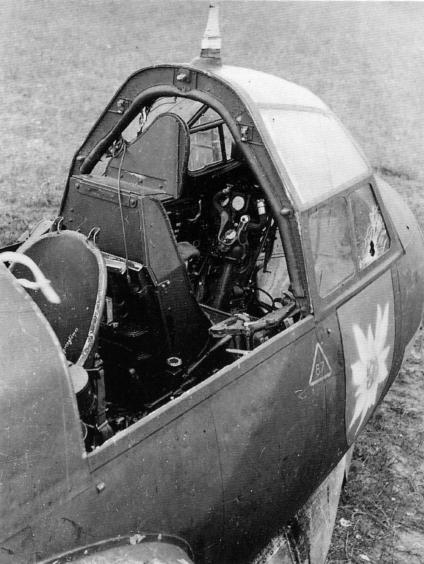
I have been researching the pit color and looks like RLM66 is the correct one. I was hoping to use RLM02 which is lighter and makes details easier to see but the color changeover started in the summer of 41.
Im still researching things in the 3 GBs I’m in so info is slowly surfacing. The armored seats are for G and Hs so I’m still looking for A references before removing any details.
Made a start on the Stuka last weekend, this is the kit, i am doing the subject on the box art, S7+AA.
The instructions say it a D-1, but the photo’s clearly show the thicker armoured pilots windscreen of a D-3.
I’m useing an Eduard PE set along with a few other AM parts. The Aires resin pit designed for the Academy kit will fit in this, as i found out when i built a D-5, but as i had the Eduard set anyway, figured i would use it. The PE set is missing some detail thats in the resin one, but i’ll use some parts from the spares box to fill it out.
I got the PE parts fitted painted and dry brushed. Also drilled out the hole and fitted a quickboost resin compass.
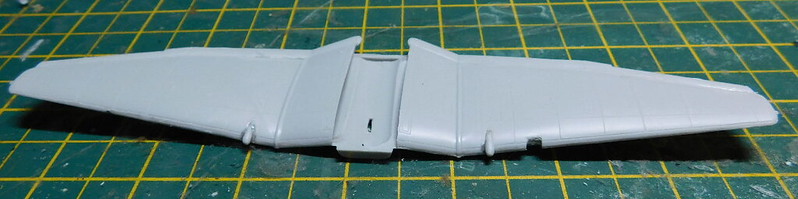
I also got the wings together, cut out the molded landing light and fitted the guns. There are 2 options for the wing guns in the kit. One with exposed barrel tips for the D-1 and another with extended fairing and covered opening for the D-3. But photo’s show that both variants could have either. I am guessing the covered fairings are to stop dirt getting in to the barrels on take off, and the covers do seem to be fited more often to aircraft in dusty enviroments, such as the desert. The photo’s of the aircrfat i am doing are not that clear, but it does look more like the covered option so thats what i fitted.
Bish: Nice!!! I built the tankbuster version of the 1/72nd Fujumi kit waaaaaaay back- I think it was the '90s and thought it was a gem of kit. Looks good so far, looking forward to more.
Tony: Looking forward to the F.13 that sounds really cool!
BTW: The PE for the Ju-188 came in Friday and I did a little work over the weekend. Photos when I get enough done to be worth posting!