I would be pretty impressive! I think it would be the pinnacle of personal airbrush achievement to pull that one off! I’d have to lay off coffee a while for that one! [H] However, it may not be too overly difficult…testors paint sticks! I have never dealt with those, but an initial splinter scheme in MM, then the lines. I may even get by with a fine brush, painted on. Then, there’s the more simple obstacle…where to get the B and U decals?. I may have some…somewhere.
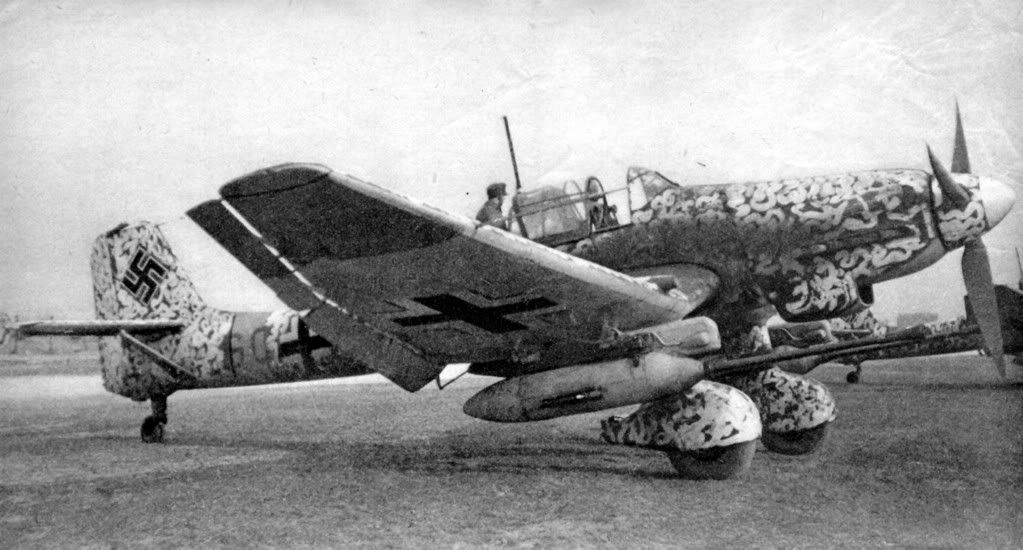
painting it on with a brush could be the way to go, I would imagine that could have been how its done. There are plenty of decals sets out there for letters, but of course it means a whole set. It looks like there is also the small code to the front of the cross, it looks like S7 on this one.
Good eye on the S7. I hadn’t noticed that before. I have no info. about unit, location, etc. Just the picture. I think you’re right. I can imagine a few men in black. with paint brushes and buckets of white out there doing a field mod. Slow and meticulous with some enamel white and a fine brush, here. I’ll do more research on the lettering…
A photographic example of the same scheme. Definitely looks brushed (white washed on). Of note, painted on ID lettering. There’s another in the background.
Love the work everyone’s doing in this GB! Today at work I had that “Holy crap, only three months to go! Better get my hintern in gear.” moment, so I finished up my half-completed cockpit this evening. Not terribly great, but the most work I’ve put into a pit to date, so I’m pretty proud of myself. I did a wash and some dry brushing with a lightened version of RLM02 to bring out the highlights. I was a bit disappointed that there weren’t any levers for my to pick out in red & yellow, but c’est la vie.
The IP was a bit odd (for me at least), being a styrene ‘base’, with two sets of decals sandwiched between two pieces of PE. I think it turned out pretty ok, except that you can spot a bit of the brass-colored PE around the gauges. Not too worried about it though, since it’ll be buttoned up in the fuselage anyway.
Tom, S7 is the code for StG 3/SG 3. Your aircraft would be the latter. I would imagine this scheme is from the winter of 44/45 as SG 3 didn’t get Ju 87G’s until Fed 44 in which case the 10 Pz Staffel was based in East Prussia from Oct to Dec 44 and then moved to Saxony for the rest of the war.
Raven, that’s looking good, don’t worry, you have plenty of time.
Panzer, that scheme is gorgeous. Pulling that off would be legendary.
Thanks Mustang! It’s the Italeri 1/48 B-2 kit. I like it so far, it’s well-molded, no flash. It definitely feels like a step up from the Revell kits I’ve been banging away on all year so far. [;)]
Edit: Just noticed that there are a couple of control levers there. Now why didn’t I see those before? May be time to invest in a pair of optivisors… [8-|]
Hi all! Well, with the completion of my third and last entry for the Fw 190 GB, I can give the bench a quick tidy and turn to other projects which have been clamouring for attention. Yesterday I took stock of the Stuka I began for this GB and added a couple of parts, did a few spots of cockpit painting and started to get my head around the engine assembly (yes, it’s a Hasegawa…)
I have Eduard harness for the pilot’s seat but as the cockpit will be closed I’m thinking of using a spare “1935 - 1939” type harness from one of the frets I’m currently working with. It might not be quite correct for a 1941 aircraft, but it’ll look good in the pit and save sending away for more accessories at this stage.
I have the mask set and need to work out how to hold the masked wheels so I can paint the tires, then assemble the landing gear as subassemblies which can hopefully go on after main painting to ease masking.
Panzer…That paint scheme makes my eyes crossed let alone tempting it but I’ll say go for it for it does look awesome! I wonder if something like a White Sharpie pen would work or something similar?
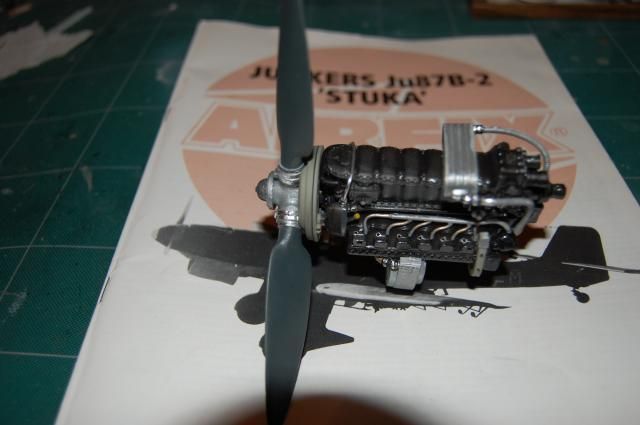
Been off the last 5 days and thought I would have made more progress like getting it primed and painted but something always comes up. I’m just about done with the engine and ready to mount it to the airframe than add wires tubing etc. Here’s a few progress pics, hope I don’t bore anyone…
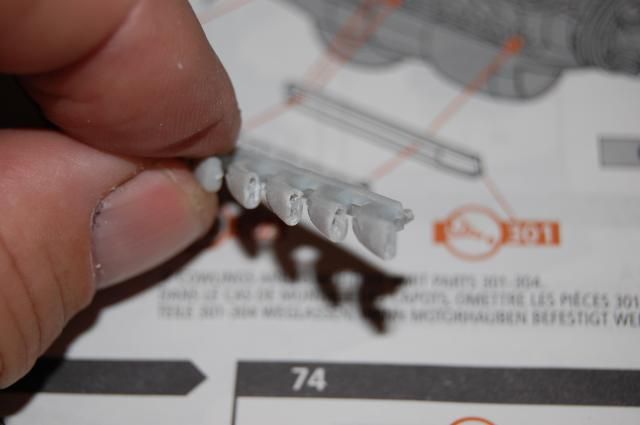
I decided to try and drill out the exhaust nozzles using a pin vise and x-acto knife to give it some depth. So far I haven’t mess it up. In this kit you get 4 nozzles assemblies, the choice being having the cowling closed or opened.
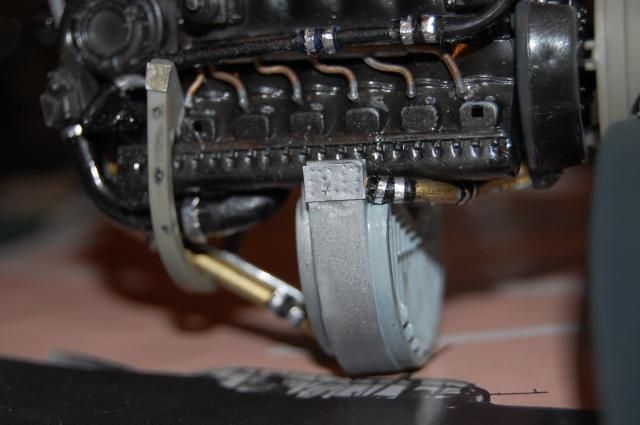
I just see here that I need to readjust that one clamp on the bottom before Q.A. sees it. I’m using pics on the web for references but Airfix does have a good photo of the engine in their instruction sheet. Using that, I added a piece of foil on the upper sides of the radiator which looks like it would be a reinforcing plate, I dimpled it with a seam maker tool.
The prop is just inserted for display right now. Also used foil on the prop clamps which looks better than painting it. I added tubing to the back of the gearbox and up over the block to the other side, along with a oil filler line/cap. And yes this is why it takes me forever to finish a kit or it becomes an unfinished hanger queen. But this one is fun so I’m pressing on.
I had to fill in the sprue craters that were on the backsides of the prop blades.
Next I would be adding some placards on the engine components then detailing the firewall. Looking at the fuselage assembly right now, I might go ahead and add the wings and stabilizers and start painting her since the engine won’t be in the way. More later…
Do it Tom, Do it! I love doing seemingly impossible schemes like that just to push my self. Just do section at a time, and move with a purpose when spraying. Yes a tad of overspray is a problem at times, but if you cant control with a booth (I dont have one but am going to build one) start with a darker base color then called for.
My observations are that once the gun is in the groove its hard to stop, and even if reloading with paint it takes me a bit to get it flowing again , seems like something is always different even with the same mix. But again, Do it! Would love to see this one on the staging area! LOL…