After reading TANGO1’s post (thanks for finally making me get around to doing this), I worked for a way to rescribe the curved line on the bottom and top wingtips on my Blackbird.
oh and before I forget, this only works for rescribing raised lines, although it might work for recessed as well
here is the pictoral guide.
-
get some thin printer paper. line paper is exceptable, but might get confusing.
-
cut the thin paper to a convenient size and then tape it on top of the curved line]
-
get a pencil and with the lead’s side, start gently rubbing the pencil lead across the general location of the curved line. This is what you should get:
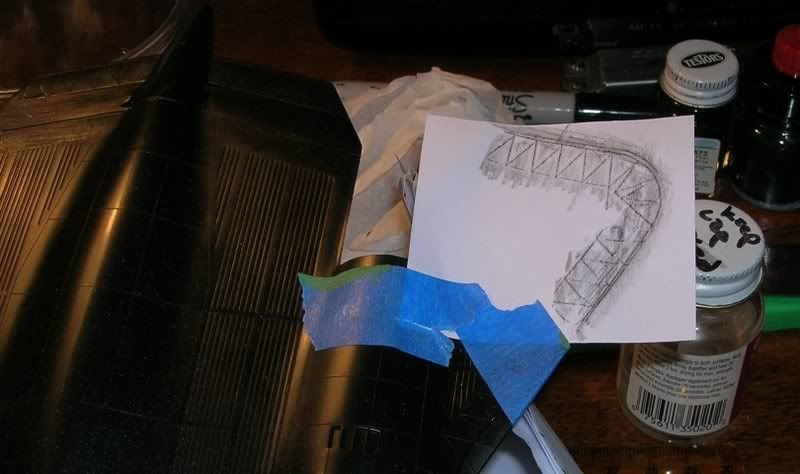
Note: in the picture above, you see two curved lines. the outermost one is the outline of the wing, while the innermost one is the outline of the panel line.
-
hooray! we have the curved line transfered onto paper. Now take the piece of paper off of the model.
-
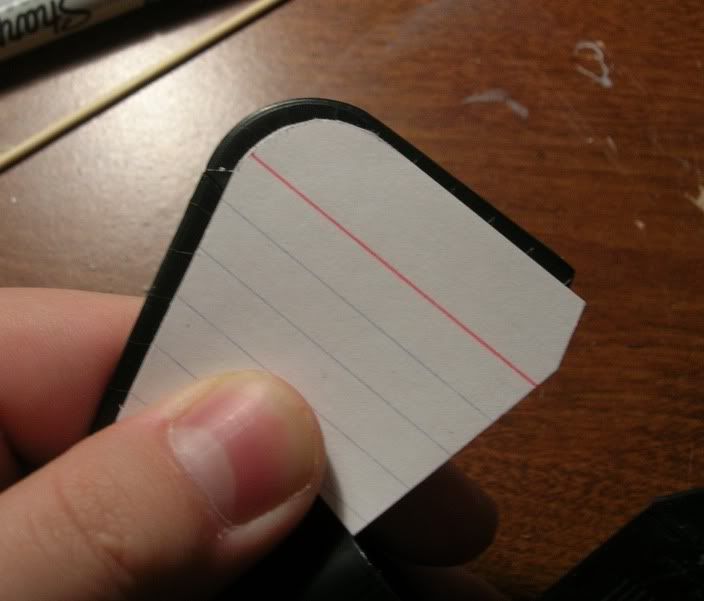
get two index cards or flat styrene sheet (I opted to use 2 index cards, but I think 1 would be fine also) and paste the thin paper onto it. for index cards, its index card + index card + thin paper. I used a gluestick for this because Elmer’s white glue is excellent at making paper wavy and I didn’t want that for this purpose.
-
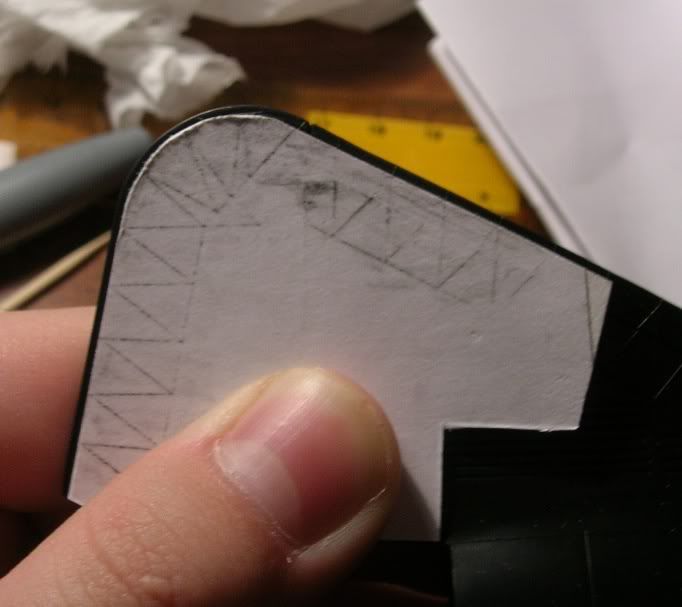
Trim the thin paper + index card thing right up to the curved line. Here is what you should get:
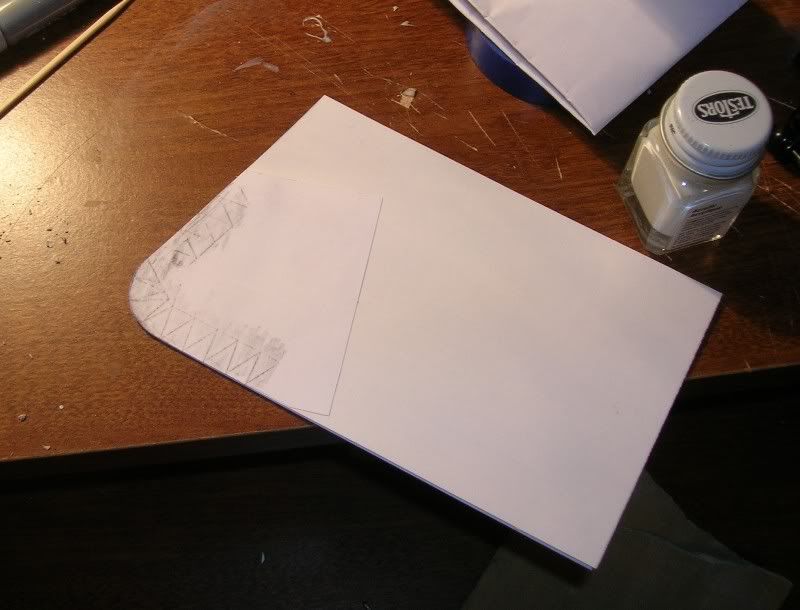
- now it is time to cut the template into a convenient size. do this in any way you wish. My template was cut to match the inner wing edges so that when the inner edges lined up, the wingtip’s curved edges would match up as well. a picture is worth a thousand words:
Note: I didn’t match the template up with the wing in this pic just to show how the outlines match
- now cut spots for any obstructions of the template. In my case, it was the engine.
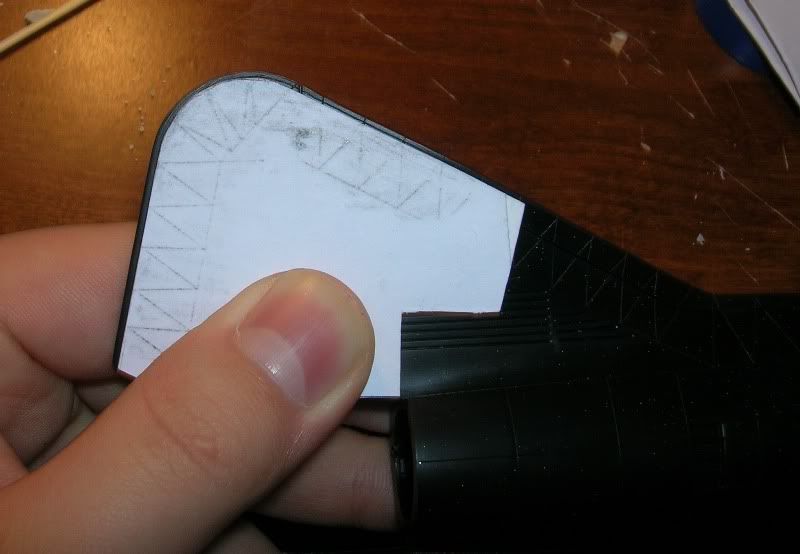
TADA!!!
I tried this and it worked like a charm. make sure to tack the template down well and go lightly on the first few passes (go slow too, otherwise, your scriber might careen out of its path on the curve). This template works for both right and left lower wingtips, but doesn’t exactly line up on the top ones, so I will have to make a new set for the top.
hope this helped solve a few problems.
Jinithith2


