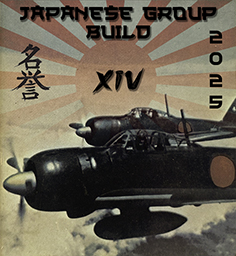
Ok, folks. Here is what I came up with for the badge. Hope you like it.
6 Likes
Very cool! I’ll be proud to have it.
Noice badge, I like it  . How do I get it and apply it?
1 Like
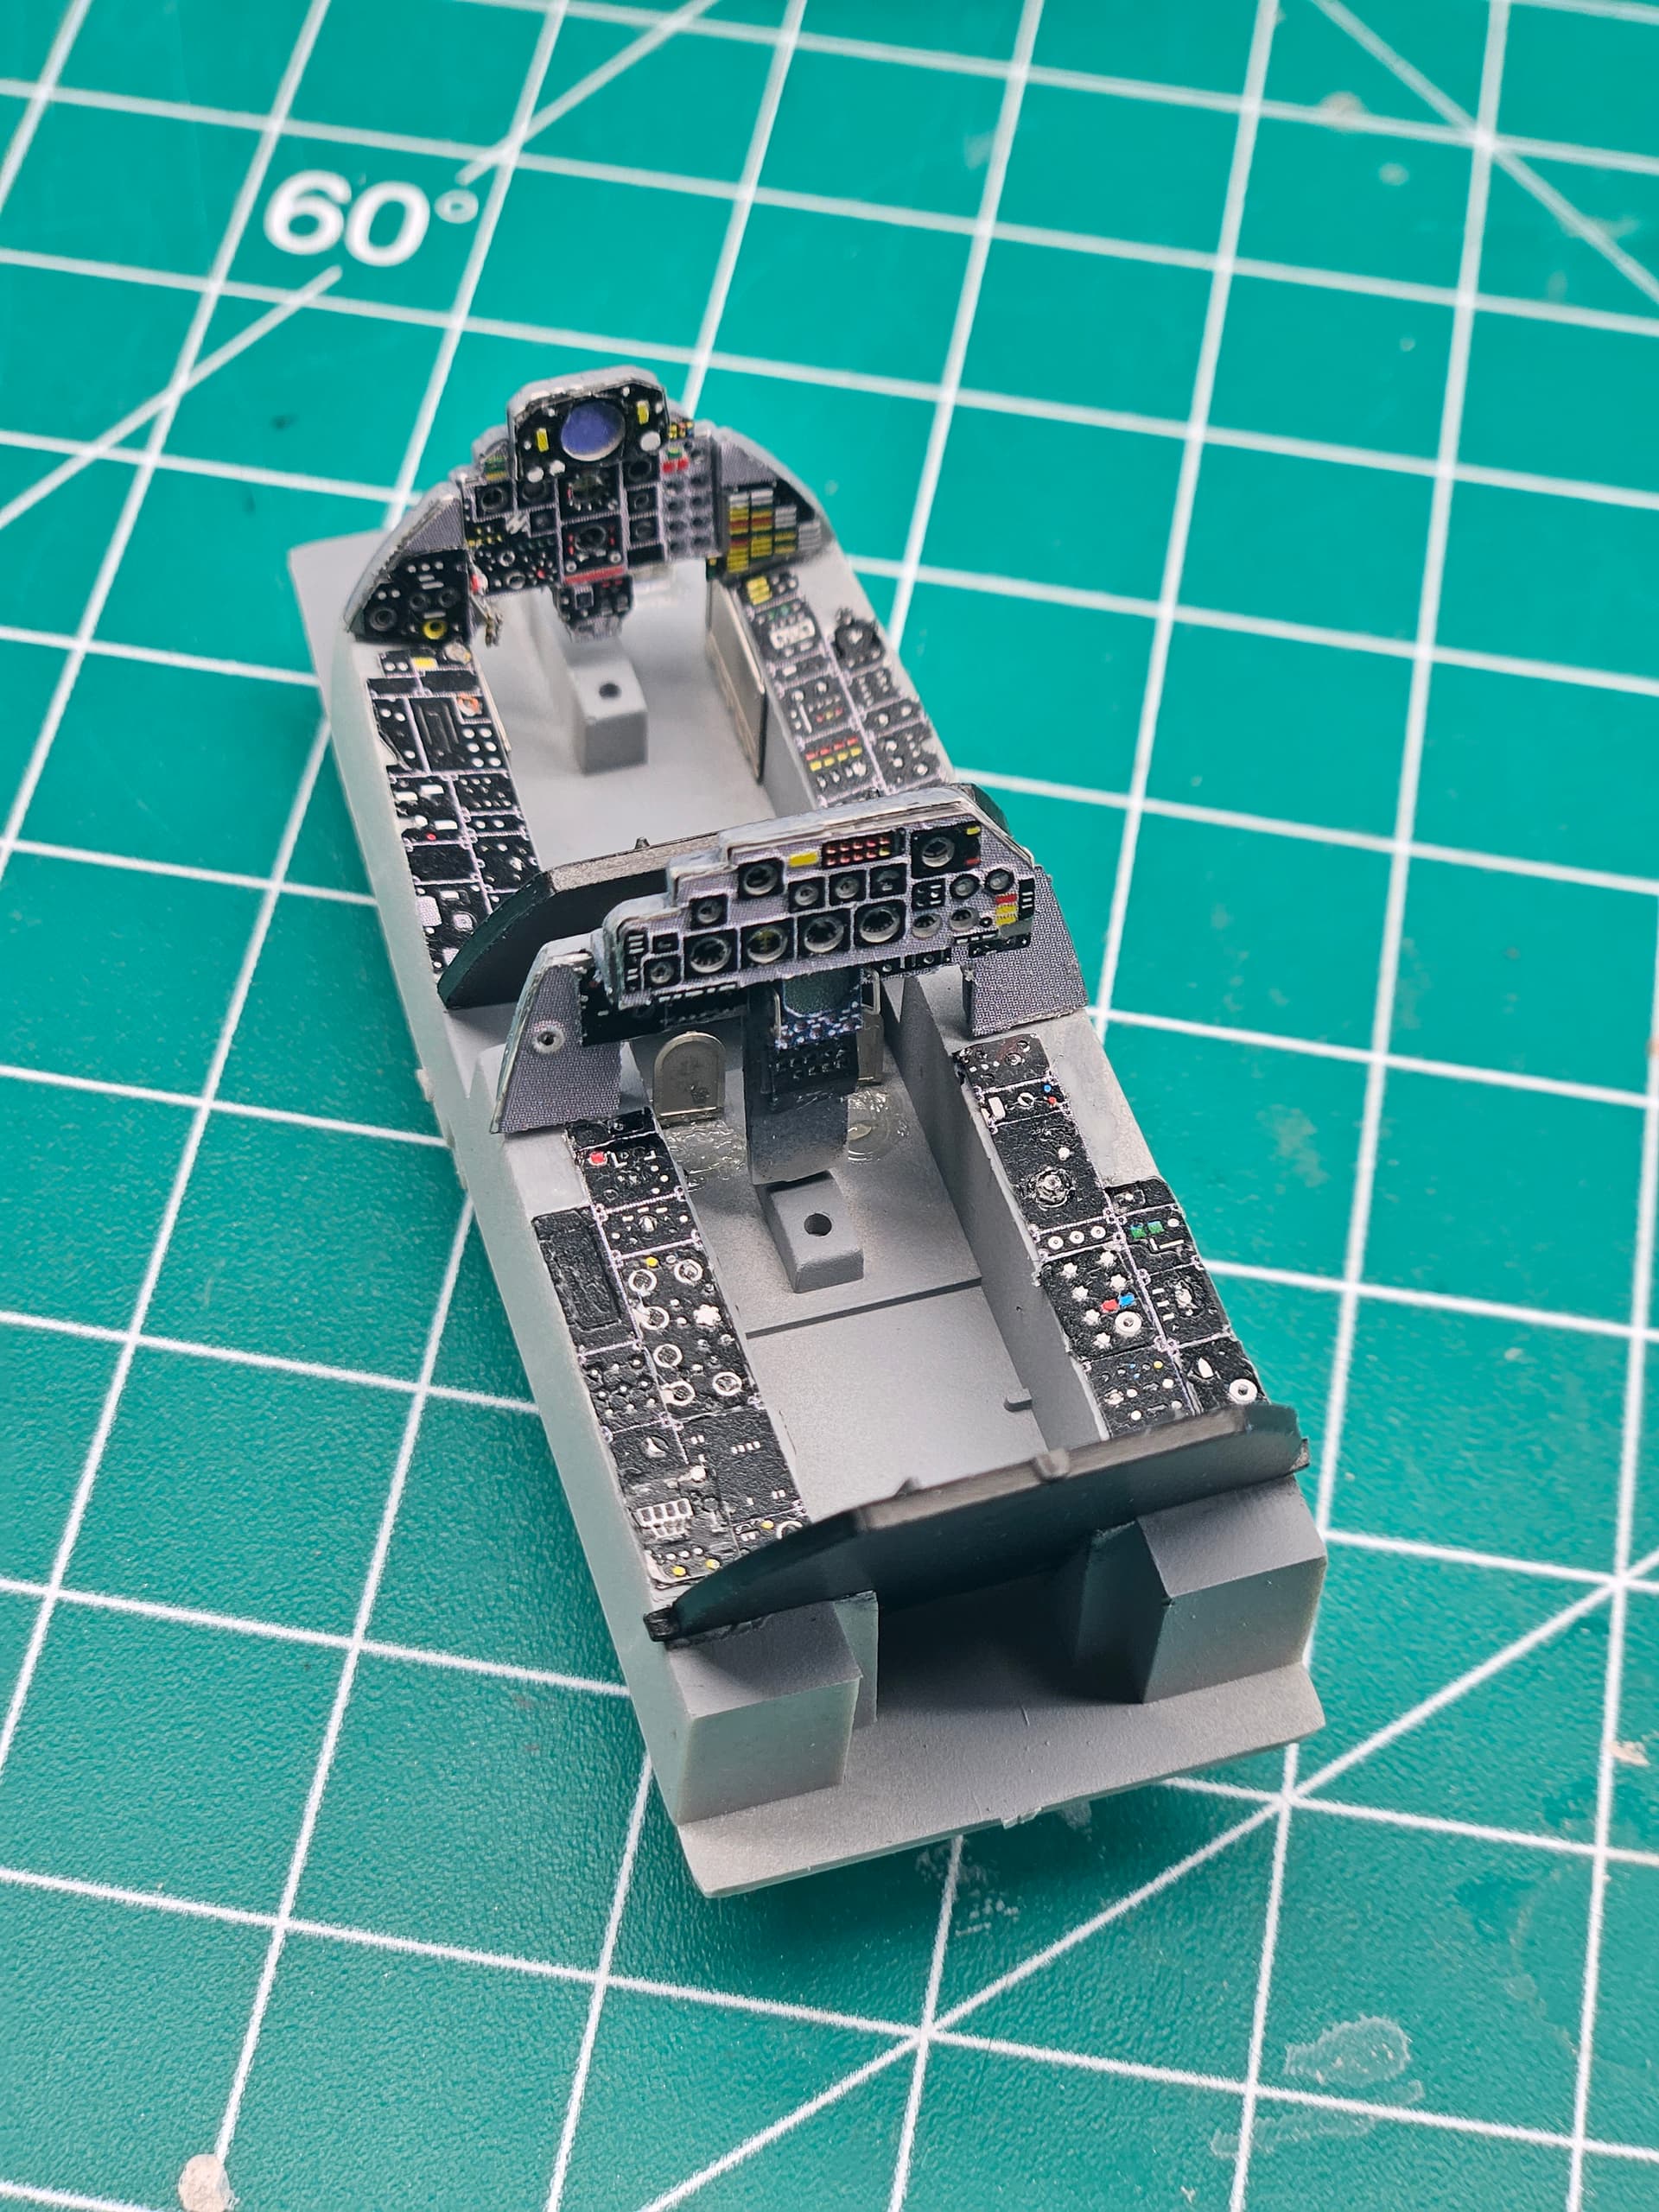
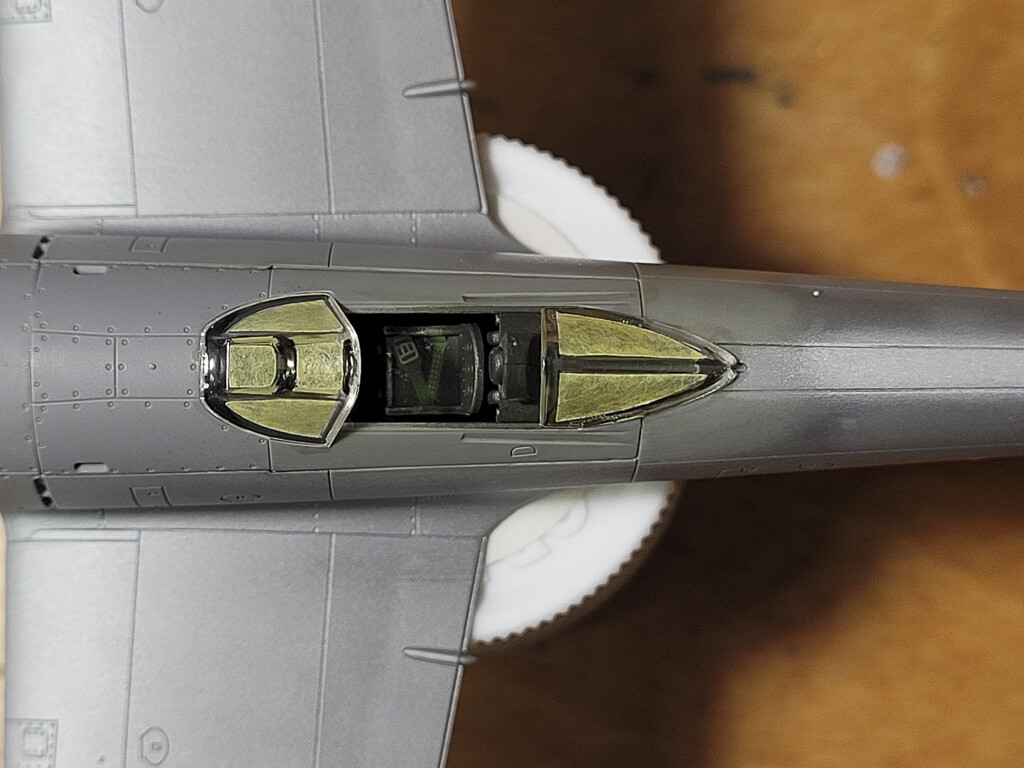
Spent an exorbitant amount of time on my F4 tonight. This is my first time using PE cockpits at this level and it took hours! I’m not sure if it was because it was my first time, or it just is a long process to get these looking right, but the results are very nice. Still need final assembly and weathering but I’m exhausted after working on those microscopic parts.
5 Likes
Great looking cockpit!
1 Like
That is an excellent question. In the old FSM Forum, you could configure a signature in your profile and you could add an image to your signature, or just add images to your profile itself. I am not seeing that option here. @Tim_Kidwell Are we ever going to get to ability to have a signature where users can show their GB badges?
1 Like
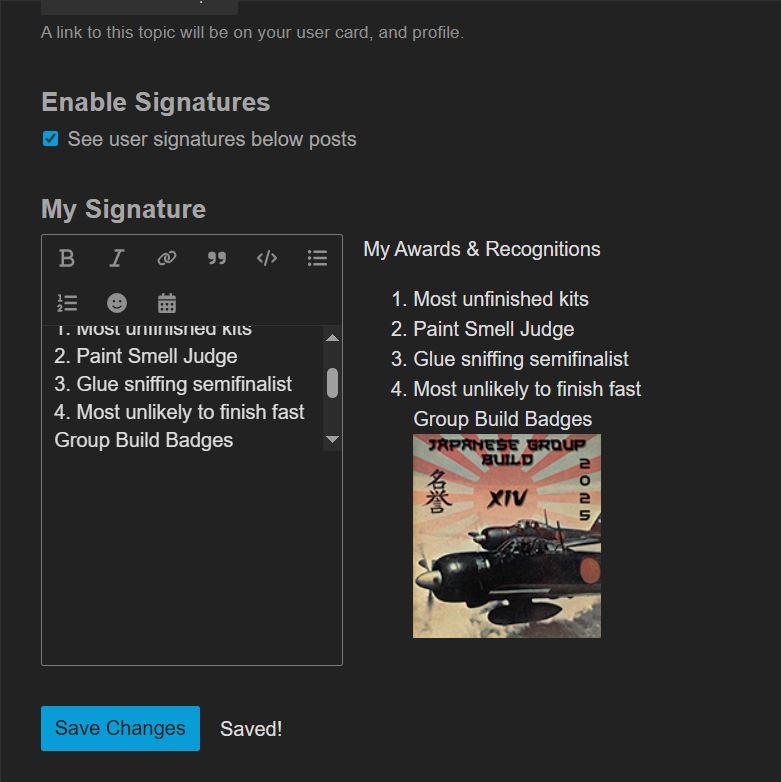
Never mind @Tim_Kidwell . I found the signature section in my profile page. I was a bit nervous when I did not see an add image button on the menu, but it does appear to accept image tags..
2 Likes
@cbaltrin how did you get the badge to show in your signature? Do you have to copy it from above or is there a setting I’m missing?
1 Like
That does look nice. Brings the level of detail up dramatically. Nice work.
1 Like
You can just add this img tag to your signature. Or you can download it and upload it to your own image service and use that link.
<img src="https://i.postimg.cc/43zqgKpN/japanese-GBXIV-Badge-V1-150.jpg">
1 Like
Folding, trimming, and gluing all that PE is time consuming, but the results are well worth it in my humble opinion. You’ve done a fine job!
1 Like
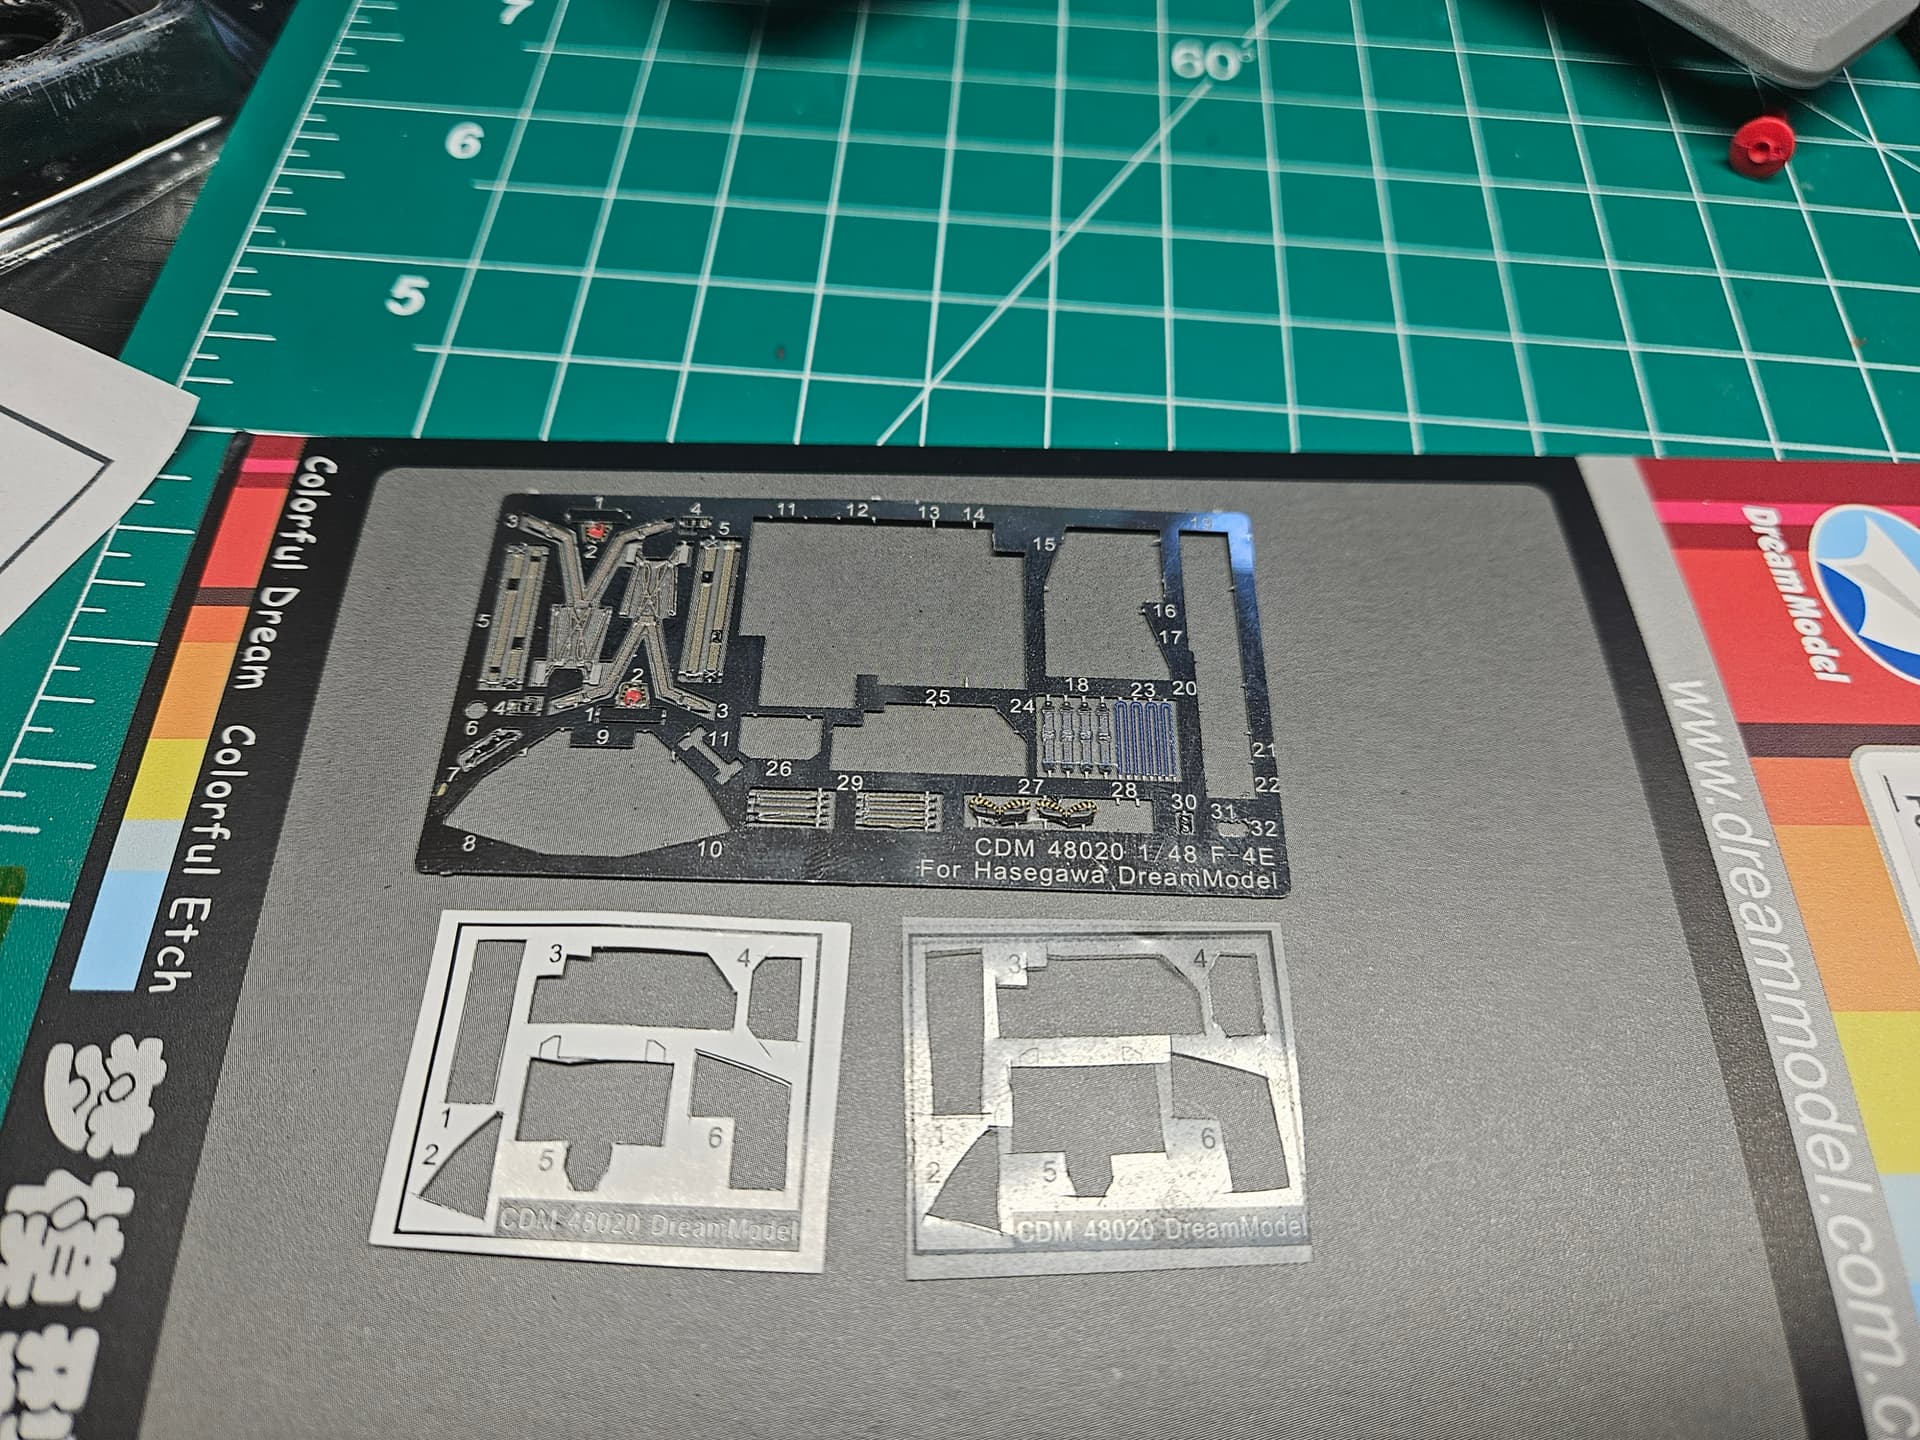
Thanks, the manufacturer of this one took it apon itself to break things into tiny parts, almost like they thought you should be installing the panels individually. There are the main parts, but those have blank sections that you need to glue buttons and dials to those that are pinhead sized. I thought this would be a quick process, but it was a slog, two hours about.
And all the instruments are three layers (printed white paper, clear printed “glass” dial sheet and the the PE. The paper and clear layers needed to be cut out from a sheet, so it all took time.
I like how it all looks but, wow! It was a process.
1 Like
To preserve the honor the GB, I have removed the GB badge from my signature as I have yet to finish my entry  But I will model on and hopefully earn my own badge
1 Like
5 Likes
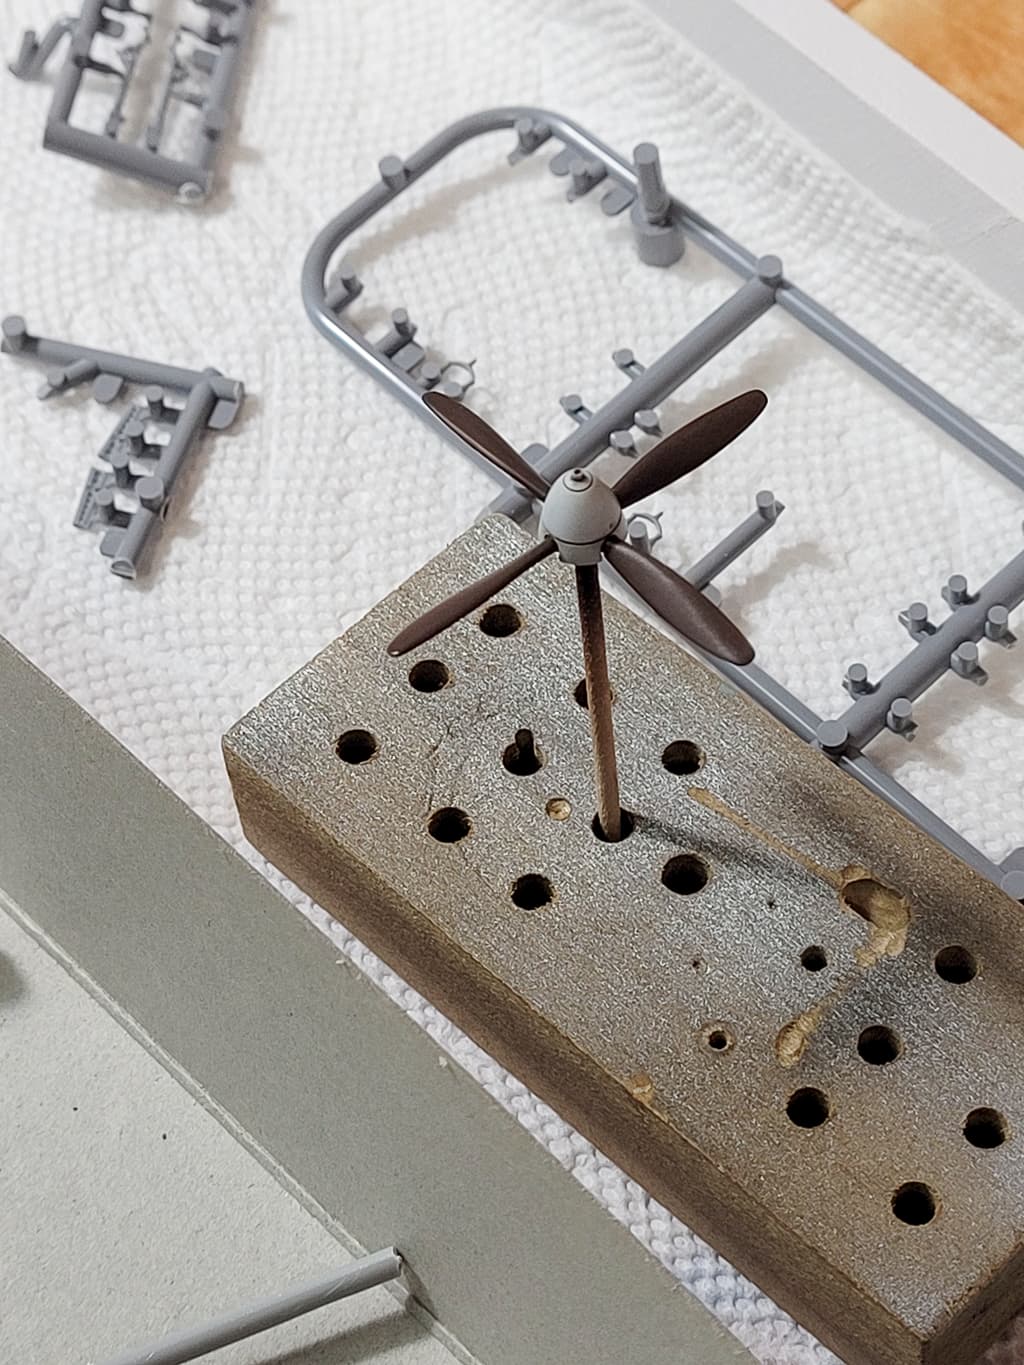
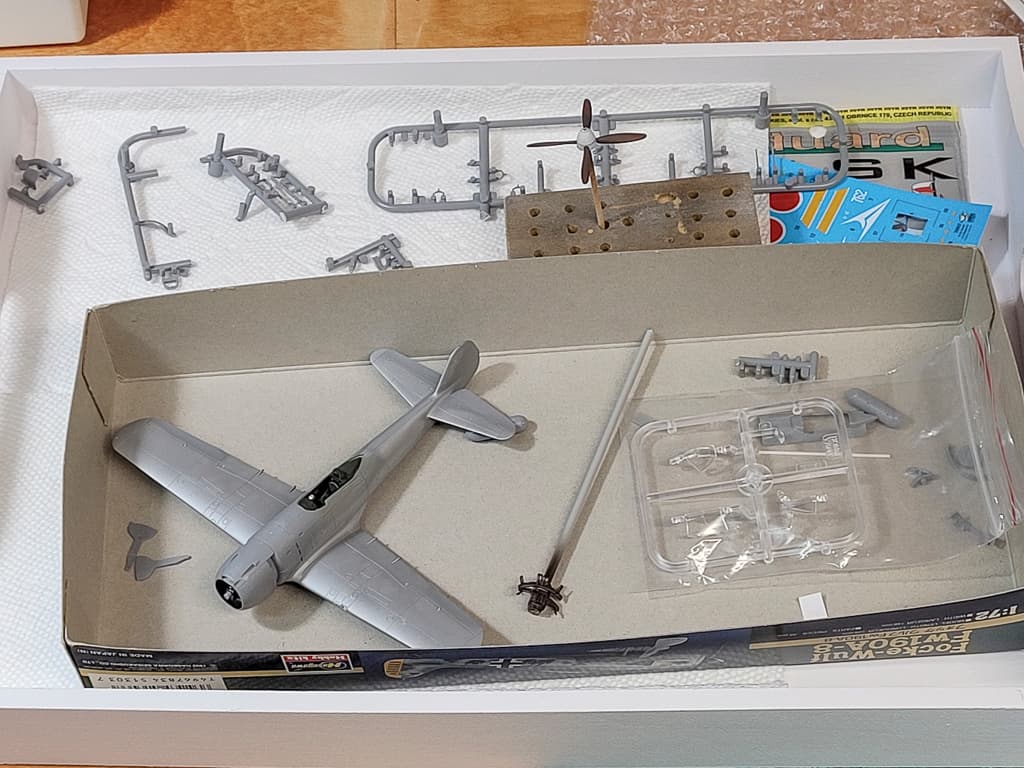
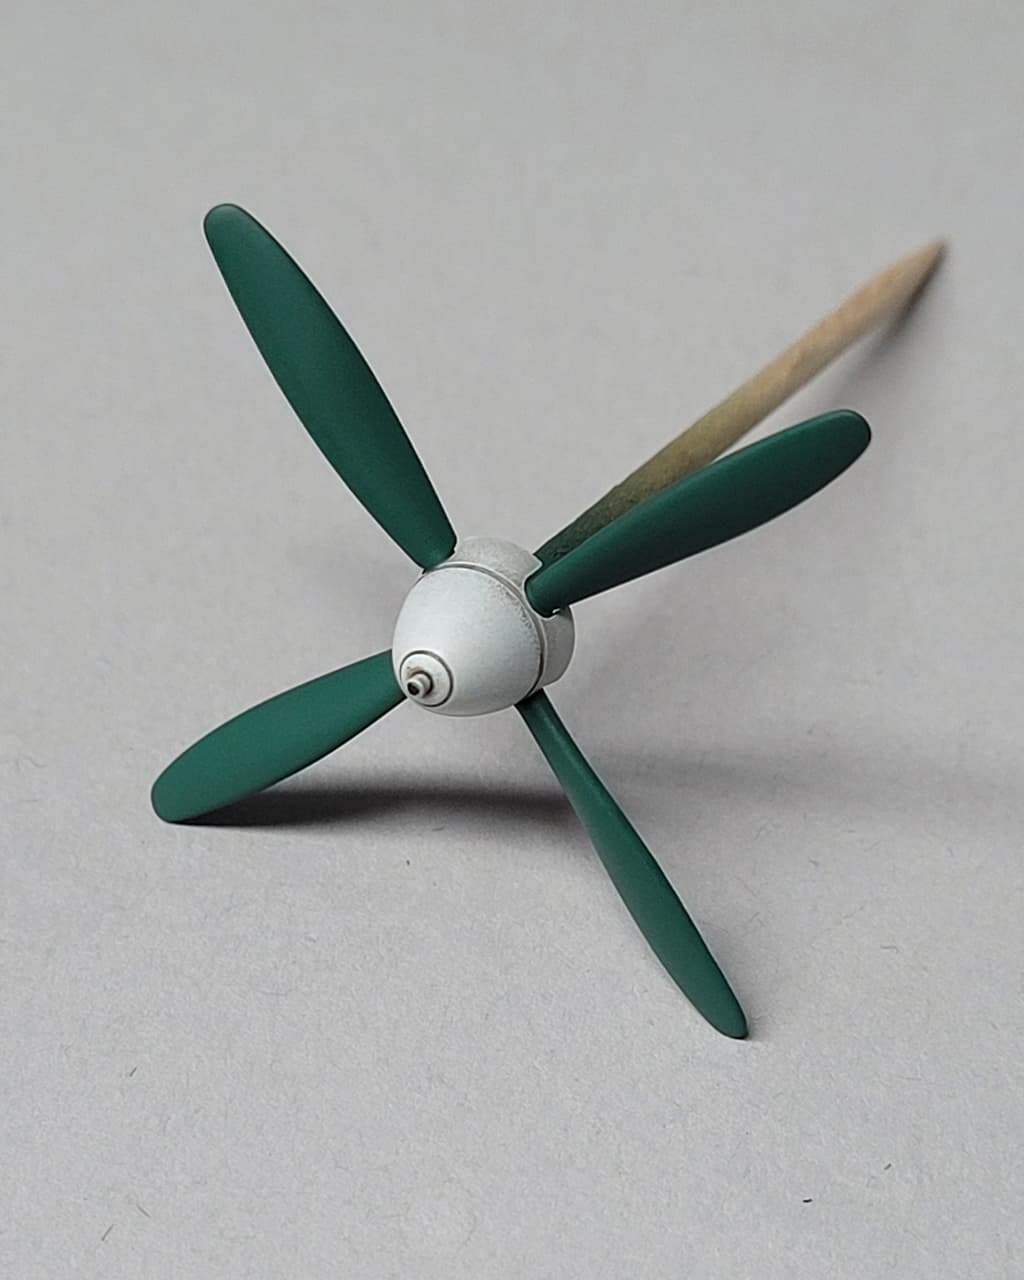
Until about 24 hours ago I thought all j-aircraft props where either natural metal or red-brown. Turns out that ain’t the case so I had to repaint my Ki 84 prop this custom shade of green that I achieved by mixing roughly 2 parts Tamiya X-5 green with roughly 3 parts XF-22 RLM Grey…
4 Likes
That spinner looks flawless. looking forward to seeing it attached to the Ki-84.
1 Like
As a Christmas present to those of you still working on your builds (Is that just me?  ), I have decided to Add a 30 day grace period to the GB End Date as it can be hard to find time to model in December due to family/holiday obligations. Anyone who finishes their build by January 31st 2026 will qualify for the Group Build Badge and preserve their honor.
2 Likes
That is great, if I haul a$$ I just might make it!
1 Like
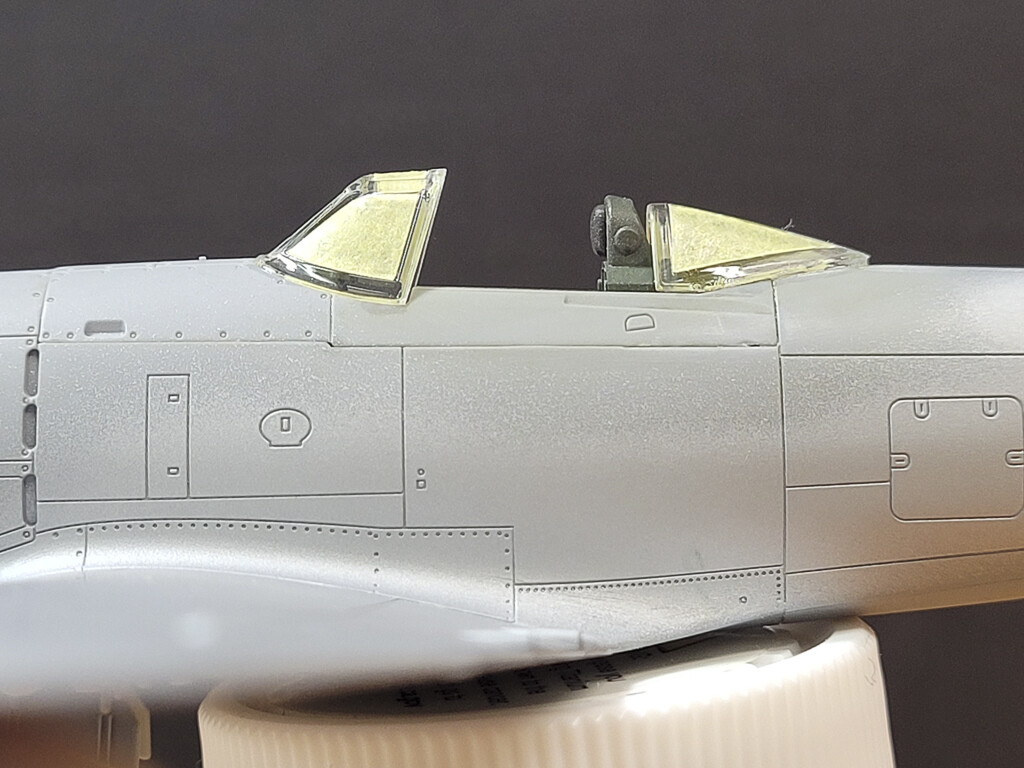
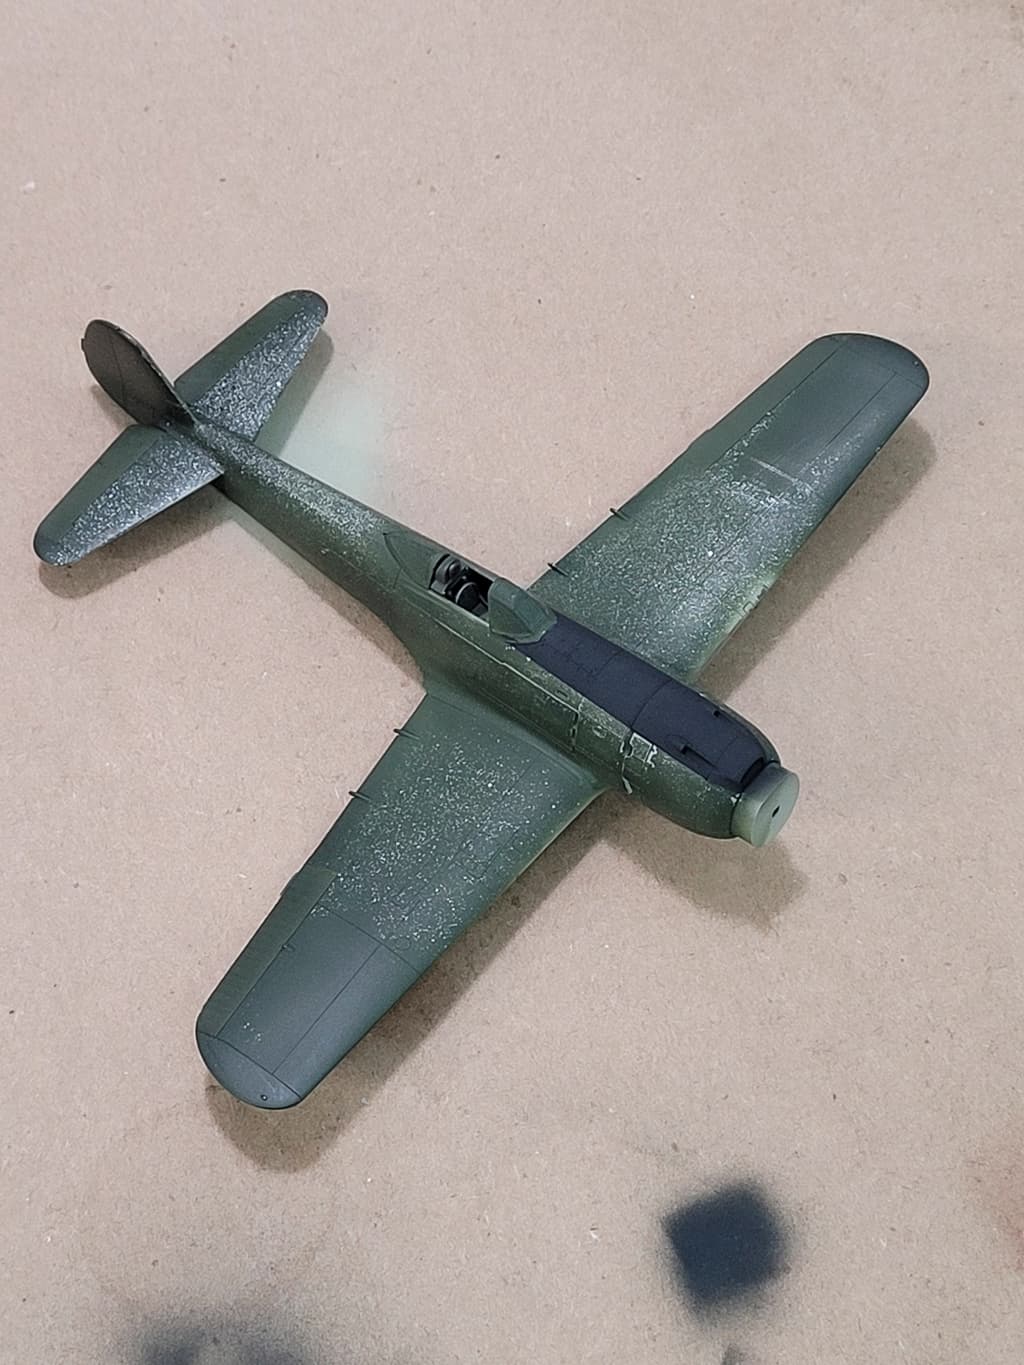
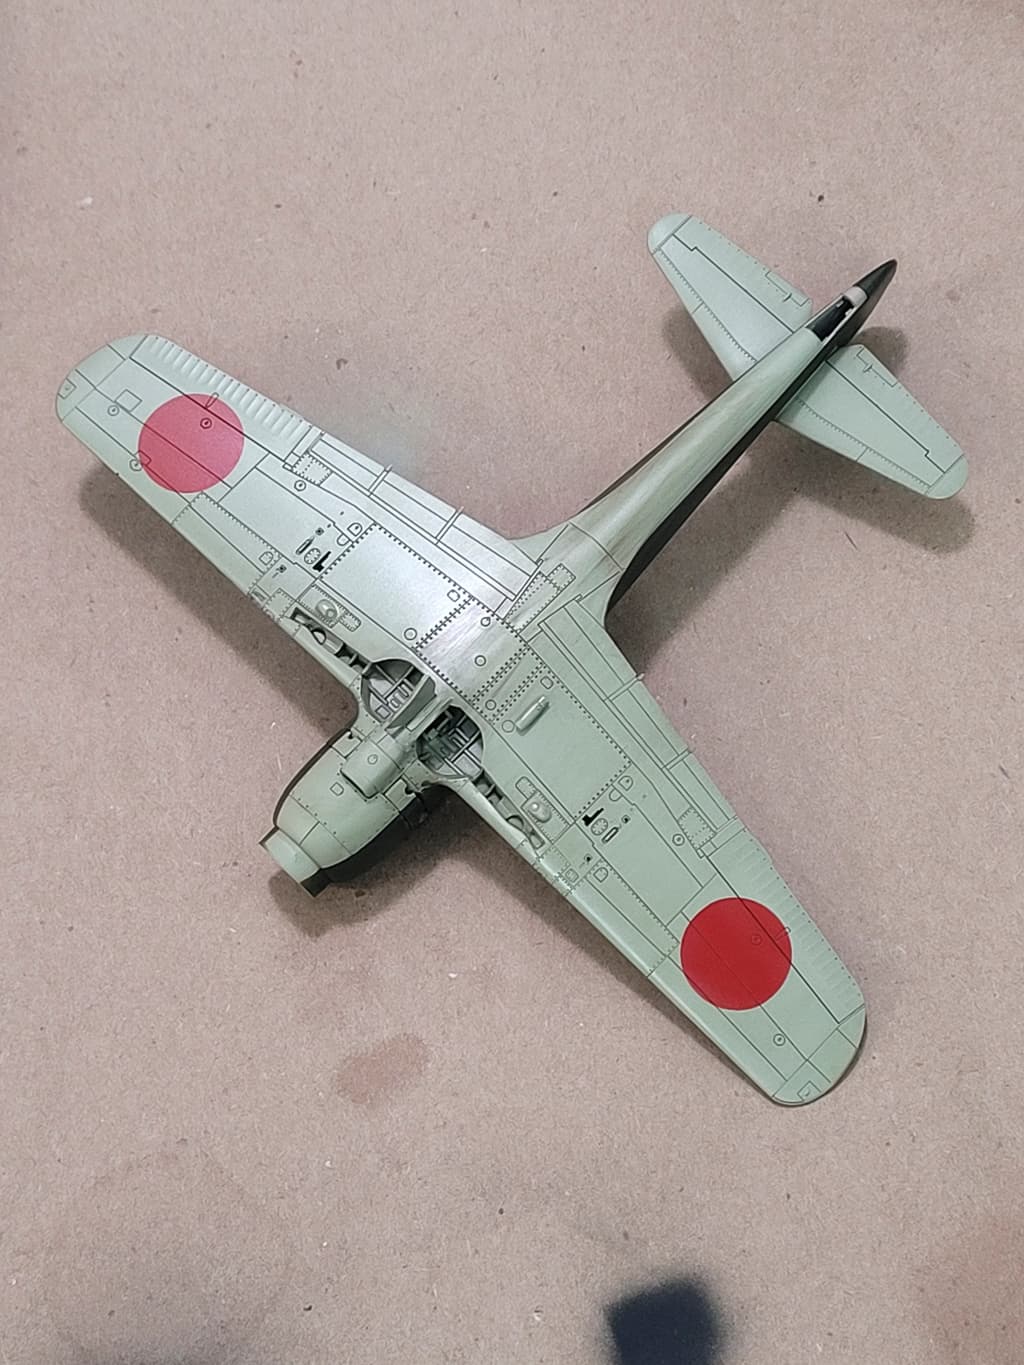
Trying my best to knock out this Ki84 before the new year. Kit supplied canopy masks fit pretty well. Got most of the painting done. Had a dubious adventure with hairspray chipping. Knew this would not turn out well…especially in 1/72 scale. I am going to augment the chipping with a fine brush and silver pencil. Working on getting the markings painted on. All these yellow warning areas on the wing are going to be a pain–especially since they have to lay over those flap actuator fairings… might have a go and painting those as well…
7 Likes
I used the hairspray chipping on my Ki-43 and that was 1/48. I was shooting for a worn look as opposed to chipped paint. I ended up using the airbrush and a brush to get it blended.
1 Like