Hi Beachgrass! Welcome to the Group Build. You certainly can enter and build multiple models. For now, I will get you added to the roster for the Aoshima Ki-61. If you want other entries added, just let me know.
Looking forward to seeing your build! ![]()
Hi Beachgrass! Welcome to the Group Build. You certainly can enter and build multiple models. For now, I will get you added to the roster for the Aoshima Ki-61. If you want other entries added, just let me know.
Looking forward to seeing your build! ![]()
Grey,
THAT is looking very sharp, Sir! Excellent work on her.
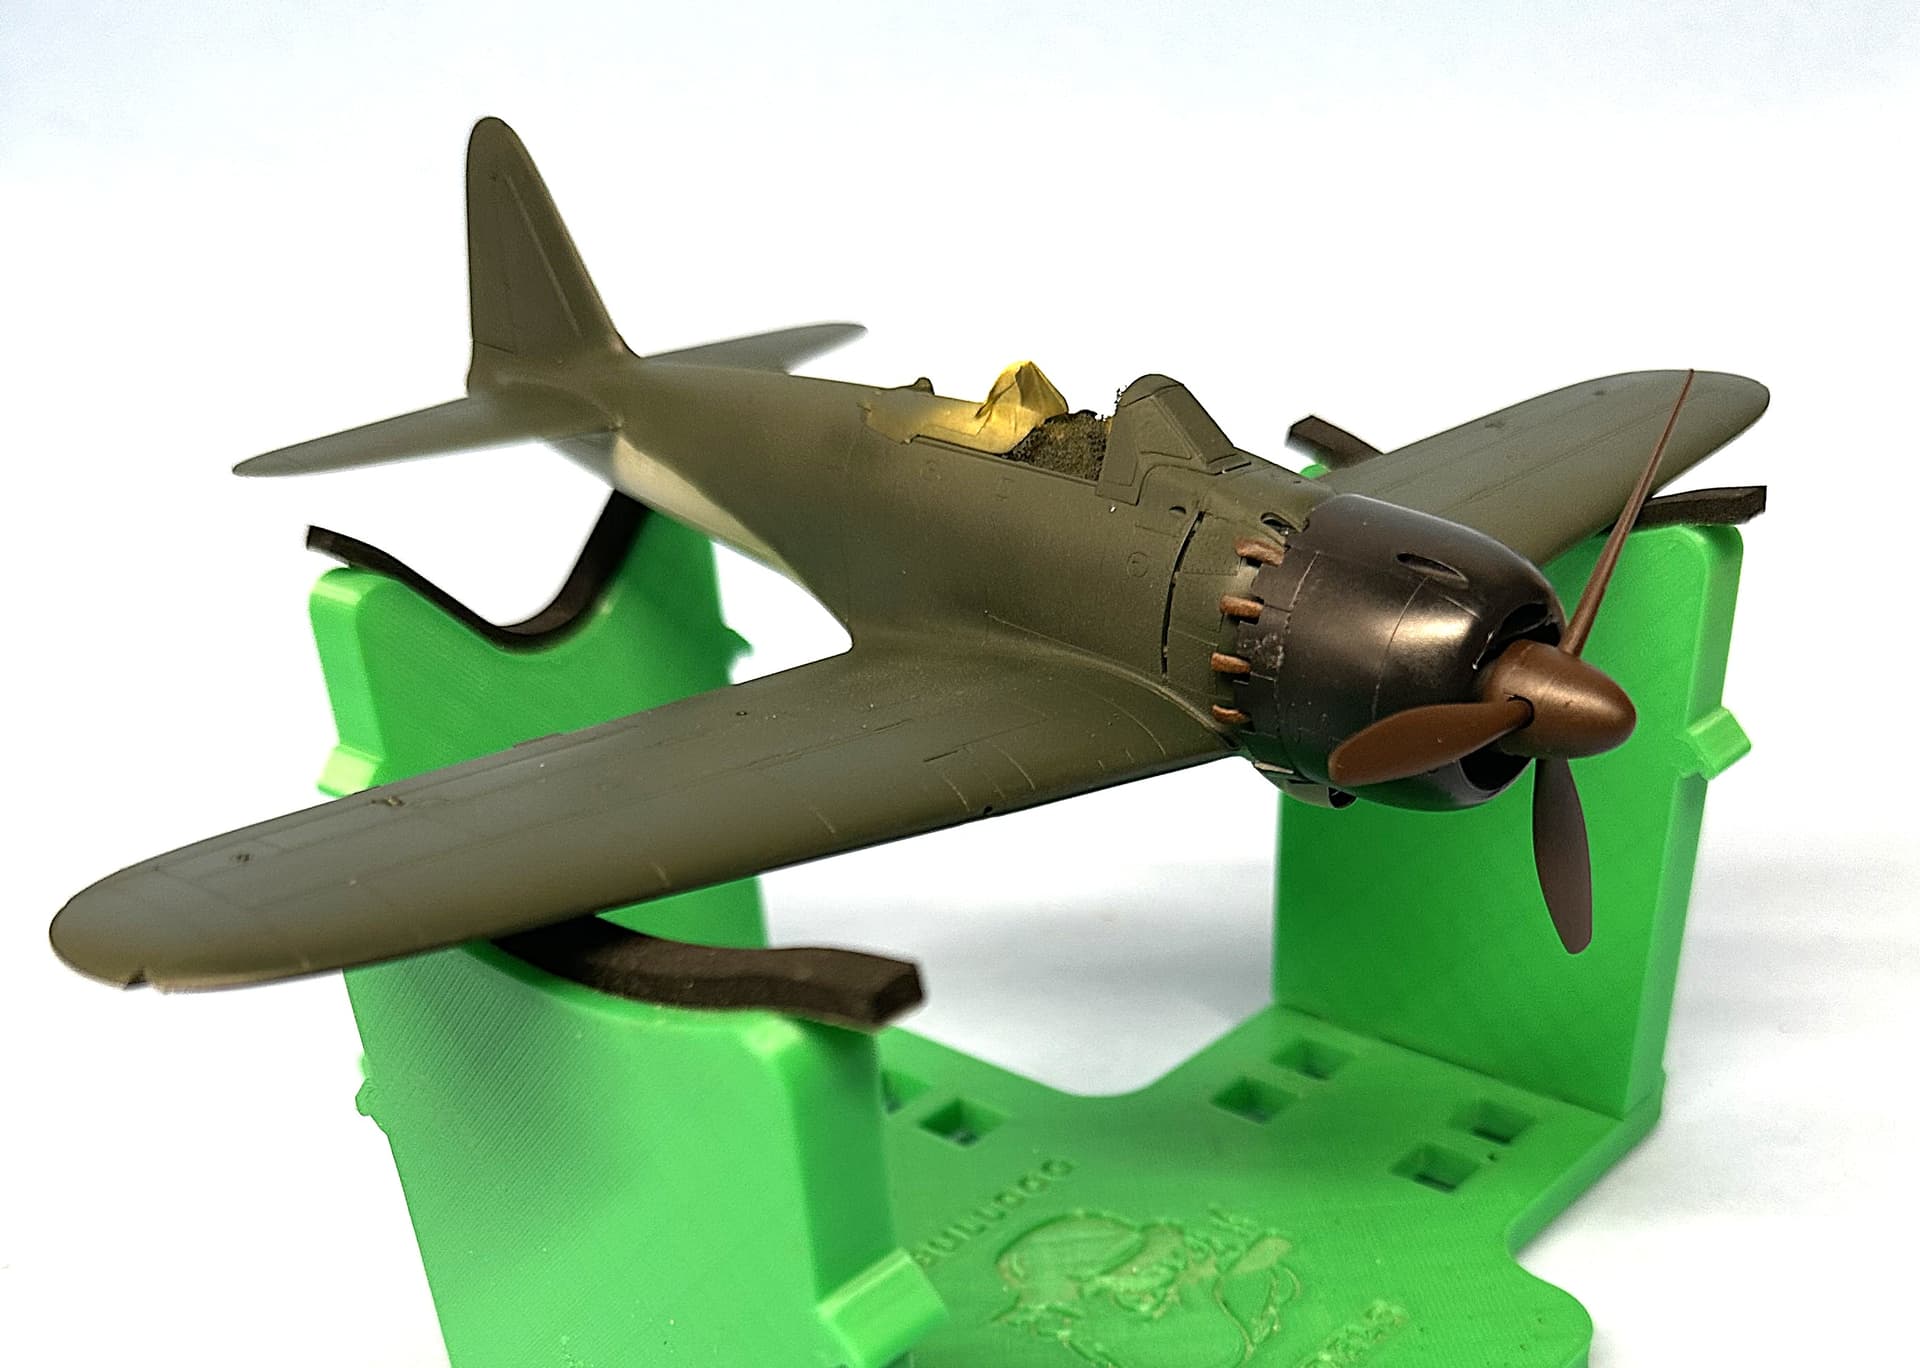
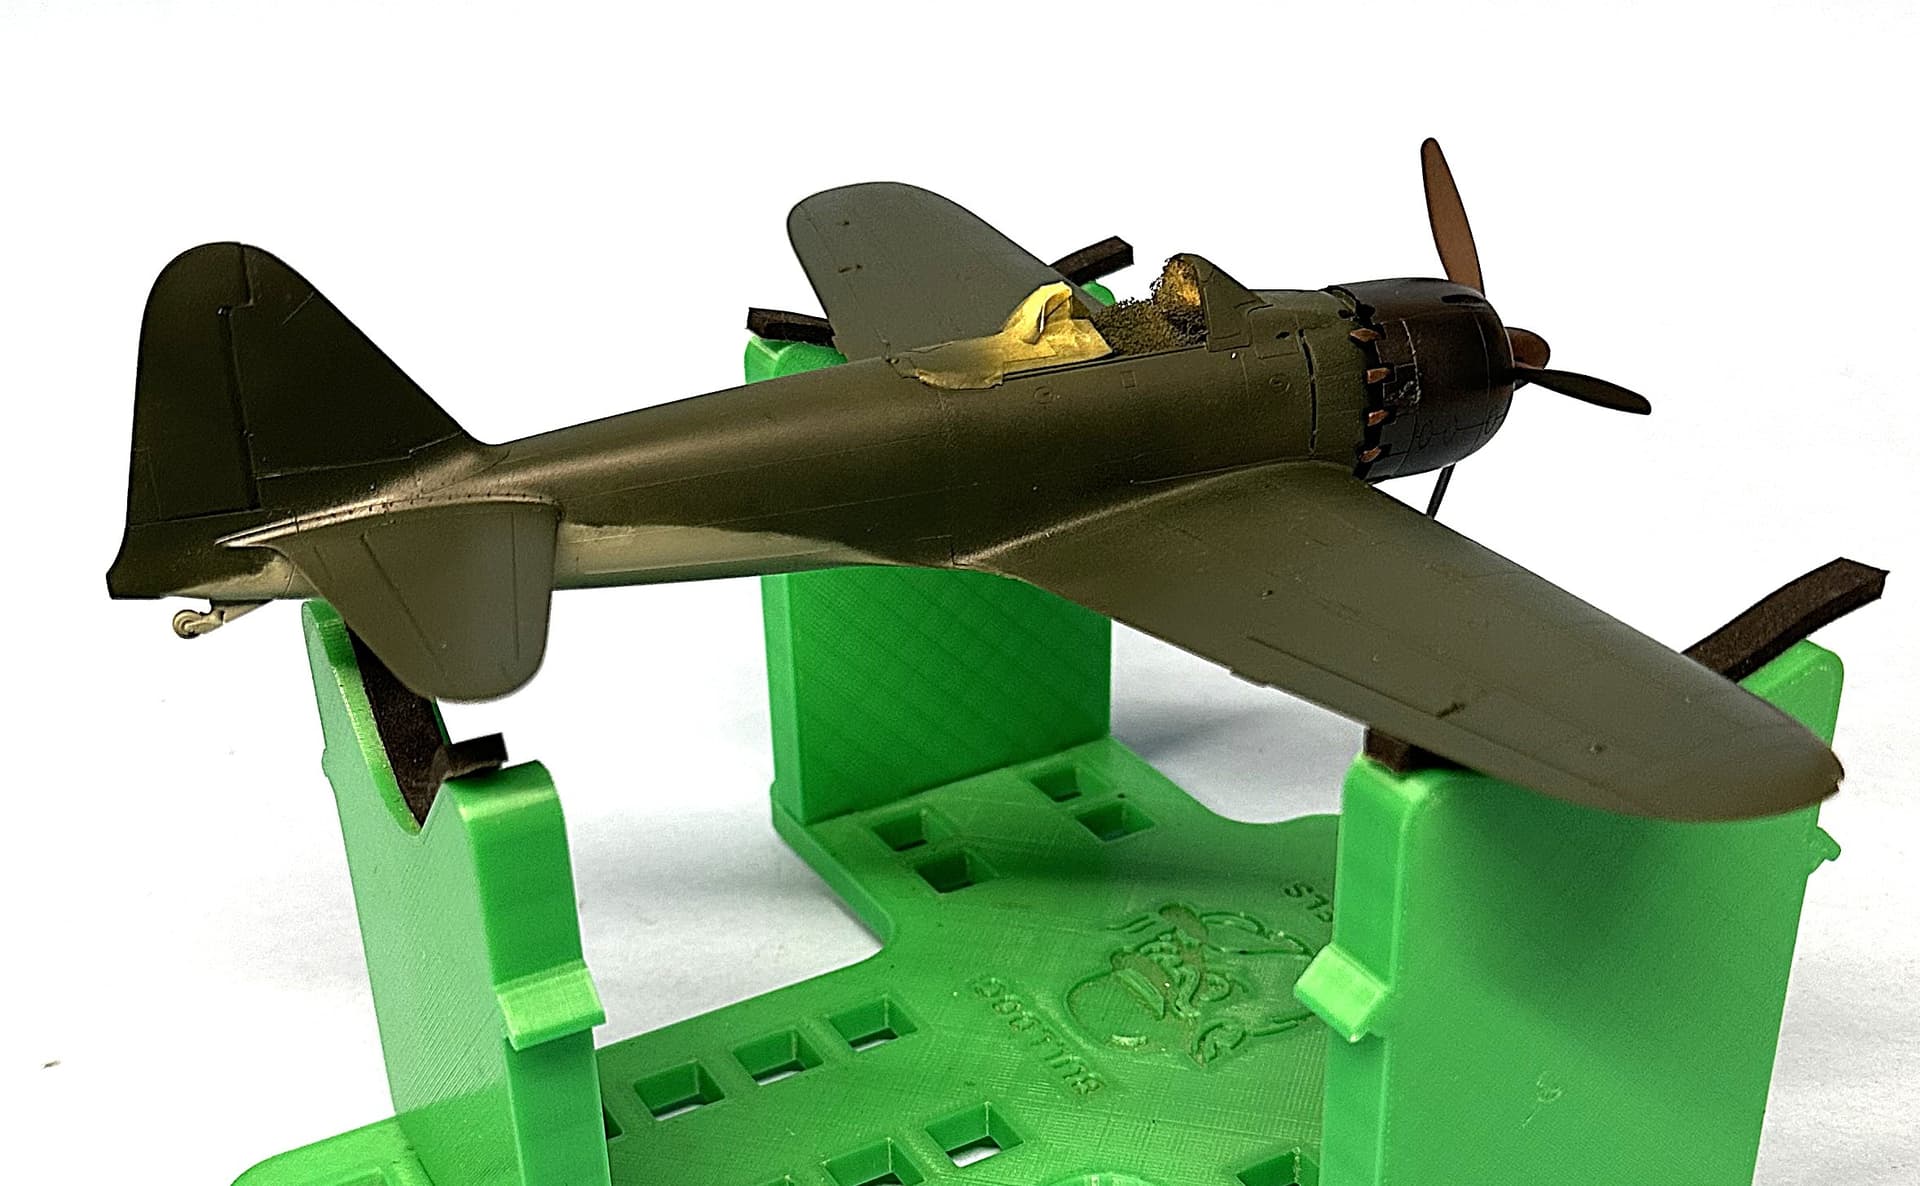
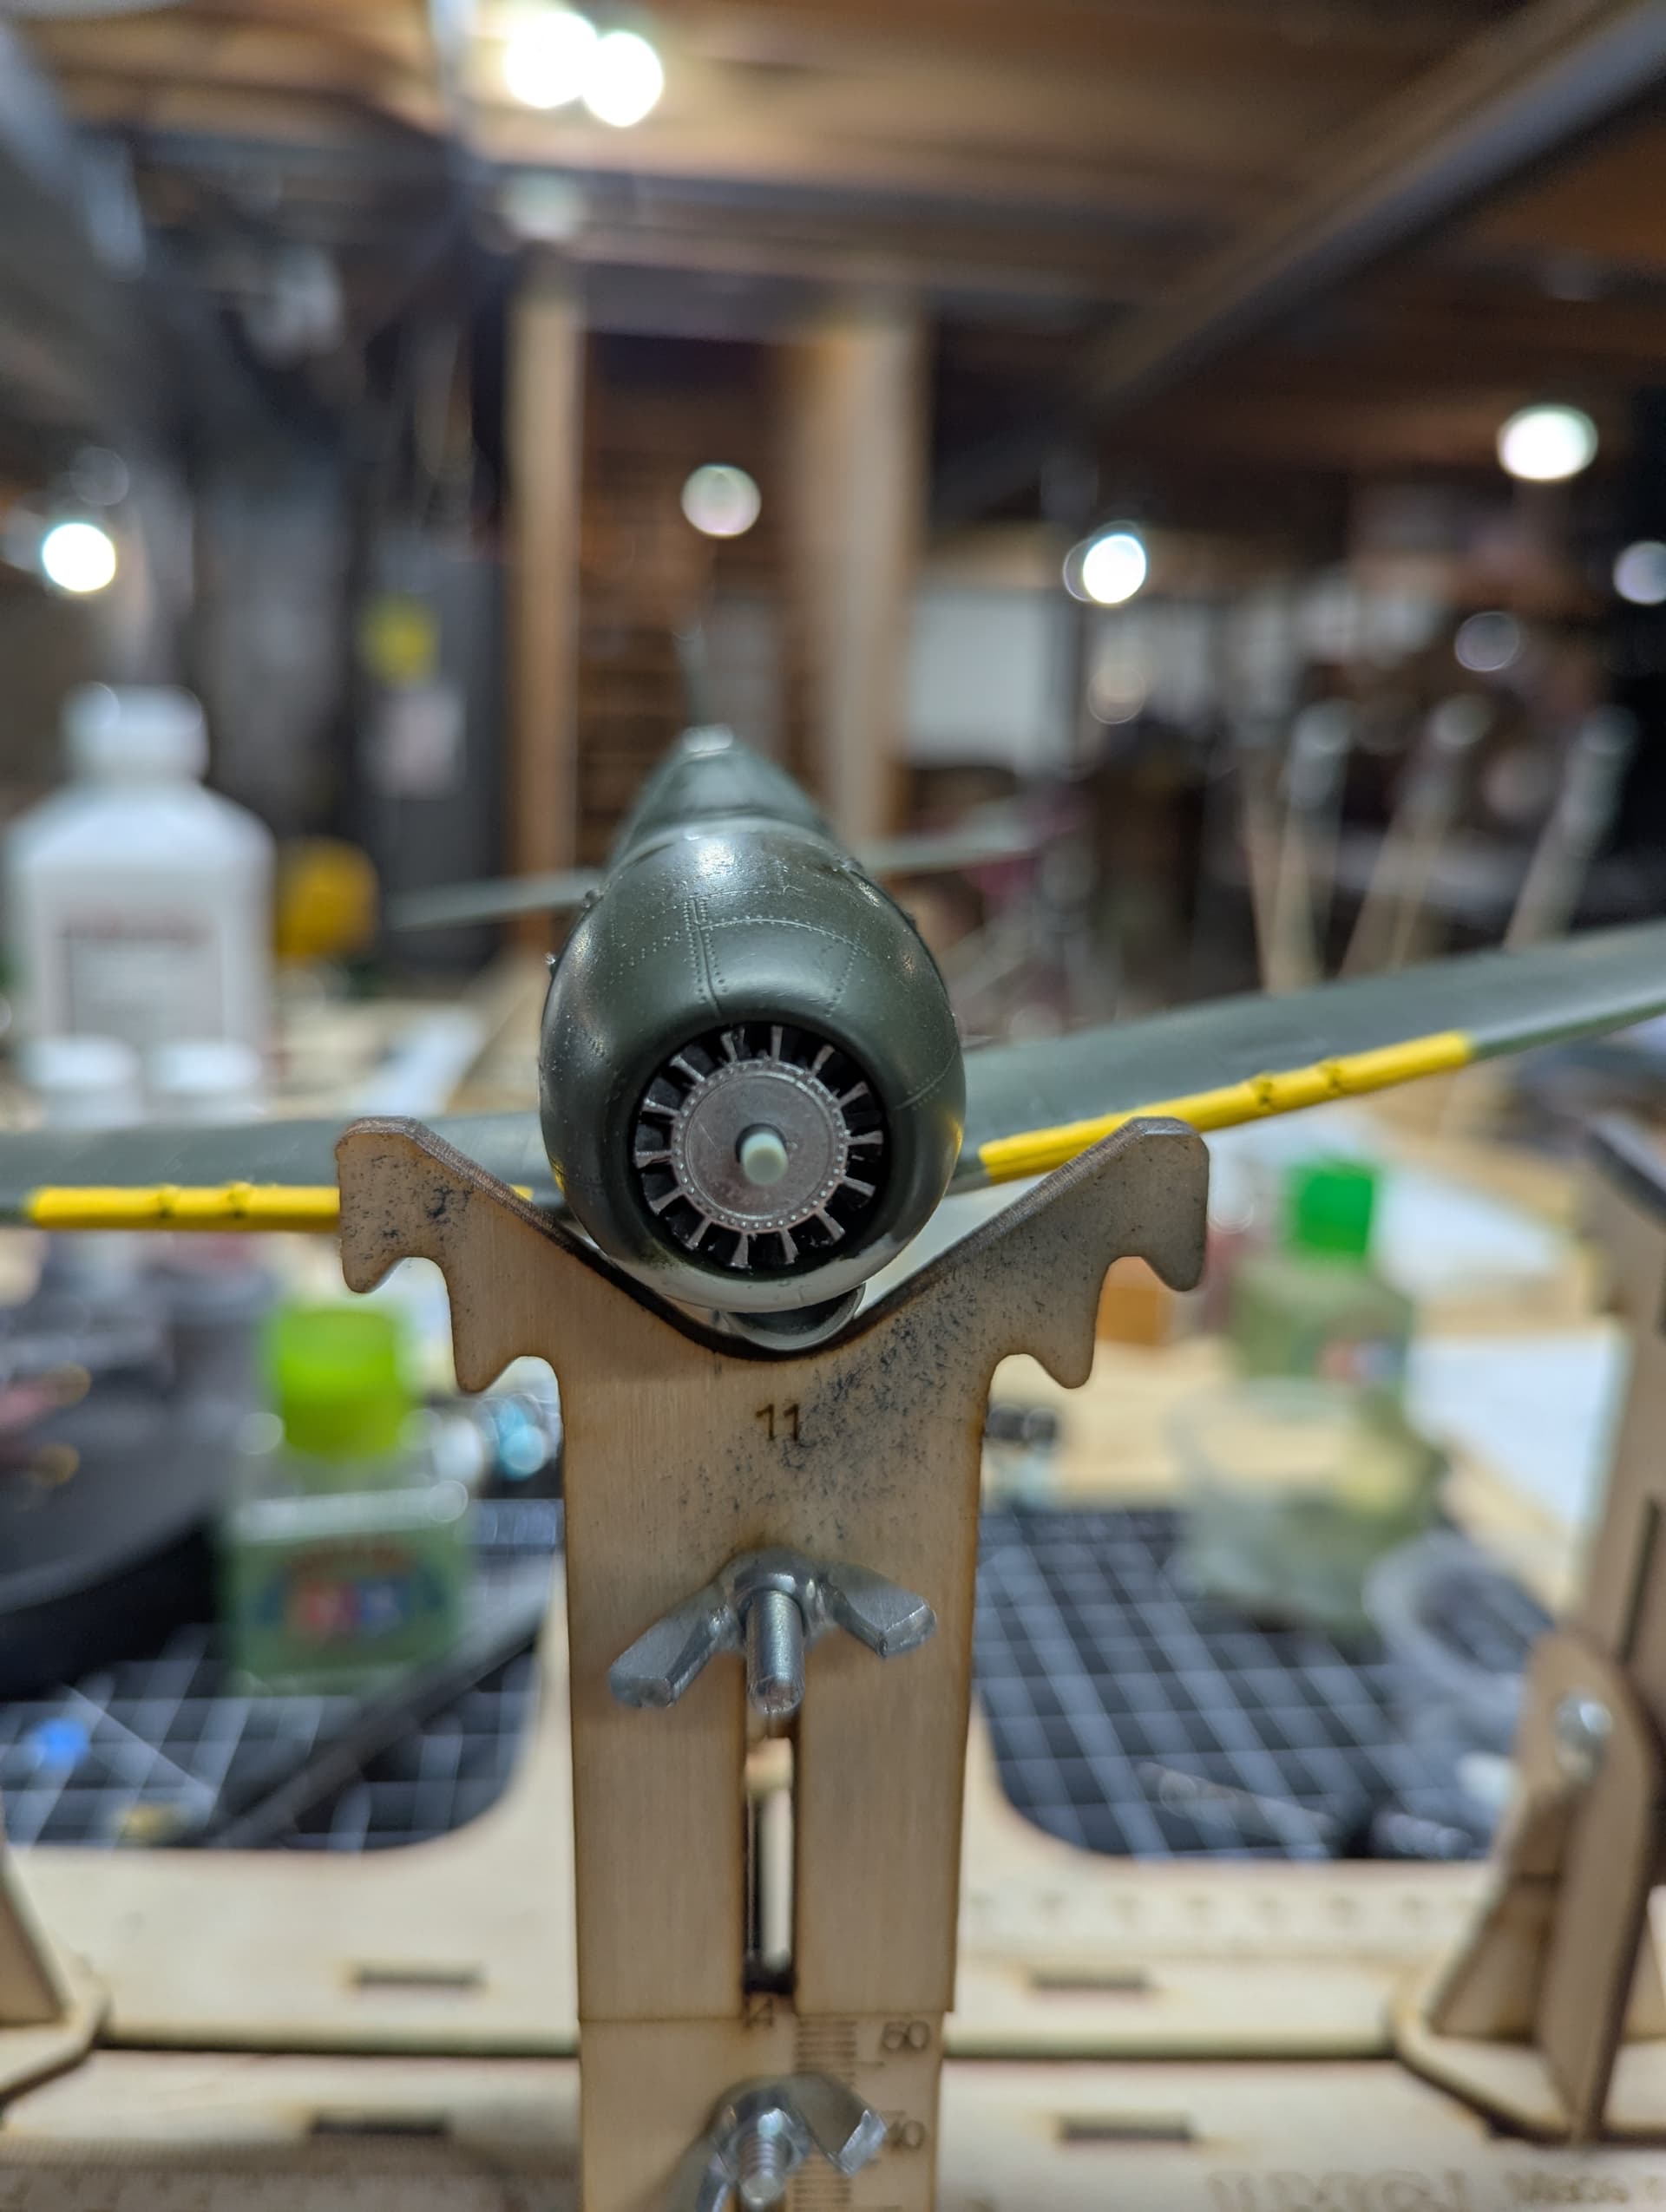
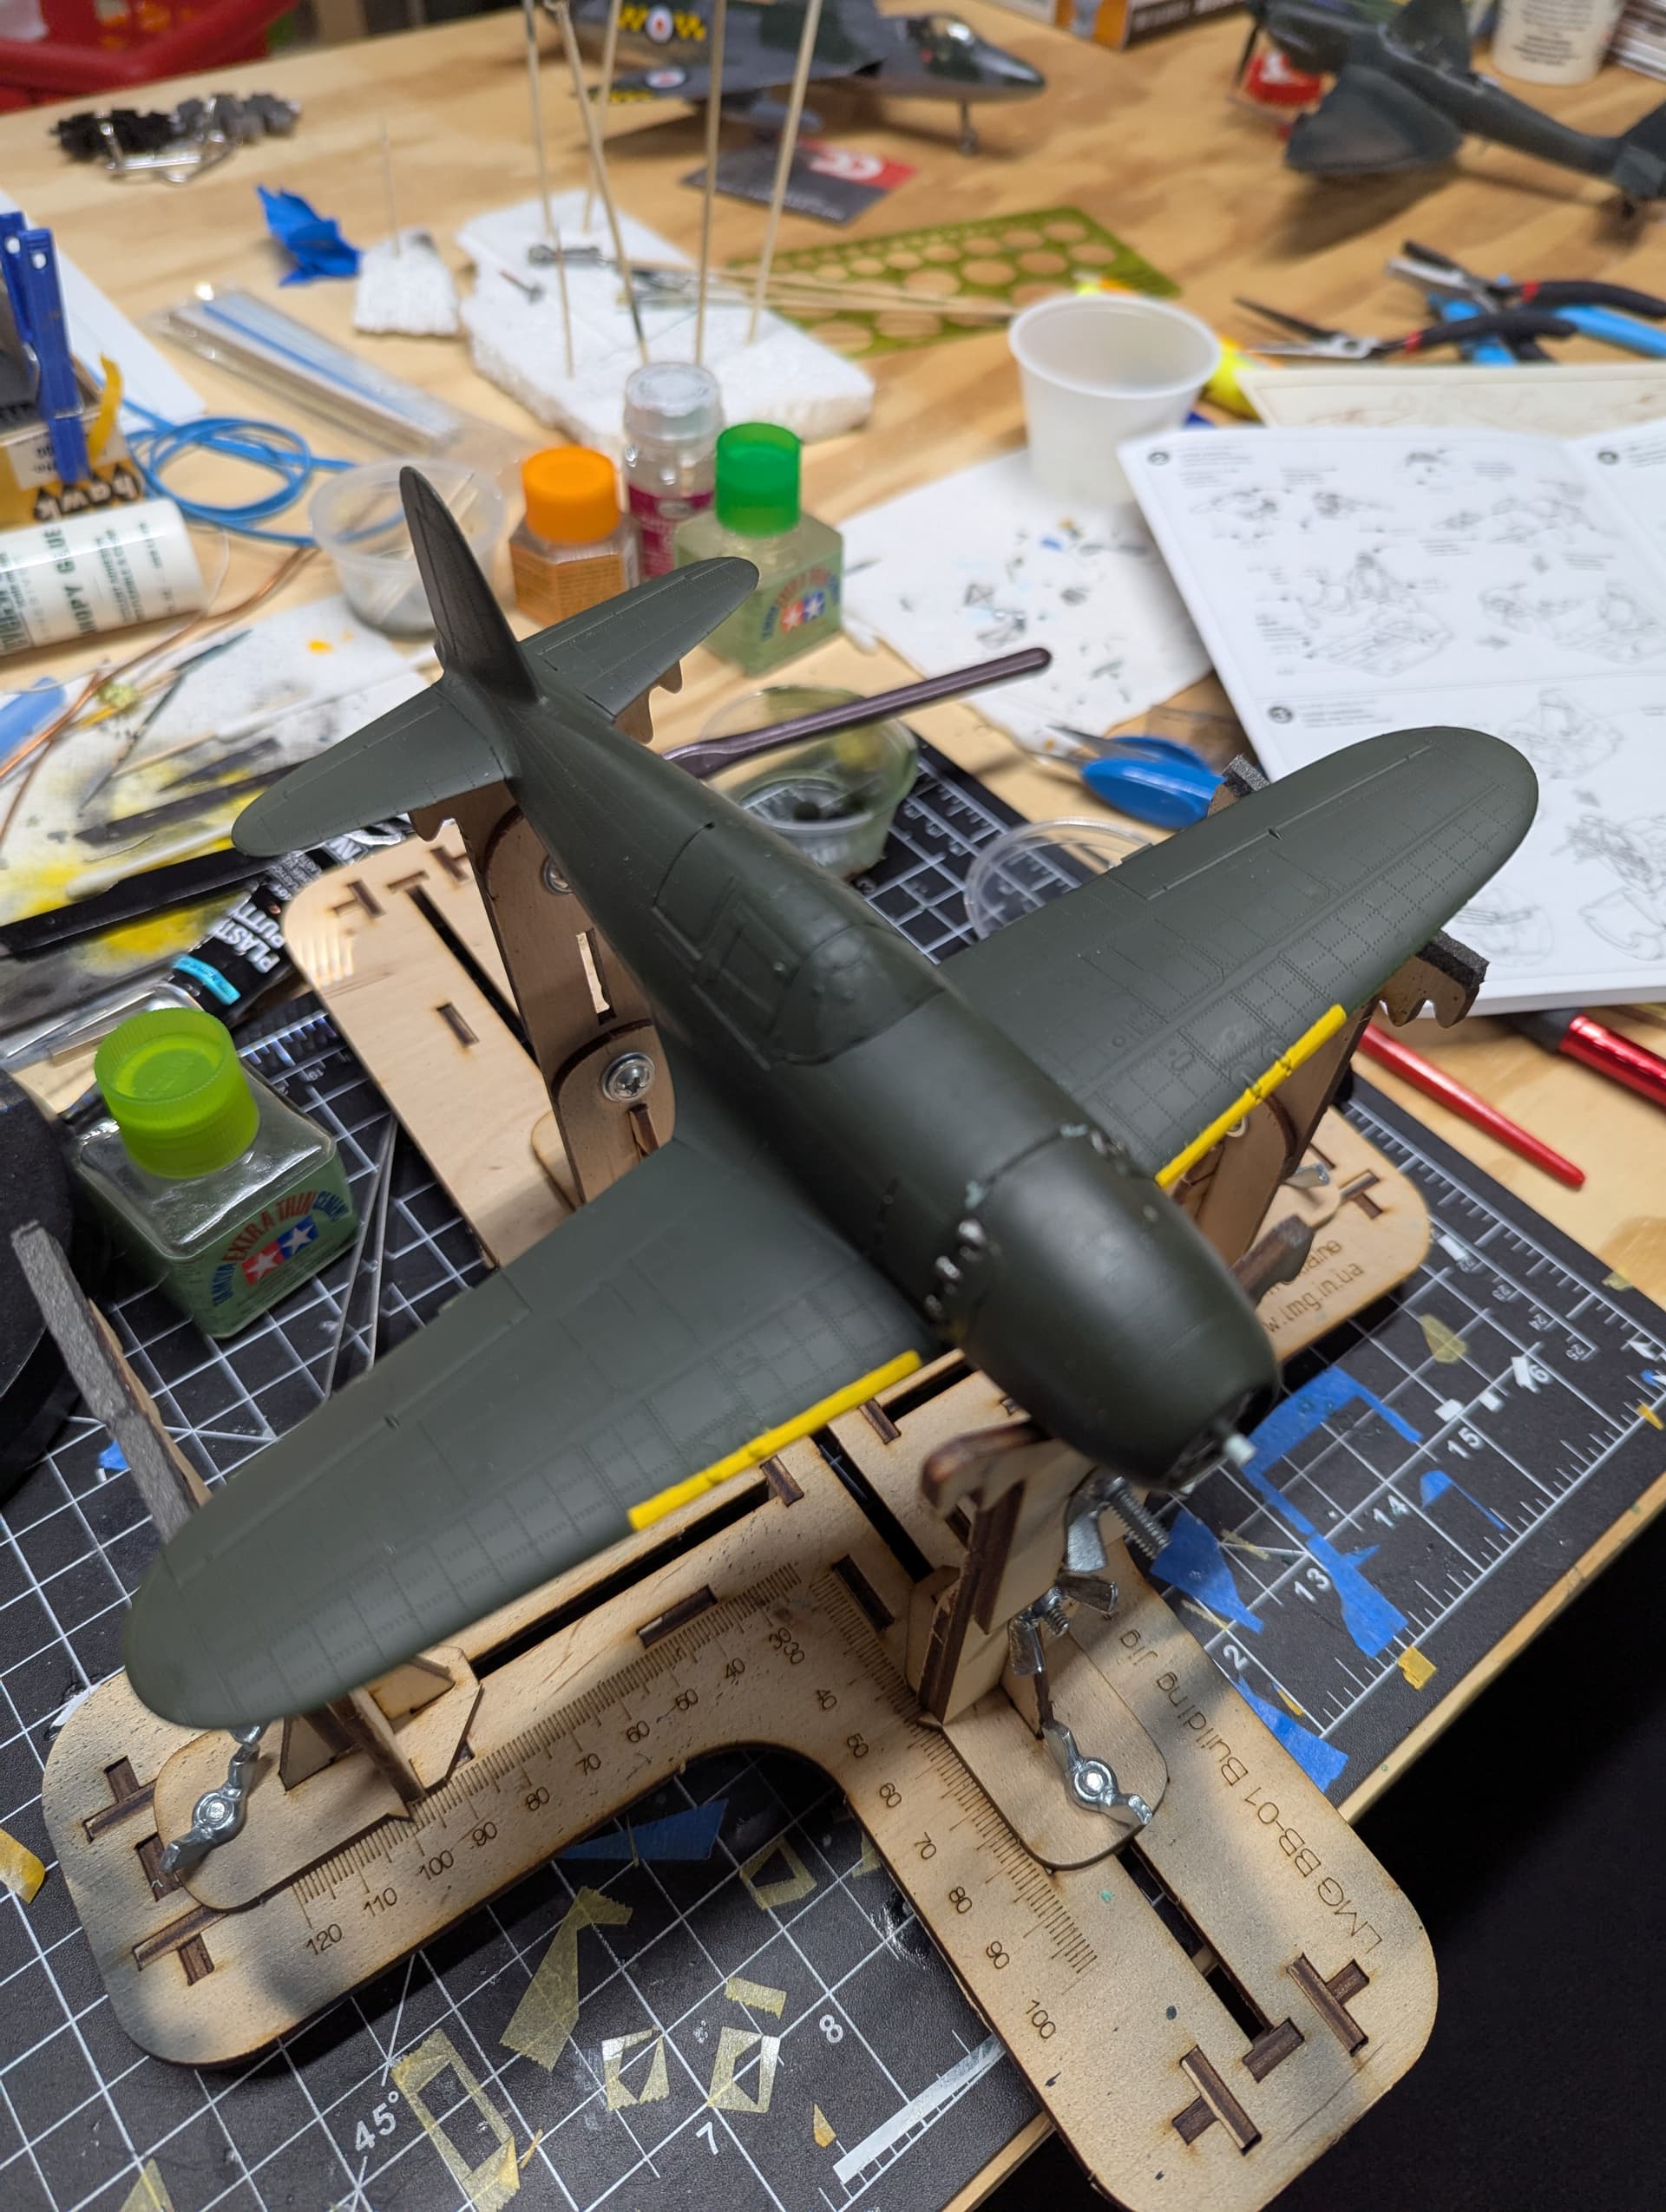
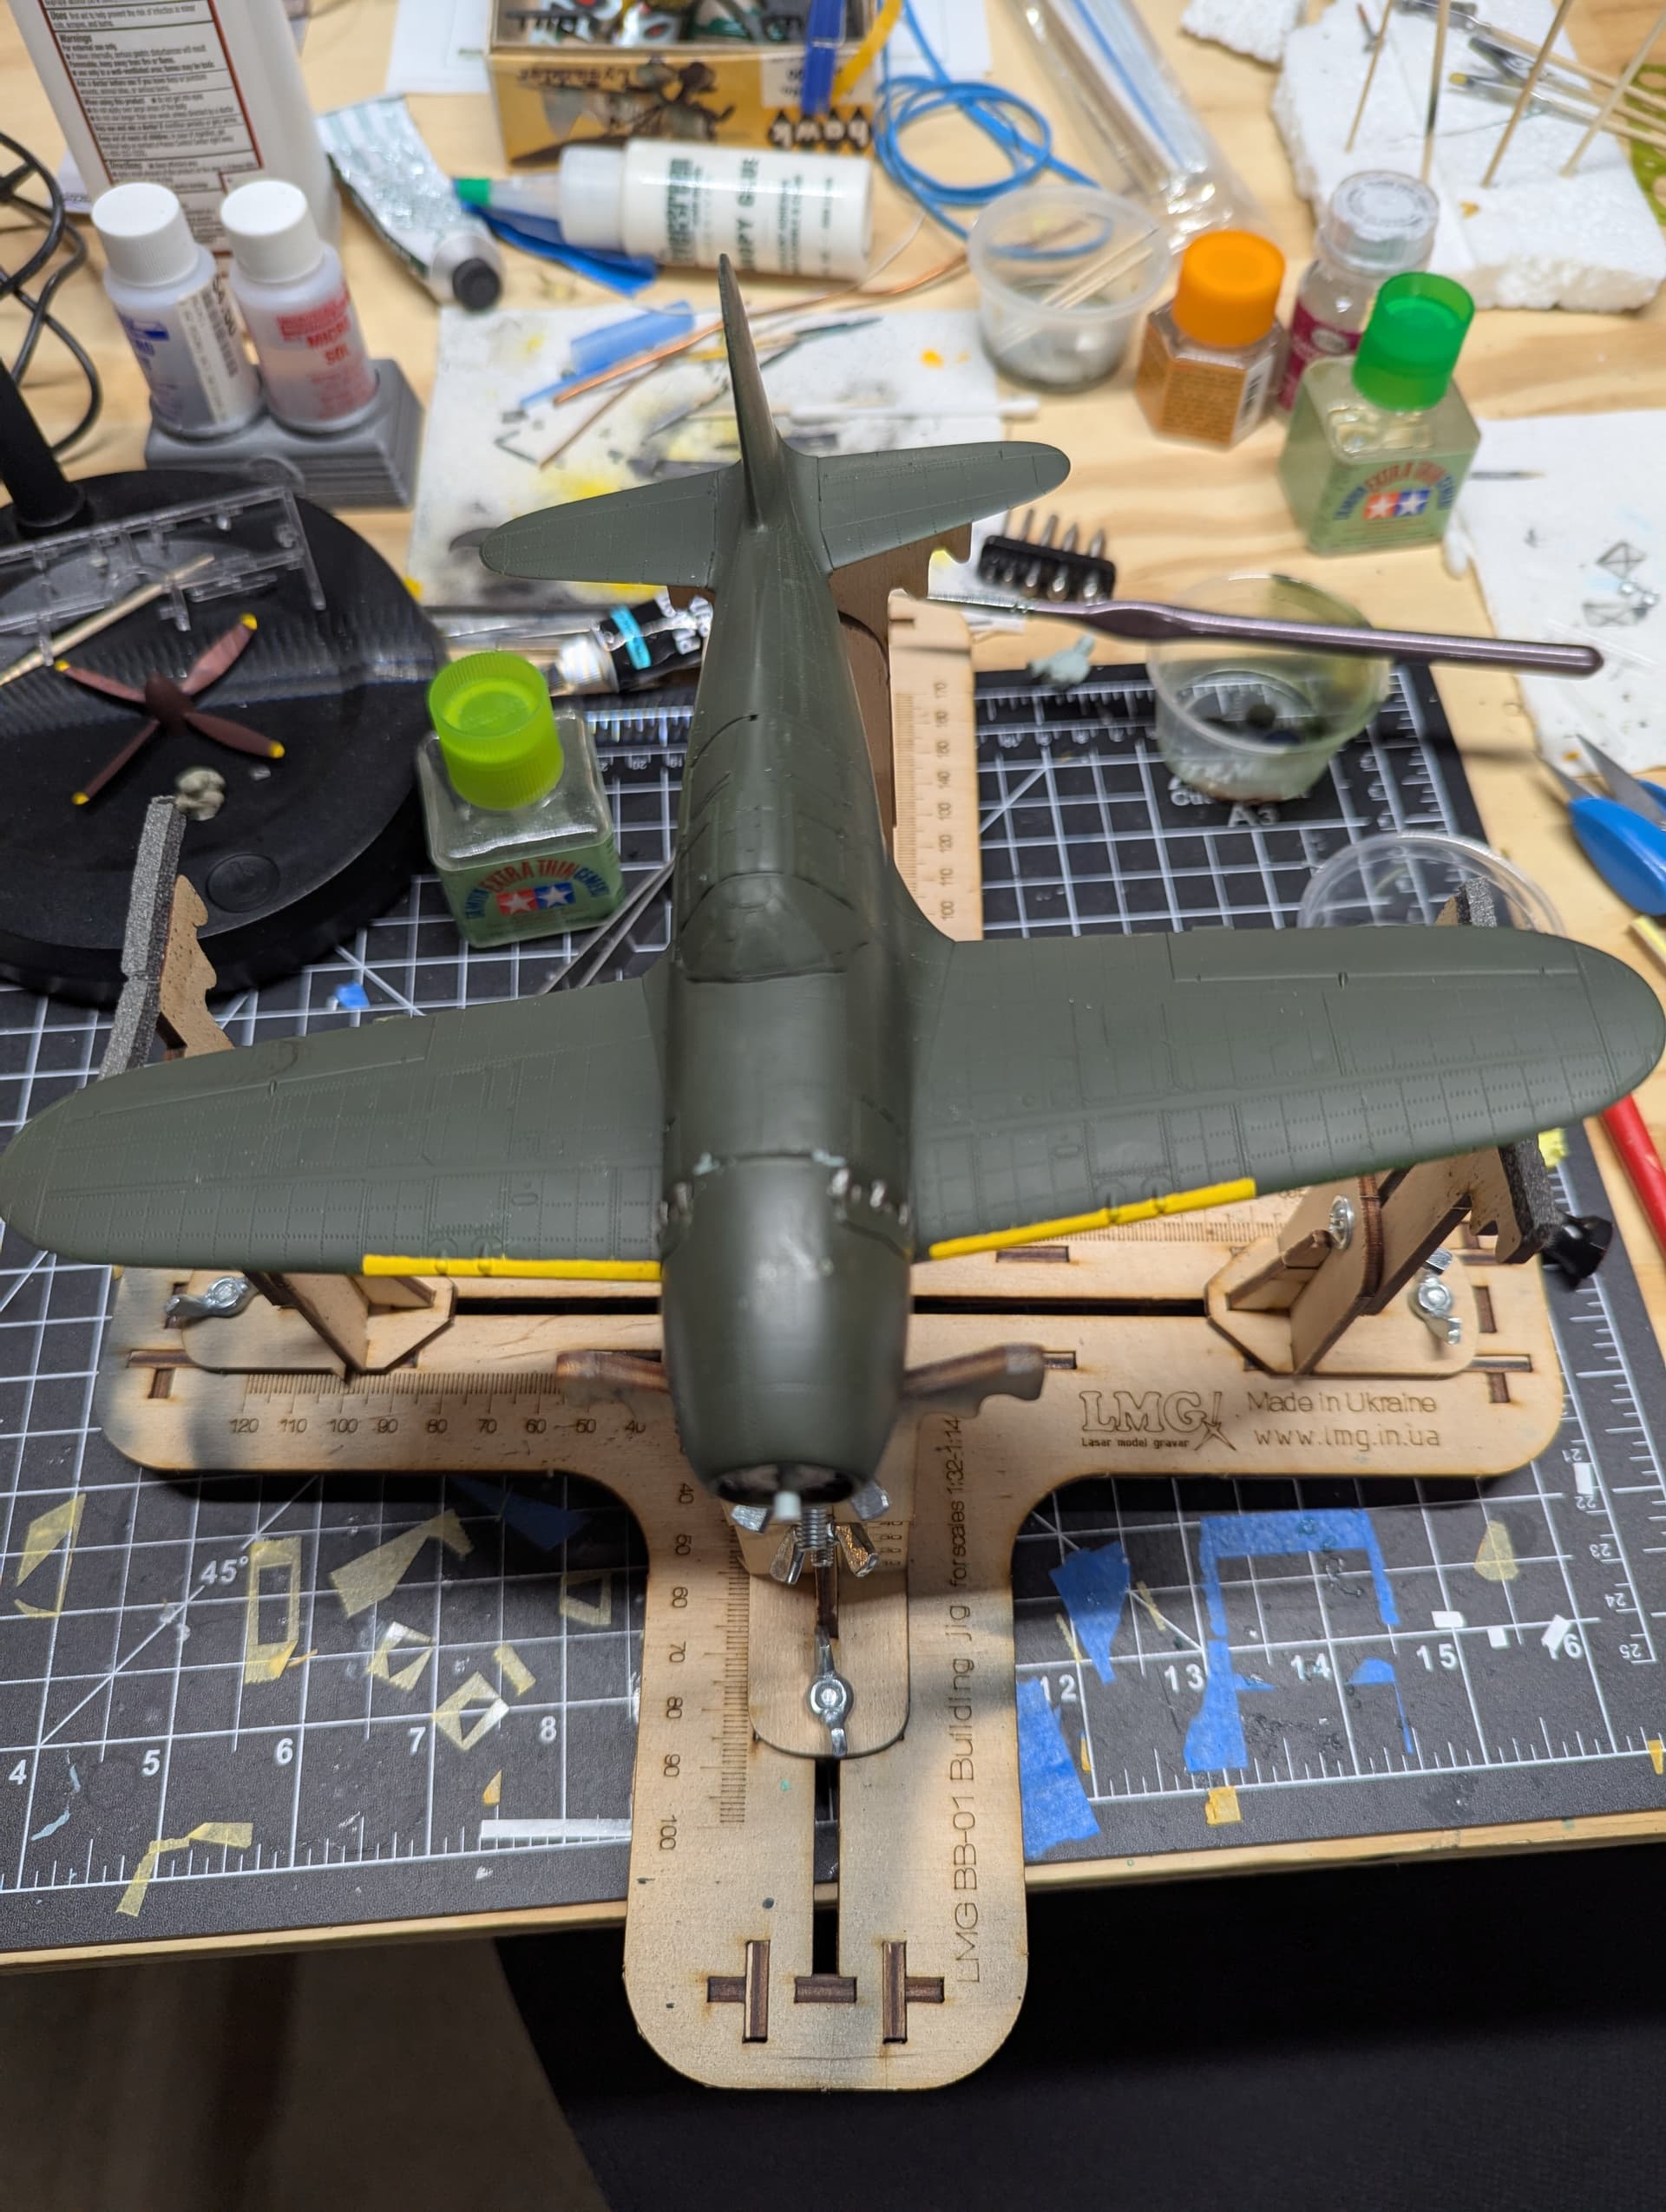
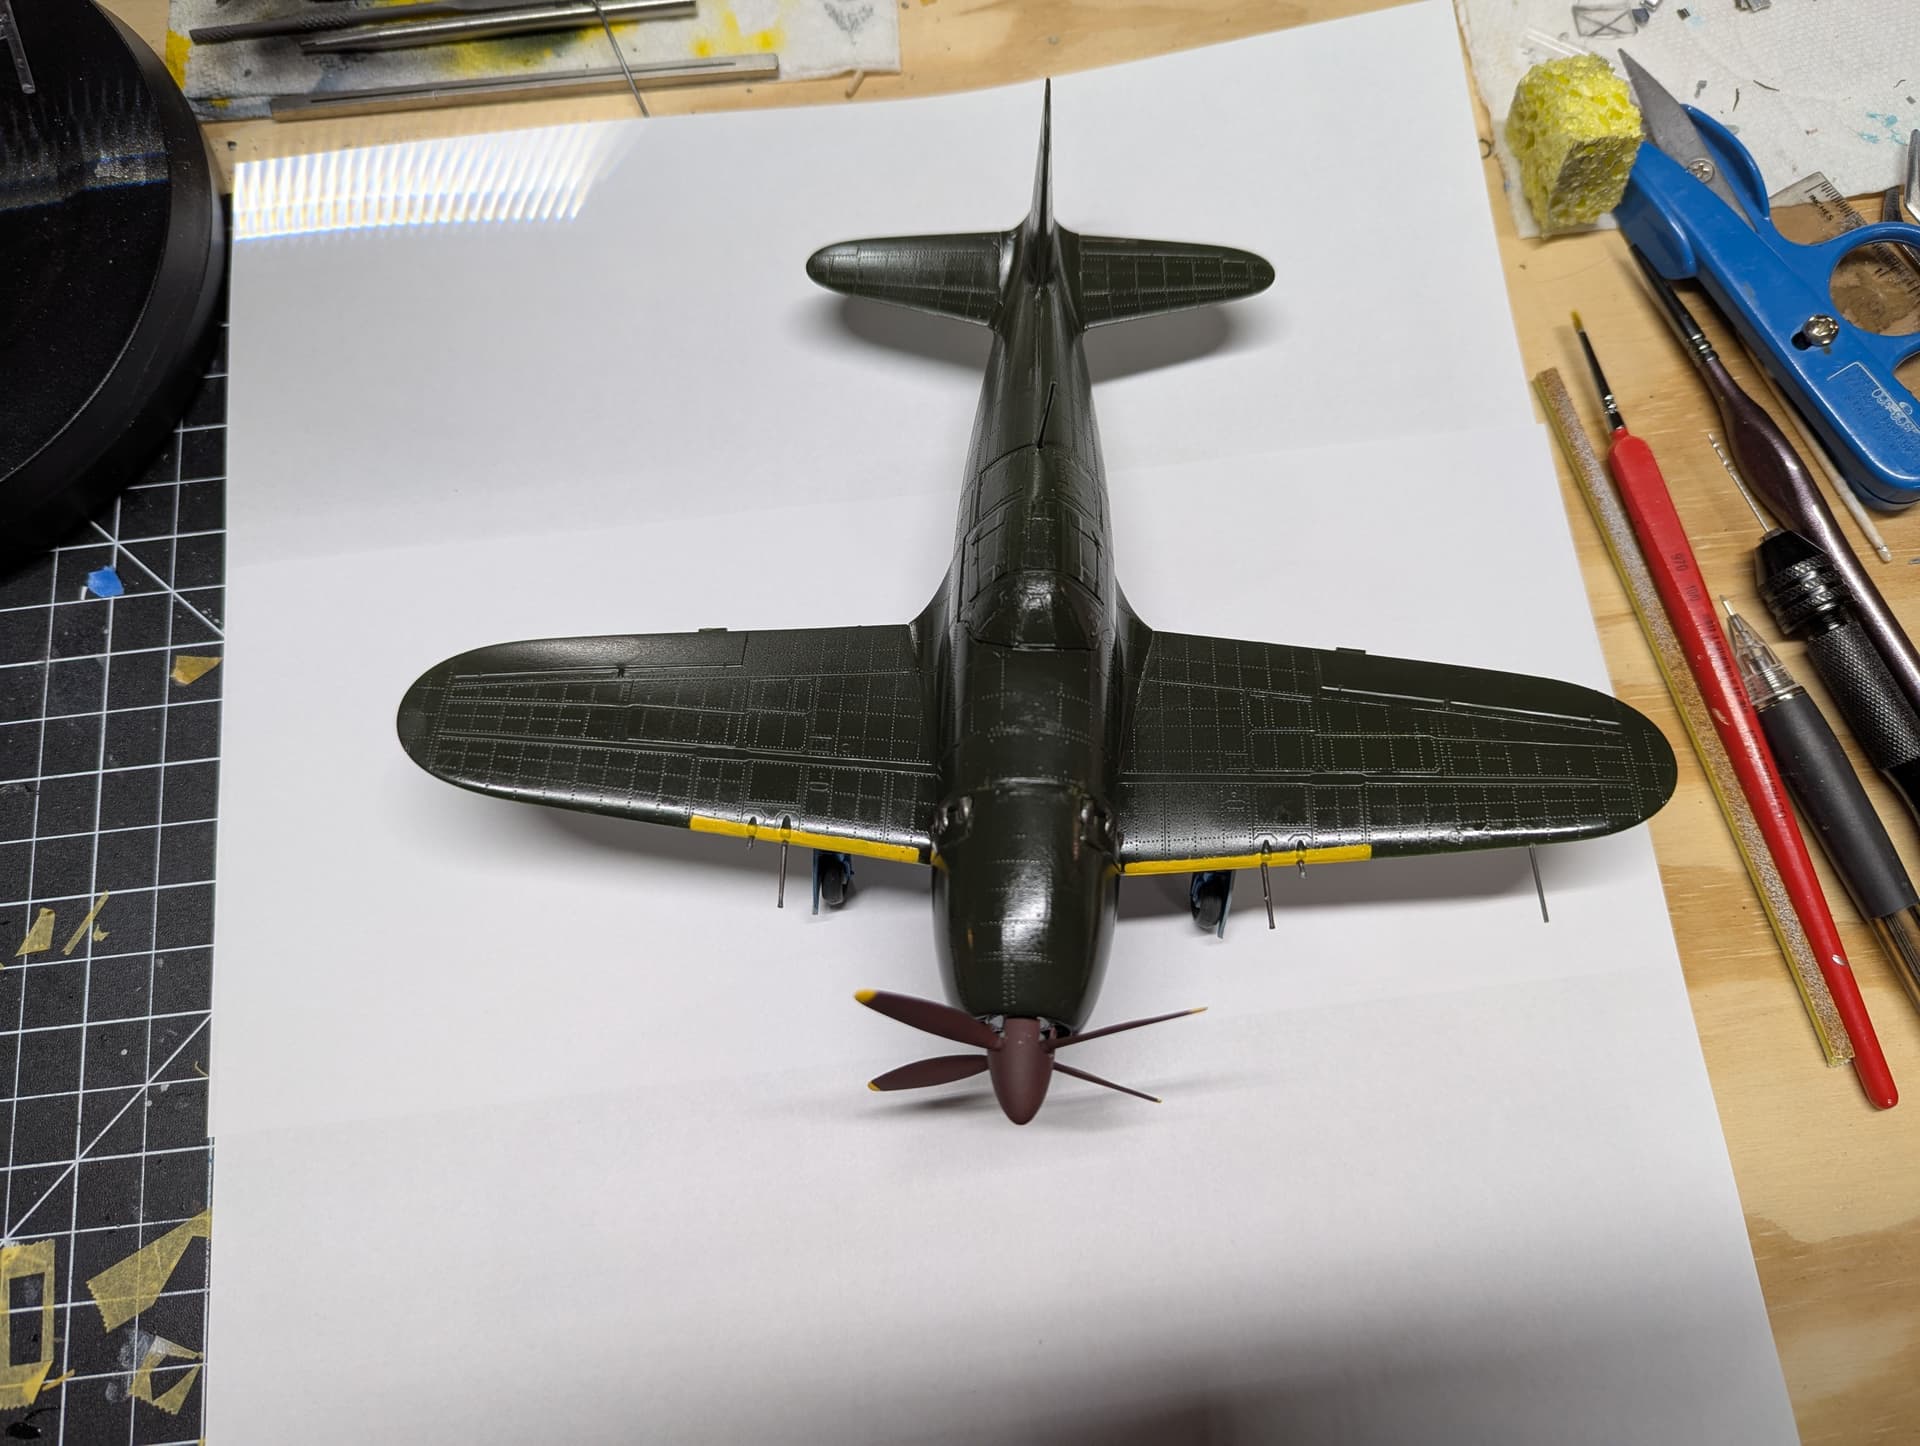
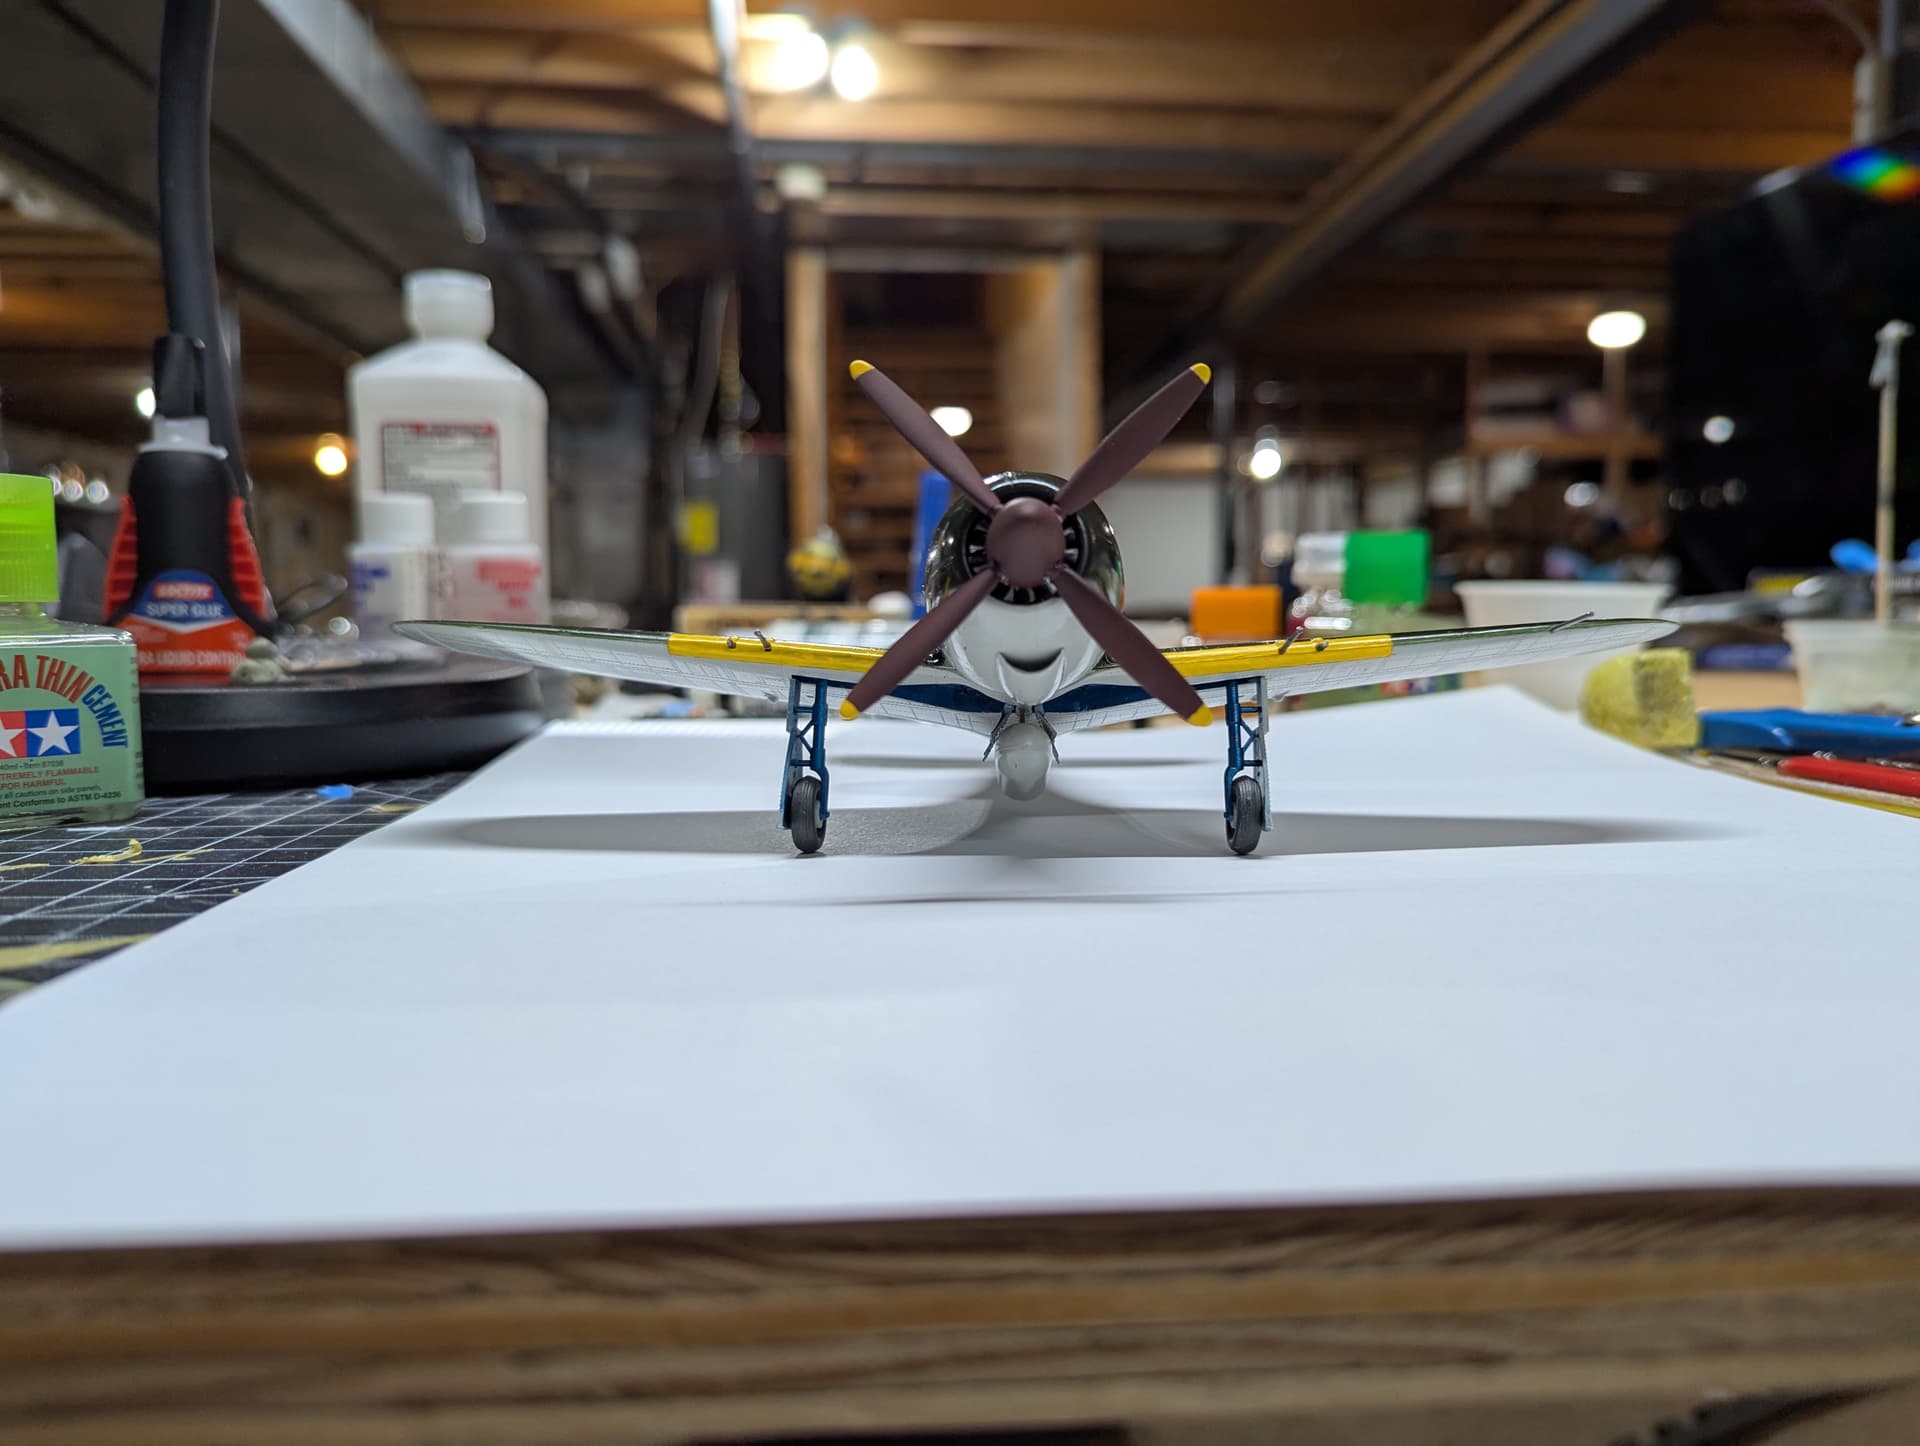
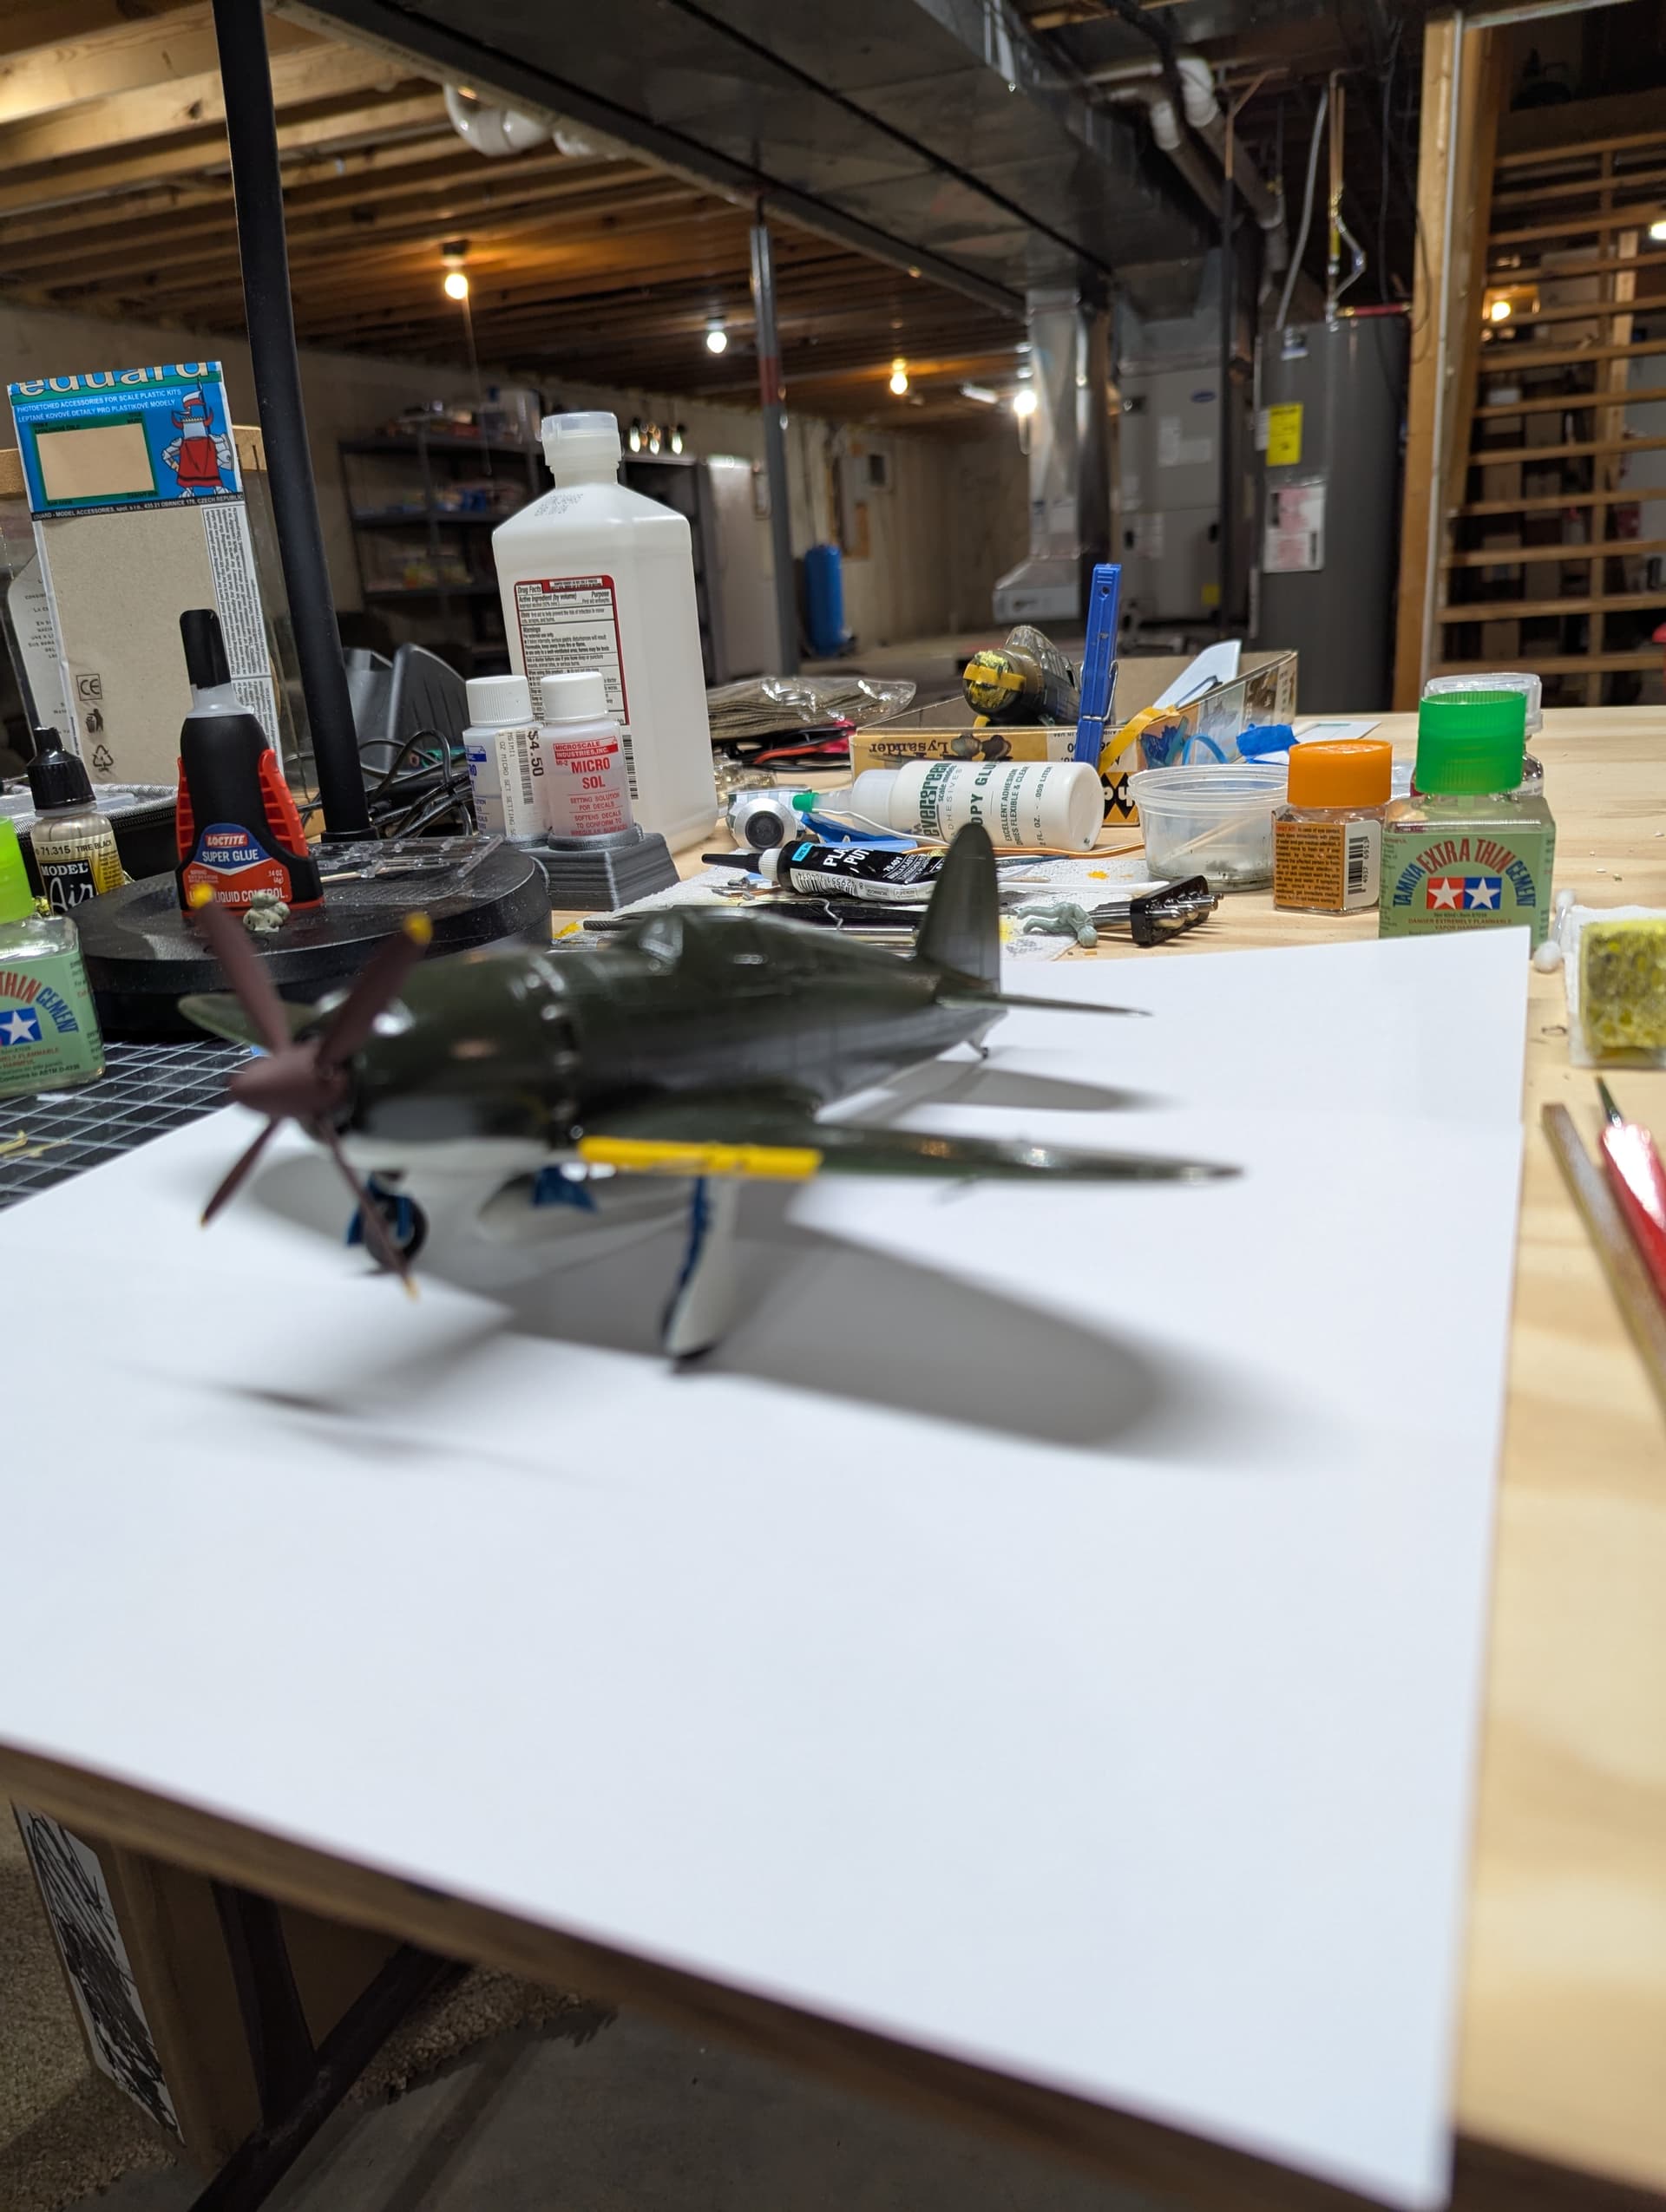
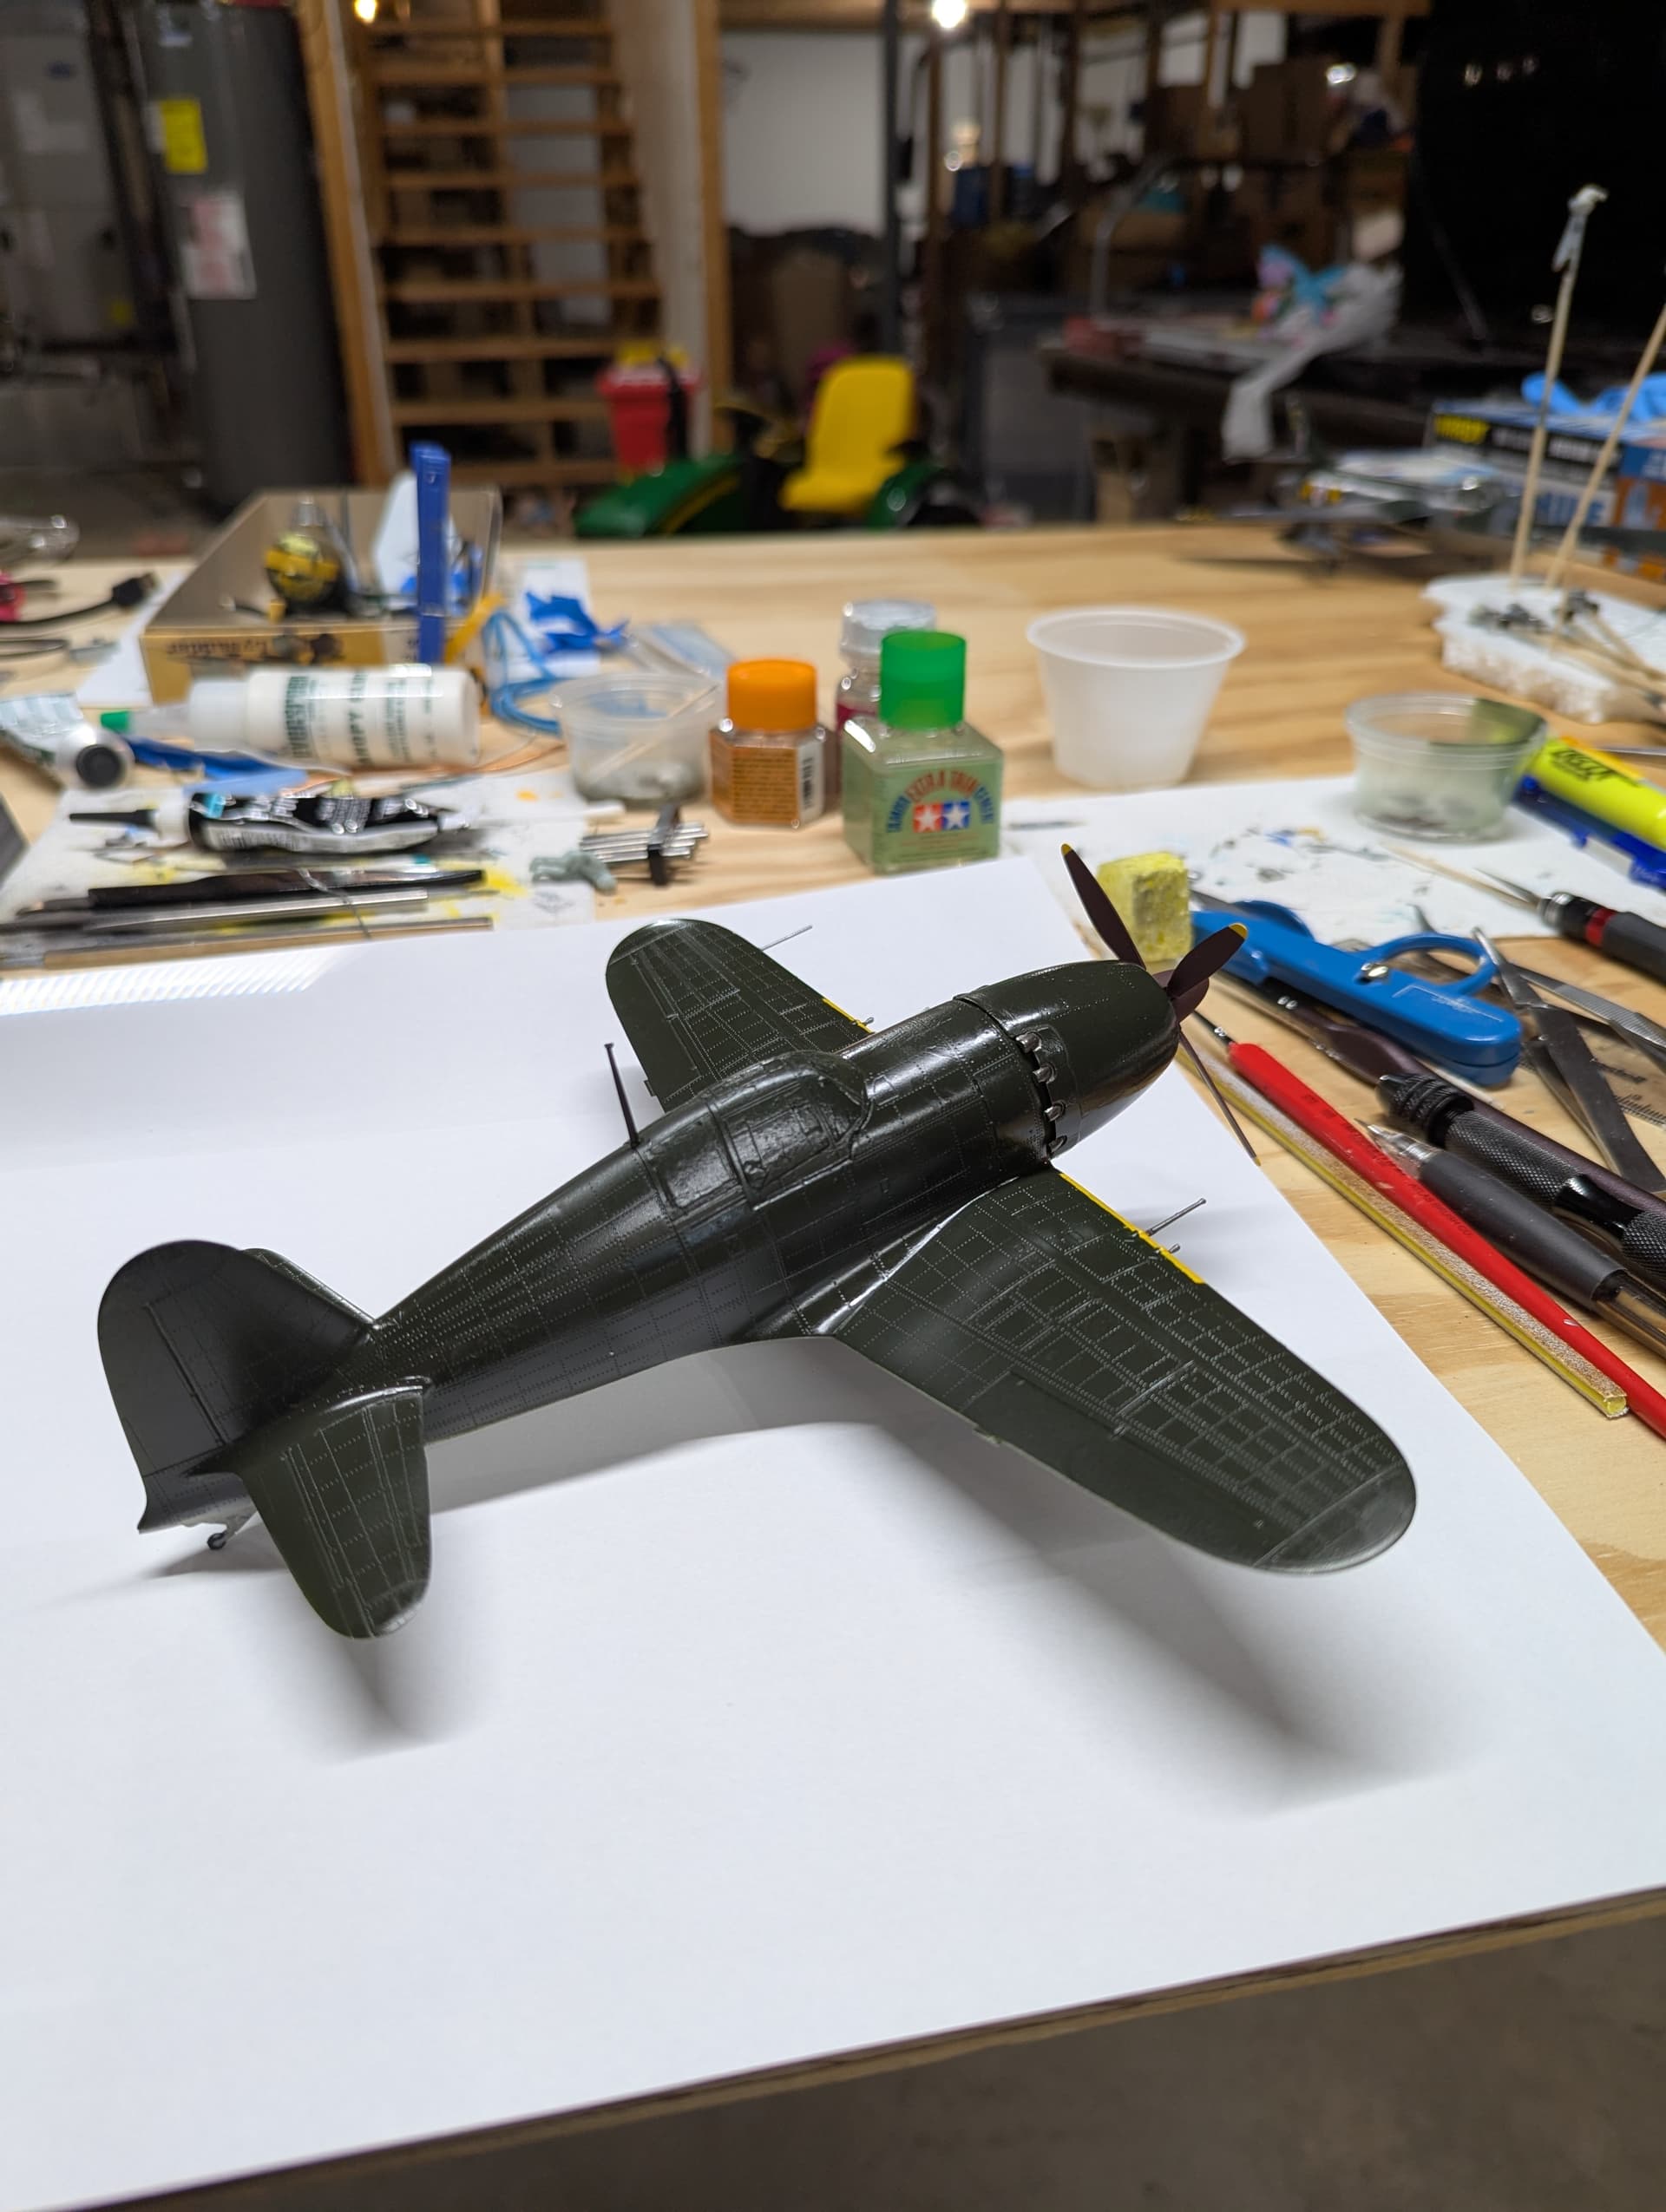
More progress on the A6M5 Zero. I got to throw some paint at her. I used Mr. Color on the prop and cowling and Tamiya Acrylics for the camo colors. I used a custom mix for the Nakajima Dark Green, since this aircraft was built by them.
I also sprayed a coat of Testors Model Master Metalizer Sealer over the paint, in preparation for applying decals.
Since I will be away this next week on a family trip, I am bringing this kit with me so I can put the decals on then. I plan on using the kit’s decals for option two, a Zero from the 652nd Naval Flying Group, HMIJS Jun’yo, June 19th 1944, Battle of the Philippine Sea. (No idea who flew it or if they survived the ‘Turkey Shoot’)
Seeing a LOT of out standing work on everyone’s projects! I love watching how the progress is coming along. Great work by all. I’ll post more as I get the opportunity.
Cheers!
Freddie OUT.
Ahoy cbaltrin. Your research is spot-on. The use of aotake (a primer) compared to a final paint finish often depended on what part of the airplane you’re talking about and even who built the airplane. Nothing is black and white considering aotake is kinda blue or green.
Time for an update! The Raiden is coming along nicely. I have the engine ready to go in and the canopy is masked up and attached in preparation for painting.
The plane we called the Jack really typifies why the Japanese should not have been at war with the USA. Hirokoshi and friends at Mitsubishi knew the Zero was not the wave of the future and were designing something heavier and faster to replace it - and were working on it before December 7. But Japanese industry was not good at matching the tolerances required for advanced engines and light and strong air frames so when the Jack finally showed up in mid-44 it was a hangar queen just as all of the second generation IJ aircraft were. (Their ground crew left much to be desired too.) So despite the KI-84, the Jack, the George much less the Japanese version of the 262 none of them were well suited for a daily slugfest with US aircraft no matter how good they looked on paper. It says something that American intelligence were not very interested in late war IJ aircraft they captured after war’s end. (With perhaps one exception - the Japanese were working on a powered version of the “cherry blossum” rocket plane which was crippled because it had to be carried neat to its target under a Betty. A few hundred of those would have been very bad news - the trouble with a Special Attack plane was that the bomb detonated on impact. The rocket plane detonated after impact - the one DD it hit by the rocket plane sunk immediately.)
Hi
Happy Easter.
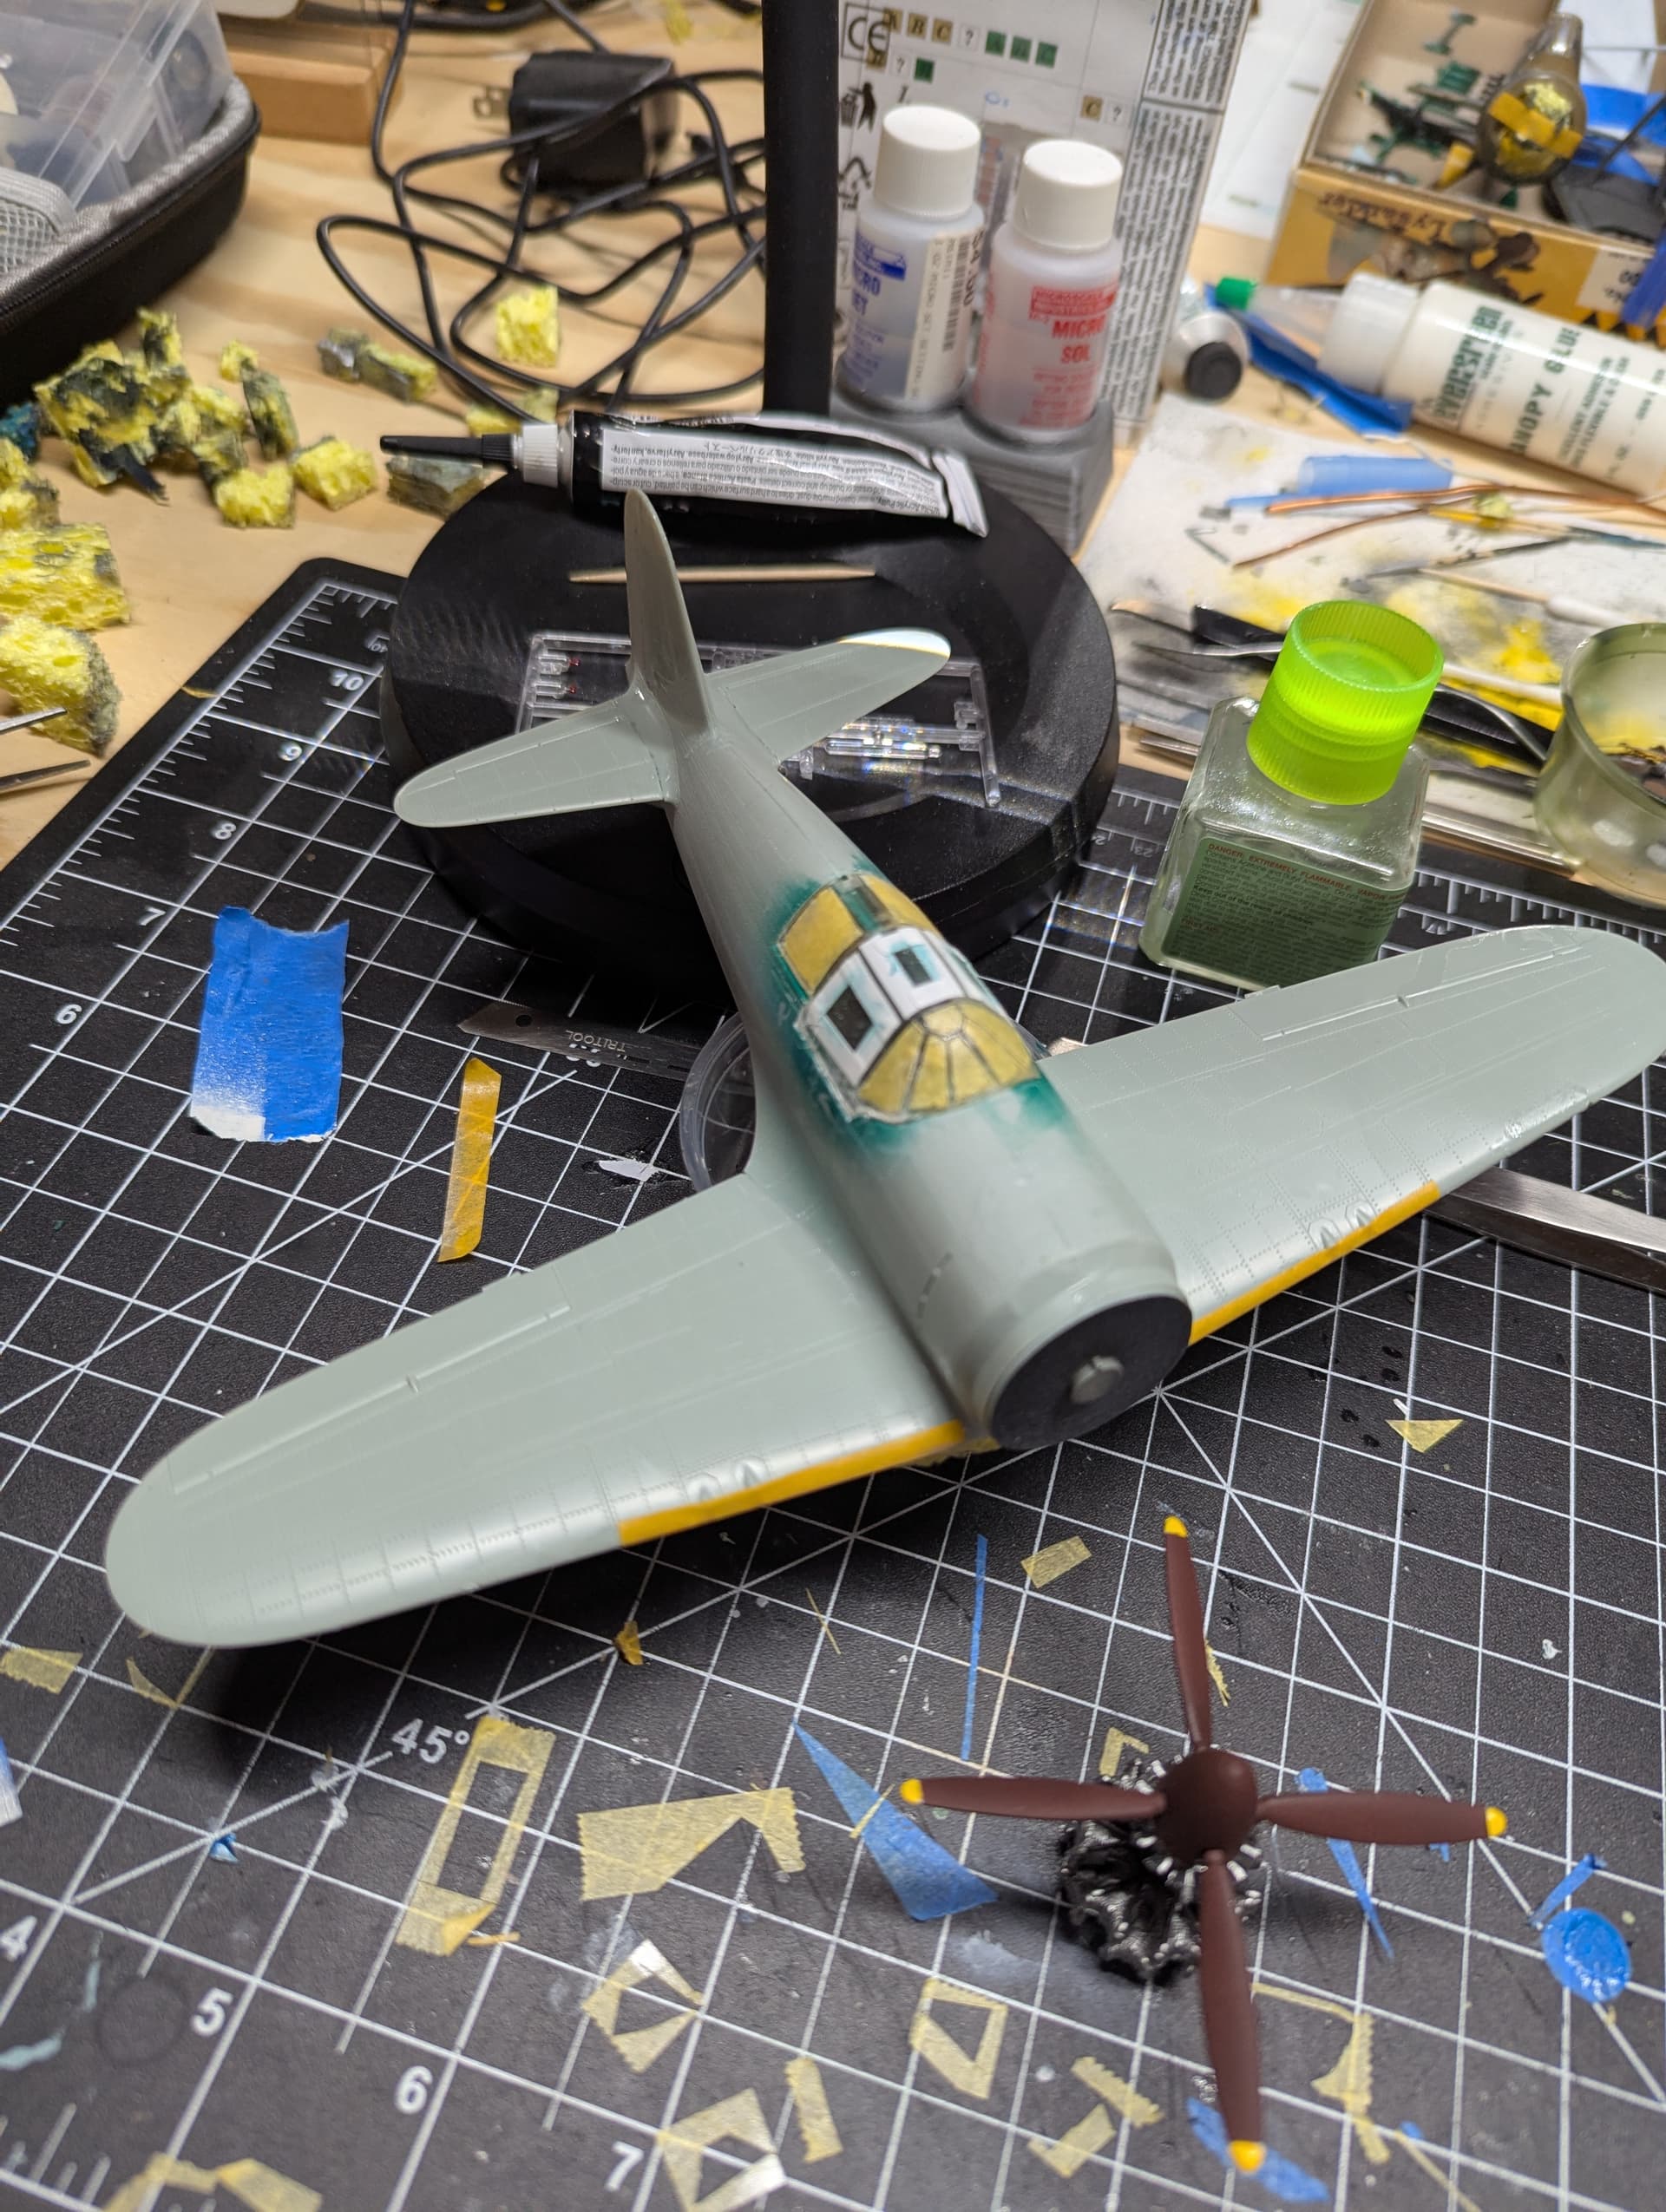
I’ve made some more progress on the Oscar. I painted it with one of Vallejo’s excellent water based metallic acrylics - in this case aluminum. It might be a little bright - might give it a satin varnish later. The underside is to remain NMF:
 NMFBottom by Eric Bergerud, on Flickr
On the sides and around the engine I applied a kind of helter skelter application of dark green dots and streaks. I used a mask made out of PE from a very neat German firm Ushi von der Rosten that sells all kinds of specialty products - check out their web site if you want masks, rigging materials and anything to do with dioramas or wood grain stuff. https://www.uschivdr.com/ According to the instructions the green streaks/dots (I filled things in with a microbrush) vary in intensity with very few along the top spine and NMF on both sides of the cockpit. I may have over done it, but I’m quite sure the plane came in NMF and then the ground crew put on the camo so I don’t think the aircraft were uniform. Note the flat black on the nose and over the cockpit opening - that’s the Duplicolor primer which is a very flat black. The metal mask is along side the plane in the first pic.
 camotop by Eric Bergerud, on Flickr
 Camoside by Eric Bergerud, on Flickr
Next come the decals. Hasegawa provides deep yellow decals to cover the leading edge of the wings. It would probably work, but I think I’ll mask it and spray it on. Then I’ll have to figure how to handle panel lines - probably with an oil wash. Then final assembly - hopefully.
Eric
@EBergerud thanks for sharing that but of information. I appreciate learning the history behind things and this is something I hadn’t heard before. I’m still really enjoying the build of this plane. It looks cool and the Arii kit is super old.
It is a cool looking plane. I built the old Tamiya one as a kid. Have the Hasegawa 1/48 one in my stash.
Happy Easter. Nice work on your camo job. Coming along nicely.
Just finished my entry for the GB, really enjoyed it! And nice excuse to build a Japanese aircraft.
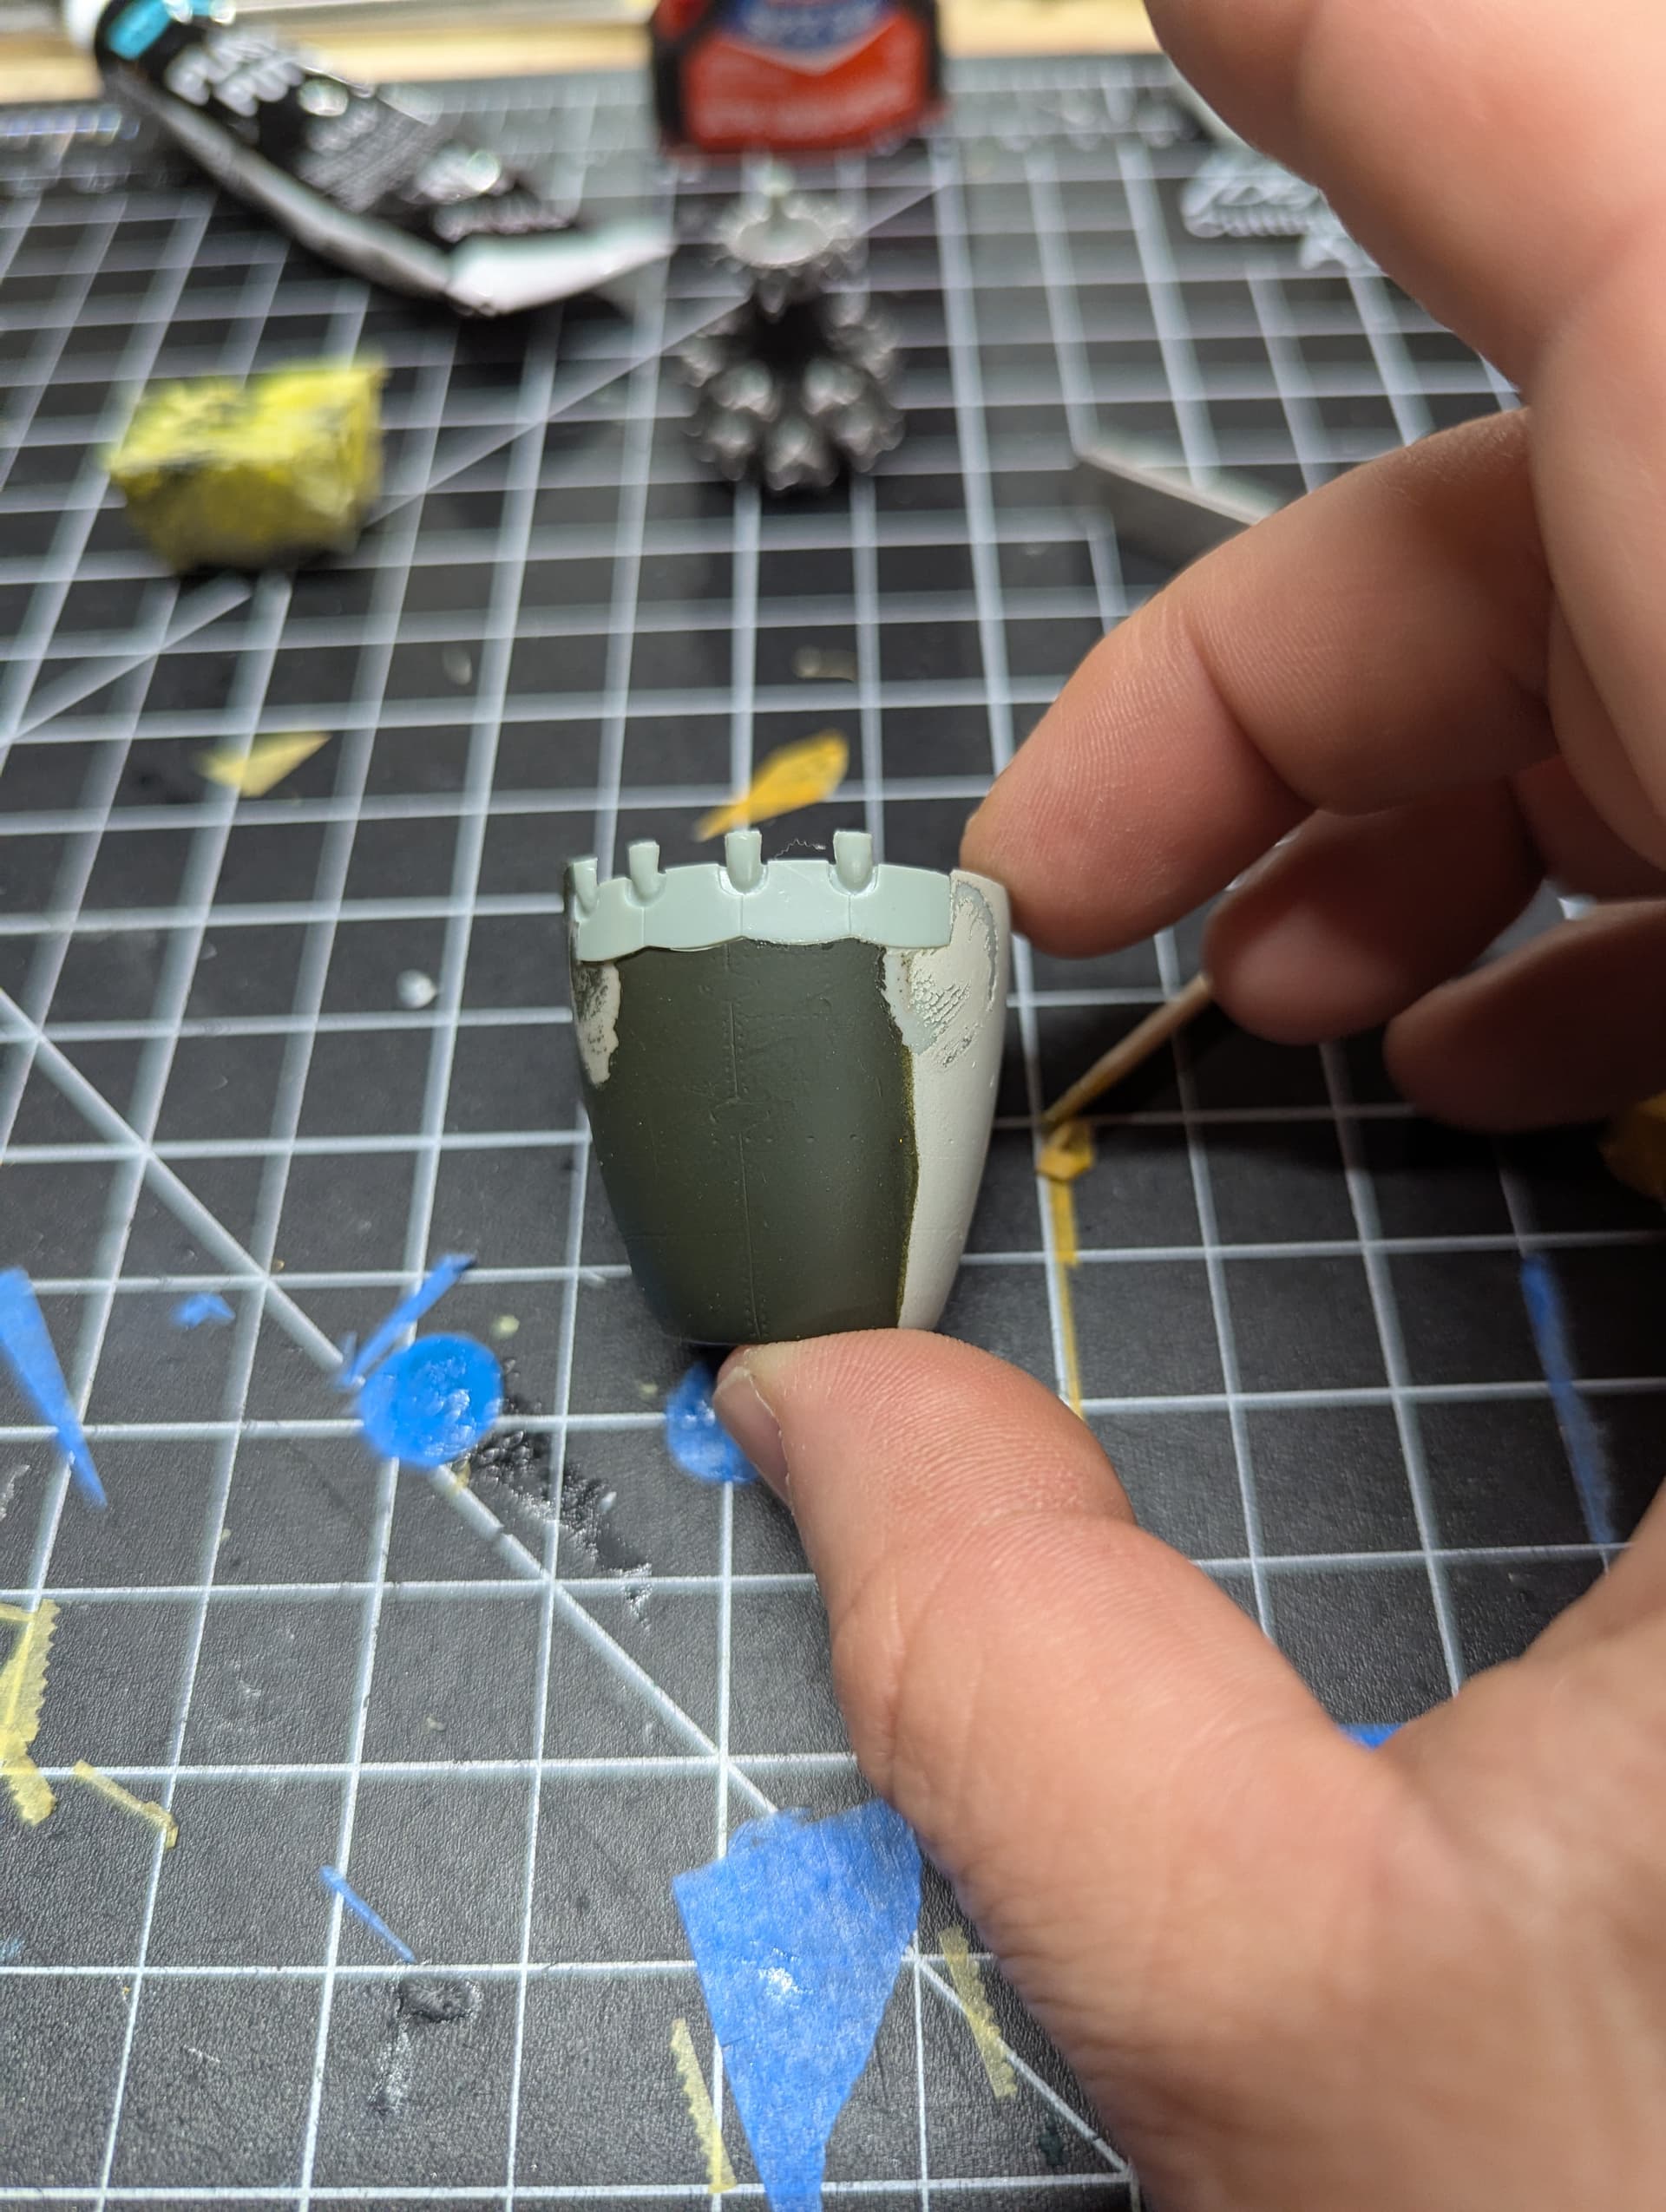
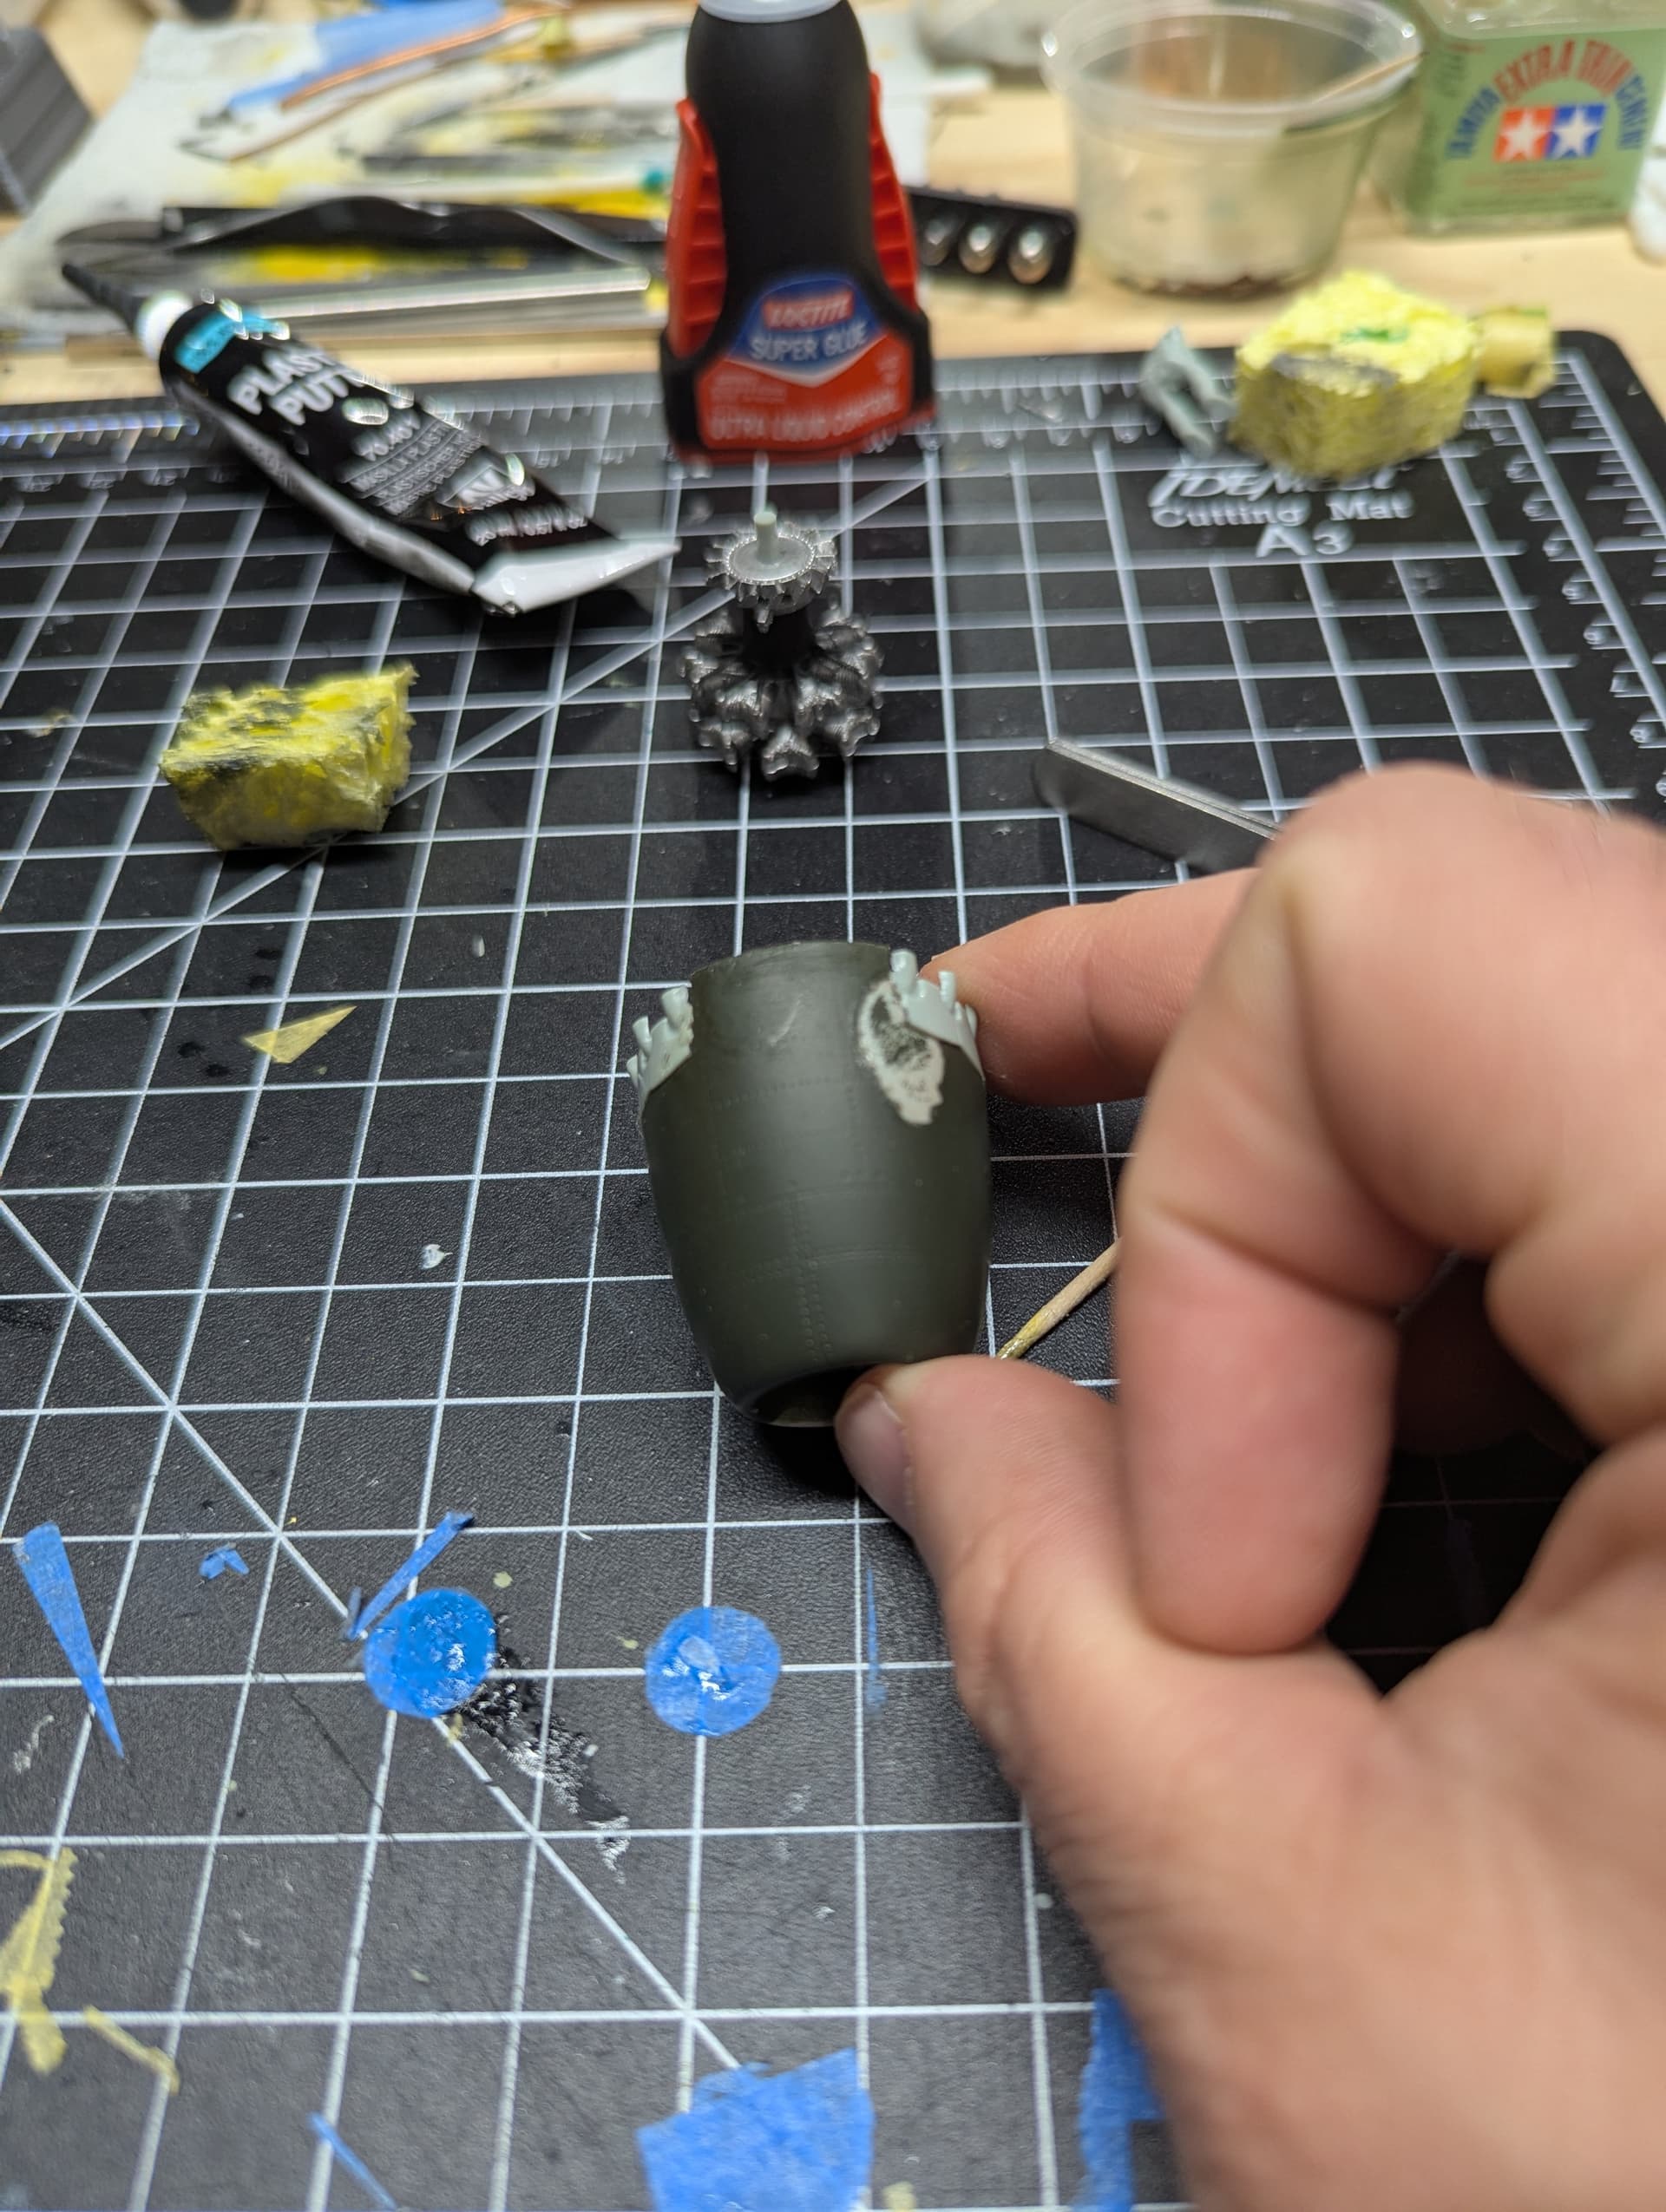
I created a problem for myself last night working on the cowl of the Raiden. It wouldn’t have happened if I had quit working a bit sooner. I wanted to do just one more thing and, well …
It will sand out and I’ll have to redo the rivets and panel lines (they’re incredibly well done considering the age of this model). Lesson learned.
Wow, there are some fast model builders in our midst. Excellent job on your Kate Sturmovik!
Ouch! Those things will happen!
I think you paint job looks spot on.
As far as the decals go. You can probably pick up an old Tamiya Jack and use the decals from that. If you look hard, you can probably find that kit for the same price as a stand alone decal sheet. If kit is still sealed, decals should be decent. Just one option to think about.
@cbaltrin great idea! Thanks for sharing. I was looking at decal sheets, and they’re $20 plus shipping.
@dadoffour Looks like you recovered from your setback just fine.
Thank you @Aggieman . The glue prints were only paint deep so it sanded out and I repainted the cowl.
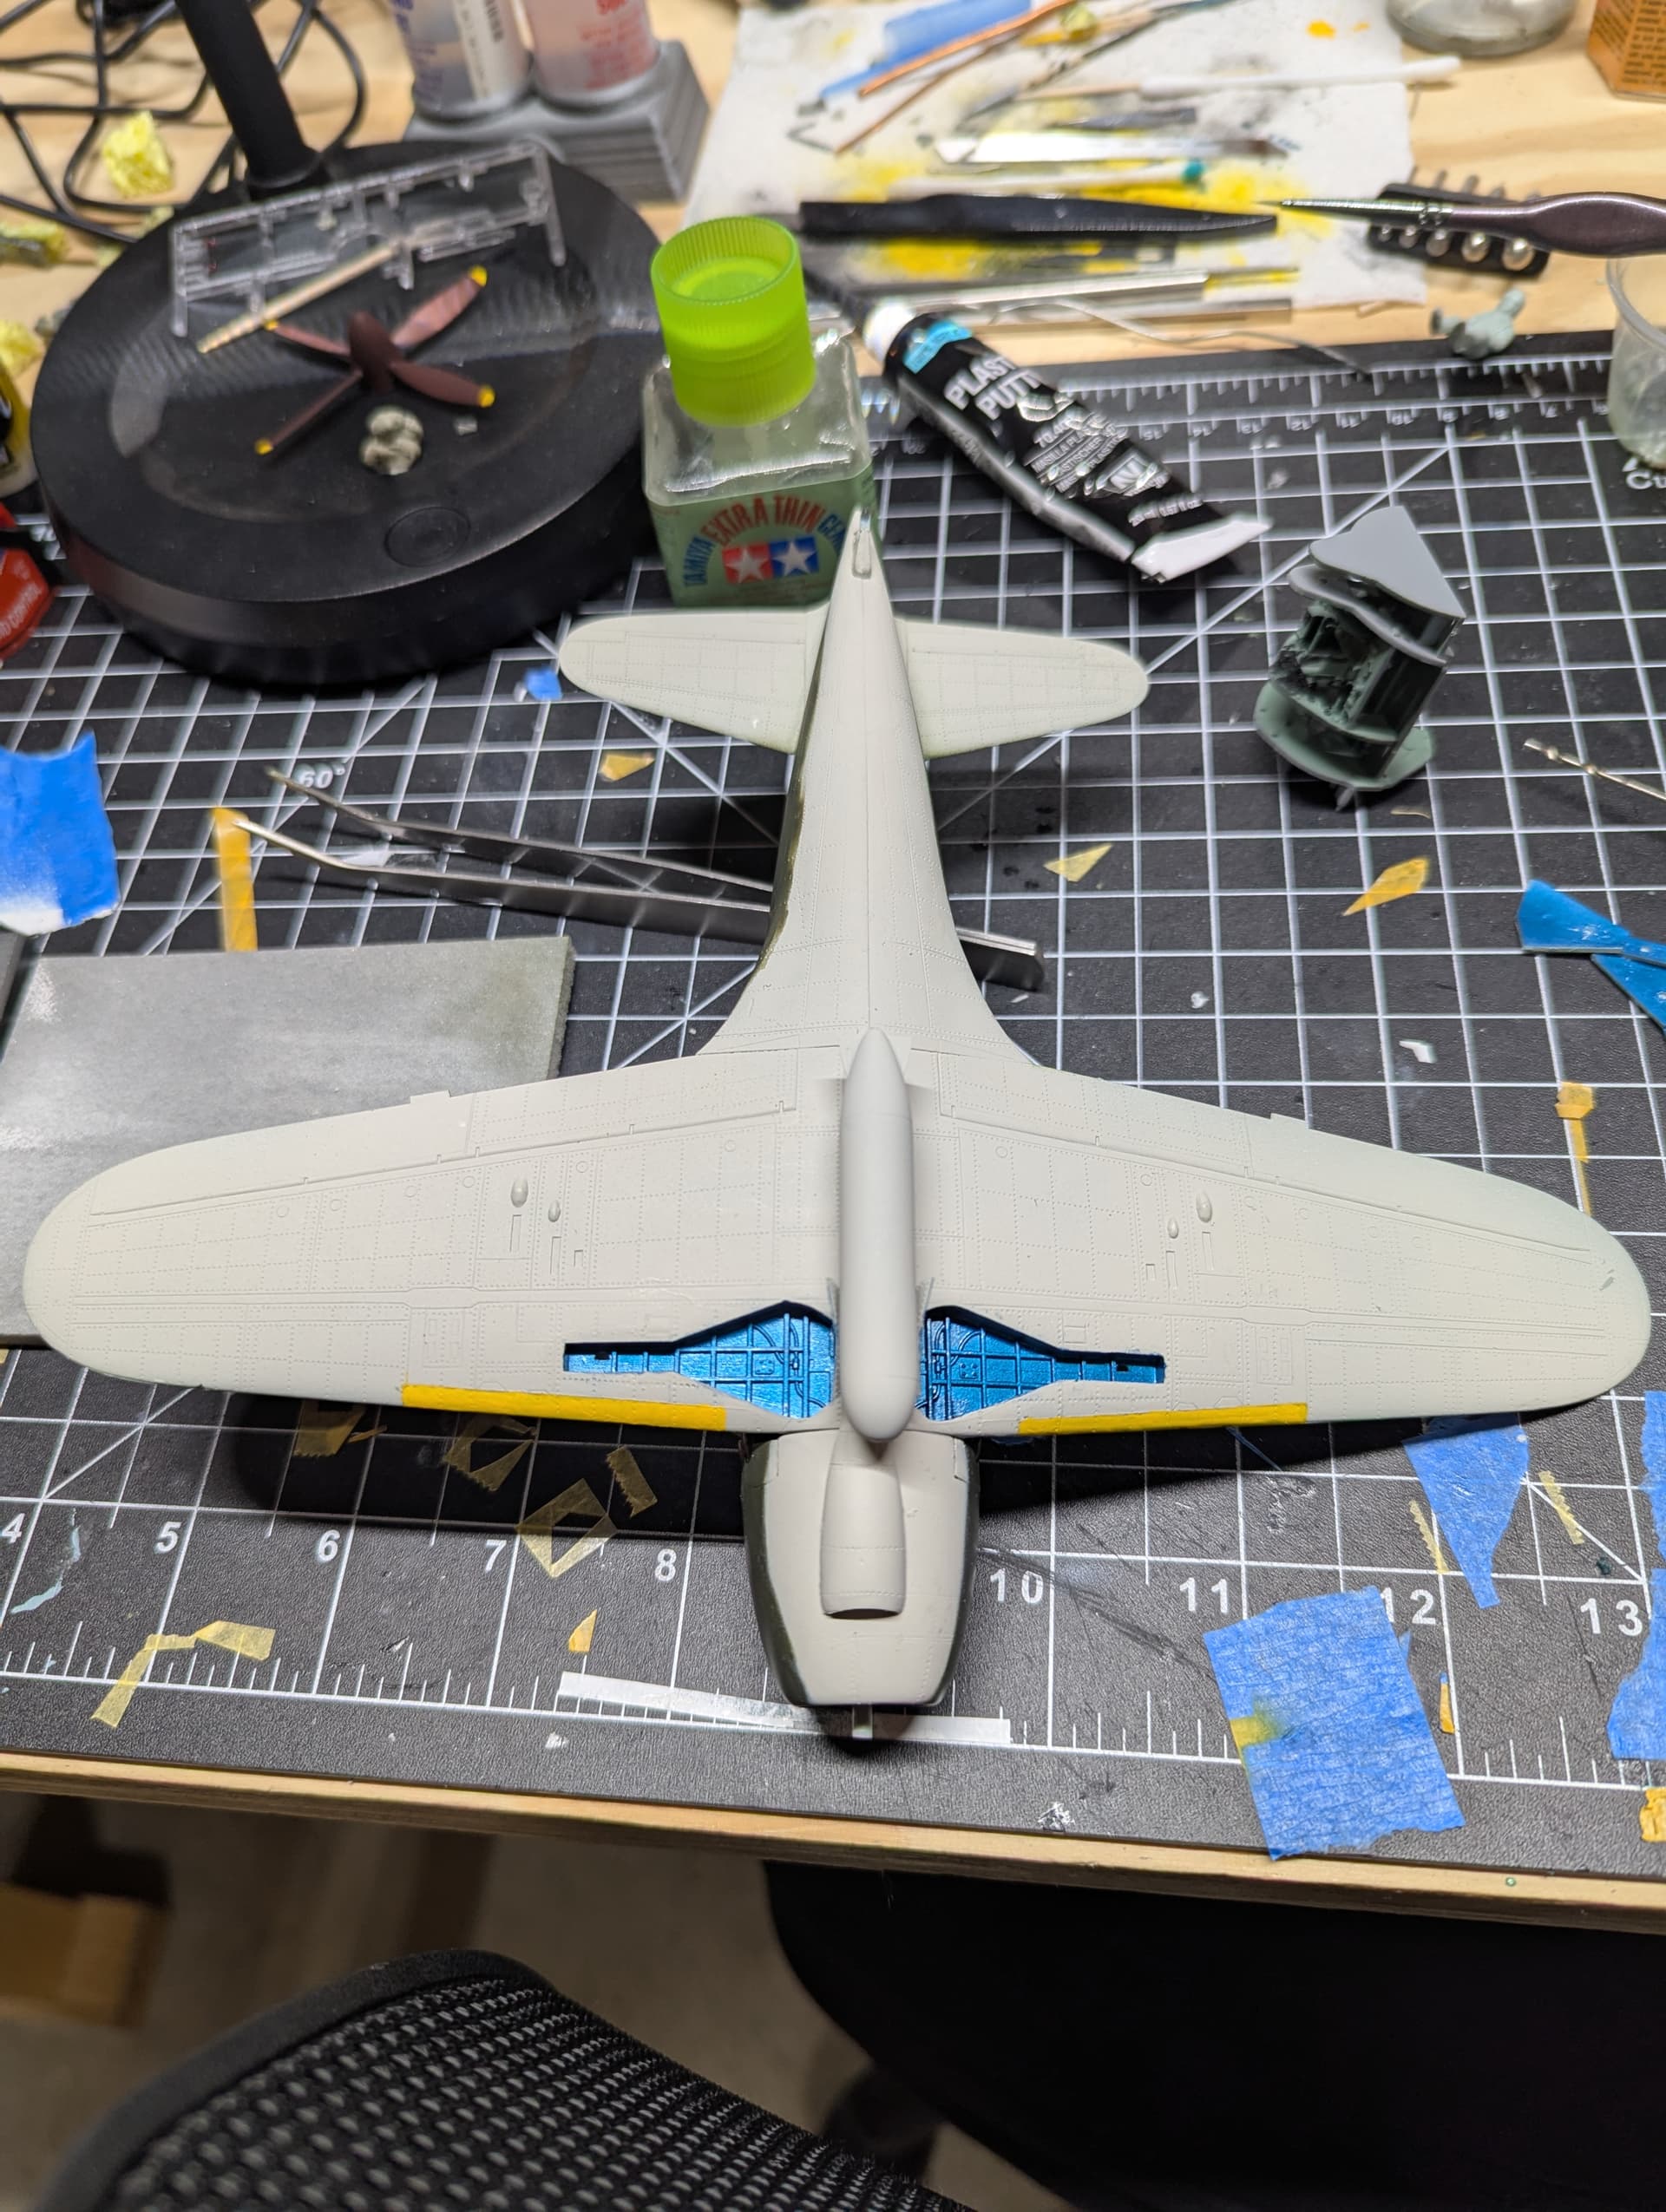
The Raiden is now ready for decals. I have it put together and added a coat of future.
I’ve never had to do much photography before now with my builds so I apologize for the lack of a photo booth.