Thanks everyone for the great comments so far. Well I have begun to paint the cab today and here are the results thus far.
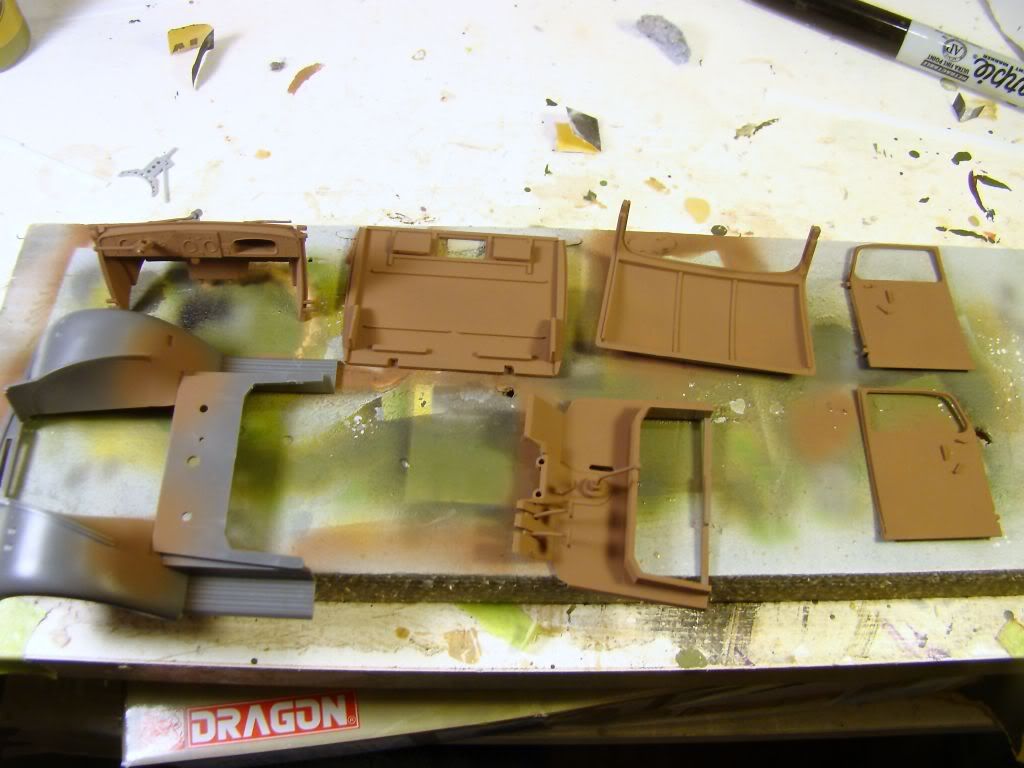
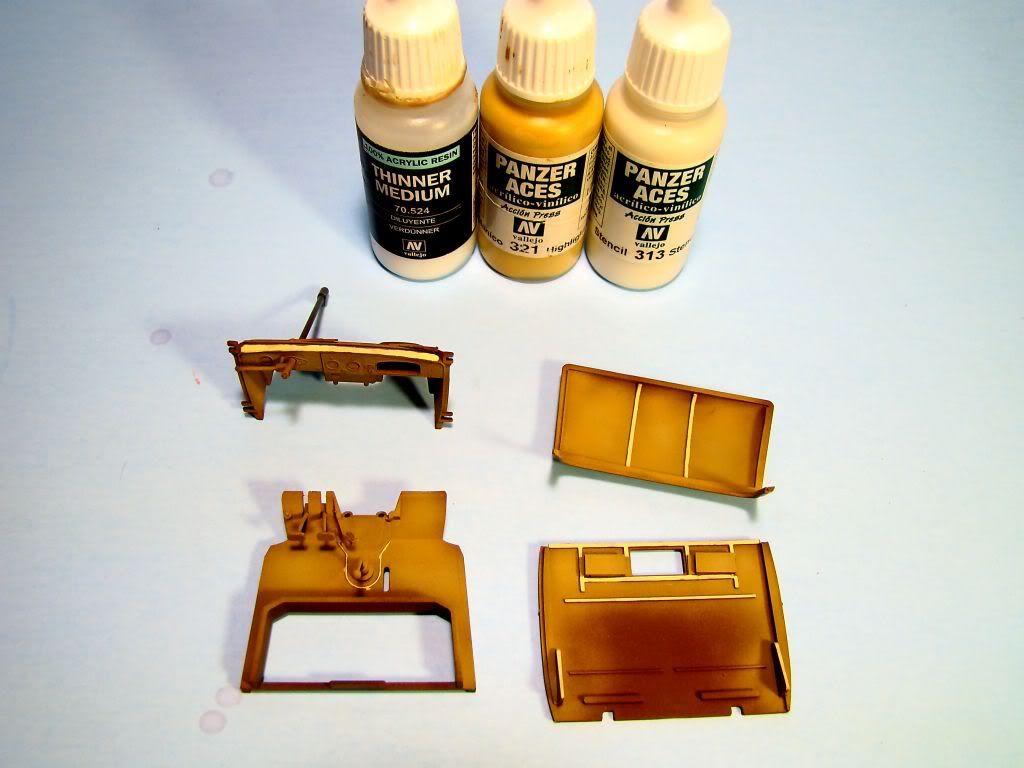
First I primed all the parts with Tamiya red brown to act as pre-shading.
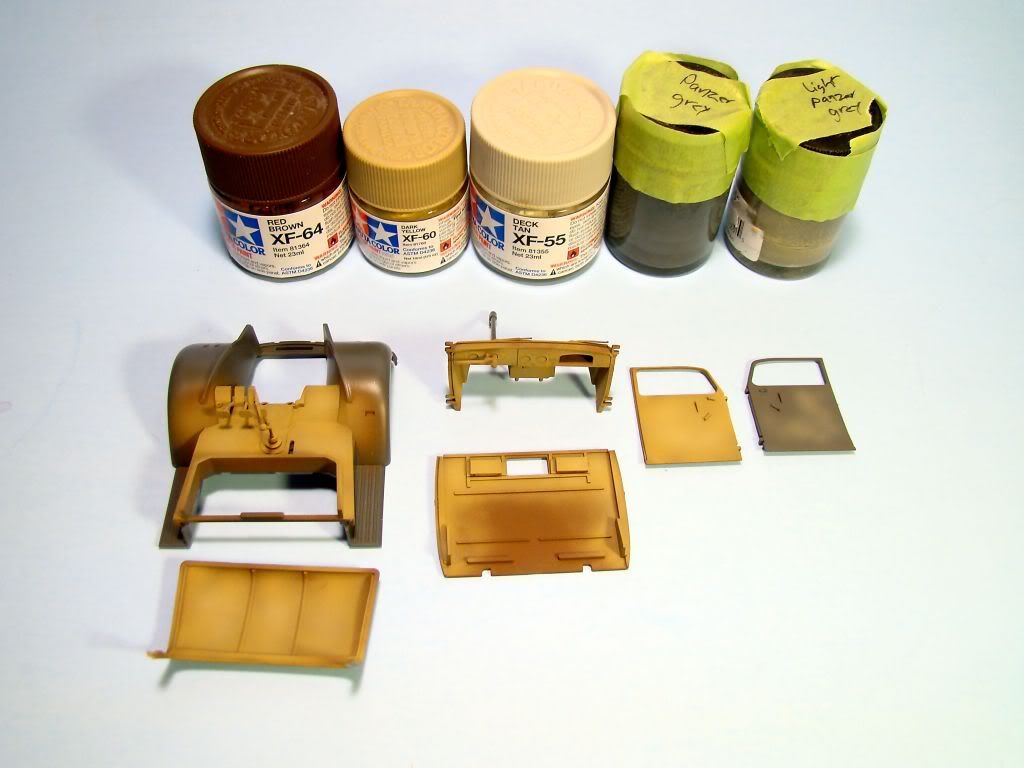
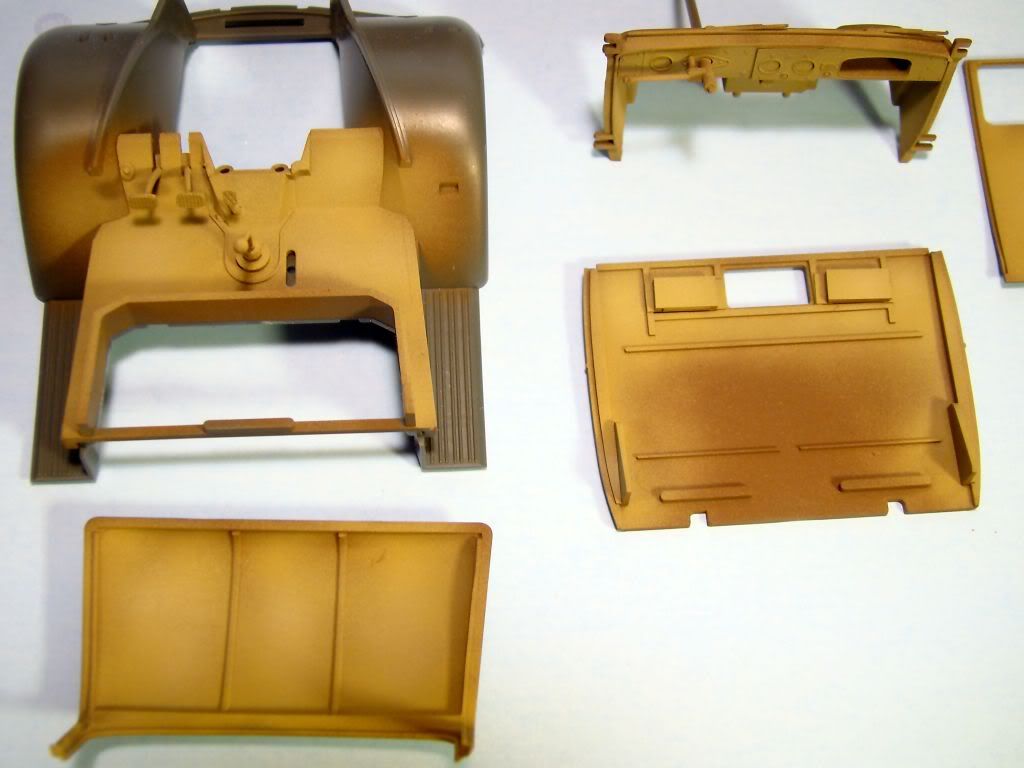
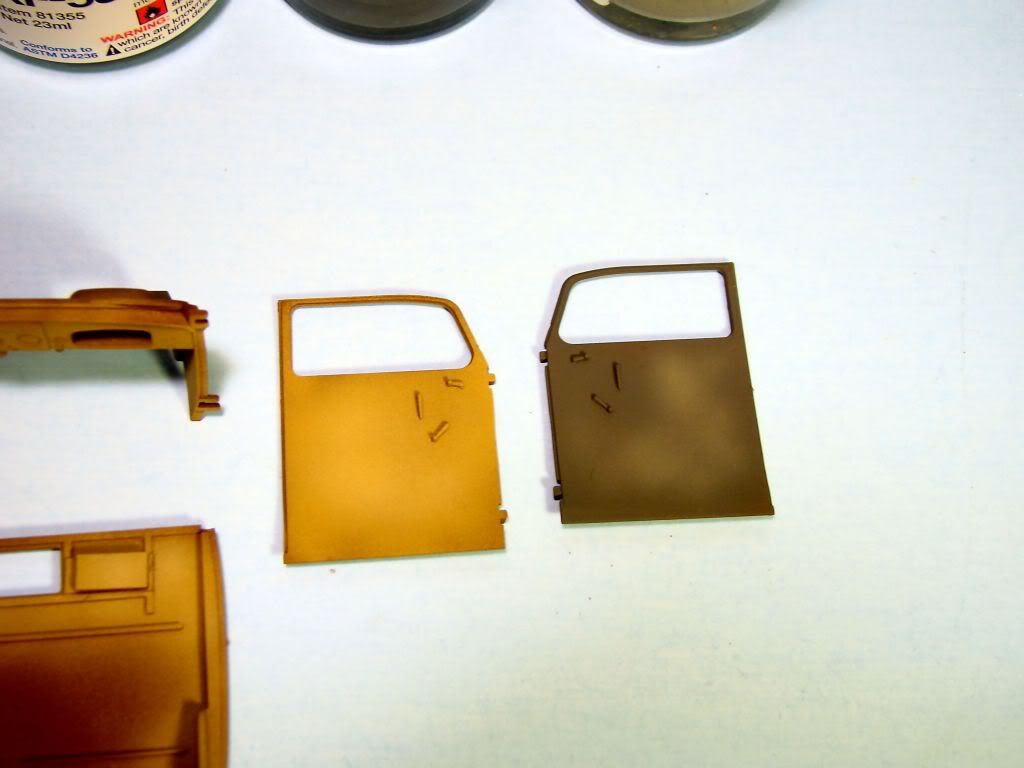
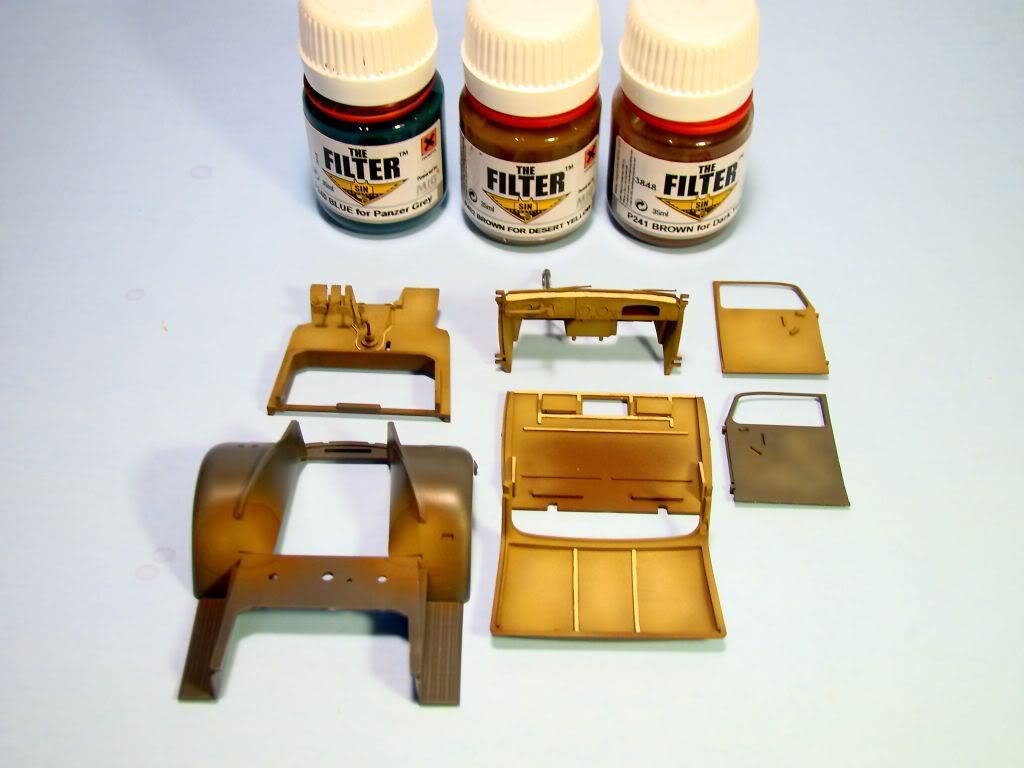
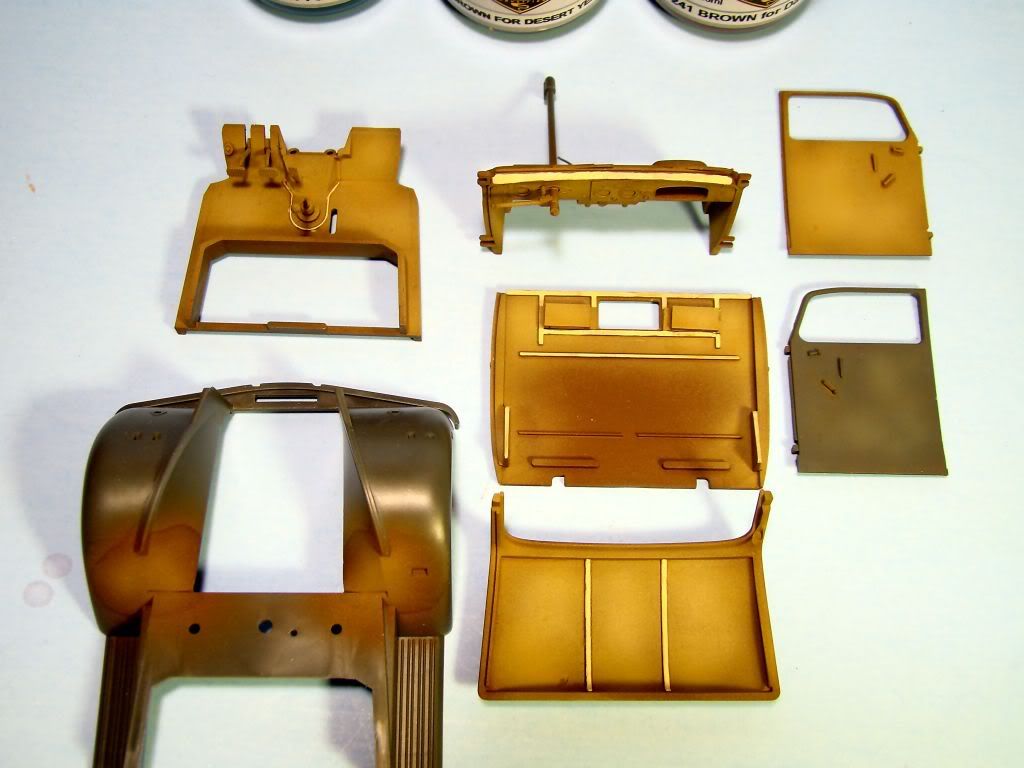
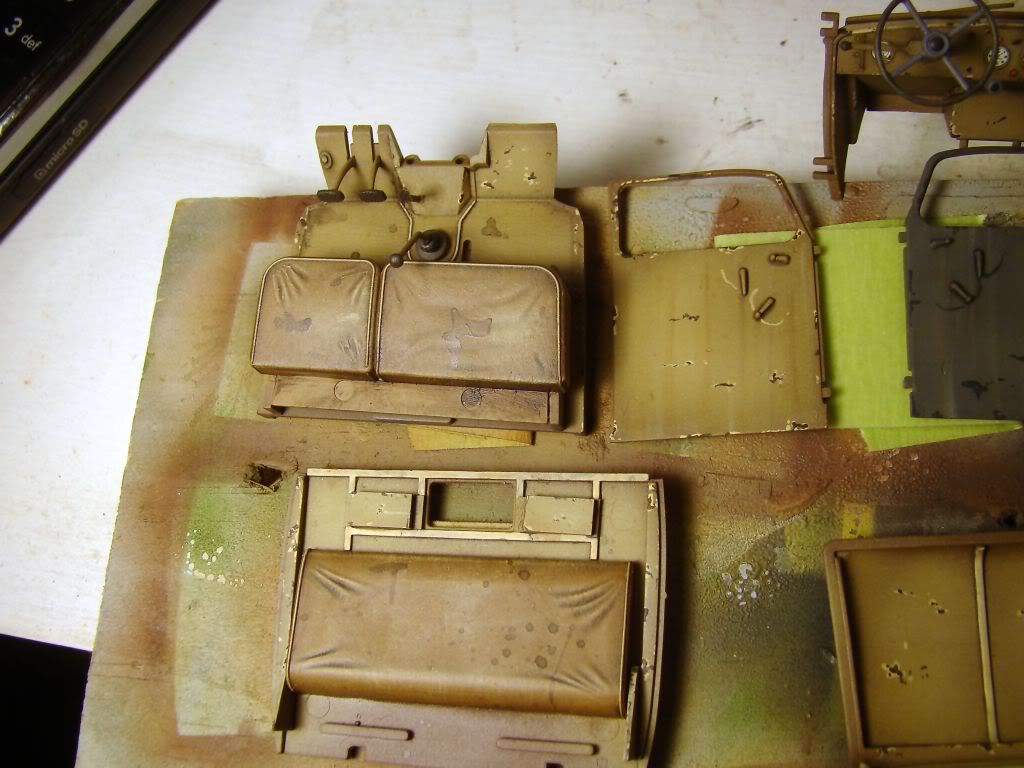
Next up came dark yellow also from tamiya for the base coat lighty airbrushed on. I then added deck tan to the paint to fade the center portions of the parts. Then straight deck tan was painted on. One of the doors was left in panzer grey to imply the part came from another source as a replacement part. This was painted up in my own brew of panzer grey with different Tamiya paint and semi-gloss clear. I cannot for the life of me remember what went into mixing the paint since I made it a while back for other projects.
From here I mixed up Vallejo British tanker highlight, stencil, and thinner to highlight certain high points on the parts. This may seem just a bit bright, but once final weather is complete, the highlight will tone down more.
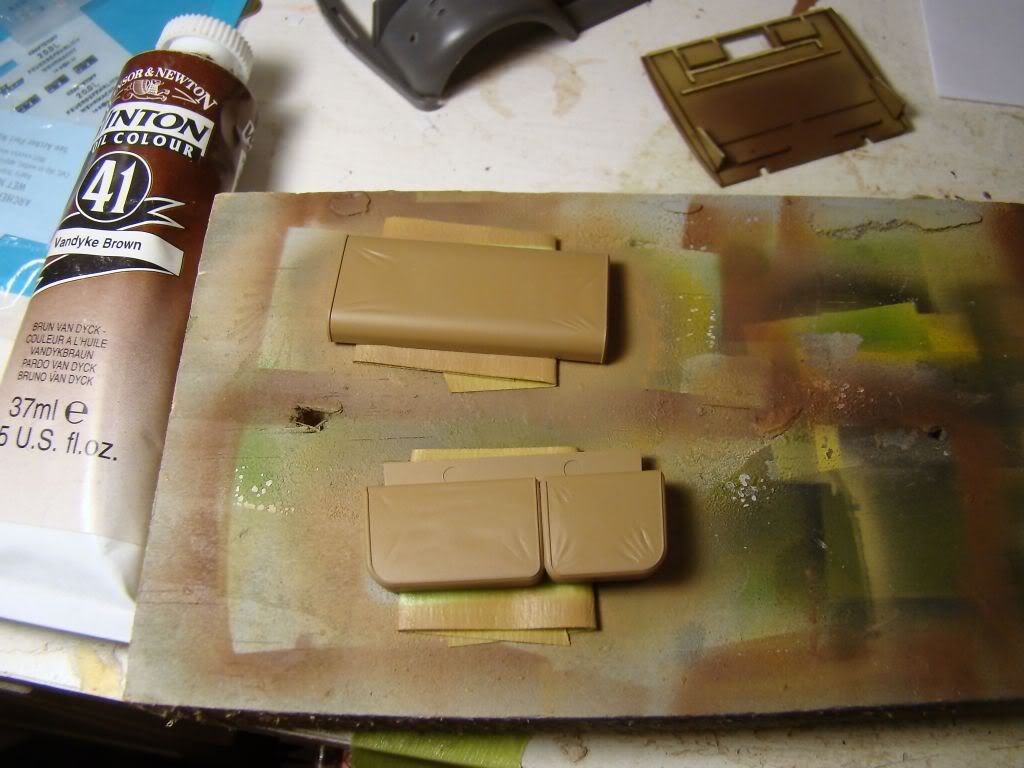
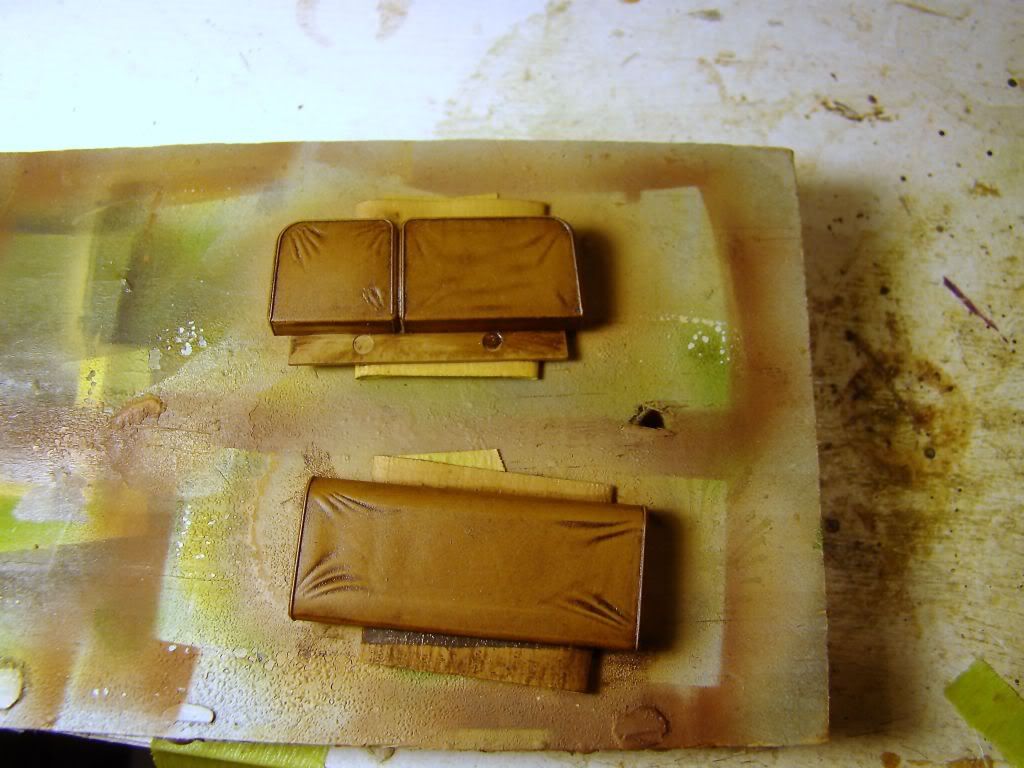
The last thing I have done so far is to apply filters from mig. One coat each of blue for panzer grey, brown for dark yellow, and brown for desert yellow was used. Later I will go back in with a pin wash, chipping and the rest of the weather.
WOW, some really nice painting and weathering there!
I’m totally with you in making the base coats slightly garish and then just toning them down with the weathering process. It gives you a nice leeway to work with and still to have variation in the finish. Cool beans, man.
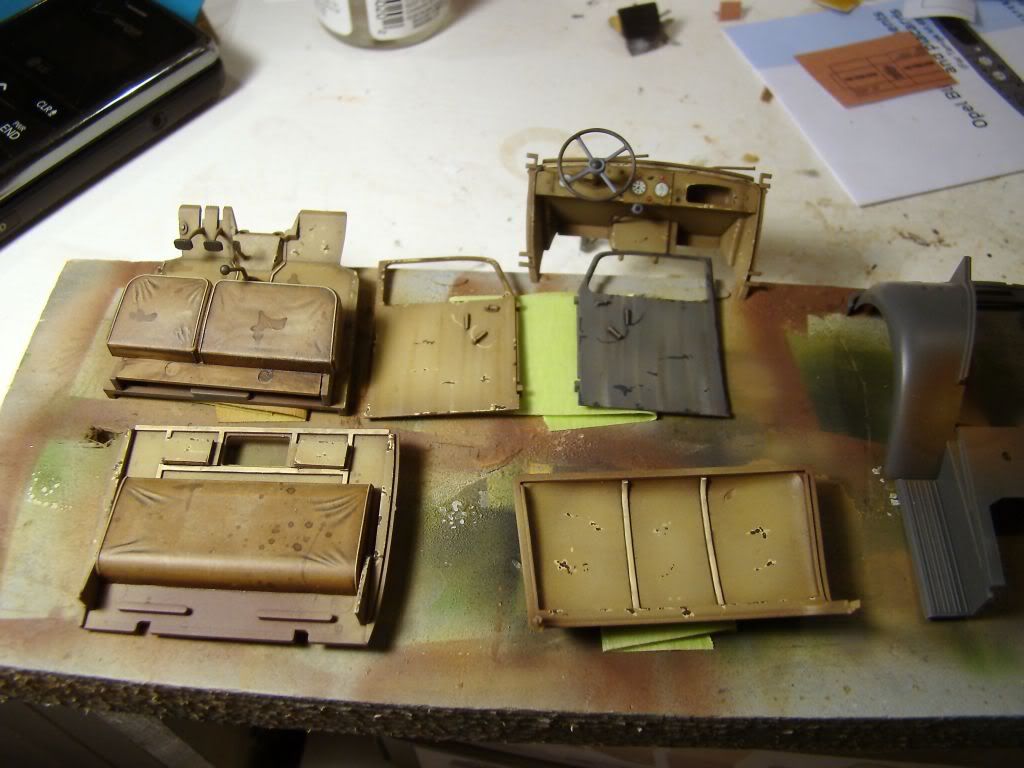
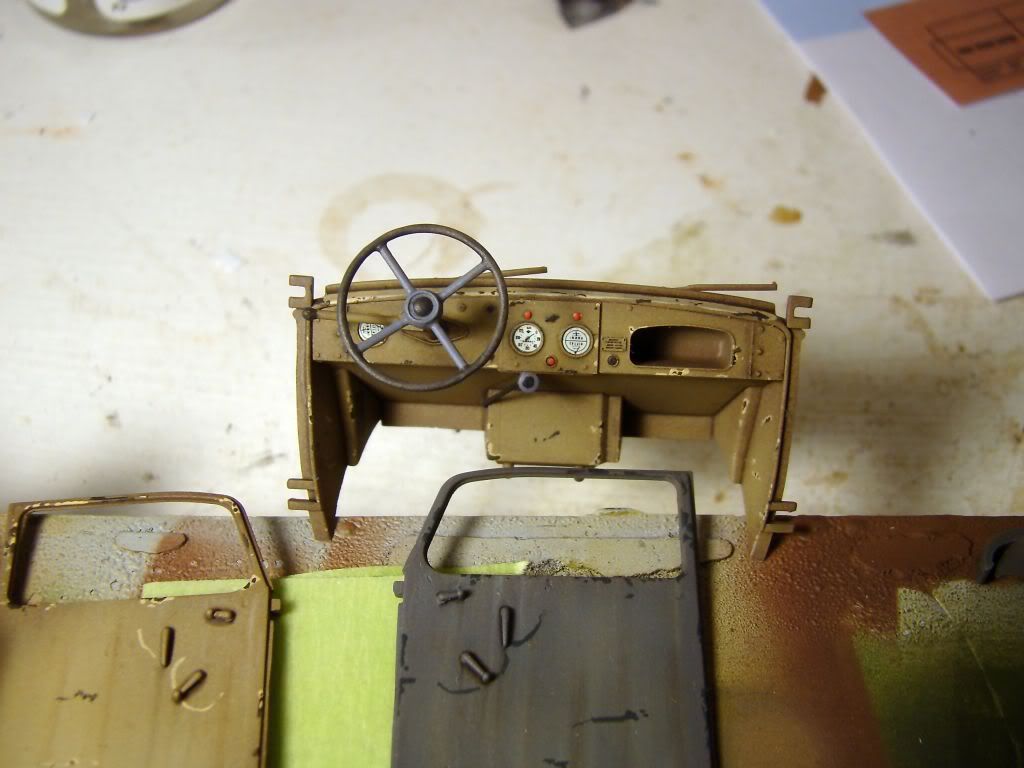
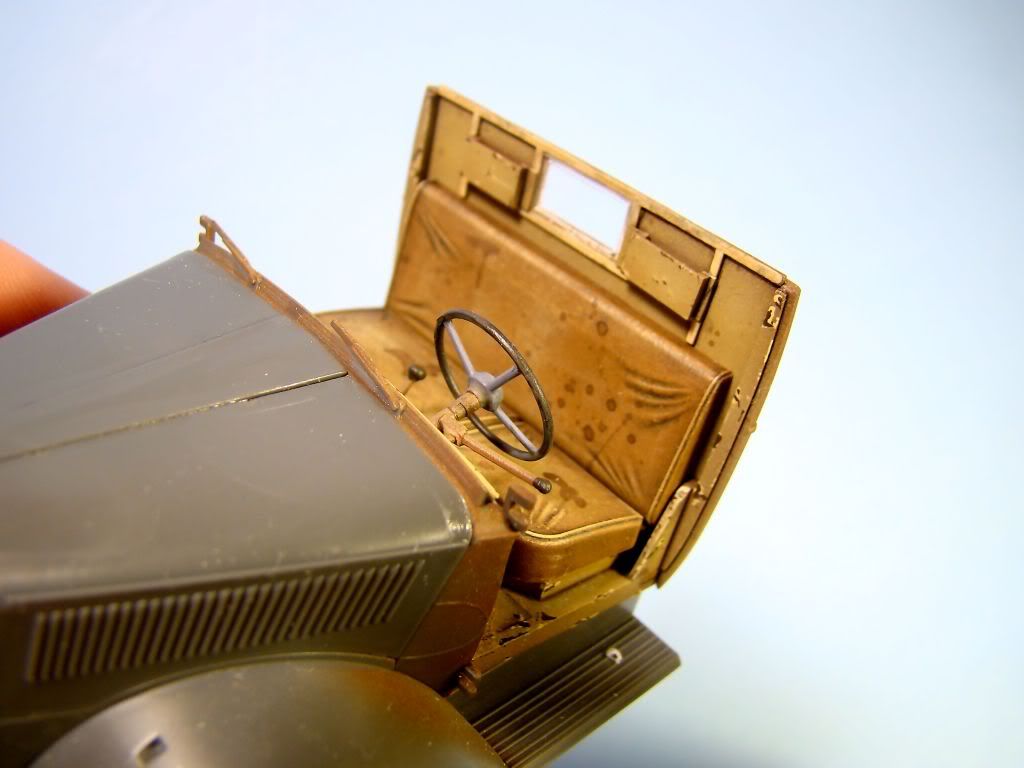
Well I have completed the cab with all the painting and assembly and now I am ready to move onto finishing the rest of the truck. A thin pin wash of mig brown wash and lamp black was flowed in and around raised details to add shadows to the cab interior. Next up I faded the doors with streaked oil paint to add the grimy look to them. After that I went to town with some chipping to the paint with Vallejo British tanker highlight and ss camo black brown. Once that was complete I painted the smaller details like buttons and switches with different color paints. Everything was thin sealed in with a flat clear coat to protect the final painting. The dials for the dash came from archer sealed in with a drop of future floor wax. The floor board received some pigments to simulate dried mud from the crew.
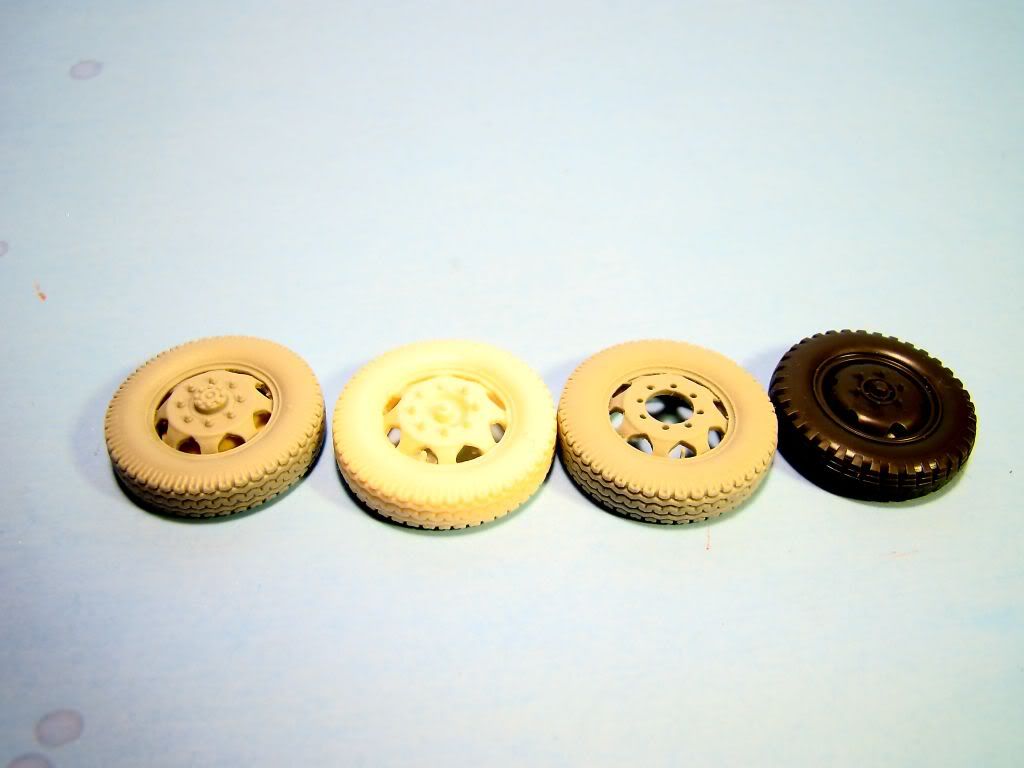
I also received in the mail my new wheels from hussar and I have to say I am very pleased with the detail on them since this is my first time to use them. The set also came with two styles of front wheels with different hub assemblies.
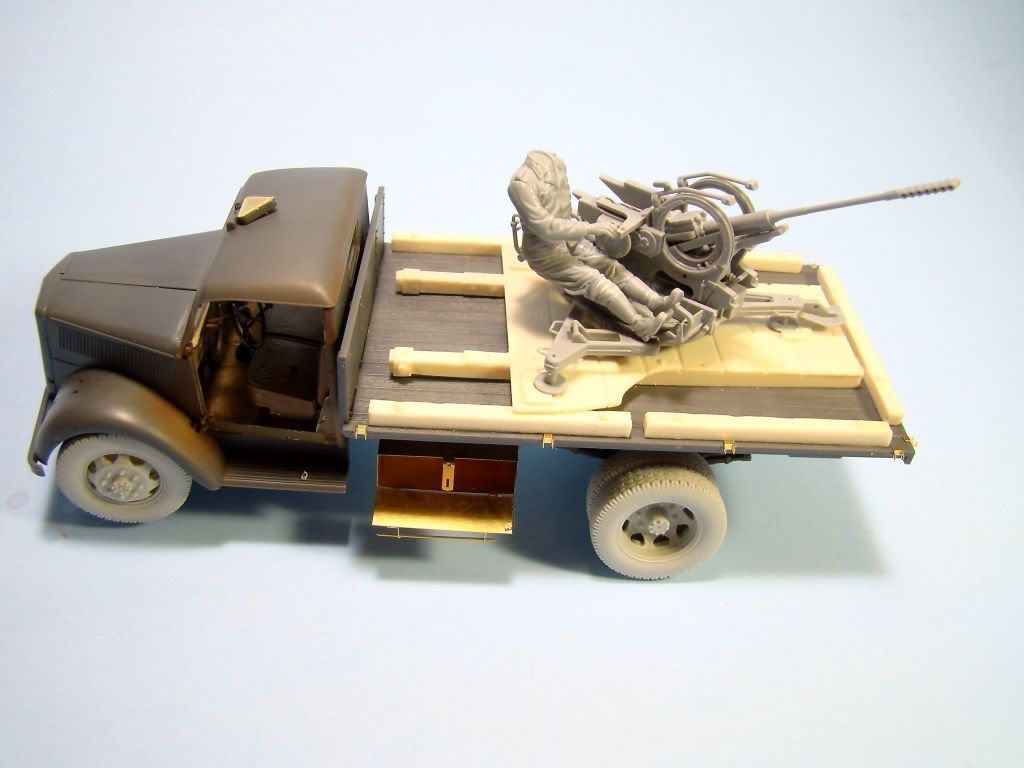
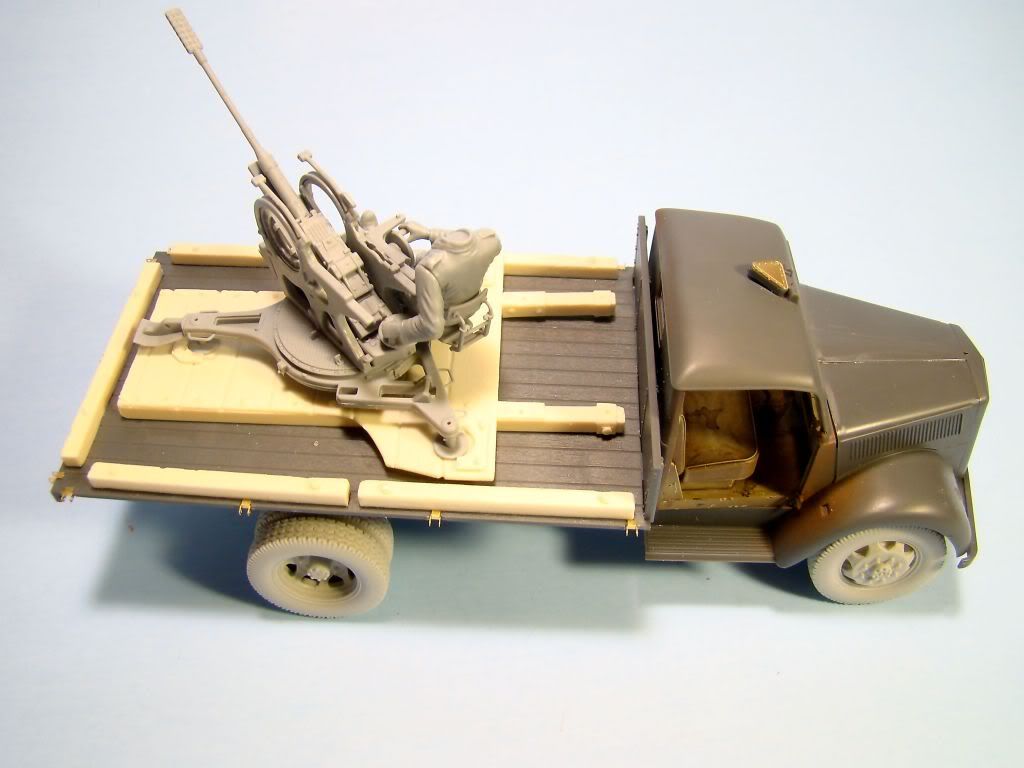
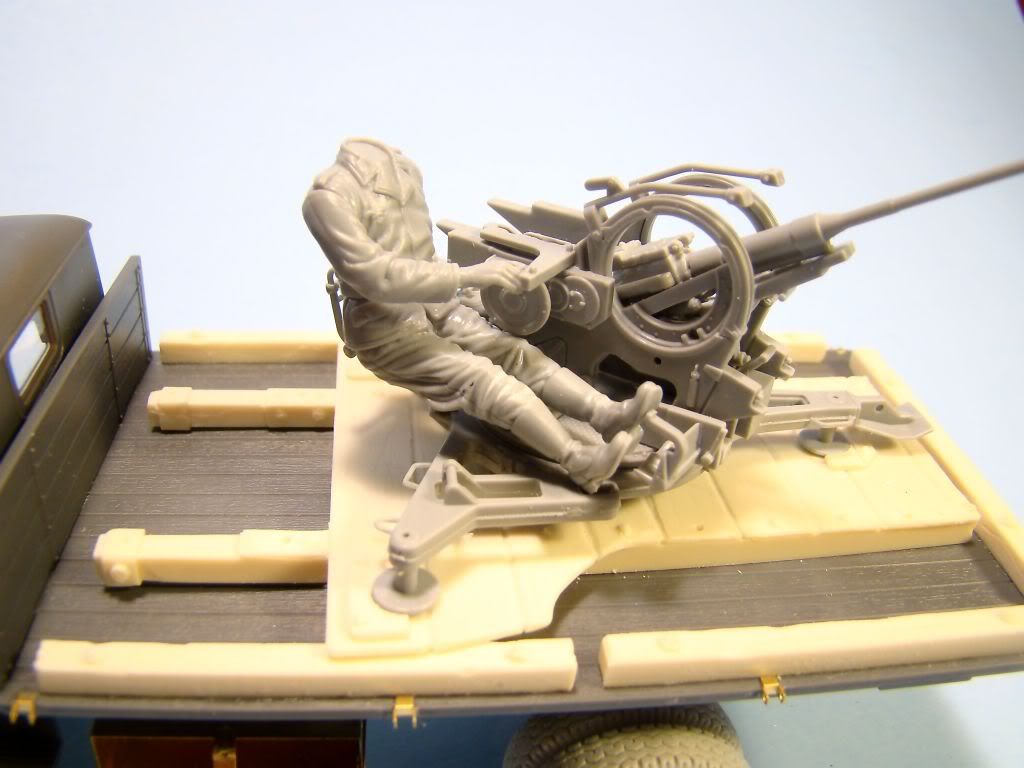
With the cab complete I can now move onto the rest of the truck and from here I assembled the rest of the front hood and tackled some of the parts for the bed. The gunner for the flak has been modified just slightly so that one of the legs is rest on top of the flak mounts and hands adjust to grab the adjustment wheels better. The rest of the build should go very quickly from here as there is not too much left to build up.