1:24 Italeri ITA 3808 Mercedes Wrecker Build Log
The Kit

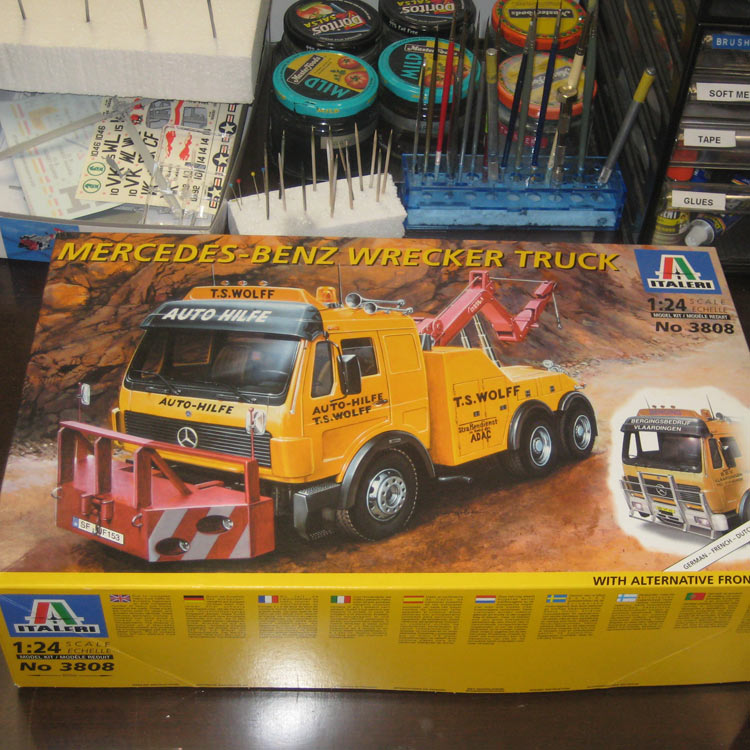
The kit box.
As far as big scale truck models go, there have only ever been a few players in the game. In the early days we had AMT with their relatively crude offerings. ERTL then showed up with kits that were a significant improvement on the AMT Offerings. The third big player in the field has been Italeri. Italeri has brought their usual flair to the truck subjects, producing highly detailed well engineered models that are often moulded in several colours. I’ve even seen built examples of these models that were not painted at all, weathering had simply been added over the raw plastic, and they were still very convincing.
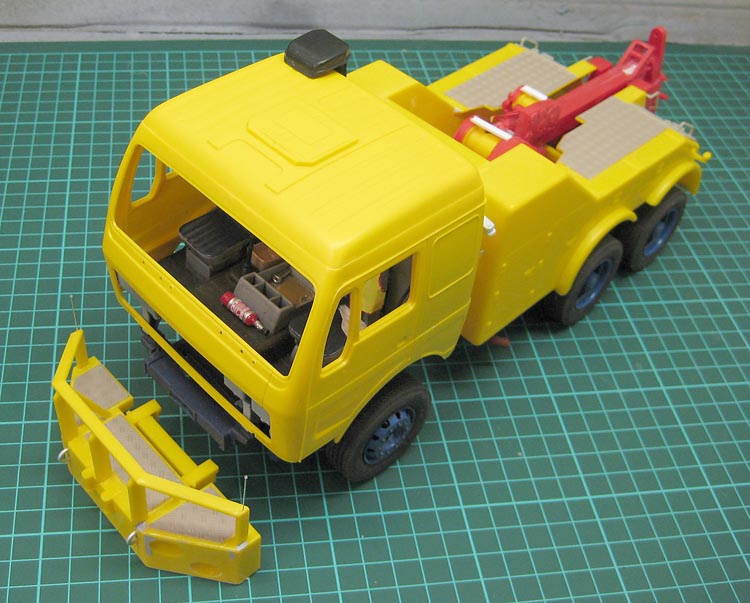
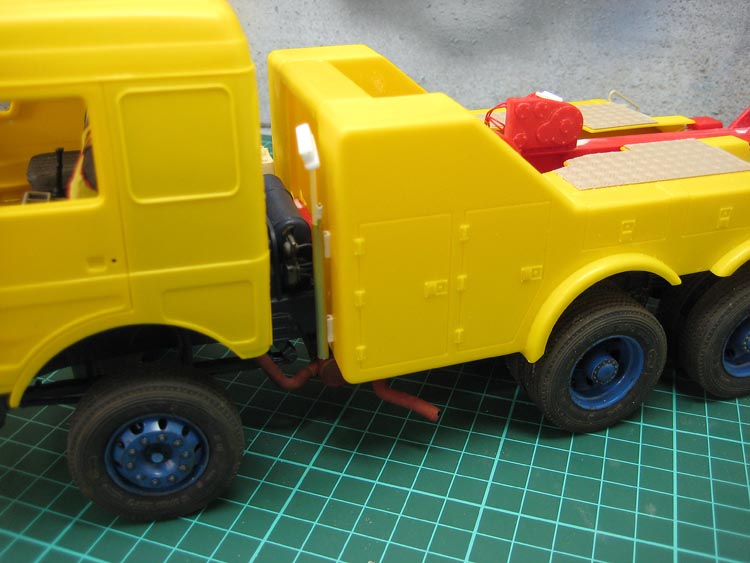
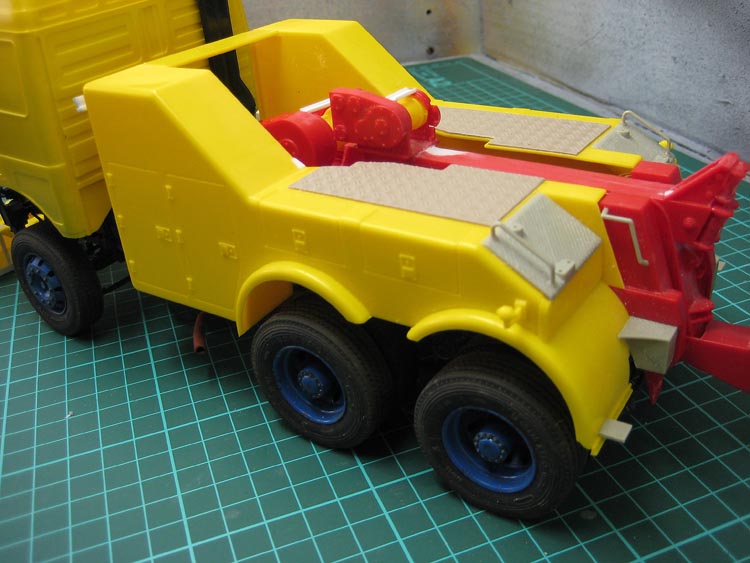
The subject of this build is their Mercedes Benz Wrecker, kit #ITA 3808. This kit comprises most of the sprues from their Merc 2238 prime mover kit along with the bolt-on wrecker body they have used in many their other tow-truck kits.

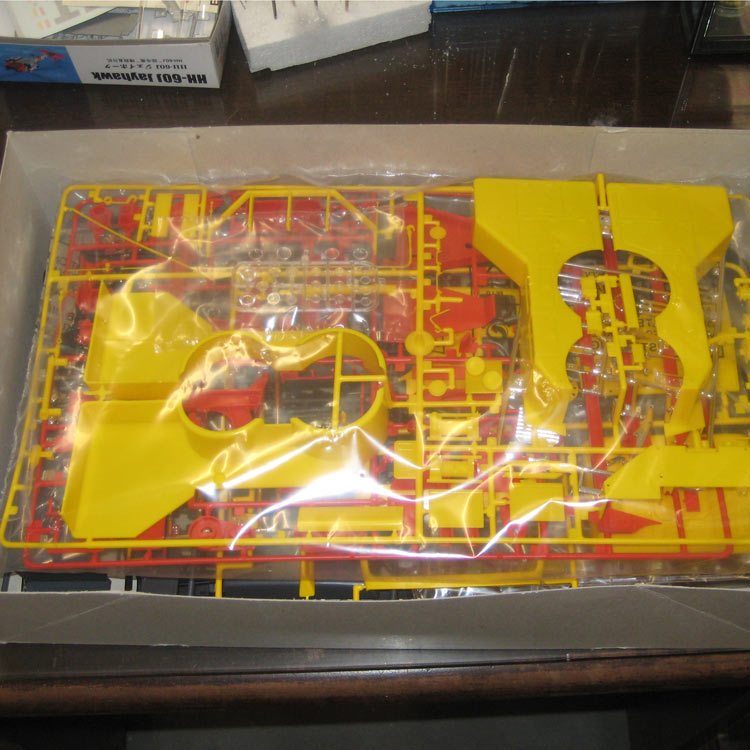
The rather bright plastic will certainly need priming!
My own aim for this build is to get some experience with airbrushing and, in particular, gloss paint finishes. That’s apart from the the fact that I like subjects that appear to have mass.
CONSTRUCTION
Chassis and running gear.
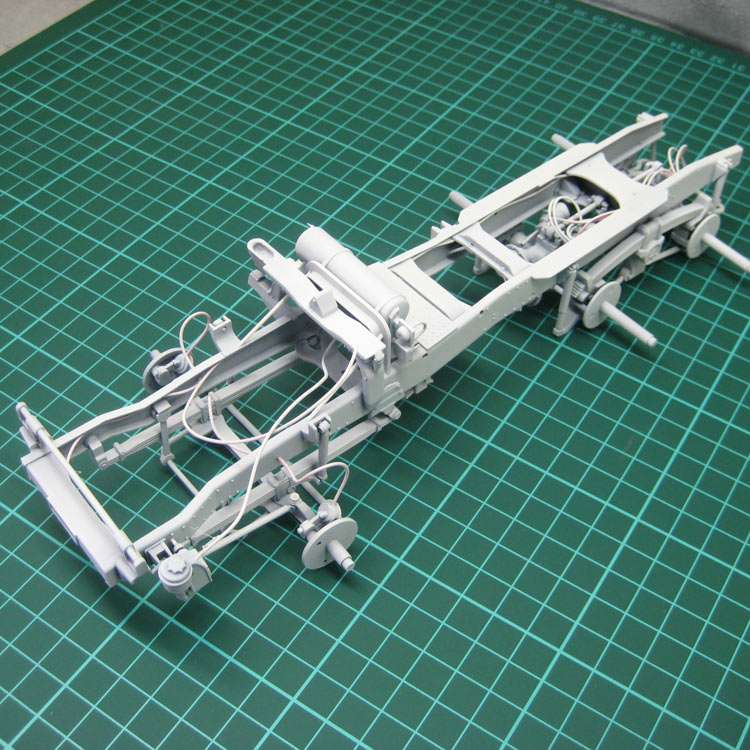
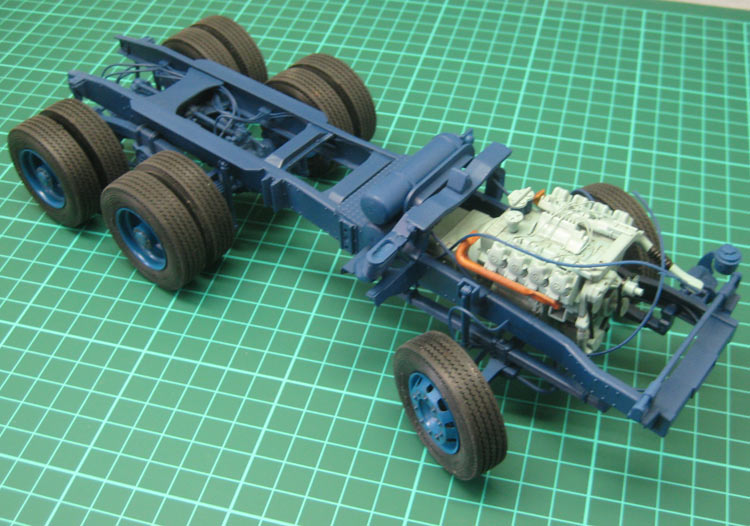
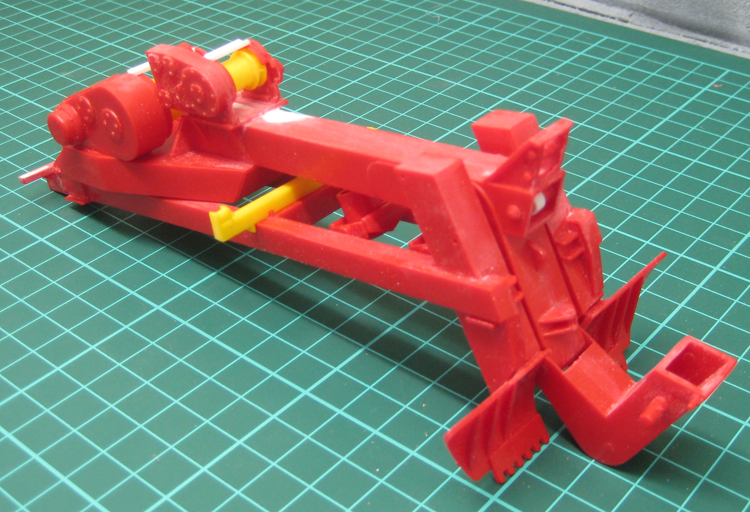
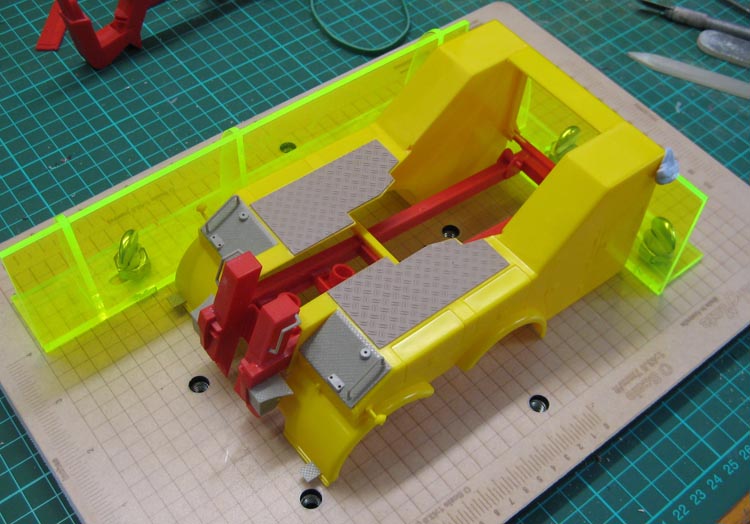
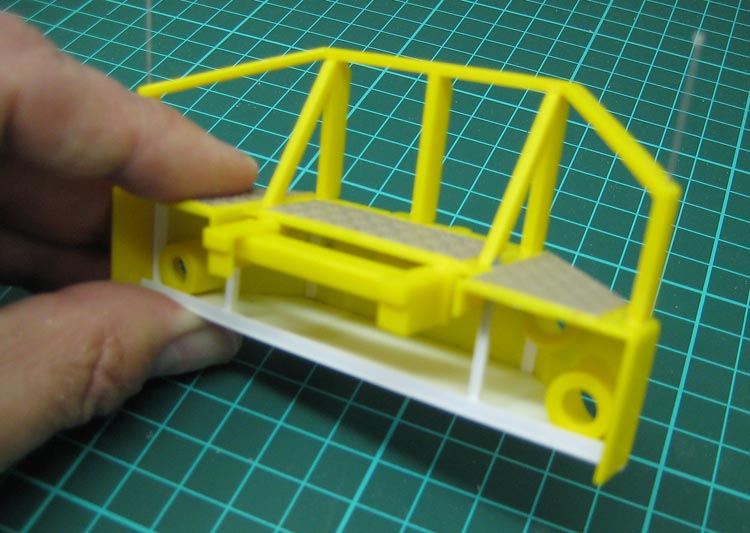
Construction starts with the chassis and suspension The chassis is made up in the usual way of separate chassis rails and cross members. Some of Italeri’s later offerings are kerbside models hat have the entire chassis, sometimes even including the fuel tanks, moulded as a single piece. Not so this beast, so care has to be taken to keep the chassis rails parallel. Construction of the chassis is straight forward, though I must say here that the instructions can be a bit vague on part locations. There is also an indication on the instructions that the chassis rails need to be shortened, but it is not clearly shown where to cut. I’ll wait until the wrecker body is ready to attach and see if it fouls anywhere.

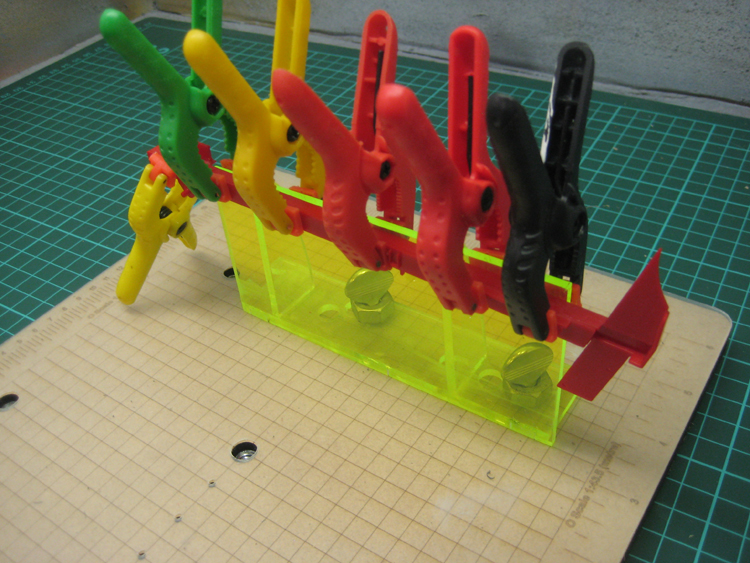
The chassis rails were secured to a nice flat surface while the glue cured.
The front wheels are designed to be steerable. The instructions indicate this is to be done by heat-squashing some axle pins. I prefer to carefully glue a slice of tube over the pin end instead. I find this a neater and more elegant solution.
I will be adding some extra detail in the form of air hoses and fuel lines as I go.
This truck is a bogie drive, which is a rarity on Euro trucks. It might be something to do with axle loadings and tight windy streets. Anyway, the bogie was assembled and set up on parallel rails to make sure all the wheels would touch the ground at the finish line.

The bogie drive getting the trueing treatment.
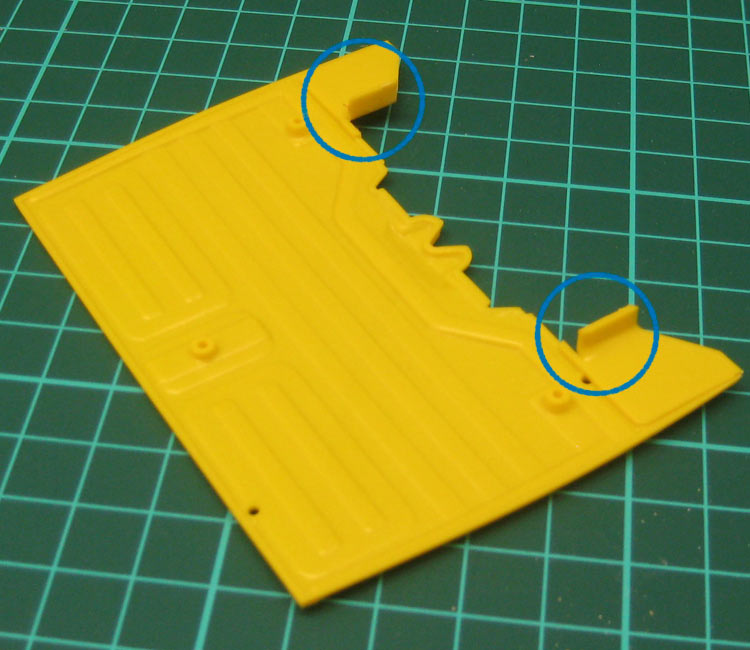
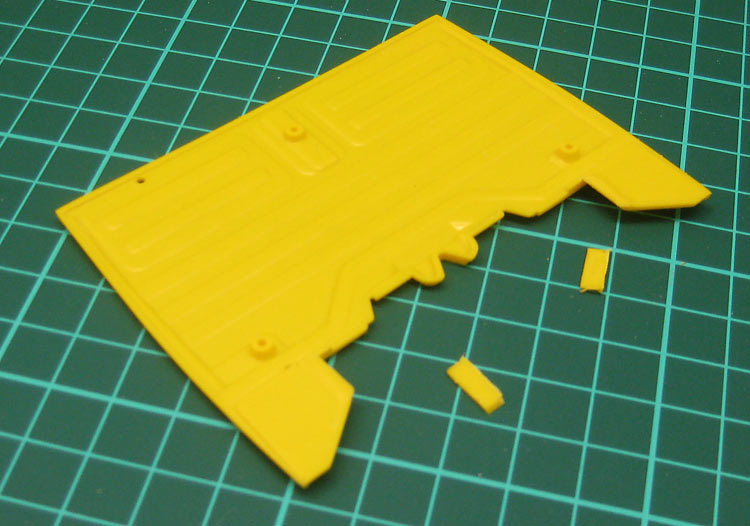
Even though the Italeri kits are well engineered, I find there is always a lot of cleanup needed on the mould part lines. This kit is no exception. Quite a lot of the build time has been spent scraping and sanding parts prior to assembly.
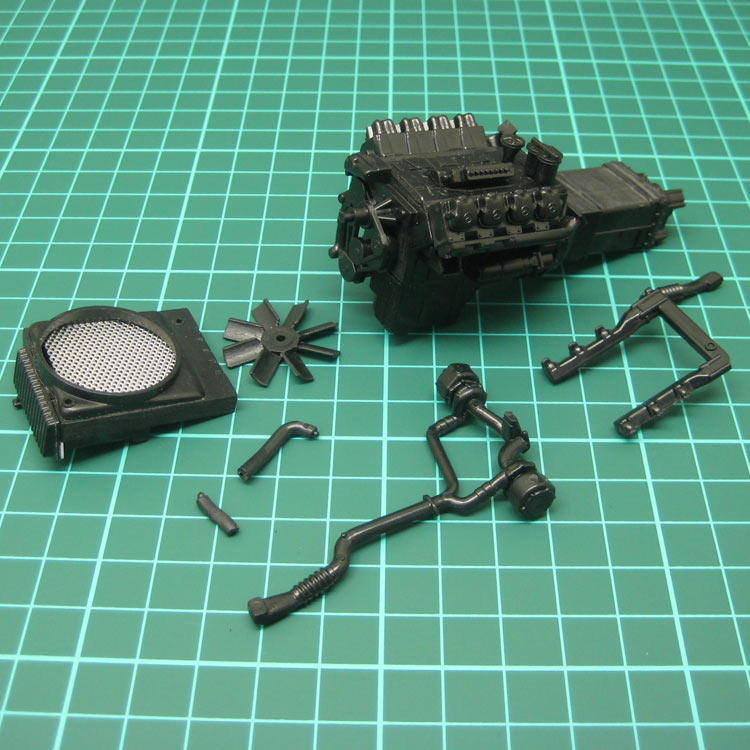
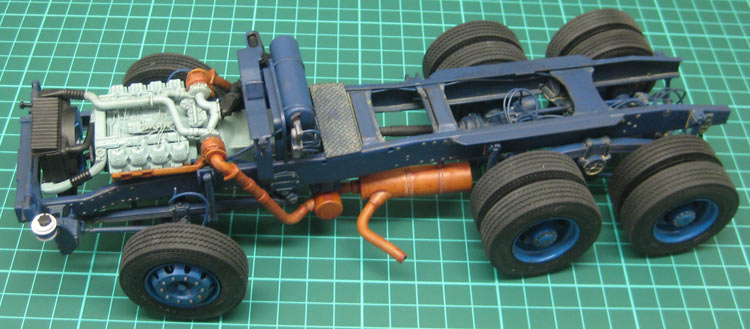
Engine and Transmission
I added a piece of aluminium expanded mesh to the inside of the radiator fan shroud so it didn’t look so hollow.

Basic power plant assembled with mesh added to rear of radiator.
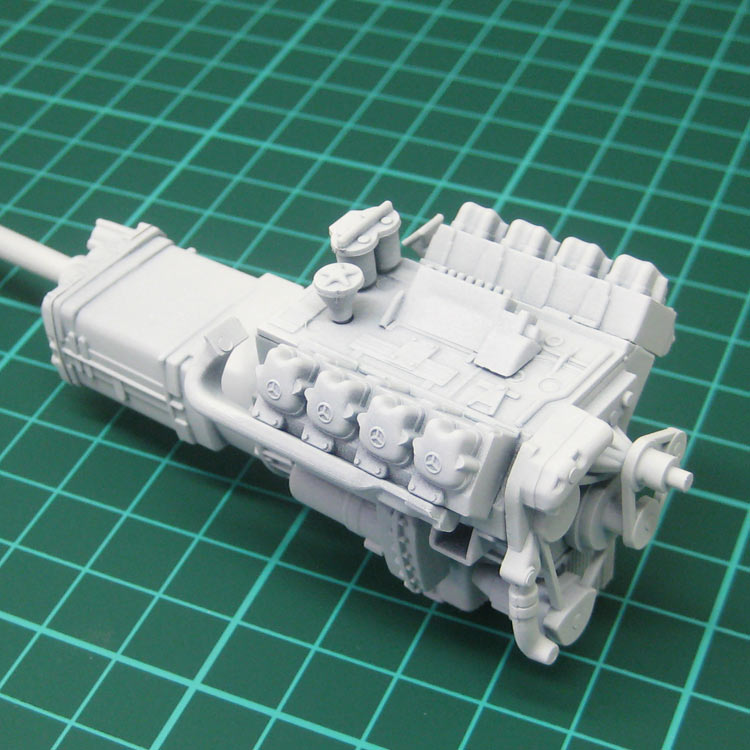
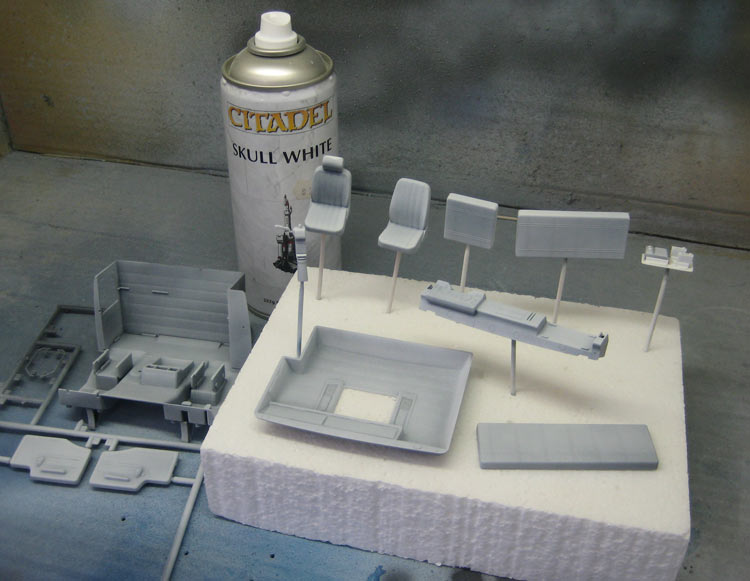
These items go together easily after a bit of a clean up. The whole assembly sprayed with Citadel Skull White primer out of the spray can.

Engine and gearbox have been primed with Citadel Skull White from a spray can.
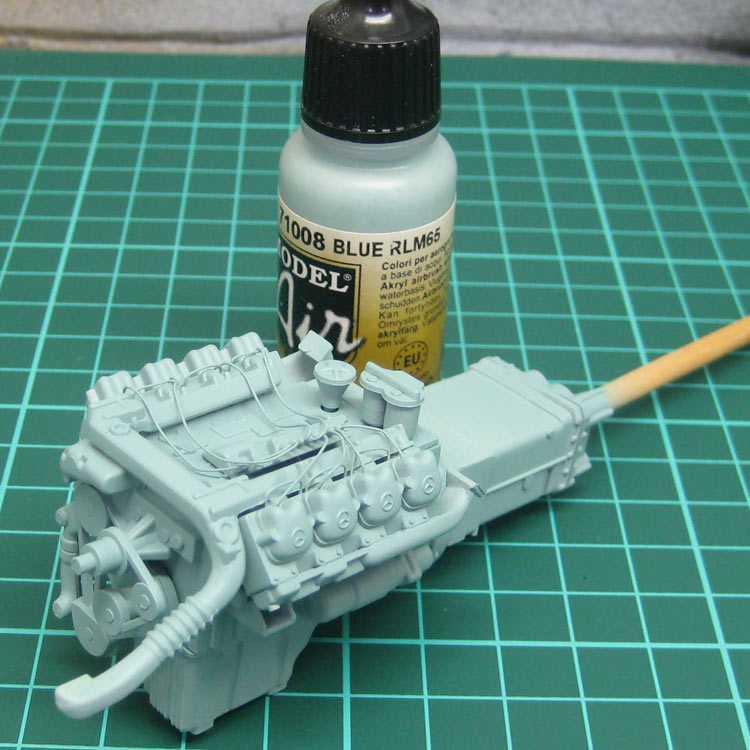
Fuel injector lines were added with fuse wire and the assembly topped off with Valejo Air RML65 green. This is a reasonably good match for the MB diesel colour. This is the first time I have used Valejo paints and I am impressed. They airbrush beautifully and also brush extremely well.

Fuel injector lines have been added and the whole lot airbrushed with Valejo Air RLM65

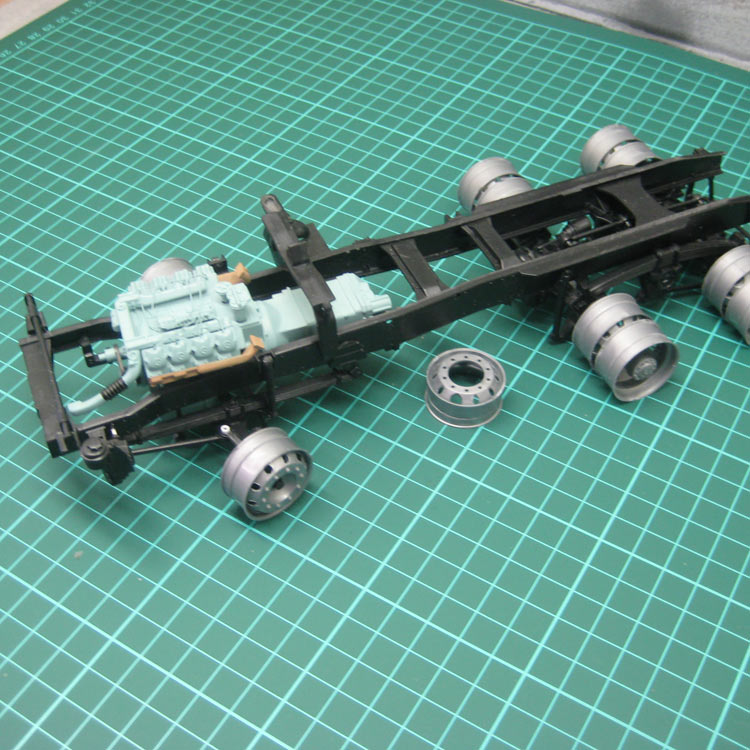
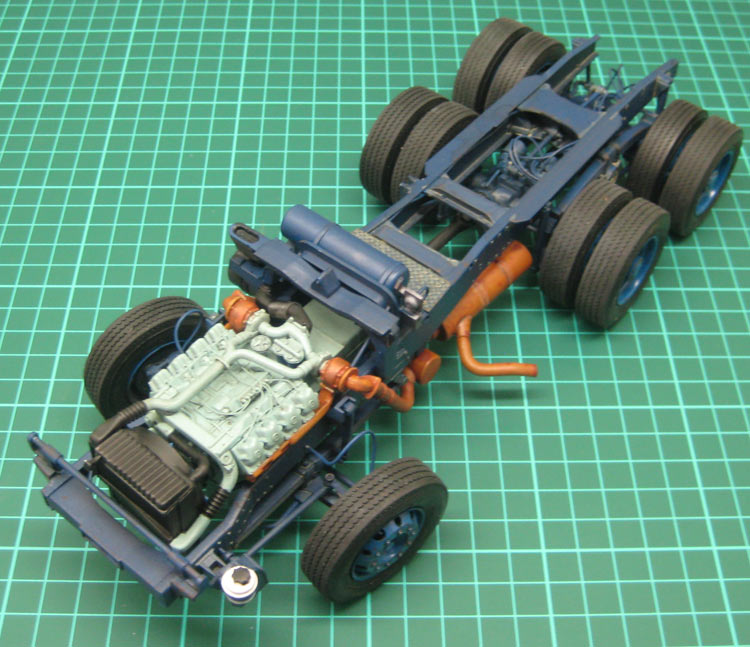
Dry run of the chassis and powertrain showing the discs glued to the steering pins.
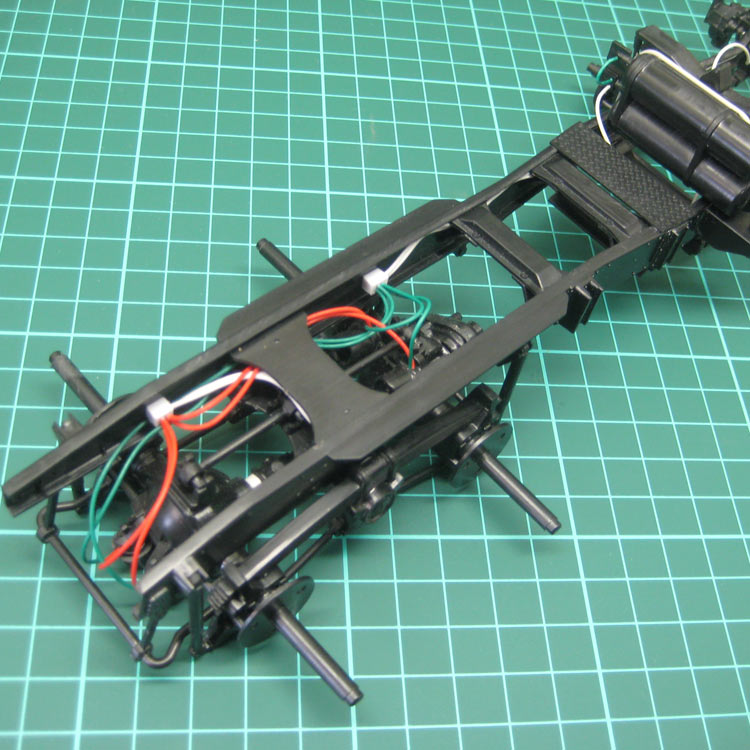
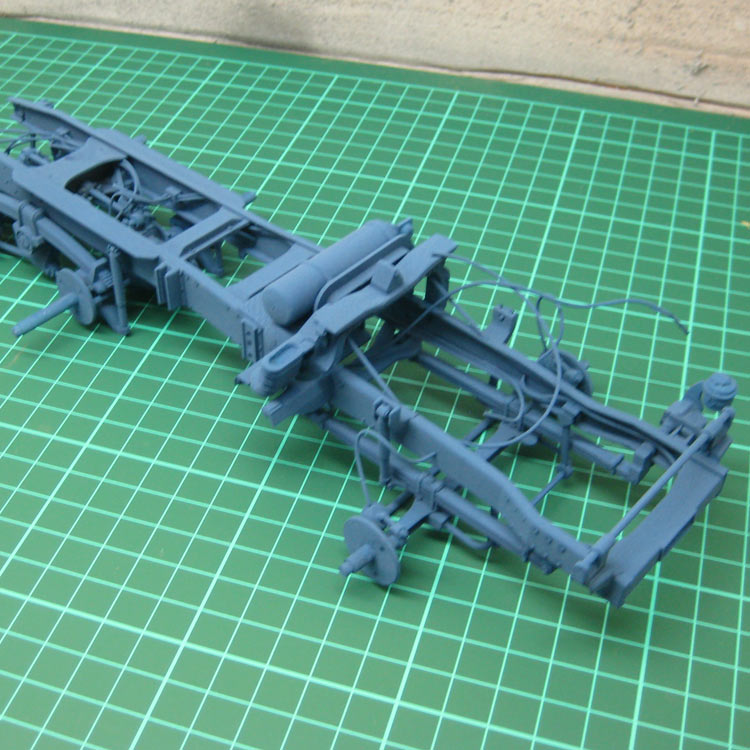
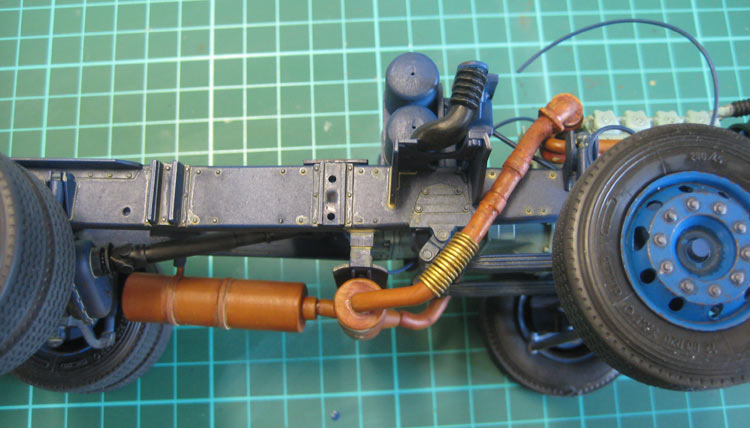
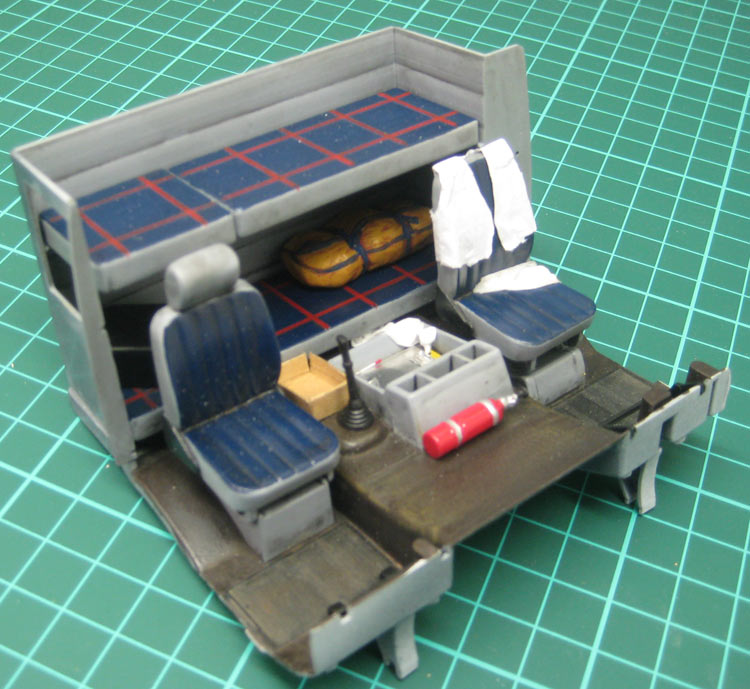
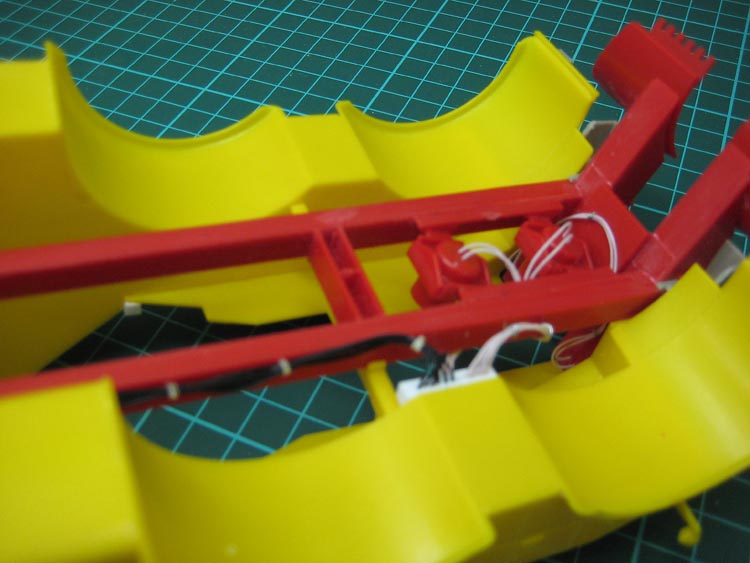
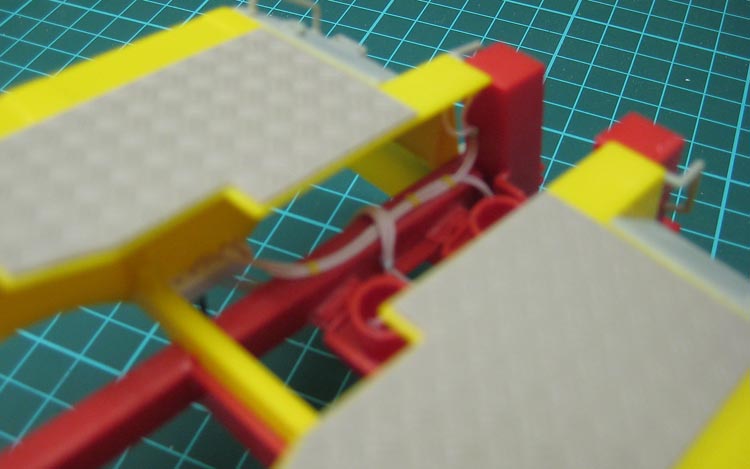
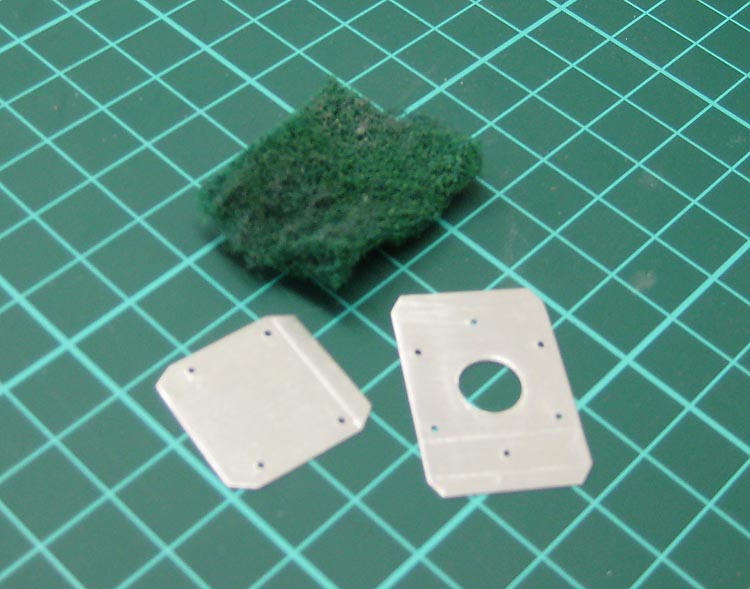
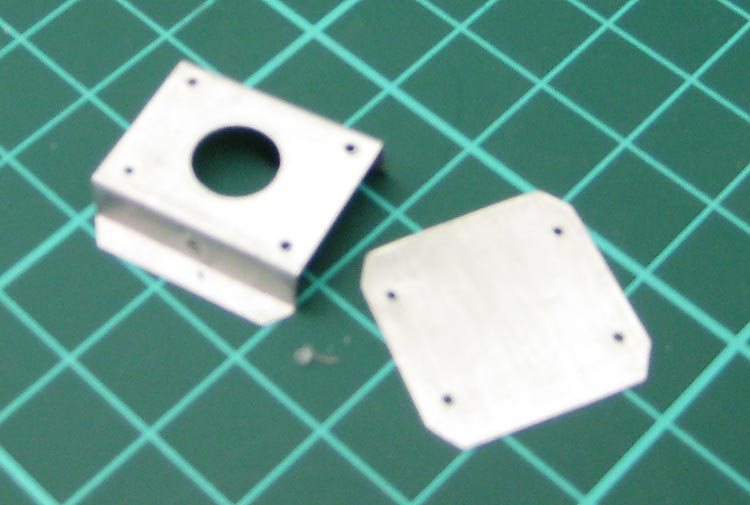
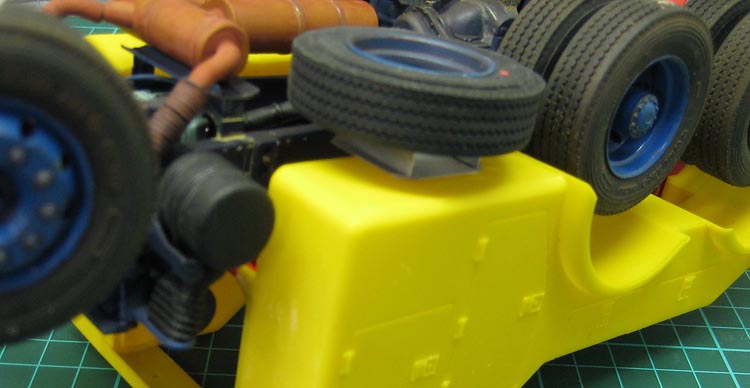
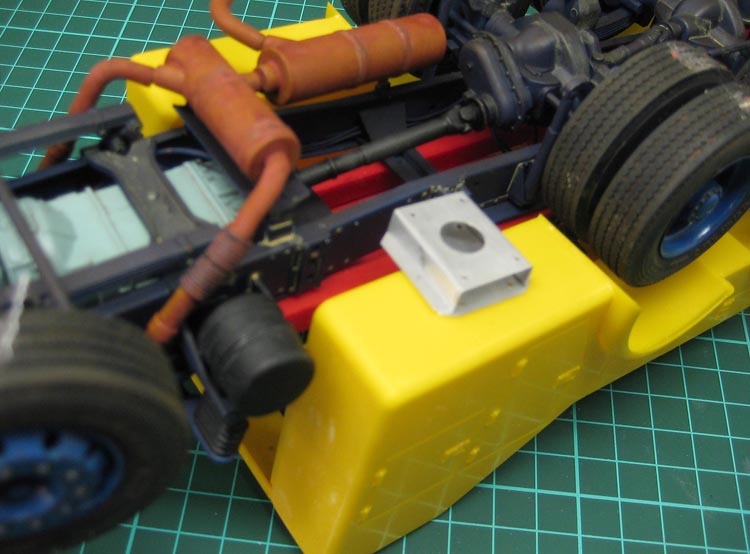
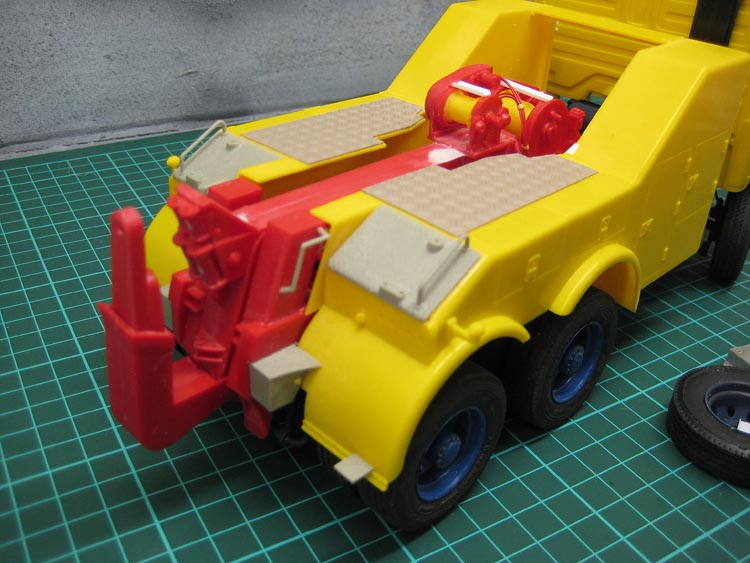
I wanted to busy-up the chassis a bit. Trucks always seem to have a lot of wiring and plumbing going on and the bare chassis was looking, well, bare. It was at this point I discovered the kit doesn’t use fuel or air tanks. I guess the wrecker body takes up the space they would use. I wonder where they are fitted on the prototype? I fitted the air tanks from the kit behind the cab. No fuel tanks were supplied at all. I added a couple of non-descript blacks of plastic as valve gear and ran electrical wiring as air hoses. I like using electrical wiring for this, rather than fuse wire, as the electrical wiring has a spring to it that simulates airhose nicely. Looking at the model now, I should probably have gone for a narrower wire. It looks a bit over-scale.

Air lines installed and air tanks added behind cab.
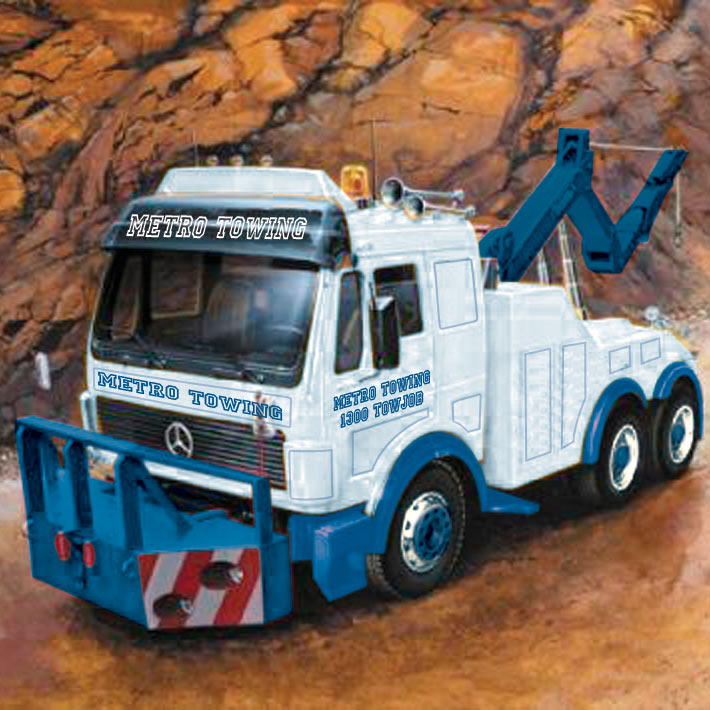
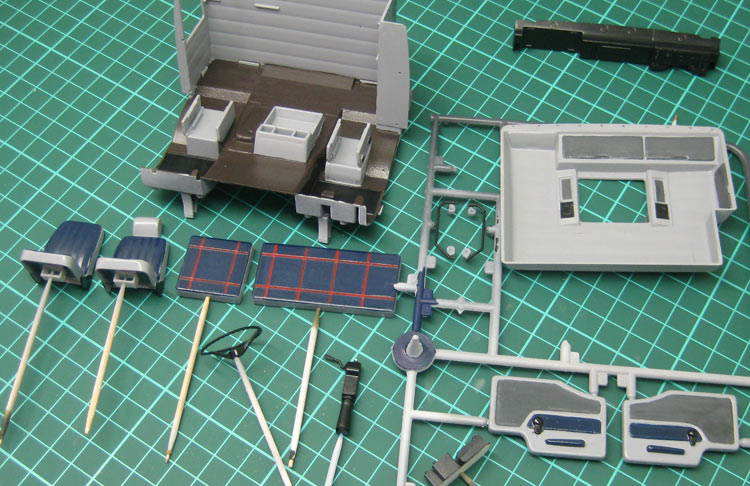
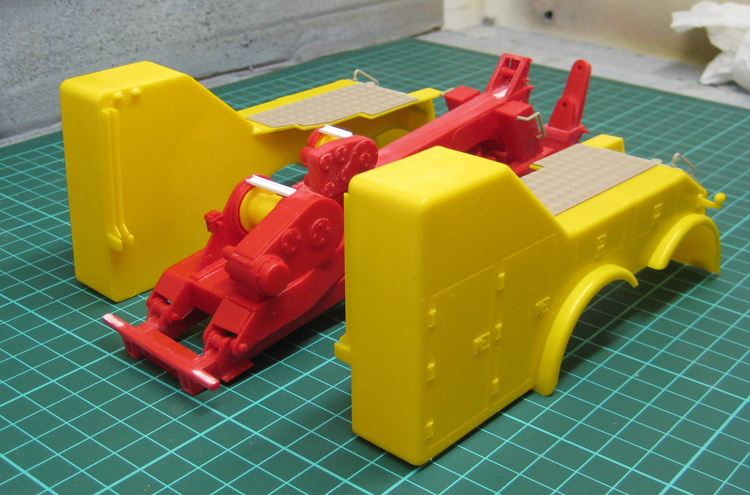
I needed to finalise the colour scheme now so I sat down with Photoshop and worked out a simple scheme that would lend itself to some home-made pinstripe decalling and not require any masking. This meant the cab and body had to be white so the translucent decals would show up well. Cab and body will be white, chassis dark blue and wheels, bumpers and crane will be a nice teal blue, Revell 51.

The intended colour scheme.
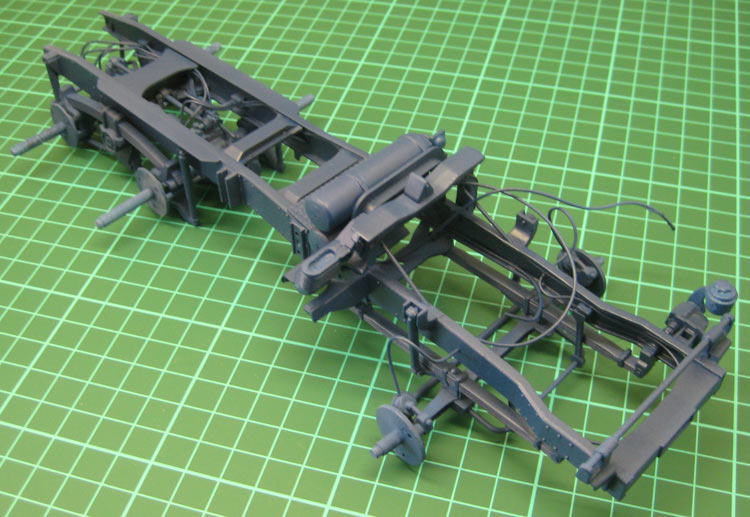
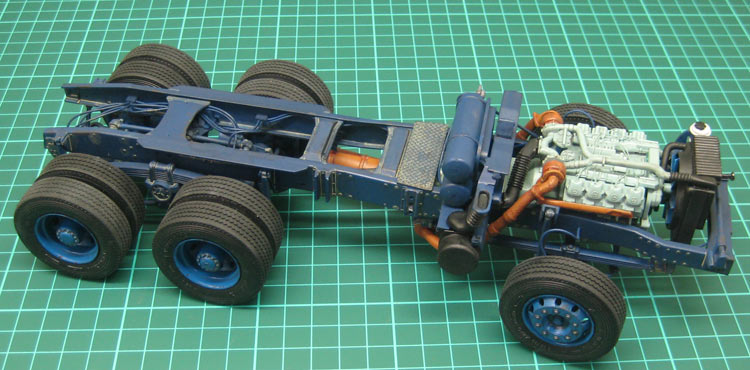
The completed chassis was then primed using the Skull White spraycan and some pre-shading applied.

Chassis primed with Citadel Skull White straight from the spray can.

Preshading airbrushed in black.
I picked a Valejo Air dark blue, but it turned out to be a translucent colour (oops!) so I then topcoated the whole chassis with Tamiya XF-8 dark blue flat acrylic. This obliterated the preshading. Oh well.

Chassis after airbrushing with Tamiya XF-8 Flat Blue.
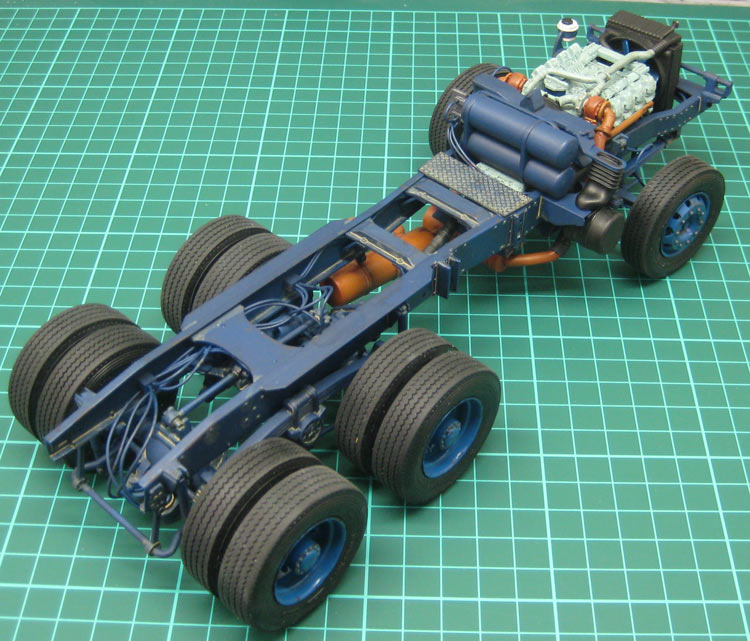
The entires chassis was then sprayed with a generous coat of Testors Modelmaster Metaliser Sealer in preparation for some grunge.

Chassis prepped for washes and grunge.
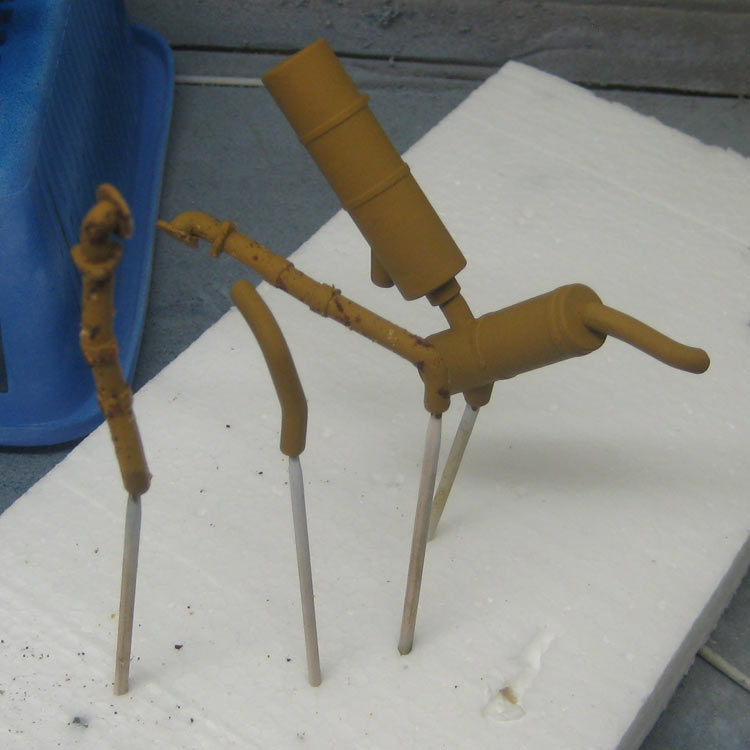
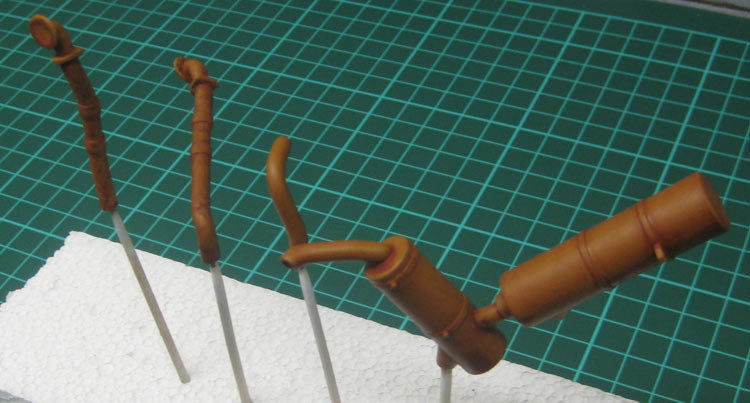
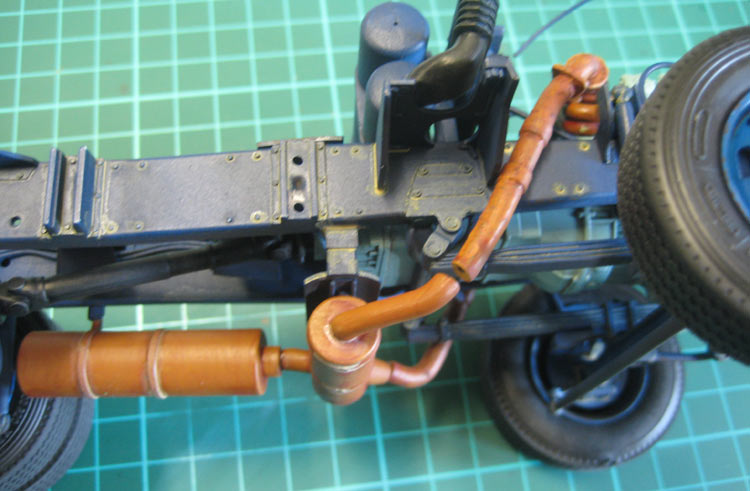
The exhaust components were assembled at this stage and primed and painted brown in preparation for some Rustall. This is the first time I’ve used Rustall. I possibly should have painted it over black instead of brown.

In the beginning …
I’ve applied probably 10 or 20 coats of Rustall red to get this result. The dark spots are bits of pastel I was experimenting with to try and add texture.

… half way …
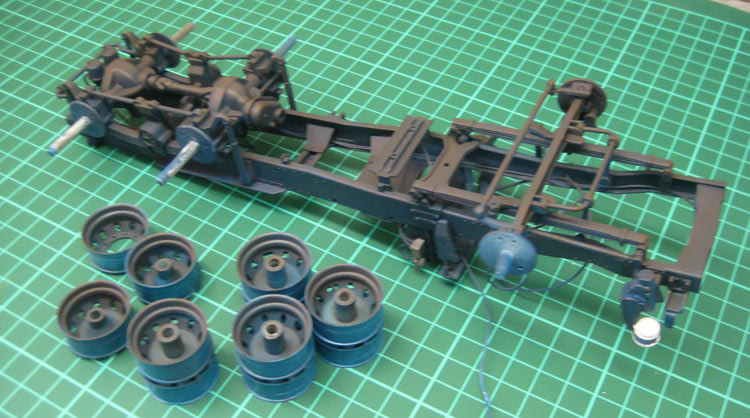
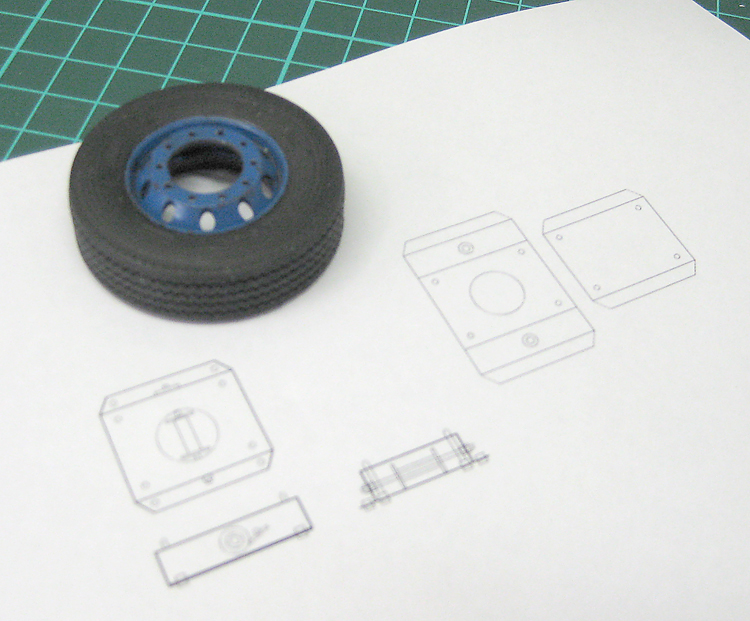
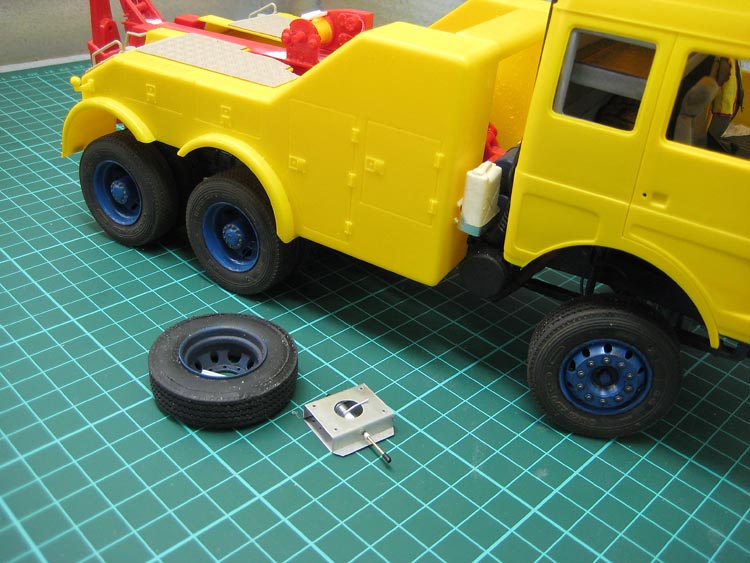
Wheels and Tyres
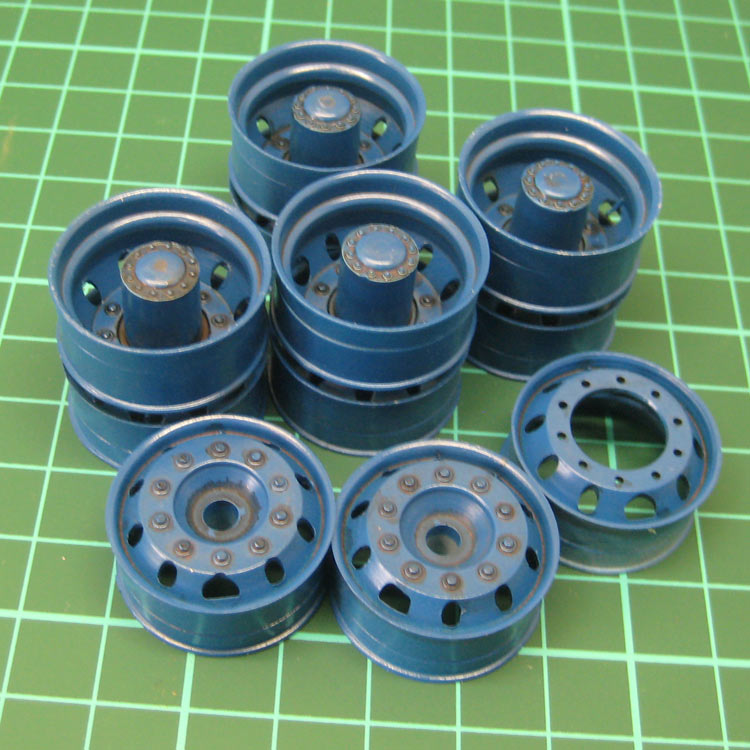
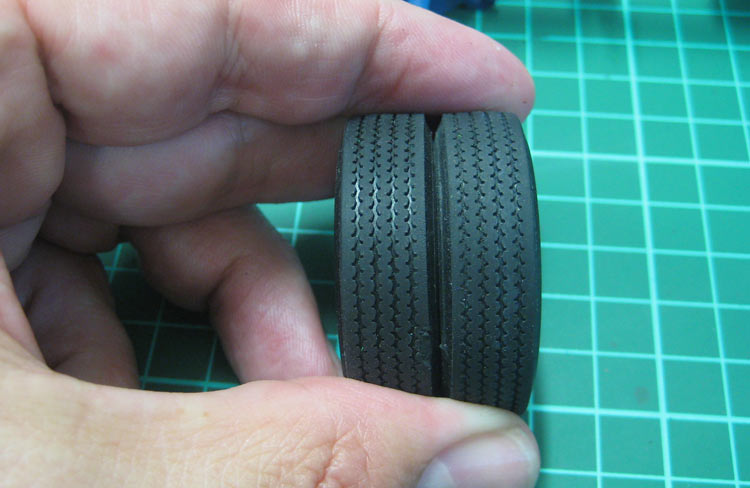
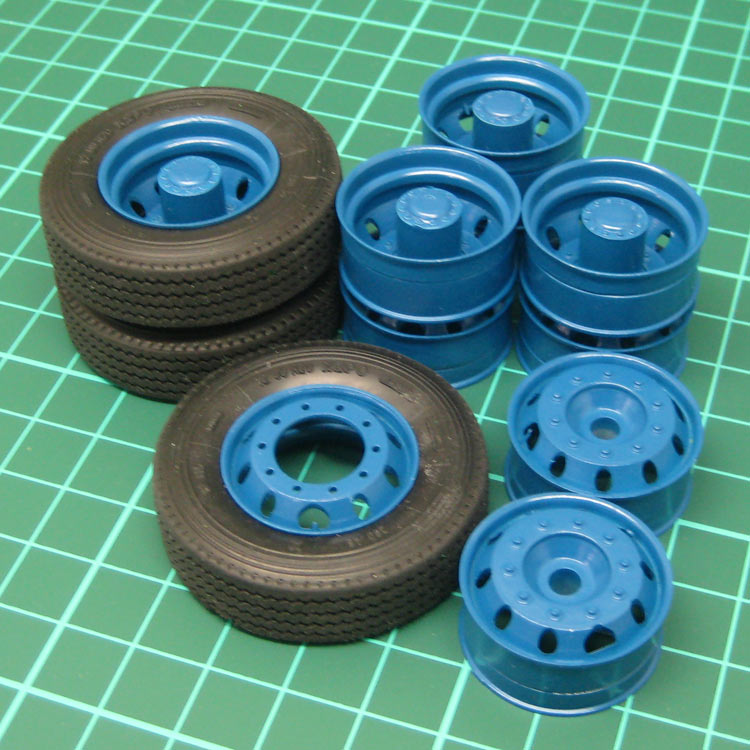
The wheel rims were cleaned up and glued together and then primed with the Citadel Skull White as well. Revell #51 gloss blue was then used as the topcoat. Tyre treads have been scuffed up to indicate some wear, too.

Scuffed tyres along with wheel rims in pristine state.

Wheels with gunge.

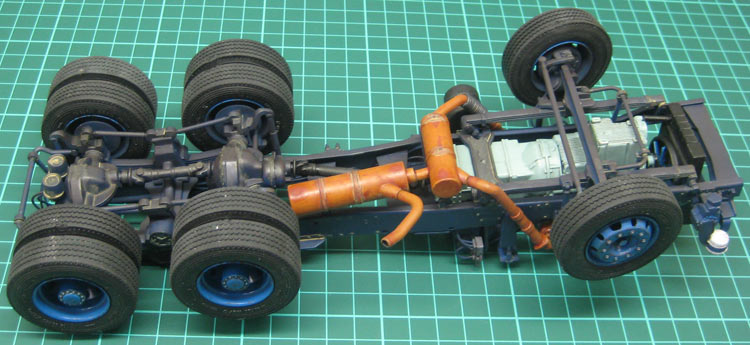
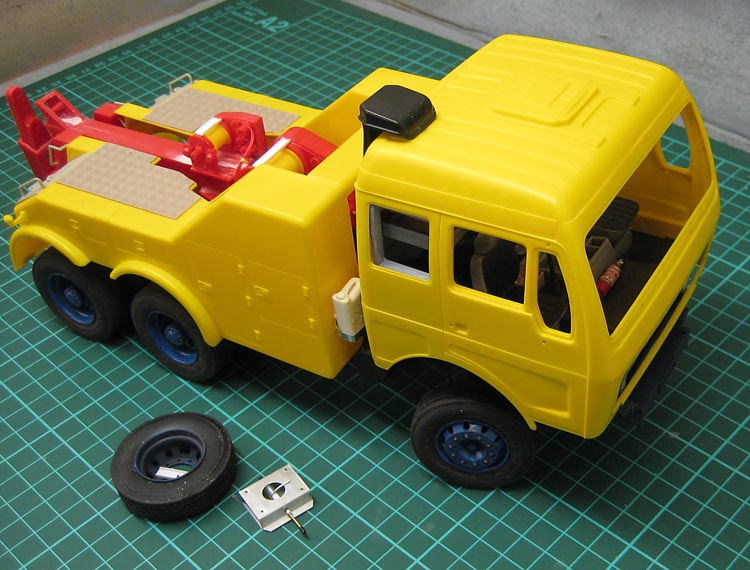
Another dry run.


