Italeri Short Stirling Mk. III 1/72 - Build Log - COMPLETE 2-July-2026

Getting started with a new build log for my next build, the Short Stirling Mk. III heavy bomber. The kit is by Italeri in 1/72nd scale.

This is not a bomber that I have ever built previously, but I have long been aware of it from war-time photographs in many of the books that I have read over the years. I don’t expect to actually start this big girl until next week, when I’m taking PTO but going nowhere.

5 Likes

Looking forward to this. Famous for it’s landing gear

Short Stirling bomber landing gear by David Rider, on Flickr

2 Likes

I finally found some time to get started on the Stirling, mostly because I took this week off and have lots of time to burn at the bench. So what I’ve managed is to get the most of the interior painted and constructed. The kit comes with a PE fret that includes an IP panel and the various levers on the pilot’s console. I think those levers make the cockpit pop, even in 72nd scale.

I still have to paint the tail wheel struts, build that part and get it into the fuselage. I also need to build the nose and top turret to do some test fitting. Can I put the fuselage together without installing the turrets? From the instructions, it’s not clear if that will be possible or not. I’m hoping that it will be possible as that will ease paint work to come.

1 Like

You know, I hate it when I take PTO and I get freaking sick, but alas, that is exactly what I’m struggling with this week. When I was a kid, home sick from school, mom or my grandmother could bring a model kit home to me, and miraculously I’d start feeling better after a few hours of getting to build a Zero or a Flying Tiger. Curiously, that tactic no longer works - even after getting two days to take some time at the bench, I still feel like I got hit by a train.

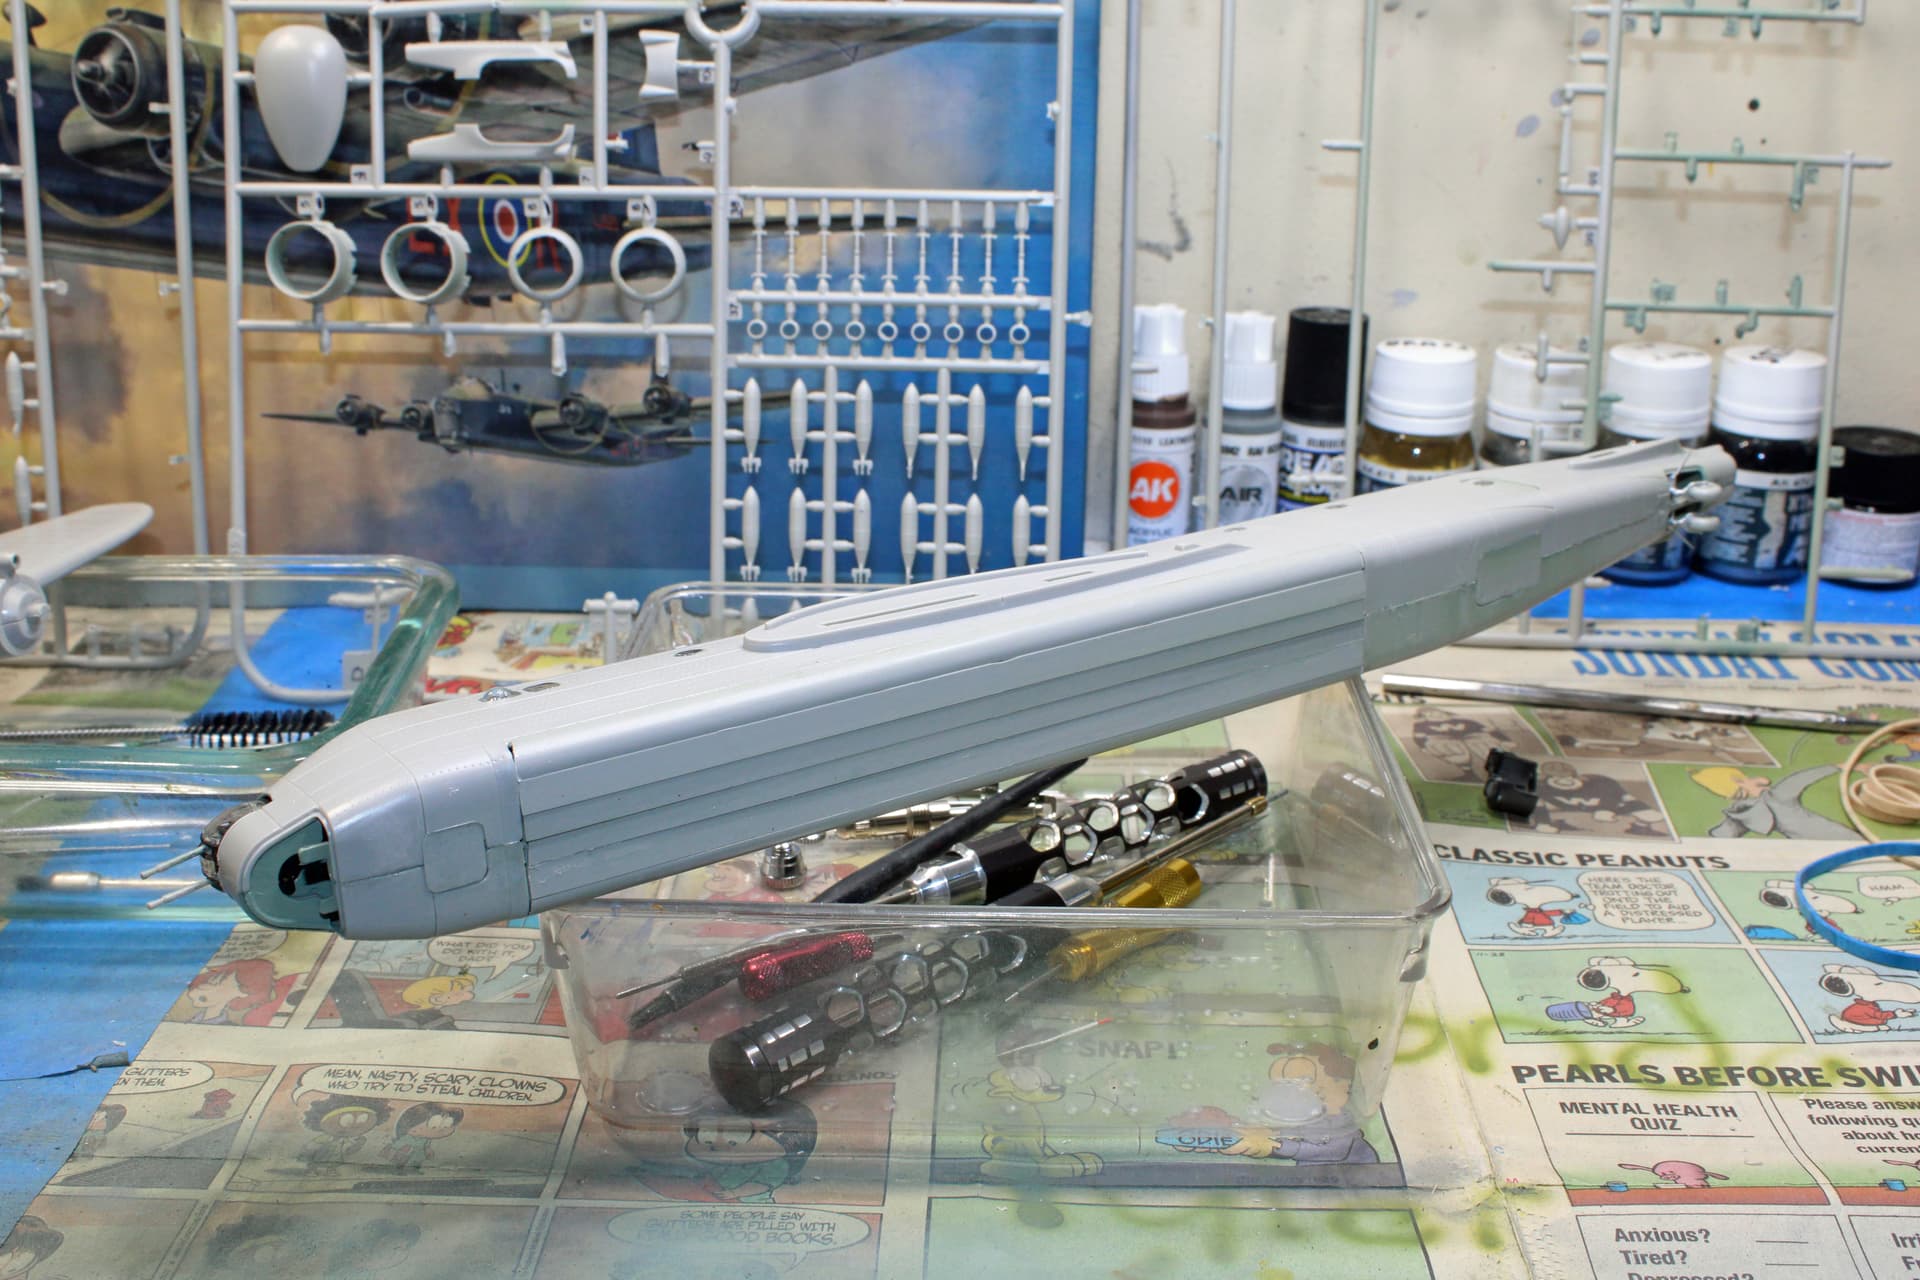
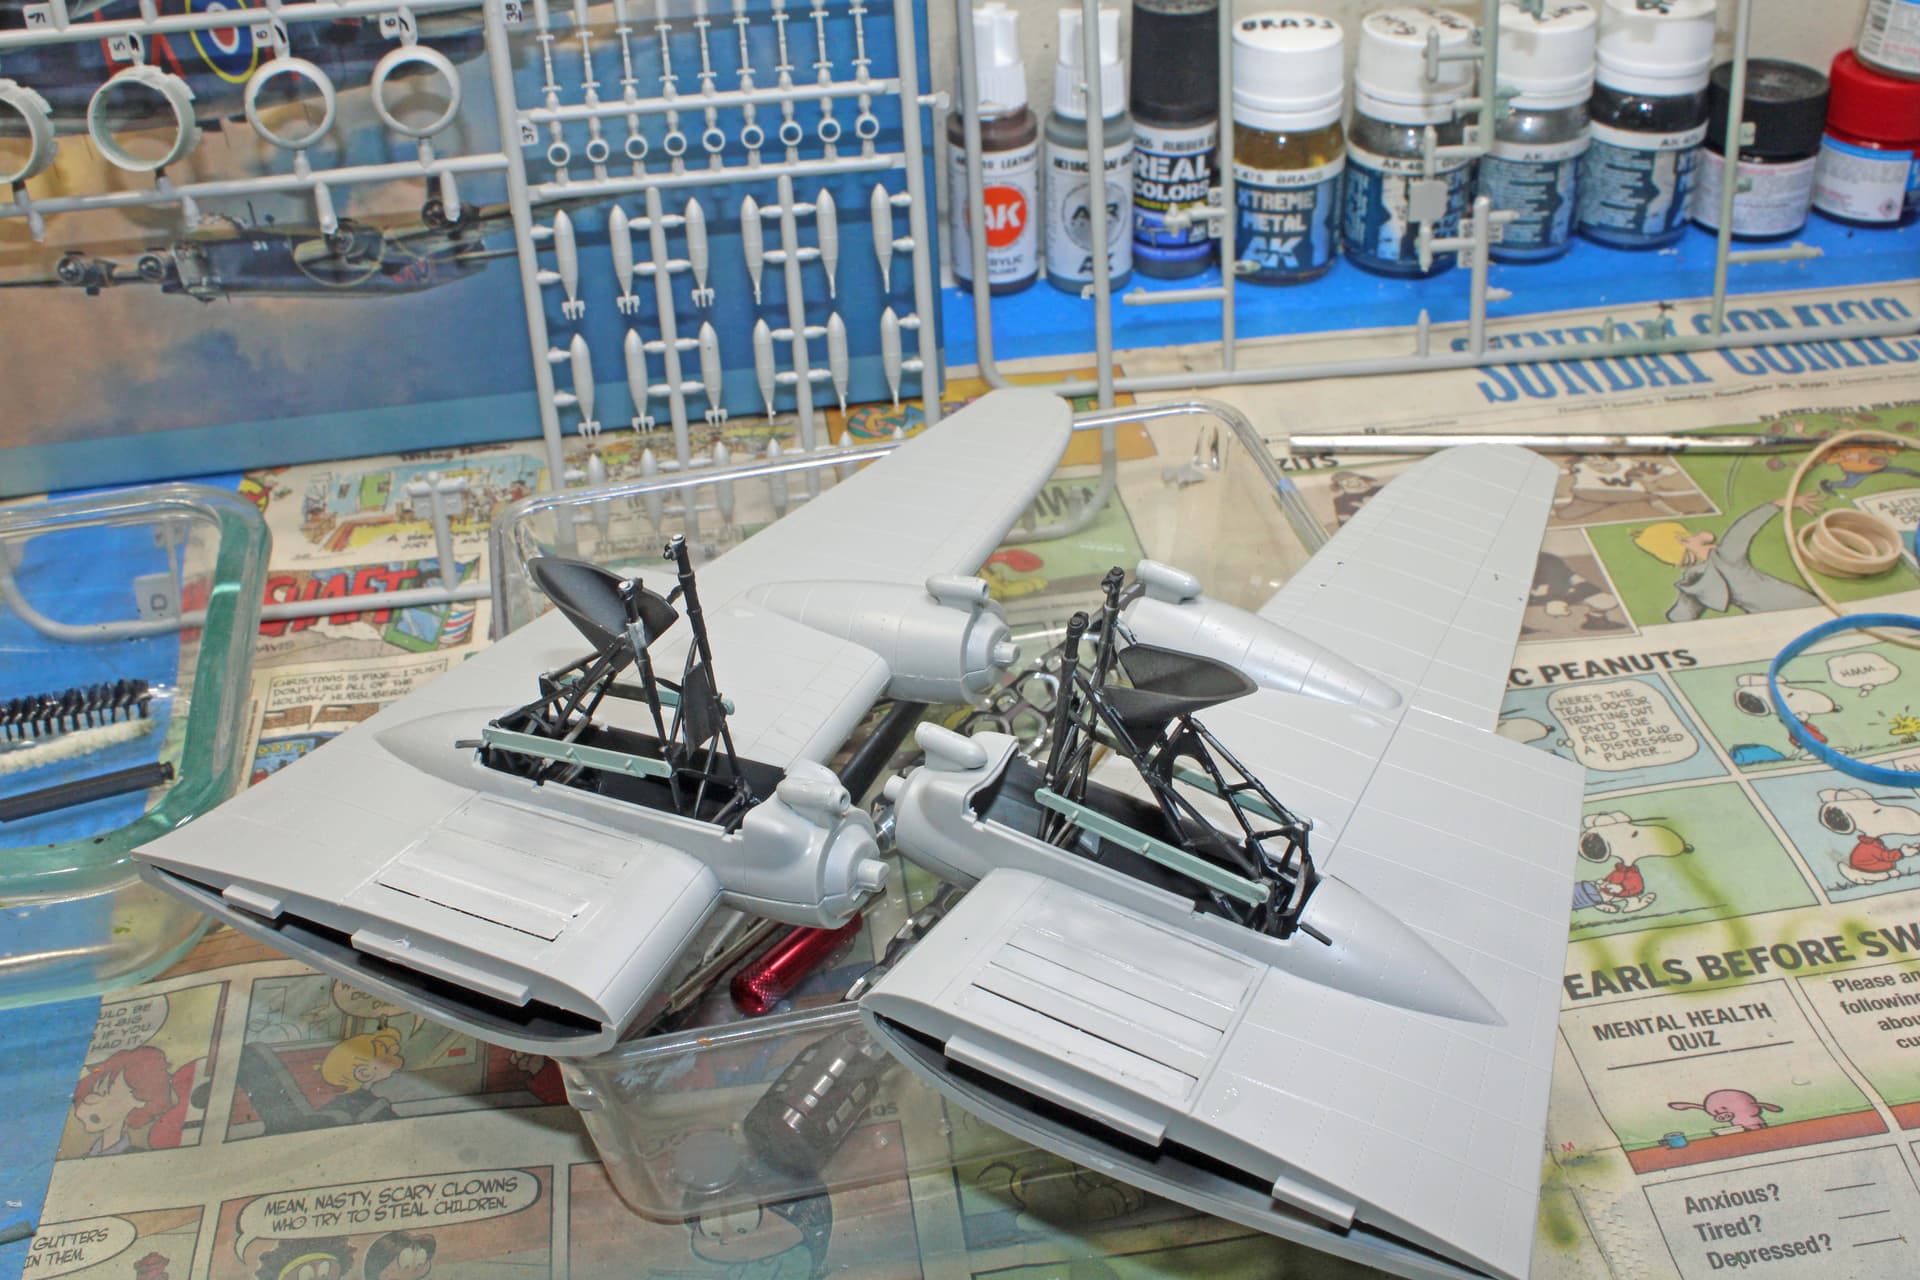
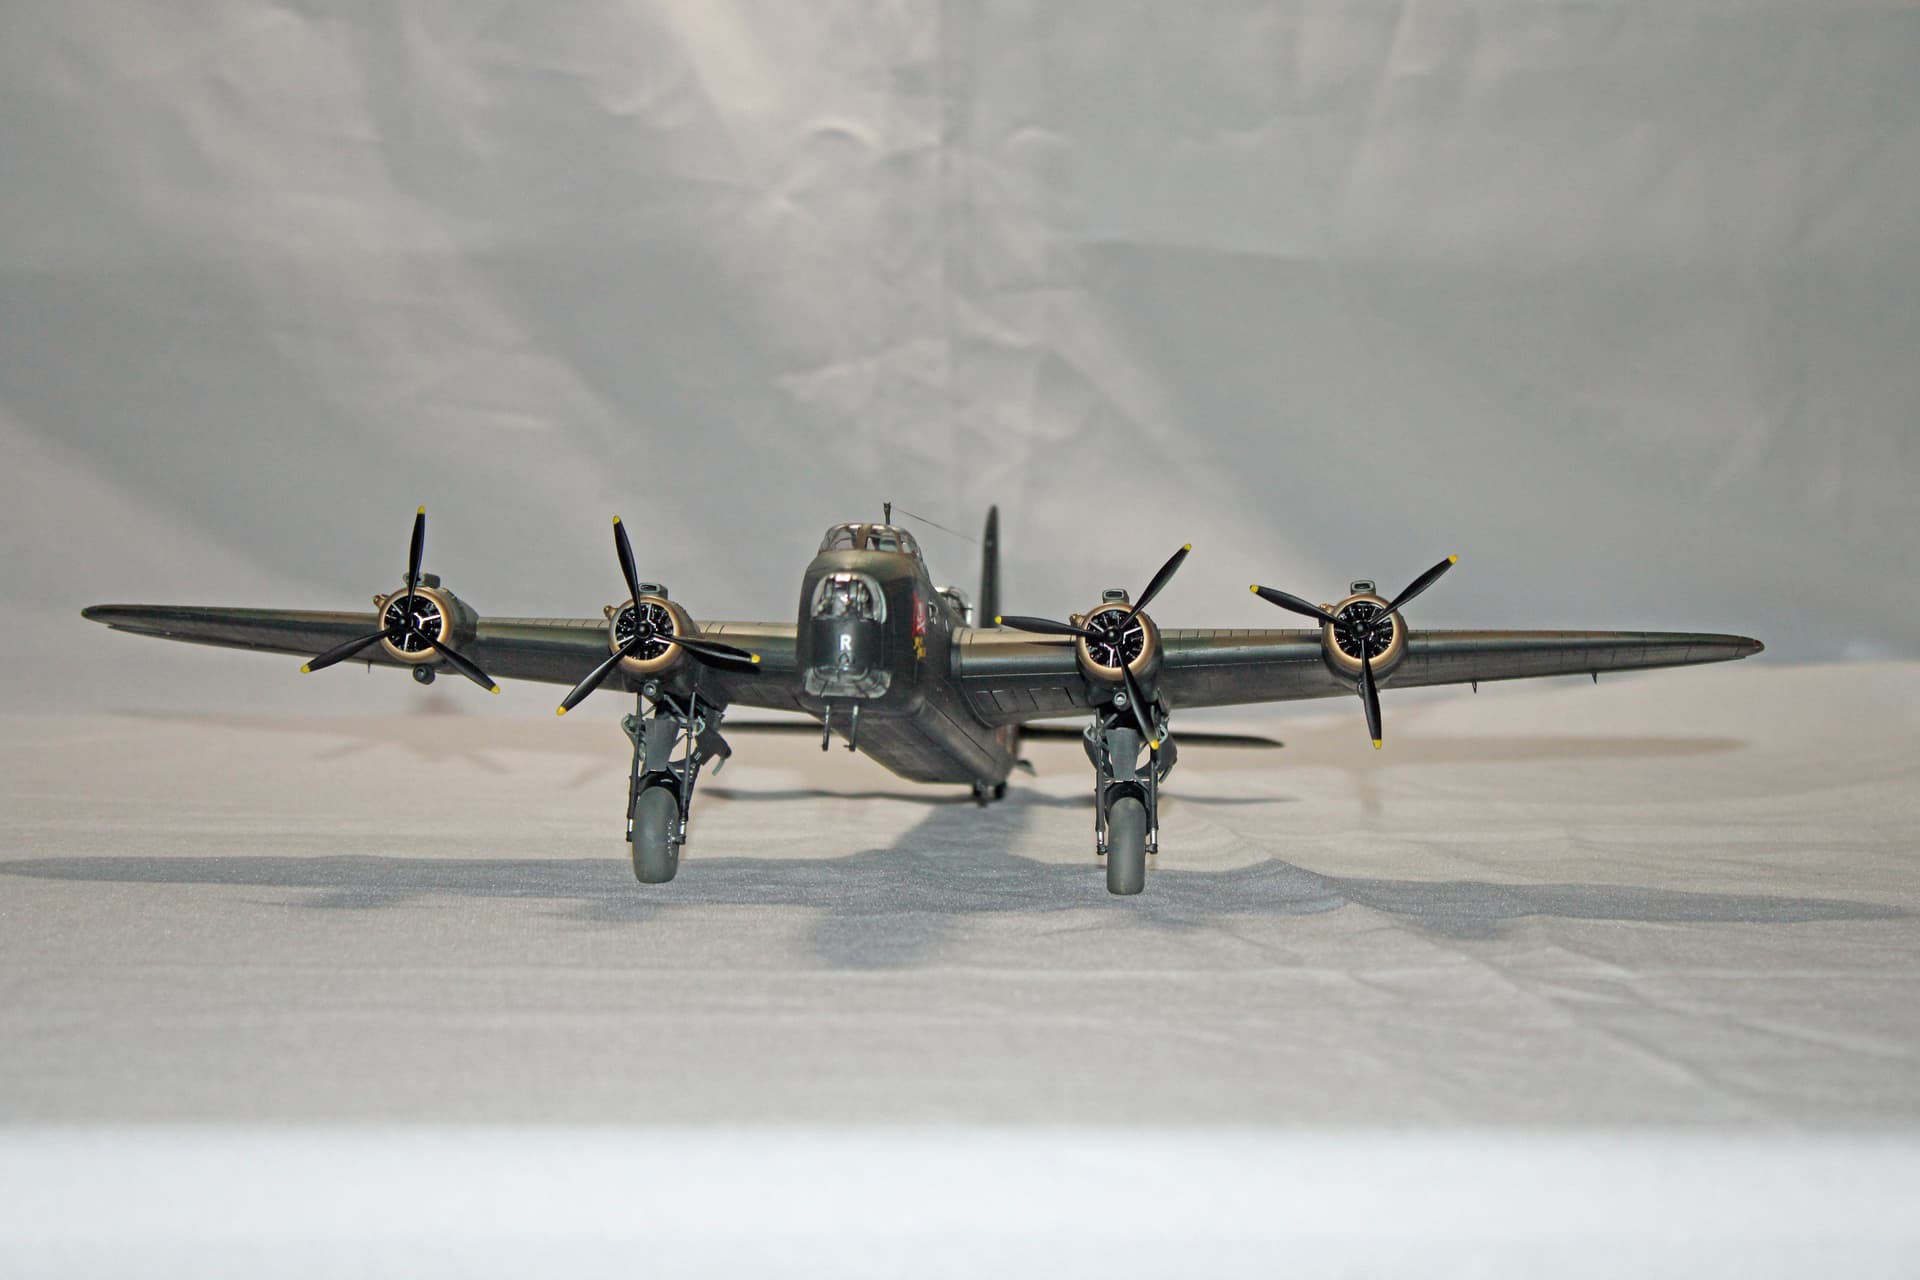
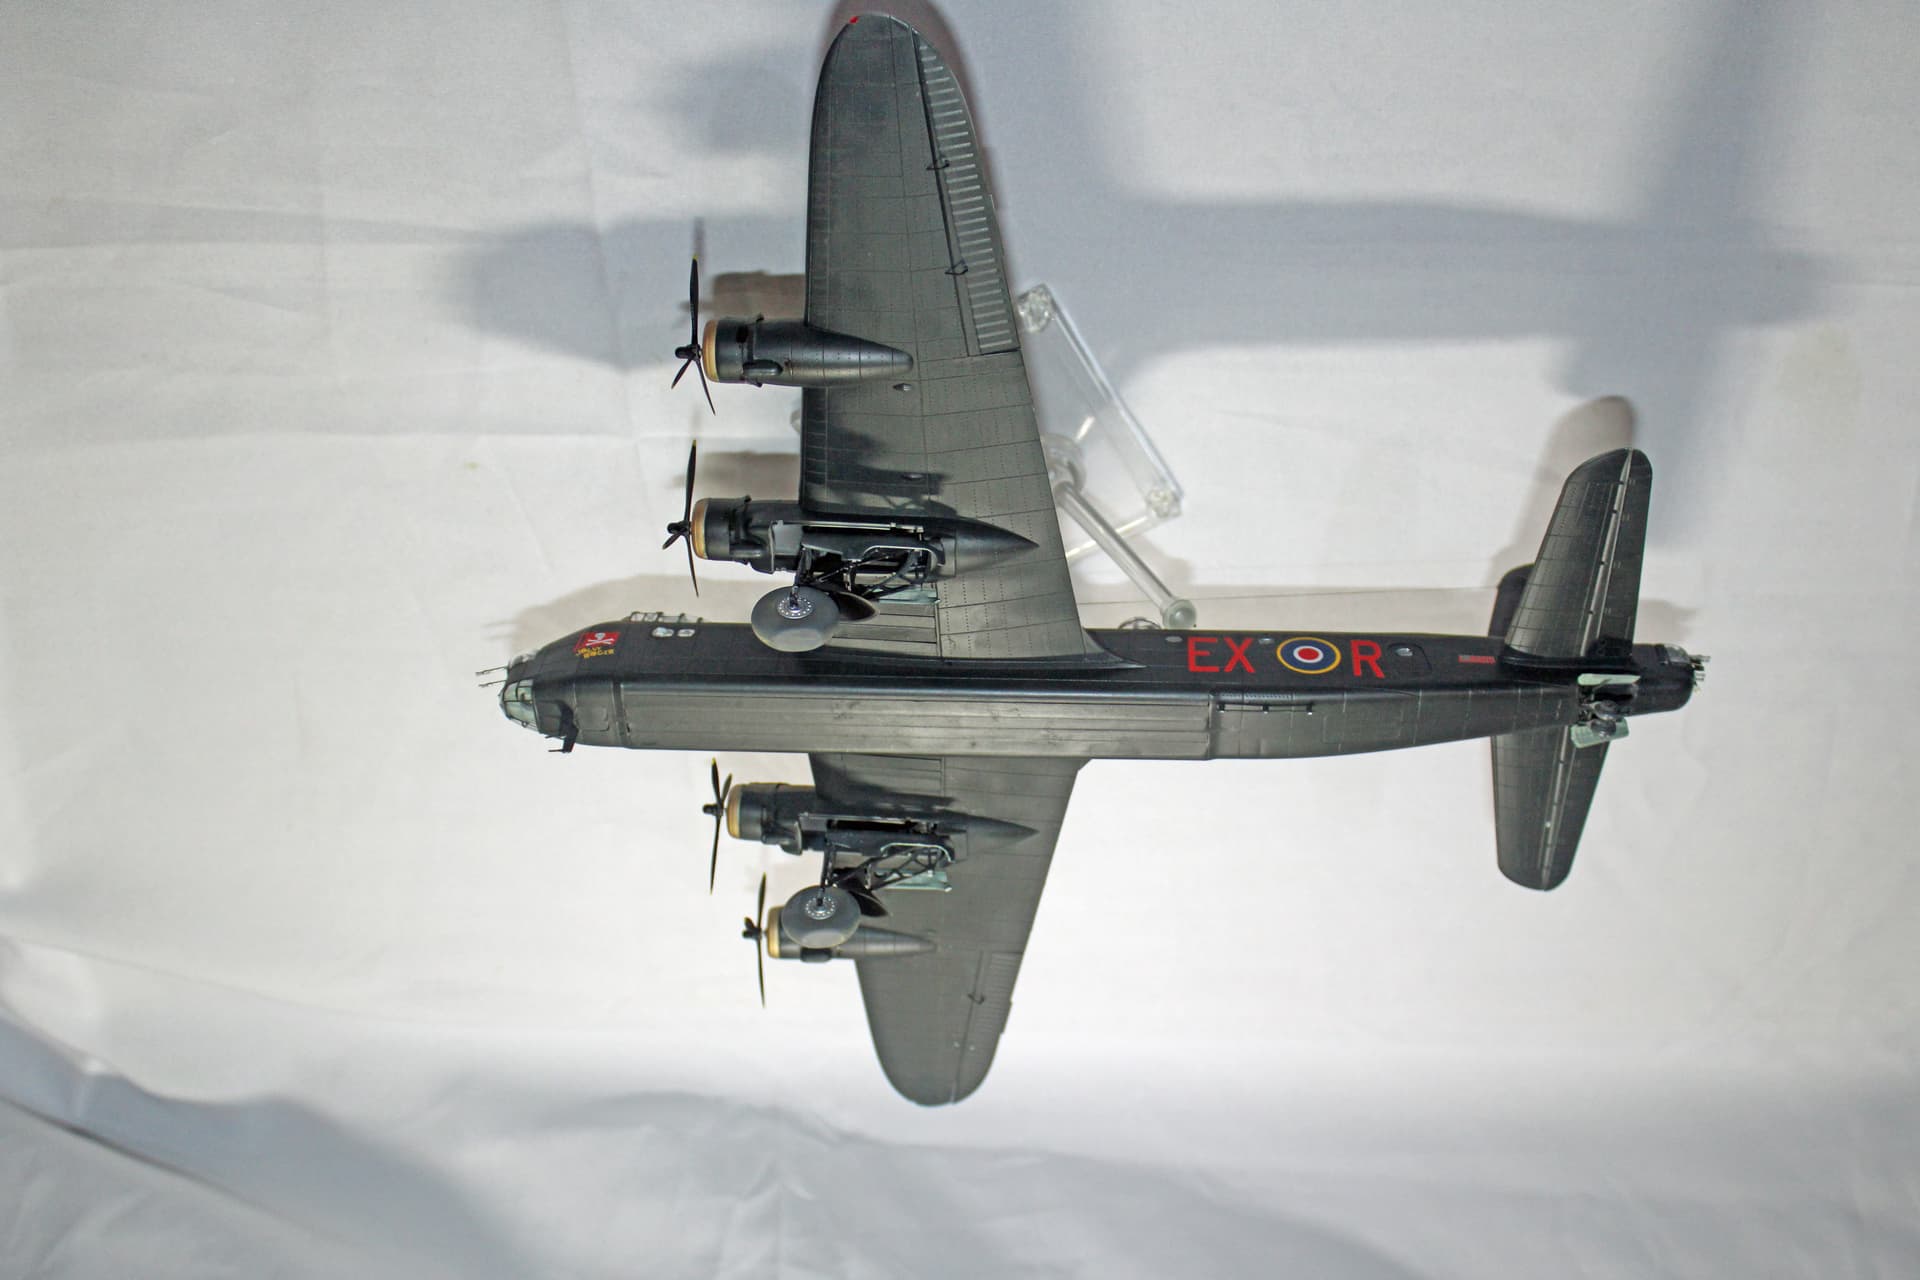
You can see in the photos one of the problems I’ve had with this kit - the bomb bay doors. They are individual parts. Italeri did a good job with the molding in providing ample attachment points for these doors, but where they could have done better would be by providing a single piece for those wanting to close up the bomb bay. The parts were not uniformly sized, in that a couple of them needed sanding to even fit into the allotted space. Then I wasn’t able to get them into position flush with each other, so I have a raised ridge on a few of those doors that I will have to sand/scrape away to even out.

Same thing happened on the bomb bays located on the inside portion of the lower wings.

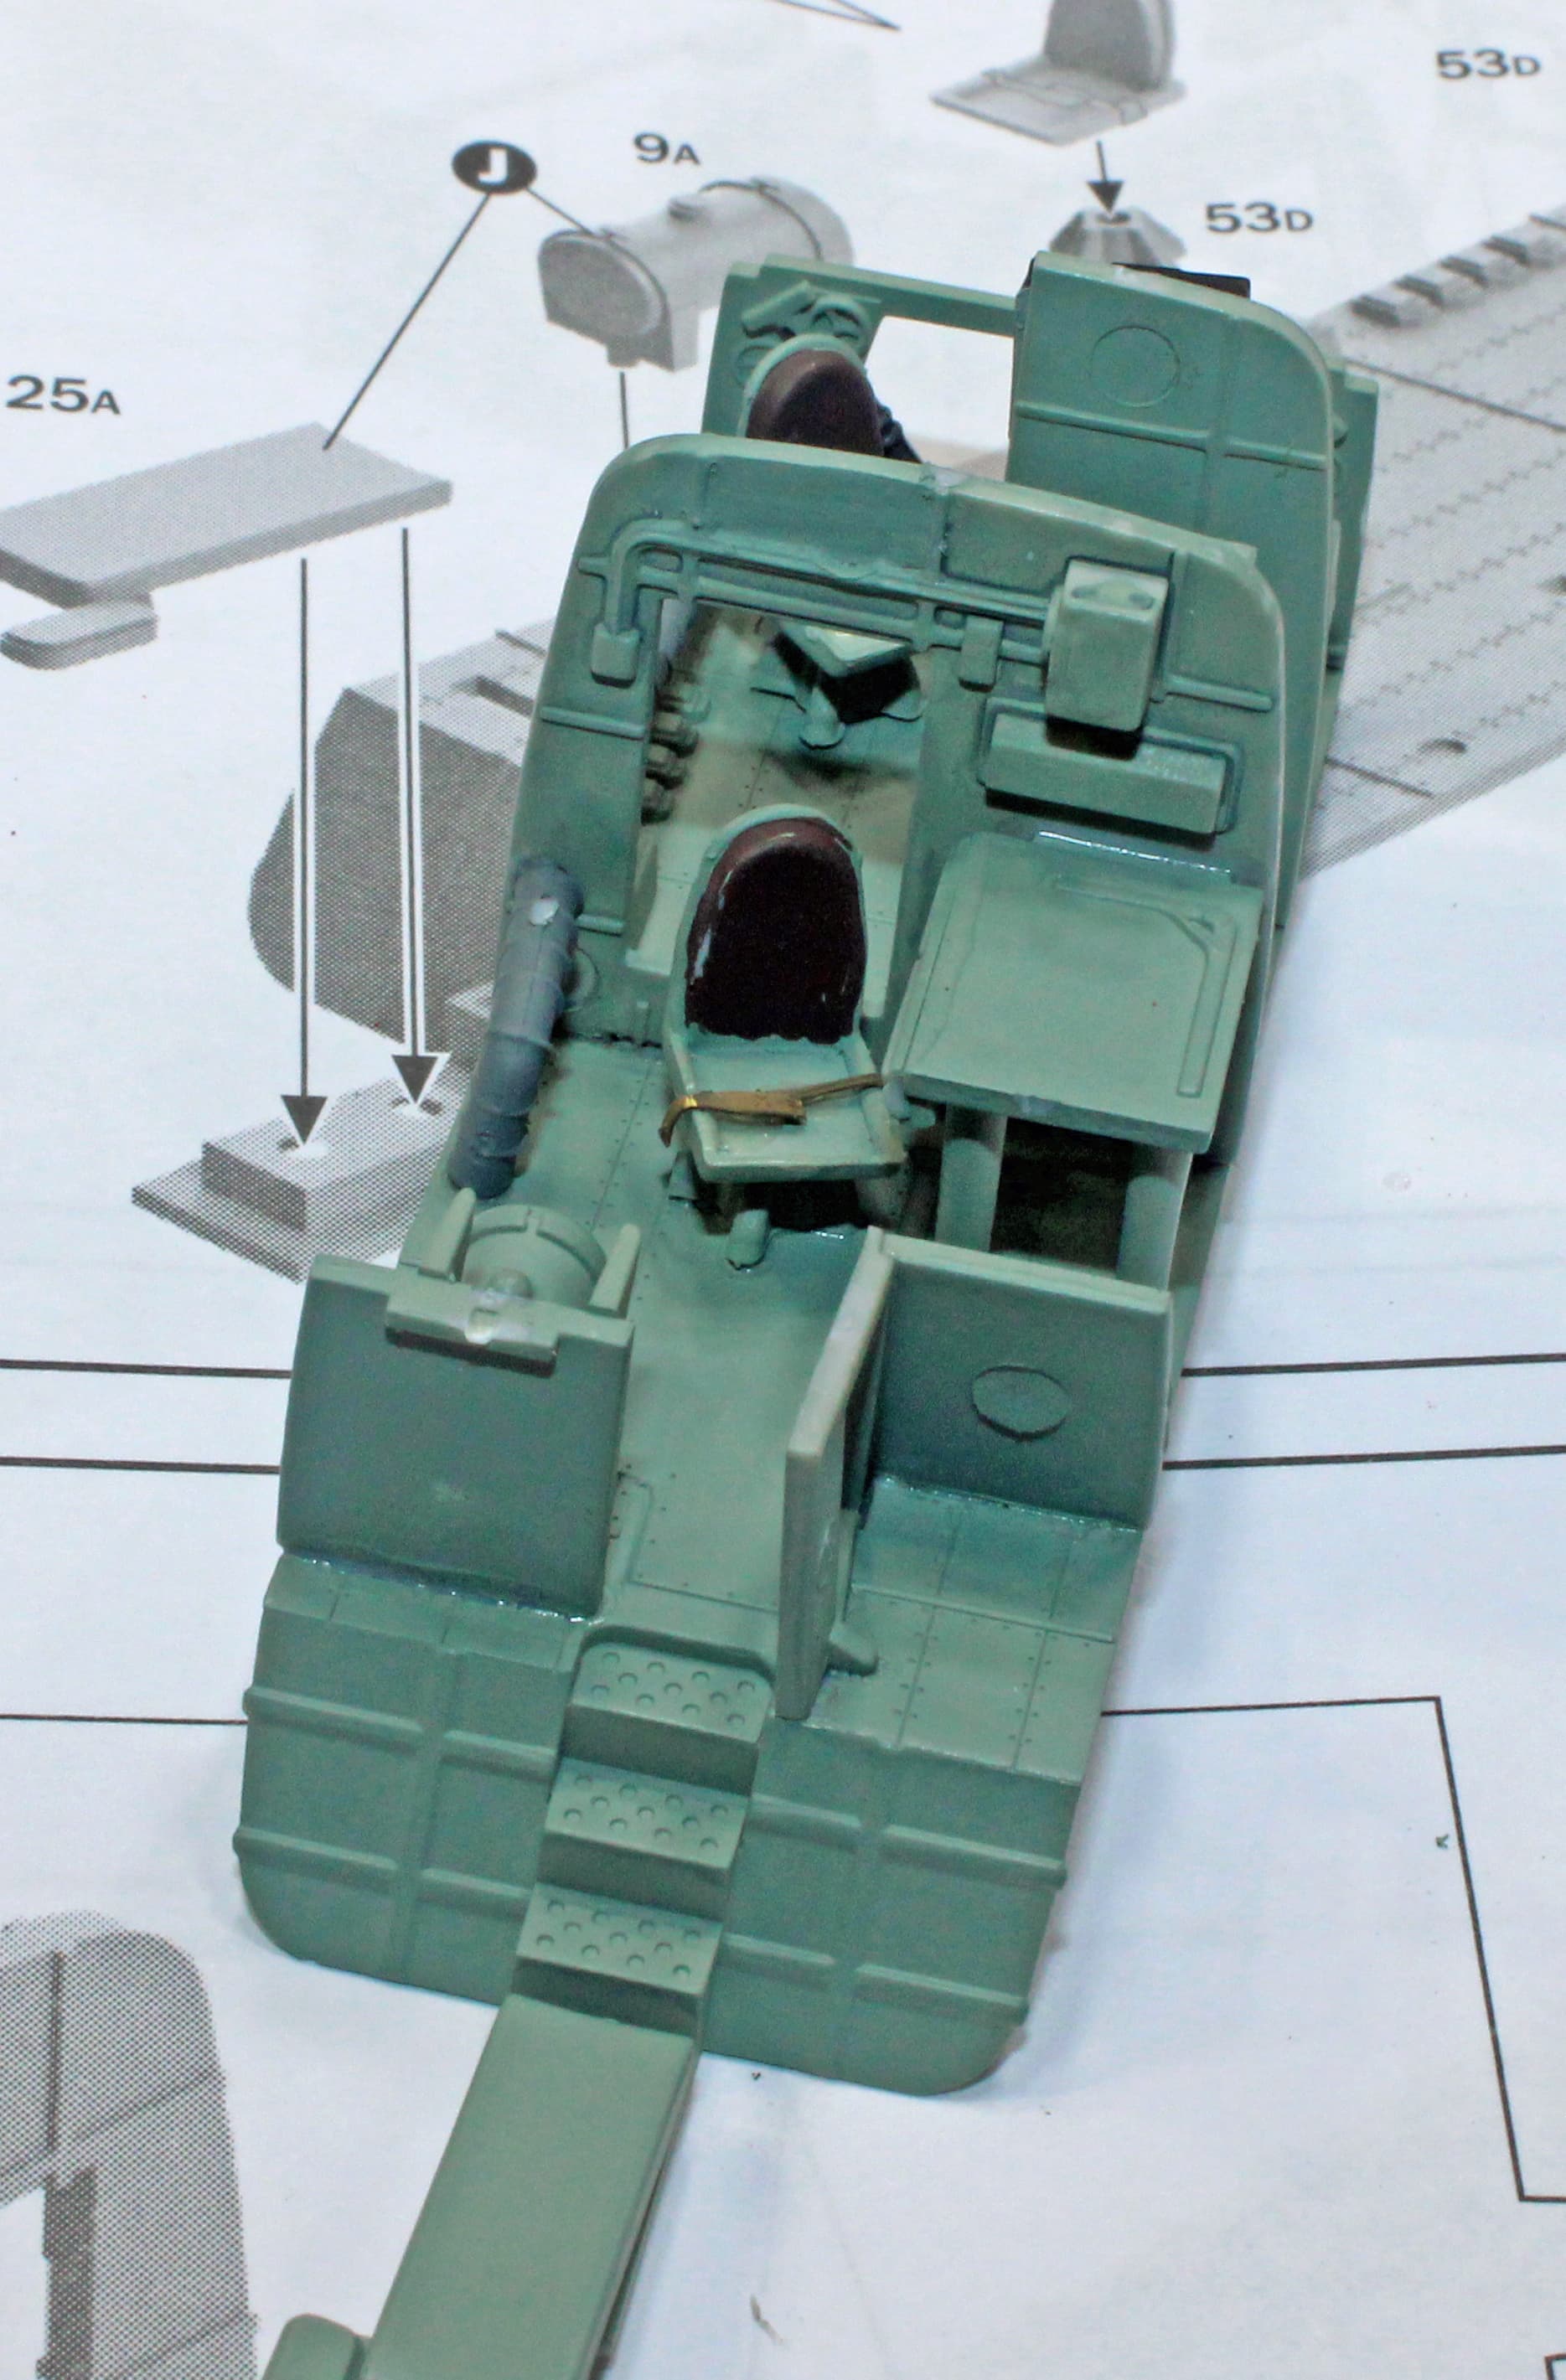
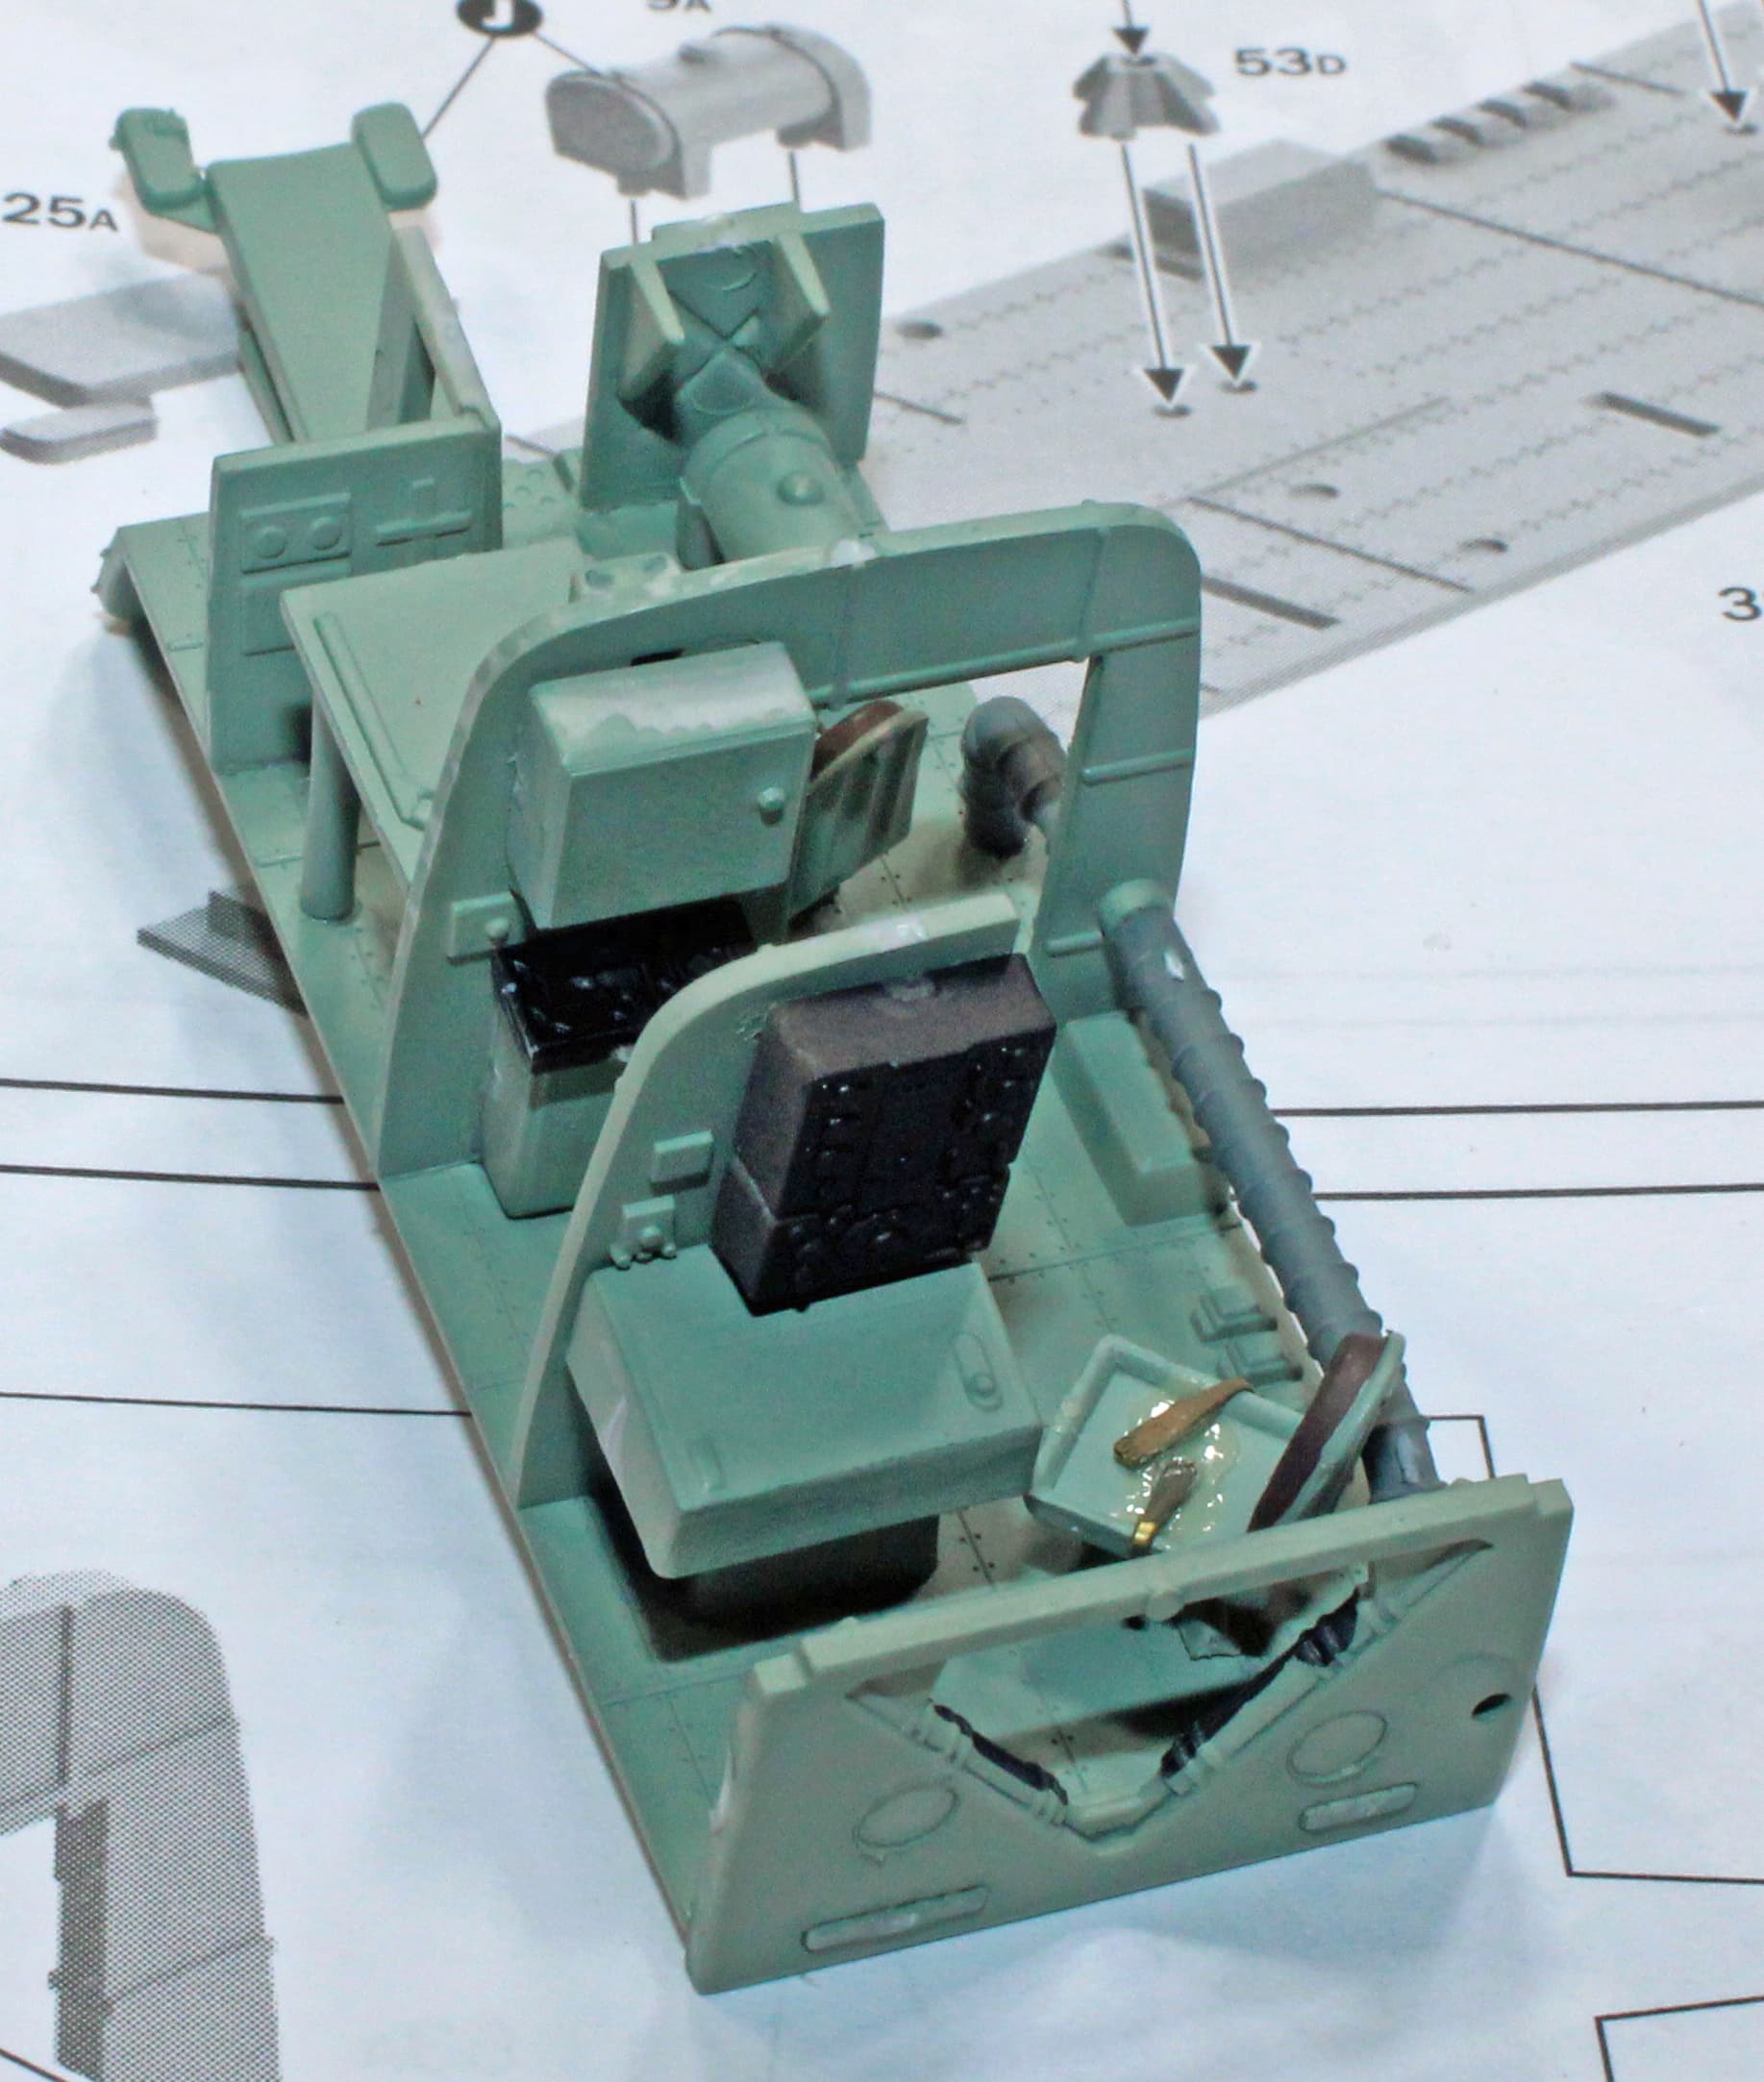
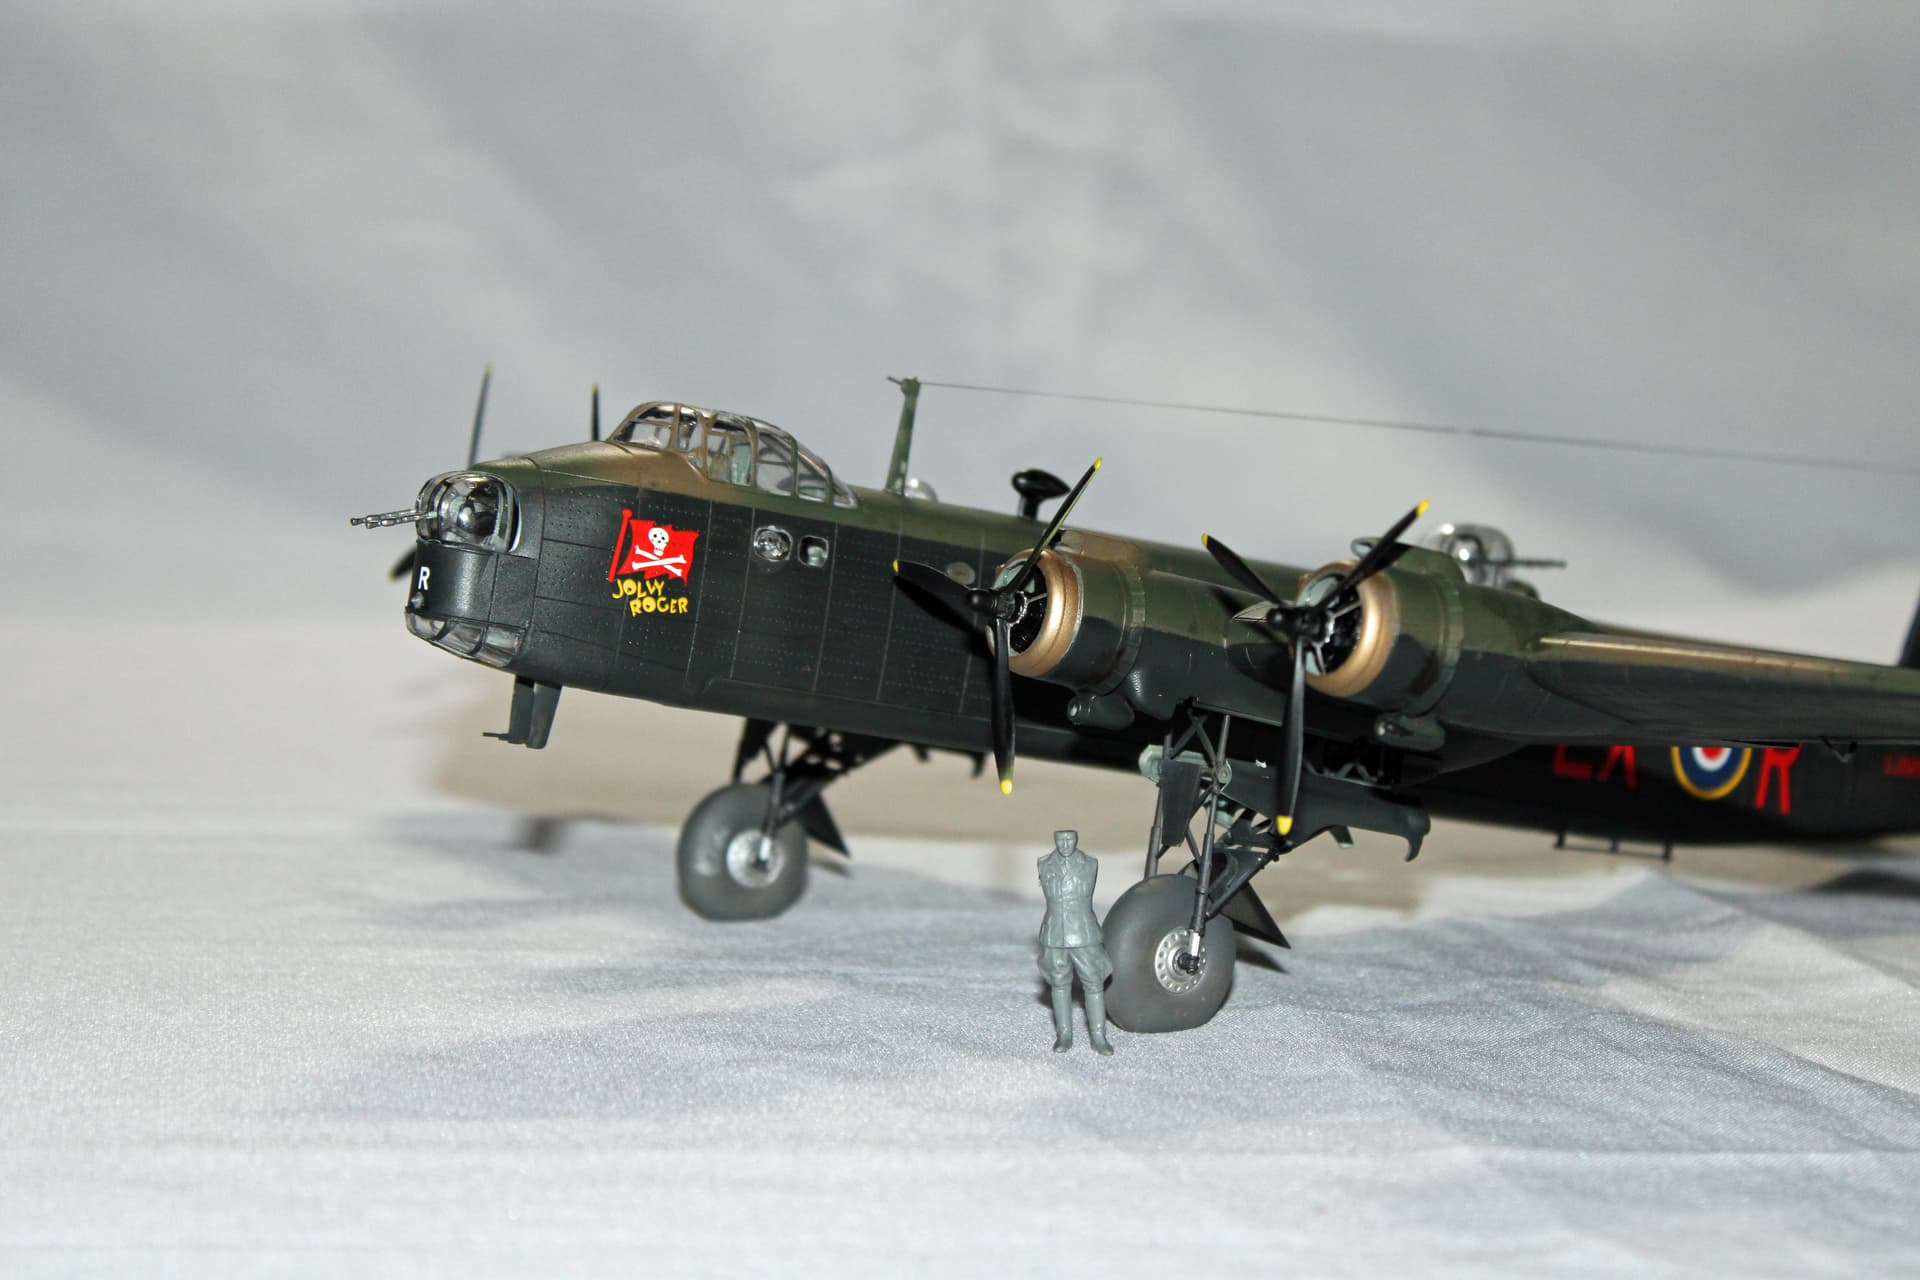
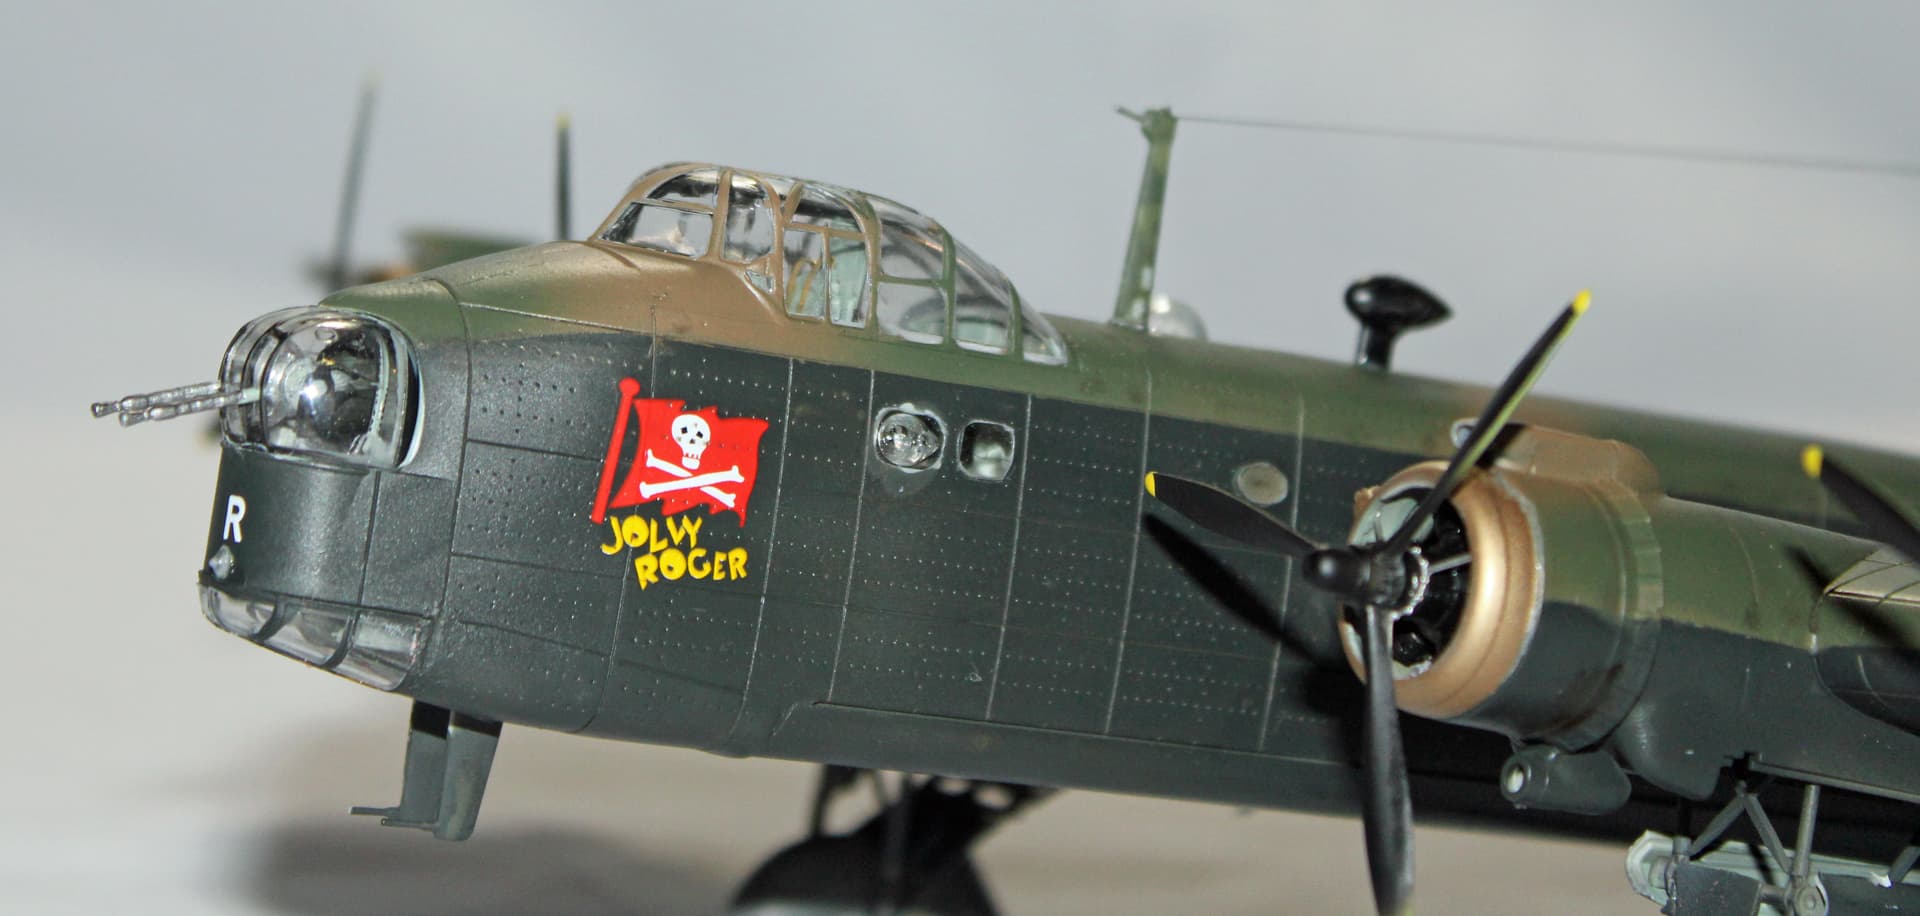
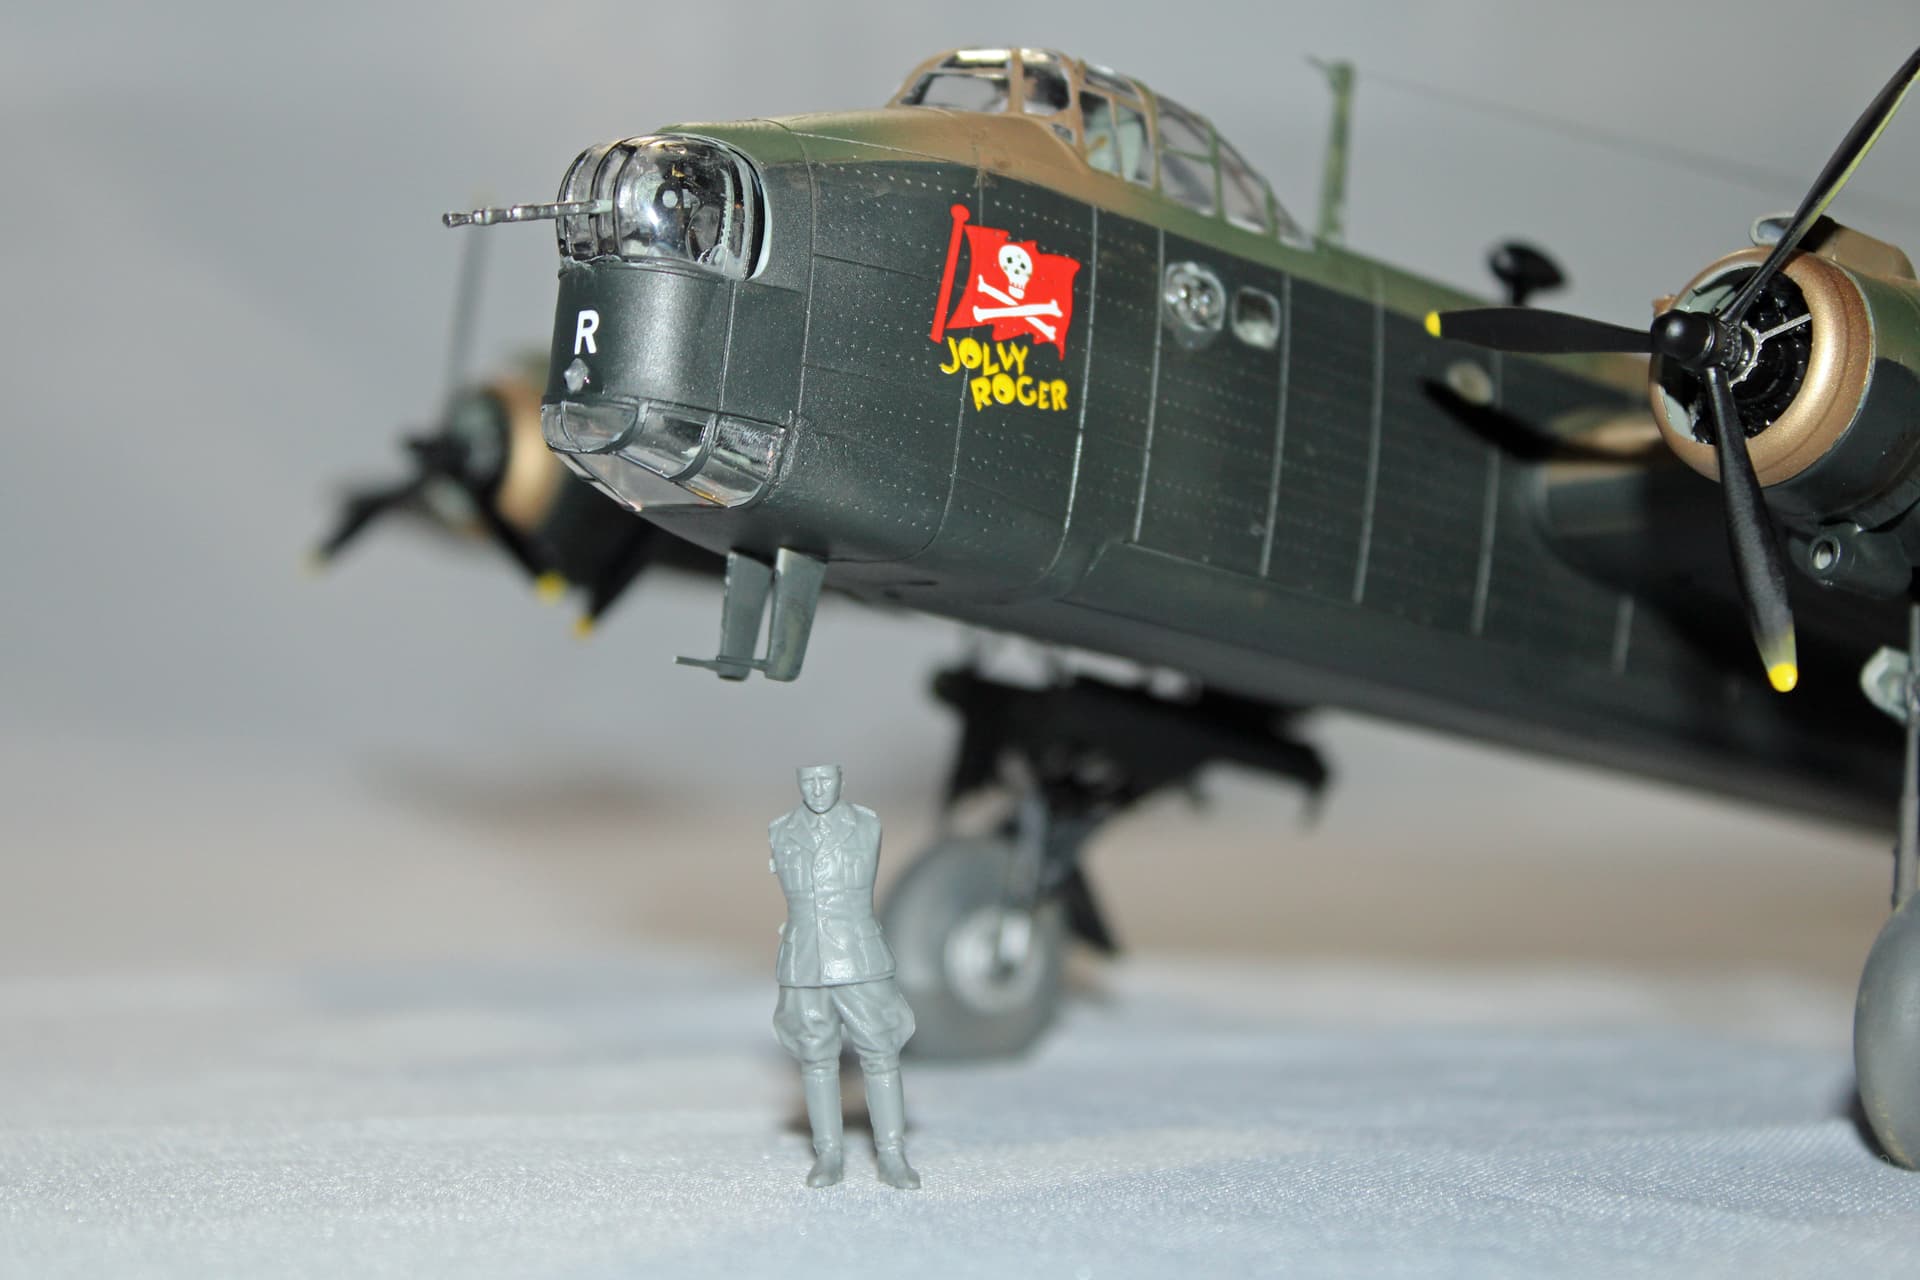
Construction requires installing the nose turret before closing up the fuselage. I’ve already painted the framing, so I’ll probably cover the “glass” with some Silly Putty when it comes time to painting. On the other hand, the upper turret can be installed after everything is done, so I guess that’s a wash between the two.

When I did the HK Models Lancaster earlier this year, I was able to paint the major components prior to assembly (wings to fuselage), but I don’t know that that approach will work with this kit. Still, I’m going to try it. I test fit the wings - it seems to be a good fit, didn’t note any major seams. If I can use the Lancaster approach with the Stirling, that will greatly simplify the painting.

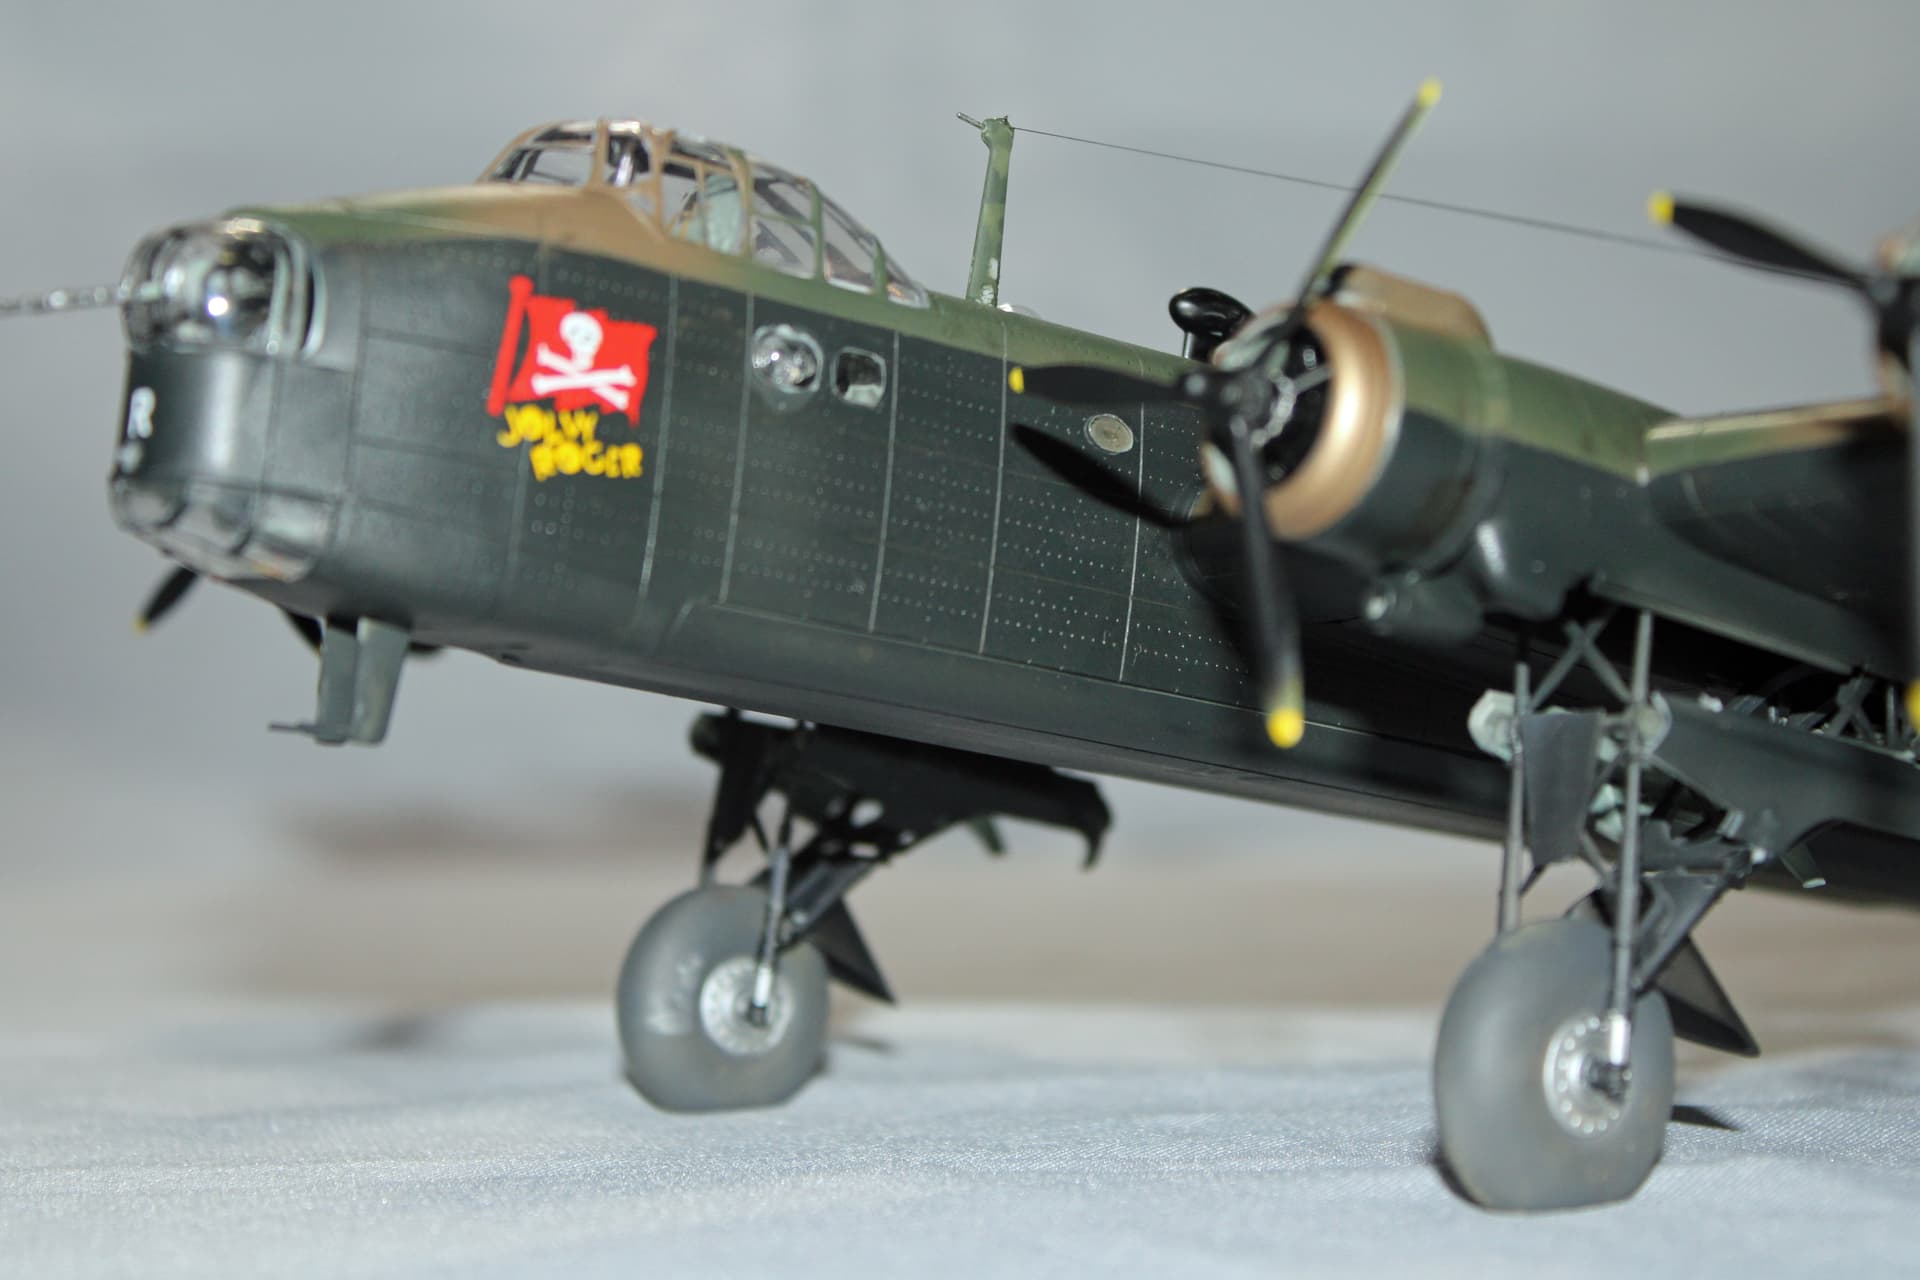
Parts fit is decent. One of the wings didn’t want to go together as tightly as the other. And Italeri uses the same molding approach for heavy bombers that most others use, with a big-ass seam right down the center of the nacelle. Not unexpected to see some seams and gaps in those areas.

If I get bench time tomorrow, I’ll tackle the four engines and then get started eliminating all these seams.

1 Like

Looks like a beast, bit disappointing regarding the bomb bay doors, however I am sure you will make it look great ! Look forward to seeing your progress. Hope you feel better soon !

I’m done.


2 Likes

Wow that was quick! Cranking out the 4 engine bombers. Turned out really nice and sure lives up to its long leg reputation. Well done.

1 Like

If that’s a short Sterling, what does a tall one look like?

(An 80 year-old joke)

Very nice job - not joking.

1 Like

Very nice, great job !

1 Like

Conbratulations on another splendid build! Are the tires weighted or is an illusion created by the cloth?

Gary

1 Like

The tires are weighted. The cloth is not as taut as I normally get it.

Thanks everyone for your kind comments on my Stirling. I especially love the 80-year-old joke.

Great build!. Love the paint job, that subtle tone difference between the upper camo and lower matte black area is really cool. Nicely done.

1 Like