Italeri 1/72 scale JU-52 Minesweeper from Minensuch-Gruppe; France 1943

JU-52/3 Minesweeper

“Guns before butter. Guns will make us powerful; butter will only make us fat.”
- Reichsmarschall Hermann Goering, Head of the German Luftwaffe

History

Like the USAF C-47, the Junkers Ju 52 tri-motor was first built in the 1930s and remained in service for more than a quarter century. It made its maiden flight in April 1931, and three years later a heavy bomber variant entered service with the German Luftwaffe. The latter version formed the nucleus of the Luftwaffe’s early bomber force, which was used with great effect during the Spanish Civil War.

By 1939, the Ju 52 was obsolete as a bomber, but because of its durability, simplicity of design, and handling characteristics, it continued to serve throughout WW II as a versatile workhorse for the German transport fleet. Adolf Hitler even used a Ju 52 as his private transport. Ju 52s delivered the attacking forces and their supplies during the German invasion of Norway, Denmark, France, and the Low Countries in 1940. Later on, approximately 500 Ju 52s participated in the historic airborne assault on the island of Crete in May 1941 and later supplied Rommel’s panzerwaffe operating in North Africa.

In addition to the standard, fixed undercarriage version, there was a floatplane version, equipped with two large floats. This model served during the Norwegian Campaign in 1940, and later in the Mediterranean theatre. Some Ju 52 floatplanes were also used as minesweepers, fitted with a large degaussing ring under the airframe.

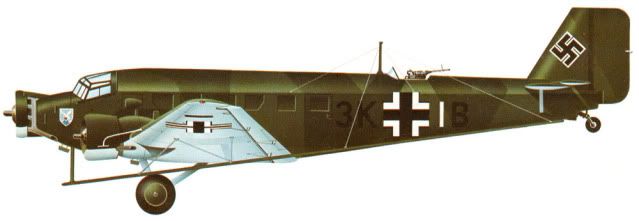
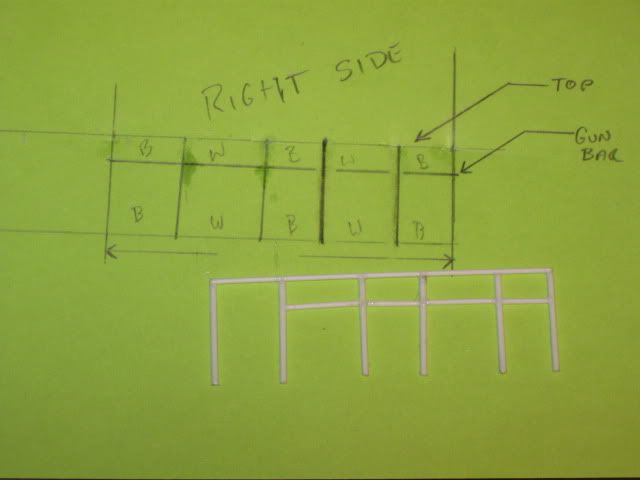
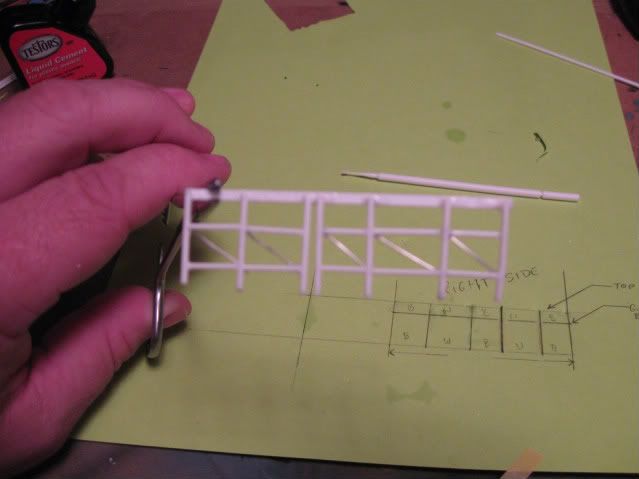
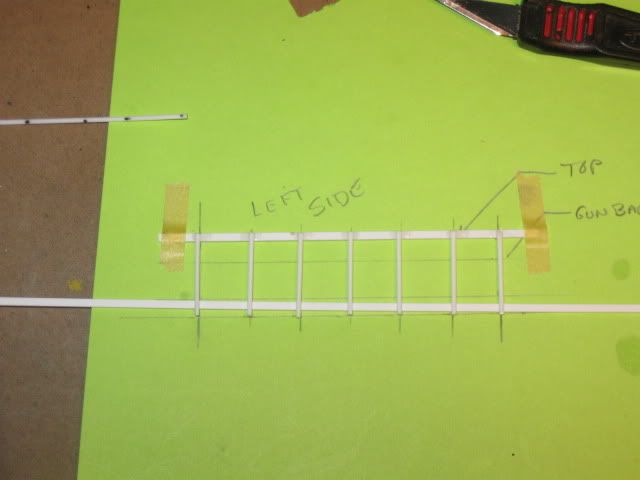
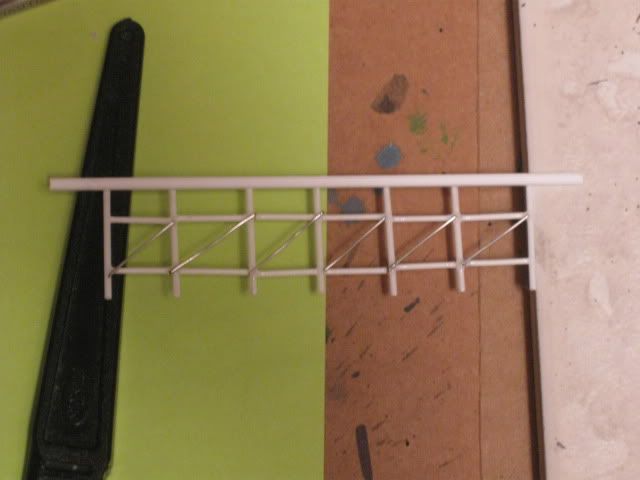
This particular Junkers Ju-52-3m was used as a minesweeper, and attached to the Minensuch-Gruppe, then based in France during 1943. The large ring was an electrified metal ally affair built in sections that were supported with bracings under the fuselage and wings. Low voltage current was fed through the ring while the aircraft was flying over the water suspected of being mined by the Allies. The electromagnetic field generated by the minesweeping ring would explode any magnetic mines encountered.

Based on the Frence coast, the Mine sweeping squadron remained operational until late 1944.

Technical Data

General characteristics

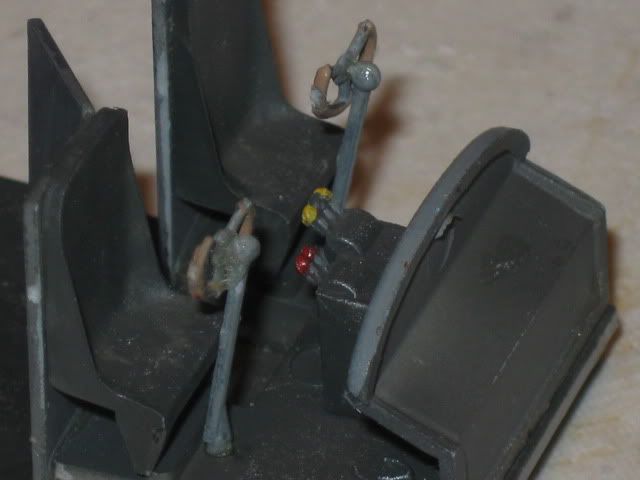
  • Crew: 3 (two pilots, radio operator)
  • Capacity: 18 troops or 12 litter patients
  • Length: 18.90 m (62 ft 0 in)
  • Wingspan: 29.25 m (95 ft 10 in)
  • Height: 4.5 m (14 ft 10 in)
  • Wing area: 110.5 m² (1,190 ft²)
  • Empty weight: 6,510 kg (14,325 lb)
  • Loaded weight: 9,200 kg (20,270 lb)
  • Max takeoff weight: 10,990 kg (24,200 lb)
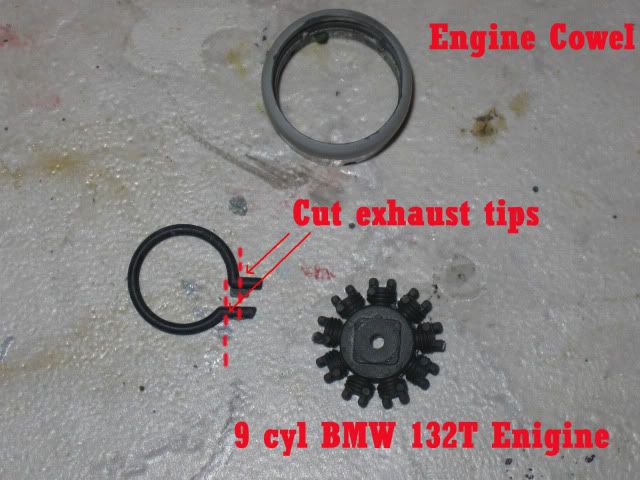
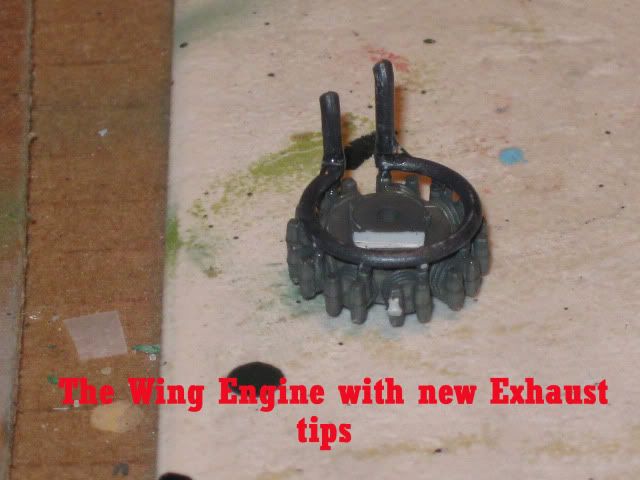
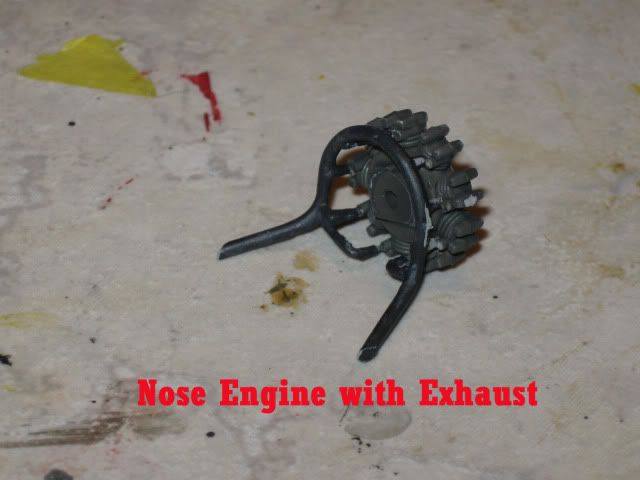
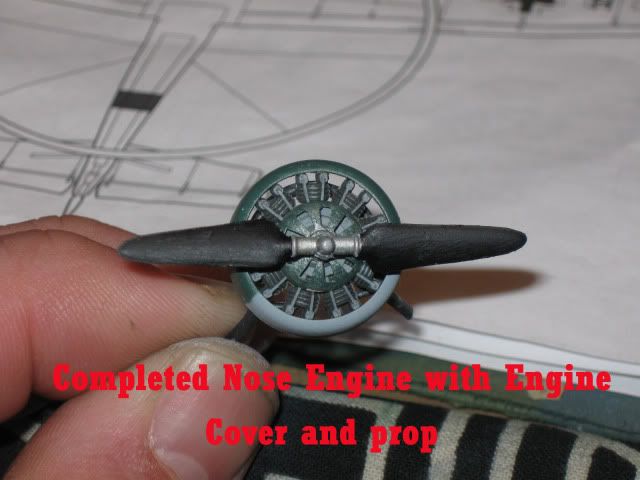
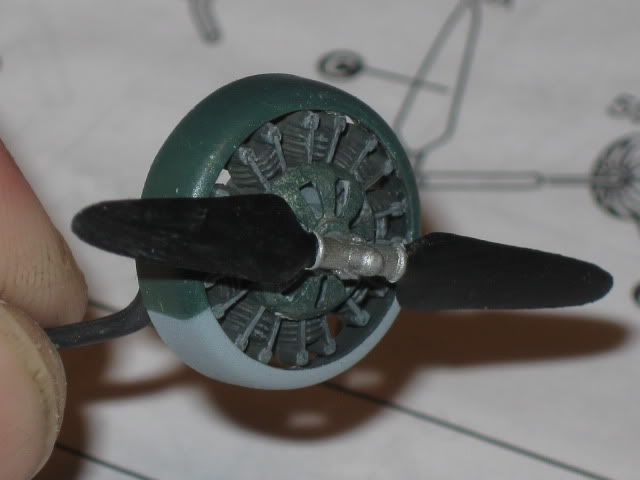
  • Powerplant: 3× BMW 132T radial engines, 533 kW (715 hp) each

Performance

  • Maximum speed: 265 km/h (165 mph) at sea level
  • Cruise speed**:** 211 km/h (132 mph)
  • Range: 870 km (540 mi)
  • Service ceiling: 5,490 m (18,000 ft)
  • Rate of climb: 17 minutes to 3,050 m (10,000 ft)

Of the 4845 built, 7 are still flyable
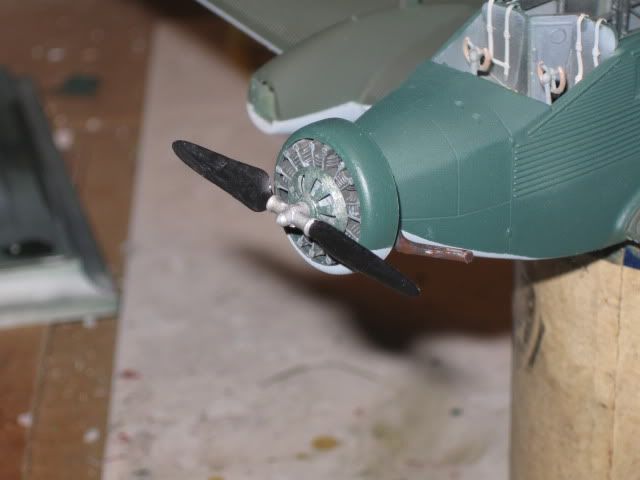
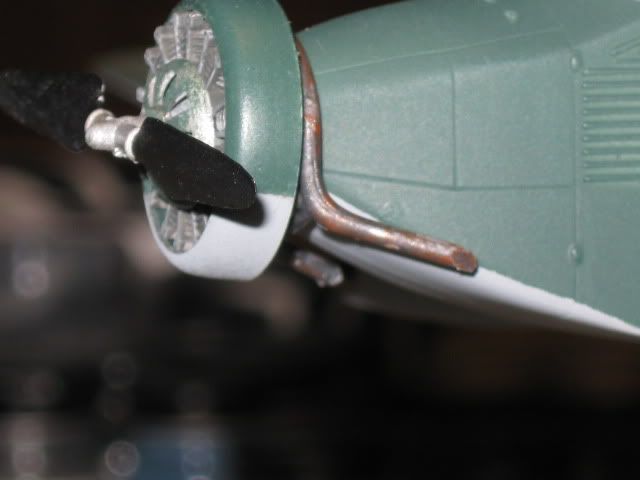
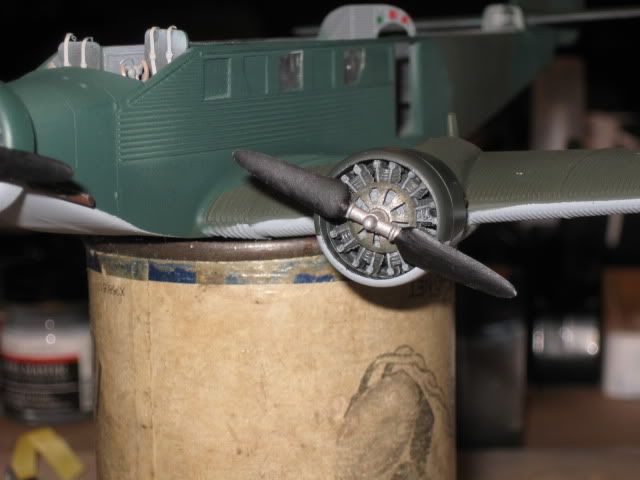
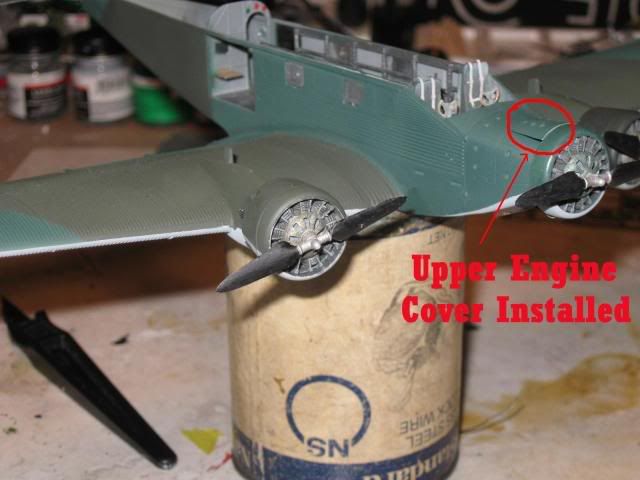
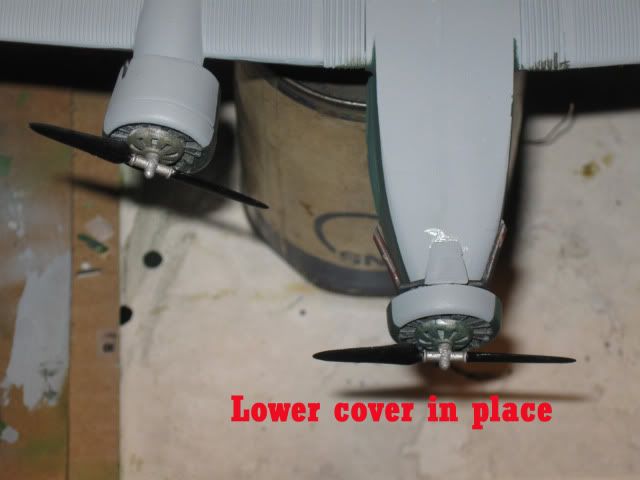
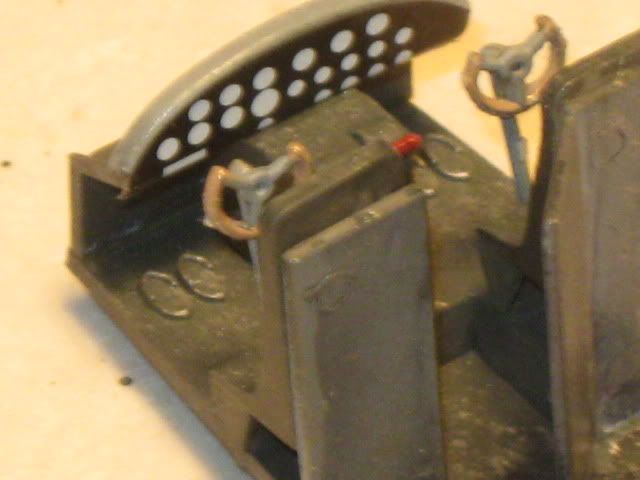
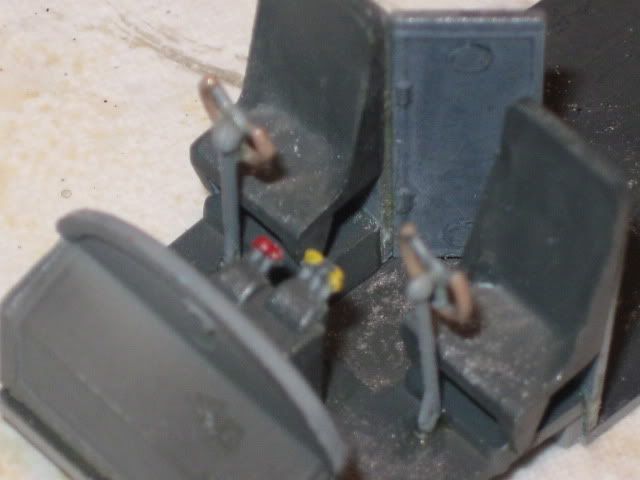
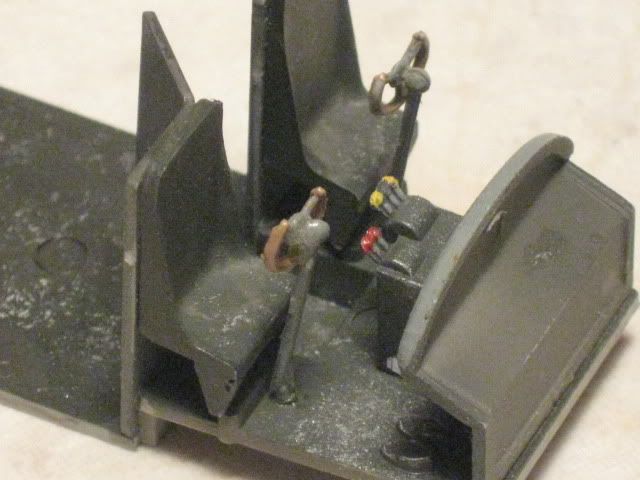
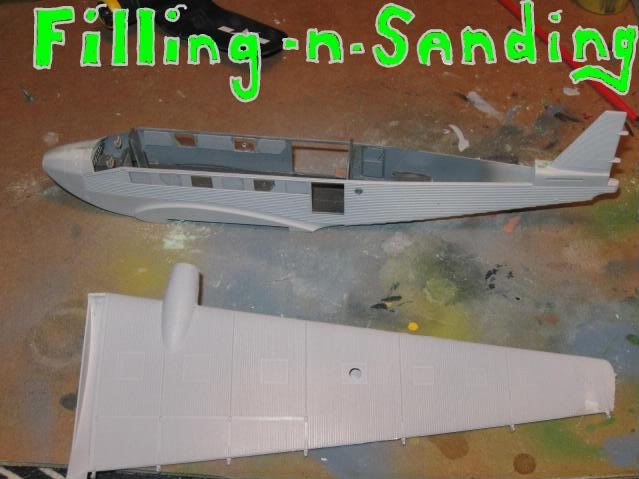
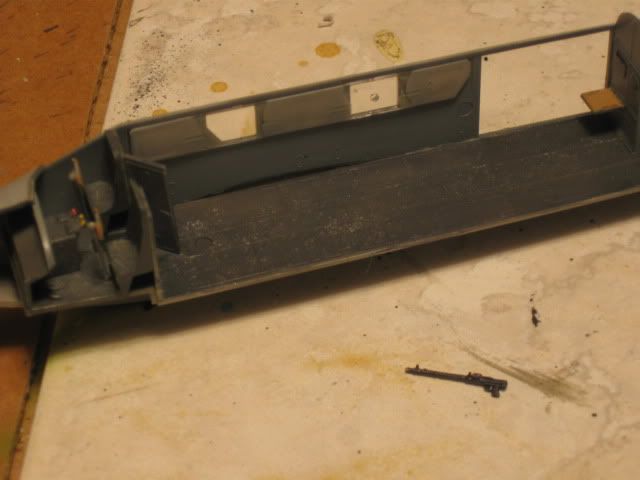
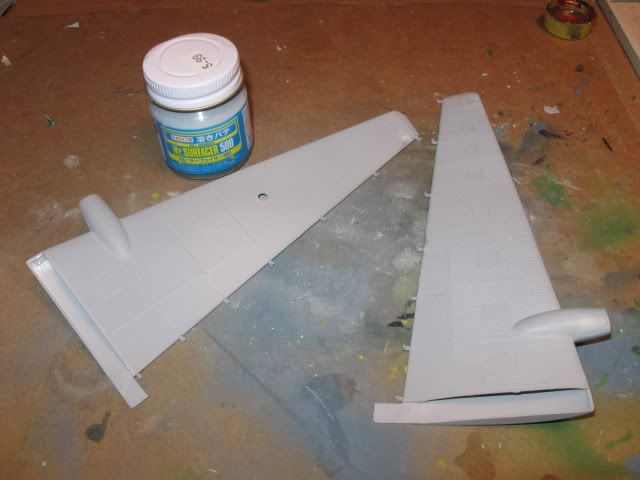
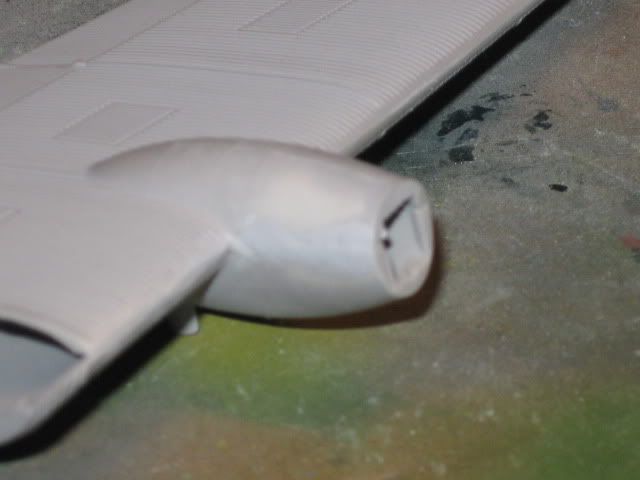
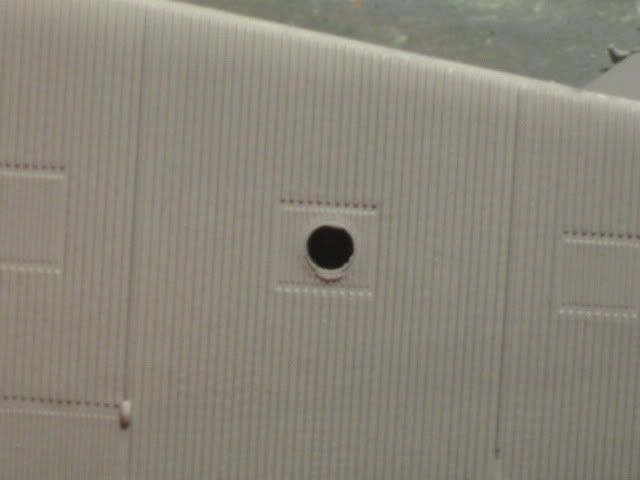
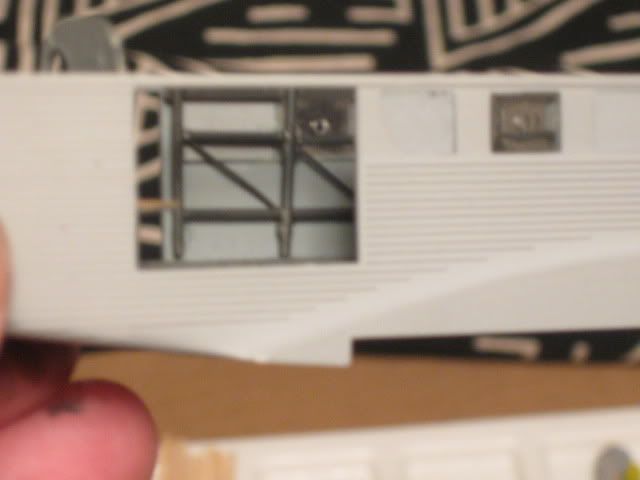
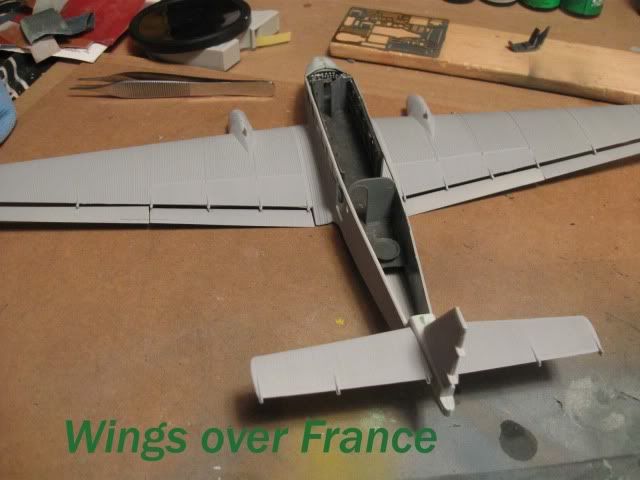
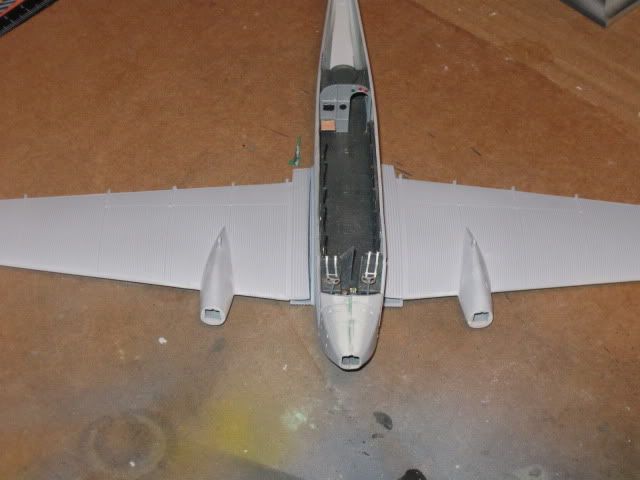
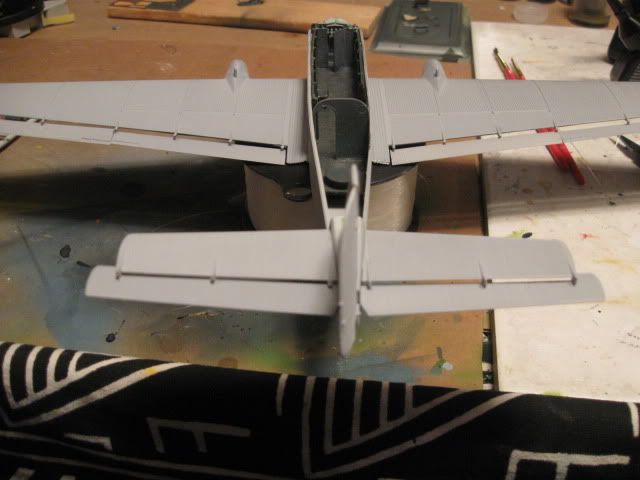
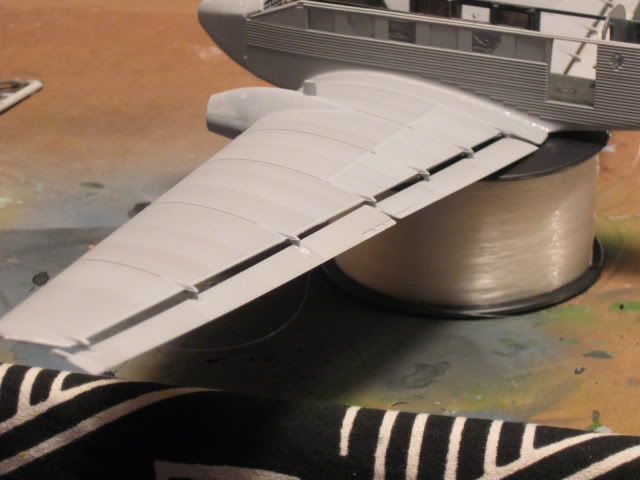
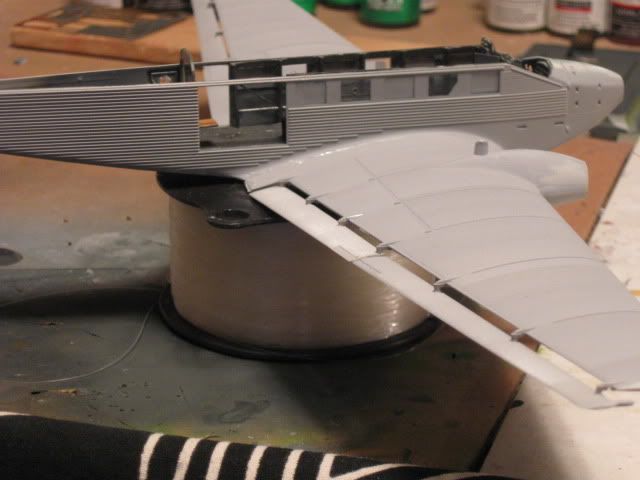
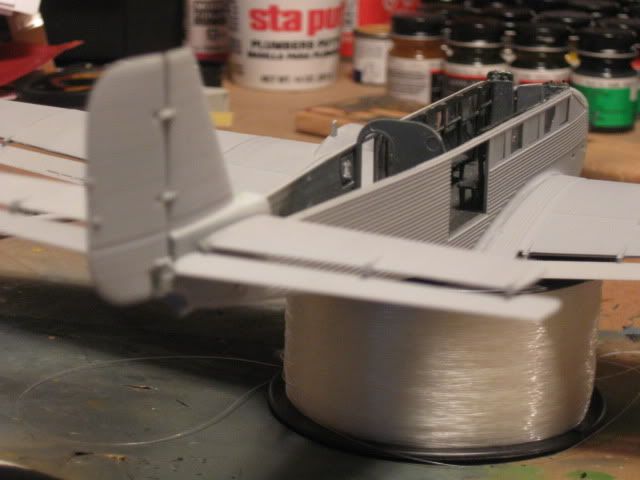
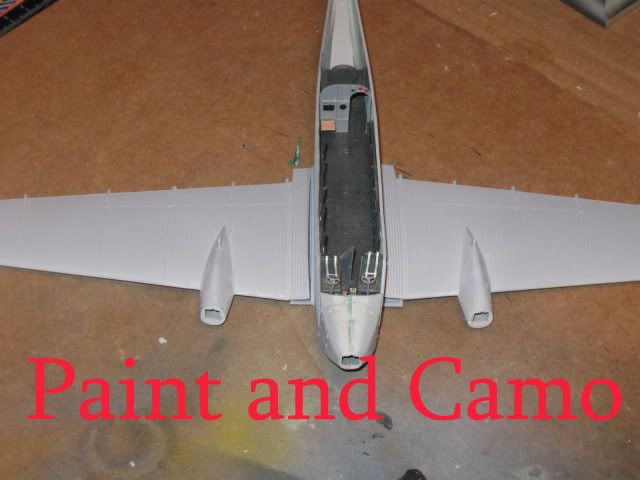
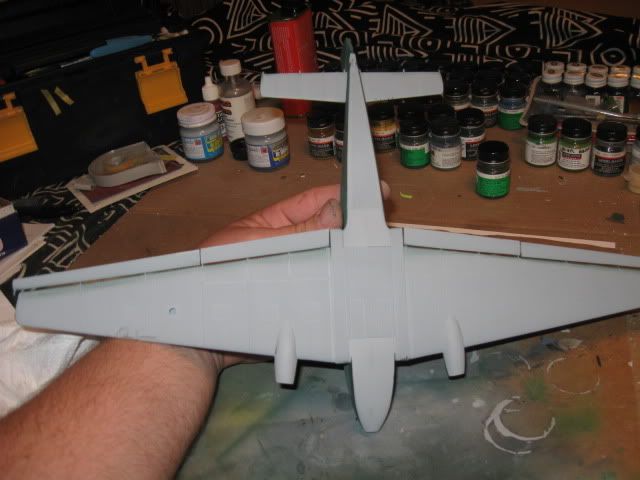
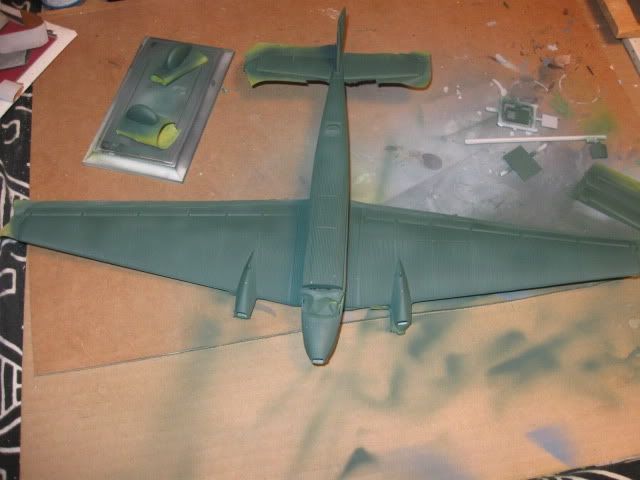
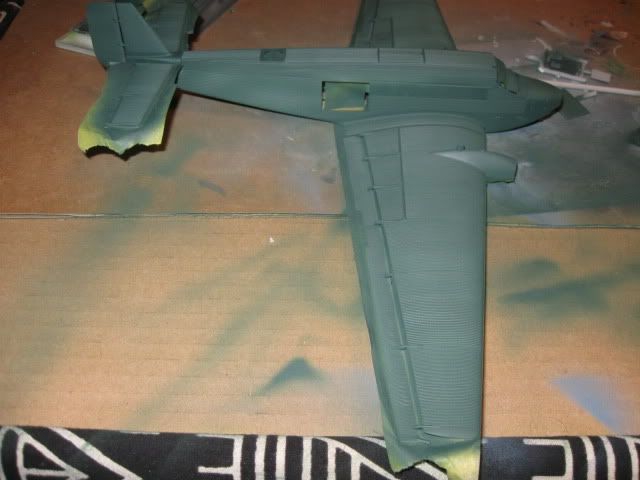
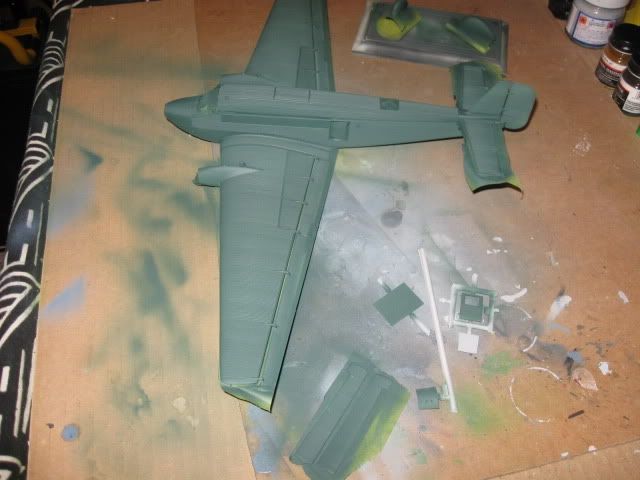
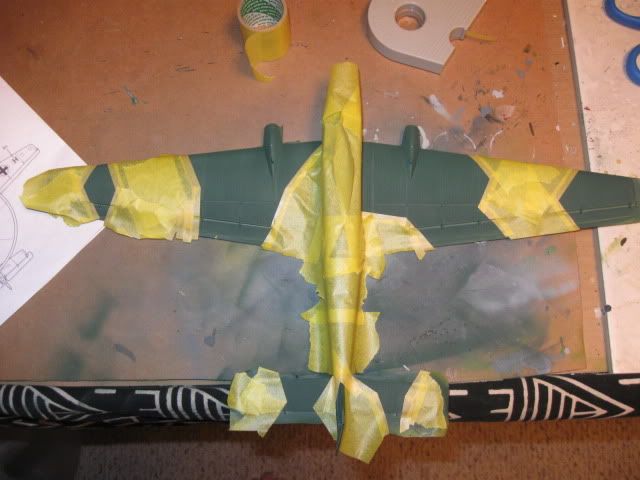
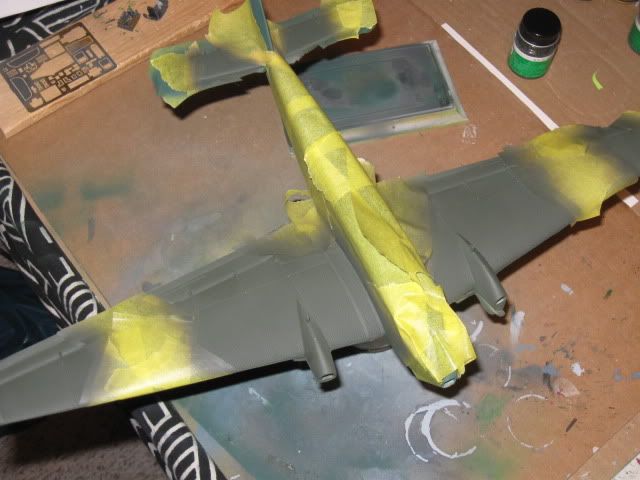
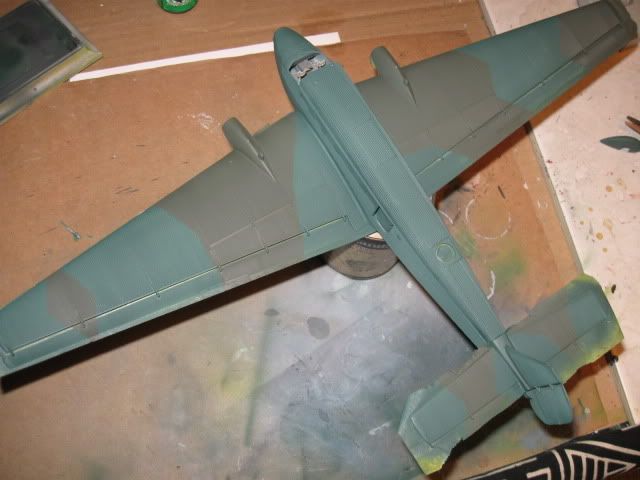
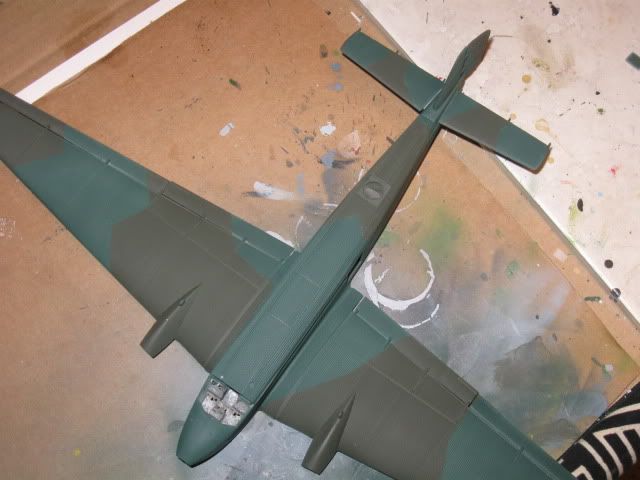
The Model

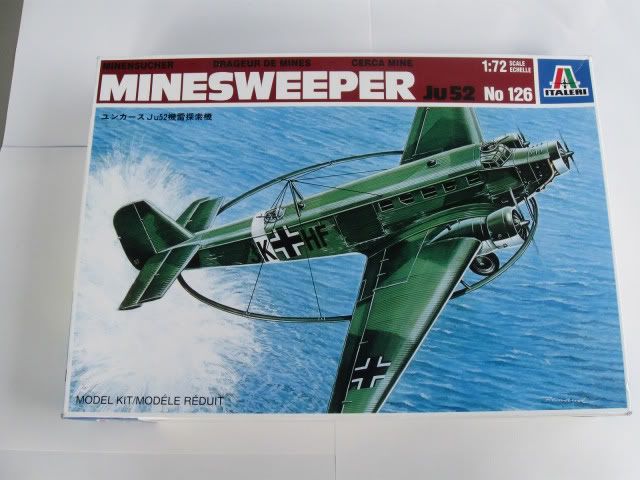
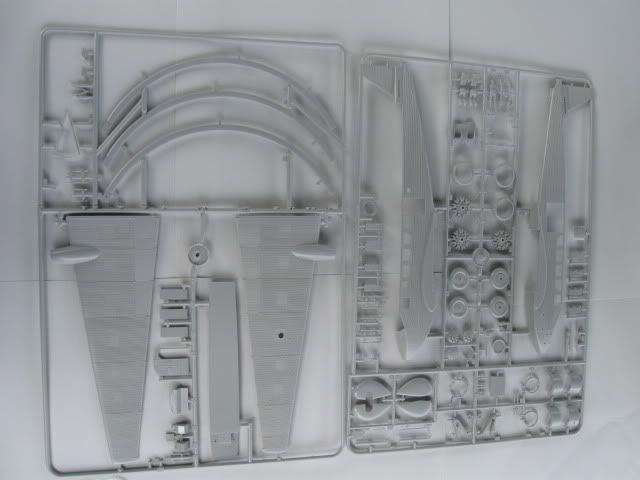
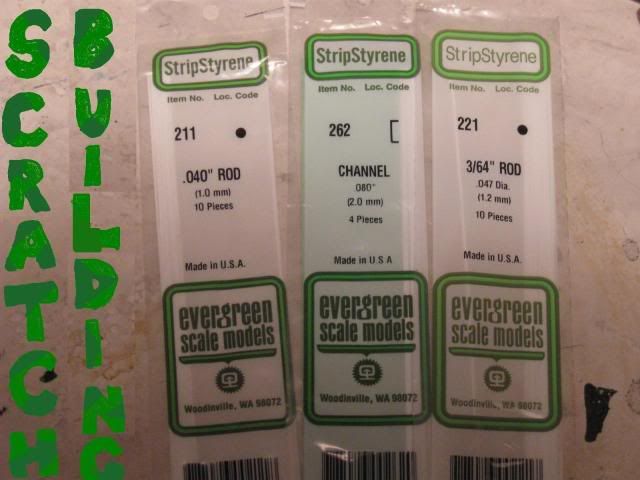
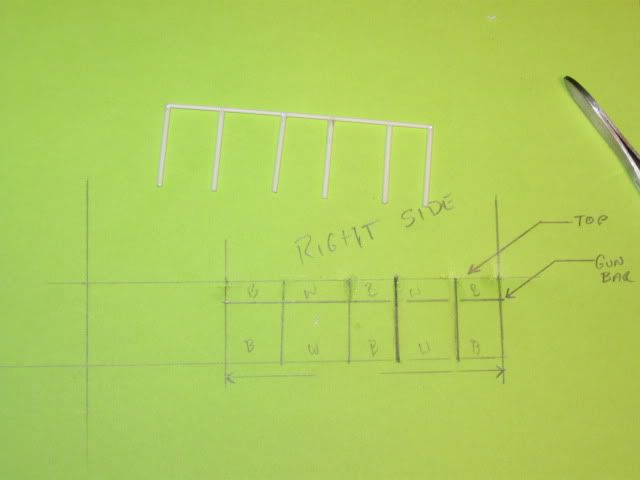
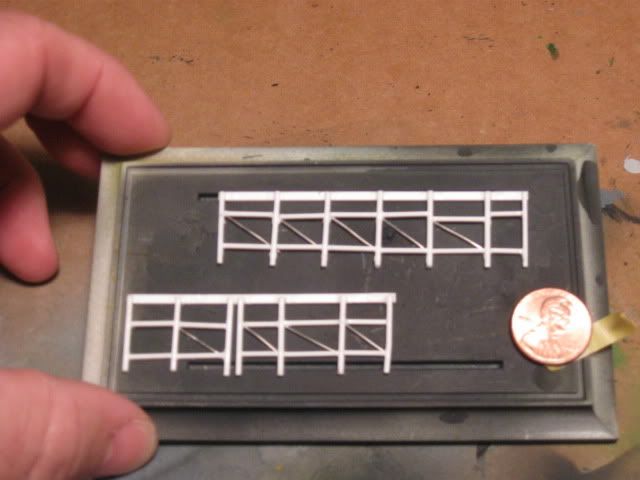
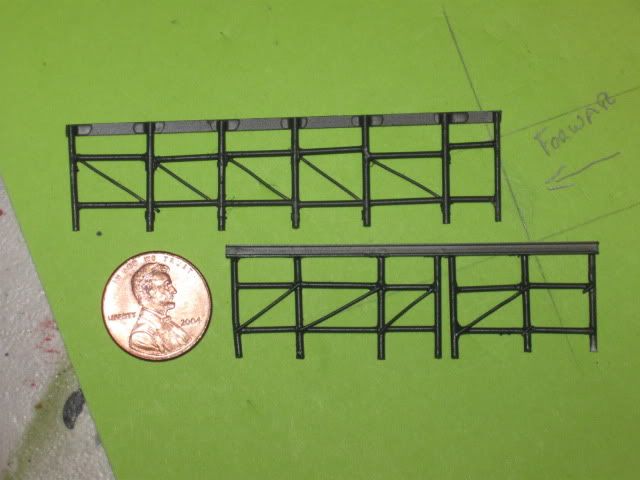
Italeri 1/72 scale JU-52 Minesweeper No 126. I usually like to pick specific aircraft as my subjects such as the “Red 02” Mig 3 or Lt Stanley W Swede Vejtasa and his SBD Dauntless. In this case the image on the box just grabbed my attention. I will be doing this as an OOB. I don’t foresee any need for scratch building anything to drastic. Except for some excessive flash this kit is nicely detailed.

This kit has two build options. Version A, is from Minensuch-Gruppe; France 1943.

Version B, is from Minesuch-Gruppe 1; of the Baltic Sea 1944.

I’ve chosen Version A but I’m arming it to the teeth with options from both versions. Since this isn’t a specific aircraft build but more of a representation of what was I feel I can do this with a clear consciences.

Thanks for looking

Since my return to modeling this will be my biggest undertaking to date. I started by painting some of the part while they are still on the spree. I then moved on to the cockpit. I’m sure I could do more by adding more detail such as harnesses for the pilots but I’m not going to go that far just yet.

Thanks for looking

Looks like a cool project.

I think I iwll save Hermann’s quote for when I need to explain irony to someone.

LOL, i thought you Americans didnt understand Irony?

Great looking build you have there. Great subject as well. Ive built Revells excellent 1/48 52/3 and really fancy doing the Minesweeper version, or the floater for that matter.

Keep the pics coming. Your doing great.

…Guy

Hi everyone.

It’s been awhile since I made any progress on this project but here are a few pictures to bring everyone who was following up to speed.

This is the funnest part of modeling in my opinion NOT!!!

First I started by attaching the Cockpit and cabin into the fuselage.

I used Squadron Green putty to fill the seams on the fuselage. We will have to wait till the primer is applied to see how well I did but right now it’s looking pretty good.

For the most part the filling that needed to be done on the wings and Nacelle were minimal so I used Mr Surface 500.

It seems like no matter how much I fill and sand its never enough. I also need to invest in a small chisel set to do small work on areas like the excess plastic around the light cut out.

Now this was a slick move. I assembled the wing without realizing I had a clear lens that needed to be installed first. Any suggestions how to fix this are welcome. It looks like I need to invest in a small chisel set to do jobs like removing excess plastic as seen around the hole for the light.

Till Next time…

I was ready to move forward but today while picking up some RLM paints for an upcoming project I ran across this book by Squadron and its given me some motivation to pull back the reins and add some more detail before moving on.

Till next time…

Nice!!!

I got this kit as a gift 5 or 6 yrs ago. I just popped it open to take a look at it last night for the first time. Kinda funny I find this thread the very next day. =)

Someone posted these pictures for me on another site and I thought I’d share them with you guys.

This first photo is of the Minenabzeichen badge usually decorated to Kriegsmarine personell but in this special case also to specific Luftwaffe crews. I would love to get my hands on one of these badges. It would make a great addition to the final display.

This next photo is of a JU 52 Minesweeper crew. You can see the crew members are wearing the Minenabzeichen badge.

Check out this website; replacia metals for $20+. They have the Minesweeper/Subchaser medal you want. I haven’t ordered from them, I just found the site awhile back.

http://www.derdienst.com/german_navy.htm

More excellent progress Dirk! Love the -52, and oddballs like this one are very interesting to see built. [tup]

That’s awesome! I love the JU52, but never knew there was a minesweeper (or float) version. Looks like yours is going quite well, and I can’t wait to see the finish!

Well it was a beautiful weekend here in New Jersey but its back to the bench.

I decided that the cargo bay of this JU52 was looking a little scarce and decided to add some detail. Now scratch building is new to me so bear with me on this.

I decided to build the frame work that flanked both of the fuselage walls and anchored the beam mounted 7.92mm MG 15 machine guns on this JU52.

It took a bit of trial and error but I’m happy with the final results. I took some rough measurements and drew them out on paper. This would have been easier if I did it BEFORE I attached the fuselage halves but it was just recently I decided to go this extra step.

I used styrene to build the framework and .020 DIA aircraft safety wire for the smaller diameter diagonal bars

Here they are sporting a fresh coat of paint. I also applied a dry brushing of the framework with some aluminium paint to simulate the abuse from use[:D].

Next I placed the frames into the aircraft to see how it fit.

Here is the view from one of the open cargo doors

Till next time…

Thanks for looking

Sanding and filling, sanding and filling, sanding and filling… ugh I hate this part.

Oh I broke down and added PE belts. Pictures to follow.

Hi guys

here we are again with the next installment of the JU52 MS build. Tonight we attached the wings which gave it the look of… well of an airplane. :lol:

And lastly we have some bits and pieces.

Till next time. Thanks for looking

Great looking Scratch work Dirk. The framework in the fuse looks spot on to me. Thats the little details that make all the difference. Great work.

…Guy

Hi guys

I know it’s been awhile but I’ve been busy doing chores around the house, camping, baseball and soccer for the boy, etc and doing my favorite part of modeling on several different models… FILLING [banghead] SANDING!

Well I finally felt I can start moving forward with this and start the paint job.

Once I was comfortable with the prep work I broke out the Badger 172 and away we went. I started by painting the underside of the aircraft with Light Ghost Gray.

Next I taped off the bottom to protect from unwanted over spray, blocked off the cargo doors and put the roof in place temporarily.

Next I mixed up some Dark Euro Green and sprayed.

The paint seemed to go on fine but spraying all this corrugation takes up more time and a lot more paint. In the picture below you can see the spots missed aft of the cargo door opening

After the base coat was dry I brought out some more tape and started the masking for the camo.

Using RLM 71 I applied the camo.

Remove the tape and “voila!” My first ever German Camo paint job.

To be honest with all the corrugation I expected to have to do a lot more touch ups due to paint running the lines but I had hardly any…

Till next time. Thanks for looking.

[CENTER][/CENTER]

Next step in the build will be putting together the three BMW 830hp BMW 132T-2 nine cylinder, air cooled, Radial Engines and then mounting them.

There were two options for the exhaust on this plane. One the exhaust went through the cowling and the other the exhaust was piped out the back side of the cowling. For the French version I’m doing it calls for the latter option.

To accomplish this I had to first fill the holes in the cowling for option one. Then I had to cut the exhaust like you see in the picture below and remount them at a 45 degree angle out the back.

Once the exhaust was dry I placed the engine in the cowling. Next I adjusted the exhaust to fit out the new exits cut into the back of cowling. Then added the engine cover and prop.

Next I moved on to the nose engine and attached the exhaust

Here is the nose engine mounted and the exhaust weathered

The wing engine mounted

Lastly I fitted the a plate over the center engines exhaust. This plate was intended to prevent engine oil from streaming onto the windshield.

Lower cover

Well that’s it for now. Thanks for taking the time to look at my project.

Dirk - I just found this thread, I cant belive I had miissed it all this time… What an exceptional job you are doing. [^] [tup] And the scratch built framing really makes a difference.

To fix the problem of the missing lens, you will be happy you left it out as this stuff makes life much easier for little windows.

Photobucket

Not only is it great for attaching canopys it makes really nice windows.

All three of these were done with Kristal Klear. (dont mind the dust [:-^] )

Photobucket

I dont mess with small kit windows anymore as getting them cemented in with no flaws, and masking would be a pain also.

I have been building the old Airfix Ju 52 (1969 era) with floats on and off for the last year. It has been a real challenge.

How would that work? Make the window first or use the Micro Krystal to fill the gap?

I have Micro Krystal in my tool box

great scratch on inside… but as ever when the kit finished all will be hide… sigh .

i do somethingh like that with most of my huge helicopters … (but nodigital cameras at the time)

i like this plane [tup]