Pros: good subject, reasonable cargo bay detail, nice decals
Cons: Go buy two sets of files and a bushel of Gunze. Fit is craptastical
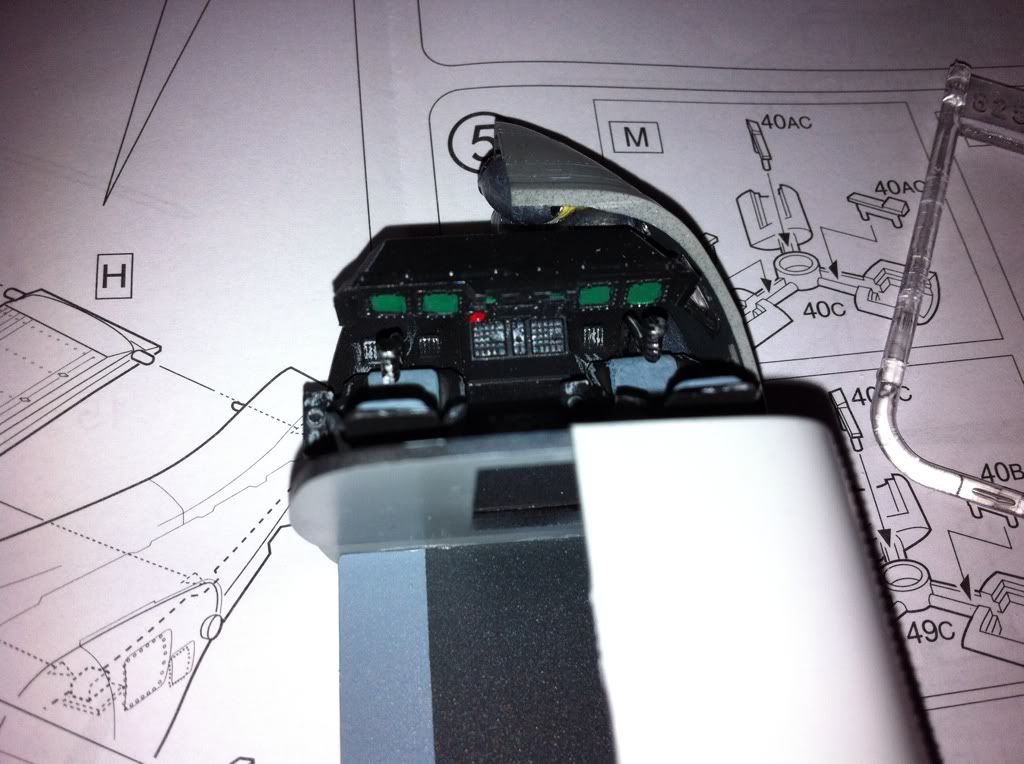
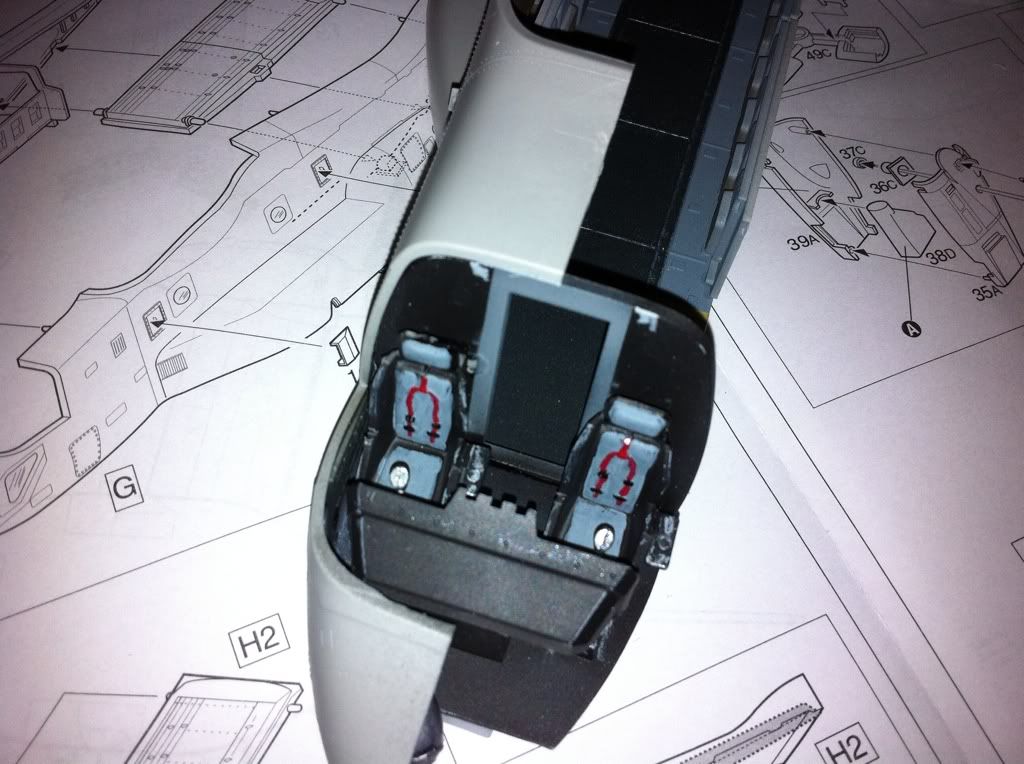
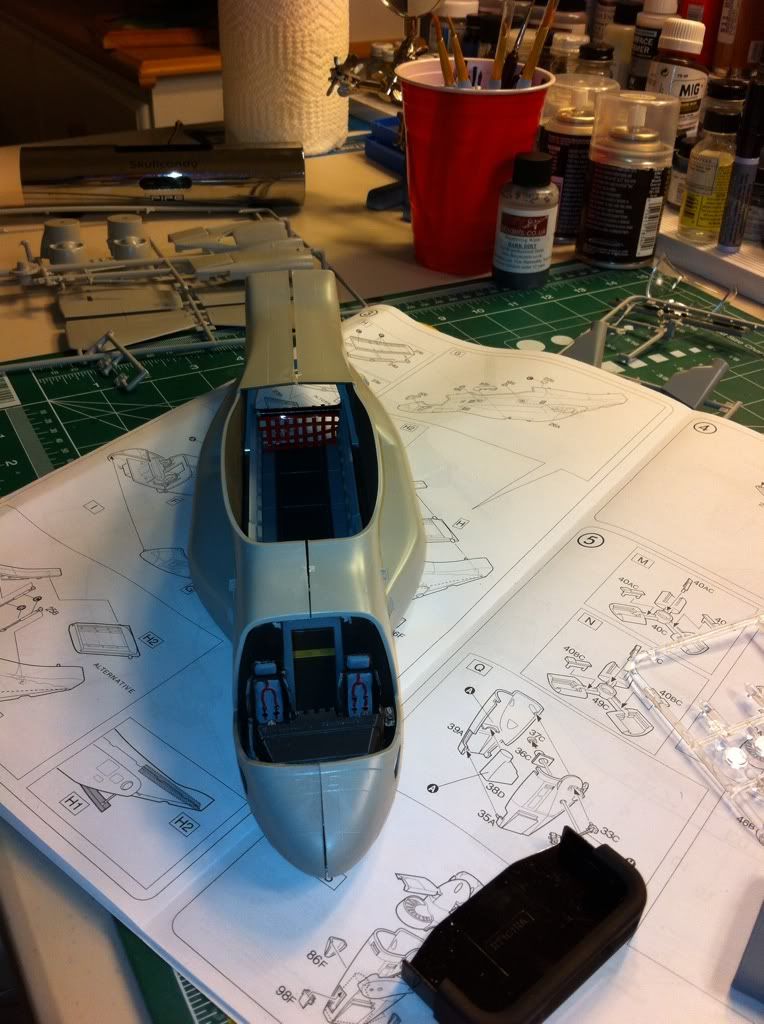
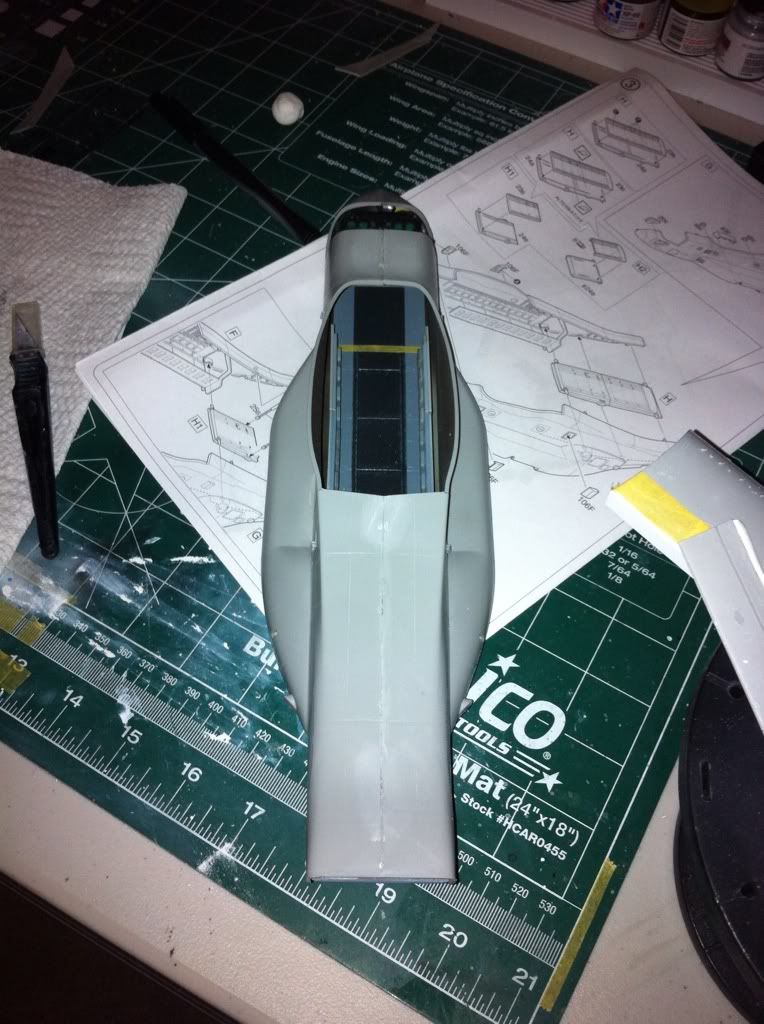
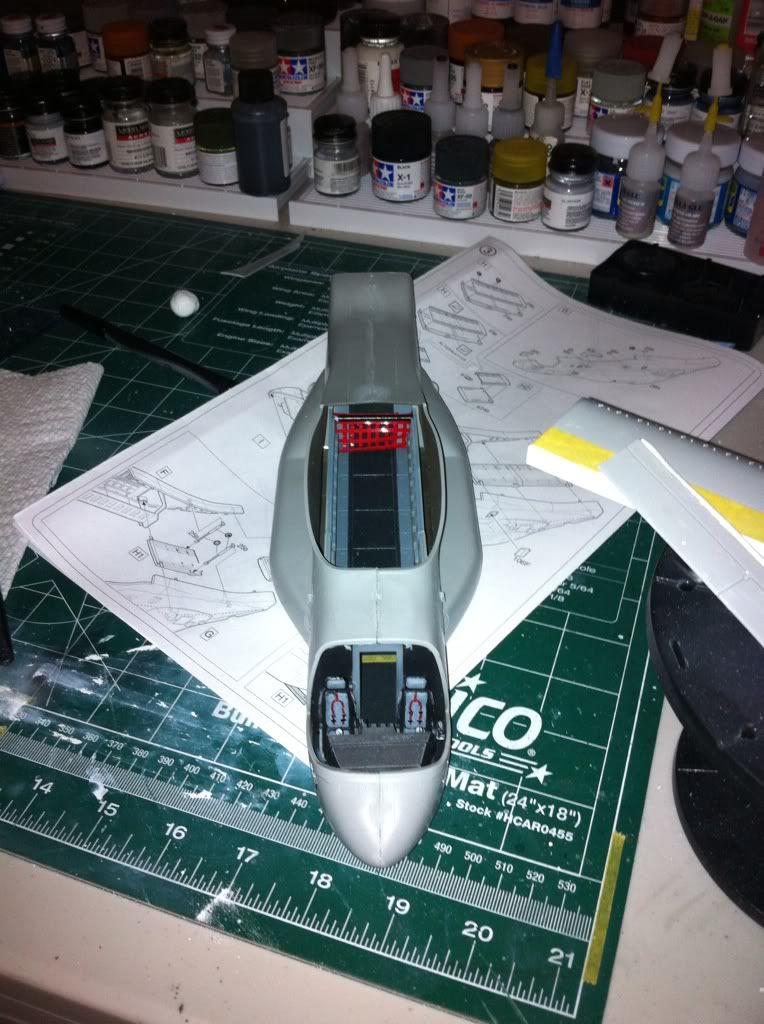
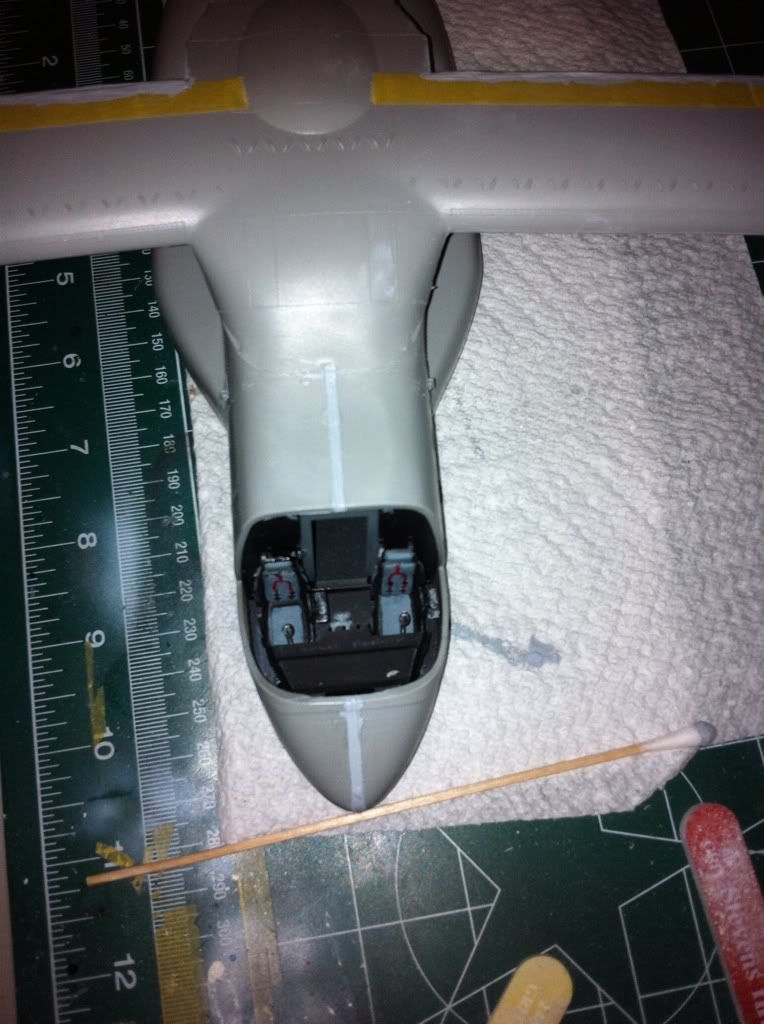
Cockpit: weathered a little, didnt put too much into it seeing as it wont be all that visable. Paints used were x-1 Black for bulkheads, Tamiya Light Grey for seats, belts done in Guardian Red, LED Green is from Vallejo. Silver pencil for scuff marks and pedals.
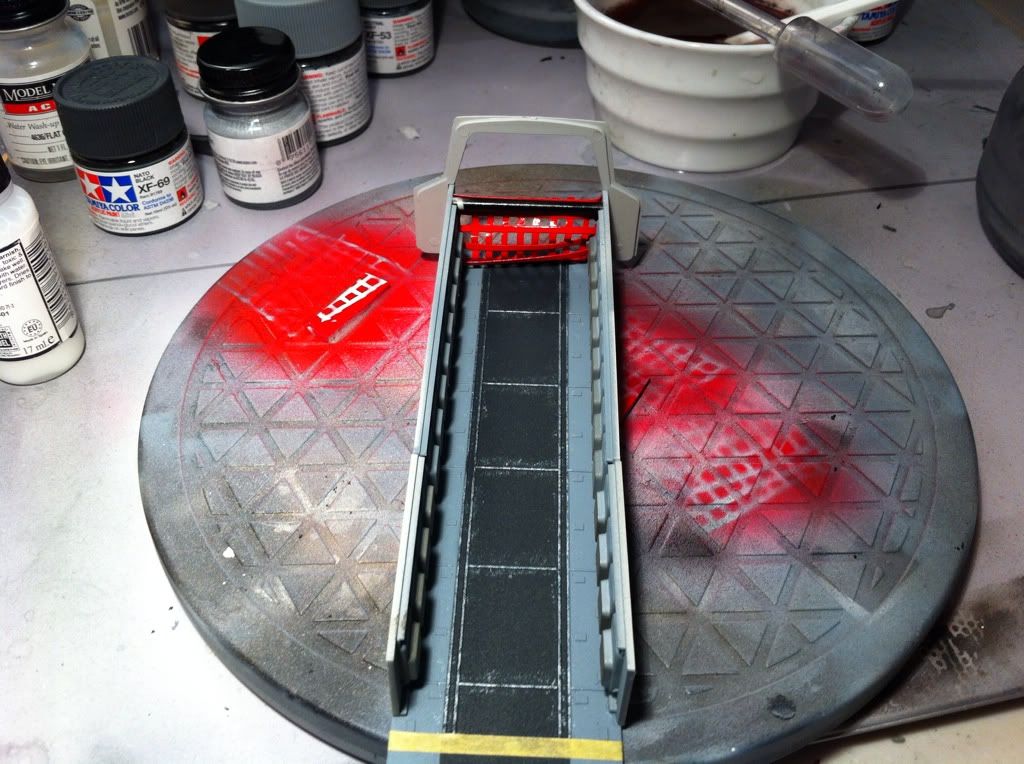
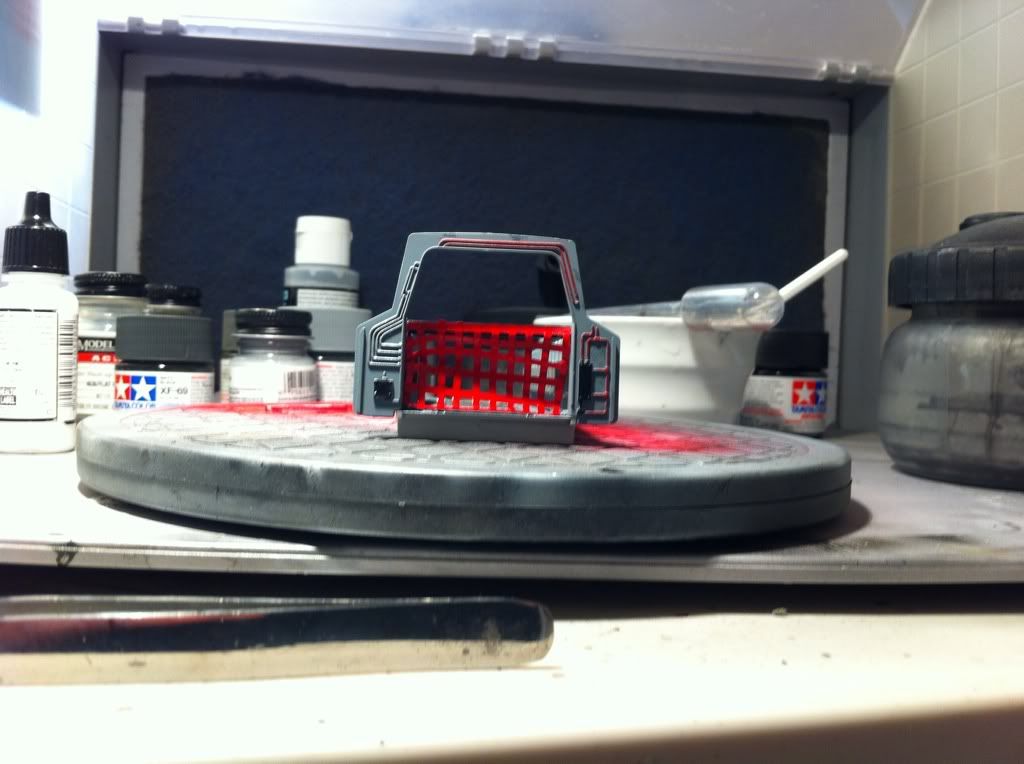
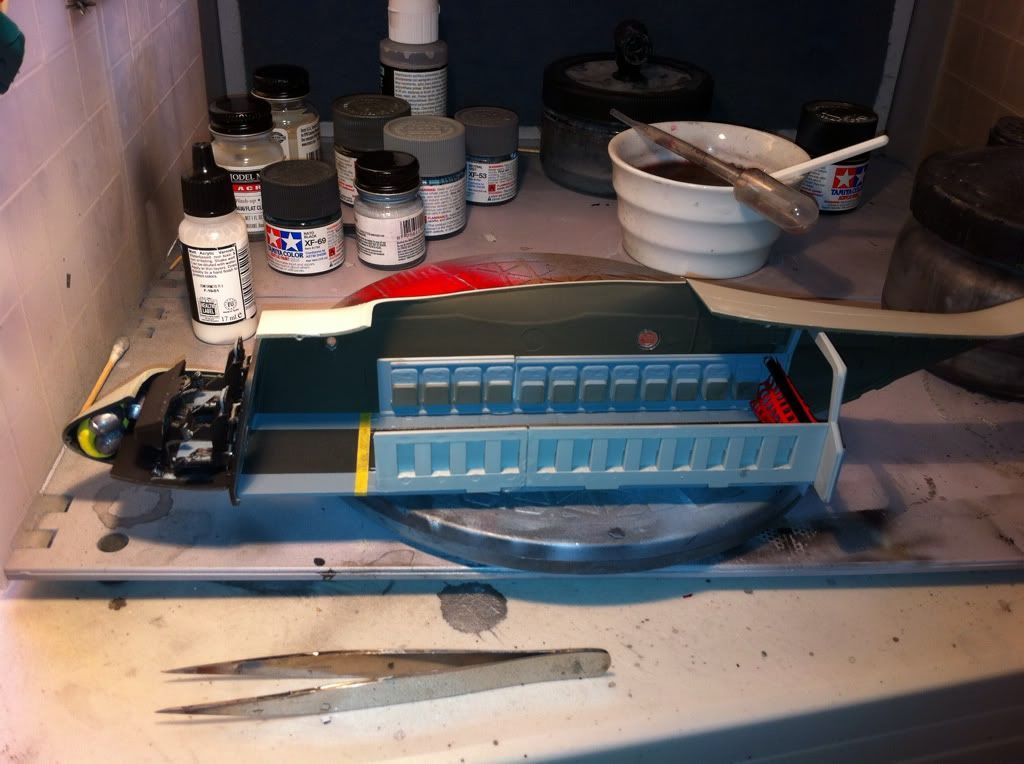
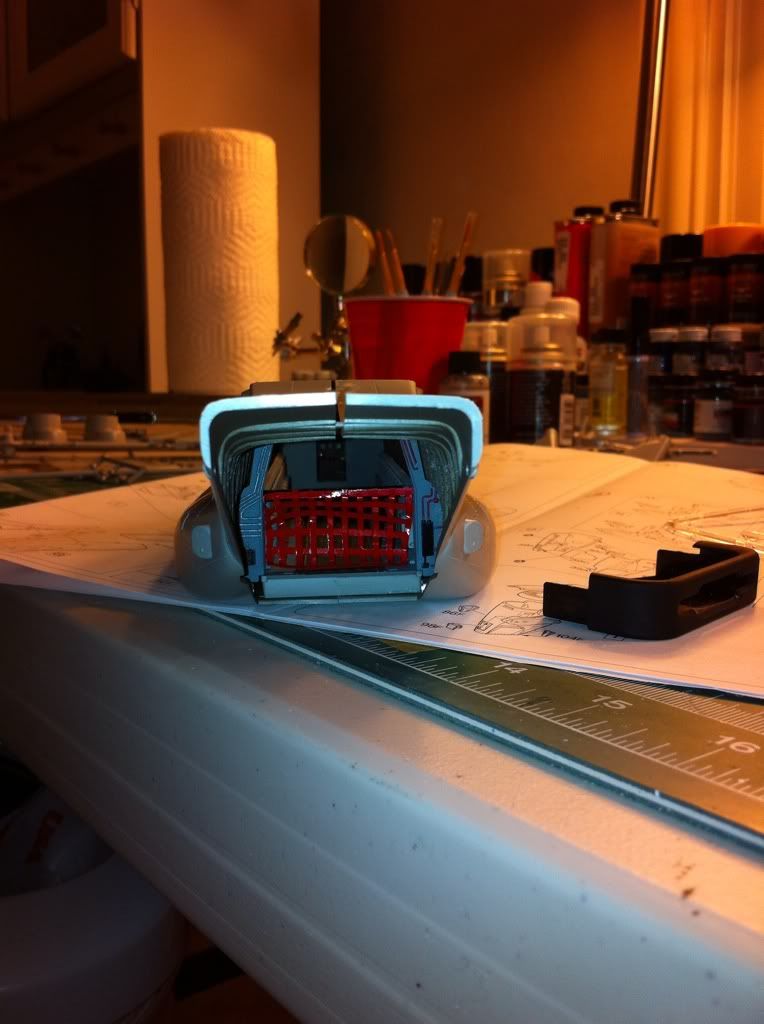
Troop Area:
Walkway in Tamiya Light Grey and NATO Black. Sidewalls Vallejo Olive Drab. I saw this with a cargo net at the Oceana Air Show last year. The net was constructed with tamiya tape cut into 1.5 in strips, primed and painted with Testors Guardian Red. Sidewalls detailed with silver pencil.
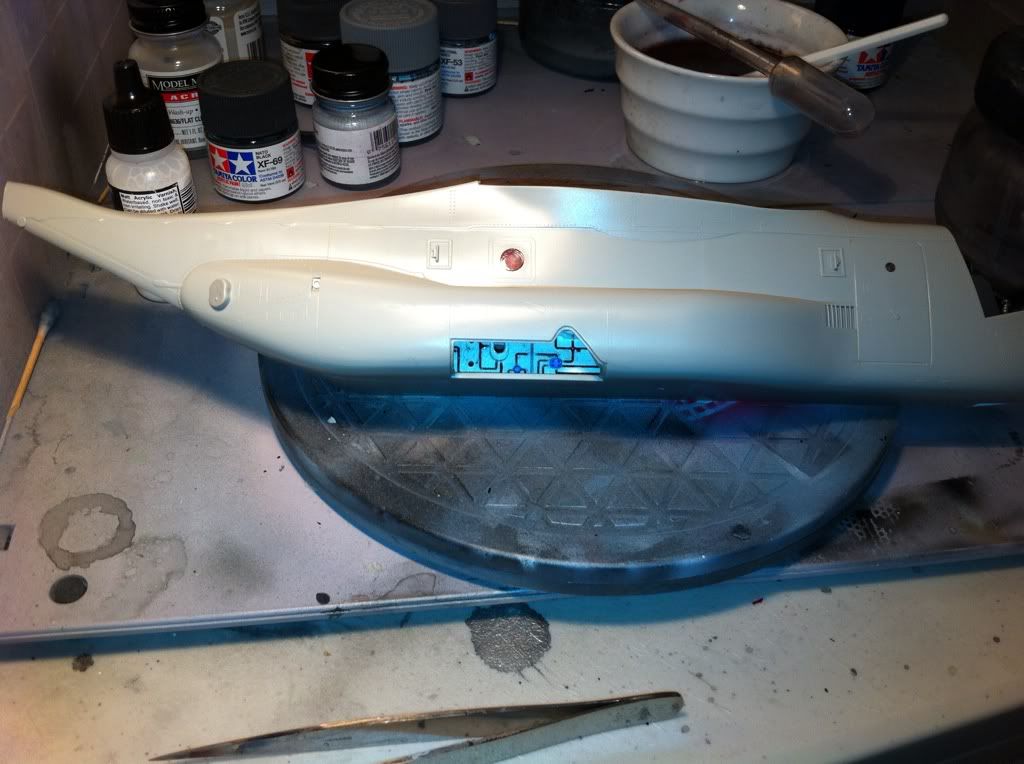
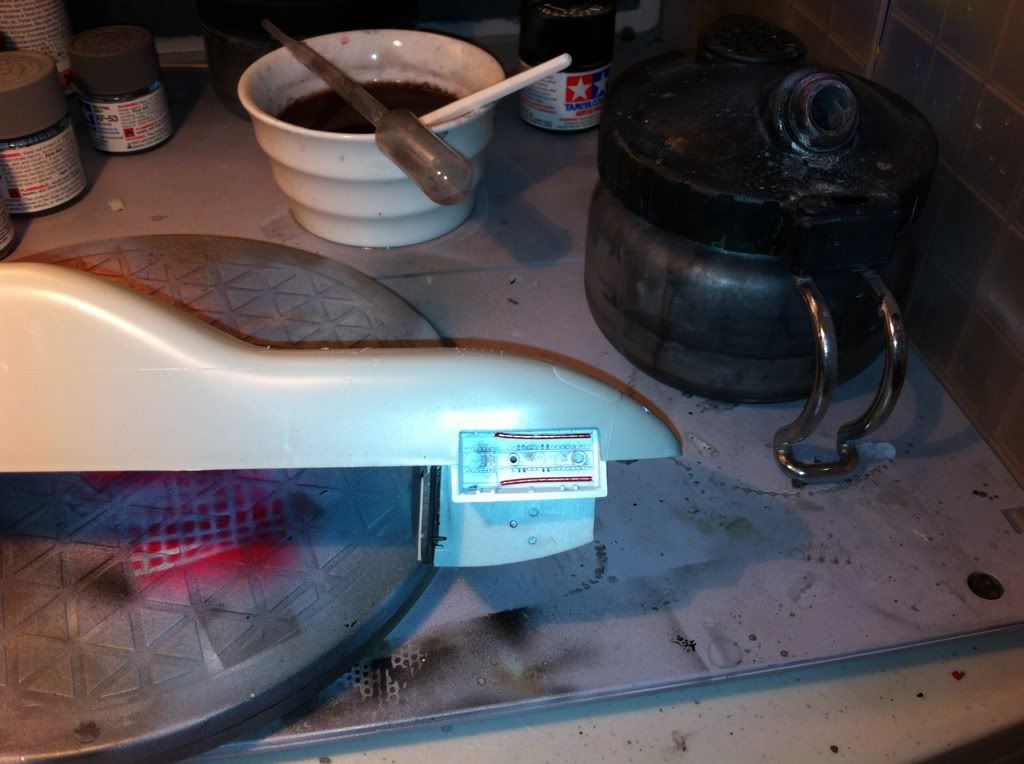
Gear Bays:
Polly scale reefer white. I preshaded the wiring in the nose gear and I liked the effect. Weathered a little with Doc o’Briens grime pastels mixed with a bit of thinner.
I am gonna be watcching this build with interest. Just wondering if red is the correct color for the seat harnesses for the pilots though. I know next to nothing about the Osprey having never seen a real one with my own eyes. Looks like a big build in 1/48.
I have one of these, someone else built one on here, earlier this year or last year. Looks good so far. Im not touching mine till I have nothing else in progress.
First off thanks to MedicMan for his great build especially with the flaps!
Also, this is my first foray into scratchbuilding and I suck at it.
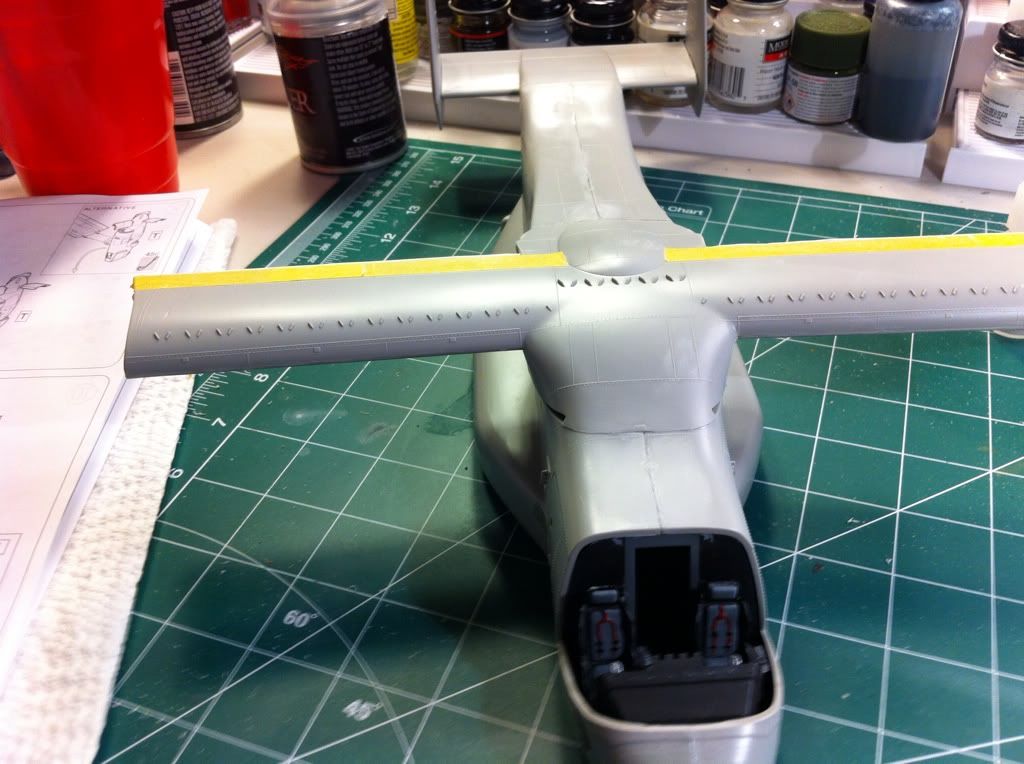
I also have noted that every pic of a parked Osprey has flaps at 90 deg.
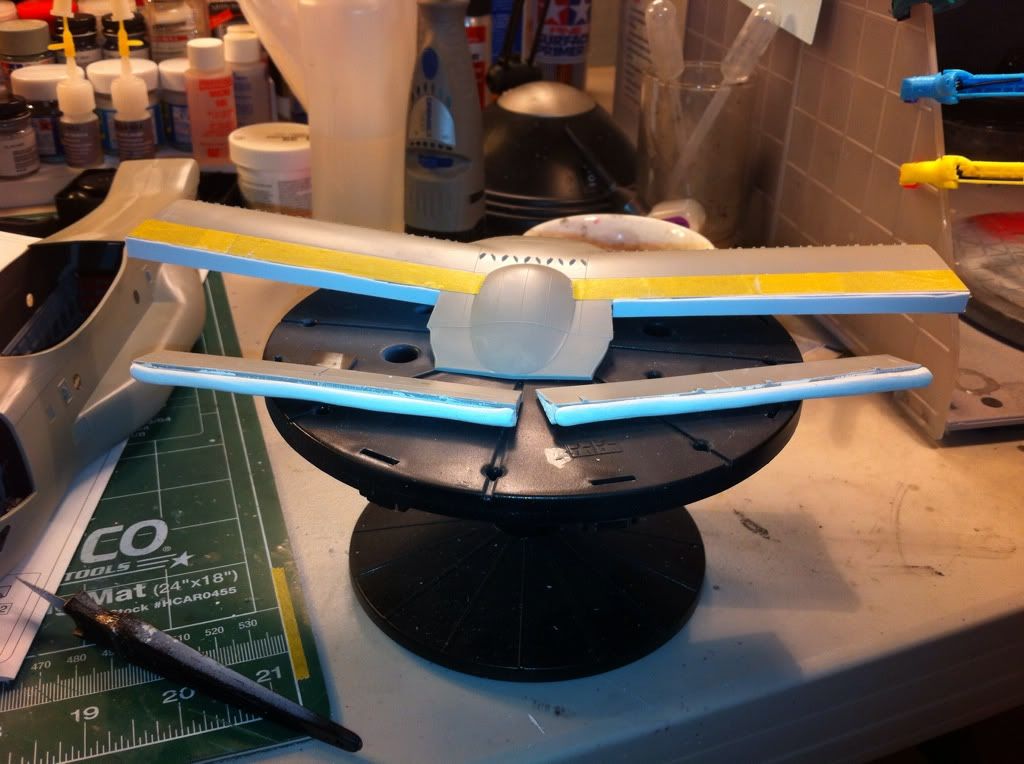
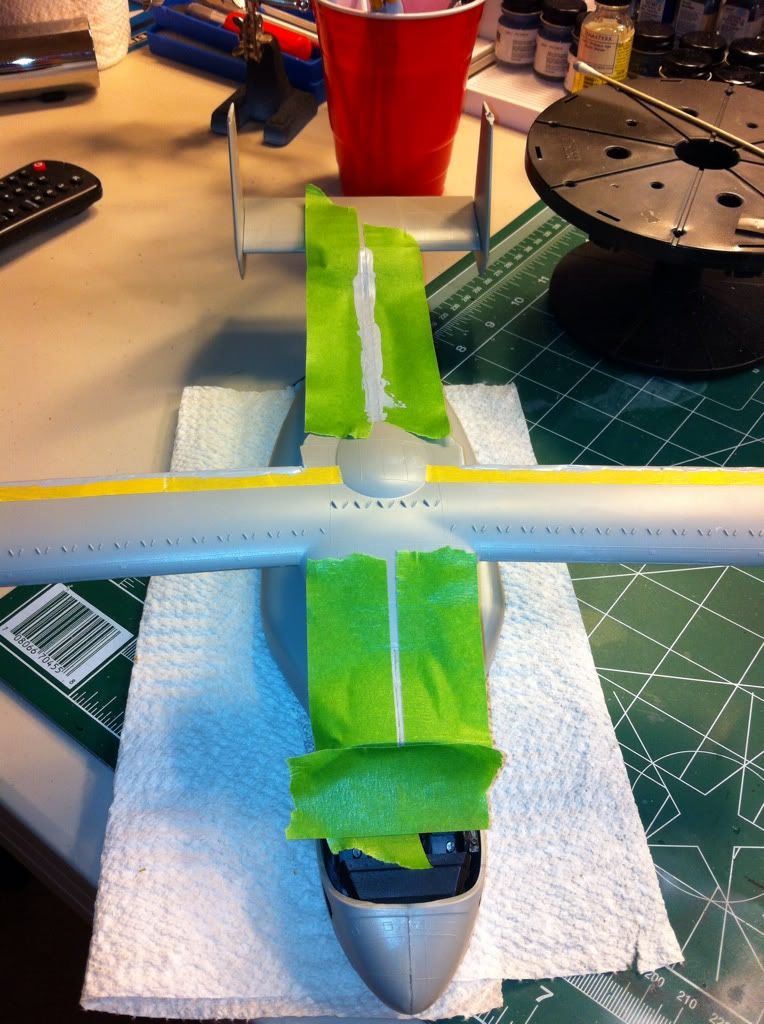
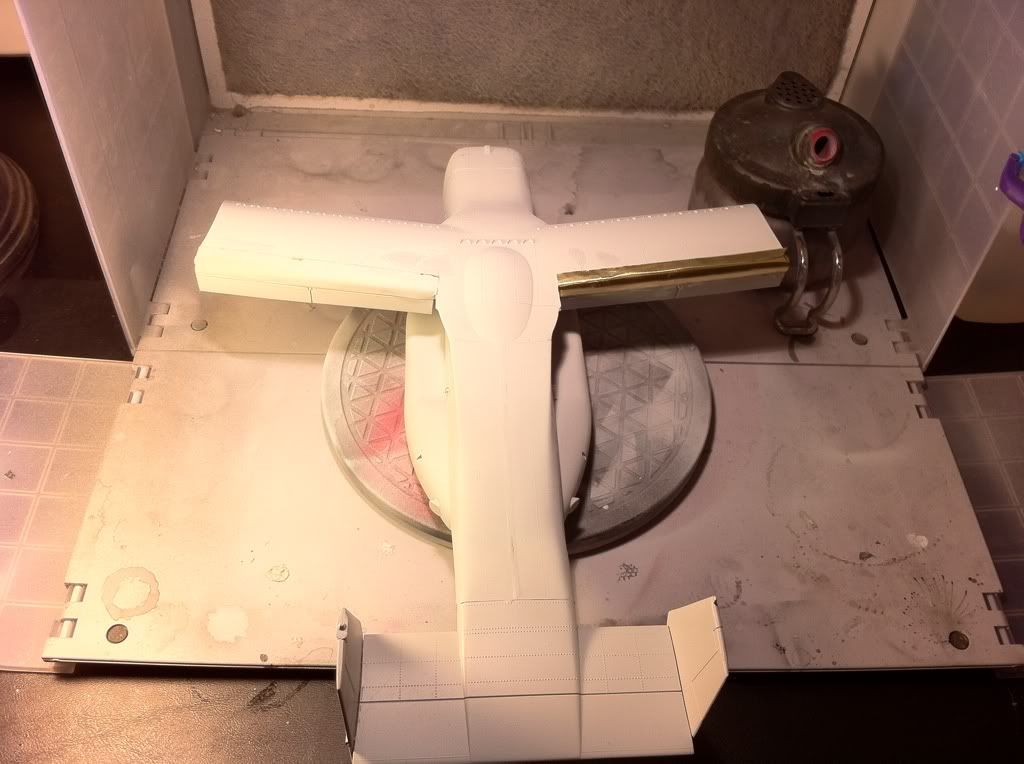
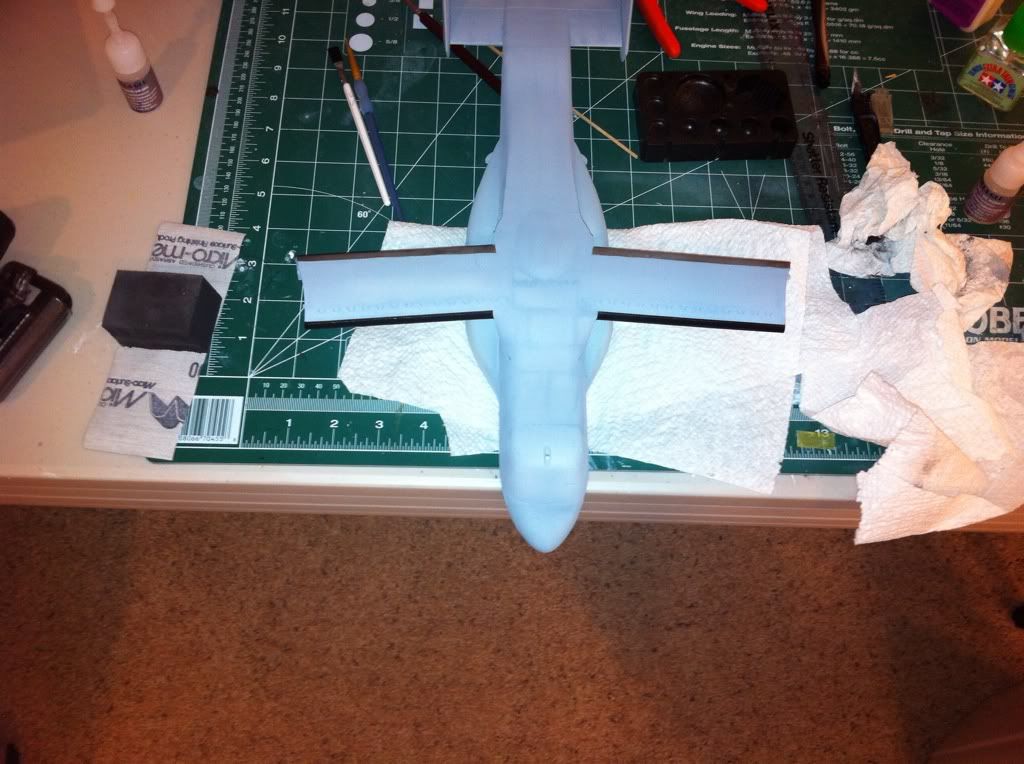
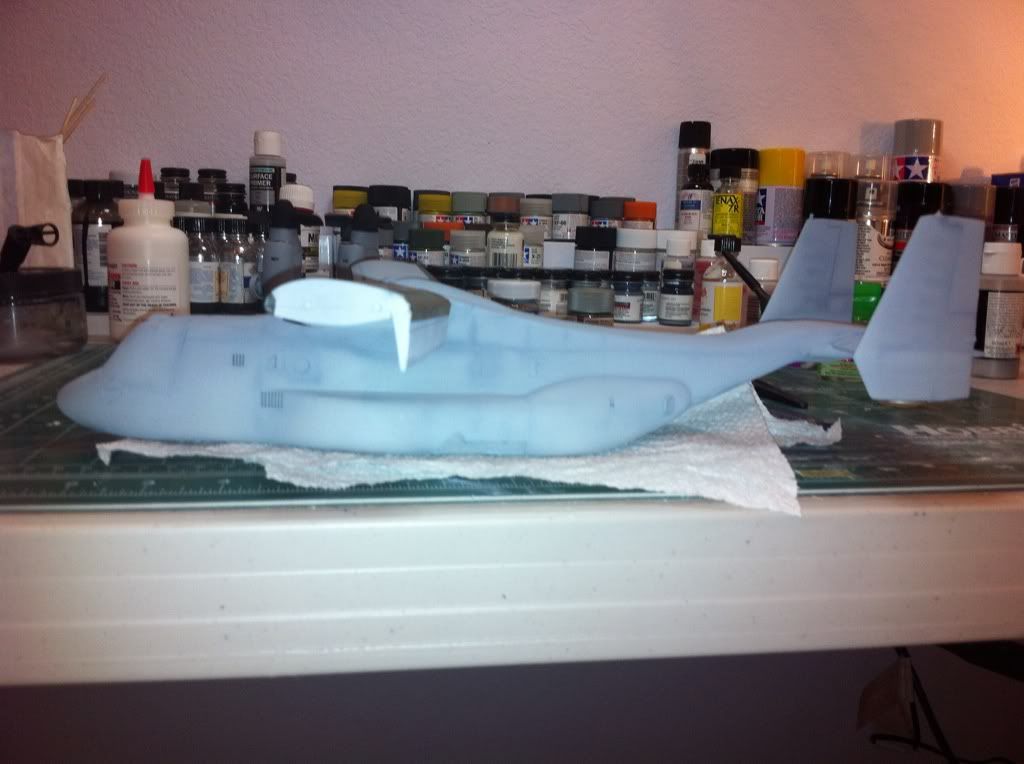
I cut off the flaps with a bone saw and sanded them flat. Then I used some leftover sprue to brace the wings so they don’t flatten at the medial apices. Plasticard covered the openings and Milliput was used to fill the flaps. Unlike others, i did not cut the flaps into four pieces. Baby steps. Fuselage sealed with Tenax.
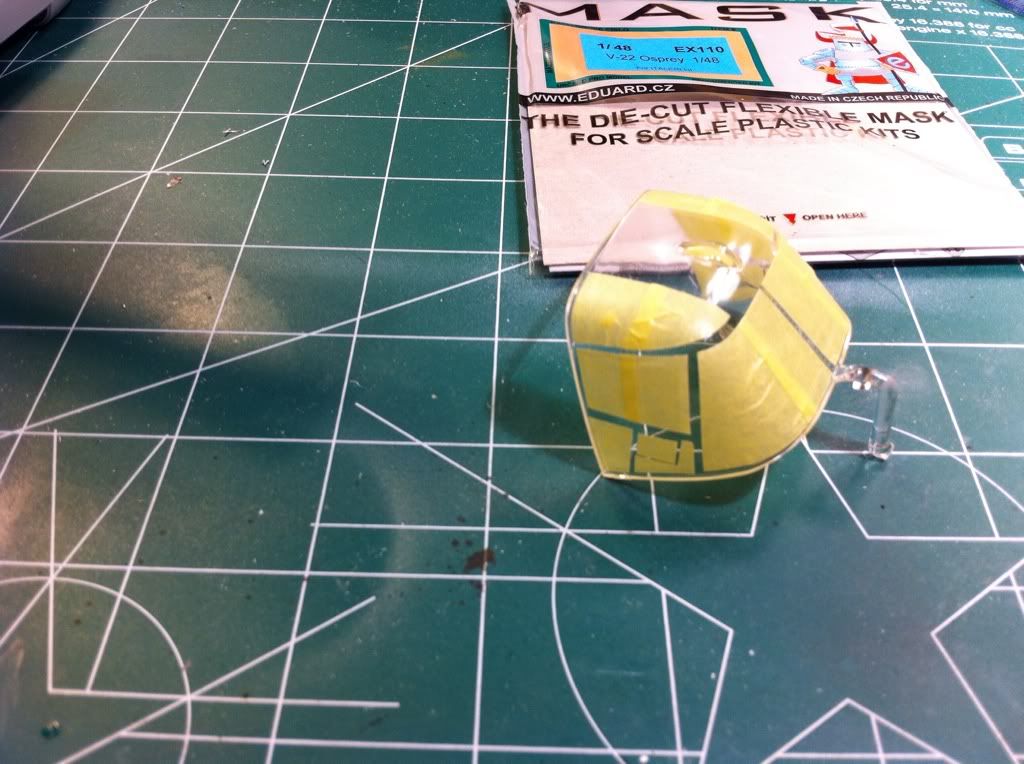
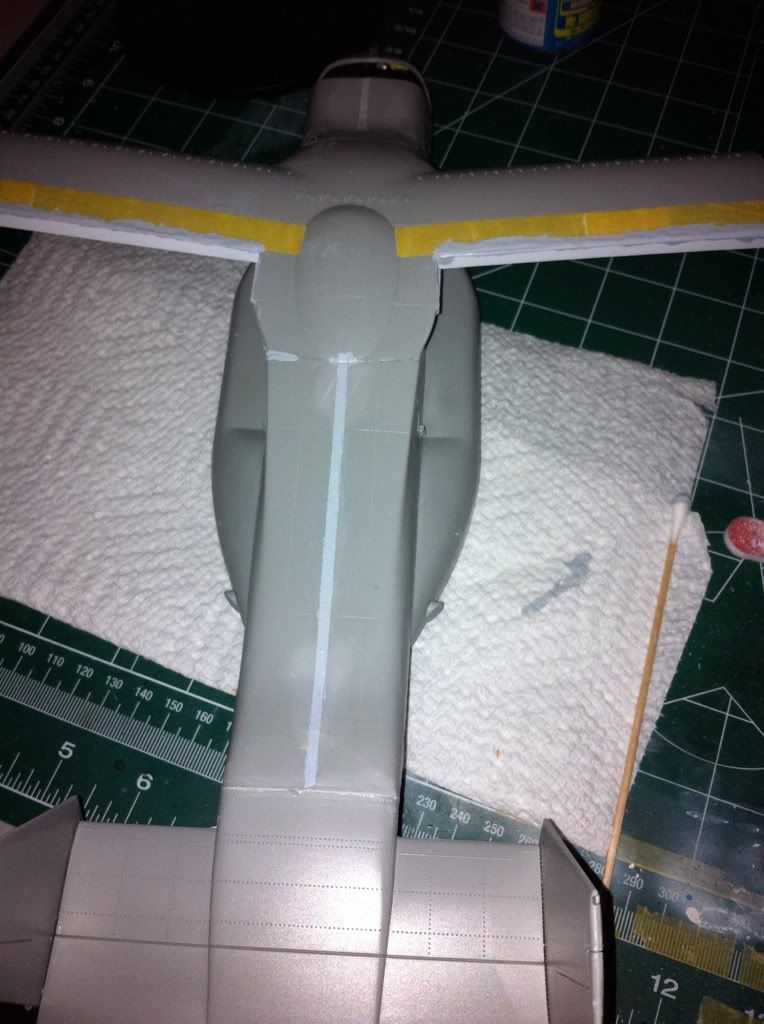
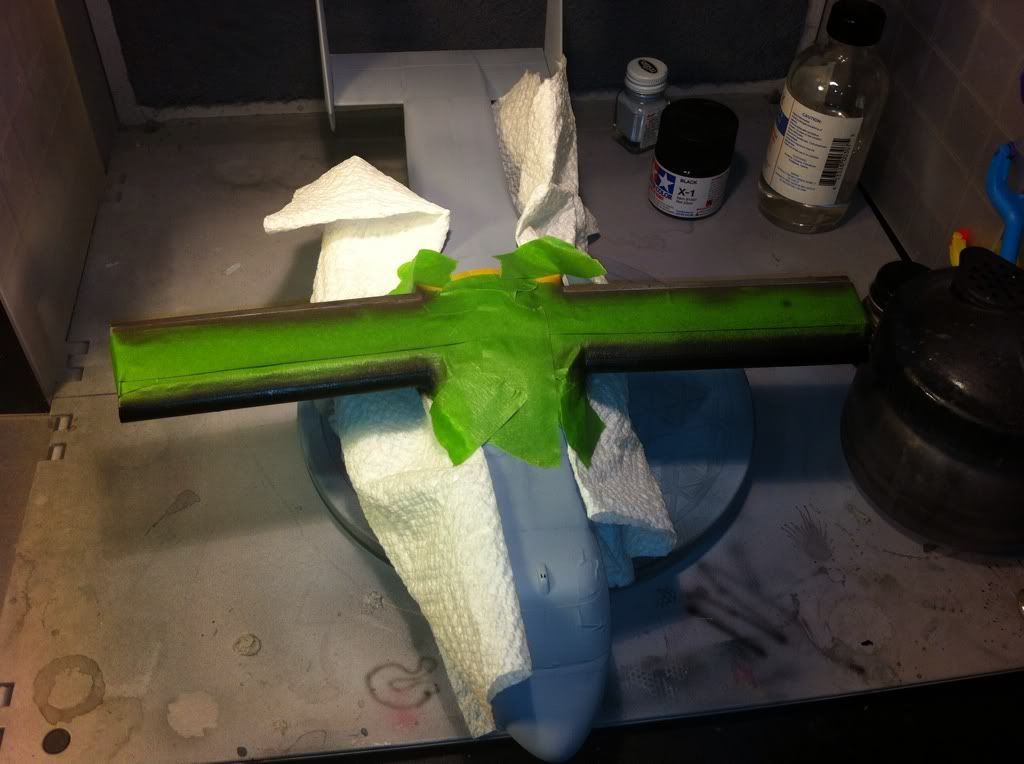
Tape is my attempt to not mess up surface detail while sanding. Alot. I mean a ton of sanding. Still needs more. this model is begging for some Mr Surfacer.
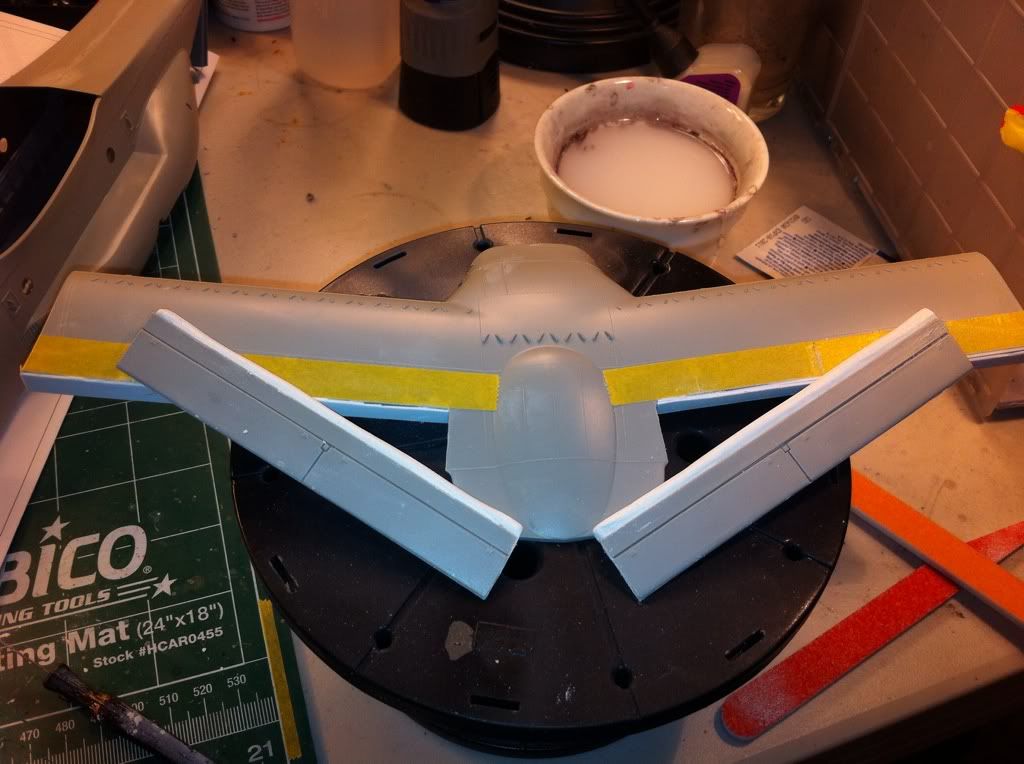
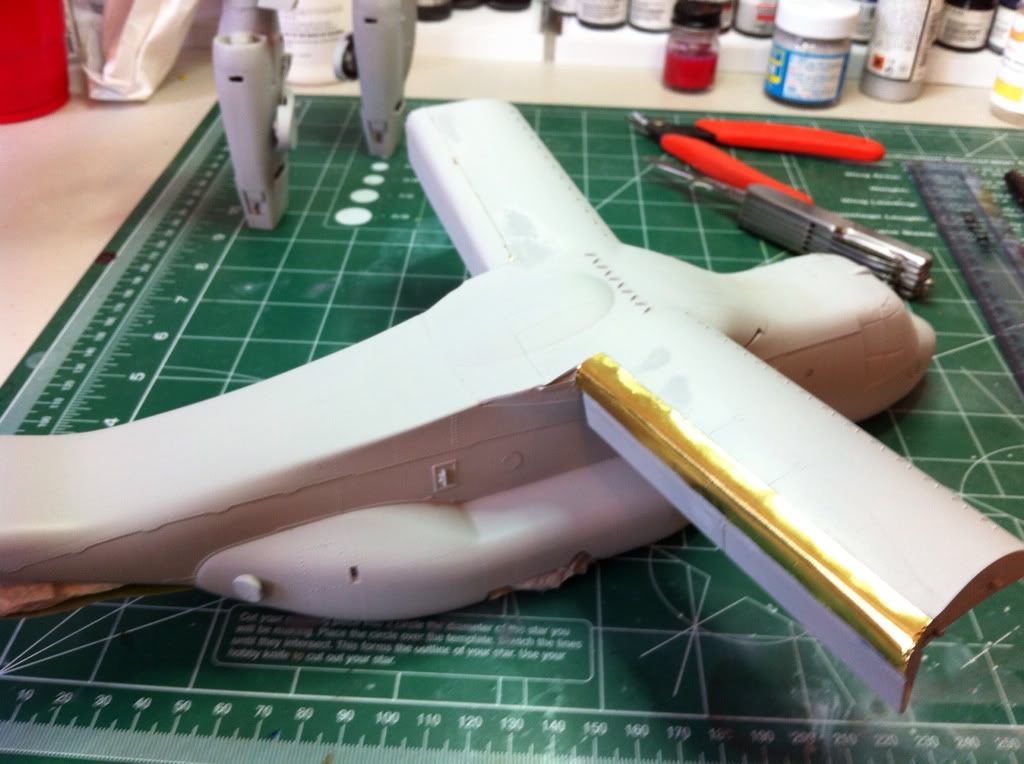
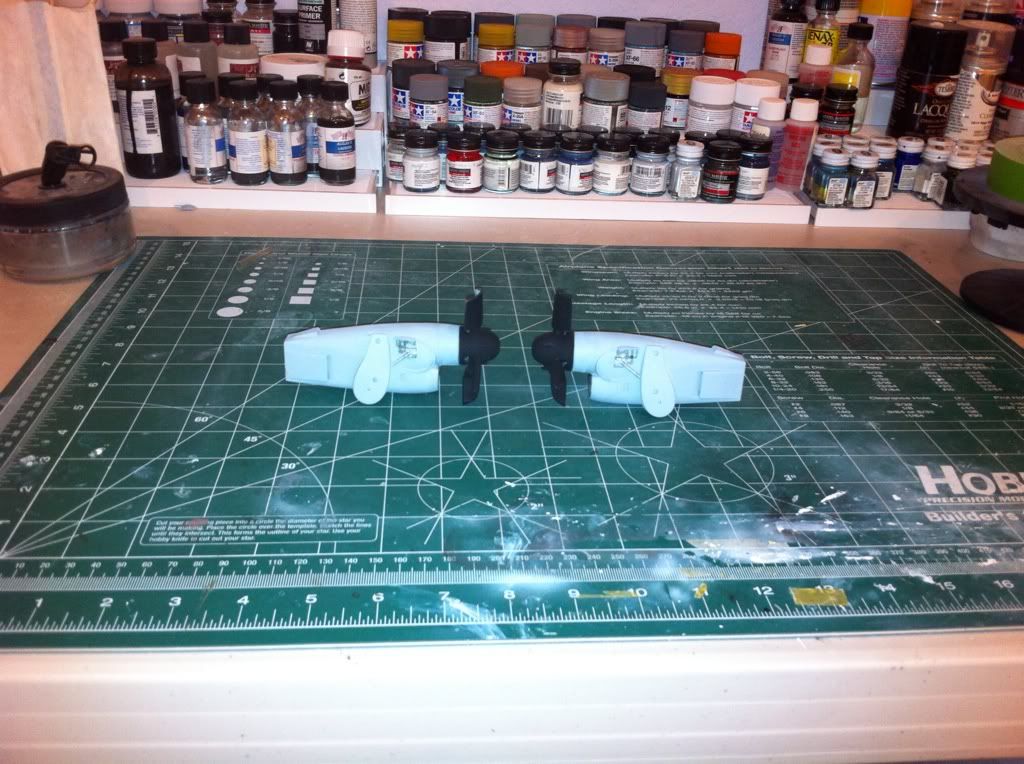
At the suggestion of a forum member, I used sheet aluminum to recreate flap cowlings
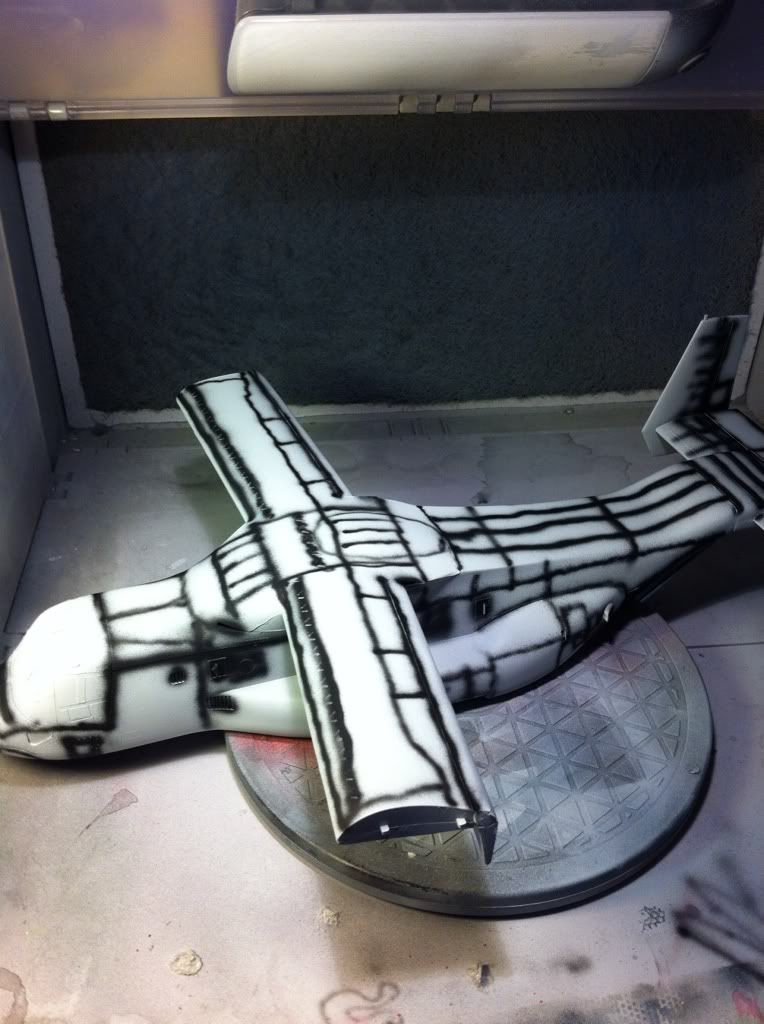
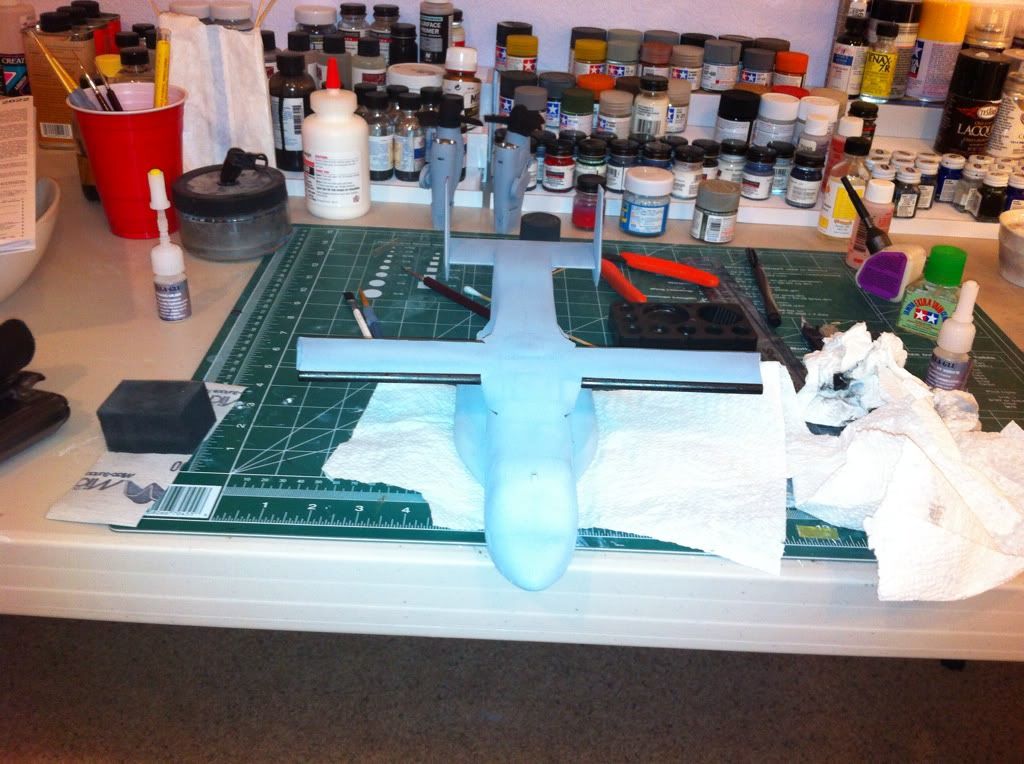
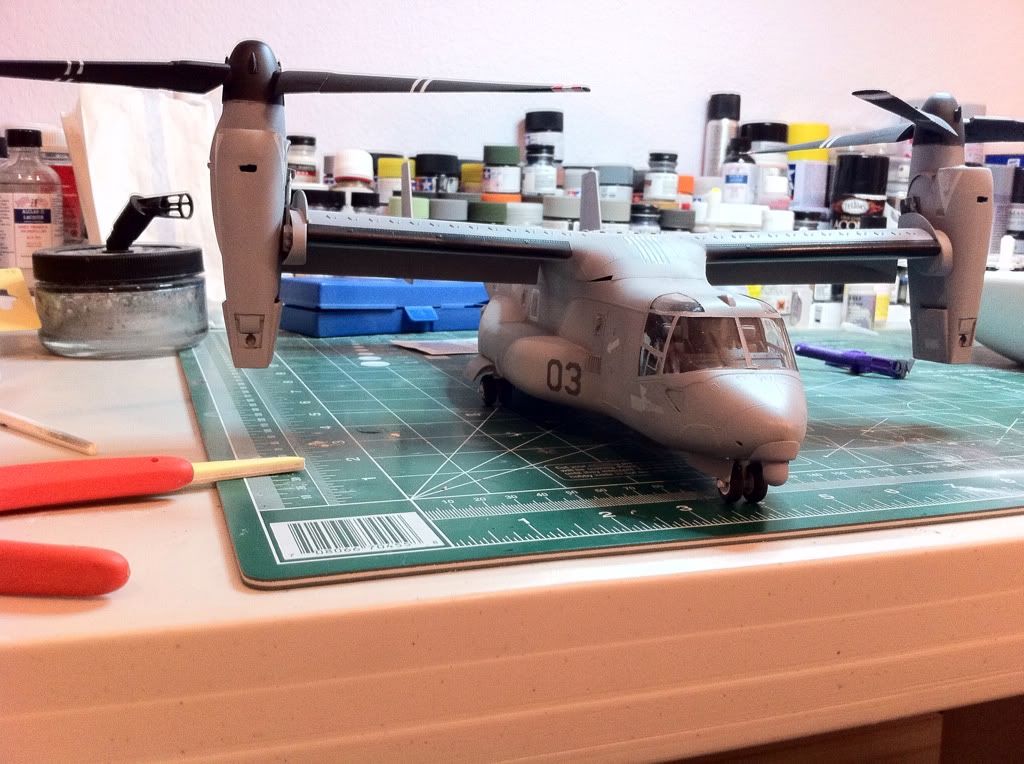
Primed up and pre shaded!
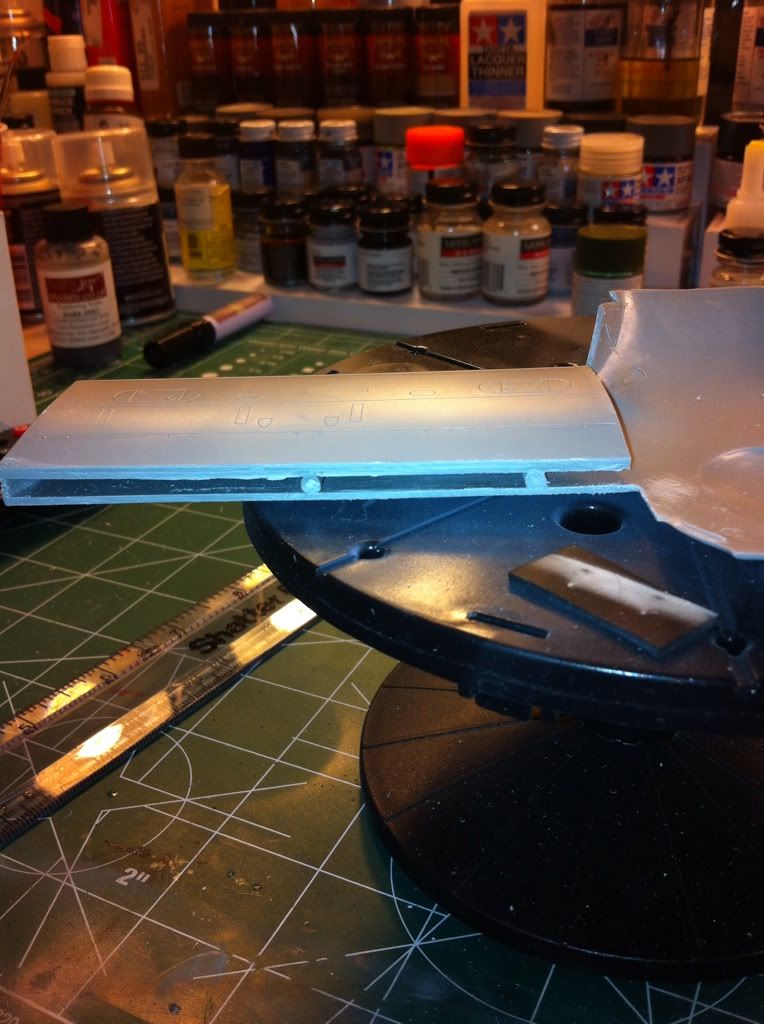
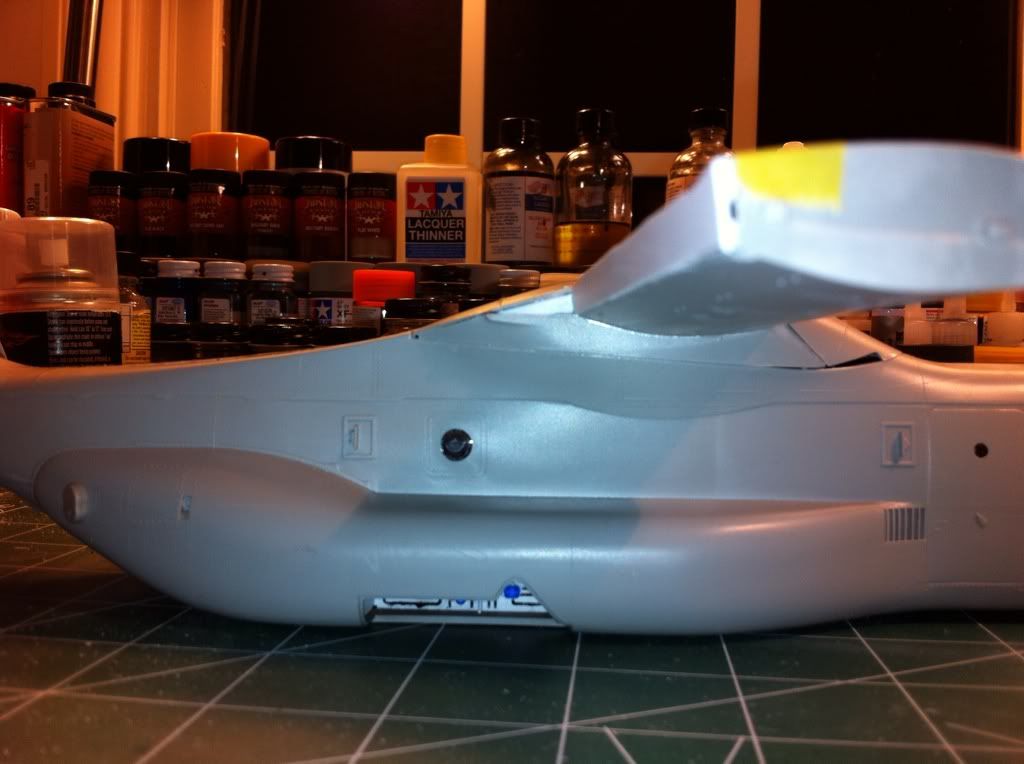
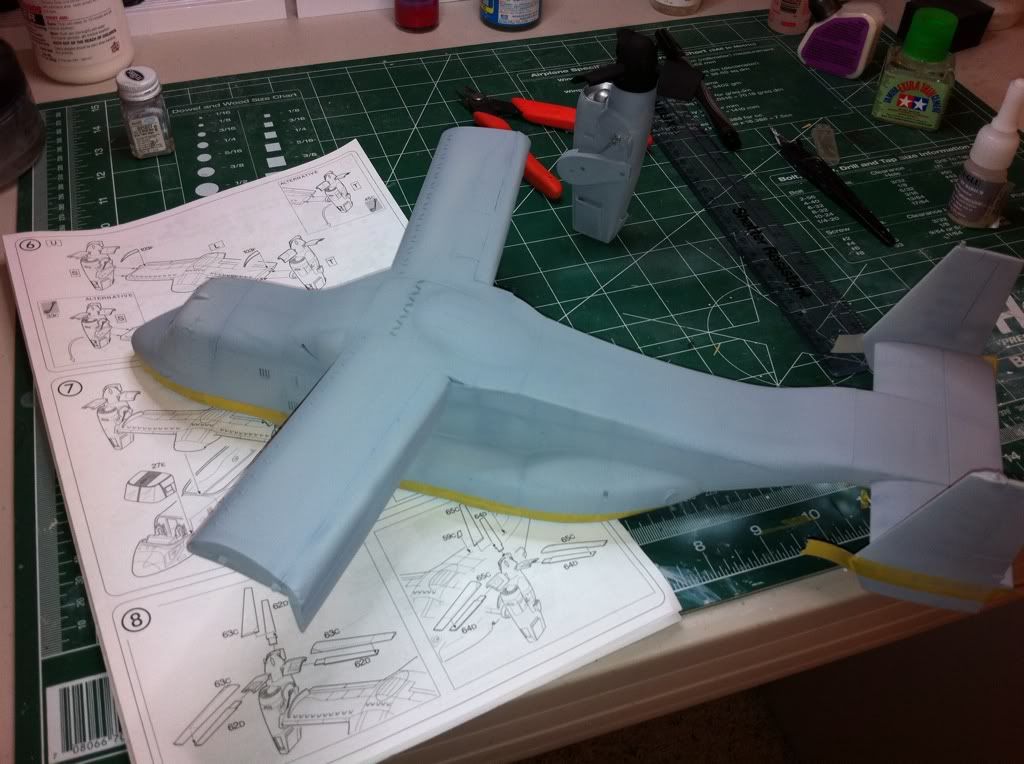
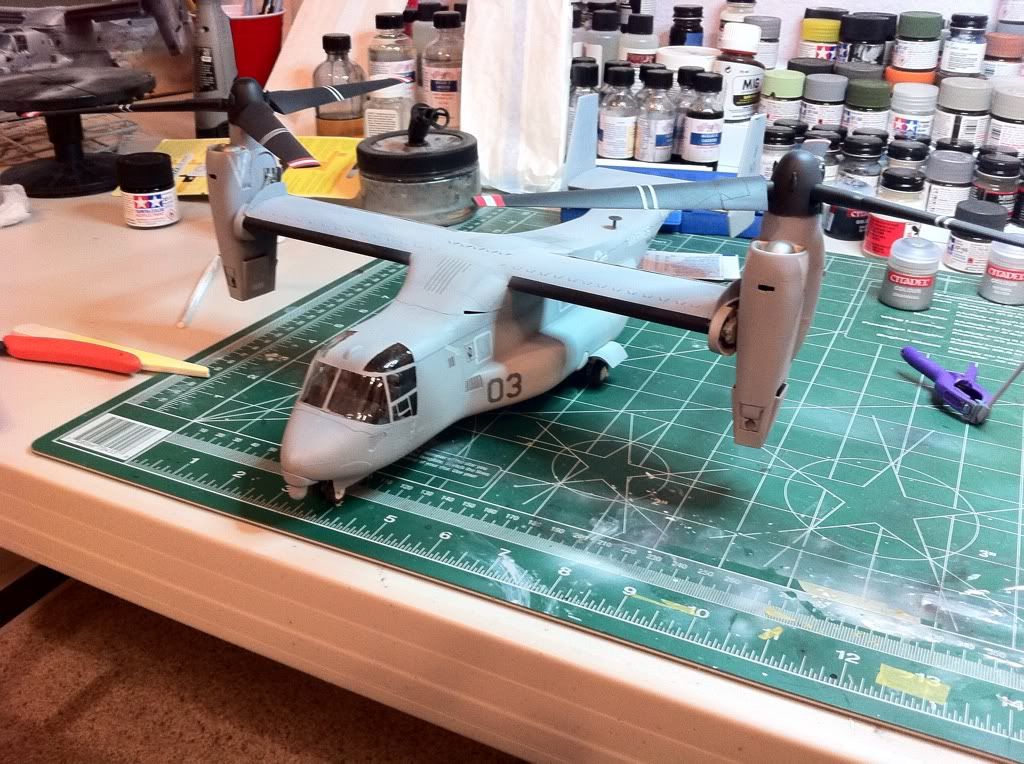
Basecoat on. Testors Light and Dark Ghost Gray Used:
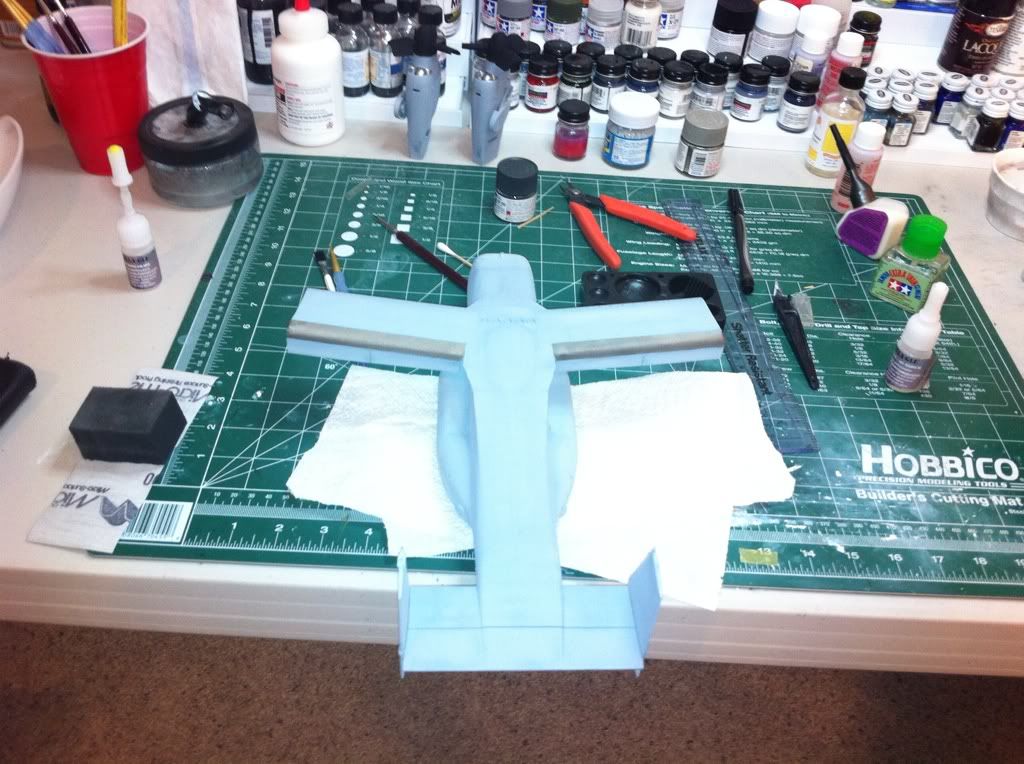
Masked out the cowlings and leading edges (Testors metallizer Burnt Metal and Tamiya X-1 Black):
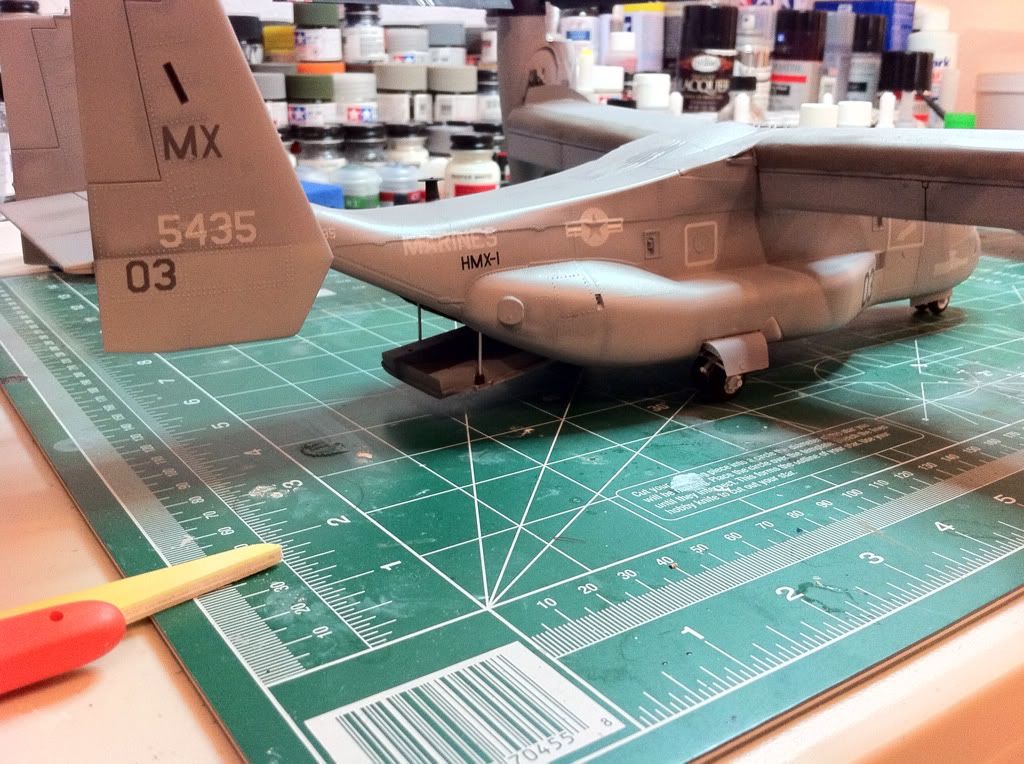
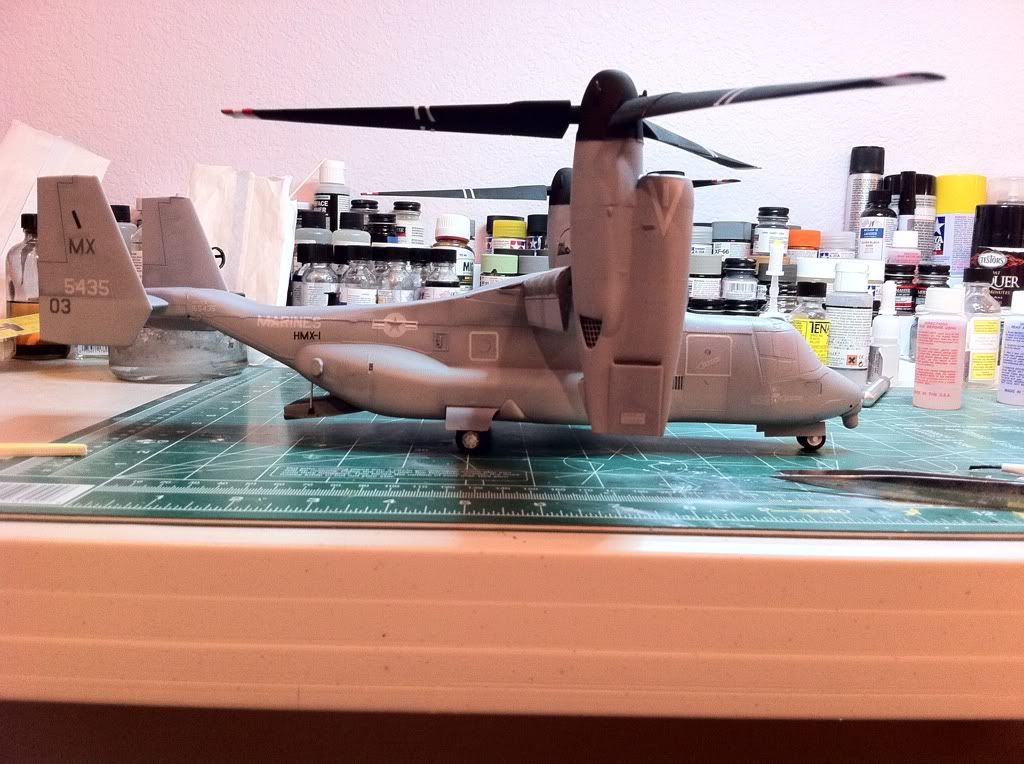
Final coat after light sanding with 12000 grit micro mesh:
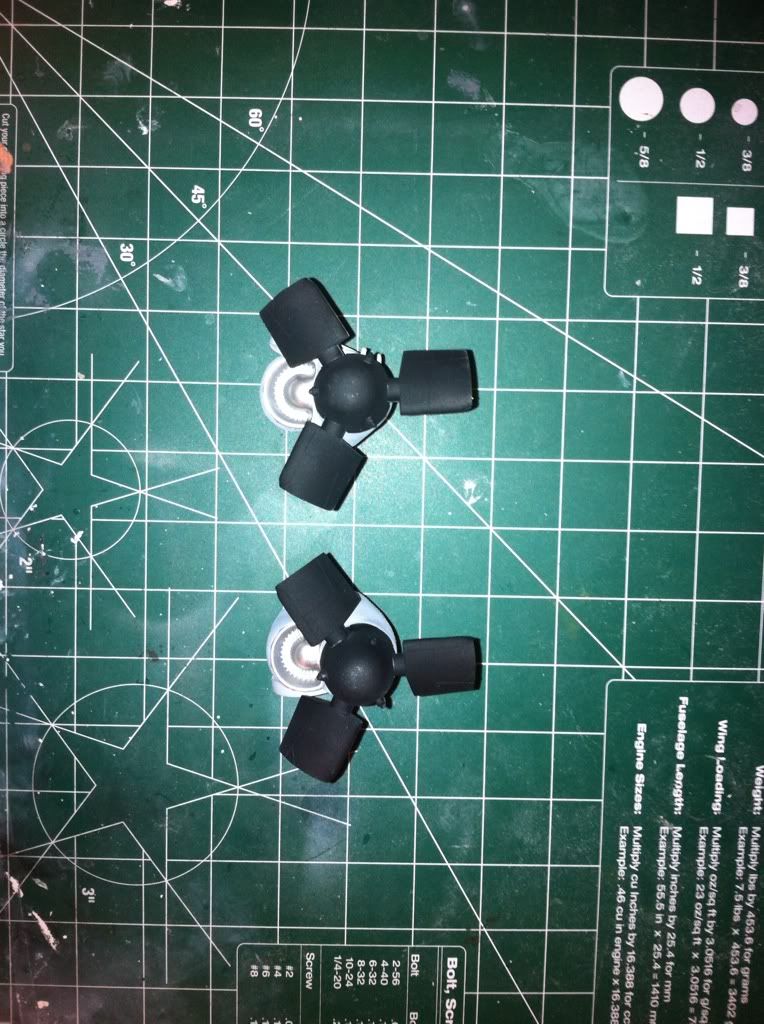
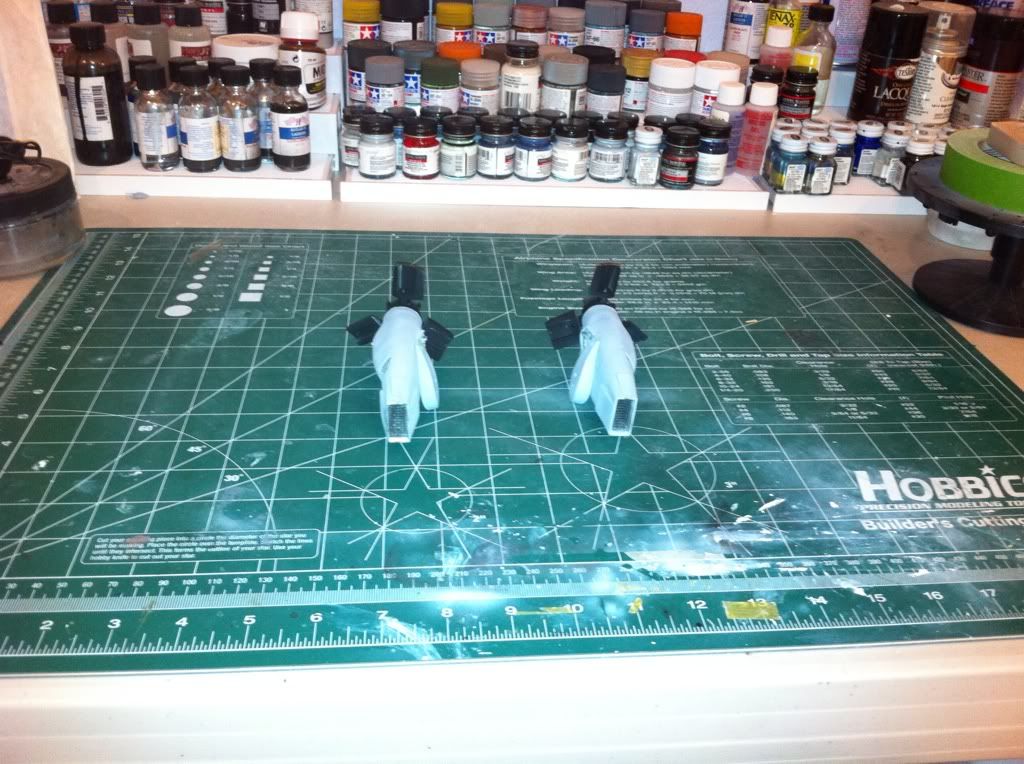
Turboprops: Dark Ghost Gray, XF-1 Flat Black, Drybrushing done with a 50/50 mix of Titanium Silver and NATO Black. Intakes airbrushed with Alclad Duraluminum. Exhausts are made with screen door meshing.
Looks great. What are yoy using for your preshading and how are you applying it? This kit keeps staring me in the face at my LHS just dont know if its woth the price tag.
I used tamiya xf-1 black for preshading. You’re instincts are right. This kit can be a lot of work. The fits are fair but it’s no tamiya kit. Lots of sanding and resanding. But it’s not the worst thing in the world. Its a big one when it all comes together. Not sure where I’m gonna put it when I’m done.