Theuns
May 27, 2018, 10:25am
1
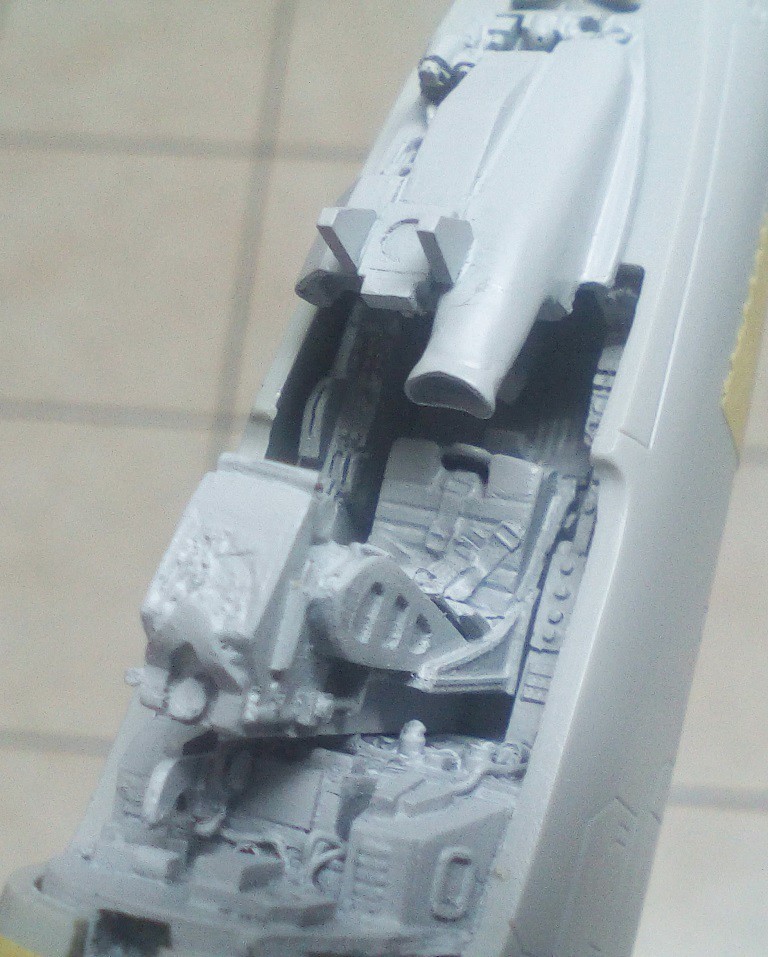
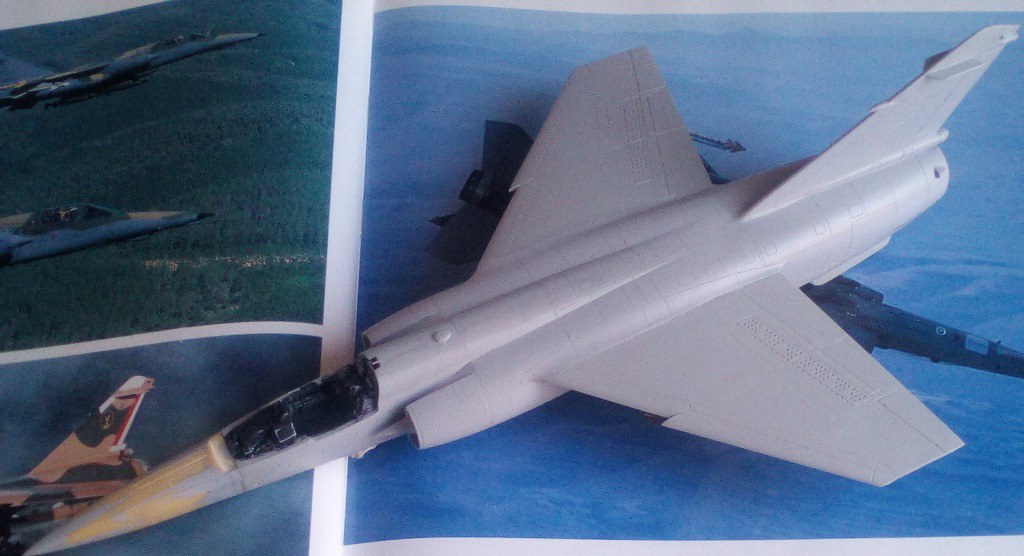
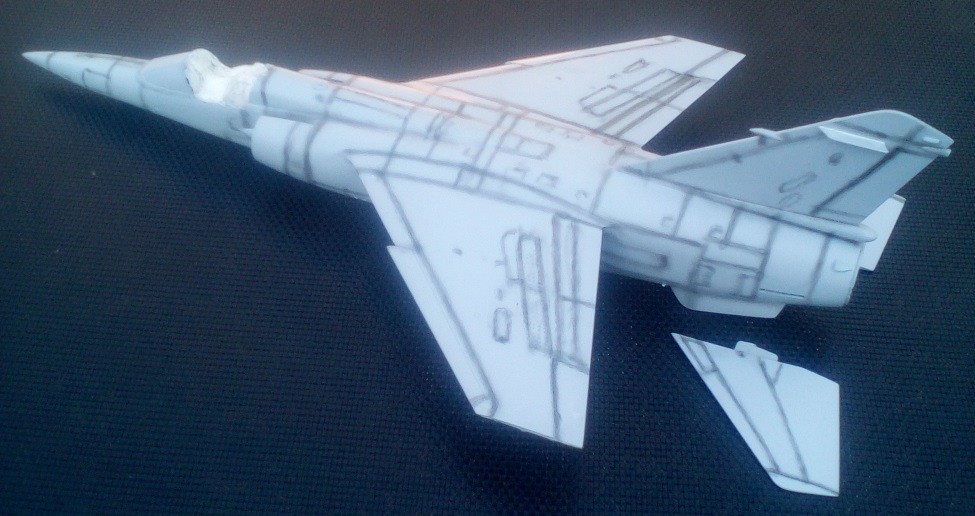
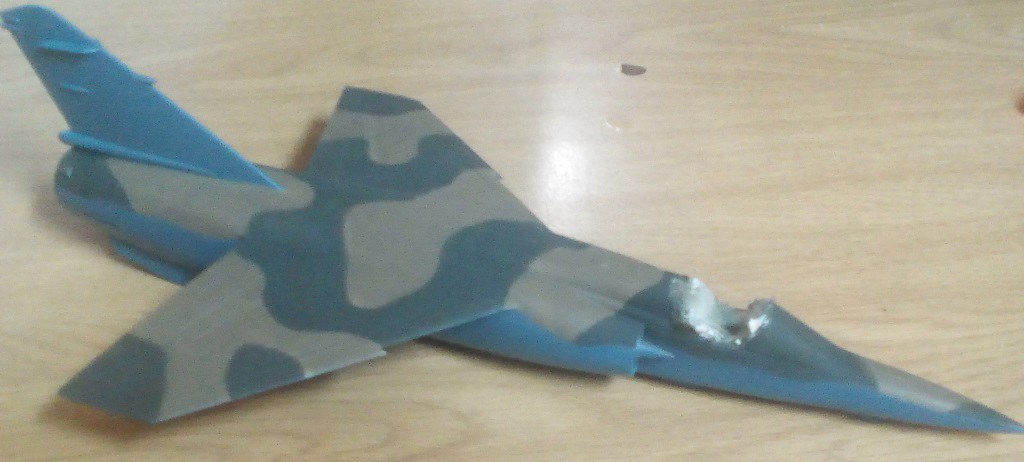
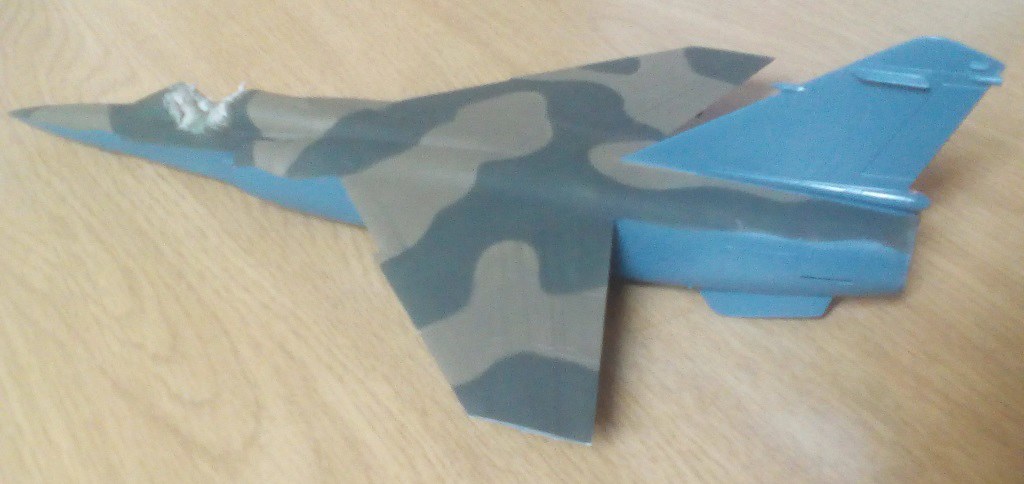
I am building this Itaelri kit but it is super basic and NEEDS resin “bling”
IMG_20180527_164343 by Theunis van Vuuren , on Flickr
IMG_20180527_164302 by Theunis van Vuuren , on Flickr
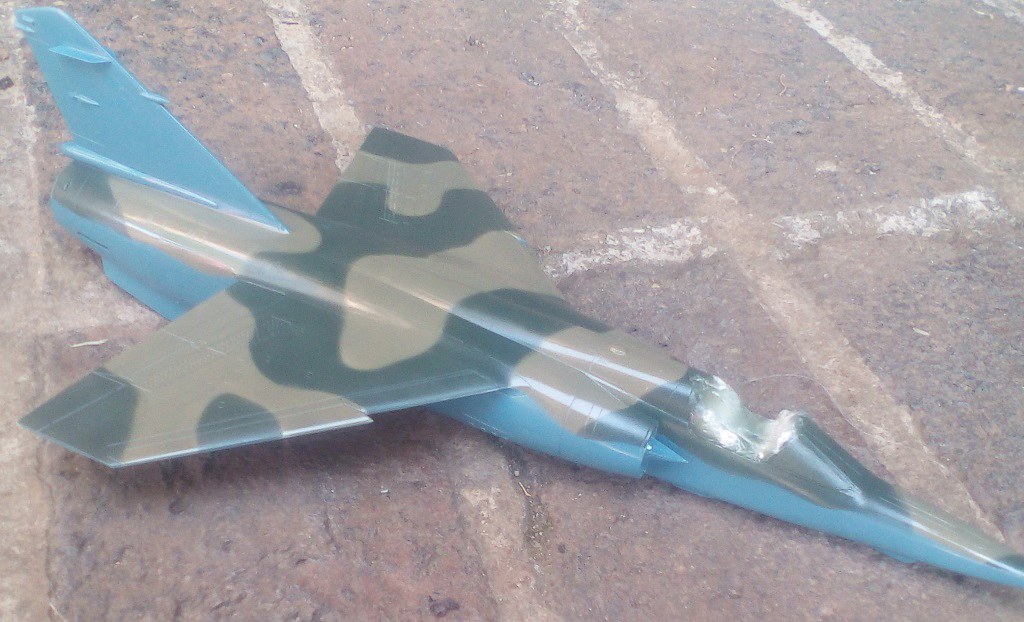
I got this exhaust from a friend…way better than the kit one
IMG_20180527_164250 by Theunis van Vuuren , on Flickr
IMG_20180527_163112 by Theunis van Vuuren , on Flickr
Will be in SAAF late 1980’s scheme
http://www.saairforce.co.za/site/gallery_and_media/index.php/36/mirage-f1az?gallery_id=36
Theuns
I’m assuming the first 3 shots are of “resin bling” and not the kit parts. Because if those are kit parts, then dang, that’s very cool. I’ll be watching this for sure.
BK
Theuns
May 27, 2018, 11:00am
3
No, those bling is what is needed to turn it into an accepta ble kit, the supplied plastic is very “amature”
I have yet to see that quality in ANY plastic kit, some have come close but not as fine with the detail as in resin.
Theuns
Theuns
May 27, 2018, 11:32pm
5
I hpoe it will be “fun build” LOL
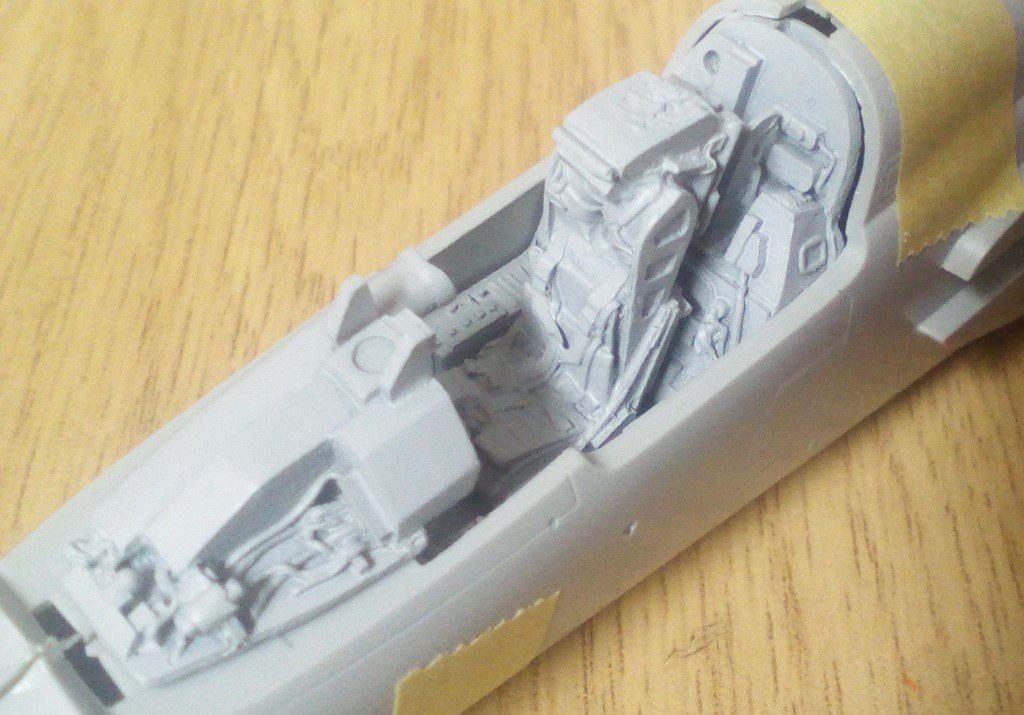
Here is the resin bling sofar, it turns this kit from toy like to something special I recon…
IMG_20180528_061435 by Theunis van Vuuren , on Flickr
IMG_20180528_061253 by Theunis van Vuuren , on Flickr
I will have to cutt off the radar sight, there is a slight difference between the AZ that had the bomb computer instead of the air radar intercept.
I am cheat a little to make it into an AZ.
Theuns
Theuns
May 28, 2018, 11:36pm
6
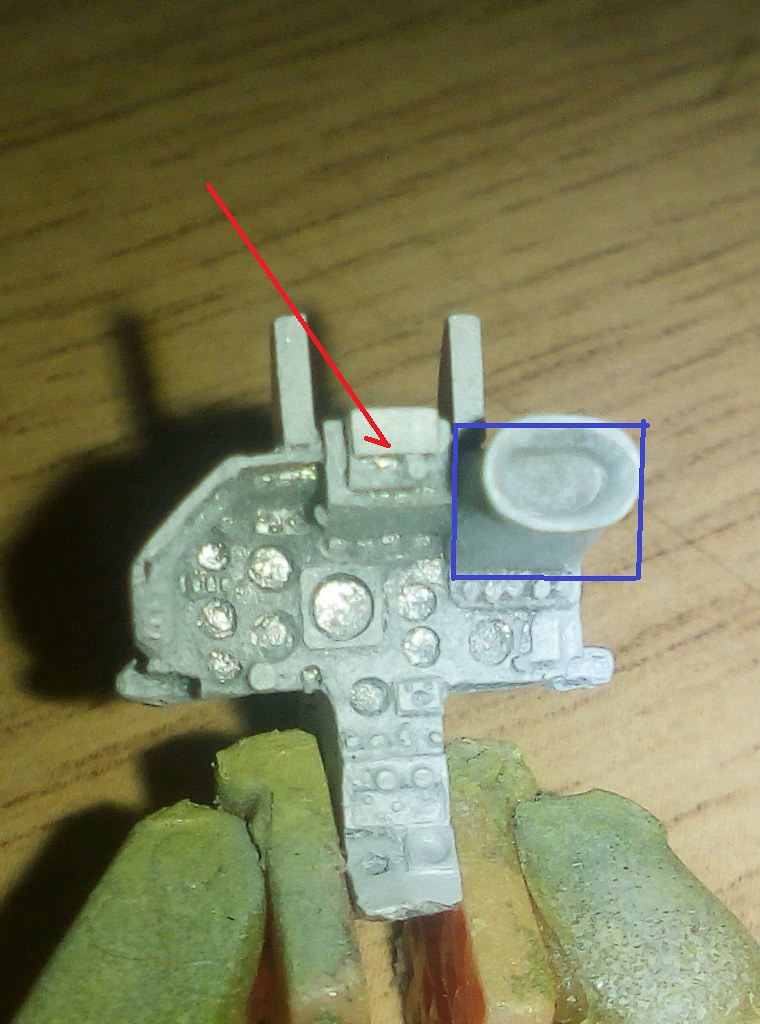
The IP that I have is for the French CT/CR, same as the SAAF CZ F-1 with the radar scope on the right.
The AZ as used by the SAAF didnt have this but had a moving map display mounted centrally on the top IP, I will have to modify the IP to the correct shape.
IMG_20180529_061630 by Theunis van Vuuren , on Flickr
Theuns
Theuns
June 2, 2018, 11:19am
7
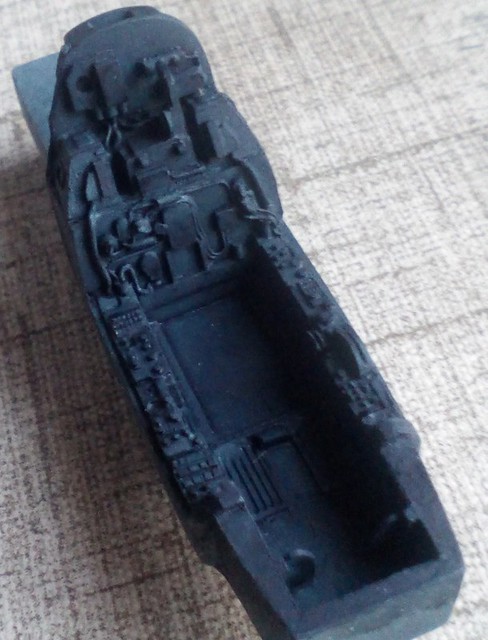
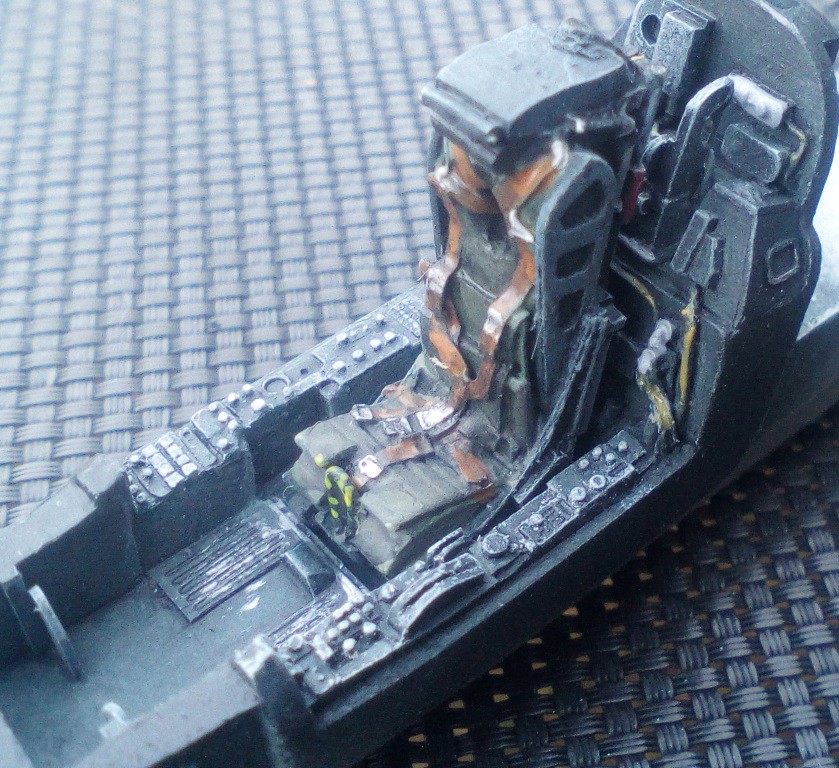
The office in the Mirage is black, now that presents me with a problem as it will hide all the lovely resin detail so I went for tamiya “rubber black”
It is not as “harsh” as normal matt black and I can still drybrush some areas and do a black pinwash in others to give some tonal difference.
IMG_20180602_164227 by Theunis van Vuuren , on Flickr
Theuns
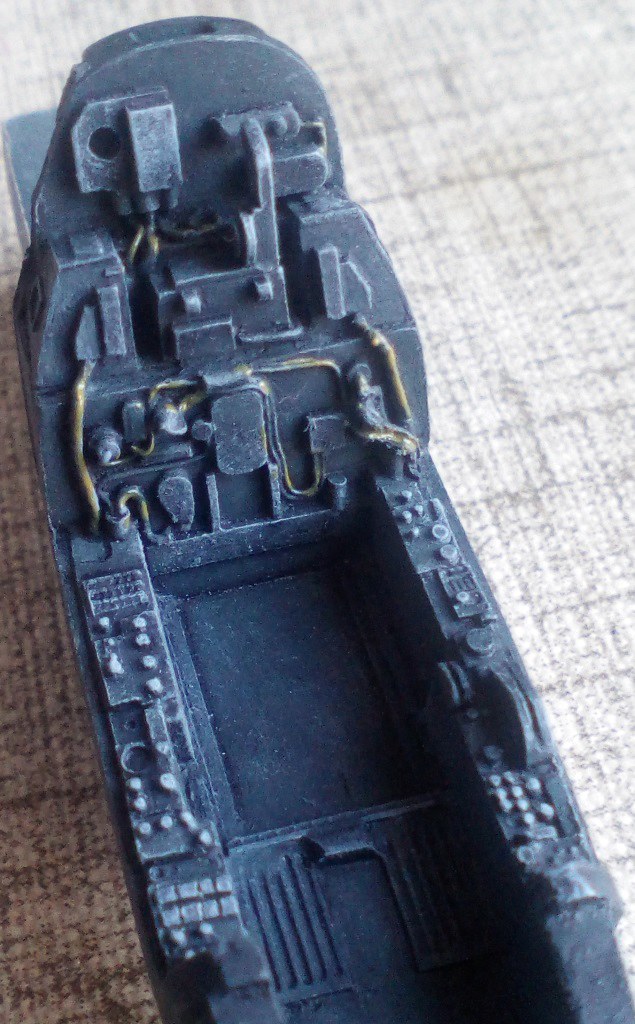
The tub…
IMG_20180603_122352 by Theunis van Vuuren , on Flickr
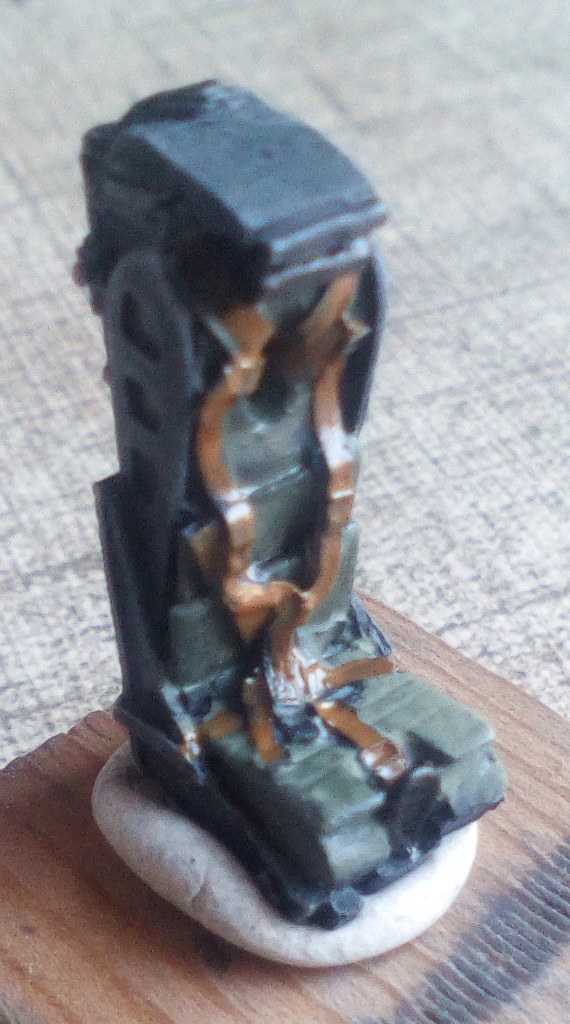
Seat, still needs some buckles to be painted
IMG_20180603_122540 by Theunis van Vuuren , on Flickr
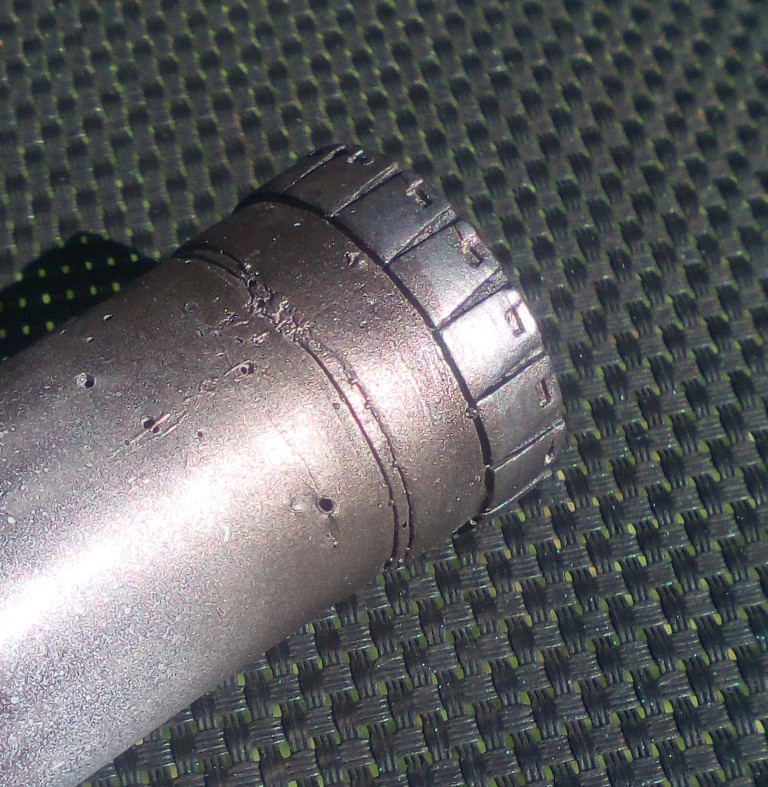
For the exhaust I used alclad burnt iron and highlited the pettals with a graphite pencil to look “metal” the pix dont really reflect the look as well.
IMG_20180603_120847 by Theunis van Vuuren , on Flickr
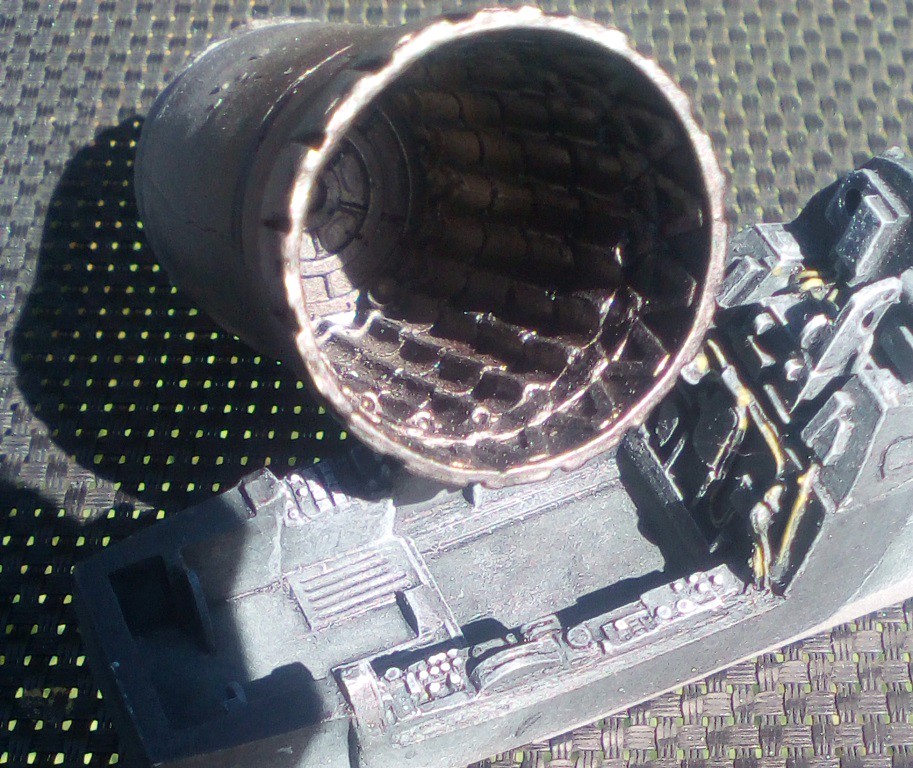
On the indise I did the same but added tamiya smoke to tone it down a little.
IMG_20180603_120826 by Theunis van Vuuren , on Flickr
Theuns
Theuns
June 3, 2018, 10:38am
10
Ta.
Here is the office almost done…
IMG_20180603_165203 by Theunis van Vuuren , on Flickr
IMG_20180603_165257 by Theunis van Vuuren , on Flickr
Theuns
Toshi
June 6, 2018, 12:41am
11
Very cool and nicely done!
Your friend, Toshi
Theuns
June 18, 2018, 11:23am
12
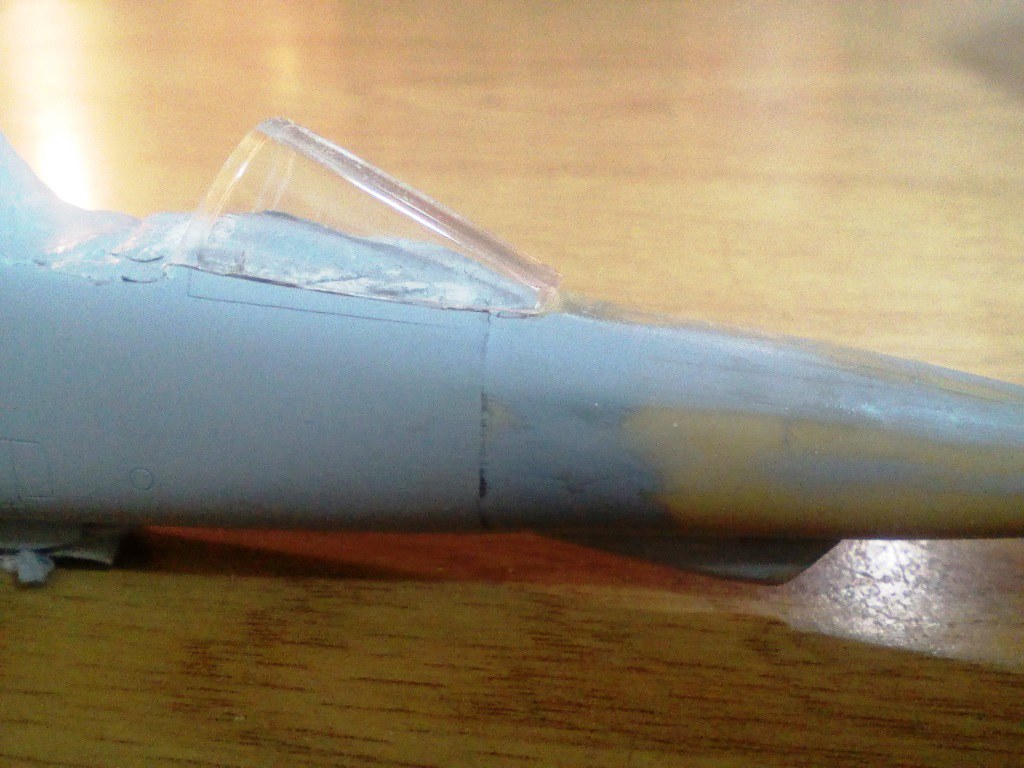
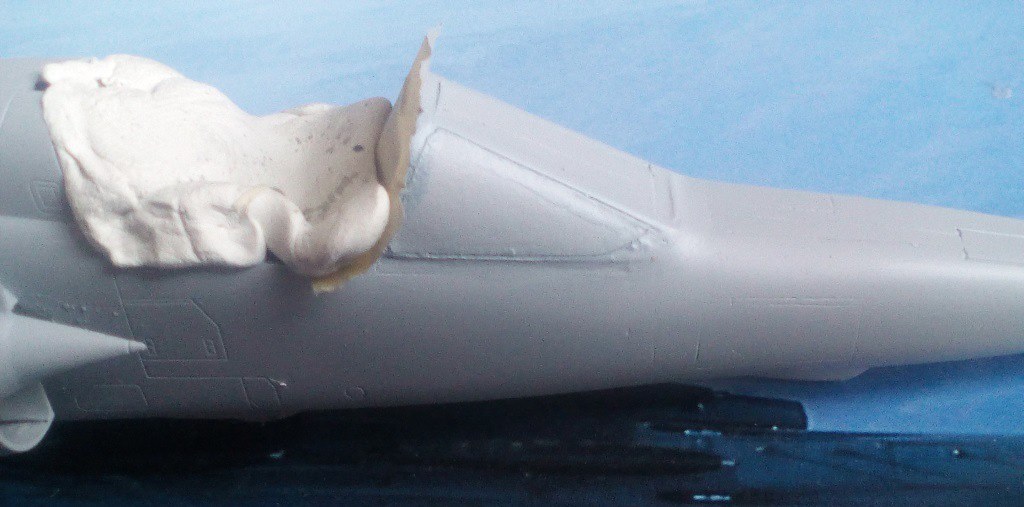
I had a hard time with the resin nose not fitting well, allot of filling and sanding was needed to fare it in. Then the canopy fit was poor and I had to modify this to fot aswell…then rescribe it all - so much for a quick easy build LOL
IMG_20180616_094154 by Theunis van Vuuren , on Flickr
IMG_20180614_174212 by Theunis van Vuuren , on Flickr
Theuns
Theuns
June 24, 2018, 9:31am
13
The windshield took allot of work but I think it came out OK
IMG_20180623_161345 by Theunis van Vuuren , on Flickr
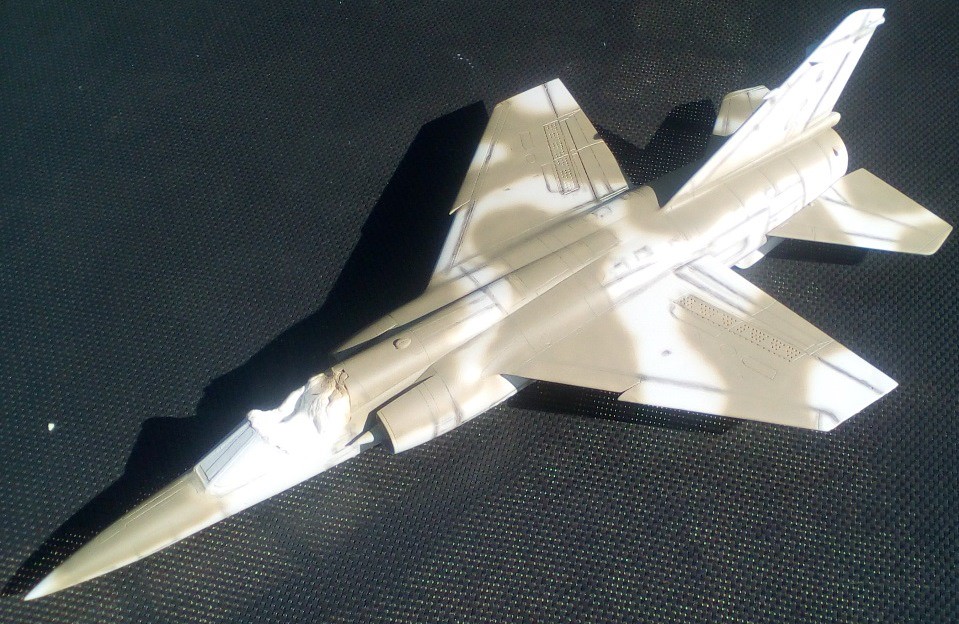
The preshaded it all
IMG_20180624_084417 by Theunis van Vuuren , on Flickr
The colour the saaf used are not “out the tin” standard so I had to mix my own.
IMG_20180624_140429 by Theunis van Vuuren , on Flickr
IMG_20180624_152434 by Theunis van Vuuren , on Flickr
I am rather pleased with the look
IMG_20180624_160324 by Theunis van Vuuren , on Flickr
Next the intermediate PRU blue will go on.
Theuns
Looking sharp! You’ve overcome the challenges very well.
BK
Theuns
June 24, 2018, 11:04am
15
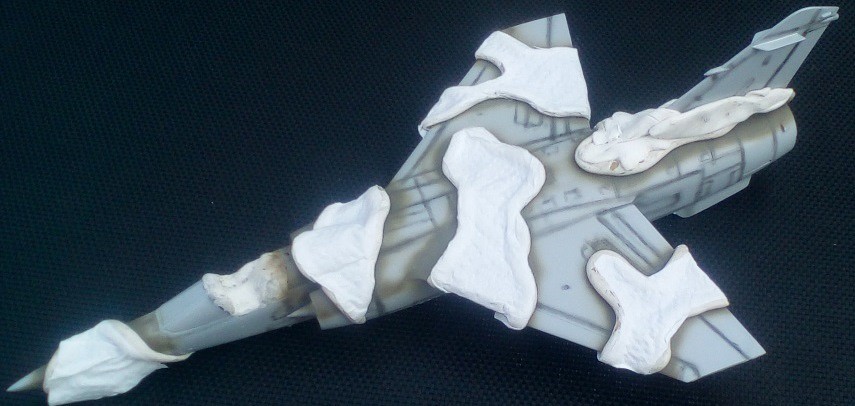
These are not the best pix but you get the idea of the scheme
IMG_20180624_175354 by Theunis van Vuuren , on Flickr
IMG_20180624_175320 by Theunis van Vuuren , on Flickr
I will try humbrol glear gloss for the first time on this as soon as it is fully cleared.
Theuns
Theuns
June 25, 2018, 11:56pm
16
Now I need to wait for 3 weeks for my decals…must build somthing else in the meantime LOL
Theuns
Theuns
June 29, 2018, 10:29am
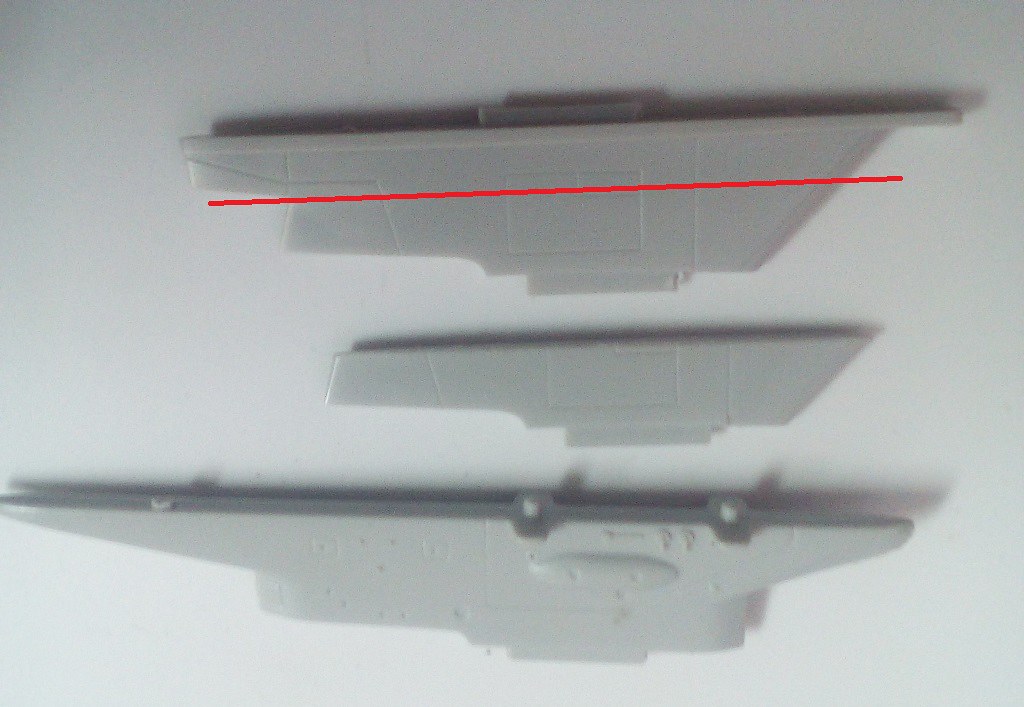
17
The pylons supplied in the kit for the outer stations is incorrect for a SAAF craft so I though of building new ones from styrine sheer. Then I saw that if I just cut the kit one on the red line I can get somthing that is quite close to what I see in pix.so this is what I will do.
IMG_20180629_071622 by Theunis van Vuuren , on Flickr
Theuns
Now that is a good solution, and it will be easier to do. I love the paint scheme also, it looks very cool.
BK
Theuns
June 30, 2018, 12:14am
19
Ta, I just need to make and add the anti sway stays to the bottom of the pylons.
T
Theuns
July 2, 2018, 10:43am
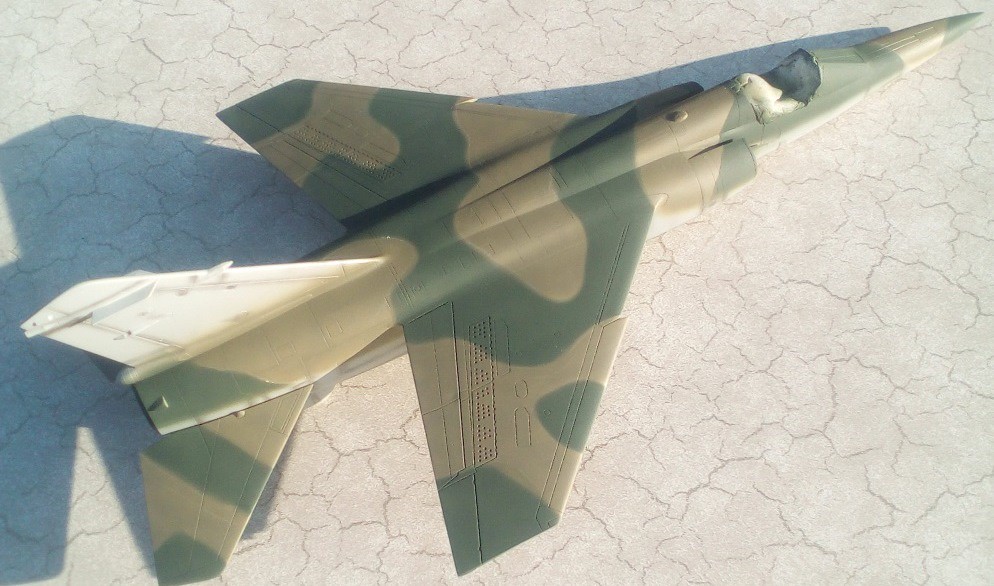
20
I am pleased with the look of the humbrol clear coat.
IMG_20180702_123337 by Theunis van Vuuren , on Flickr
Theuns
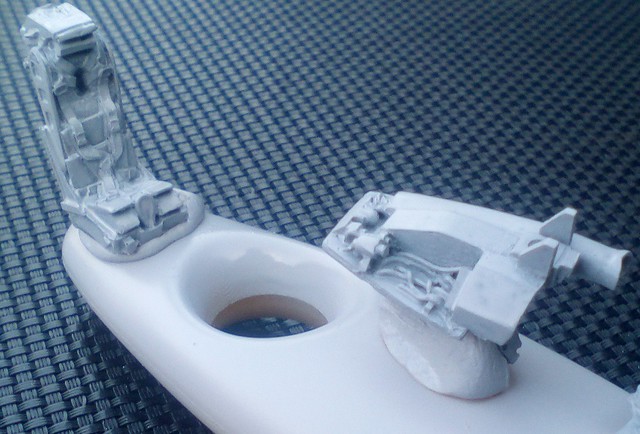 IMG_20180527_164343 by Theunis van Vuuren, on Flickr
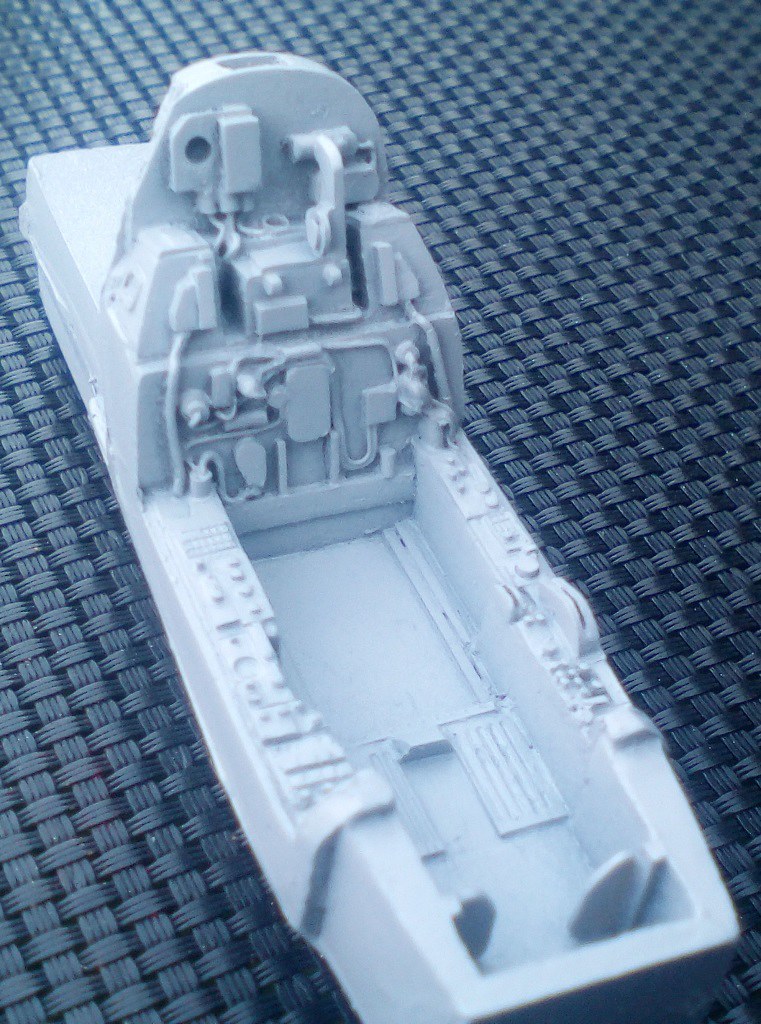 IMG_20180527_164302 by Theunis van Vuuren, on Flickr
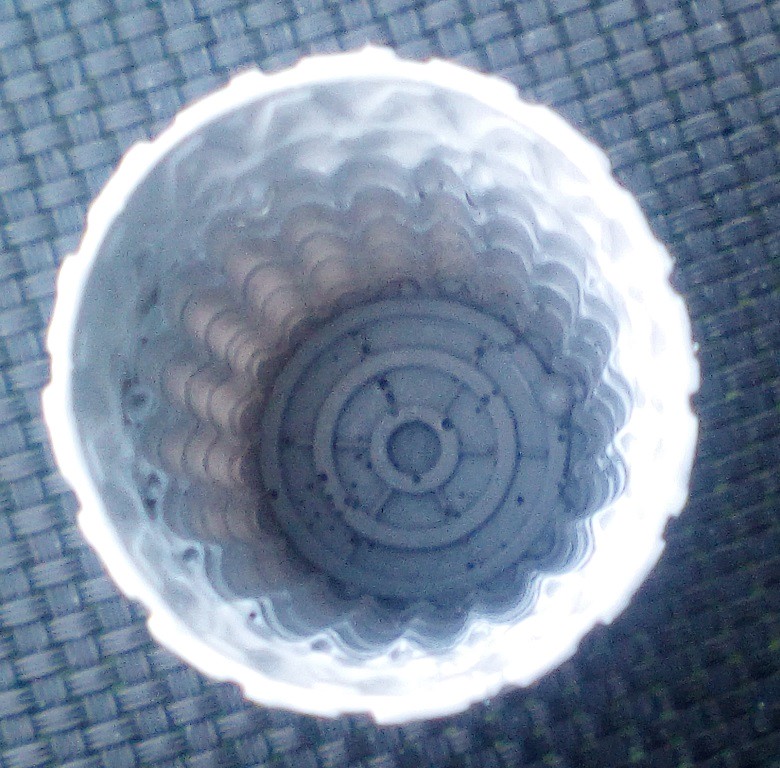 IMG_20180527_164250 by Theunis van Vuuren, on Flickr
 IMG_20180527_163112 by Theunis van Vuuren, on Flickr