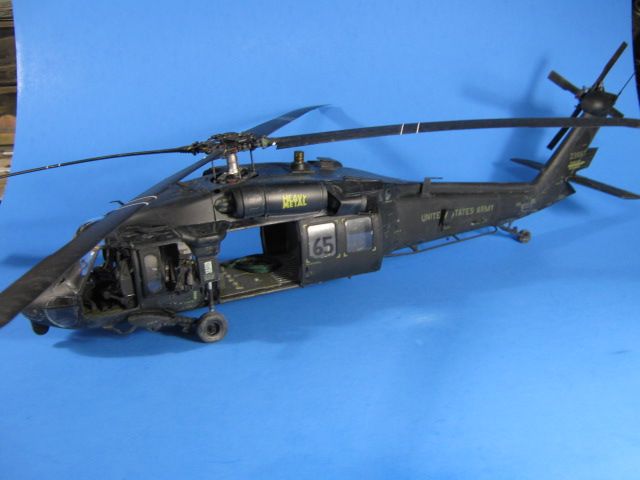
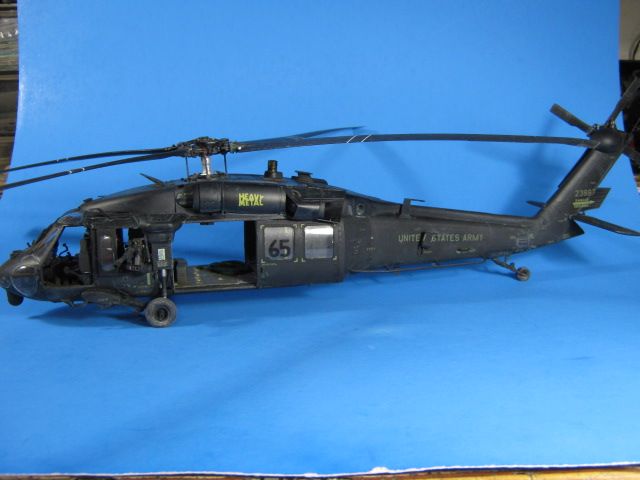
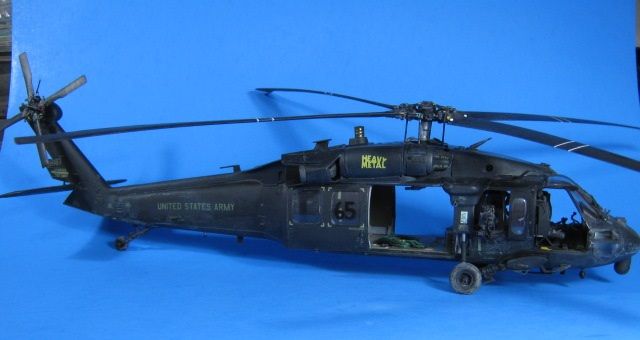
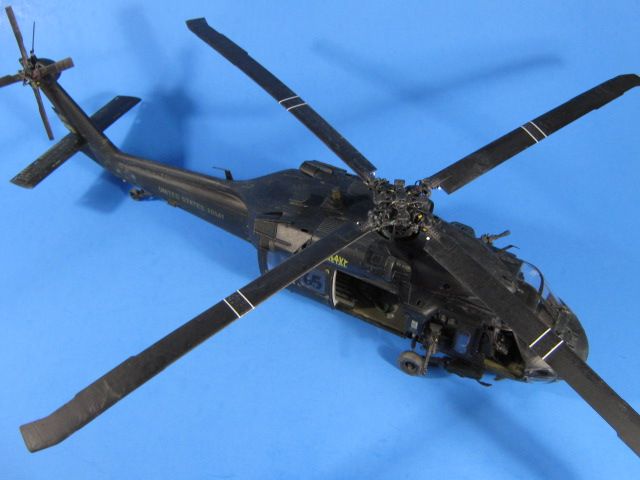
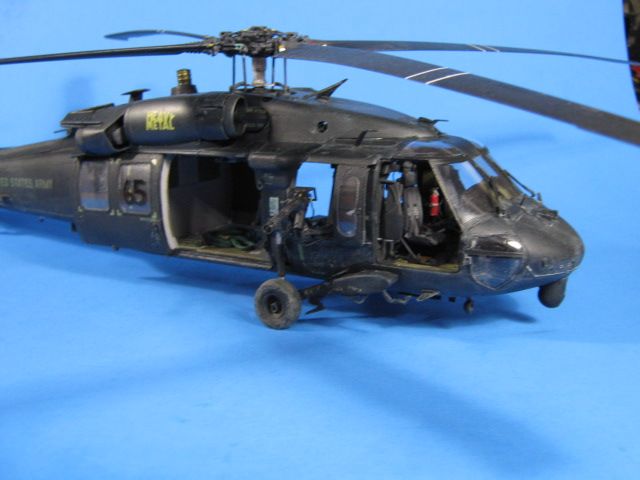
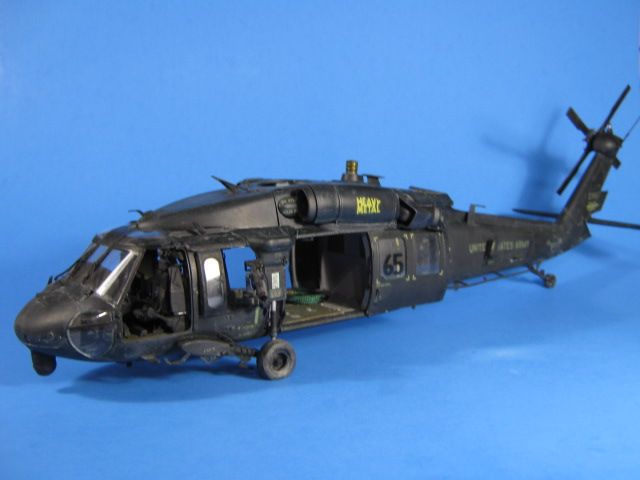
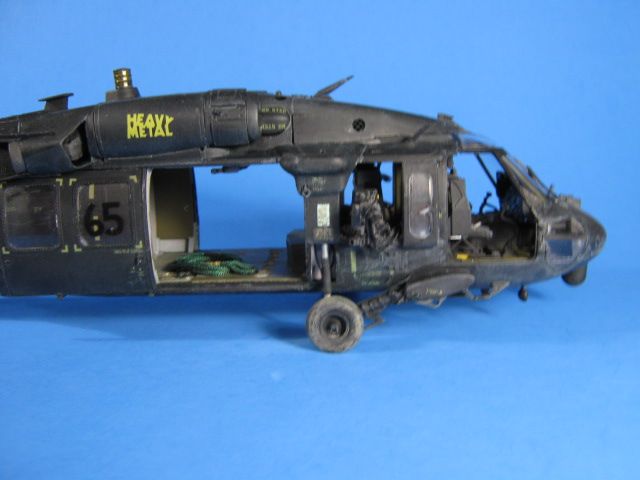
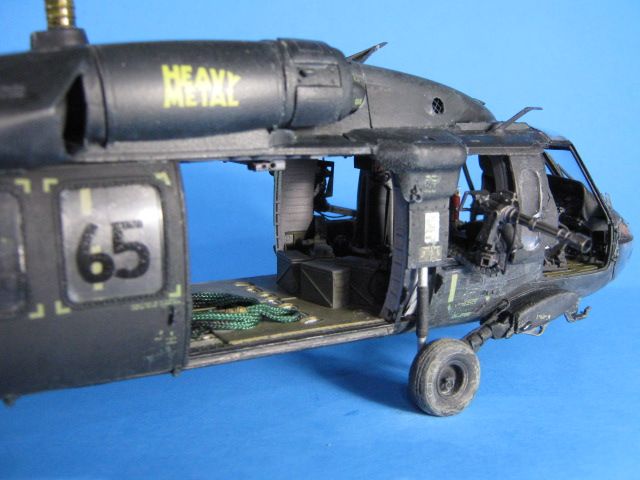
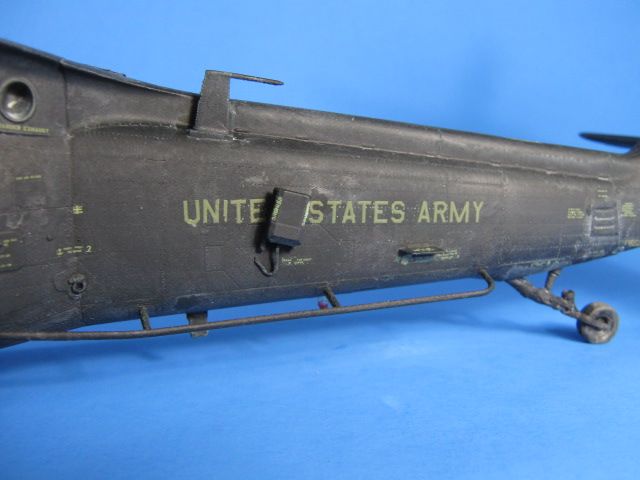
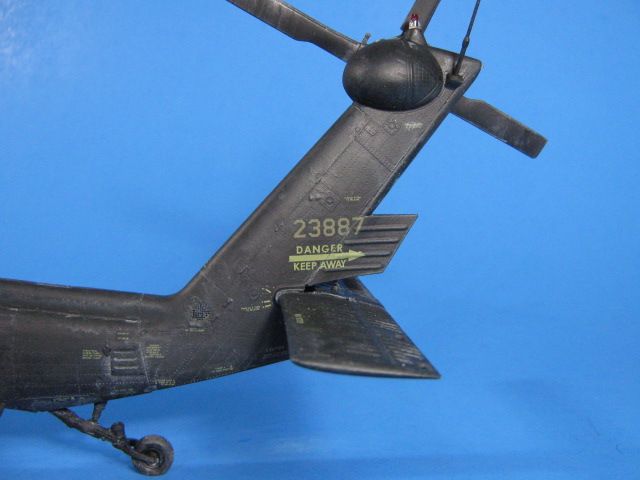
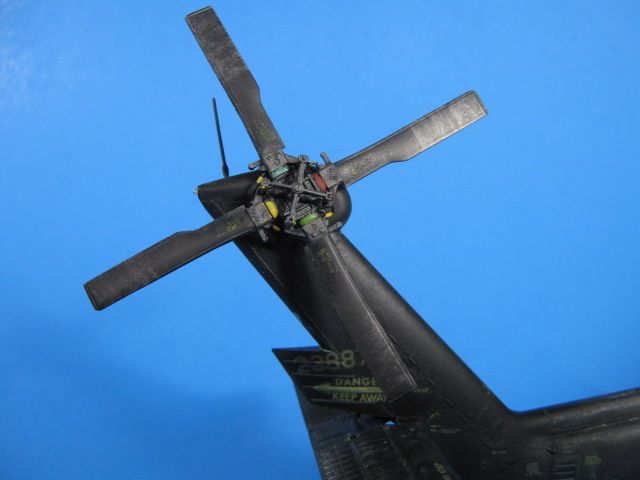
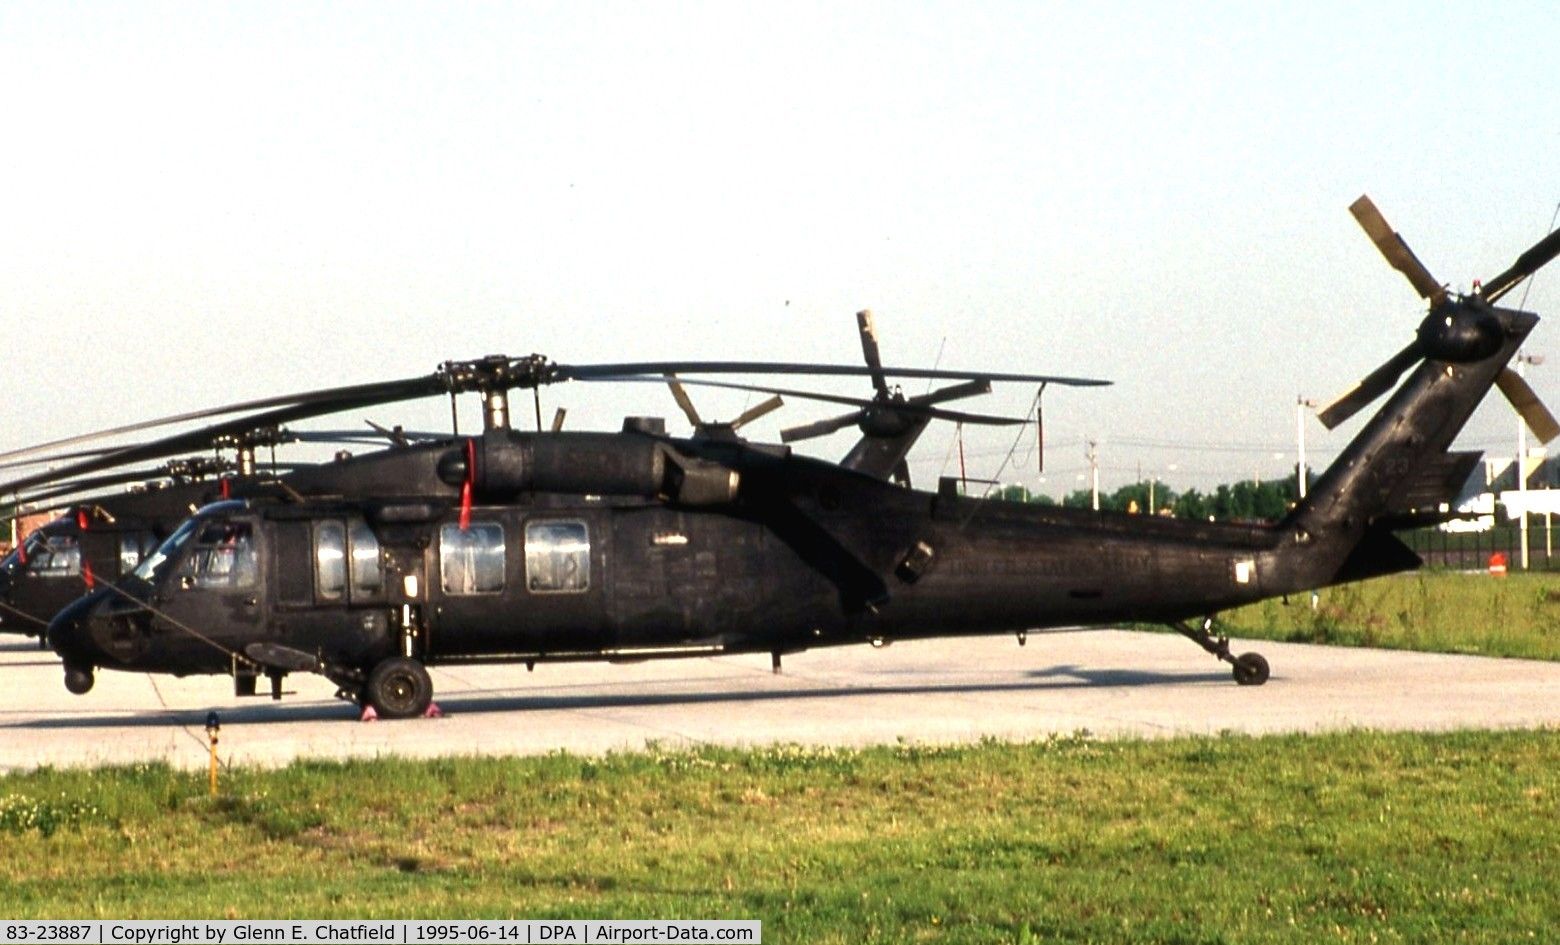
My latest build is of one of the aircraft that participated in Operation Gothic Serpent (OGS, Somalia, 3-4 OCT '93), the true story that inspired the book and movie Black Hawk Down. Super 65 was an MH-60A DAP-capable aircraft (though not outfitted as a DAP for OGS), tail #83-23887 with “Heavy Metal” on its engine cowls in an OD Green color. 65 was the bird that inserted Ranger chalk #2 into the target area.
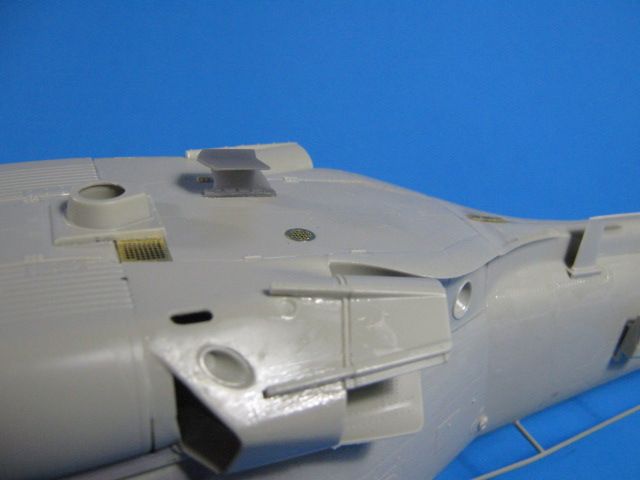
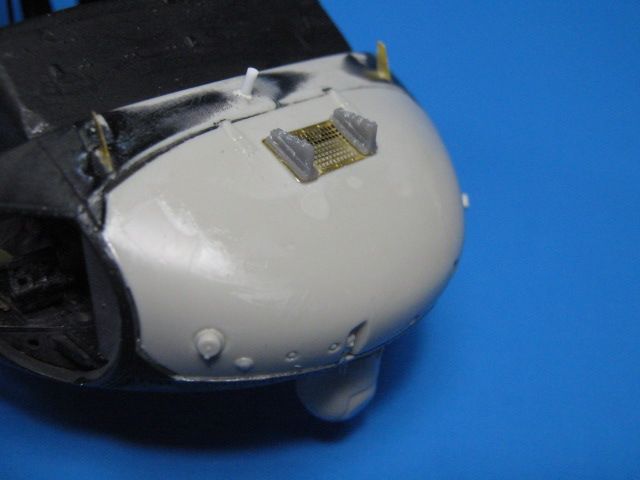
This is how she looked at the time. Being an A model Black Hawk, she did not have the nose-mounted weather radar, no hoist nor mount for it, but she did have a FLIR turret under the nose.
She looked the same in '95.
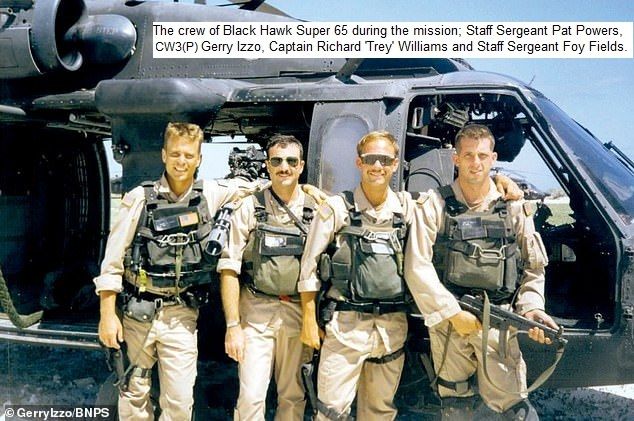
I have been lucky enough to be in contact with both the pilot at the time, CW3(R) Gerry Izzo (now a commercial airline pilot), and one of the Crew Chiefs, MSG(R) Pat Powers to get details on how it was laid out and how it looked.
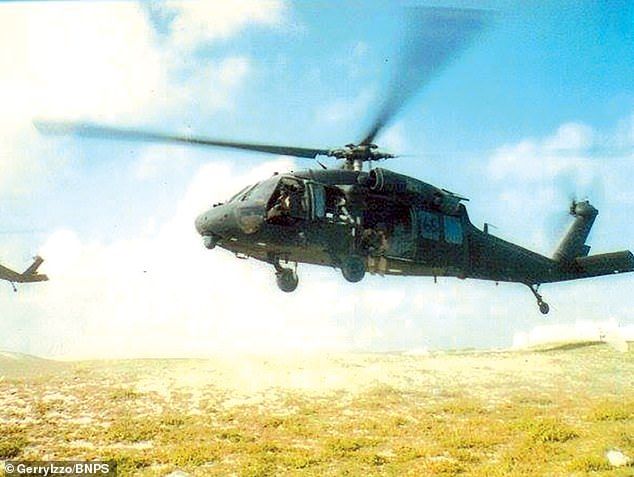
Finally, as I was looking for some more pics of it, I came across a website for Unical Defense. Unical rebuilds surplus aircraft and resells them on the civilian market. Interesting enough, they have refurbished and have Super 65 for sale. It was restored to its former glory as Heavy Metal, minus the FLIR turret.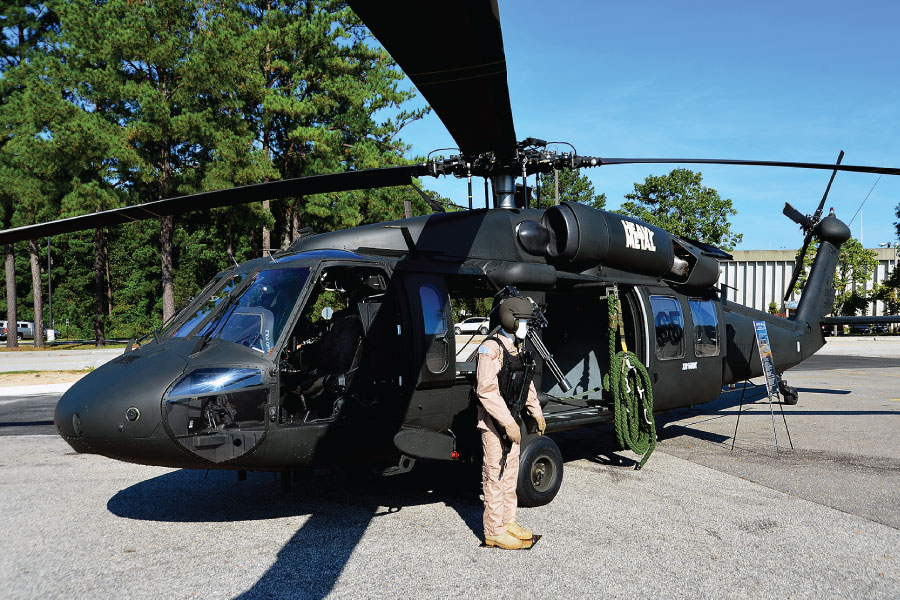
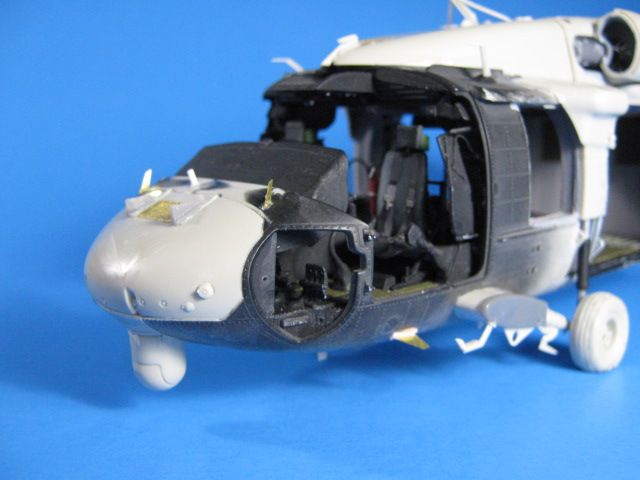
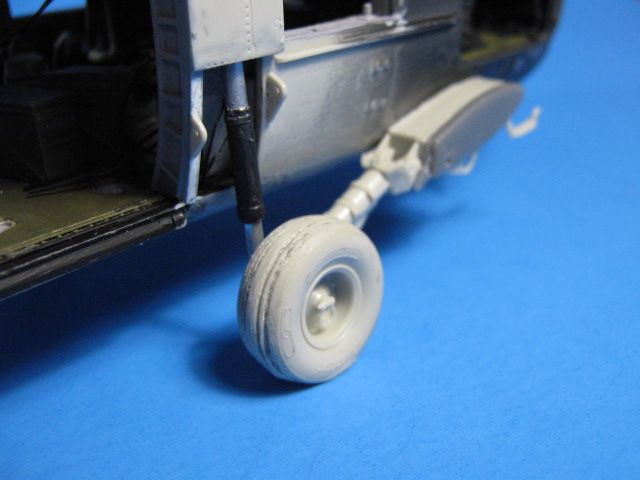
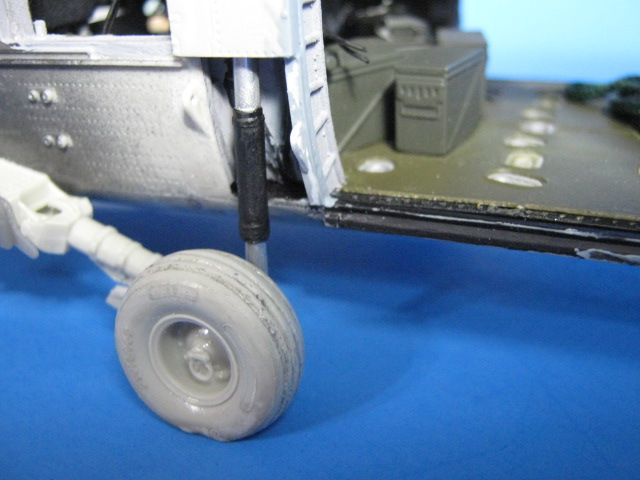
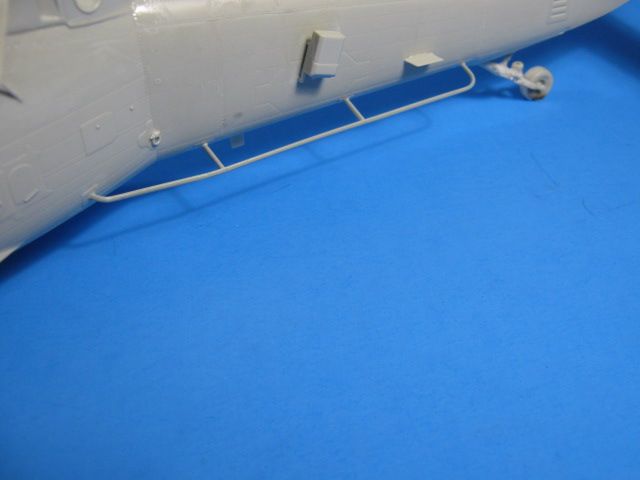
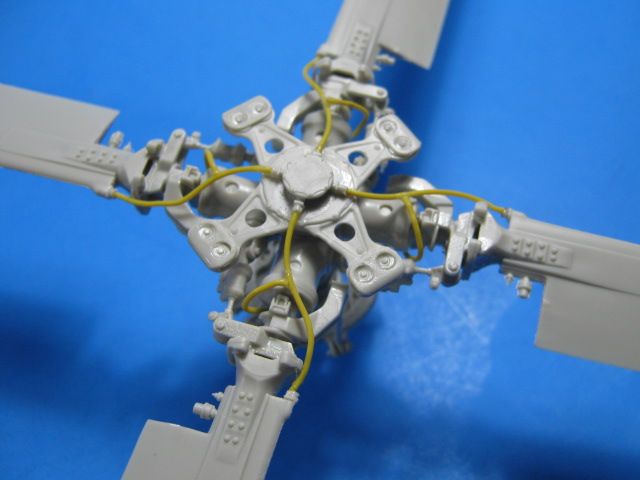
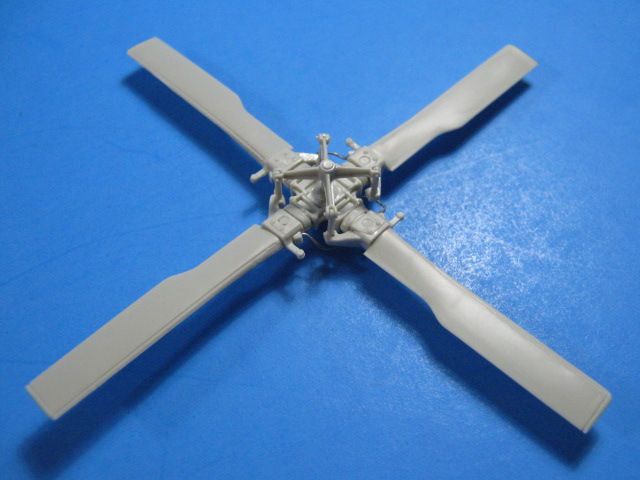
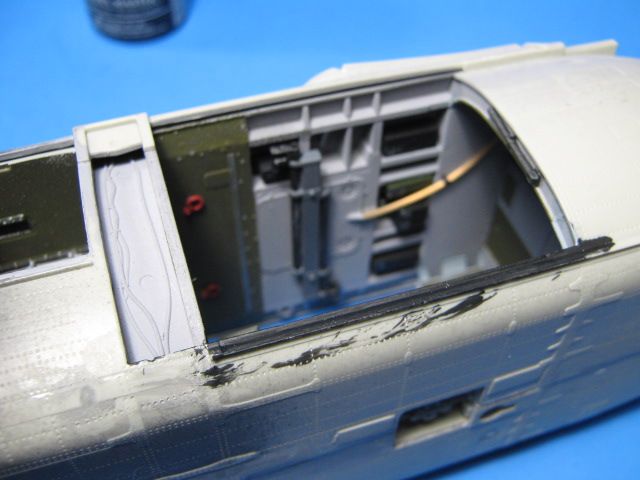
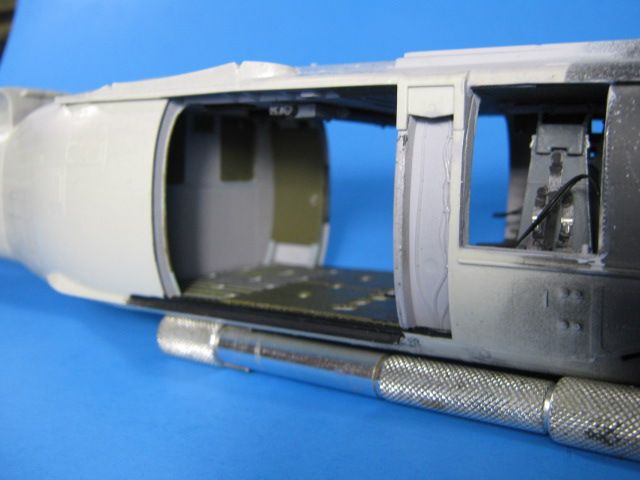
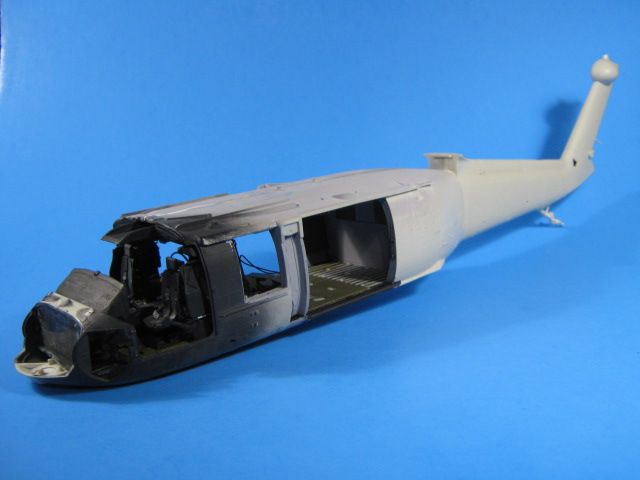
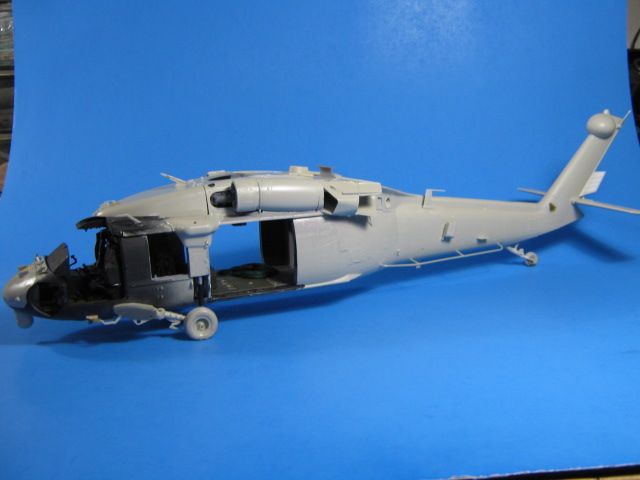
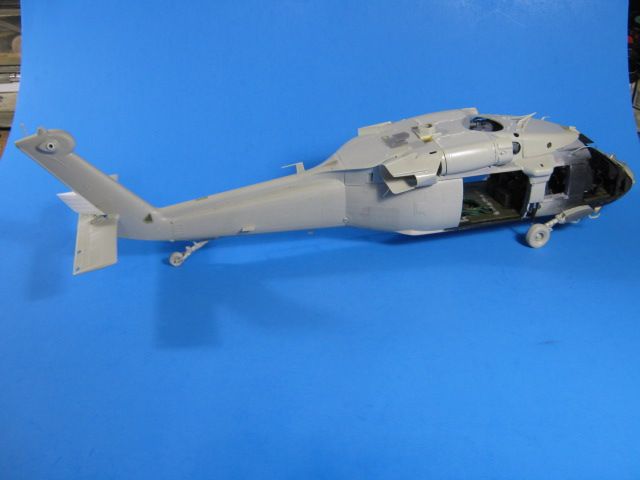
I am starting with the Kitty Hawk 1/35 MH-60L kit, which represents a more modern 160th SOAR (Special Ops Aviation Regiment) helo. It will take some minor changes to backdate it to an OP Gothic Serpent helo. So far, I have sanded the transmission access panel off the right rear fuselage and removed the stiffening plates on both sides of the tailboom as these were not present on the aircraft in '93. I replaced the missing recessed rivet details by pressing into the plastic with a dental pick.
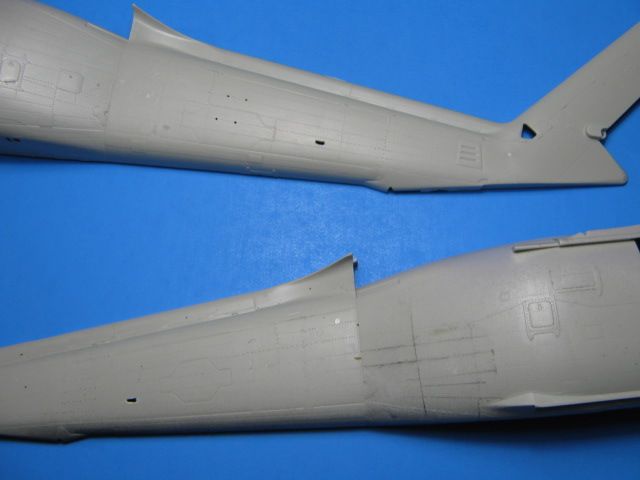
Original kit part with transmission access panel and a couple of the raised stiffening plates visible behind it.

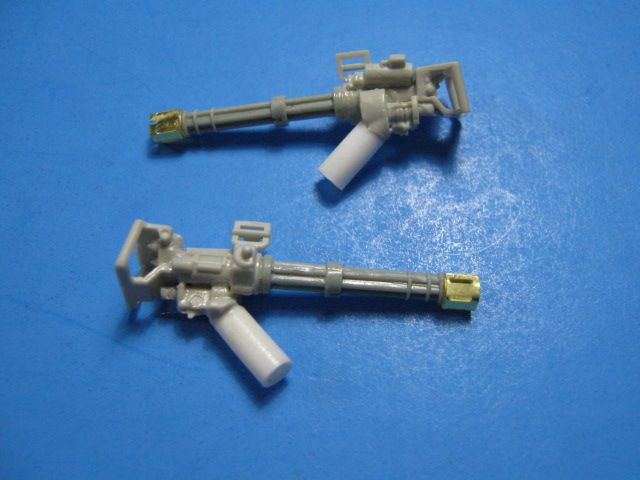
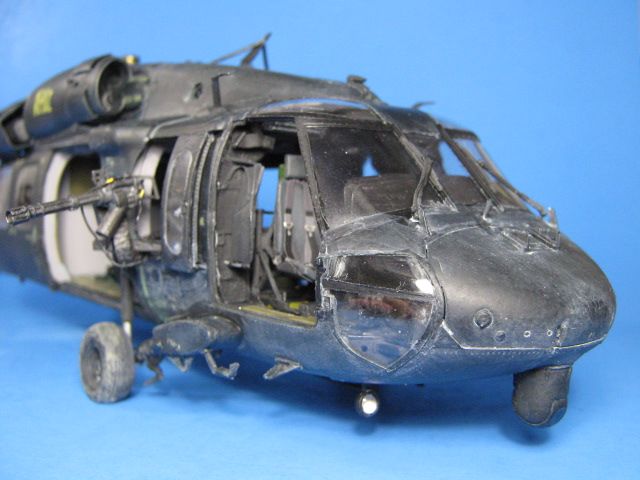
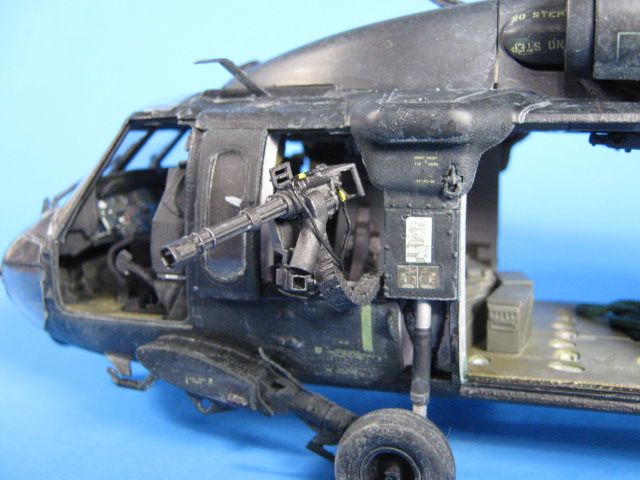
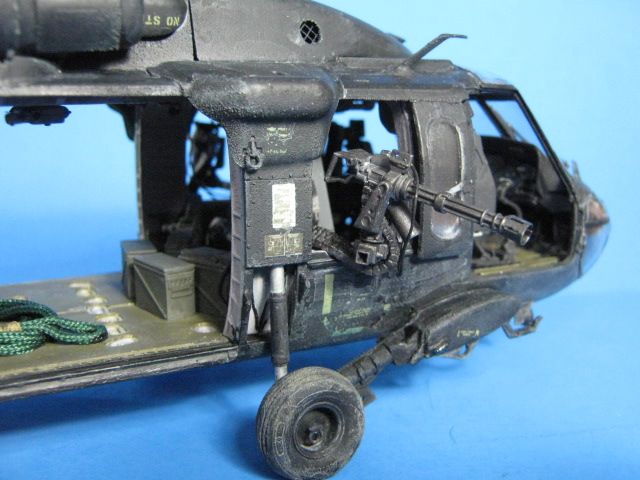
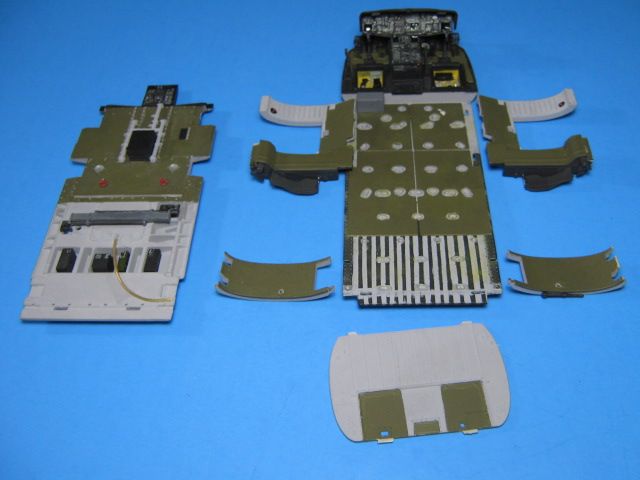
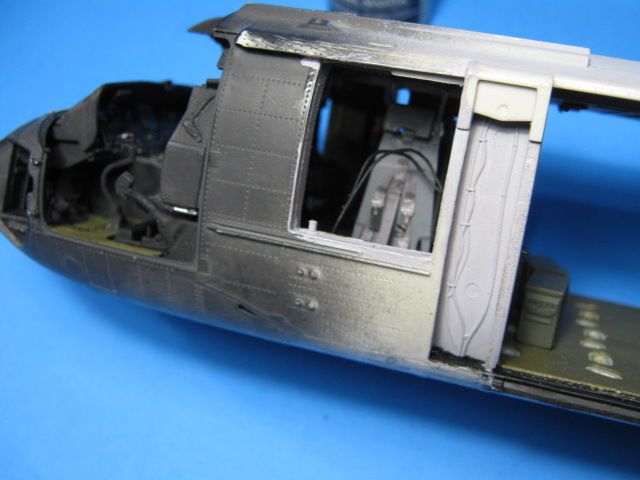
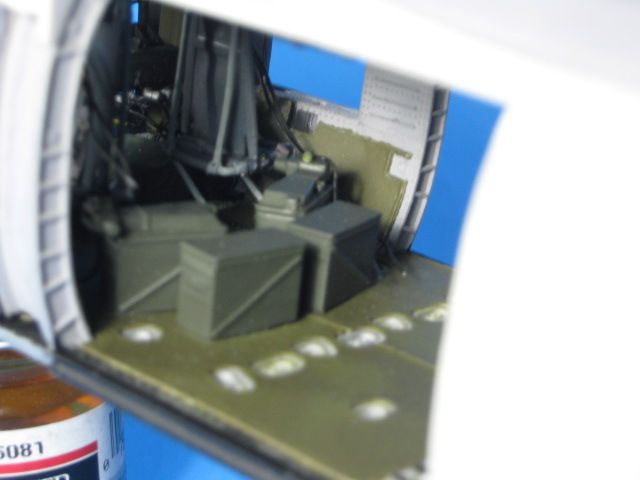
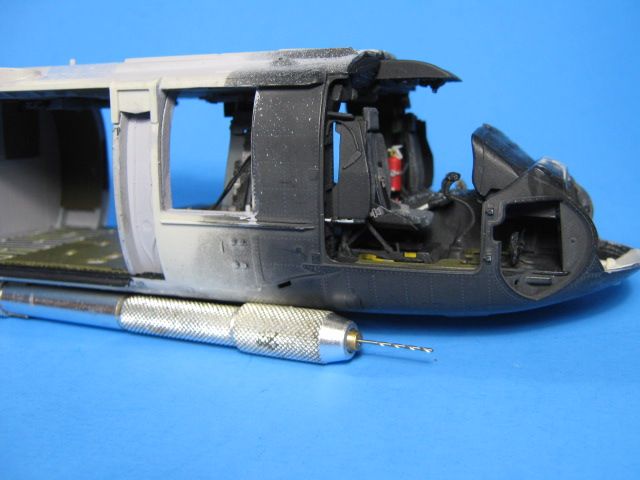
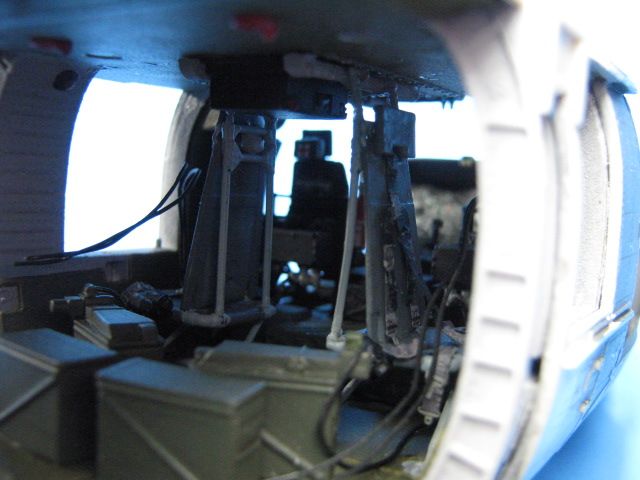
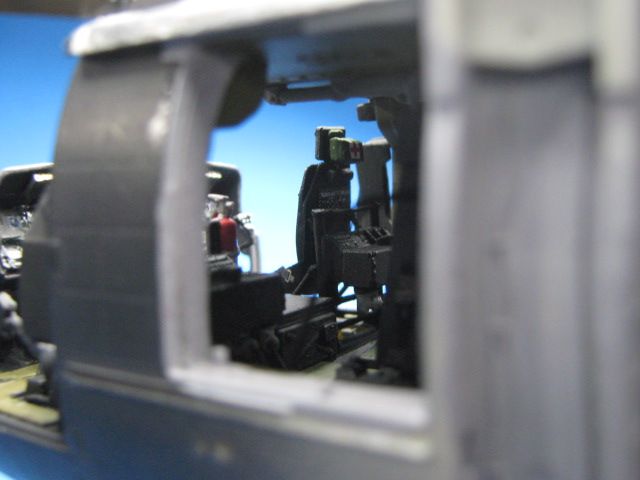
I completed most of the interior as well. I used some parts from an upcoming Werner’s Wings MH-60 Op Gothic Serpent backdate set as well. This will include a new center console w/out the newer upper rear panel, backdated instrument panel, junction boxes for the M134s, parts for the gunners’ seats, 20mm-sized ammo cans with feed motors, armored floor and side wall plates, and a few other parts. The set should be available soon.
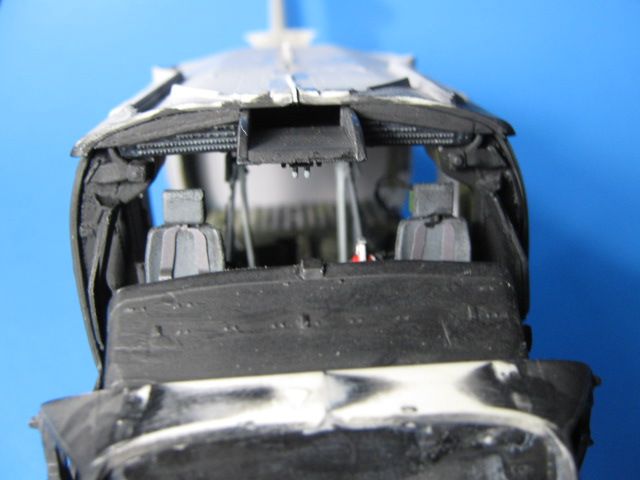
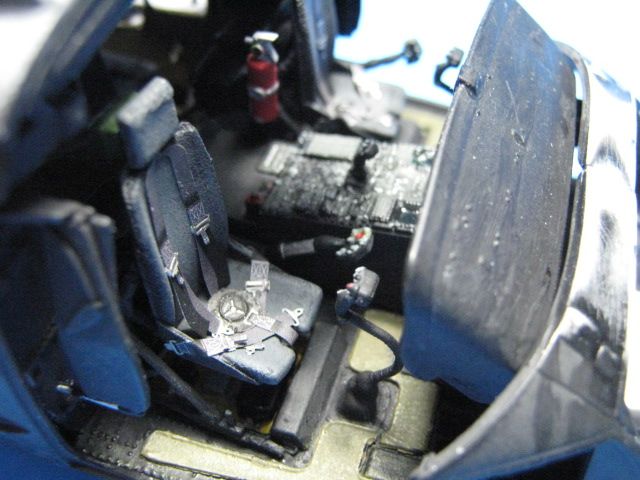
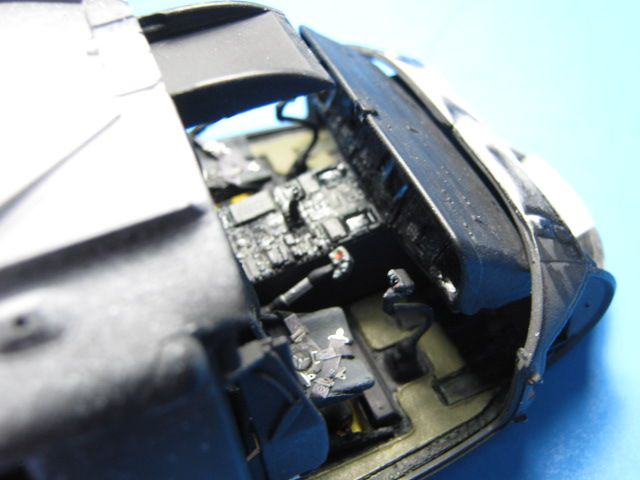
Here is the interior. I cut up the kit IP decals to fit the modified IP and center console. I also added parts to the cut outs under the seats by cutting up the parts for the nose electronics compartment that I was not going to show opened up. I also used some of the electronic boxes on the cut outs in the ceiling.
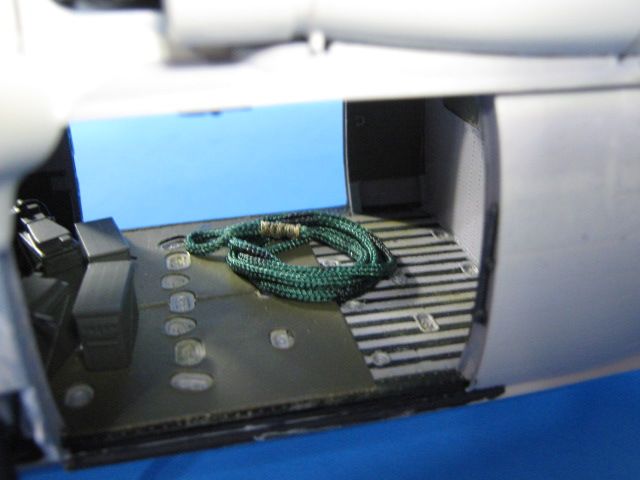
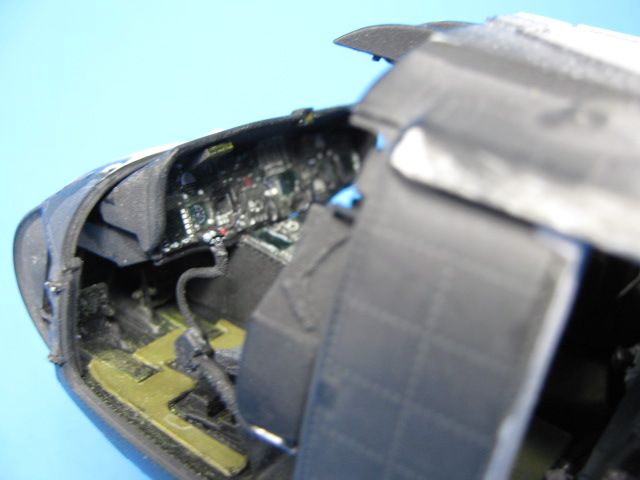
I failed to take any more interior pics before closing it up. I did add the wiring for the M134s and their drive motors, first aid kits on the pilots’ seat backs, survival kits forward of the crew chief seats, and a few smaller items. I also added Eduard seat belts to the pilots’ and crew chiefs’ seats.
More to come later as I continue with it.


.jpg)