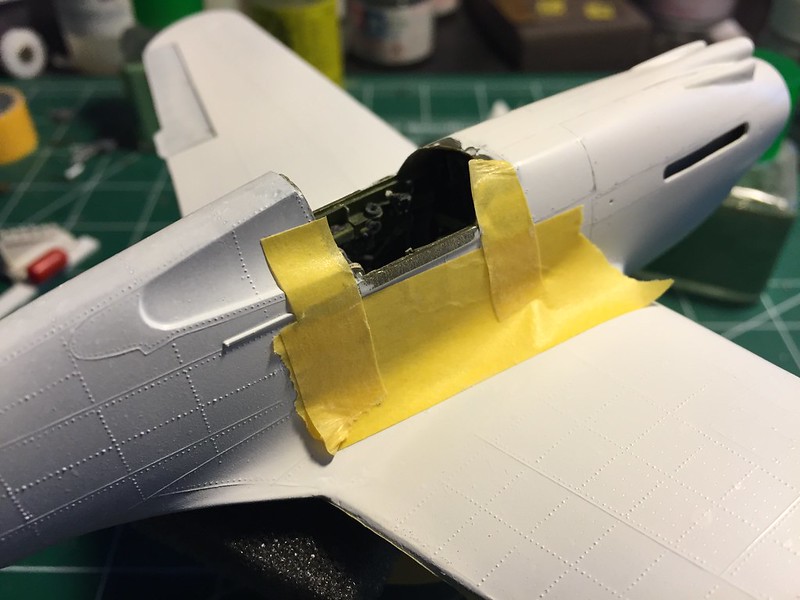
Okay here’s a brief update. I apologize if some of this falls out of the usual realm of steps for building. I don’t like to jump around too much. I only mean to address the big things that need attention first from a structural/aesthetic sense first before moving on to the smaller bits and add ons.
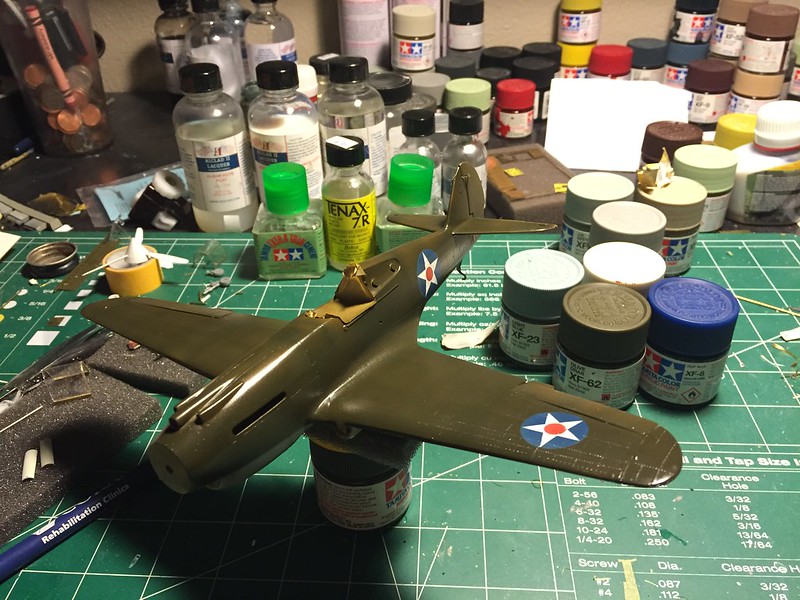
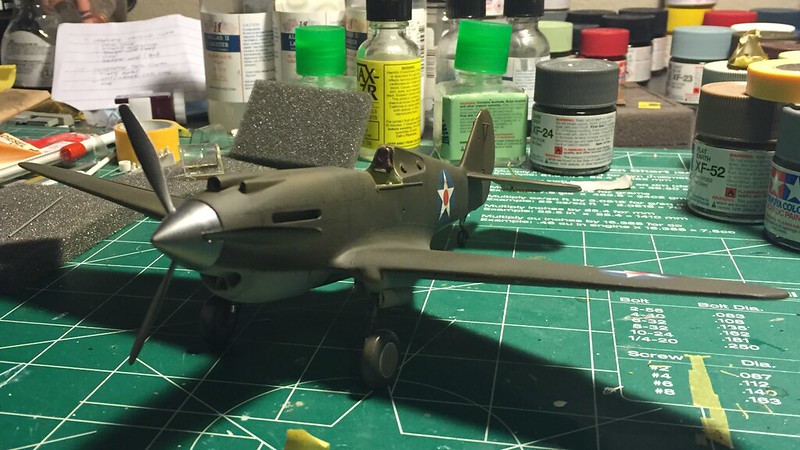
So here we are. After lots of careful painstaking sanding and more sanding, I’ve finally got this bird back where I want her to be. I’ll say it again, Milliput is a dream to work with and it makes this build a whole lot better looking afterwards.
 Untitled by brittvallot, on Flickr
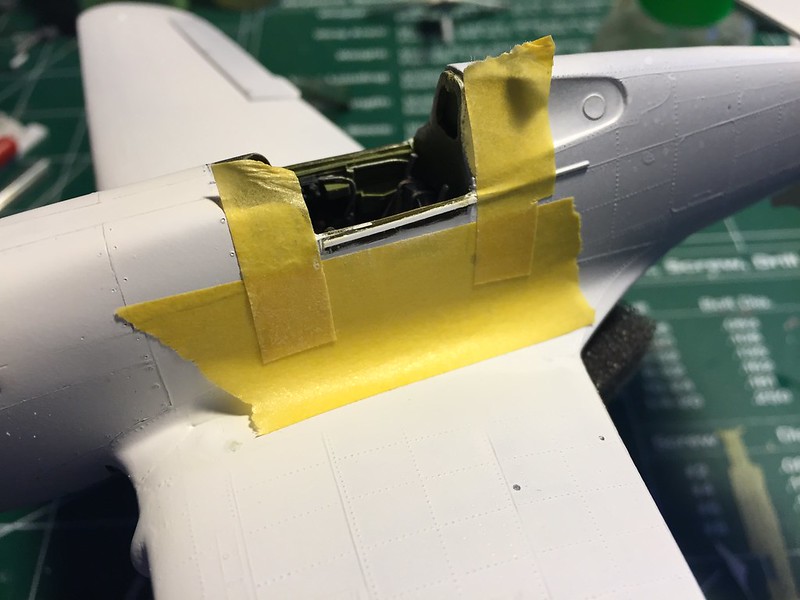
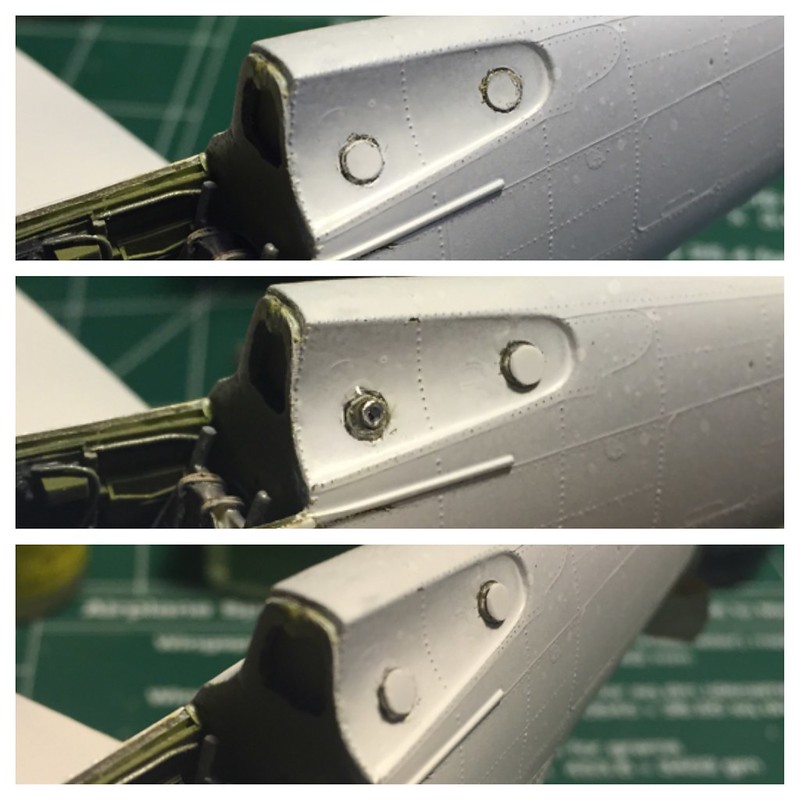
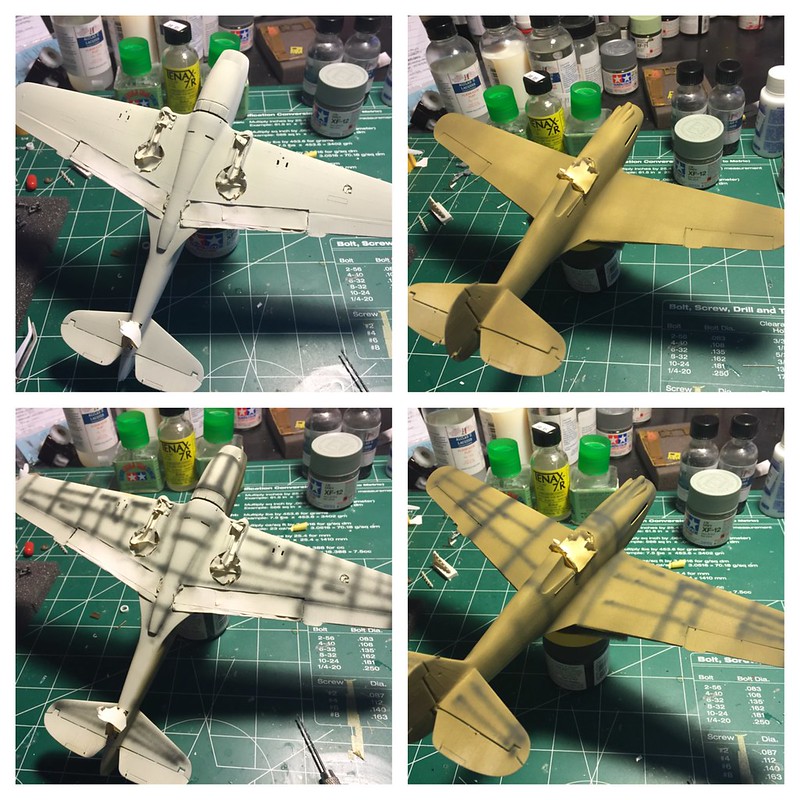
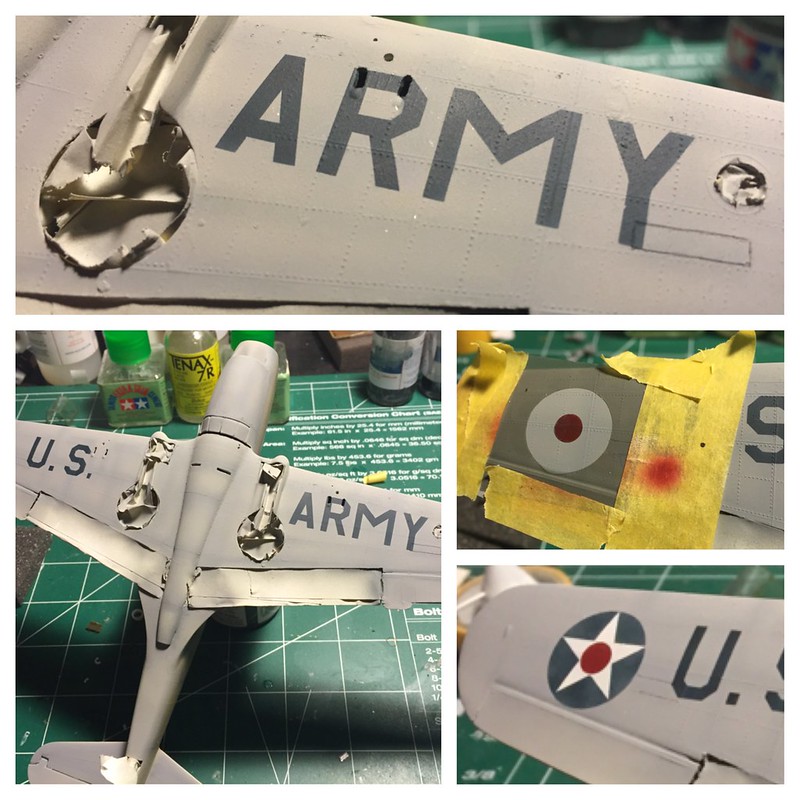
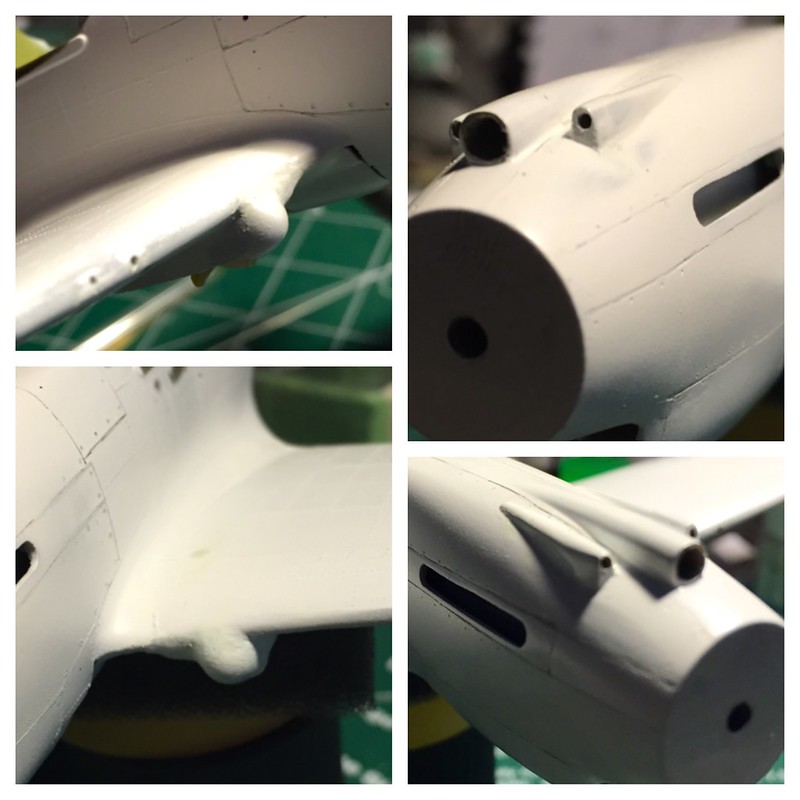
The fairings for the .50s and the cowl panels have been sanded back nice and smooth and since the cowl panels are removable I’ve sanded off the raised panel lines and scribed new lines to place a wash with later. I have left all the other raised detail on this model as I think it’s really nice to have. Some can argue it’s to high off the surface and they may be right, but I think it offers just enough visual weight to convince the eye of what it’s seeing. The darker olive drab color on top will subdue some of this as well.
 by brittvallot, on Flickr
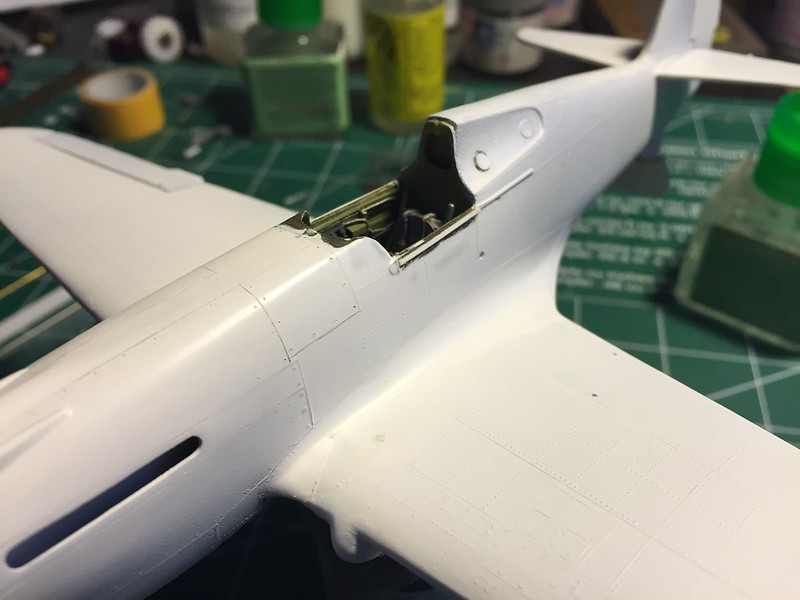
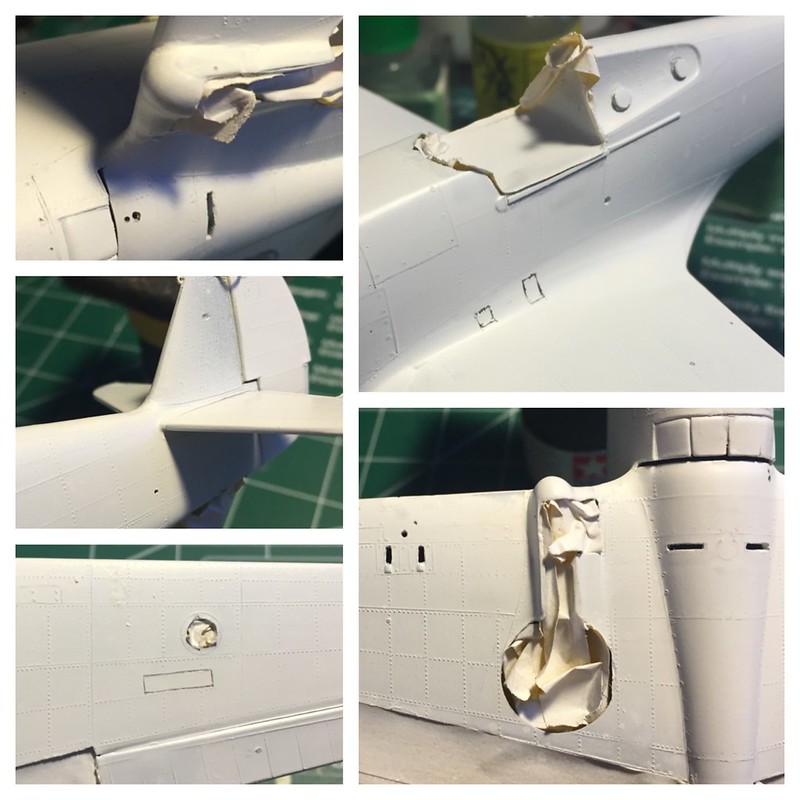
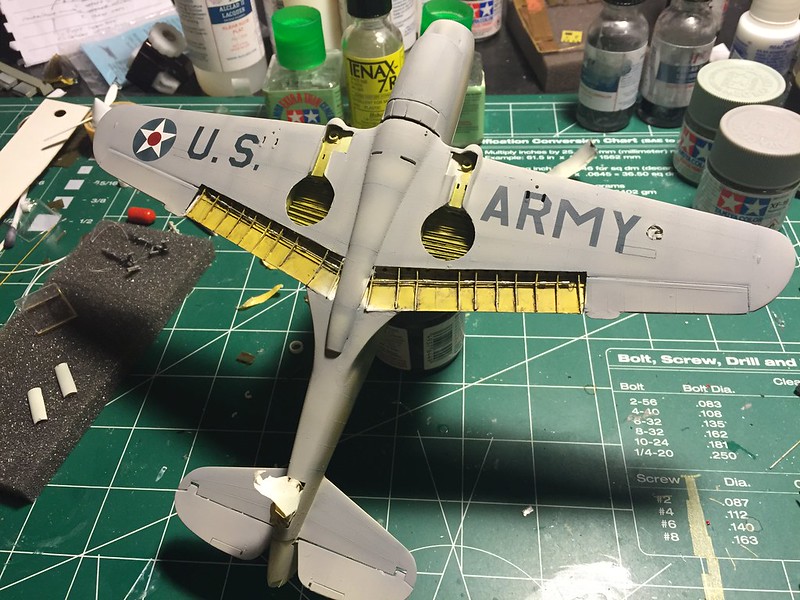
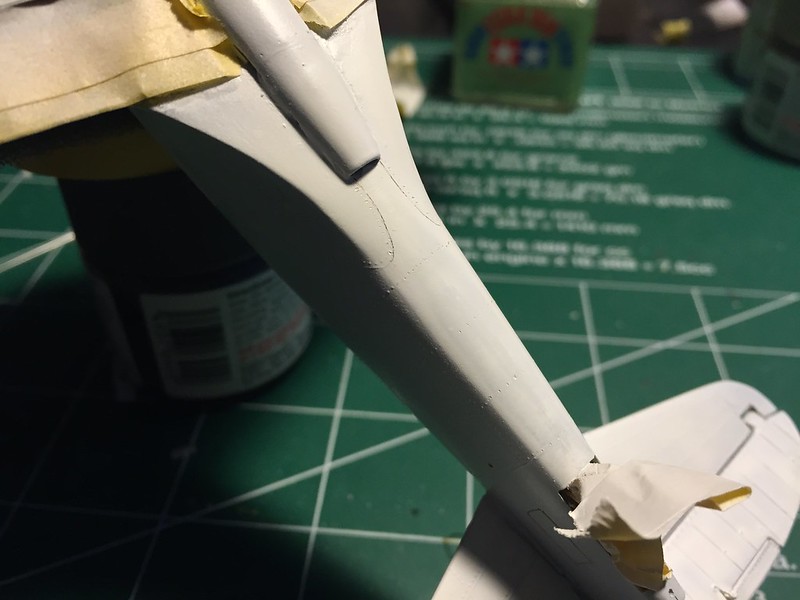
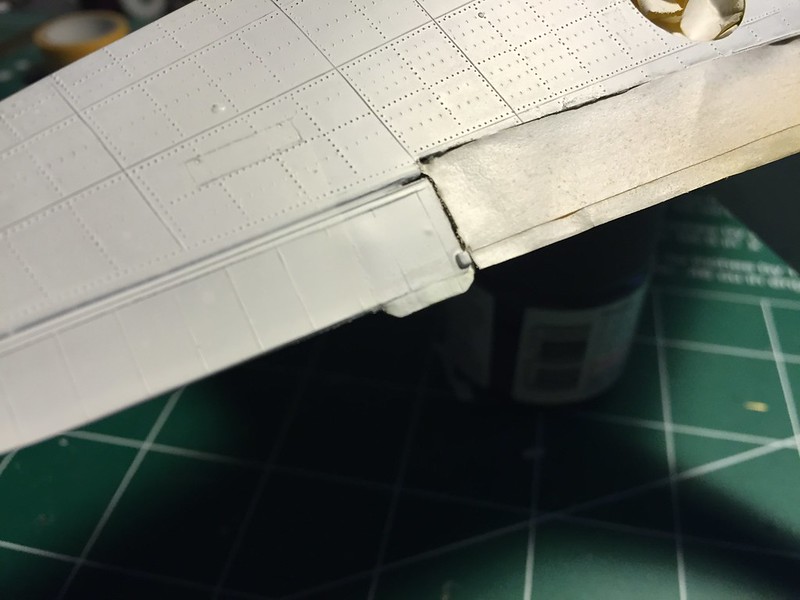
More seams corrected…
 by brittvallot, on Flickr
…also the kit’s hole for the drop tank has been filled.
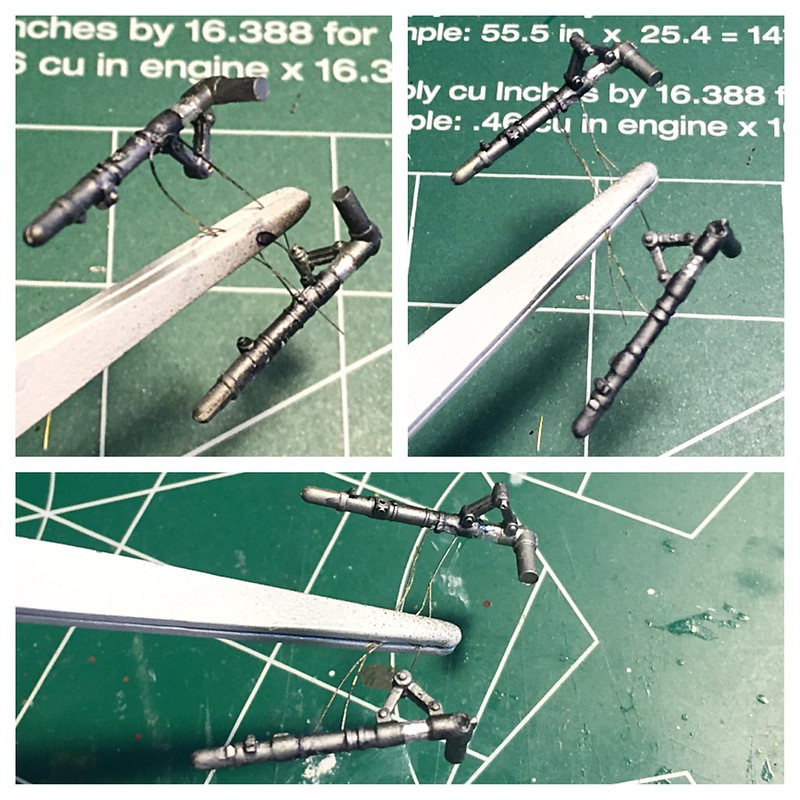
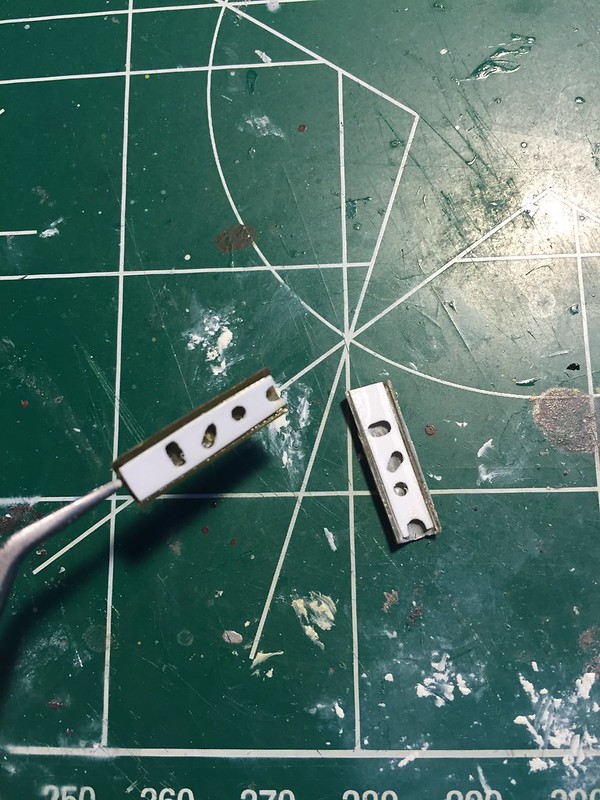
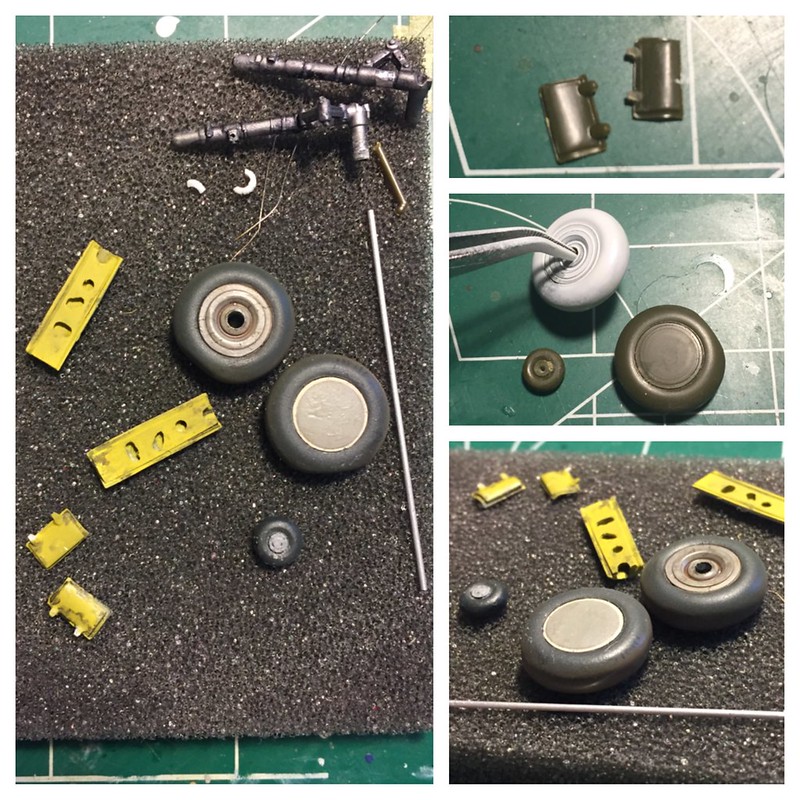
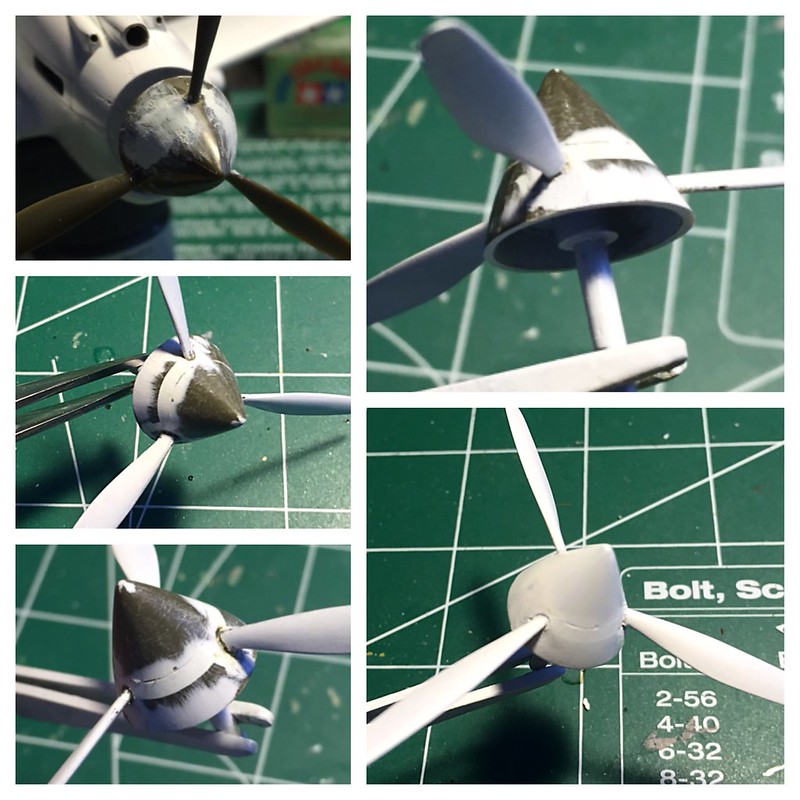
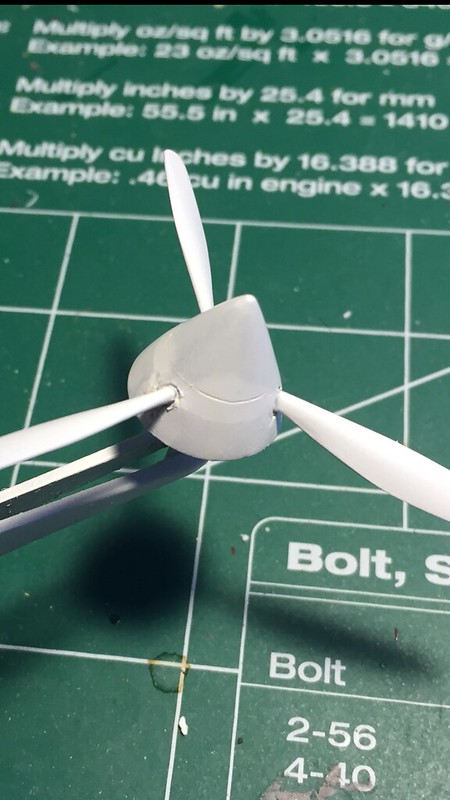
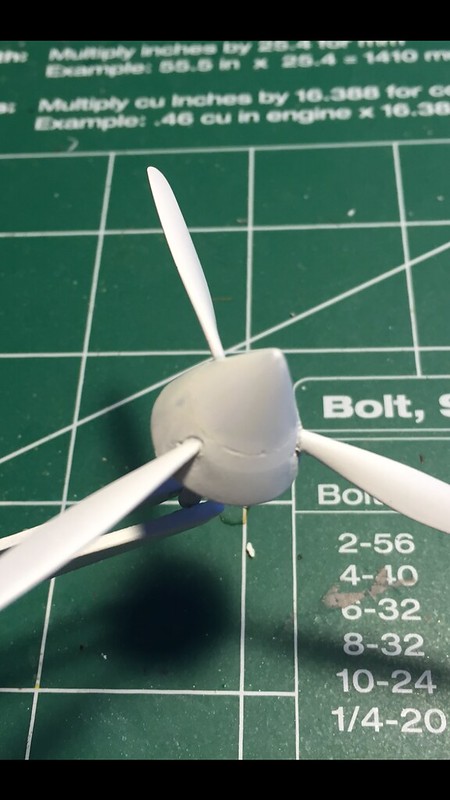
While I had the Milliput out and ready I also took care of the propeller.
 by brittvallot, on Flickr
With just a few careful and judicious swipes I had everything just as pretty as the original. One thing to note here is the line that the two kit parts makes is not the “panel line” for the cone of the spinner. It’s just the joint of the spinner that ought to be corrected. Fill and sand. The actual line that can be seen sometimes is just forward of the prop blades. I’ve also carefully carved out a small gap for the prop blades from the spinner with a dull exacto blade (no. 11–dull so as not to break the tip off a new one and also to not carve too deeply). The real thing has a space for the blades to fit through and since the kit blades are all one piece this isn’t present. Due to carving this gap out, it made a bit of a step that wasn’t easy to sand. I didn’t want to risk breaking another blade again so instead I dropped the tiniest drop of Tamiya ETC to soften the plastic and with a blunt needle tool I smoothed the step down. Here’s a before and after.
 Untitled by brittvallot, on Flickr
 by brittvallot, on Flickr
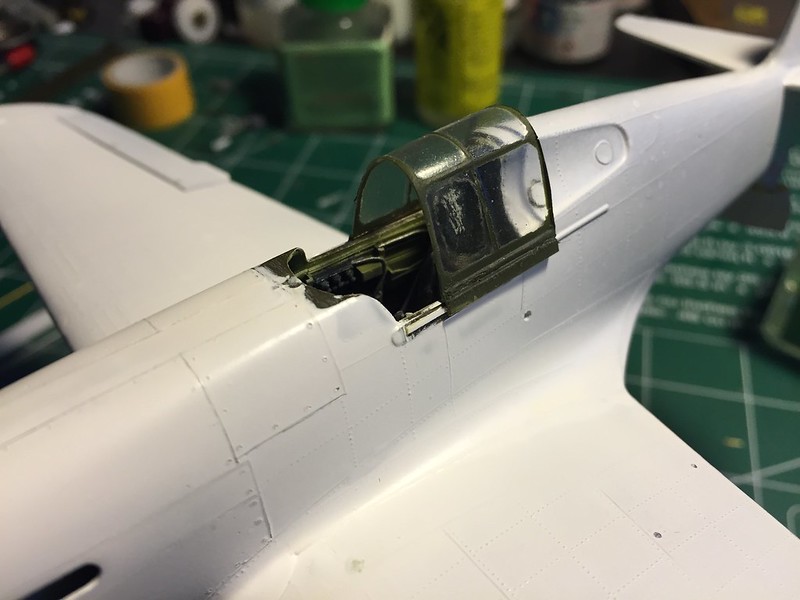
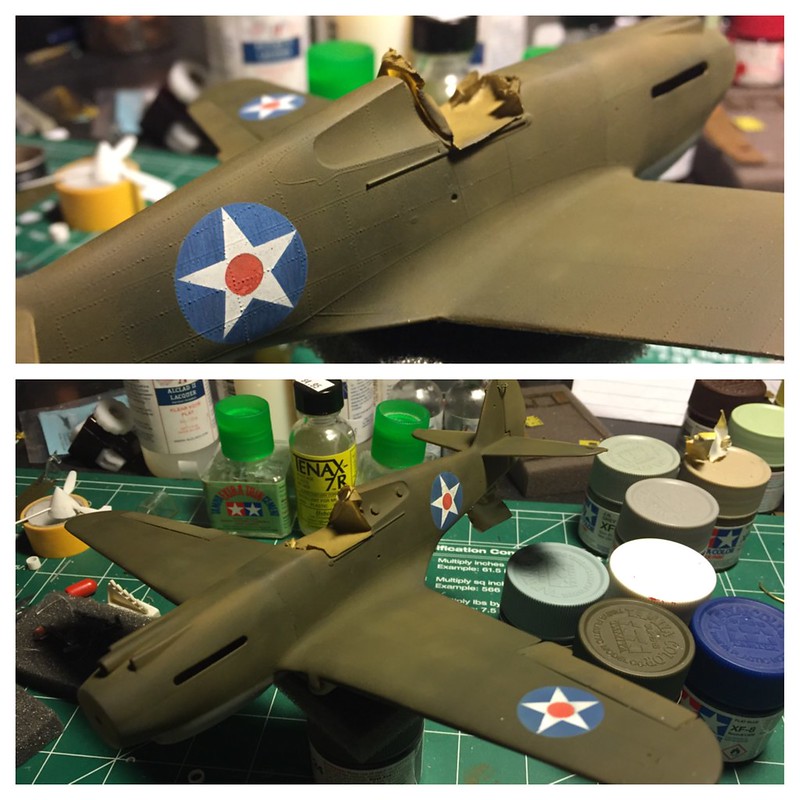
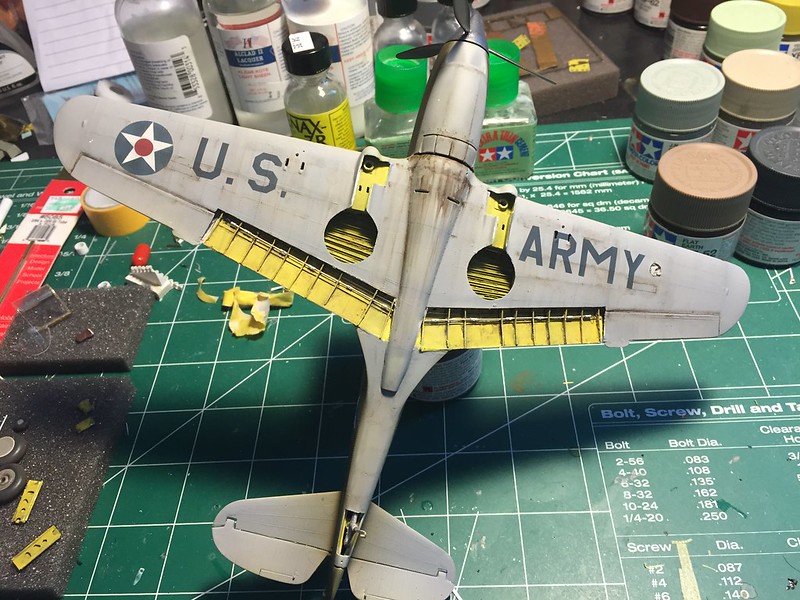
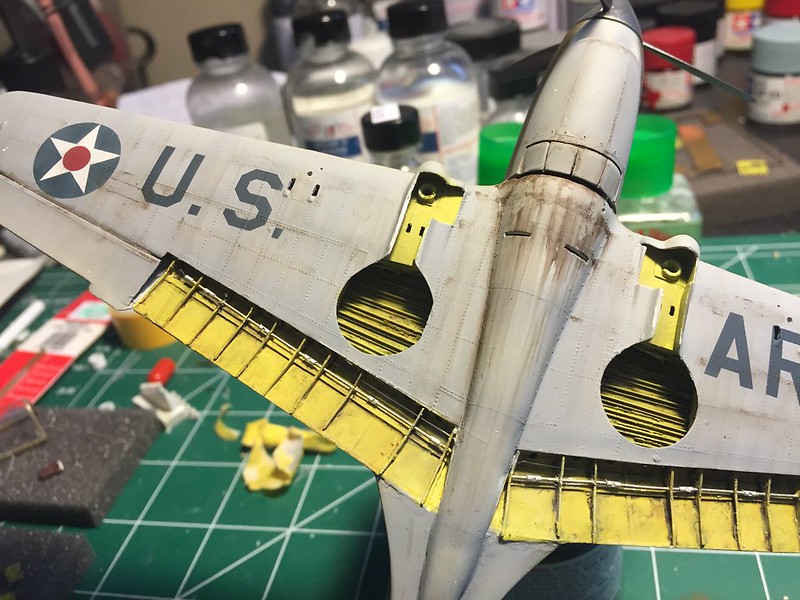
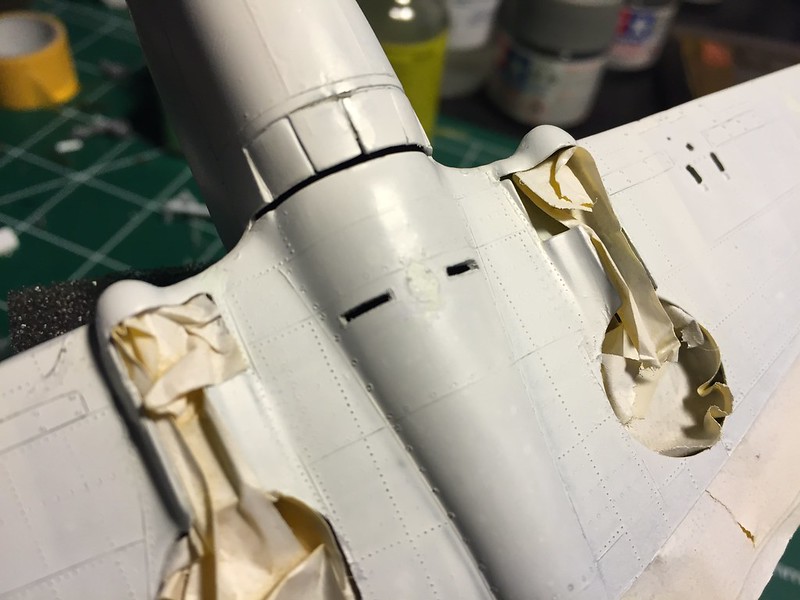
I’ve also filled in this spot on the under side of the trim tabs. The left side was originally only movable before take off and then it was later added in the cockpit to adjust with the B variant.
 Untitled by brittvallot, on Flickr
That’s a wrap for now. I have one last thing to address before moving onto the landing gear and doors and I need to make a stop at my LHS for that.
Questions, critiques, or comments…all are welcomed. =]